DIY Fairy House Planter with Cricut Vinyl
Create a magical fairy house planter with Cricut vinyl! Add a fairy door to any planter along with dancing fairy plant stakes.

Hello Crafty Friends! Today I’m excited to share this sweet DIY fairy planter with you. Even though our backyard is currently a slushy snow puddle and we are lucky if we get above 20 degrees, I am in full spring mode! I used a plain planter and turned it into a magical fairy house, complete with dancing fairies flying above their home. For this craft, I used vinyl to create the fairy door on the front of the planter. It is so small, measuring just under 3″. The fairy plant stakes are made using vinyl and clear craft plastic. I love how colorful the entire craft turned out!
I love creating fun planters and plant stakes. They add such a whimsical feel to plants and make wonderful gifts. Last year I created butterfly plant stakes with my Cricut and colorful craft plastic and gifted plants to all of our children’s teachers. For this fairy planter, I used the same craft plastic for the fairy plant stakes. The craft plastic cuts easily on my Cricut Explore and is sturdier than paper. It can also withstand a little accidental water if they get hit while I water the plants.
Below is the tutorial for both the fairy house planter and the fairy plant stakes.

How to Make a Fairy Planter
Supplies Needed for Fairy Door:
- Planter – a planter that has straight sides will make it easier to apply the fairy door. I found mine at Joann Fabrics.
- Vinyl in the following colors: red, dark red, gold, green, dark green, light blue, brown and black. Some of these only require small pieces or scraps.
- Transfer Tape
- Cutting machine
- Tools: standard mat, scraper, weeding tool
- Fairy door SVG cut file. Use the cut file I created in Cricut Design Space!

Step by Step Directions
Step One: Cut the fairy door from vinyl. I created a fairy door in Cricut Design Space. You can use my fairy door, create your own or purchase one online. Since my fairy door is small, 2.75″ tall, I didn’t need very large pieces of vinyl.
If you’d like to use my fairy door, head to Cricut Design Space. You can change the colors of the design to match the vinyl you plan to use. Resize it to fit your planter.

Step Two: Weed your design and layer it together. Start by weeding the vinyl with your weeding tool. My fairy door was created with 8 different colors so there are 8 different layers. The layers do not overlap which makes stacking them together easier than if they did. Start by transferring the largest piece, the fairy door to a piece of Transfer Tape. Next, add each colored layer to the transfer tape lining up the design.

There are several ways you can layer your vinyl. I chose to use Scotch tape to hold the layer I was adding down. In the picture below you can see my red layer is taped to my cutting mat. I then placed the transfer tape over it, lining up the design with the layers already attached – in this case, my green, black and brown layers. Using the Scotch tape helped give me time to position the design without the red layer sticking to the transfer tape too quickly. Once the transfer tape was pressed down, I used my scraper and ran it over the design several times. Next, I flipped the entire thing over and carefully peeled back the paper backing of the red vinyl.
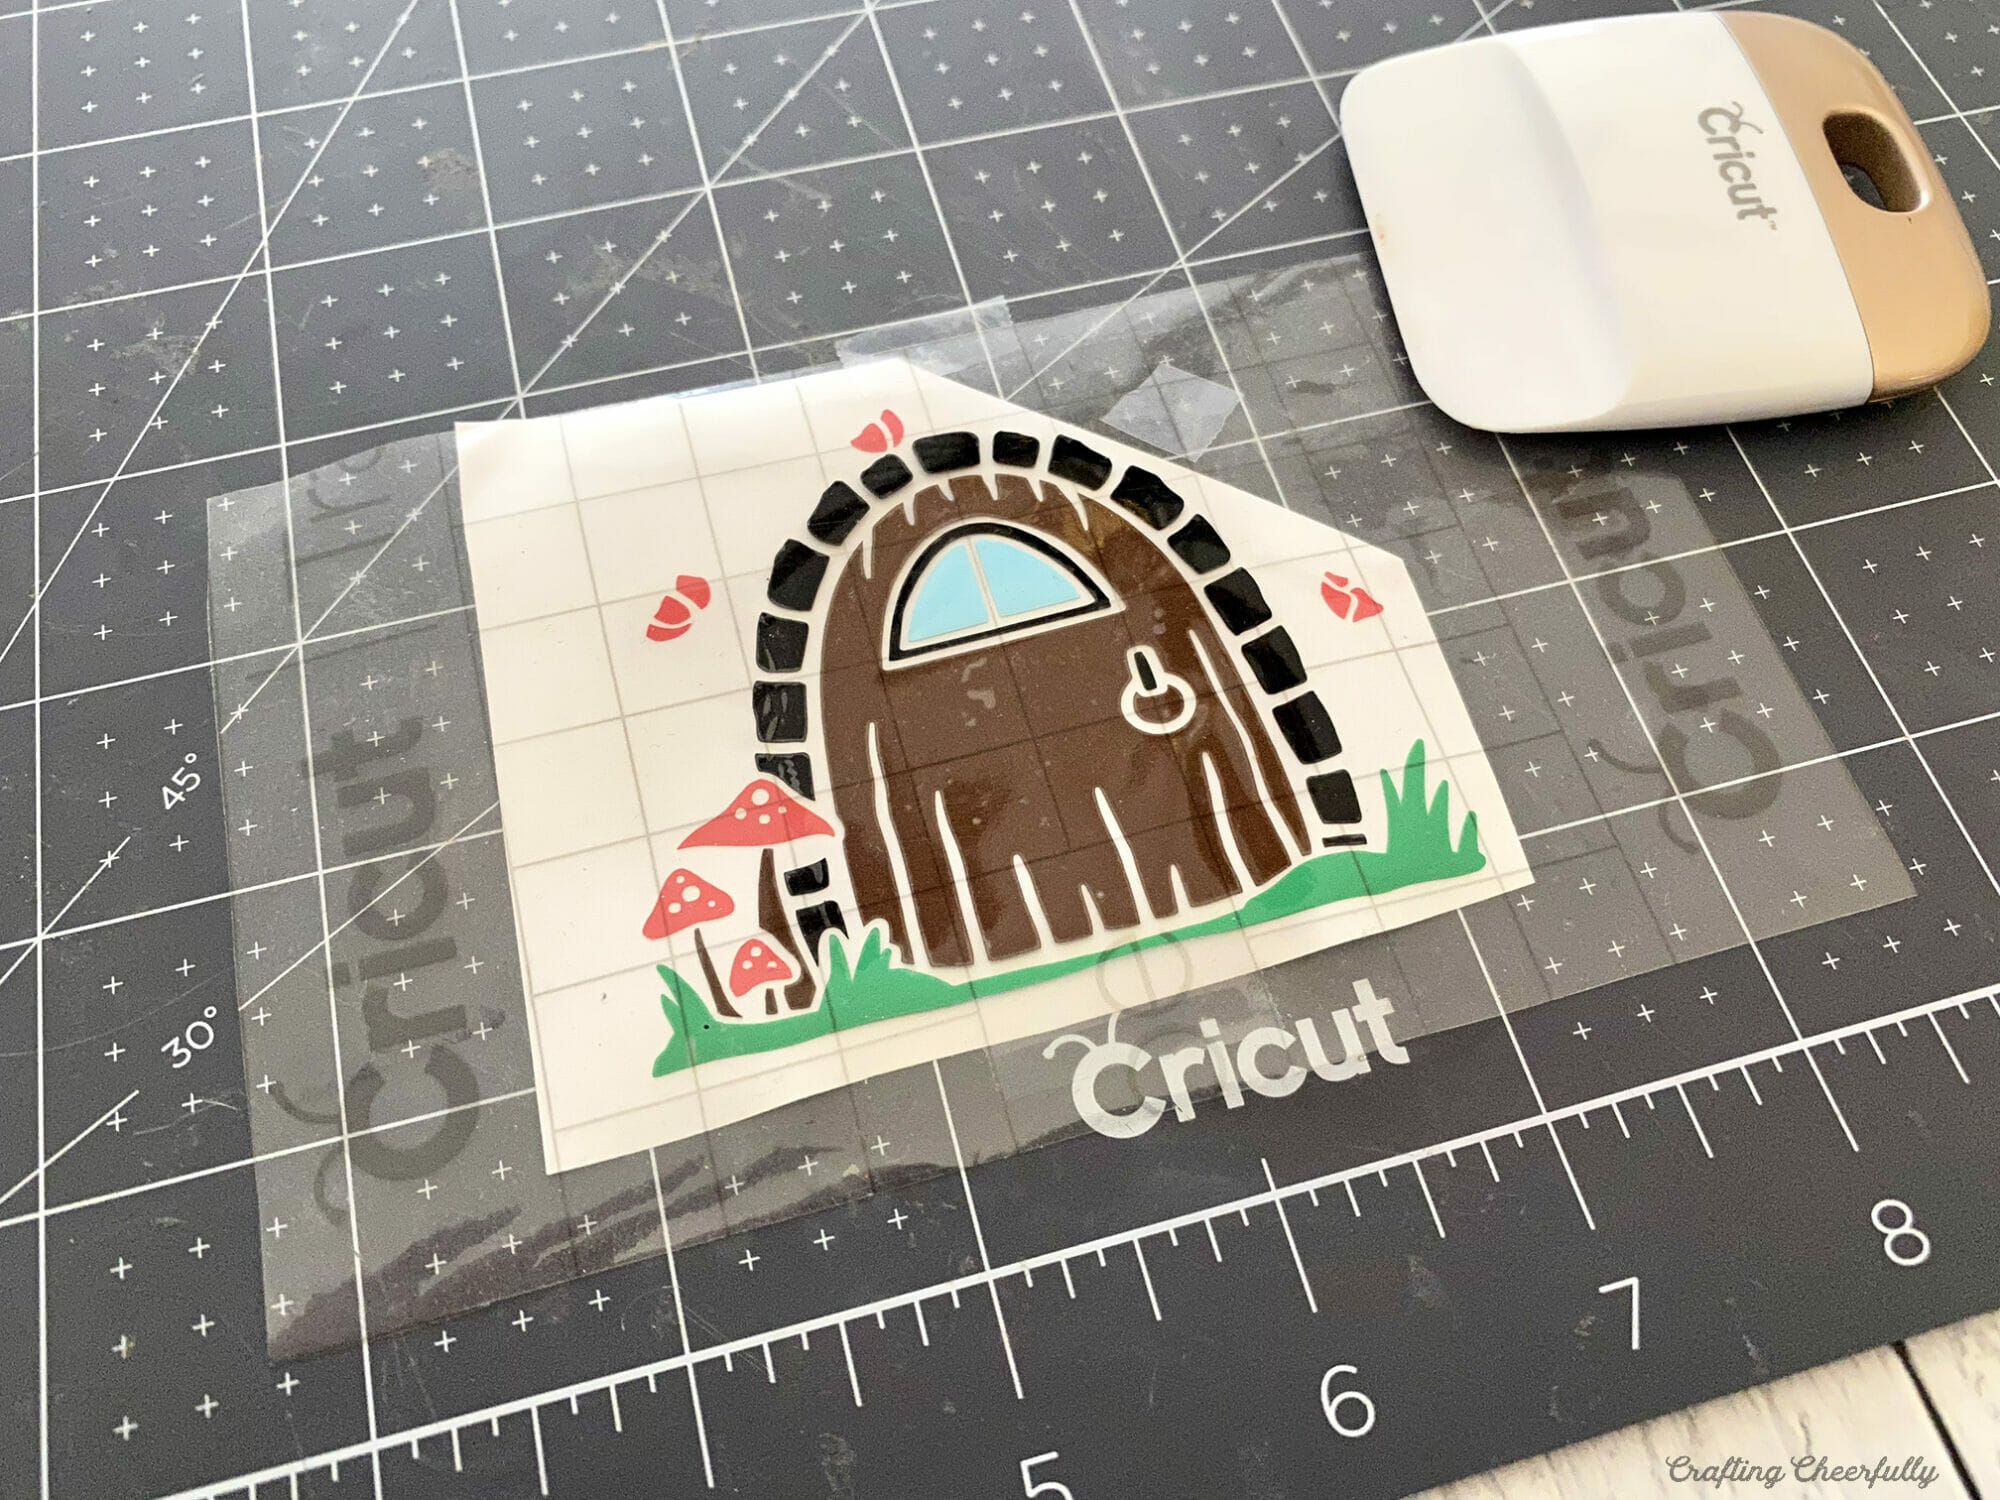
Repeat this for each layer until all eight layers are attached to the transfer tape. Some parts were tricky because my fairy door was small, so I needed to go slow and take my time.
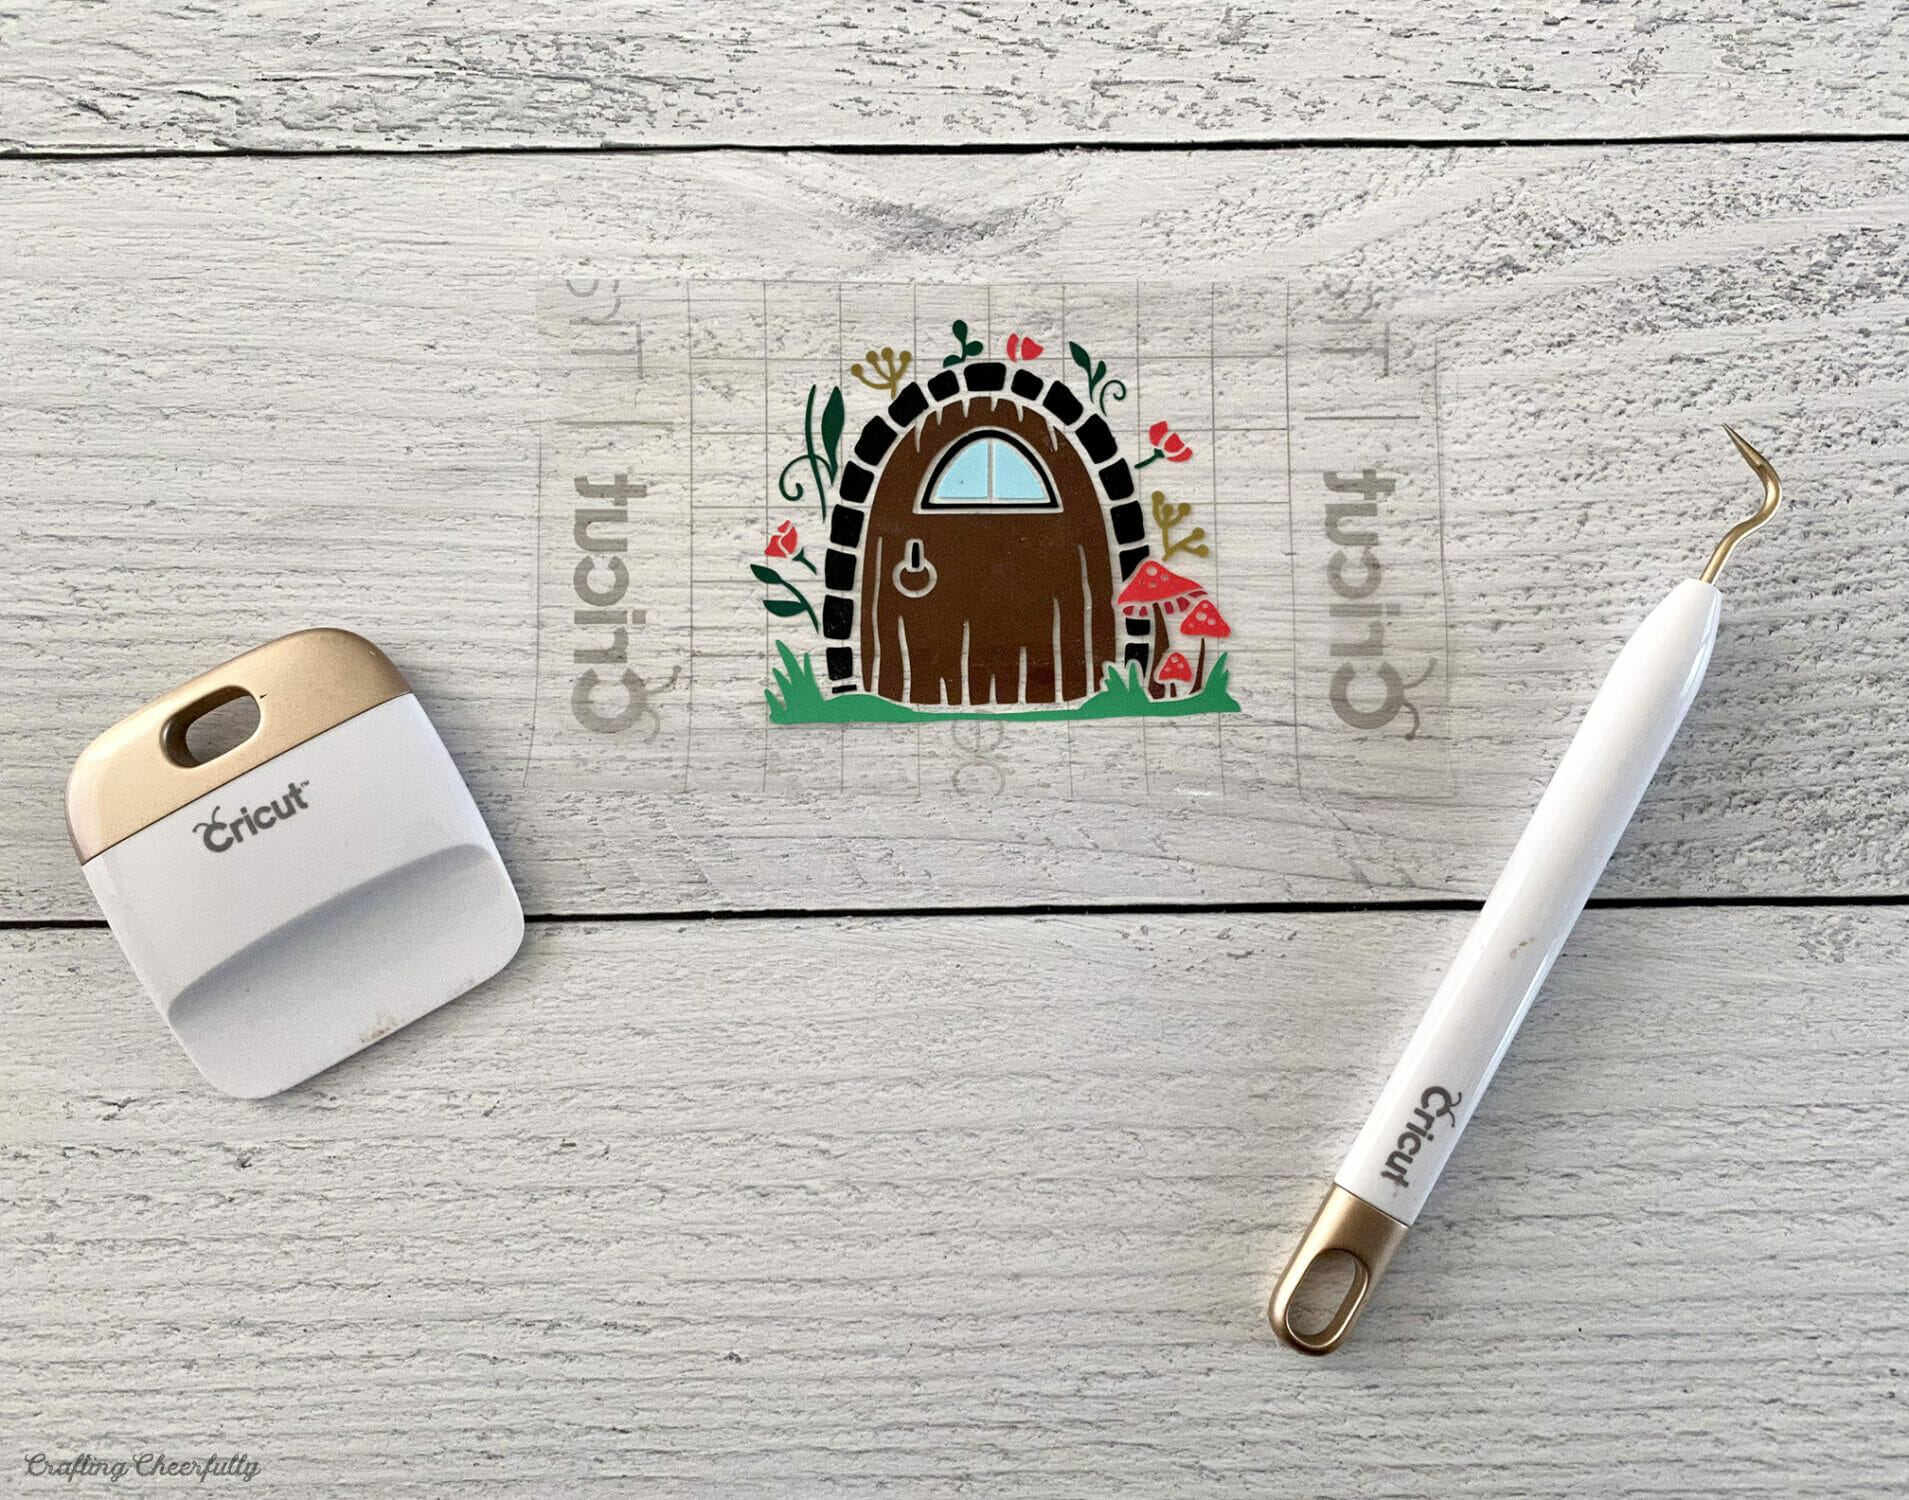
Step Three: Apply the fairy door to a planter. Once the design is on the transfer tape, it’s time to place it on the planter. Use your scraper to press it on securely, then gently peel back the transfer tape at a 45 degree angle. Save the transfer tape to use with the fairy plant stakes!

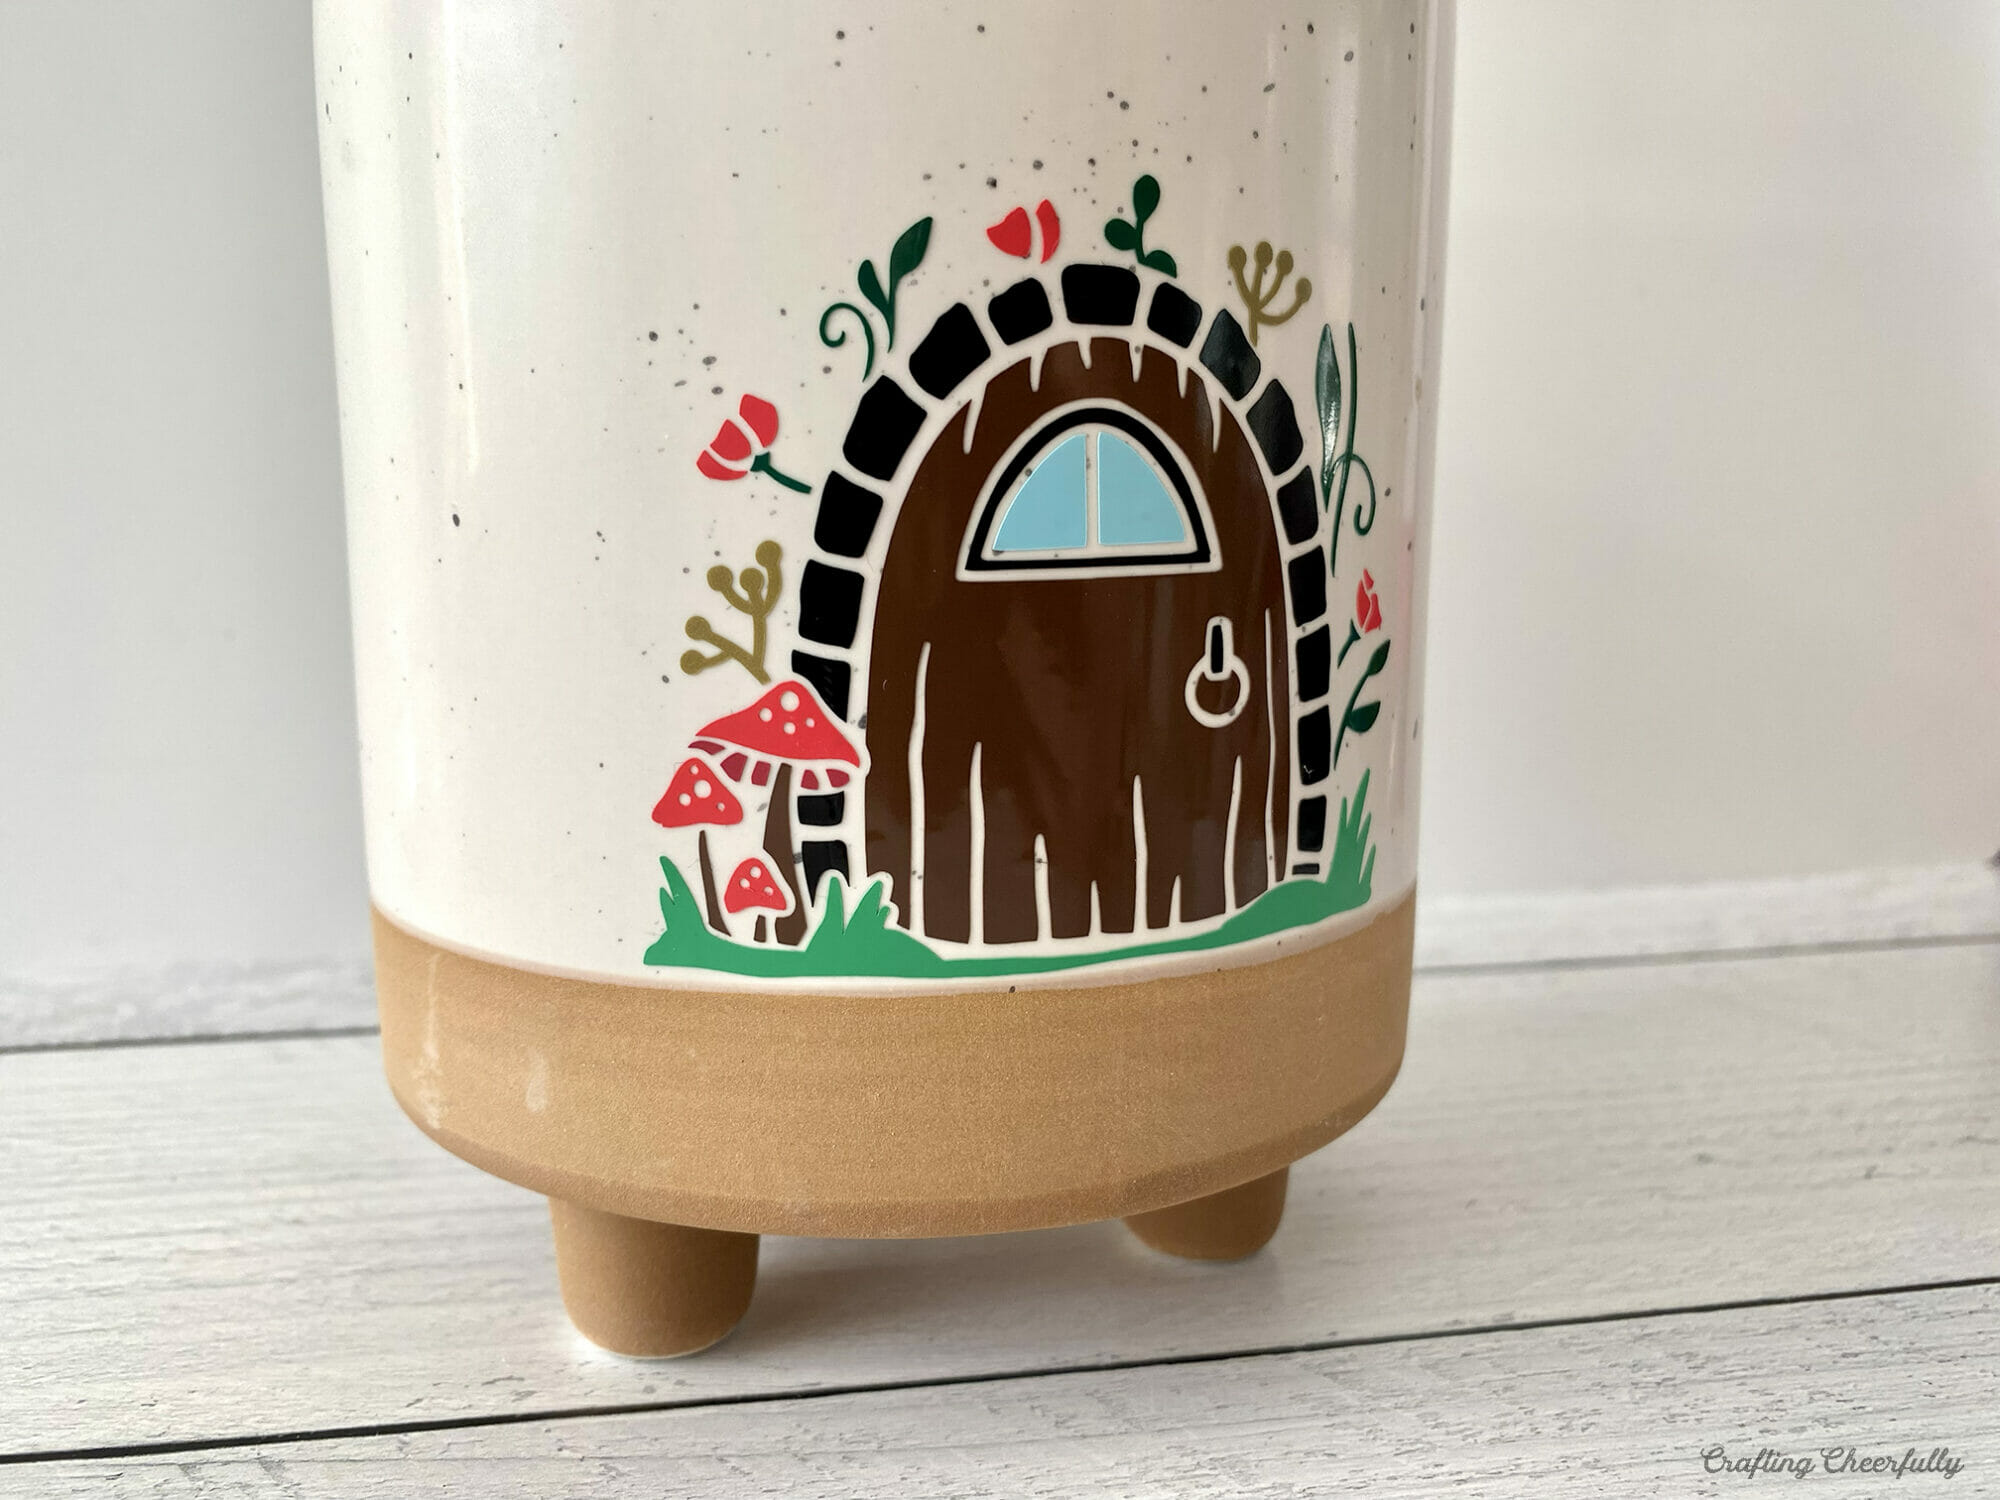
The fairy planter is complete! Read on to the next section to add cute fairy plant stakes!
How to Make Fairy Plant Stakes
Supplies Needed for Fairy Plant Stakes:
- Clear craft plastic
- 12″ Wooden Dowels
- Vinyl in the five colors – I used red, pink, orange, blue and purple.
- Transfer Tape
- Cutting machine
- Tools: standard mat, scraper, weeding tool
- Fairy SVG cut files. Use the cut files I created in Cricut Design Space!
Step by Step Tutorial
Step One: Start by painting wooden dowels. Paint five wooden dowels with acrylic paint to match the color of the vinyl you are using. I started using a robin’s egg blue but ended up switching it to a darker blue later on.
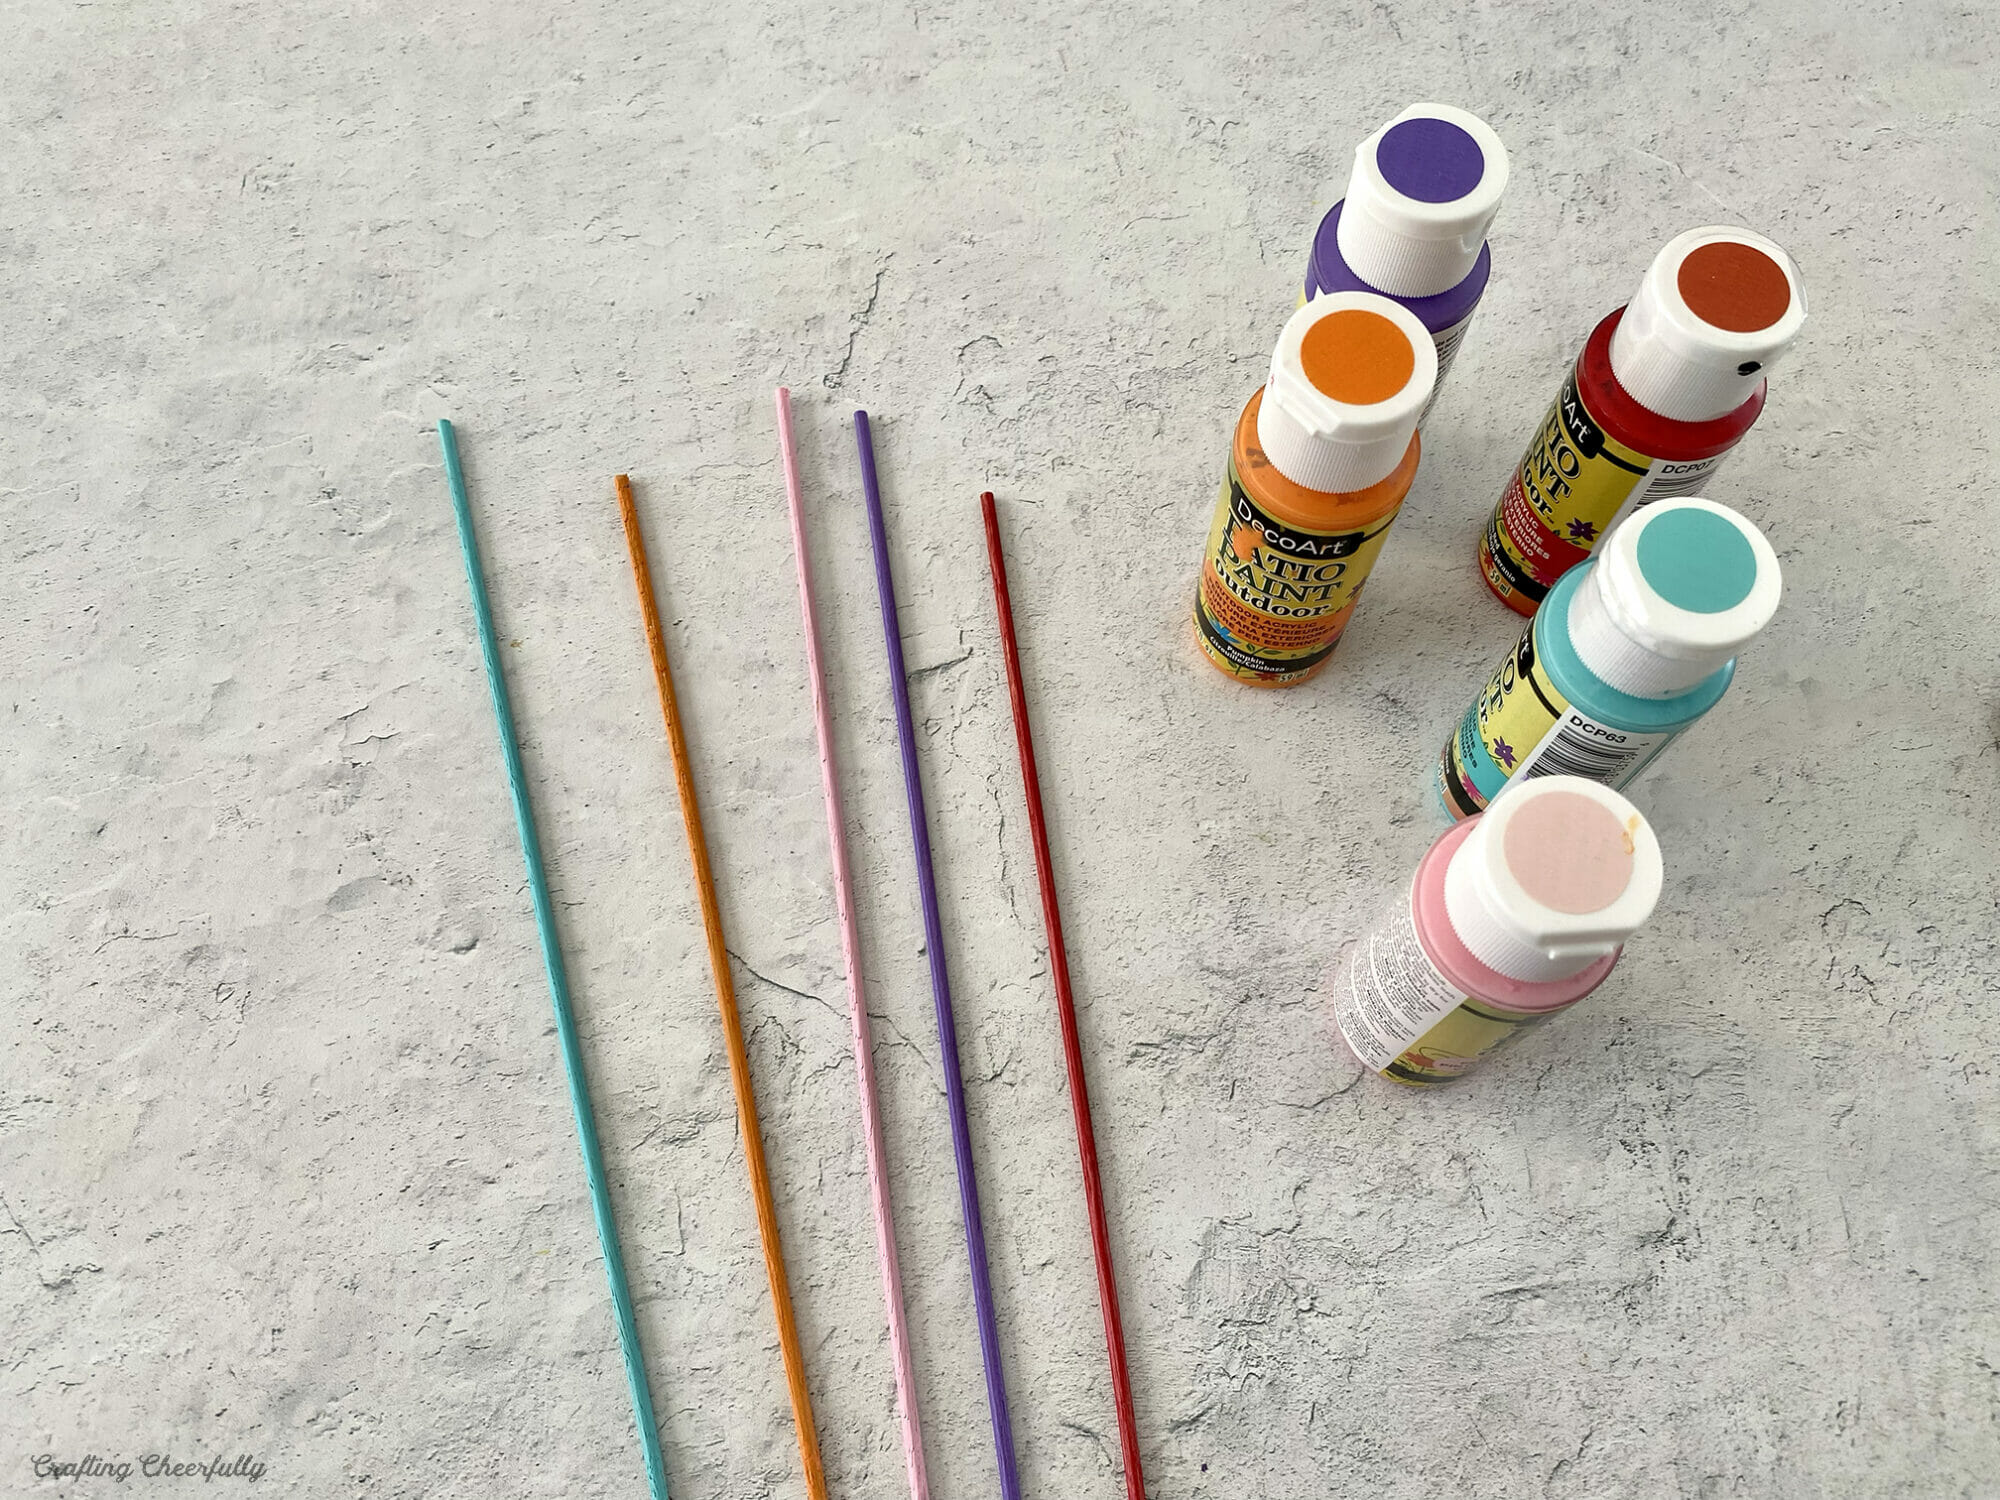
Step Two: Cut the fairies from clear craft plastic and vinyl. While the wooden dowels are drying, start cutting out the fairies. For my fairy plant stakes I used five different fairy cut files in Cricut Design Space. I used the offset tool to create a layer that could go behind them that was cut from clear craft plastic. I cut the fairies from vinyl and applied them to the clear craft plastic.

Weed the fairy images carefully. My fairies measured between 1.85″ and 2.25″ tall so I really had to go slow weeding them.

Step Three: Adhere the vinyl to the craft plastic. Use Transfer Tape to carefully apply the vinyl fairies to their coordinating plastic backer.

Step Four: Attach the fairies to the plant stakes! Use hot glue or double-sided tape to attach the plastic fairies to the top of the wooden dowels.
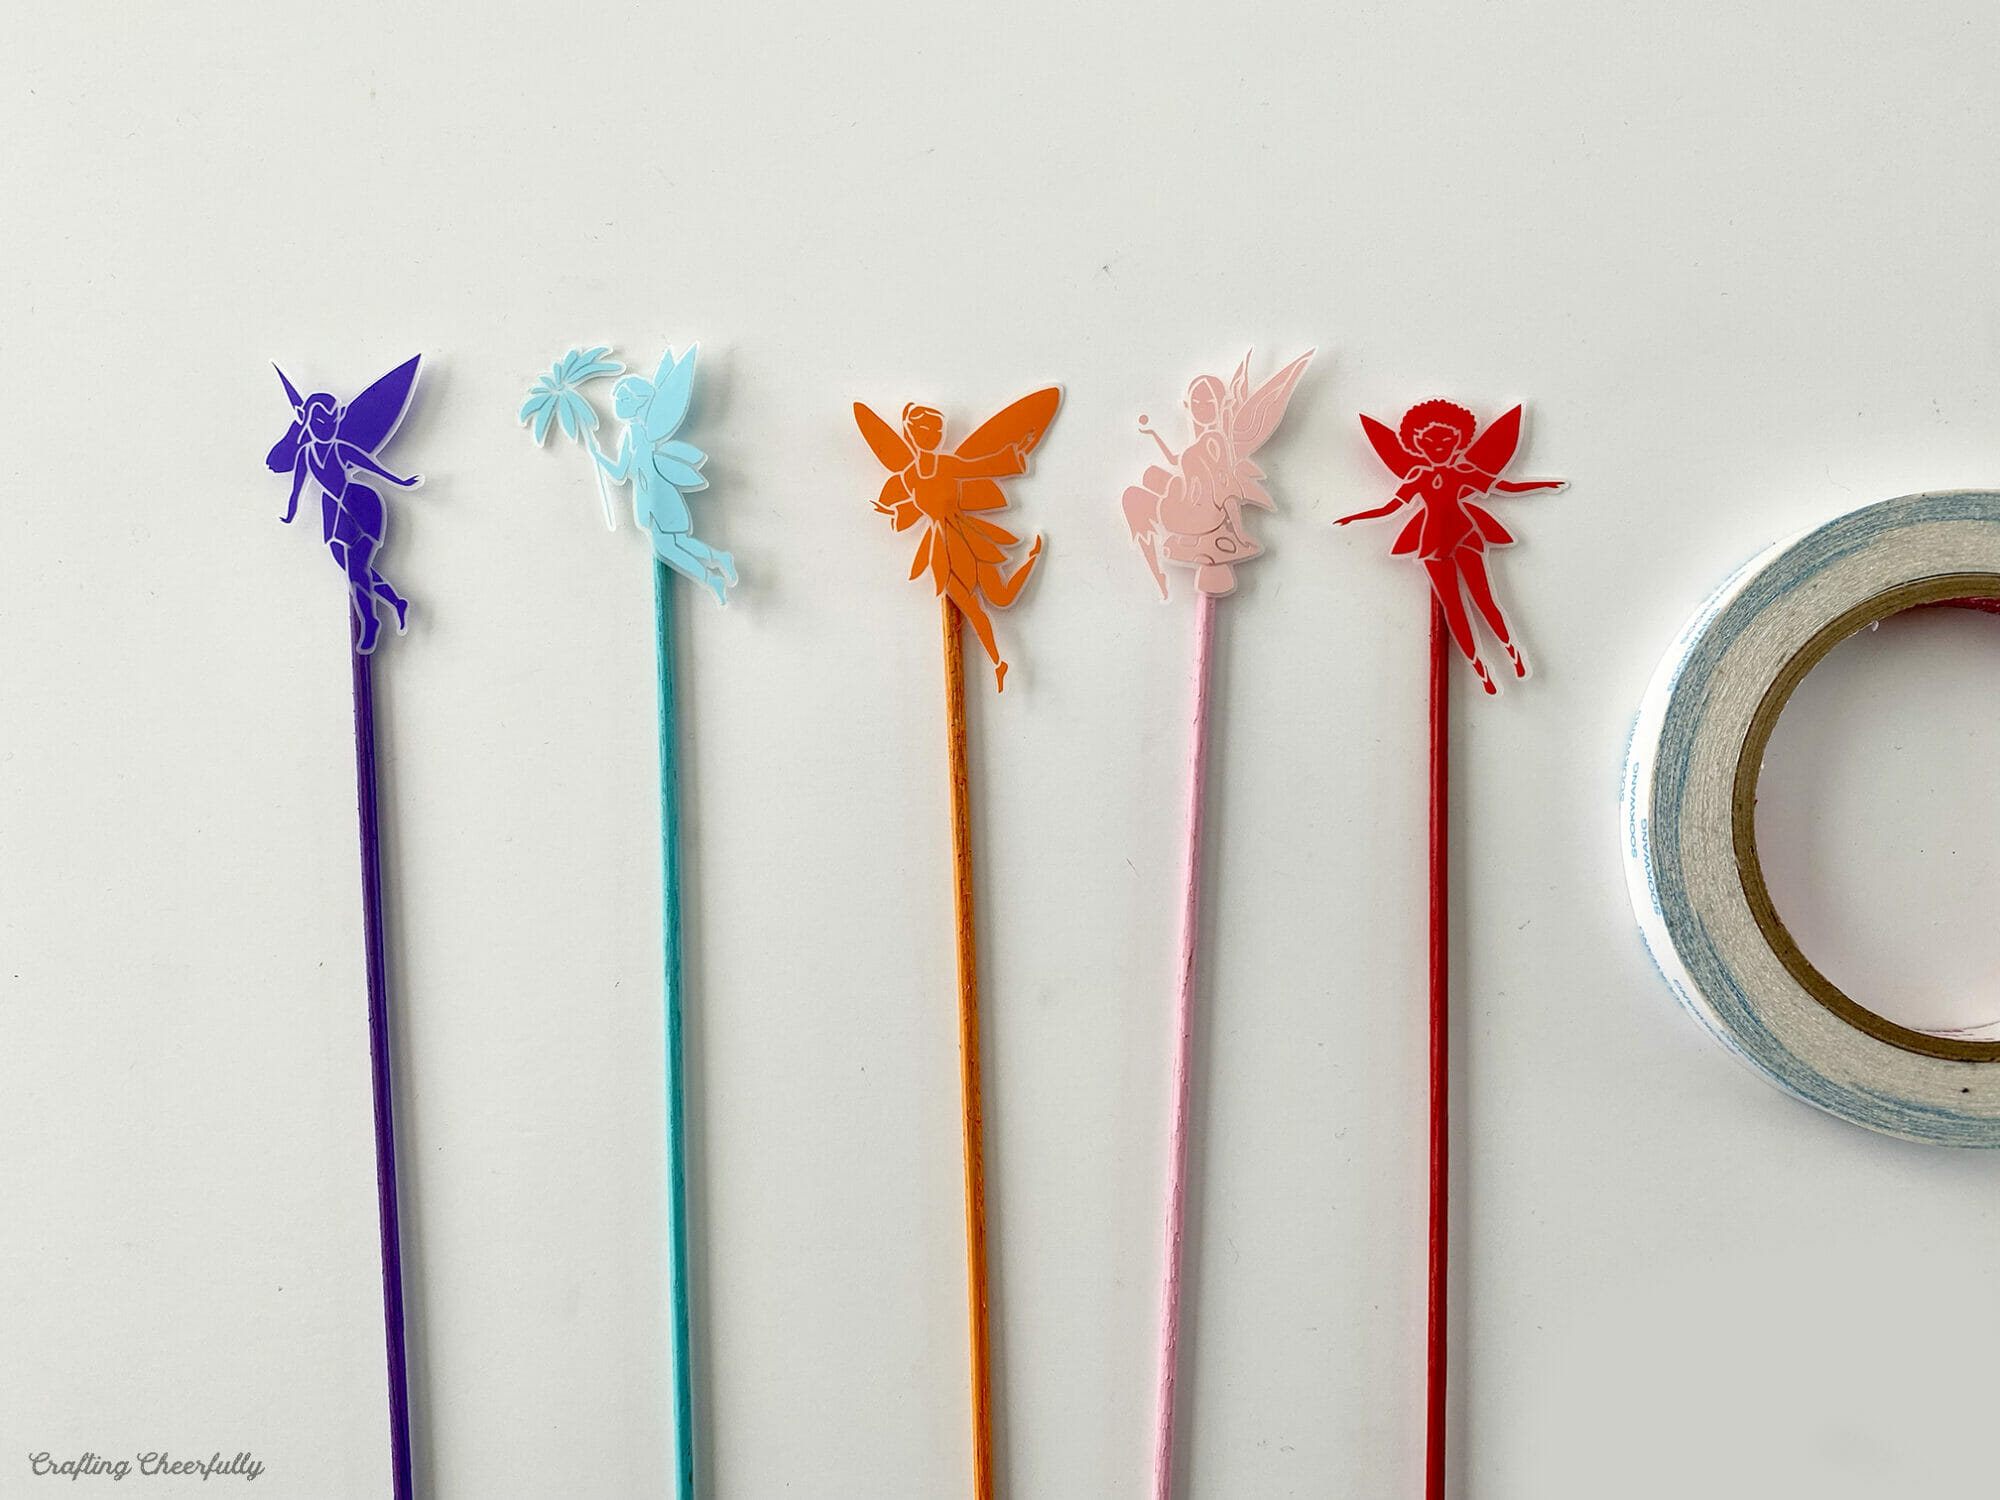
Step Four: Finally add the fairy plant stakes to your fairy house planter! I cut my stakes to varying lengths as I placed them, so the fairies are at different heights poking out of the plant.


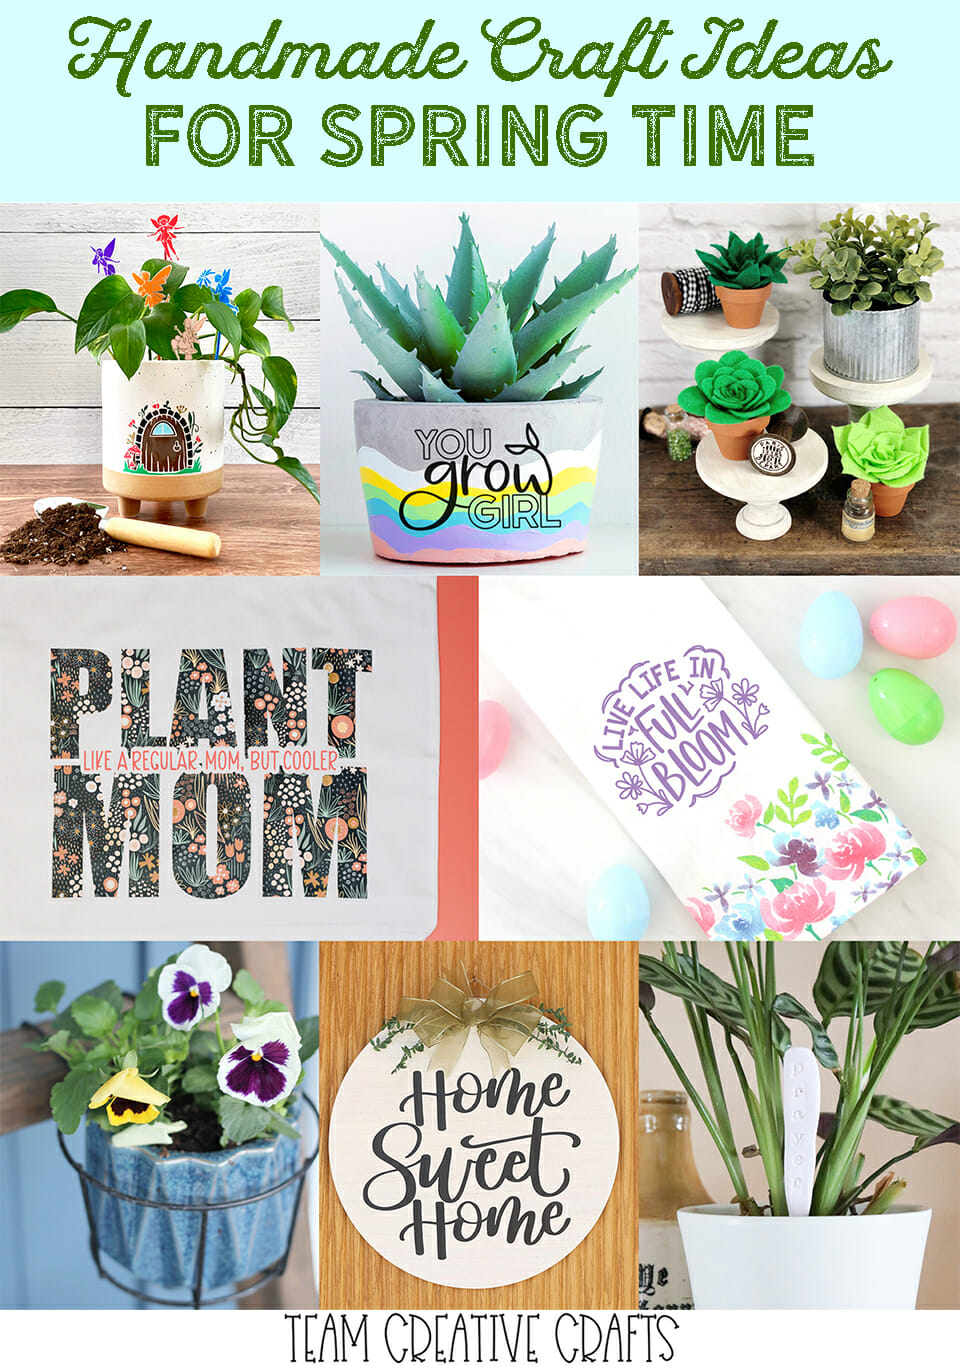
The fairy house planter is complete! I love the magical fairy door and the sweet fairies fluttering around. This craft has me so excited for spring! I’m sharing this cute planter as part of Team Creative Craft’s “Spring & Garden Crafts” collaboration. You can check out a bunch of great crafts from the Team. They make me feel warm and sunny just looking at them!
- Laura from Me and My Inklings has created DIY Twine Flowers on a Wreath for Spring Décor
- Smitha from Smiling Colors is sharing a tutorial How to Draw and Color a Butterfly
- Shani from Sunshine and Munchkins has created Springtime Preschool Activity Pages
- Laura from Laura’s Crafty Life is sharing a set of Watercolor Inspired Garden Stickers
- Justine from Little Dove Blog has created the sweetest DIY Fairytale Signpost for the garden
- Erica from 5 Little Monsters is sharing a set of Flower Painted Rocks that are quick and easy
- Kelsey from Poofy Cheeks has created Floral Front Door Décor Welcome Sign for Spring
- Beth from Creatively Beth is sharing How to Make Felt Succulents complete with patterns
- Lindsay from Artsy Fartsy Mama has created a You Grow Girl Planter with a Free SVG File
- Liz from Liz on Call is sharing a Home Sweet Home Door Hanger with Free Cut File
- Kimberly from Crafting Cheerfully is sharing an adorable DIY Fairy House Planter
- Ginger from Ginger Snap Crafts has created a Garden Ladder perfect for Flowers or Herbs
- Teresa from Simply Made Fun is sharing a Plant Mom Free SVG Cut File perfect on a tote
- Elise from Polka Dotted Blue Jay has created a Live Life in Full Bloom towel for the kitchen
- Heather from Homemade Heather is sharing how to make Easy Polymer Clay Plant Markers


