
DIY Children’s Calendar – Free Calendar Printables for Kids!
Create a DIY Children’s Calendar using my free kids calendar printables! Calendar printables include days of the week, weather and more and are available in seven languages with lots of fun ways to personalize the calendar to make it your own. Plus new calendar pages for 2026 included!
Are you looking to create a calendar to use with your kids? This DIY Children’s Calendar is a fun DIY and a great way for little ones to start their day. I created this calendar when my son was just a toddler and I have since enjoyed using it with both of my kids over the years. It has been an excellent way for my kids to learn their days of the week, months, and the weather and it has also given them a chance to be a part of planning our day.
While this calendar started as a little project for my kids it has since grown a lot over the last 8 years with the help of my awesome readers! I have created lots of different calendar printables you can mix and match to create your own truly unique calendar. Whether it is on a dry erase board, foam board, in a binder, or on your fridge, you can make something that you can use daily with your little ones.
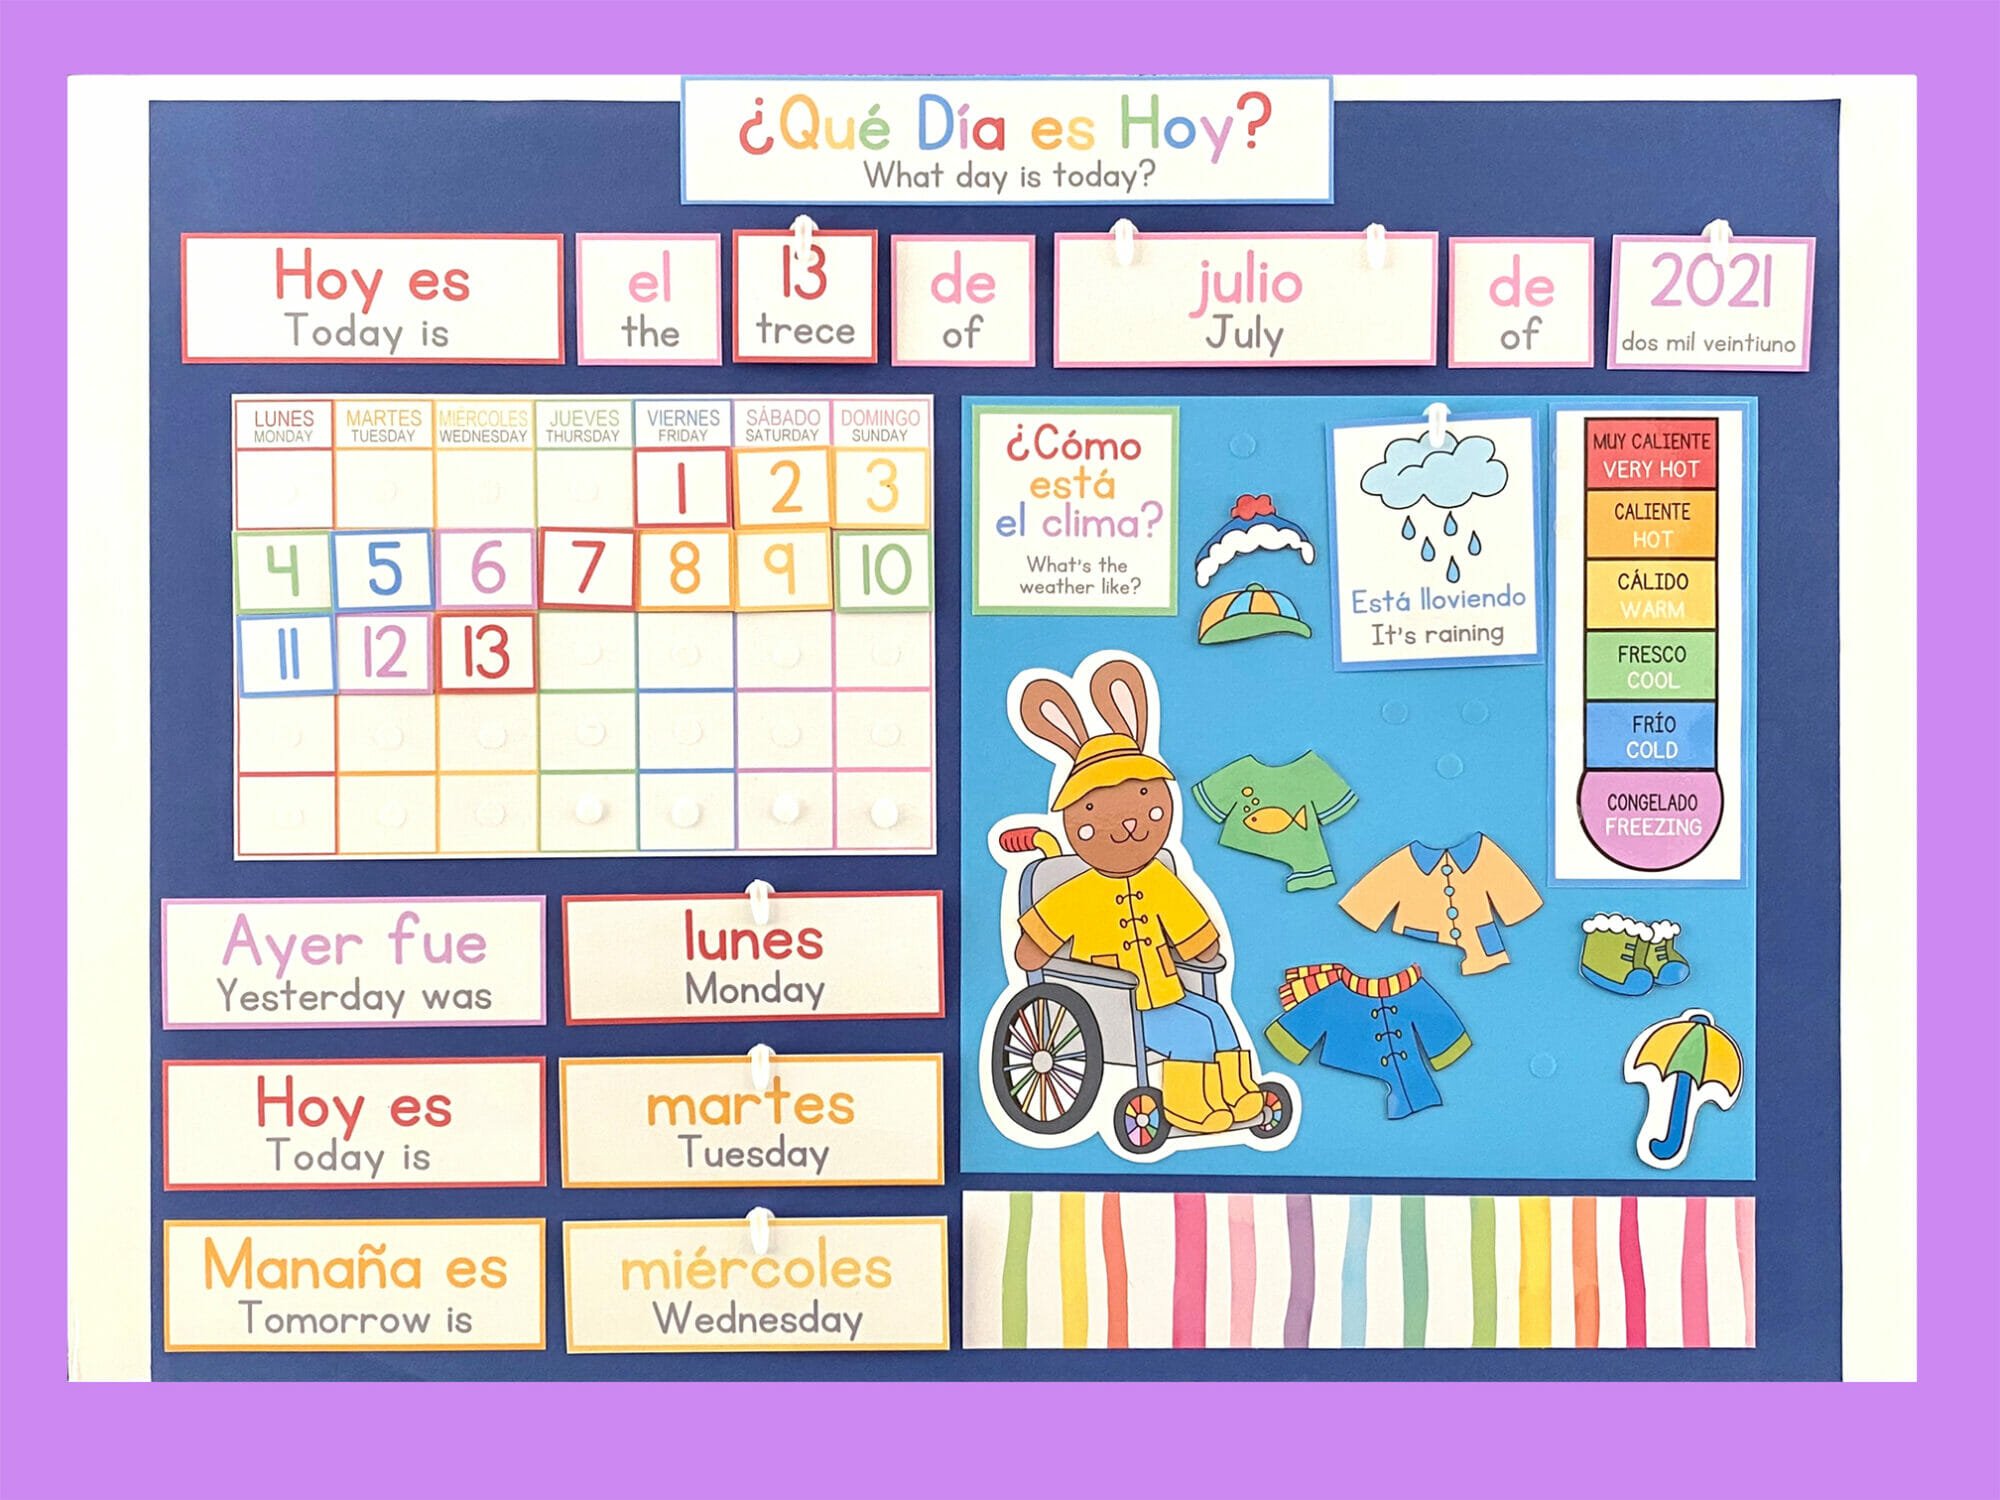
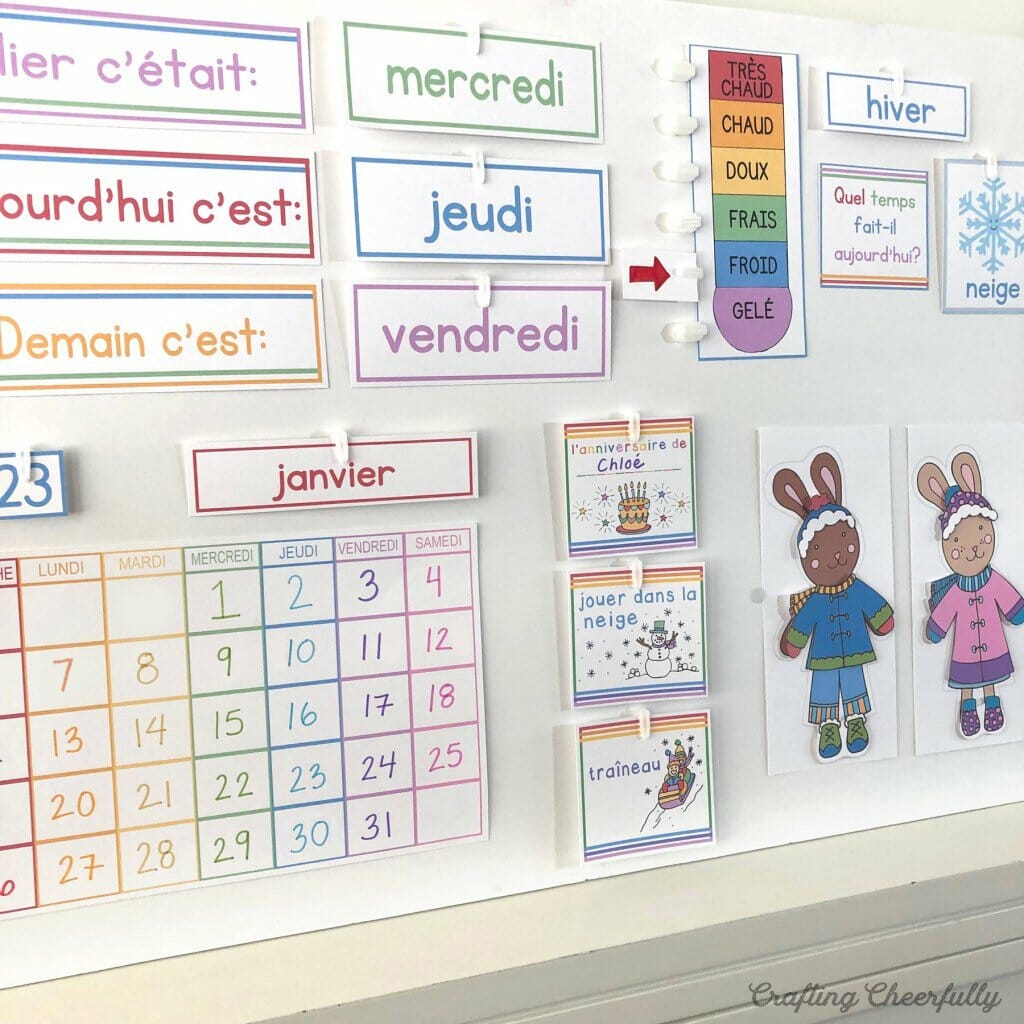
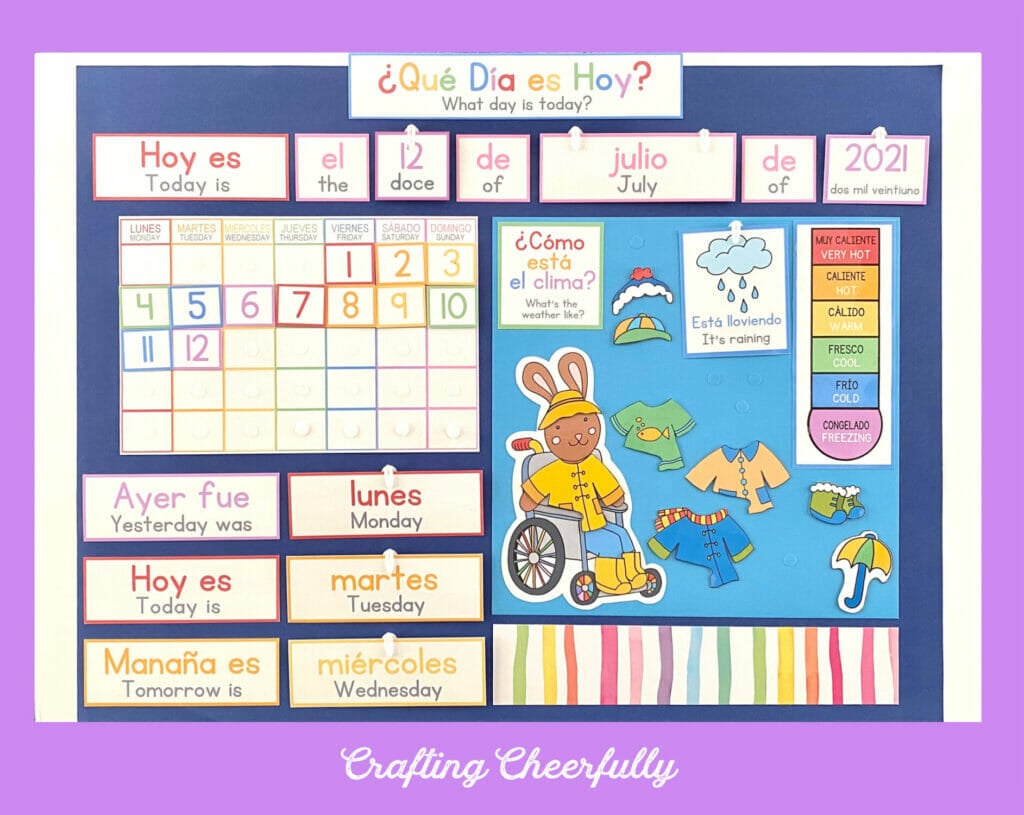
While most of my calendar printables are in English, I have the pleasure of collaborating with other parents and caregivers from around the world to translate my calendar printables. The basic calendar packet that includes the days of the week, months, seasons, weather and more is available in 7 languages! So cool! You can download it for free in English, Spanish, French, Italian, Hawaiian, Korean and Portuguese.
In this post I share examples of how you can use my calendar printables and different ways you can set up your calendar. It will depend on what you want to include in your calendar, the age of your child/children, and what you hope to accomplish with hit. Your calendar can be as simple or extensive as you want!

Supplies Needed
- White cardstock – I recommend using cardstock 65lb or thicker. I use 110lb white index paper and AstroBright Paper that both work with my home printer.
- Paper Trimmer
- Scissors
- For Magnetic Calendar:
- Self-Laminating Sheets
- Magnetic Adhesive Sheets
- Magnetic Clips
- Magnetic Dry Erase Board. (This Magnetic Dry-Erase Board is close to the one I used from Board Dudes with the cork border but is larger than mine.)
- For Foam Board Calendar:
- Foam Board, tri-fold board, or Chalkboard.
- Laminator and Thermal Laminating Pouches
- Stikki Clips
- Velcro Dots – 3/8″ Thin Clear Fasteners and 0.79″ Self Adhesive Dots
- Double-Sided Tape – I used 1/2″ Scor-Tape
How to Assemble the Calendar
Step One: Print the calendar printables. Download the calendar files you want to use (under “Download the Free Calendar Printables”). There are a lot of options. If you don’t know where to start I recommend choosing a language and printing the basic calendar packet. It will have the main things you need. You can add on with extras like weather bunnies, customizable headers and more if you want.
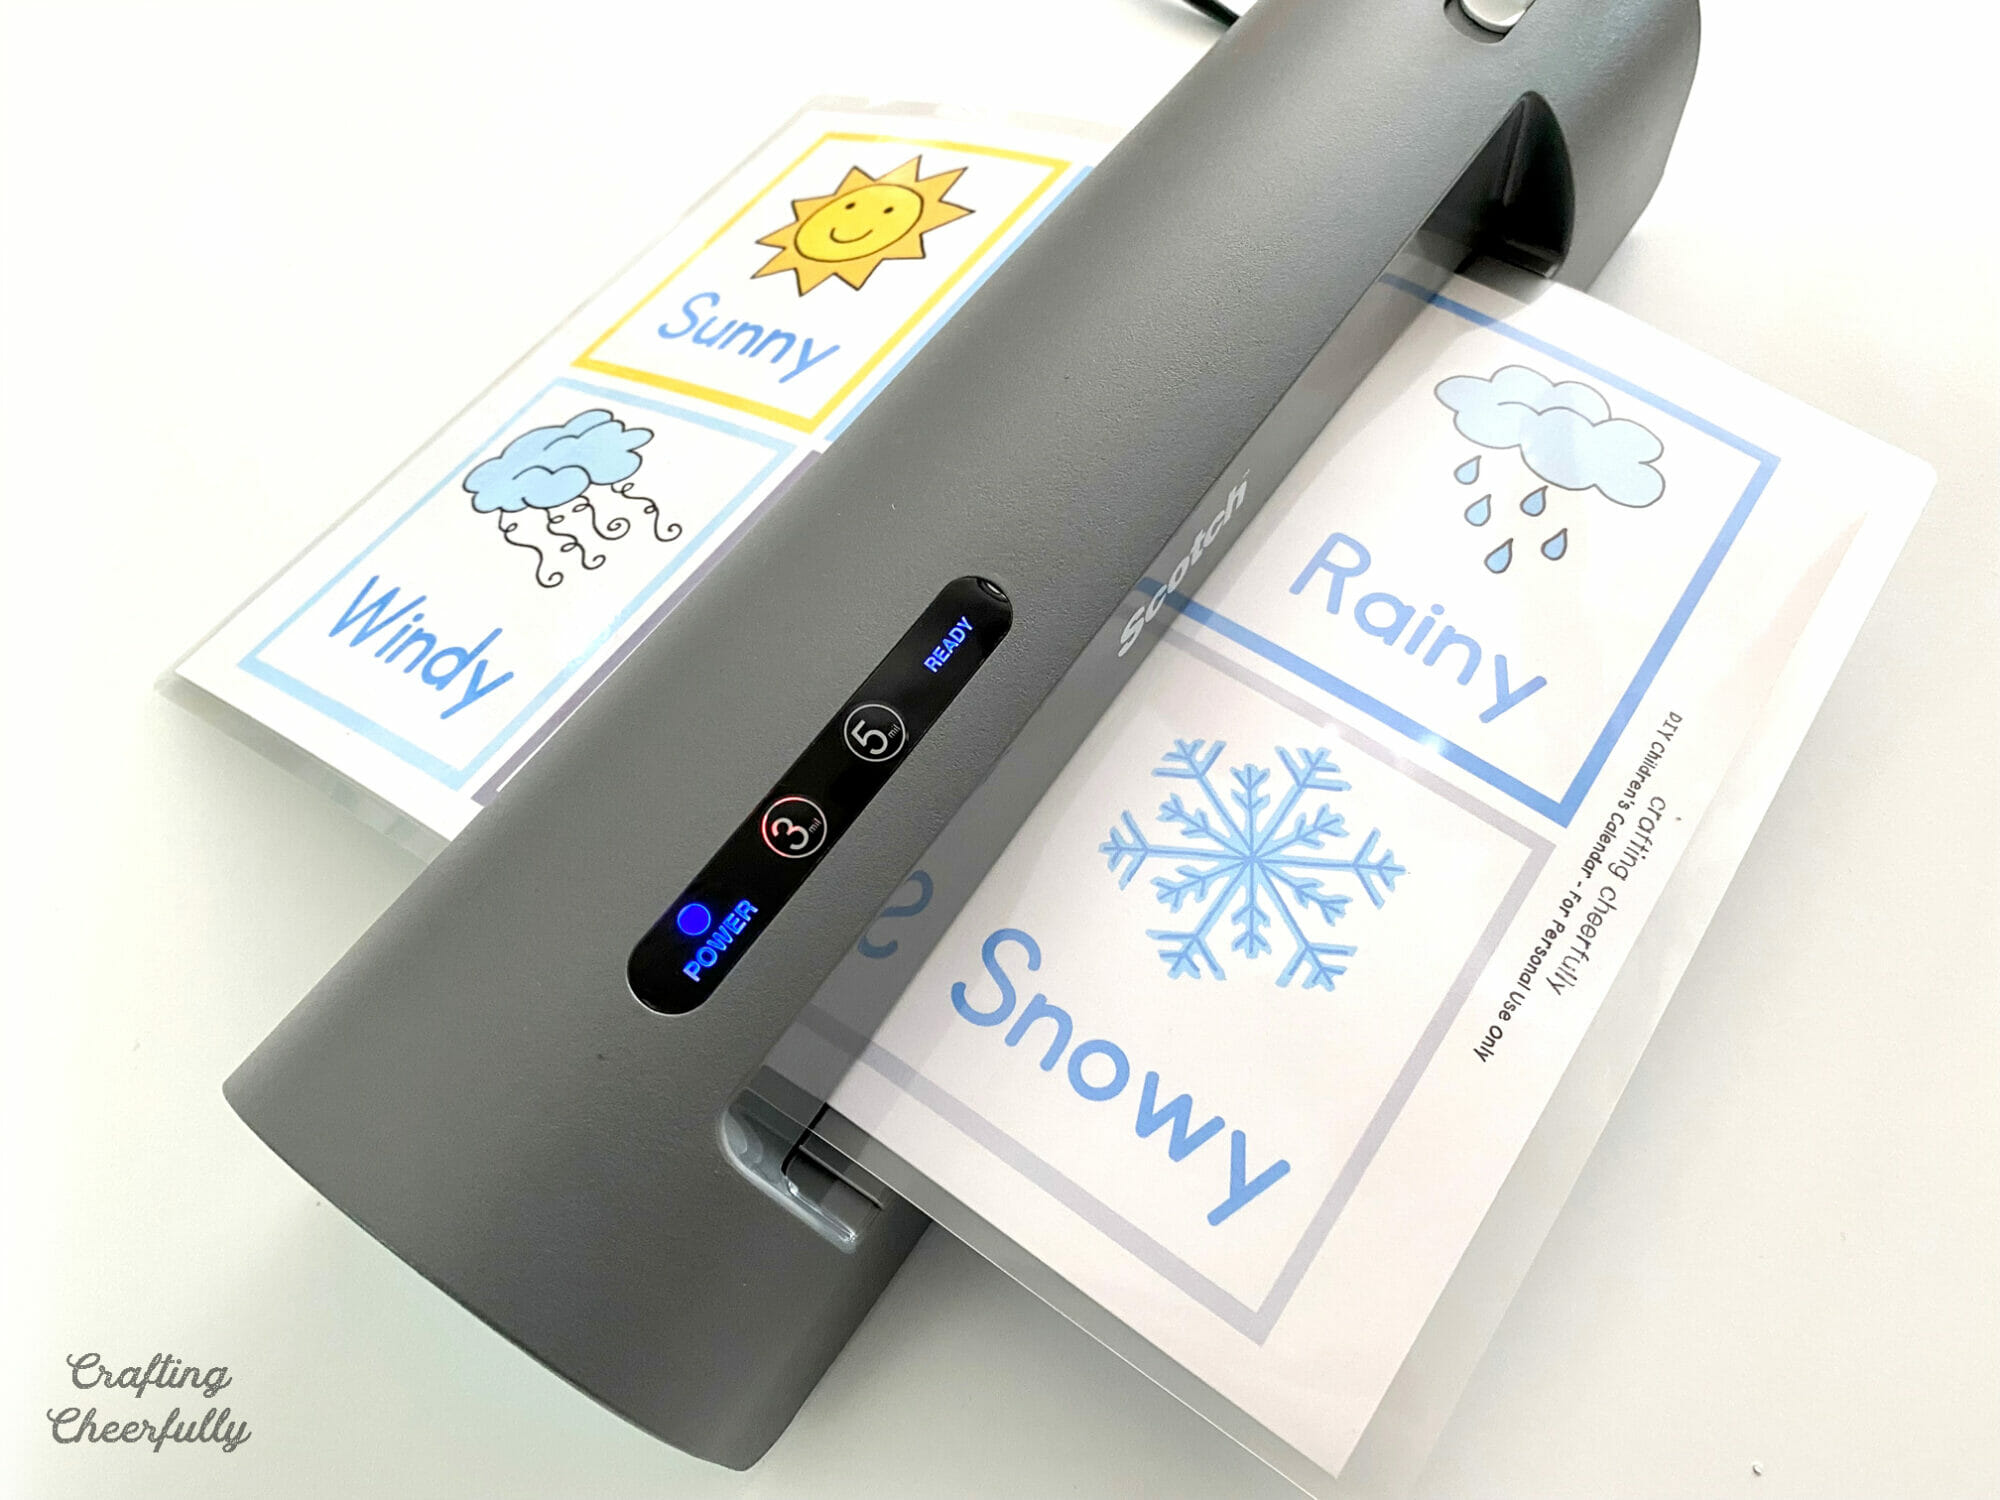
Step Two: Laminate! If you are making the printables magnetic, I recommend you use the self-laminating sheets and only laminate the top of the printable pages. Since the back will be attached to magnetic sheets this helps keep the magnets strong. If you are using the printables without magnets, with something like Stikki-clips and Velcro Dots, laminate on both sides using a laminator to make them durable.

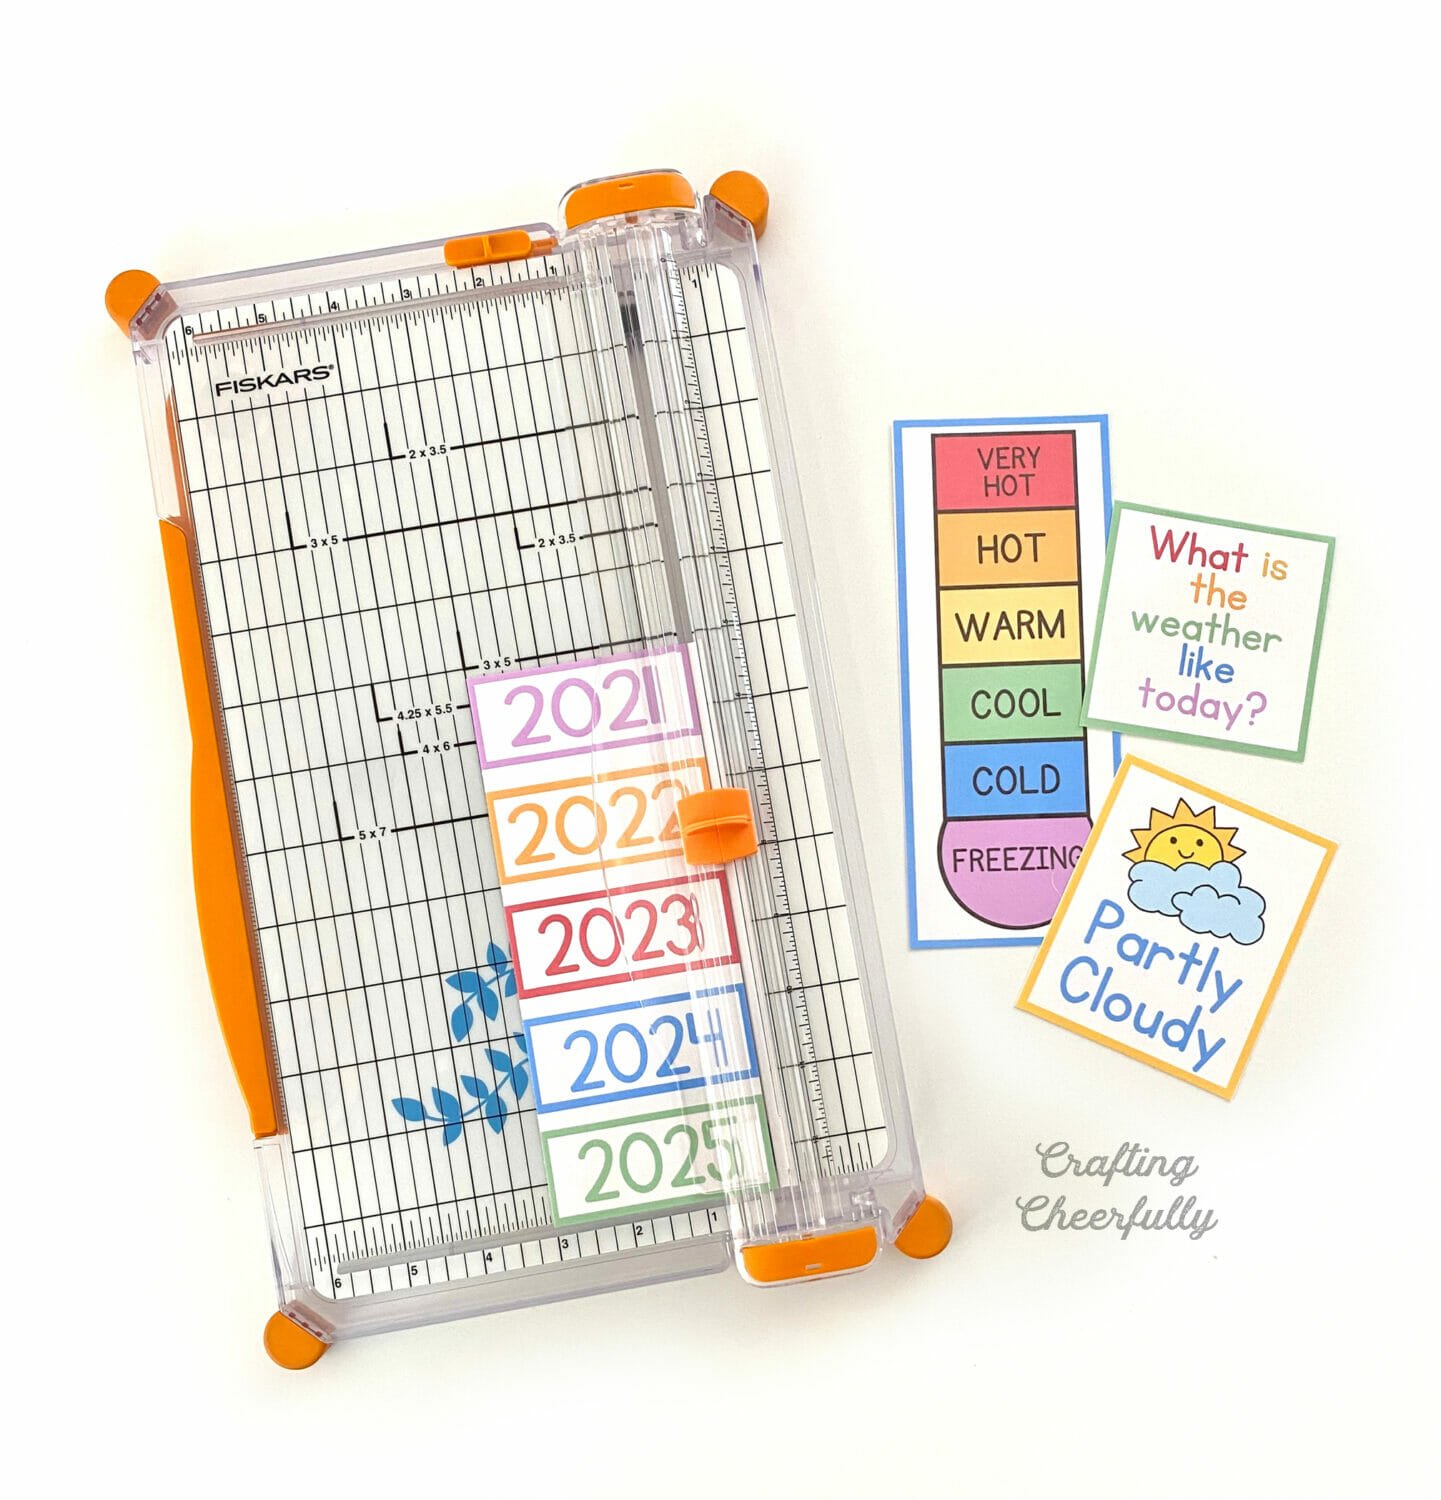
Step Three: Cut out the calendar pieces. After laminating the pages, cut out all of the pieces using a paper trimmer and scissors. A paper trimmer will make this process SO much quicker and easier.
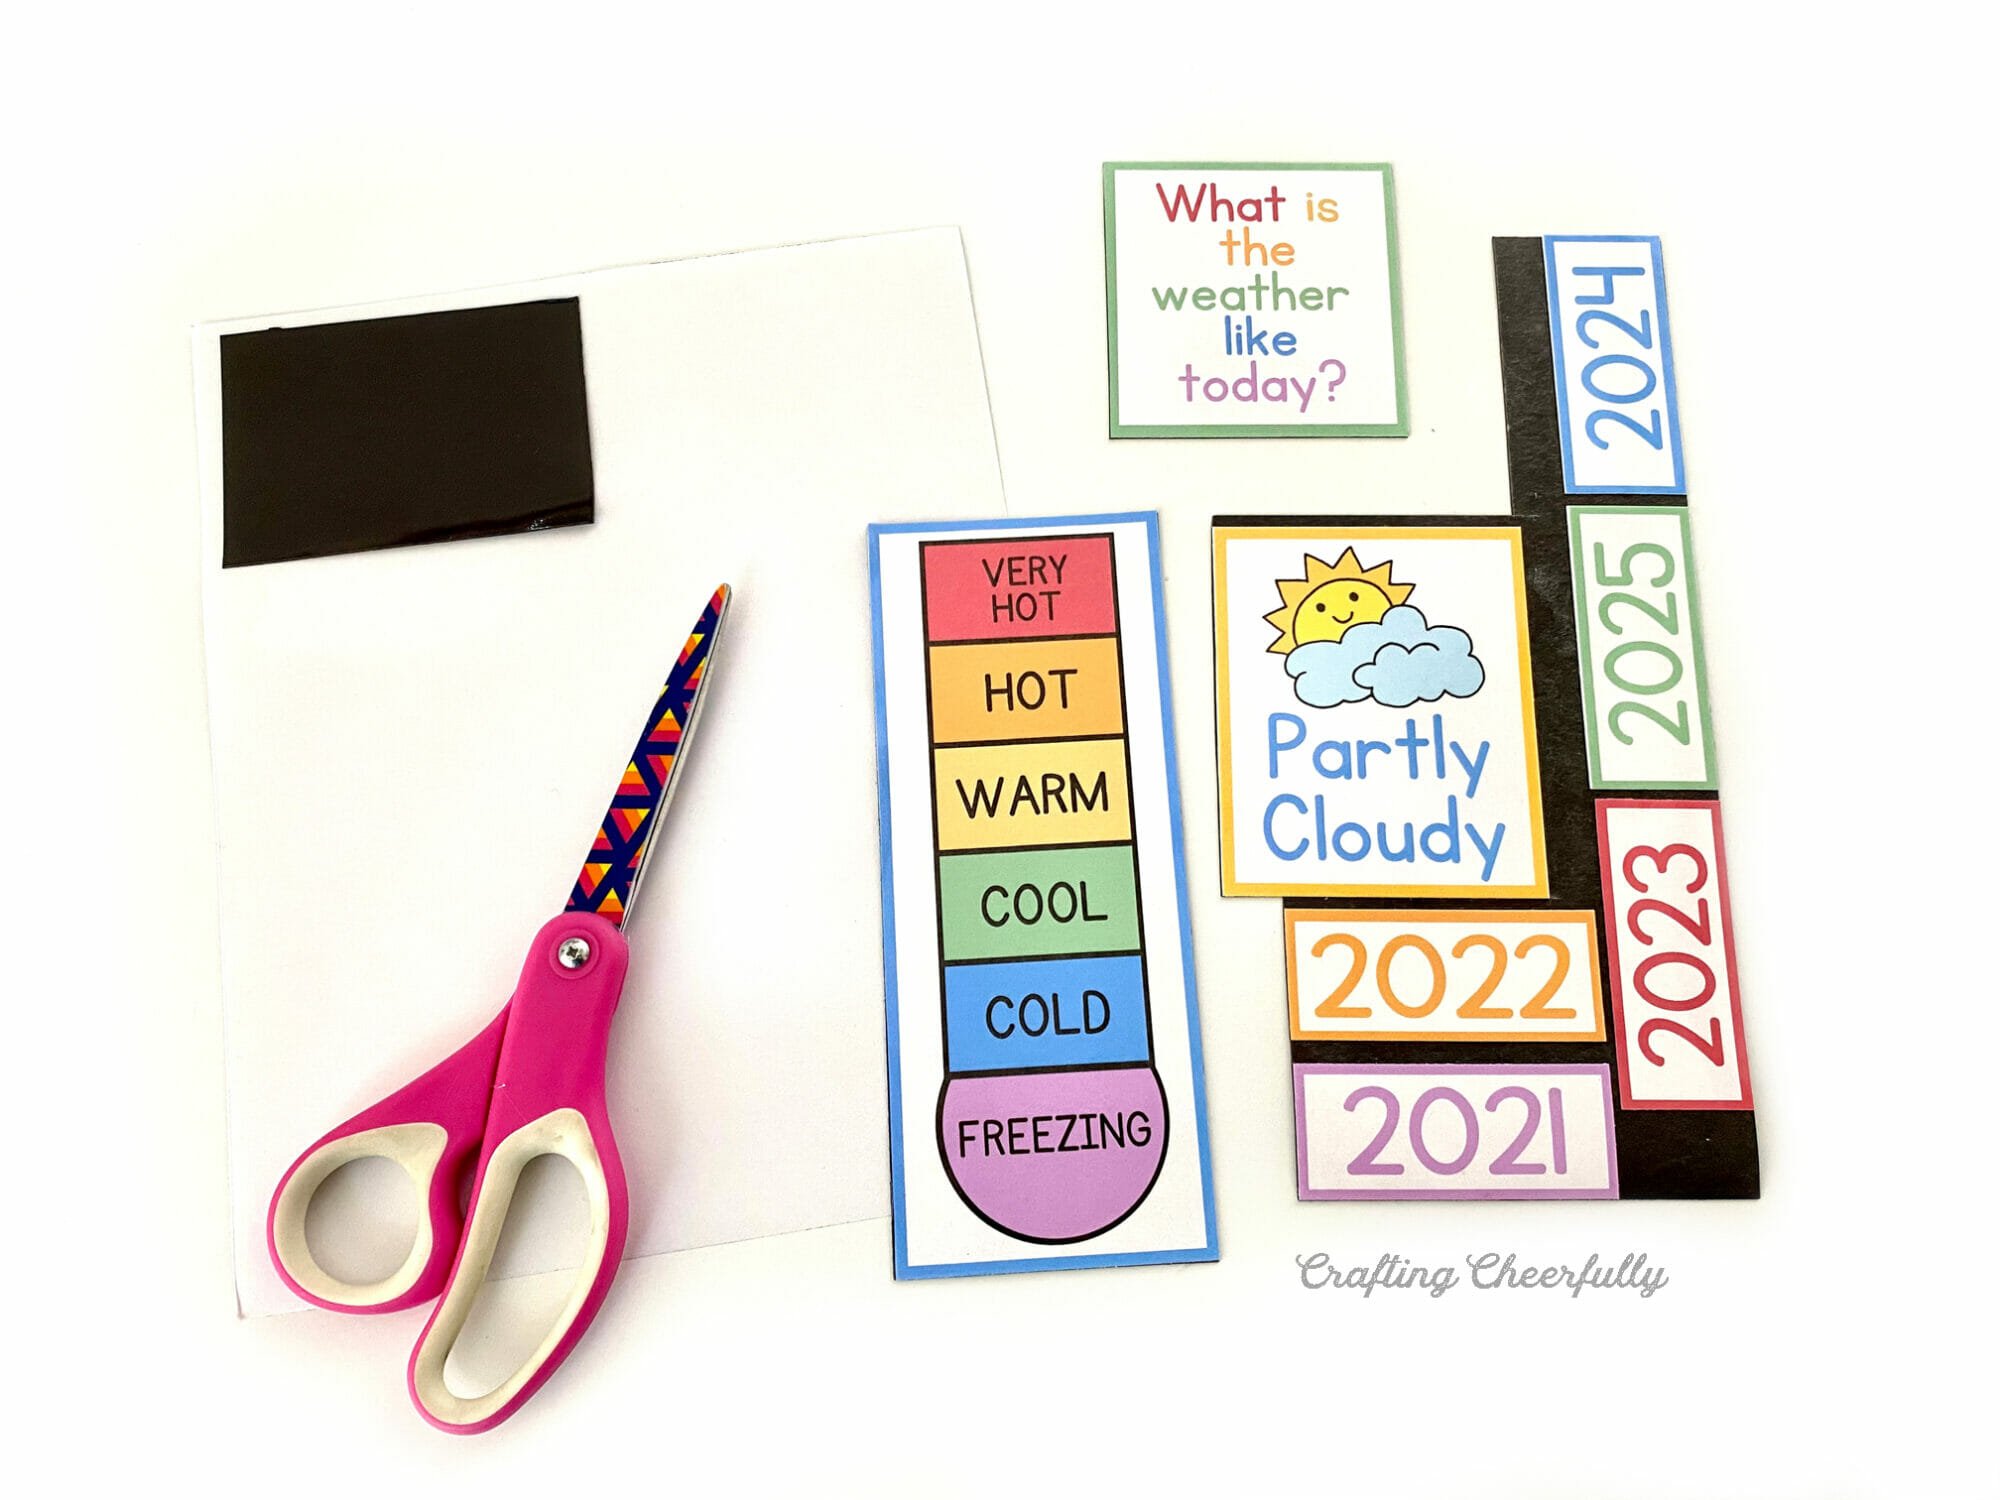
Step Four: If making the pieces magnetic, cut the magnet sheets. This is when you would now arrange the cut calendar pieces on a magnet sheet and then cut the pieces out again with a small sharp scissors. Cutting the pieces out before placing them on the magnet sheets allows me to fit more pieces on each magnet sheet. It is also easier to cut through just the magnet sheet instead of through both the paper and magnet sheet.
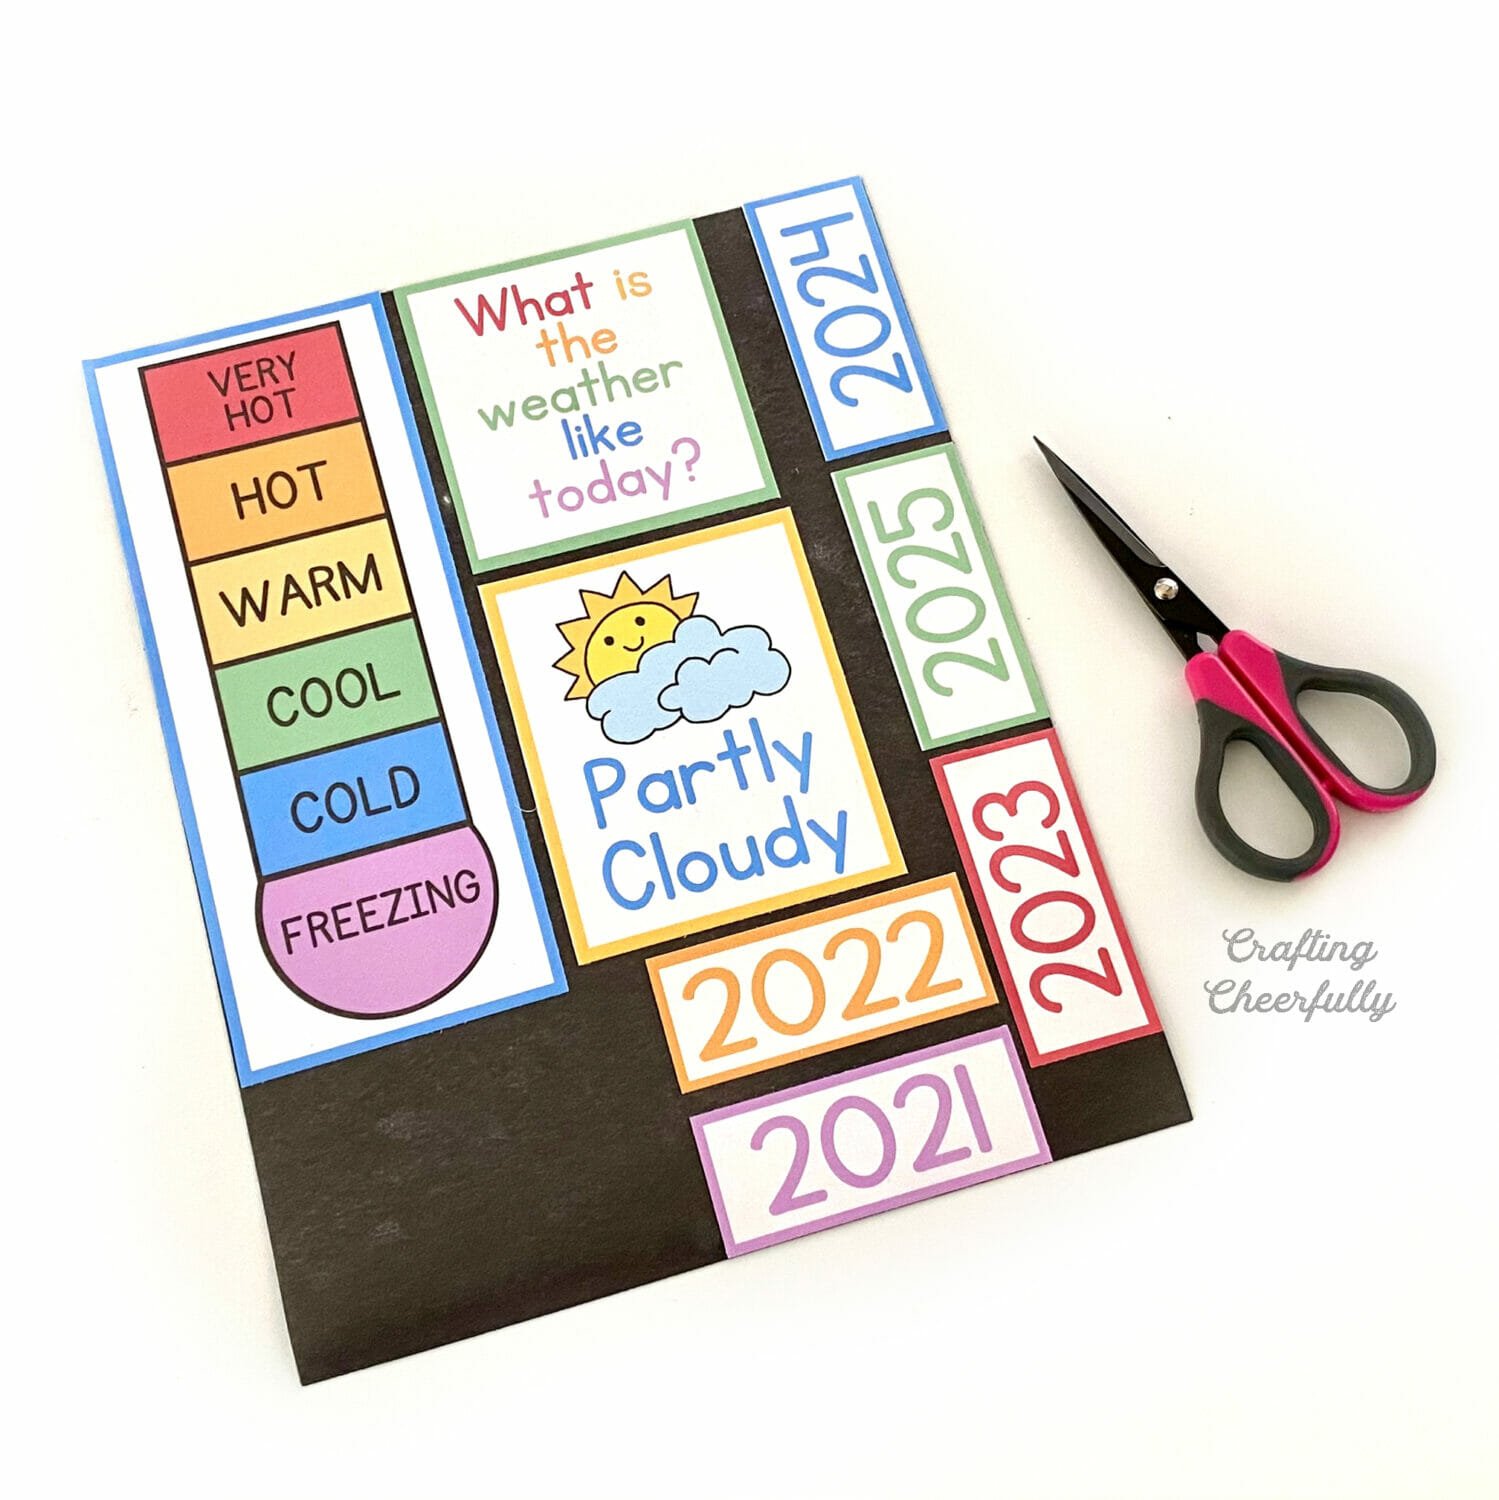
Step Five: Assemble the calendar! Arrange the pieces until you like how your calendar is laid out. I have a ton of layout examples later in this post!
If your calendar is magnetic, the pieces will be ready to use on a magnetic board. Add magnet clips to hold calendar add-ons like holiday and daily activity cards.

If using a foam board, tri-fold board or chalkboard, you can use things like Stikki-clips and Velcro Fasteners to attach your calendar pieces. First tape down anything that does not need to change (like the thermometer, question about the weather, “Today is” card) with tape. Next use Stikki-clips to hold the days of the week, months, year and weather cards.
The Bunny Paper Dolls
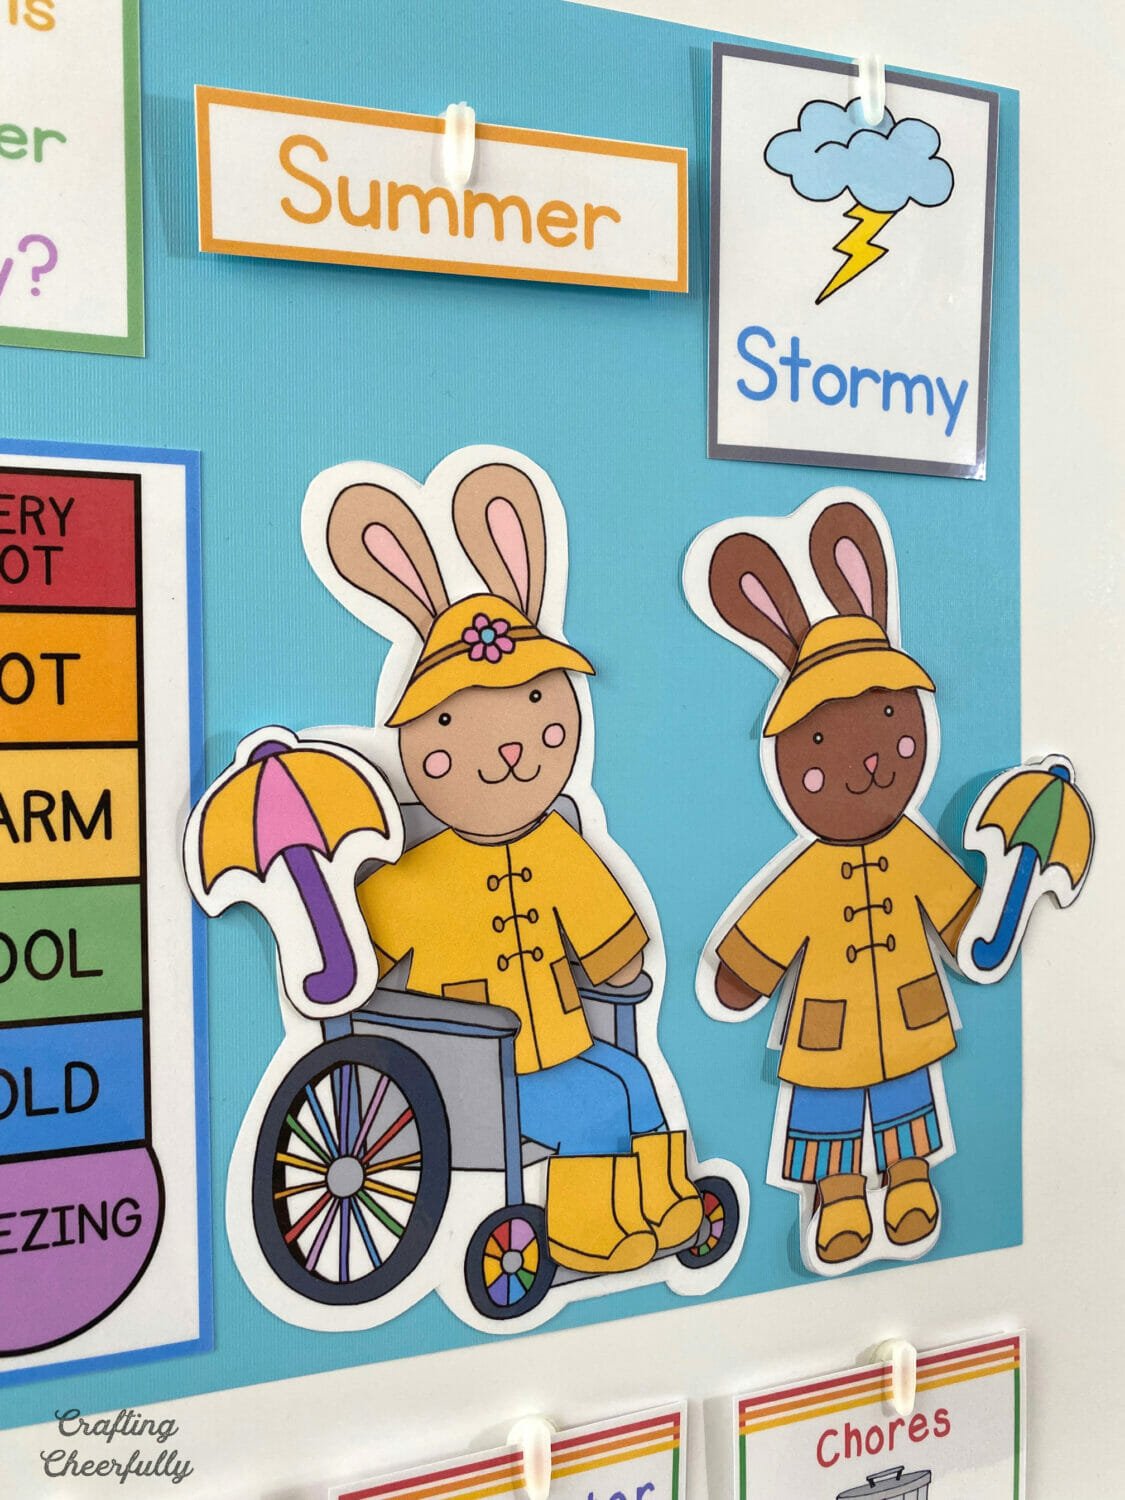
One of my favorite parts of the calendar are the bunnies kids can dress for the weather! They can be created with magnet sheets or without using Velcro fasteners. Check out my post on my Bunny Paper Dolls to learn how to make them. They are such a cute addition to the calendar, plus they make a great quiet activity outside of calendar time!

Creating a Customized Header
One of my favorite new additions to the calendar is creating a customized header. I offer a free editable file that can used with Adobe Reader to customize any header for your calendar. You may already have Adobe Reader installed on your computer but if not, the software can be downloaded for free from Adobe.
Calendar Extras like Holidays!
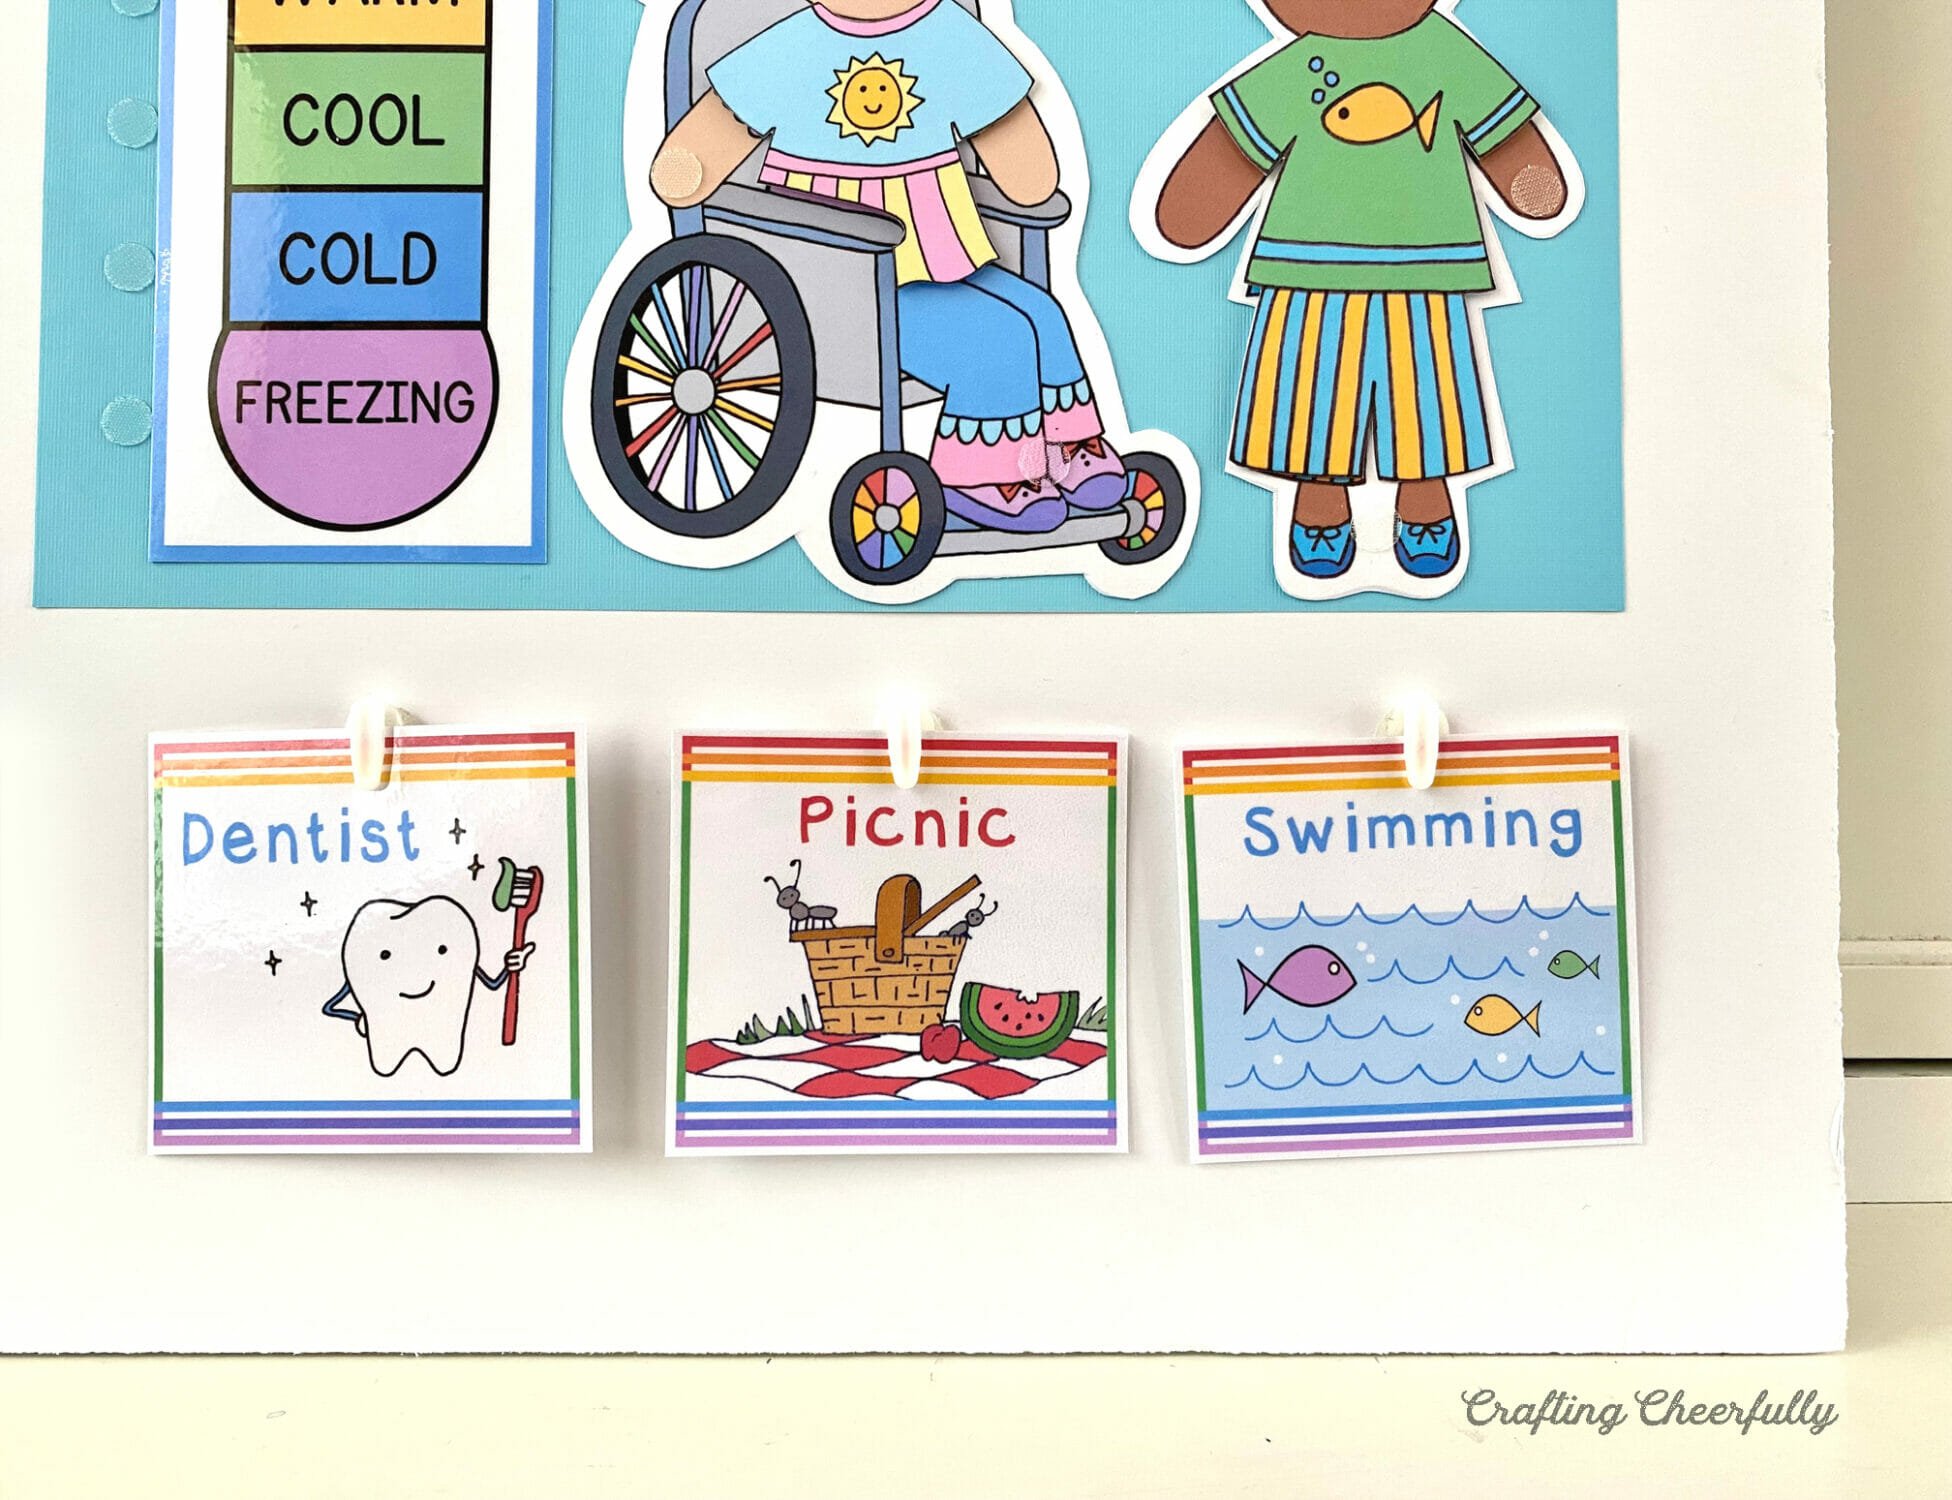
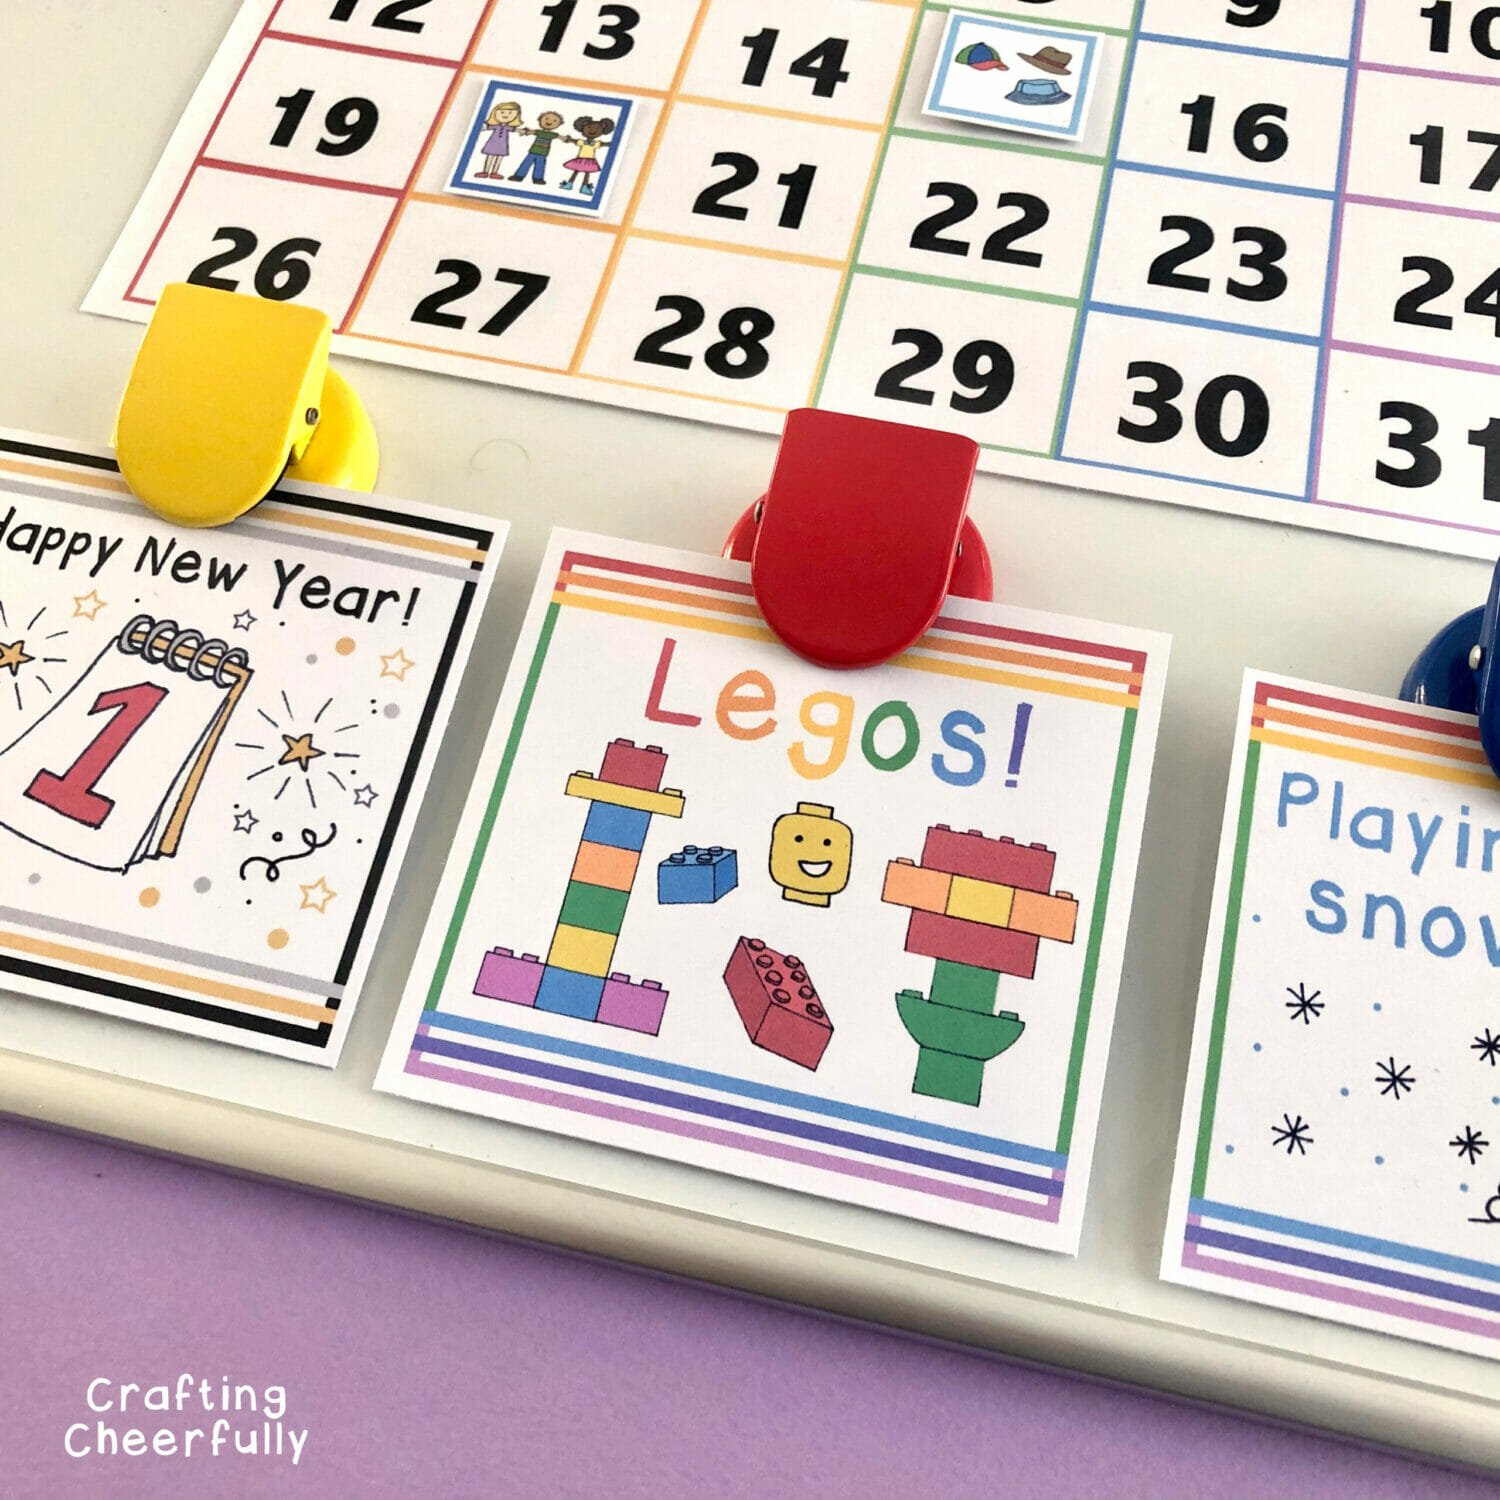
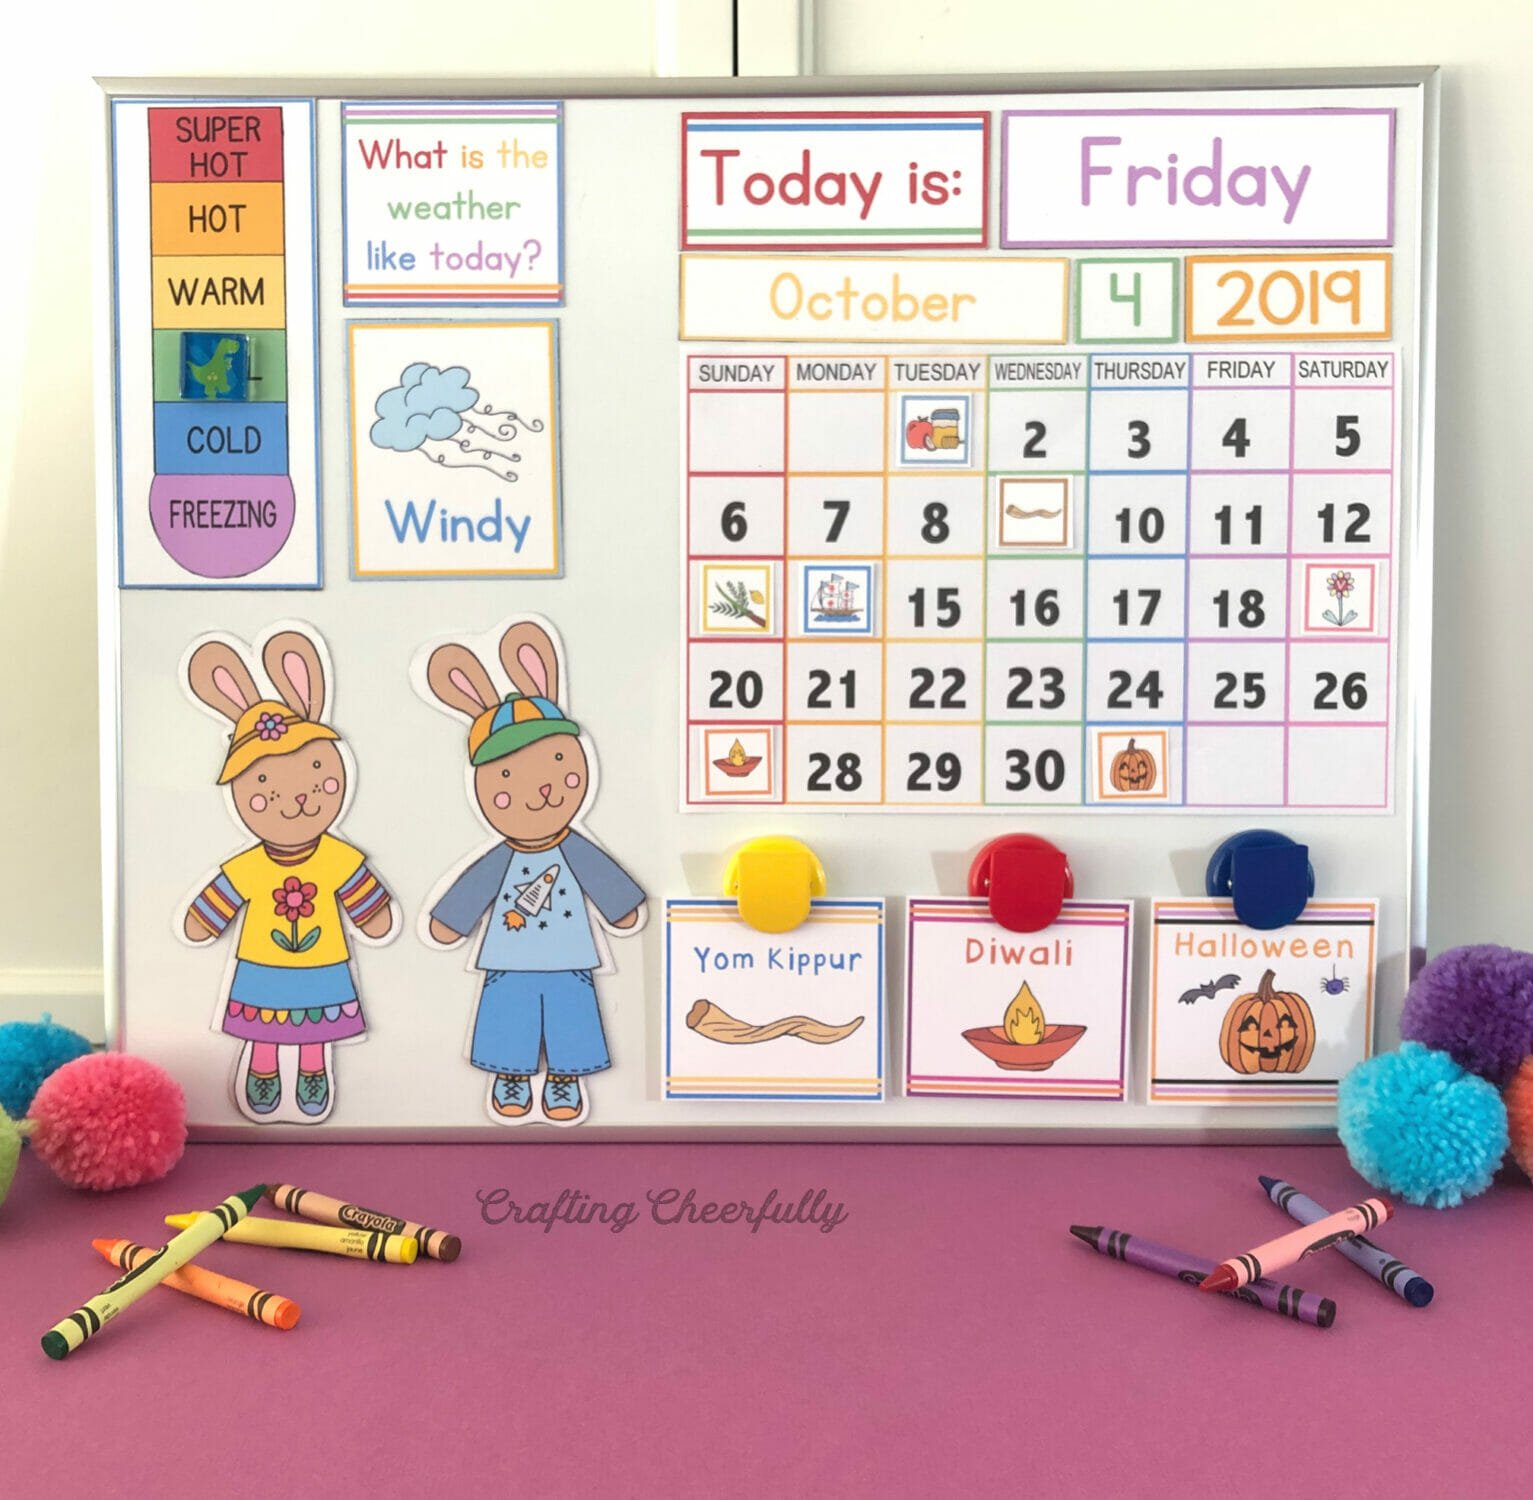
All of my basic calendar printables are free, but I also offer calendar extras in my Etsy shop. These include Holiday Cards, Daily Activity Cards, Early Learning Flashcards and more. They all coordinate with the rest of my calendar printables and can be a really fun addition.
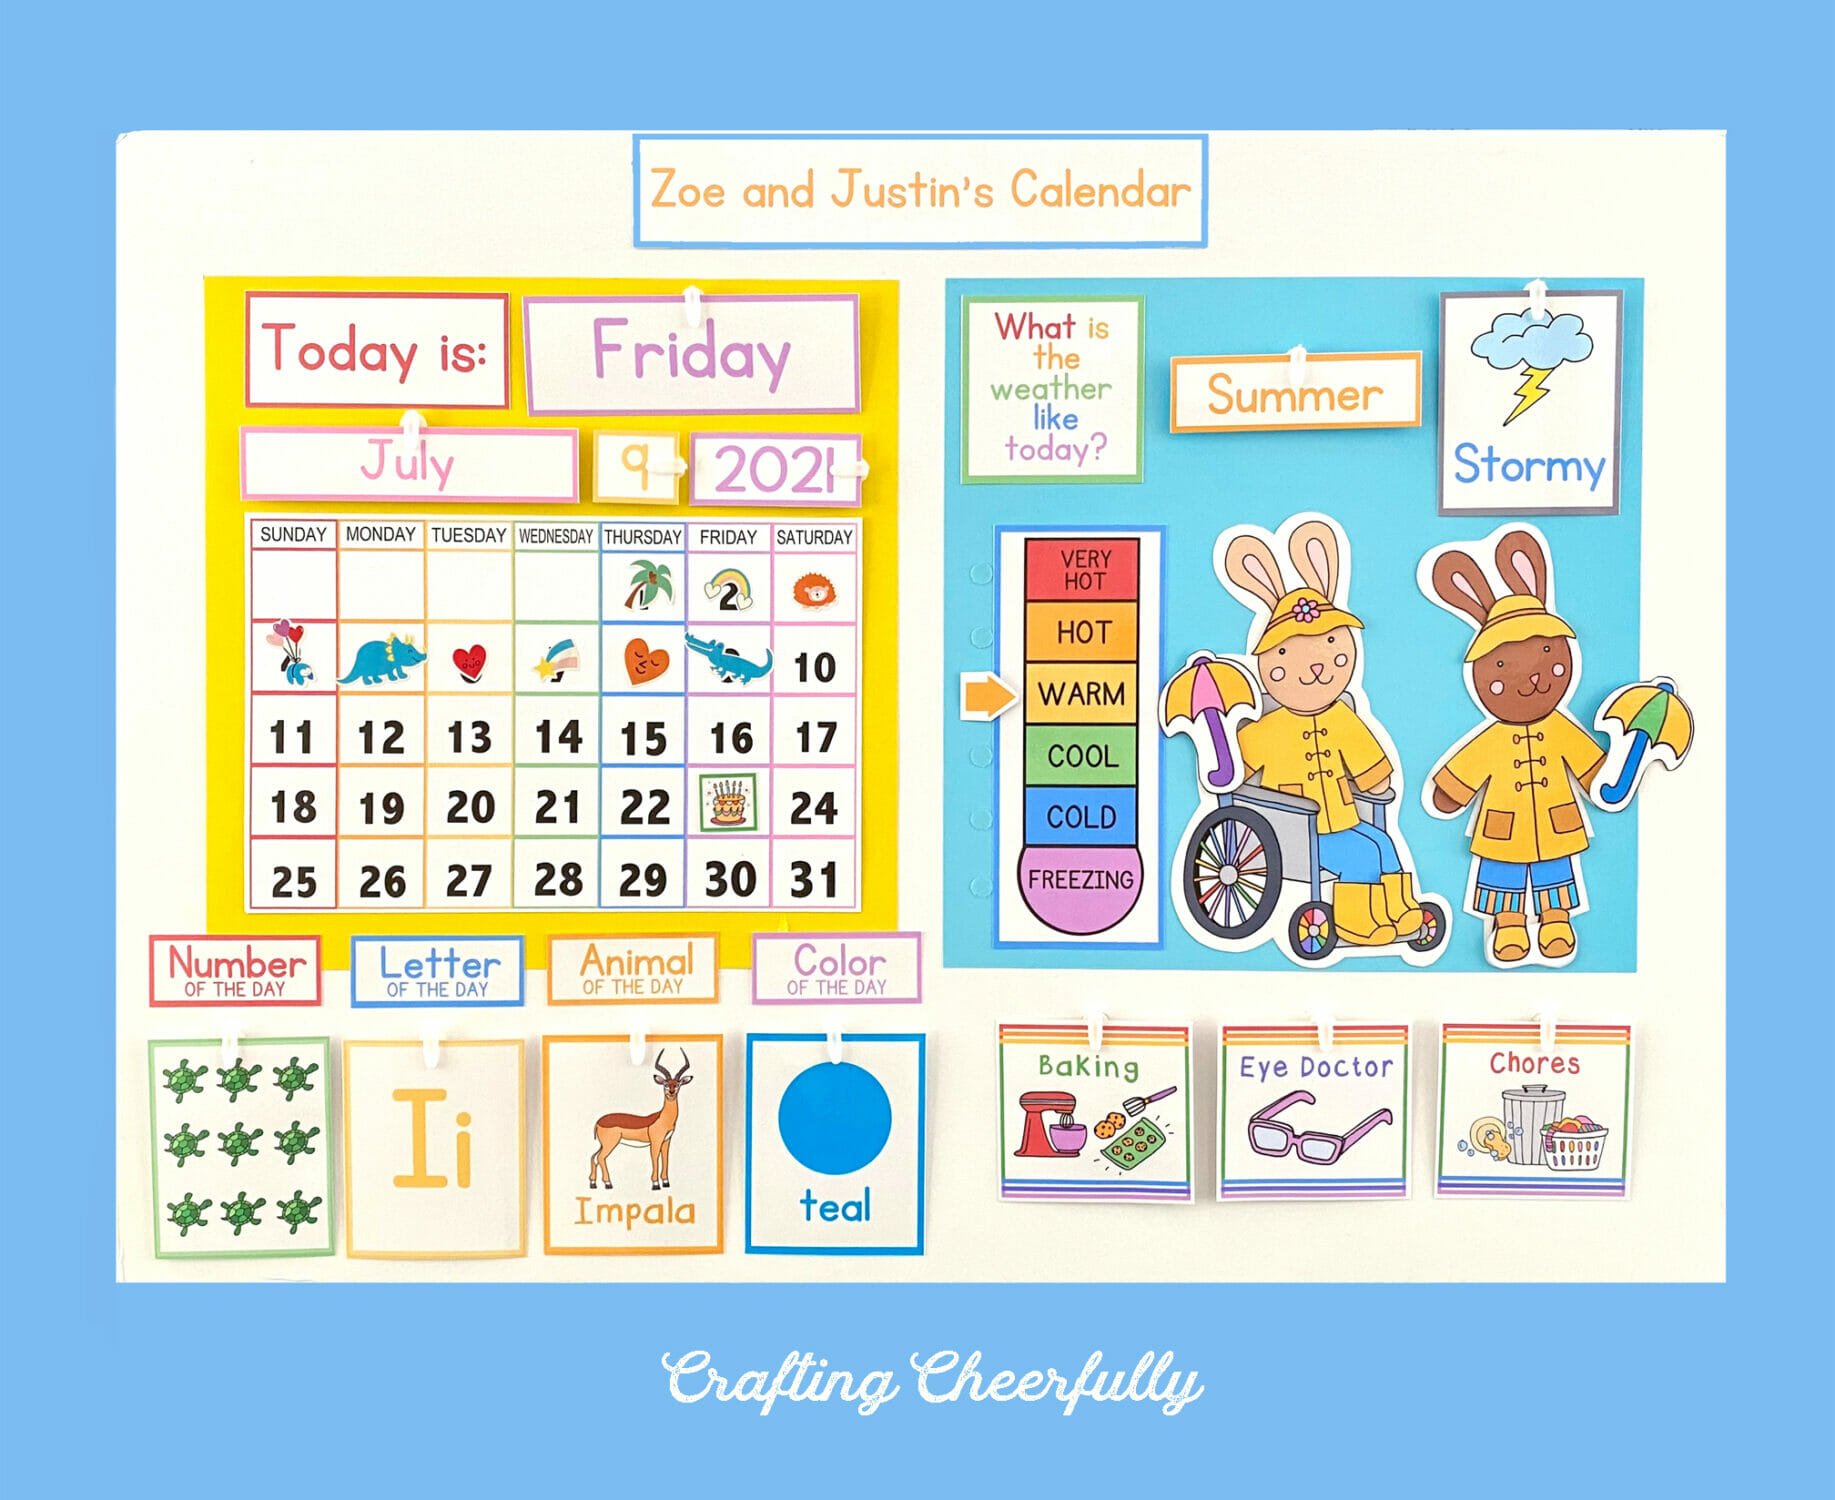
I love using the flashcards to feature a number, letter, animal and color of the day. They are a fun way to extend calendar time and a great opportunity to tie-in daily activities especially if you are looking for a mini homeschool preschool experience. I love a good theme so I would sometimes find a craft or book that coordinated with the animal or color of the day.

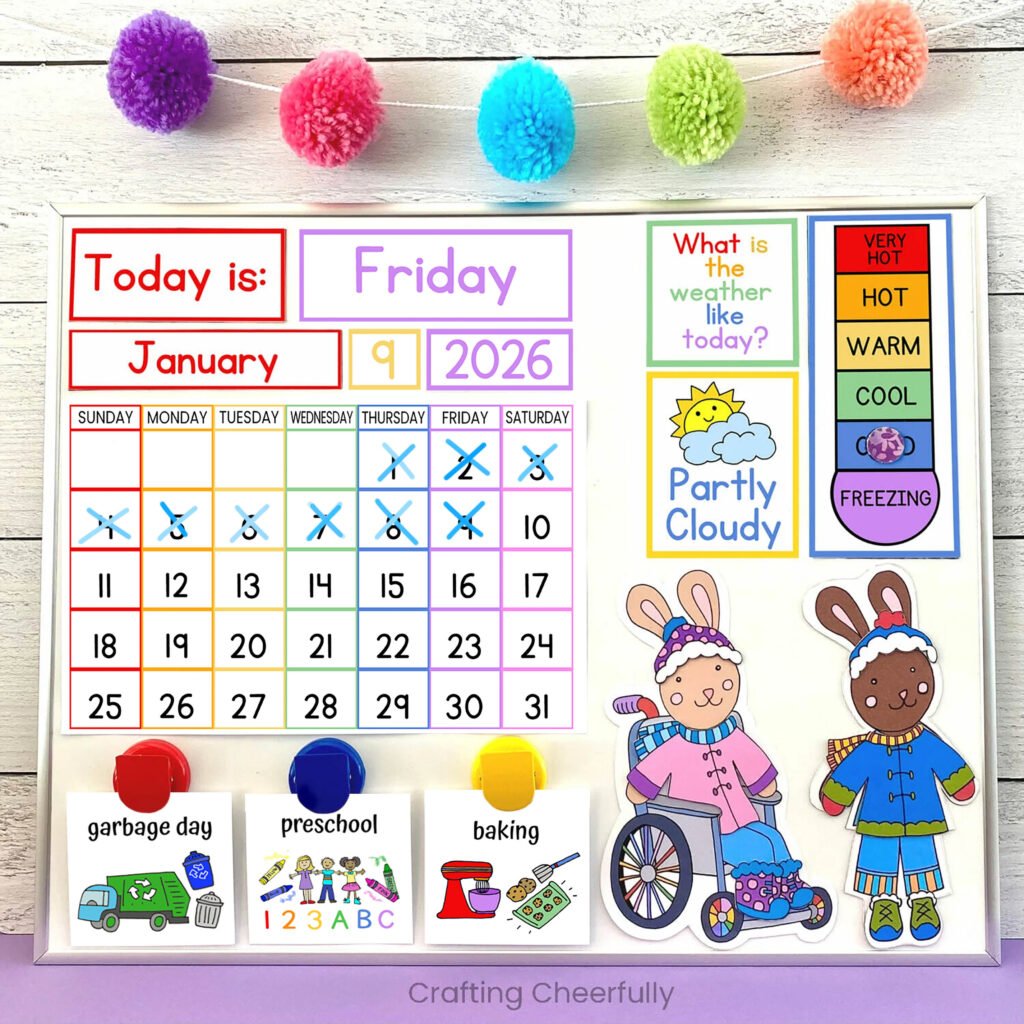
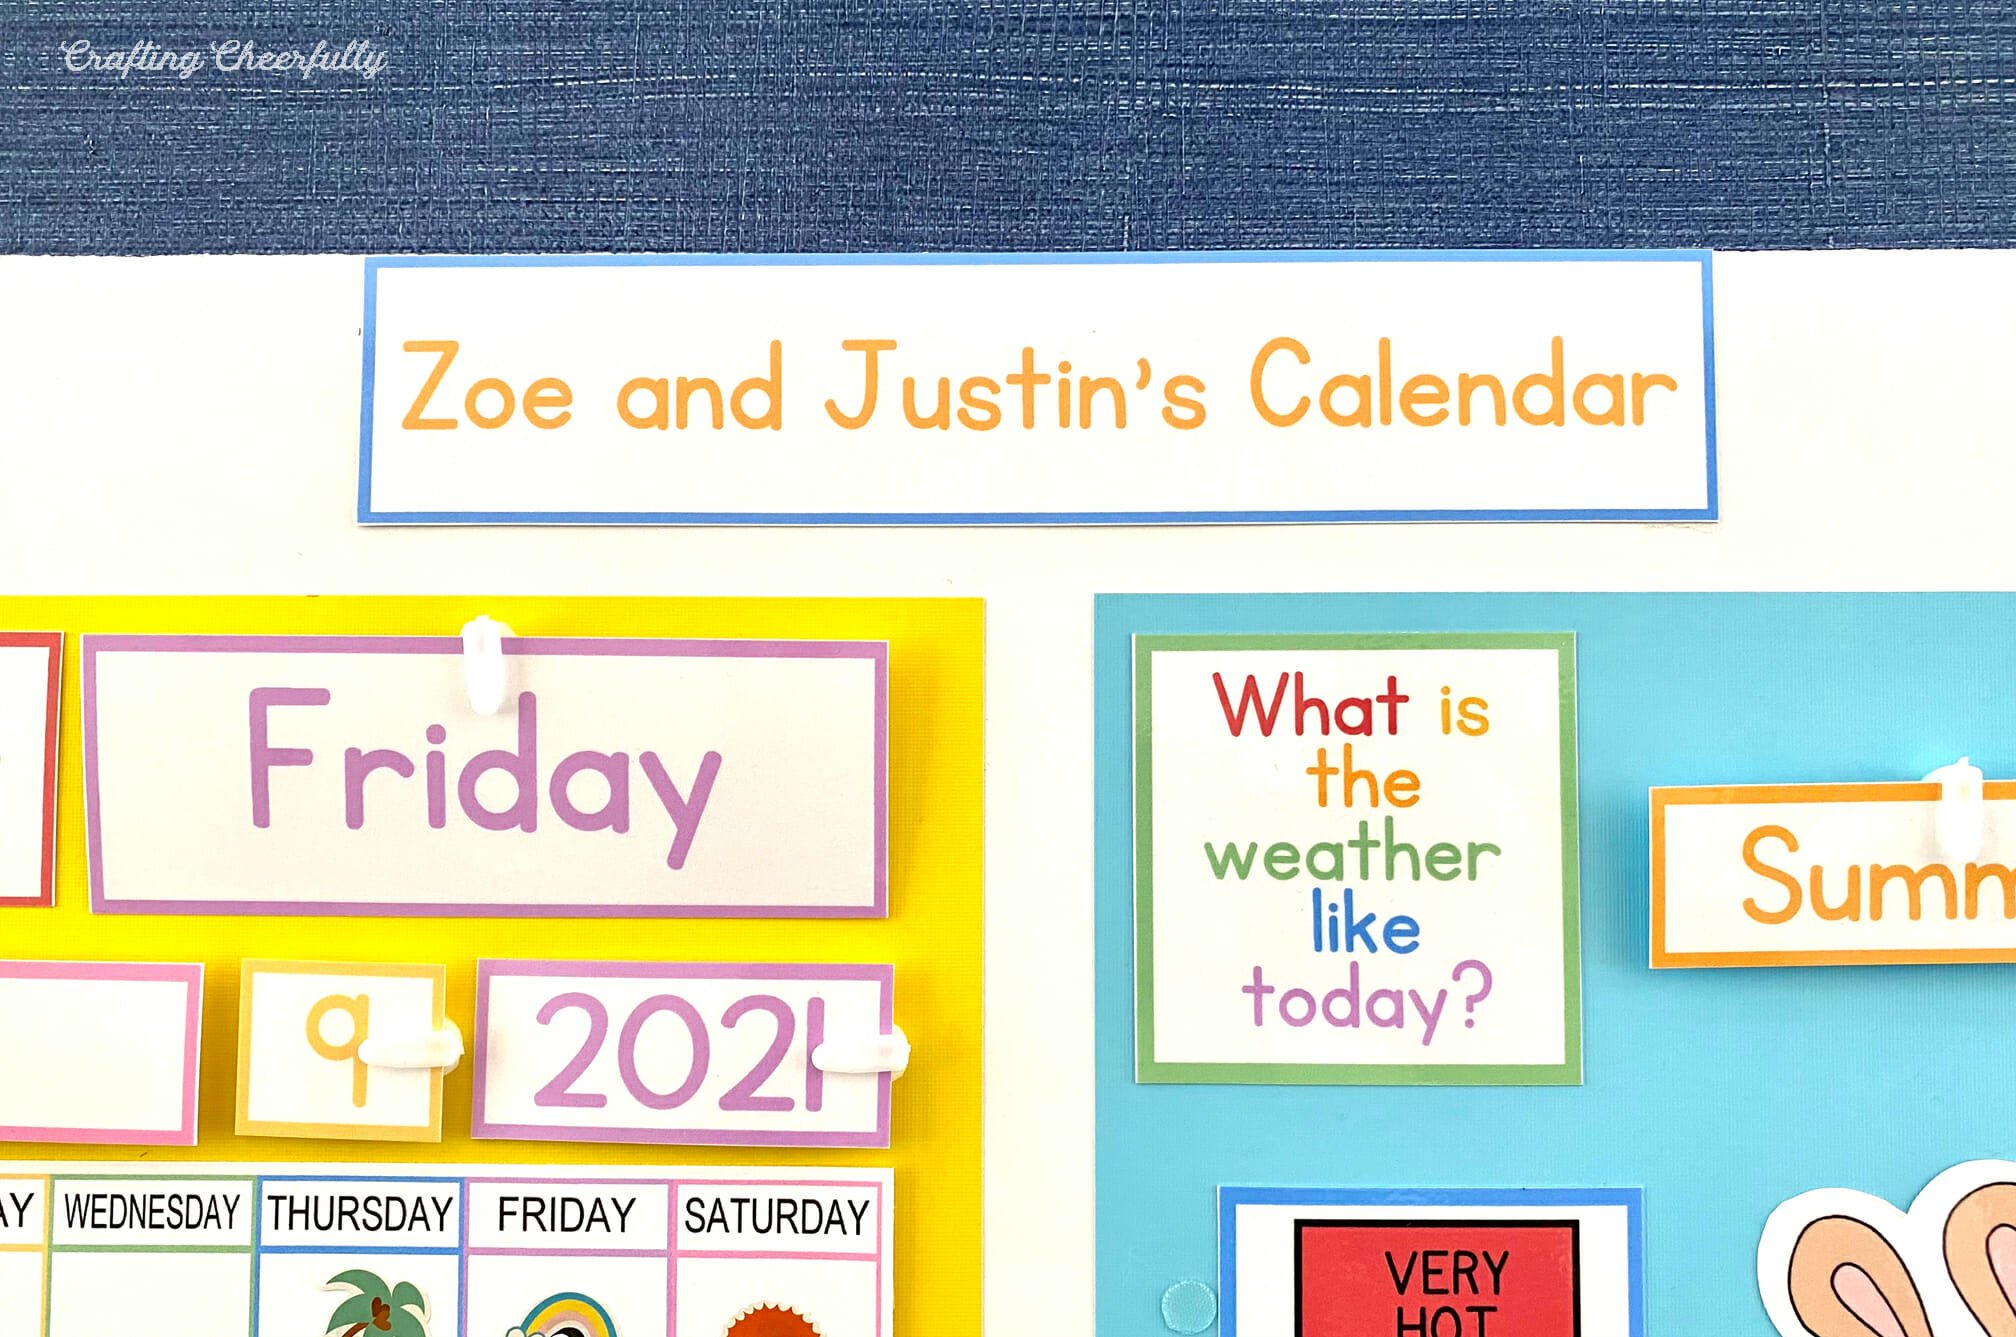
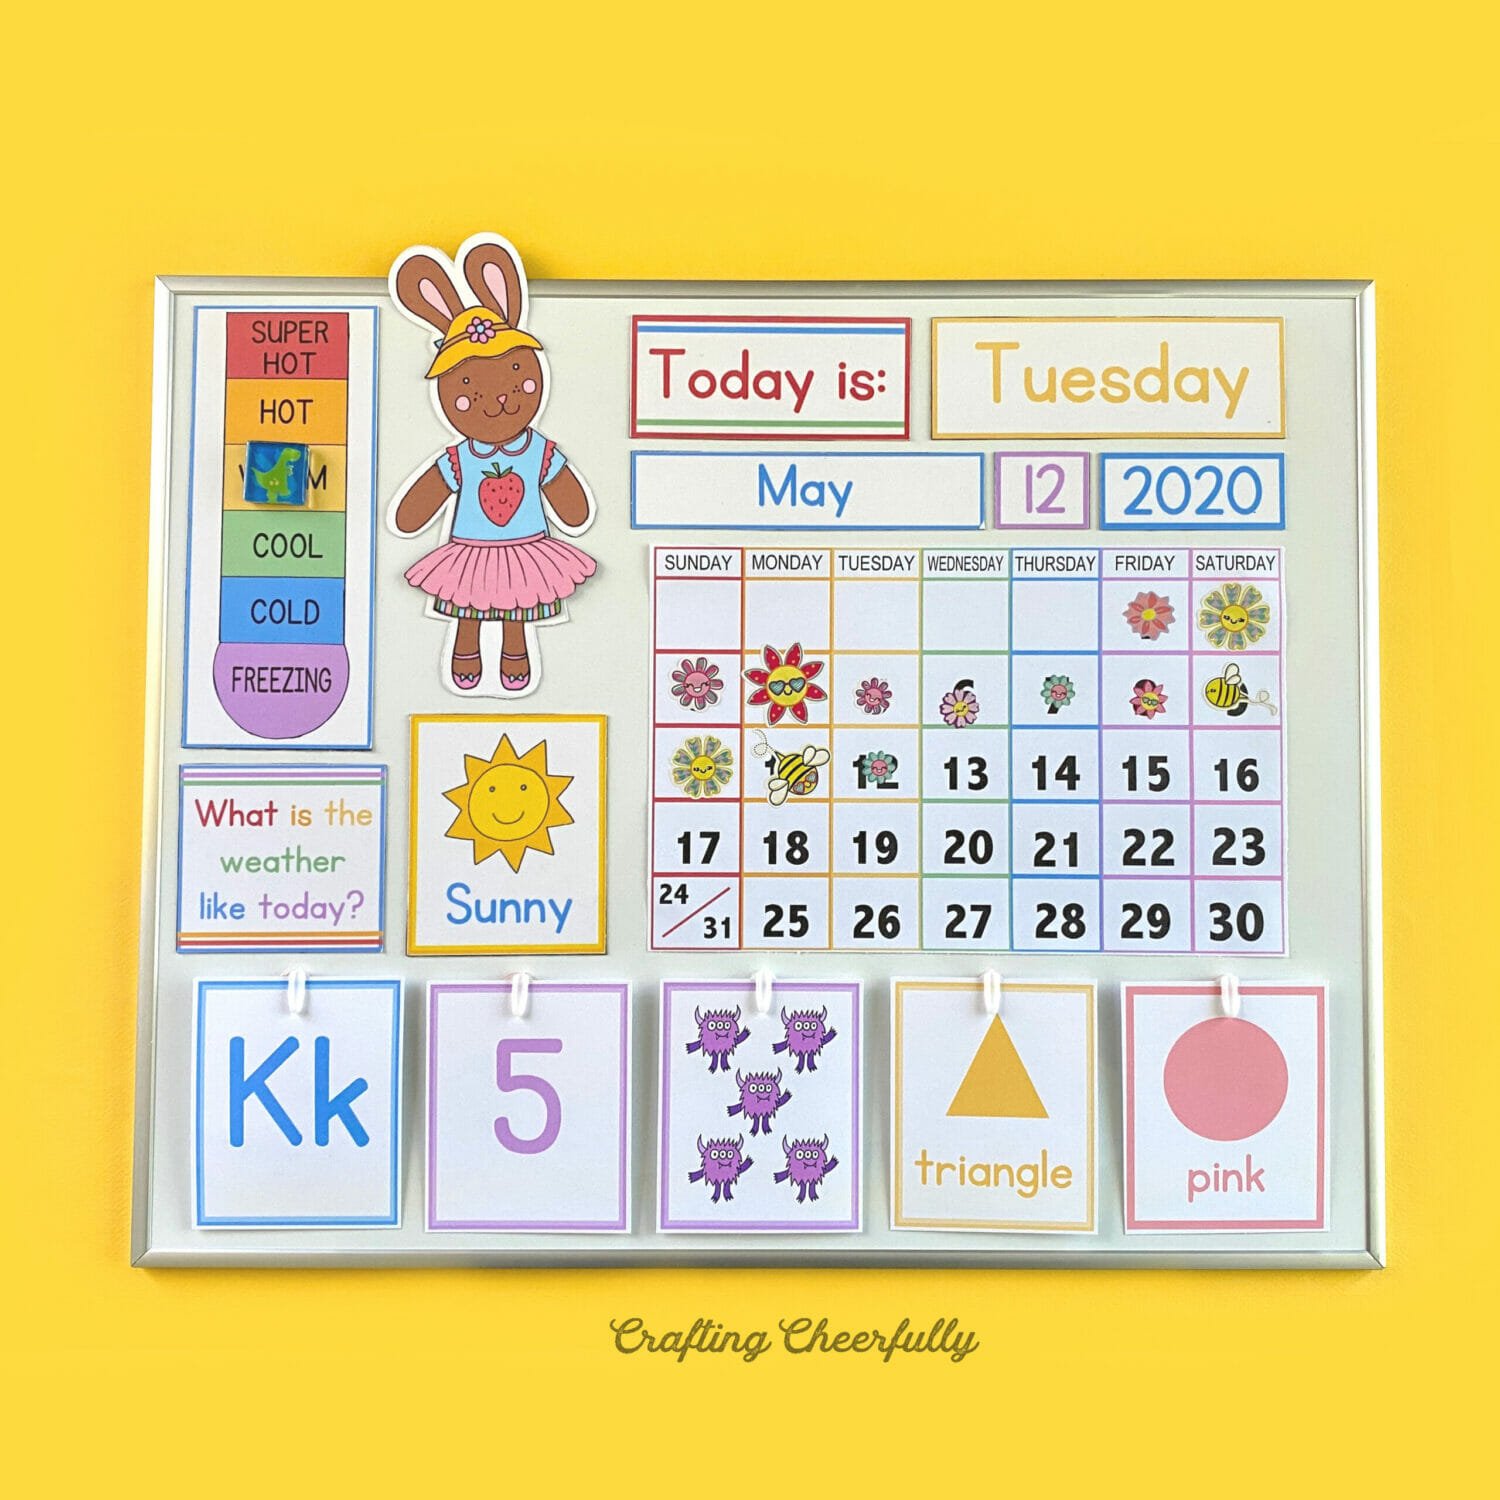
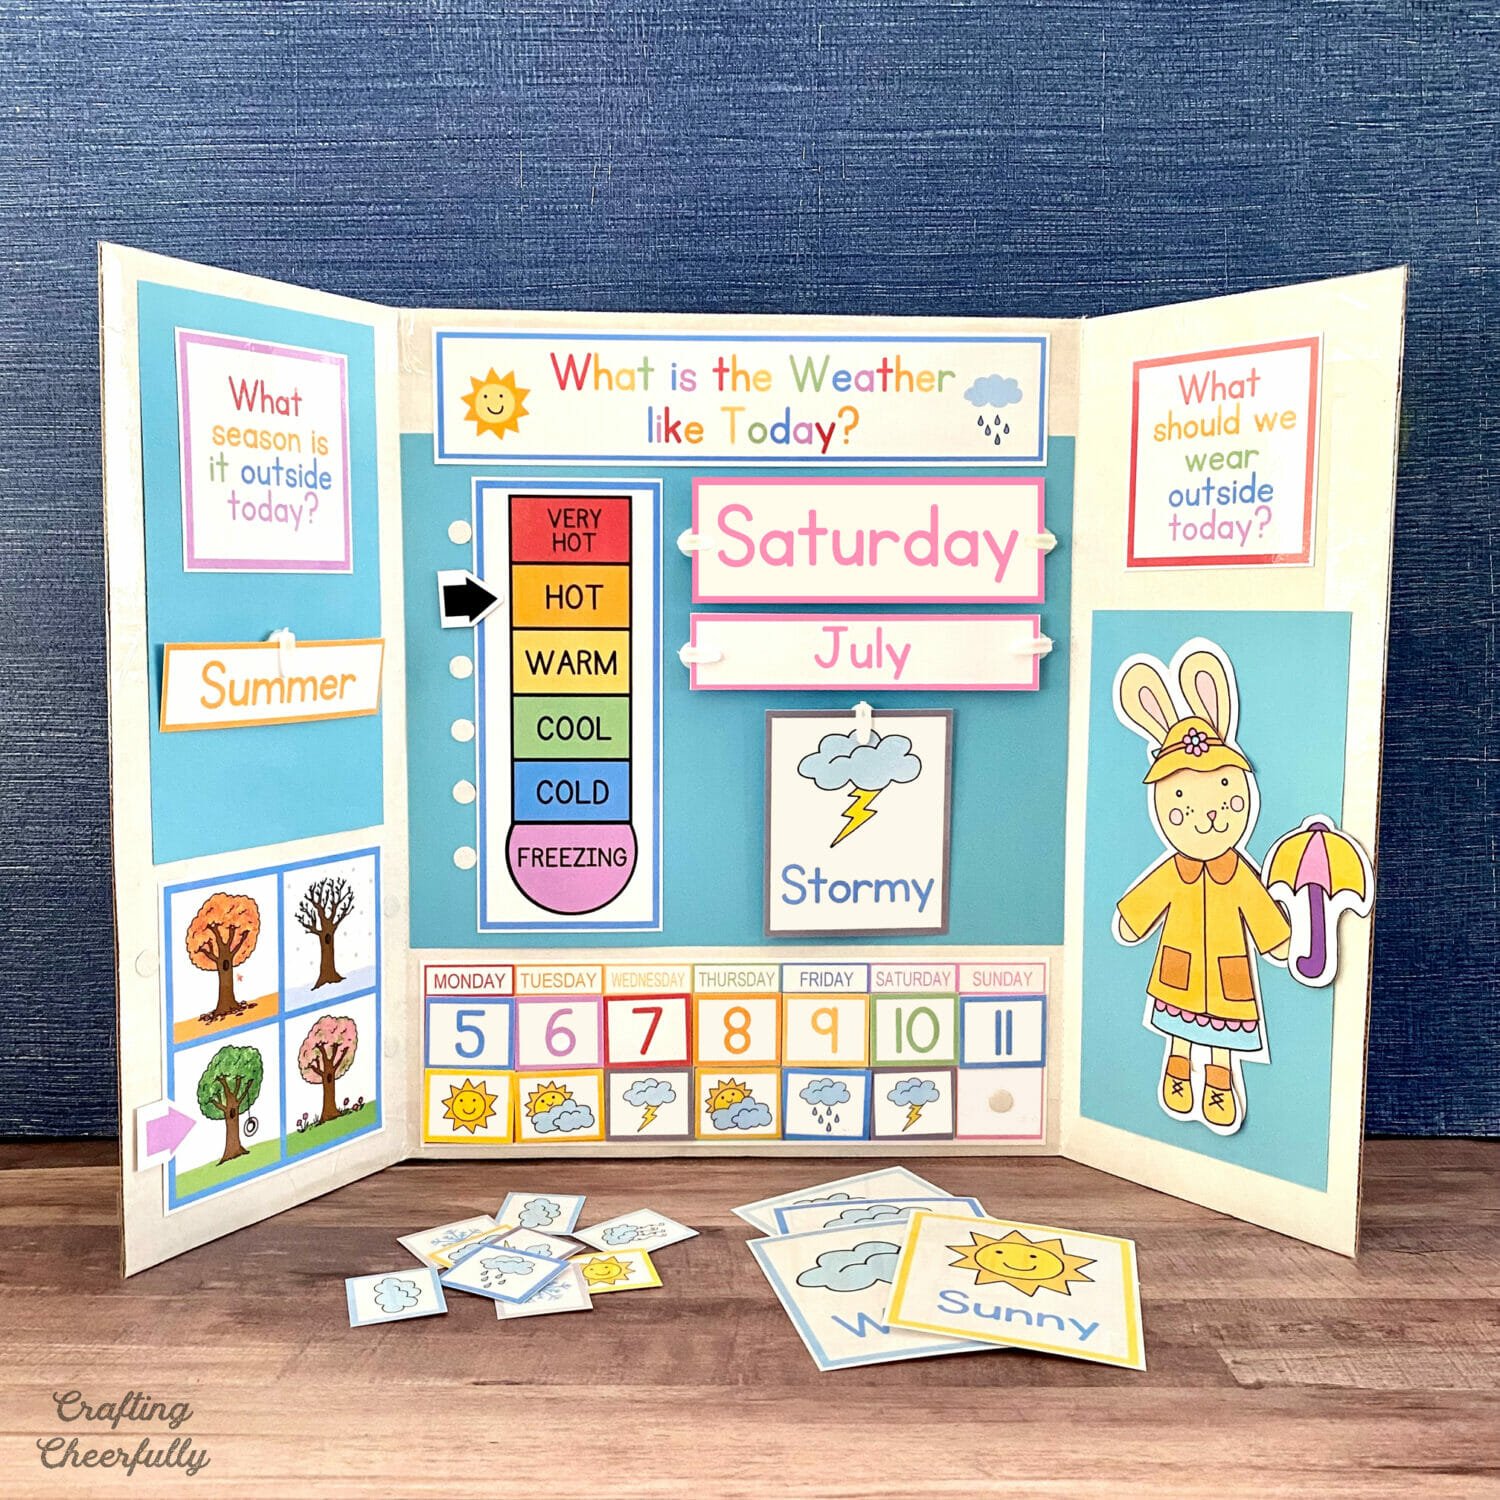
Picture Examples of Calendars
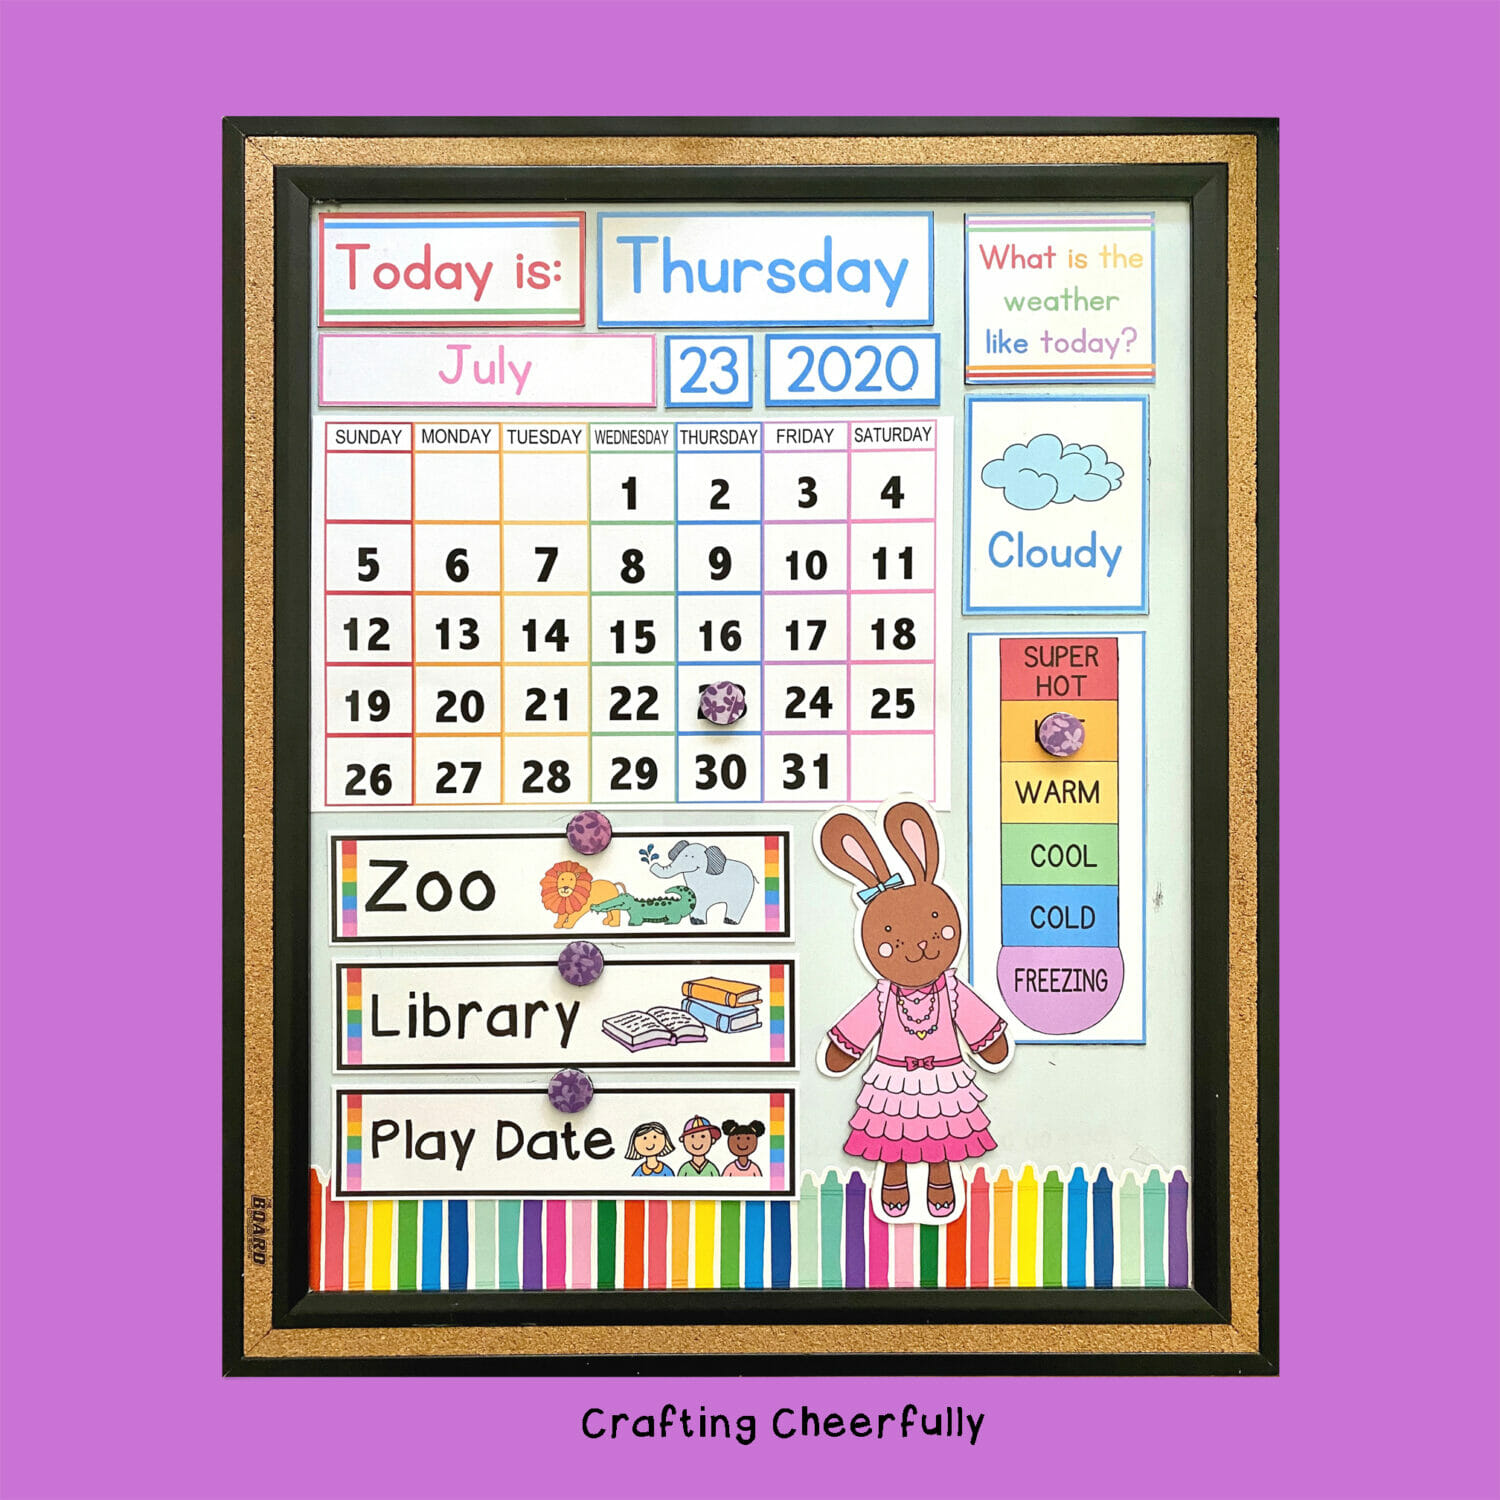
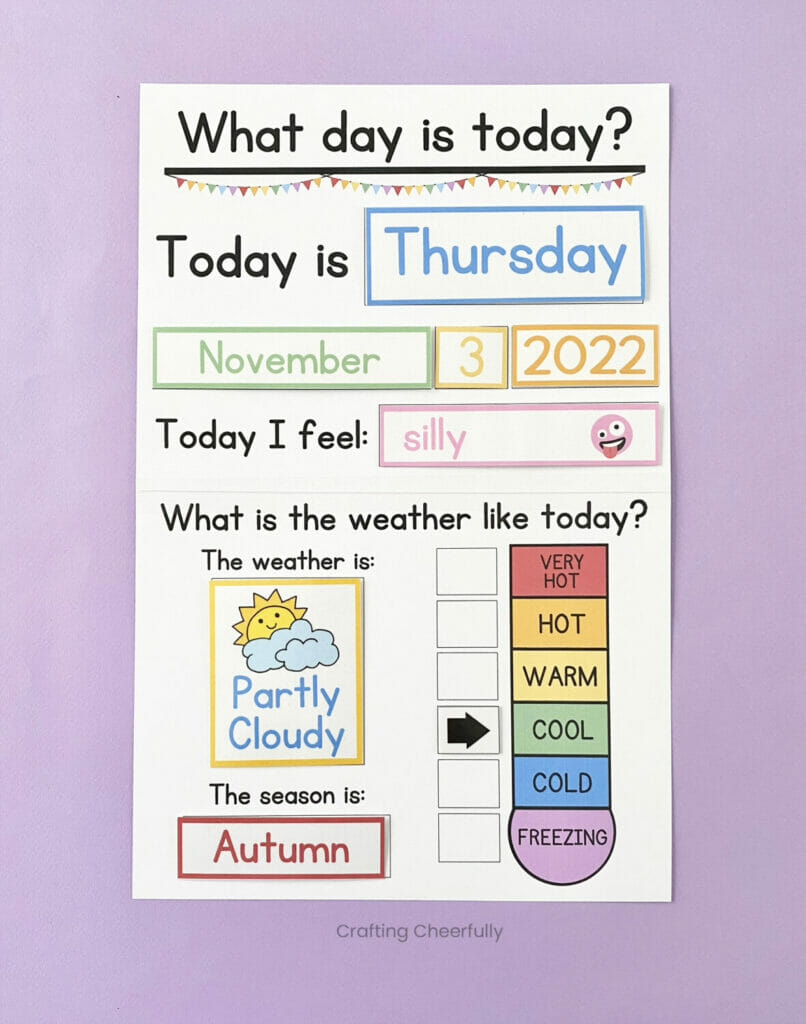
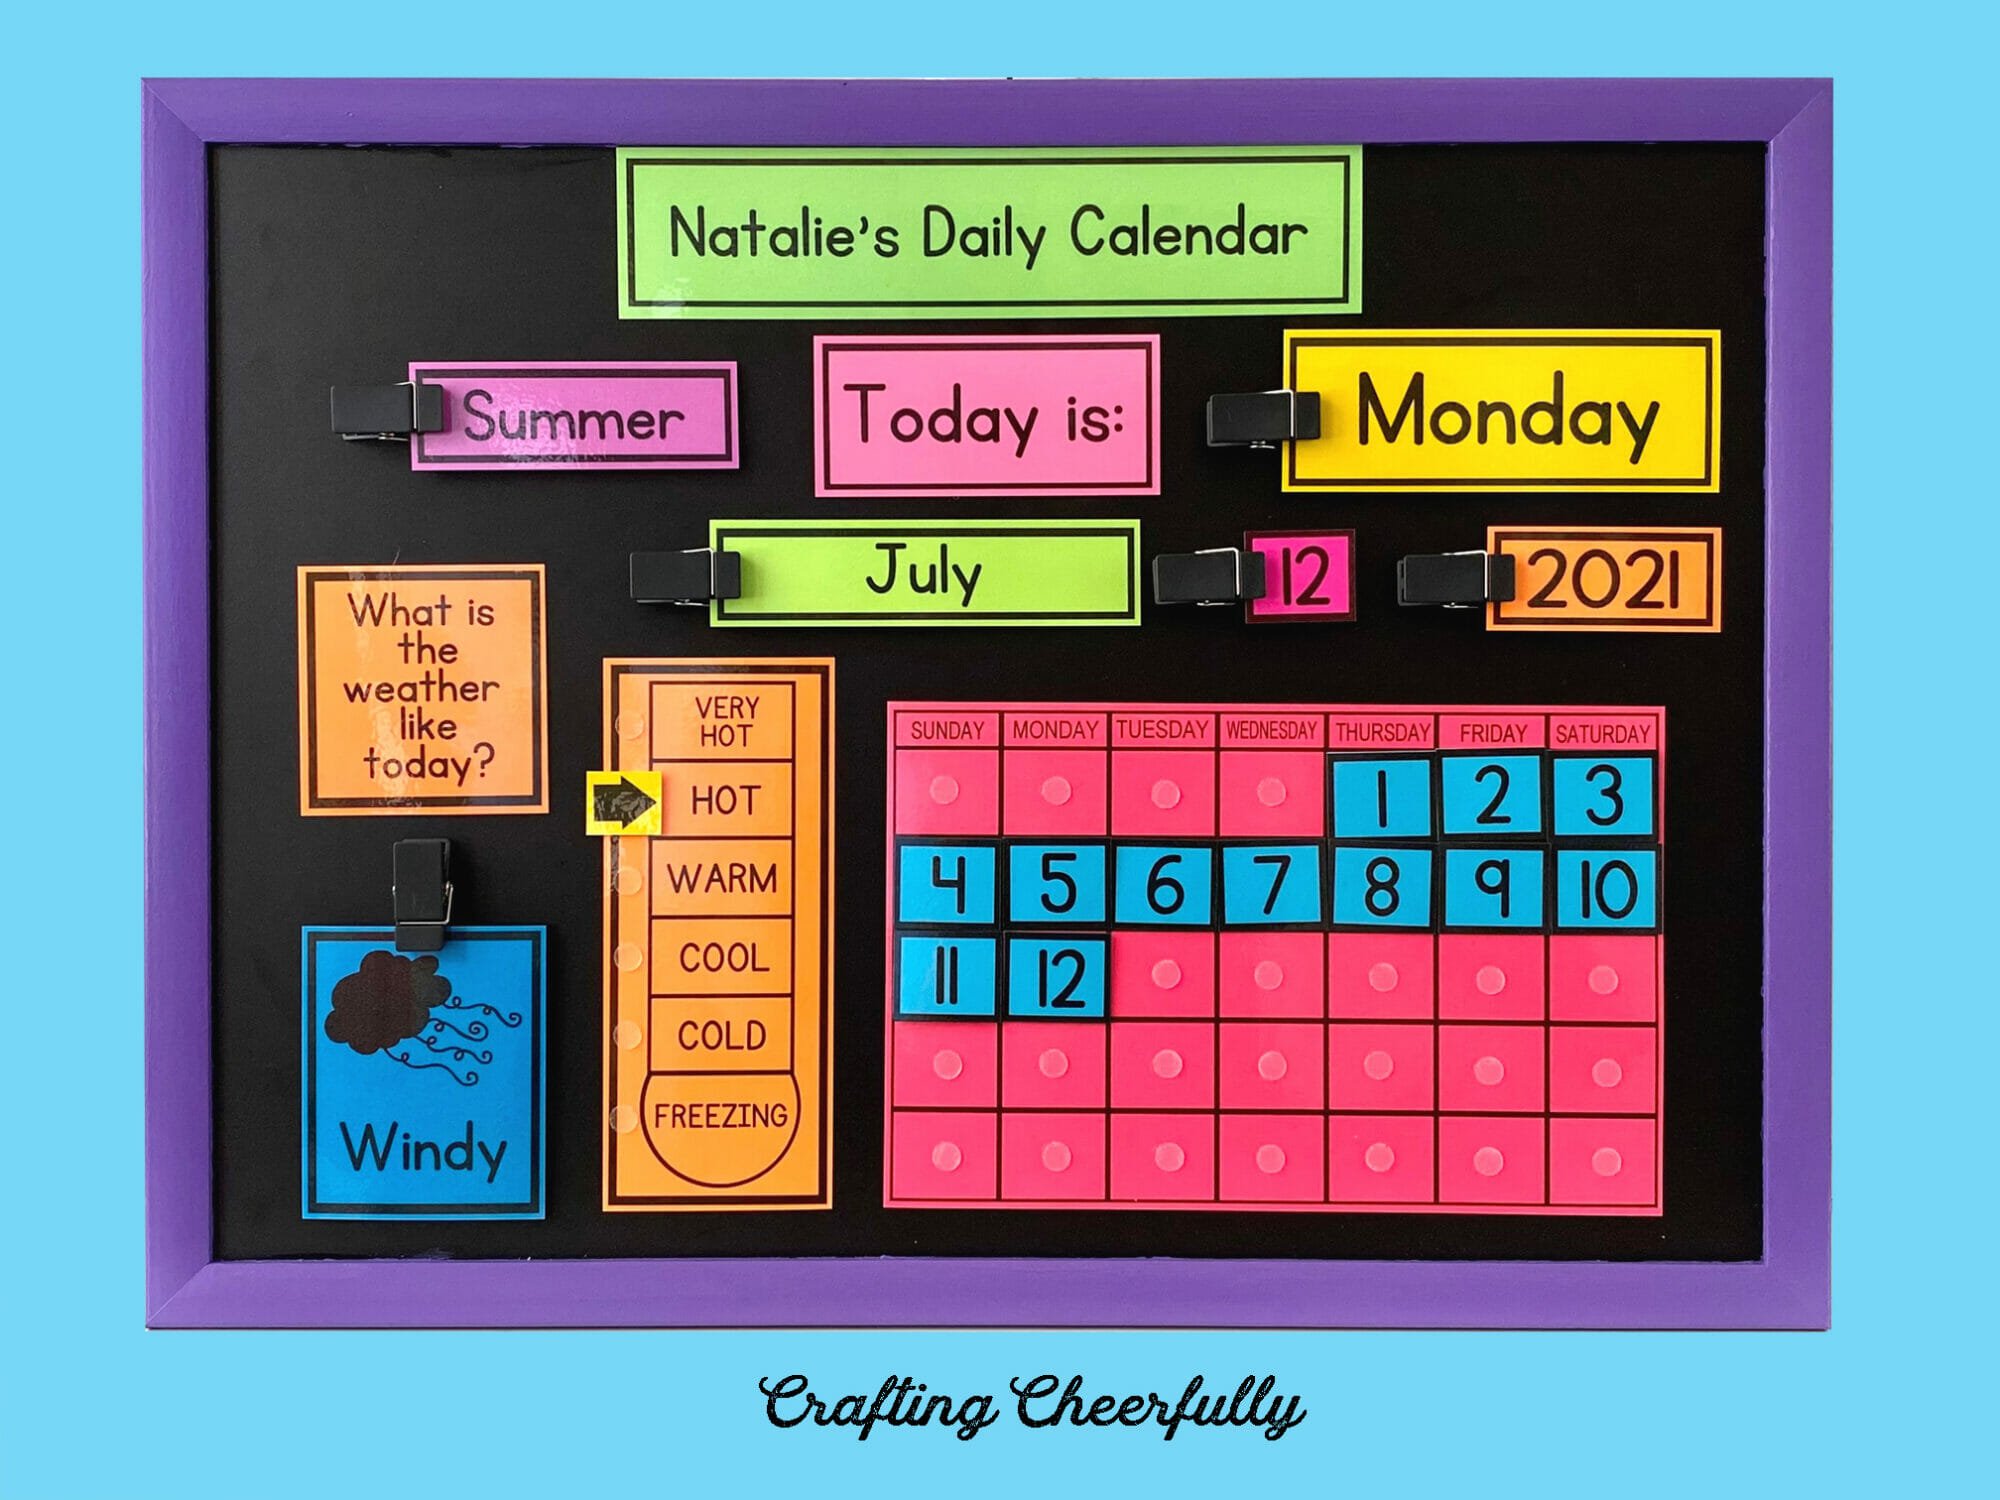
I have made this calendar lots of different times over the years as I’ve created new printables and updated old ones. I hope these images give you lots of inspiration on how you can create a calendar any way you’d like! Use as few or as many of the printables and customize it to fit the needs of the kids who will be using it!
Under each calendar picture, I’ve noted what printables I used and the board size to help!


Project Ideas Using the Free Printables
Check out these DIY projects for other ways to use my calendar printables. These posts will go into more detail with step-by-step picture tutorials for making many of the calendar examples shown in the previous section.
- Busy Book Calendar
- Chalkboard Calendar
- Morning Board Calendar
- Weather Watcher Calendar
- How to Use Calendar Guide Pages
- How to Organize your Calendar Pieces
Download the Free Calendar Card Files!
PLEASE READ: To download the free files, click the links below and a form will appear. Fill in your first name and email and the PDF printable packet will be sent straight to your inbox! You DO need to enter your email for each download since each form is connected to a specific free file. This is how the file can be automatically sent to your email inbox. Fill out as many forms as you’d like to get the printables you want to use – don’t worry – you won’t be added to my list more than once.
These files are for personal use only. You are not permitted to sell the files or sell physical products made from the files. I hope you enjoy crafting something special. Please let me know if you have any questions :)
- For Bunnies: Visit my DIY Bunny Paper Dolls Post
- For Emotion Cards: Visit my Free Printable Emotion Cards Post
- Download – Calendar PDF Packet in English
- Download – Calendar PDF Packet in English (Chalkboard)
- Download – Calendar PDF Packet in English (Color-Your-Own)
- Download – Calendar PDF Packet in Spanish
- Download – Calendar PDF Packet in Spanish/English
- Download – Calendar PDF Packet in French
- Download – Calendar PDF Packet in French/English
- Download – Calendar PDF Packet in Italian
- Download – Calendar PDF Packet in Hawaiian
- Download – Calendar PDF Packet in Hawaiian/English
- Download – Calendar PDF Packet in Korean
- Download – Calendar PDF Packet in Korean/English
- Download – Calendar PDF Packet in Portuguese/English
- Download – Customized Calendar Headers PDF
- Download – Calendar Guide Pages PDF Packet
- Download – Weather Watchers Calendar Printable PDF
- Download – Busy Book Calendar Printables PDF
- Download – 2026 Calendar Pages PDF (starting with Sunday)
- Download – 2026 Calendar Pages PDF (starting with Monday)
- Download – Calendar Expandable File Labels
Download calendar extras from my Etsy shop! Visit my Etsy shop to shop calendar extras like Holiday Cards, Daily Activity Cards, Preschool Learning Cards, Fun National Day Cards and more!
View all of my DIY Calendar craft projects.


Hello, I tried to download the Spanish calendar cards but they aren’t working. Is there another way to download them?
Hi! If you click the link for the Spanish cards and fill out the purple form they should be emailed to you immediately. If you have any trouble, feel free to email me at kimberly(at)craftingcheerfully(dot)com and let me know which Spanish cards you are hoping for and I will send them to you! Thank you :)
Hey great work !
But in french, you should use future tense “Demain, ce sera” not “Demain c’est”… to be correct.
I didn’t manage to get the link to the form to get your french calendar.. don’t know why…
Hi! Thank you for the message! I get requests for both versions a lot in all of the different language calendars I do – “tomorrow is” vs. “tomorrow will be”. I have both versions included in some of my other calendars and in the french pocket chart but I’ll go ahead and add both versions to the free french calendar – then both are included and everyone can use the one they prefer! The links to all of the free files are at the bottom of this post. You can enter your email and the file will be sent directly to you. If you have any trouble feel free to email me at kimberly@craftingcheerfully.com and I can email you the file :) Thank you! :)
Hello, I am extremely grateful for these resources and have used them for several years now with my little one and it has helped her to read much earlier than normal. We still do our ritual every day tho as she loves it. I was trying to make another one in english for my child (hers has gotten all worn out) and in spanish for a little autistic spanish speaking child of a friend and I have been unable to download the calendar in any language, I keep going back and forth from the resource library to another page and cannot figure out how to download. Could you please help me?Thanks!
Hi! Of course, I’m happy to help! In the Resource Library you will want to go under “DIY Children’s Calendar”. Make sure you are selecting the black “Download” button under each file you want and not the blue “View the Tutorial” link. The blue link will take you to the post for instructions. After hitting the black button the file will automatically download. If you still have any problems please email me and I’m happy to send you the files you need! kimberly@craftingcheerfully.com. I’m so happy to hear your child has enjoyed using the calendar! :)
I wonder if you’d, at all, be interested in adding Hawaiian to these printouts? I am a Hawaiian speaker and working on materials for my daughter and I see that you’ve already done so with other languages. I’d be very interested in working with you if so.
Hi! Yes I’d be interested in adding Hawaiian! – Could you email me at craftingcheerfully@gmail.com and we can chat more? Thank you! :)
I came across your printable daily activity cards on Etsy and cant wait to print them out! After reading the file I saw we could come to your website for FREE printables, which I totally loved! Any idea or thought on how to make a few additional cards myself on the etsy file? I wanted to add fishing, kites, vacation?
Hi! Thank you for the message! I’m so happy you found my calendar printables! The activity cards from Etsy came with a few blank cards that you could add in your own activities by hand. Otherwise, I do offer a free monthly activity card every month and am always happy to take suggestions – flying kites would be perfect for that! I also create custom calendar cards so you can have anything you want created! Oh and I have a fishing card in my Sports and Movement card set if you want to check that out! Feel free to message me on Etsy – I’m always happy to help you find the cards you’re looking for or help create them! :)
Hi Kim, I was hoping you could tell me the name of your font you’ve used for your days/months etc? I would like to make up some holidays magnets to go with the printables.
Thanks so much :-)
Hi! It is called Sketch Block. Thank you! :)
Hi! Love this and so do my kids! Thank you! Just wondering how you attach the bunnies coats and such?
Hi! I used magnet sheets I picked up from Michaels. I have an affiliate link in the post. It was really easy to print the PDF’s off on my printer and then just stick them to the magnet sheets before cutting out the bunnies. You can read a bit more how I did it on this post: https://www.craftingcheerfully.com/diy-toddler-calendar-magnet-board/. You could also use velcro dots which would work as well! :)
Thanks for this Kim!!! We’ve been waiting for it! We love what you do!
Thank you for your kind words! I’m so happy you like the calendar :)
This calendar is so great! I am in the process of cutting everything out and am so excited to start using it with my kids! I was wondering if it would be possible to get the month sheet without any numbers. I was going to laminate it and hang it up so I could fill in everything myself and continue reusing it.
Thank you! I hope you and your kids have fun using the calendar! I added a blank calendar page to the 2017 calendar pages pdf document, it is the last page. Laminating and reusing it is a great idea! :) Happy Holidays!