DIY Fruit Party Treat Boxes
Create these sweet fruit party treat boxes for summertime! Make seven different fruits including a strawberry, watermelon, grapes, pineapple, orange, lemon and lime!
Making treat boxes is one of my favorite ways to use paper and my Cricut and I have made dozens of different boxes for holidays, special occasions and more. Today I’m excited to share these new fruit party treat boxes – they are my new favorites!
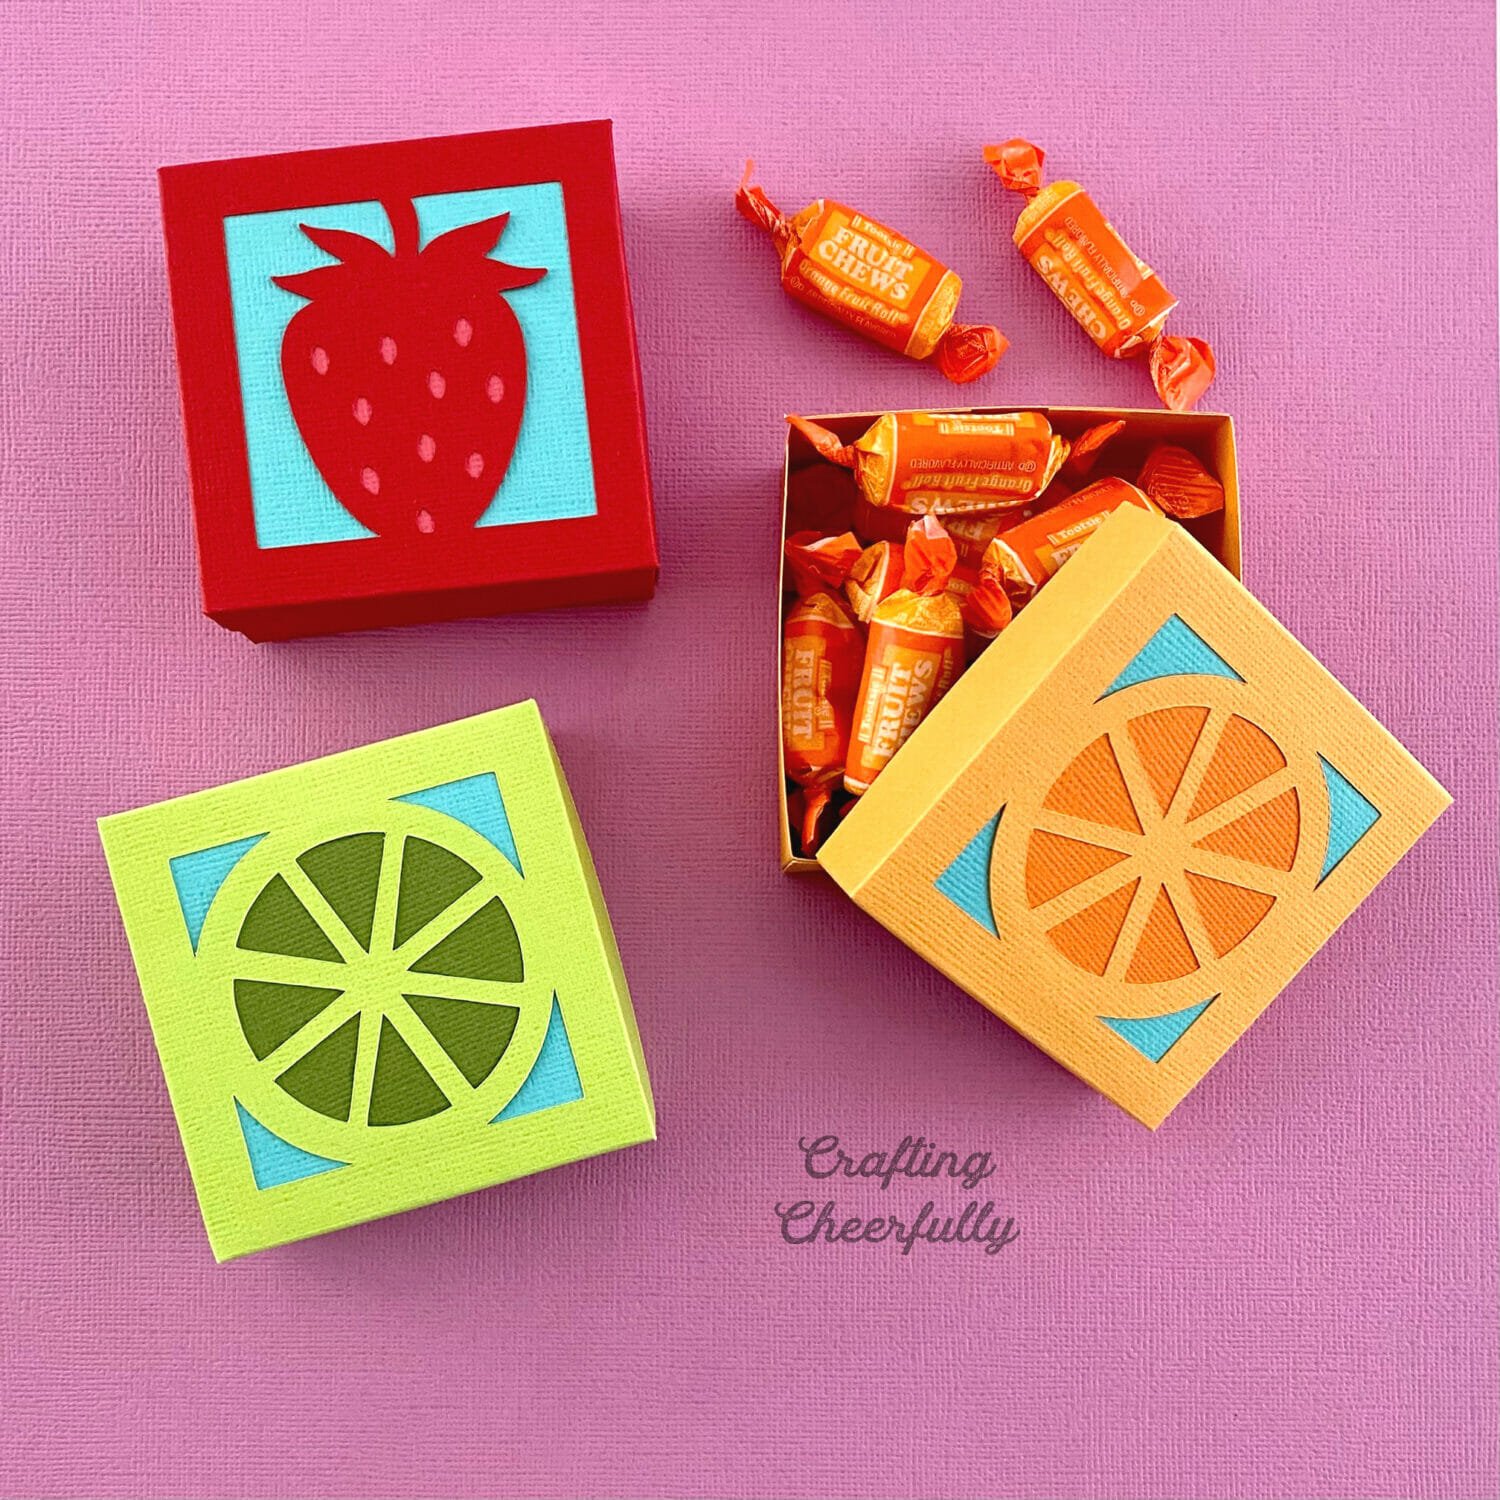
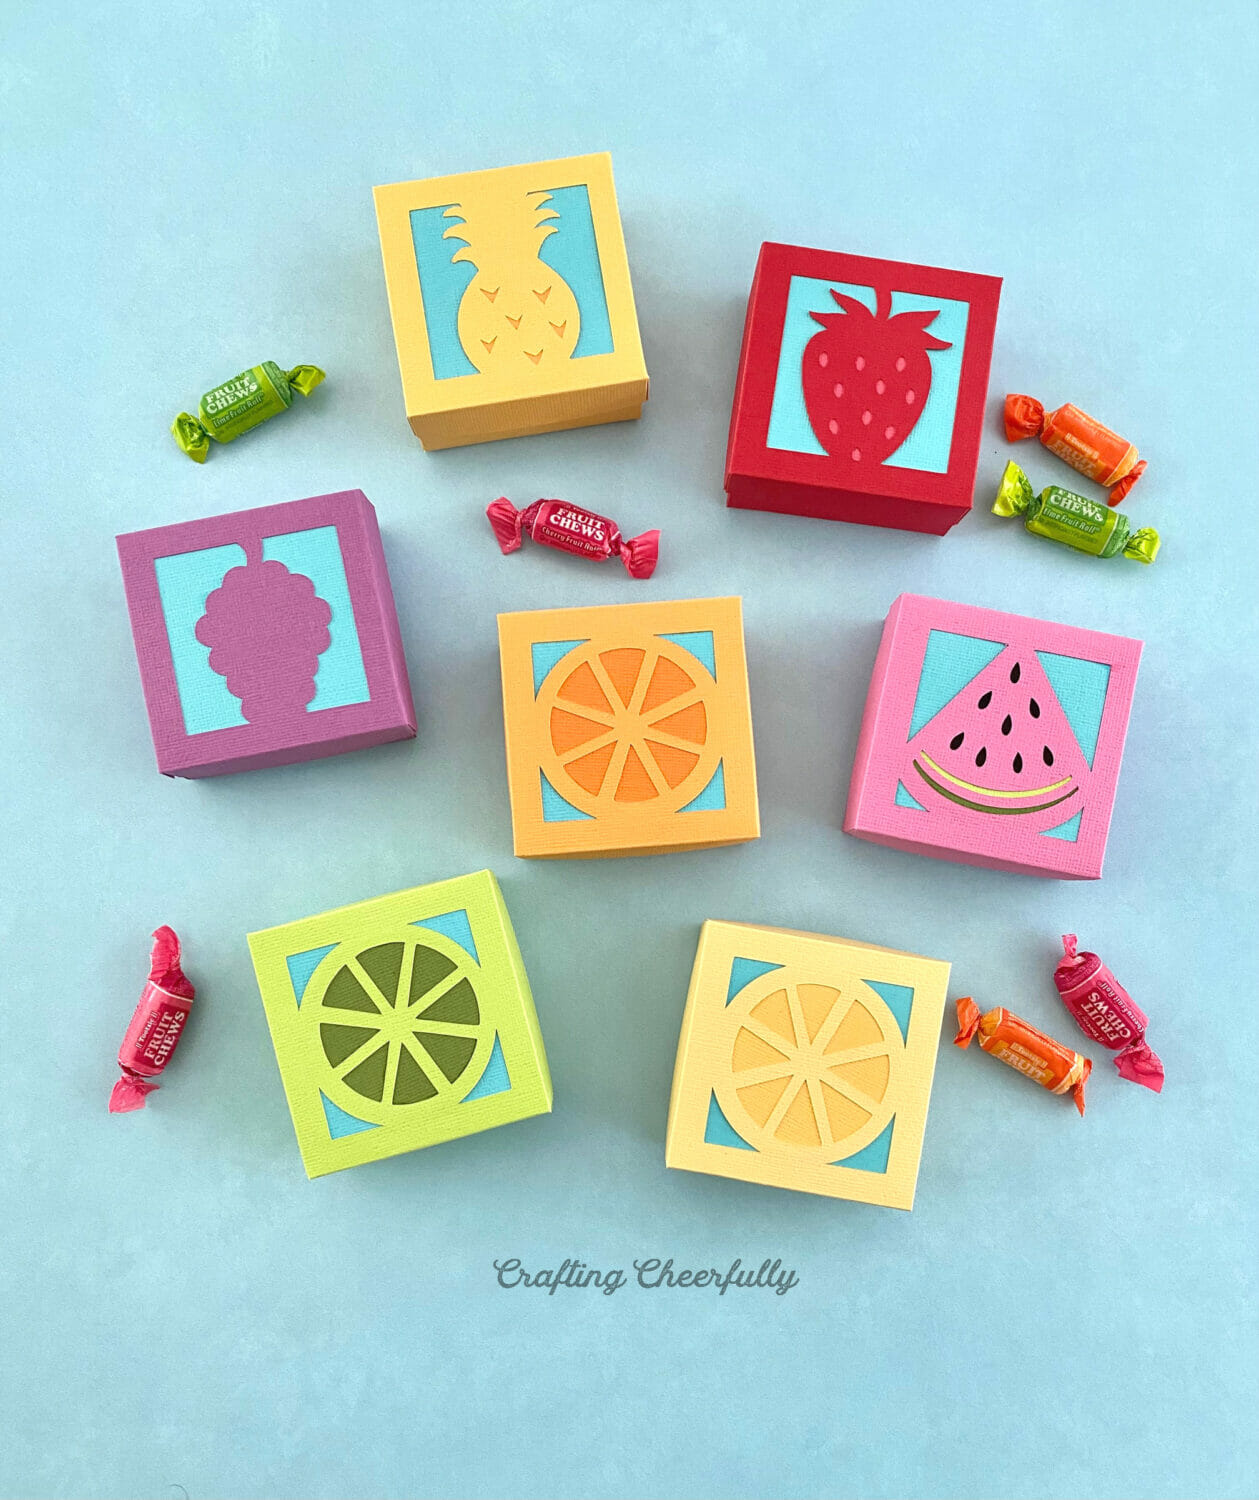
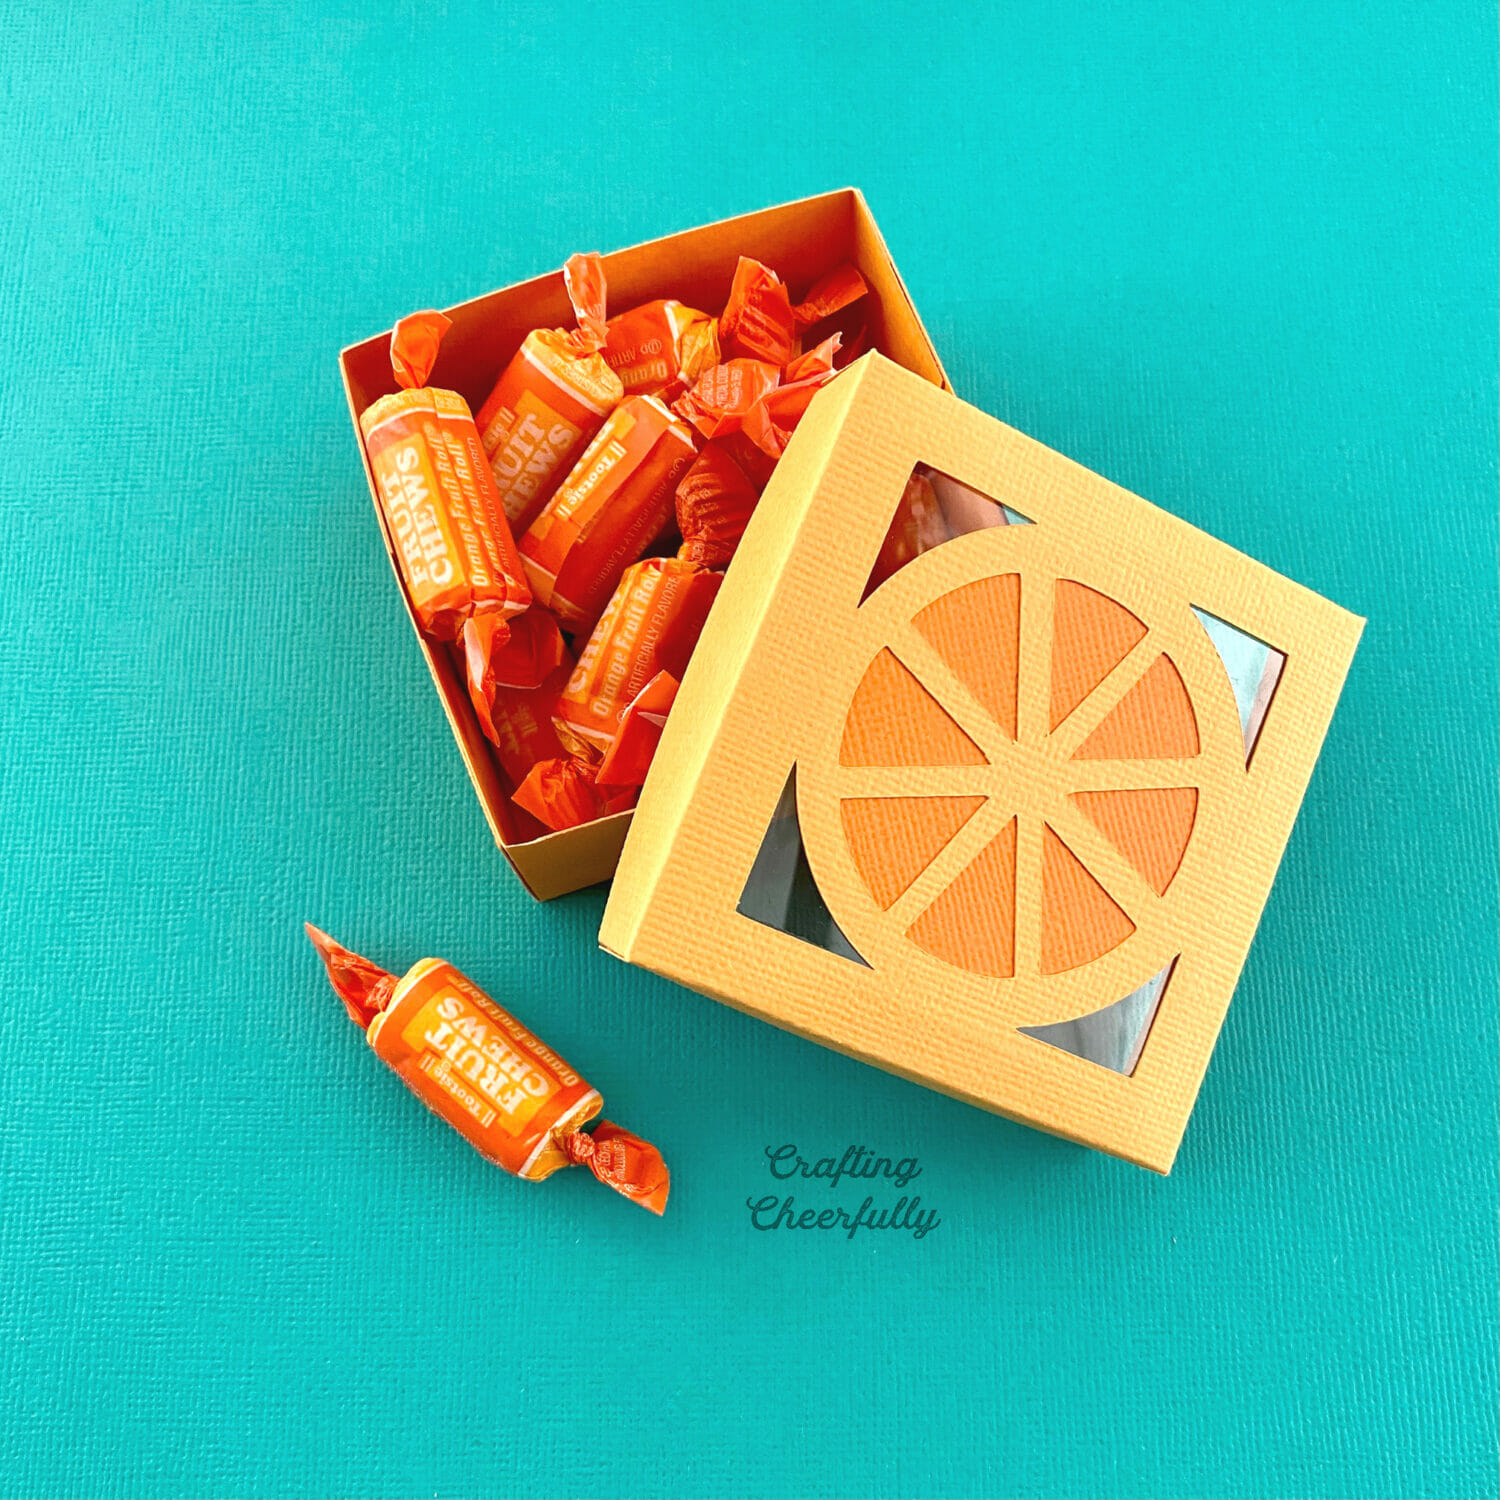
I created five different box designs that make seven different fruit boxes. Strawberry, watermelon, grape, pineapple and the fifth one can be a lemon, lime or orange. They are perfect for holding small treats and sweets and are great for summertime. They would also be adorable party favors for a fruit-themed birthday party or baby shower.

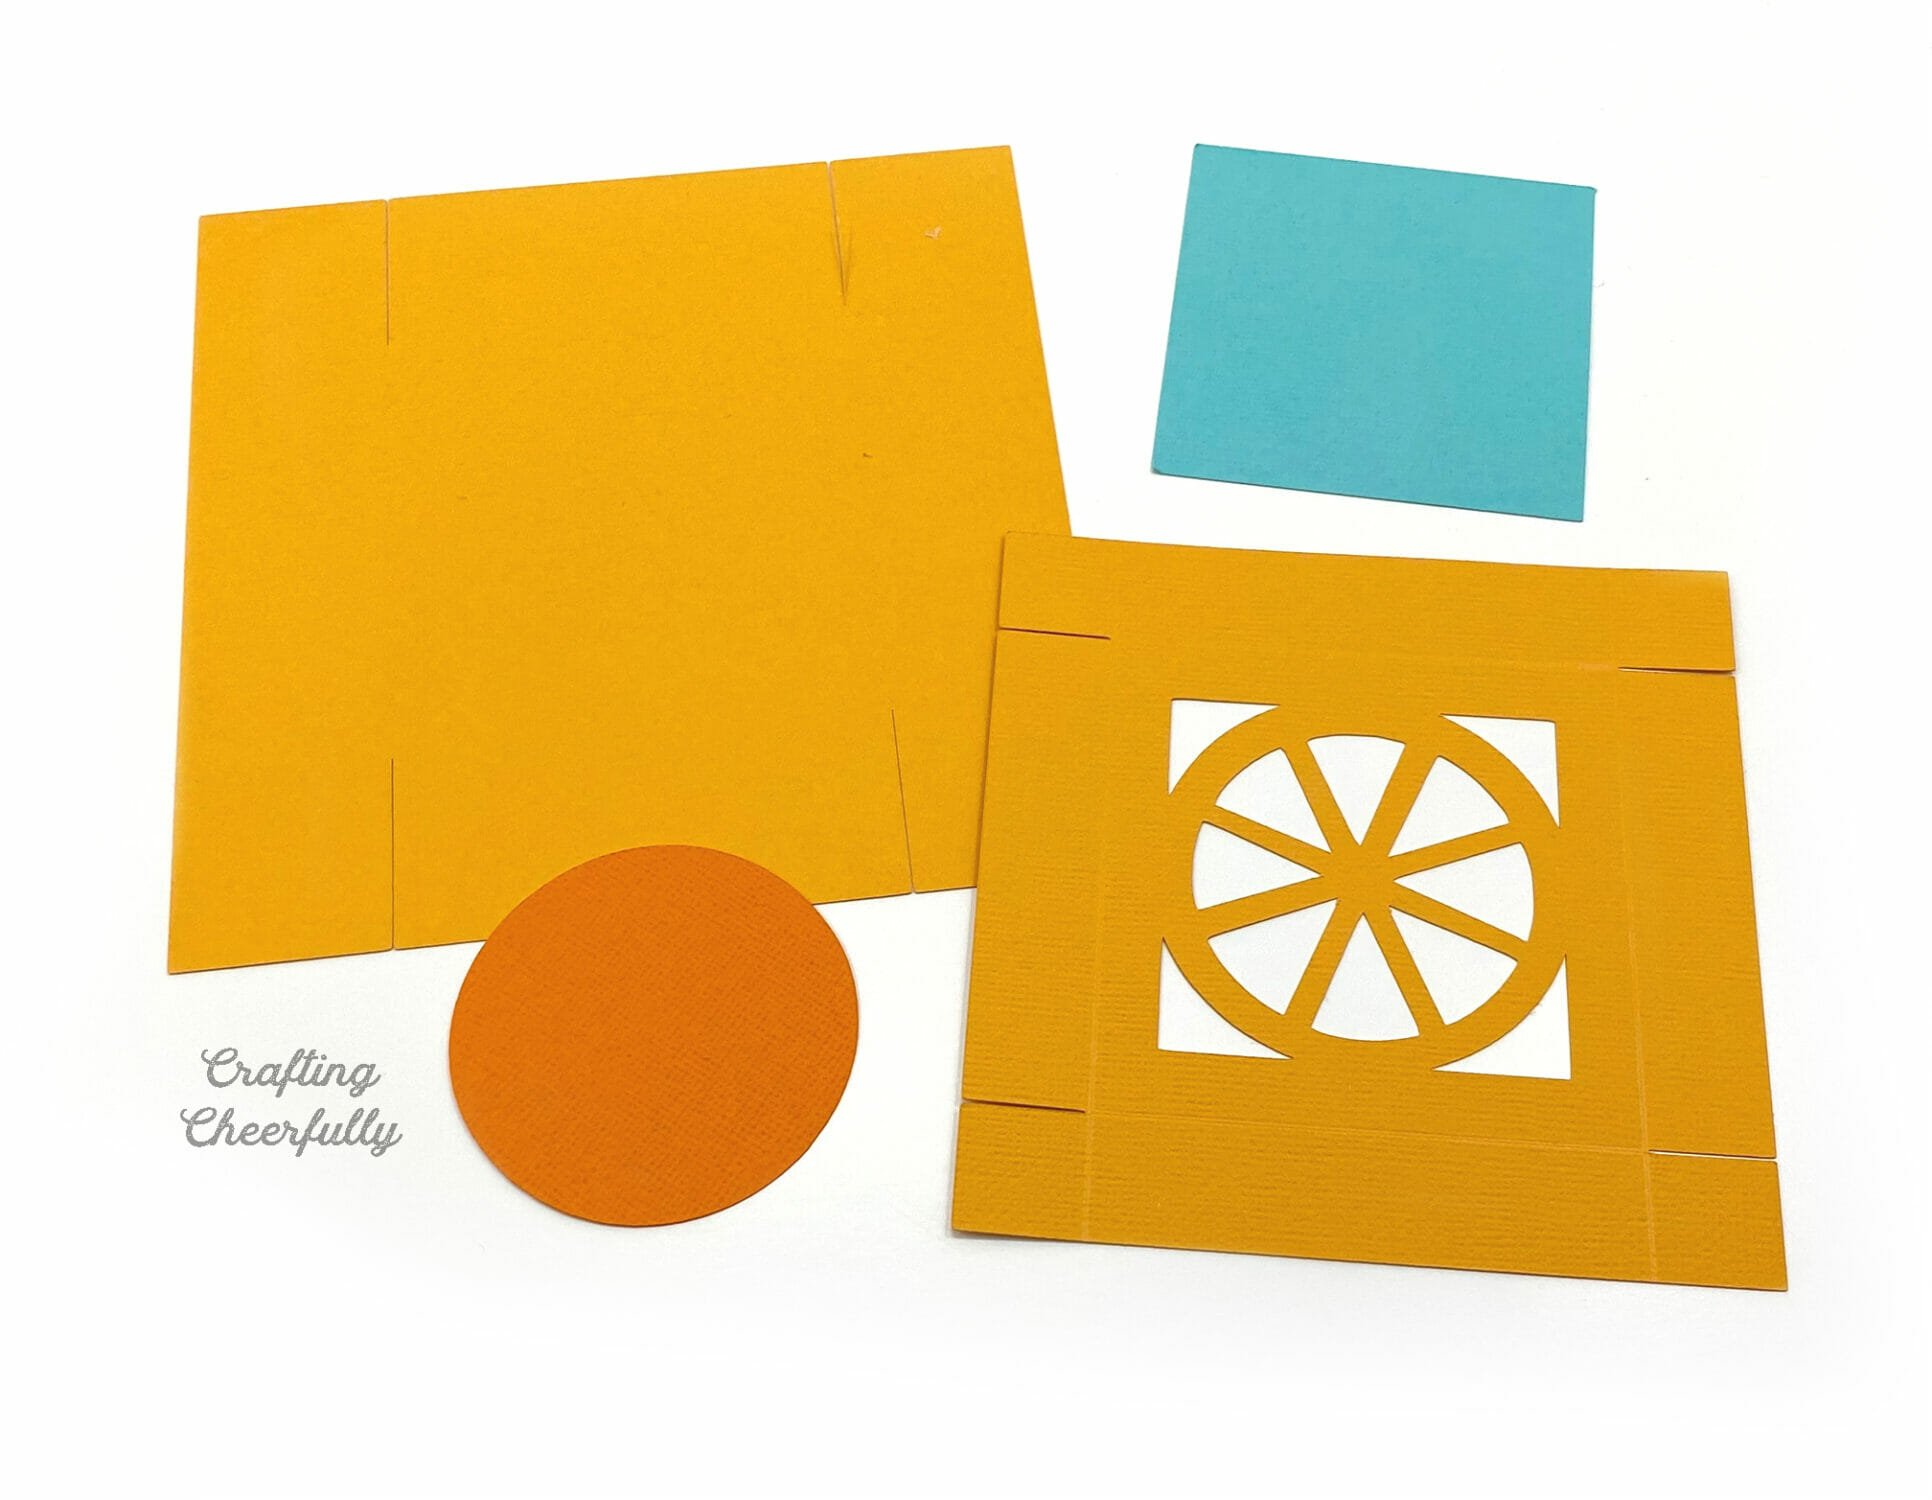
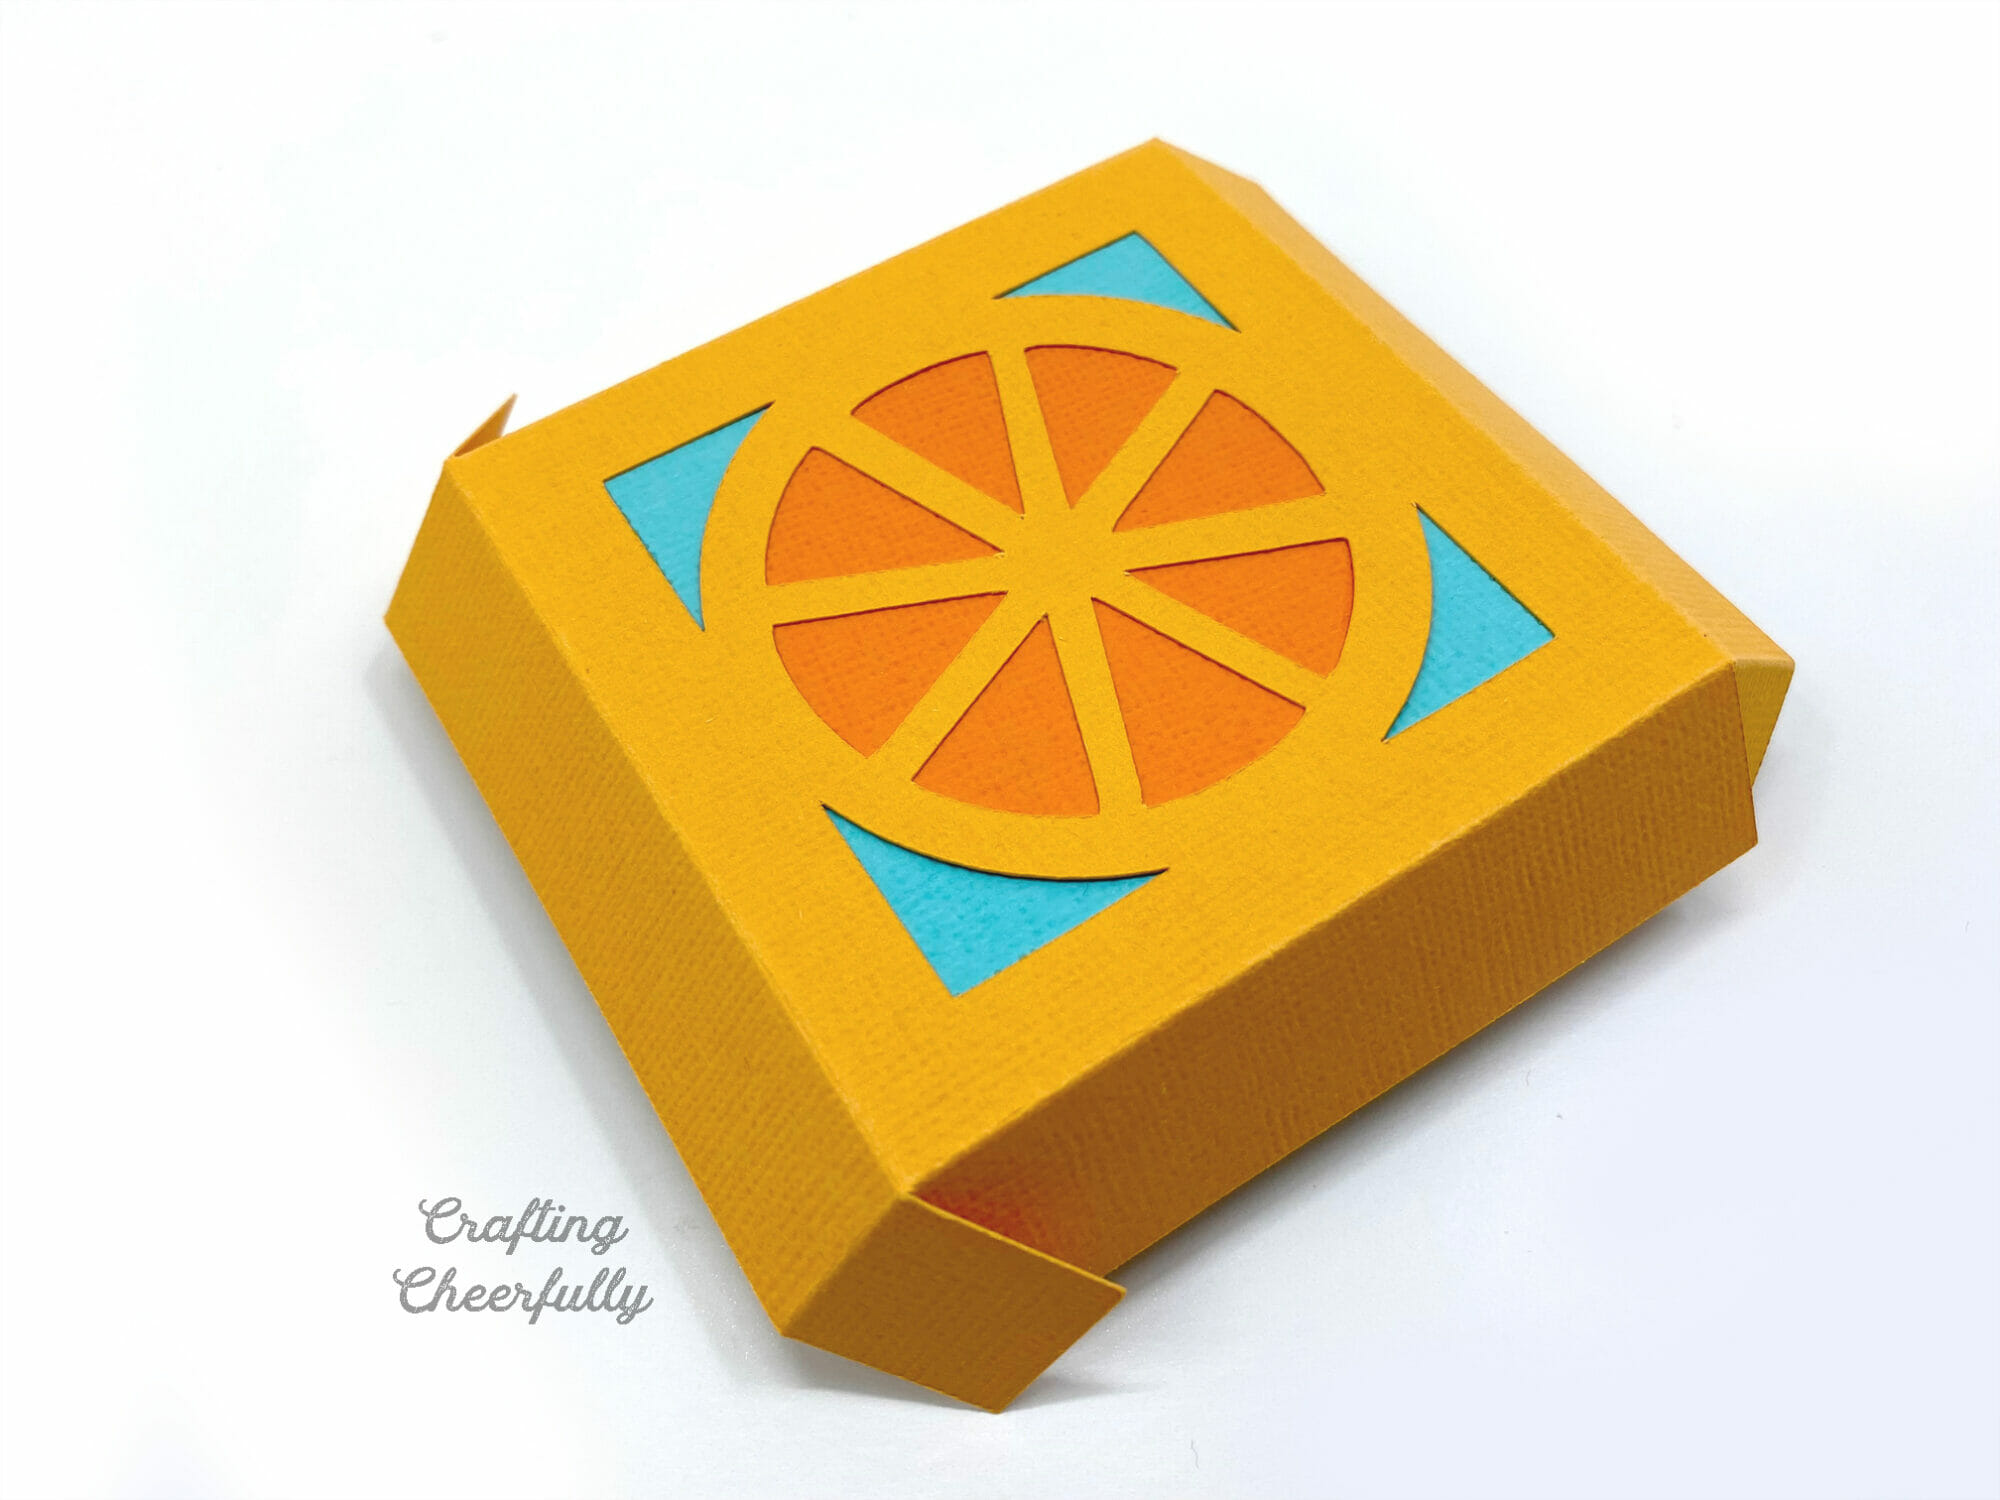
The boxes each have a lid with a cut out design. I originally planned to put craft plastic behind each lid as I have done for my Christmas boxes and Autumn boxes, but decided instead to back them with colored paper. This worked really well especially for the watermelon! The cut files come with all of the pieces to fill the cutouts plus a large piece that can be cut from craft plastic to make a see through window. For these boxes I cut the large piece from blue cardstock.

Below is the tutorial for making these sweet fruit party treat boxes! The cut files are available in my Designing Cheerfully Etsy shop!
How to Make Cute Fruit Favor Boxes
Supplies Needed:
- SVG cut files – Available in my Etsy shop. Thank you for supporting my small business!
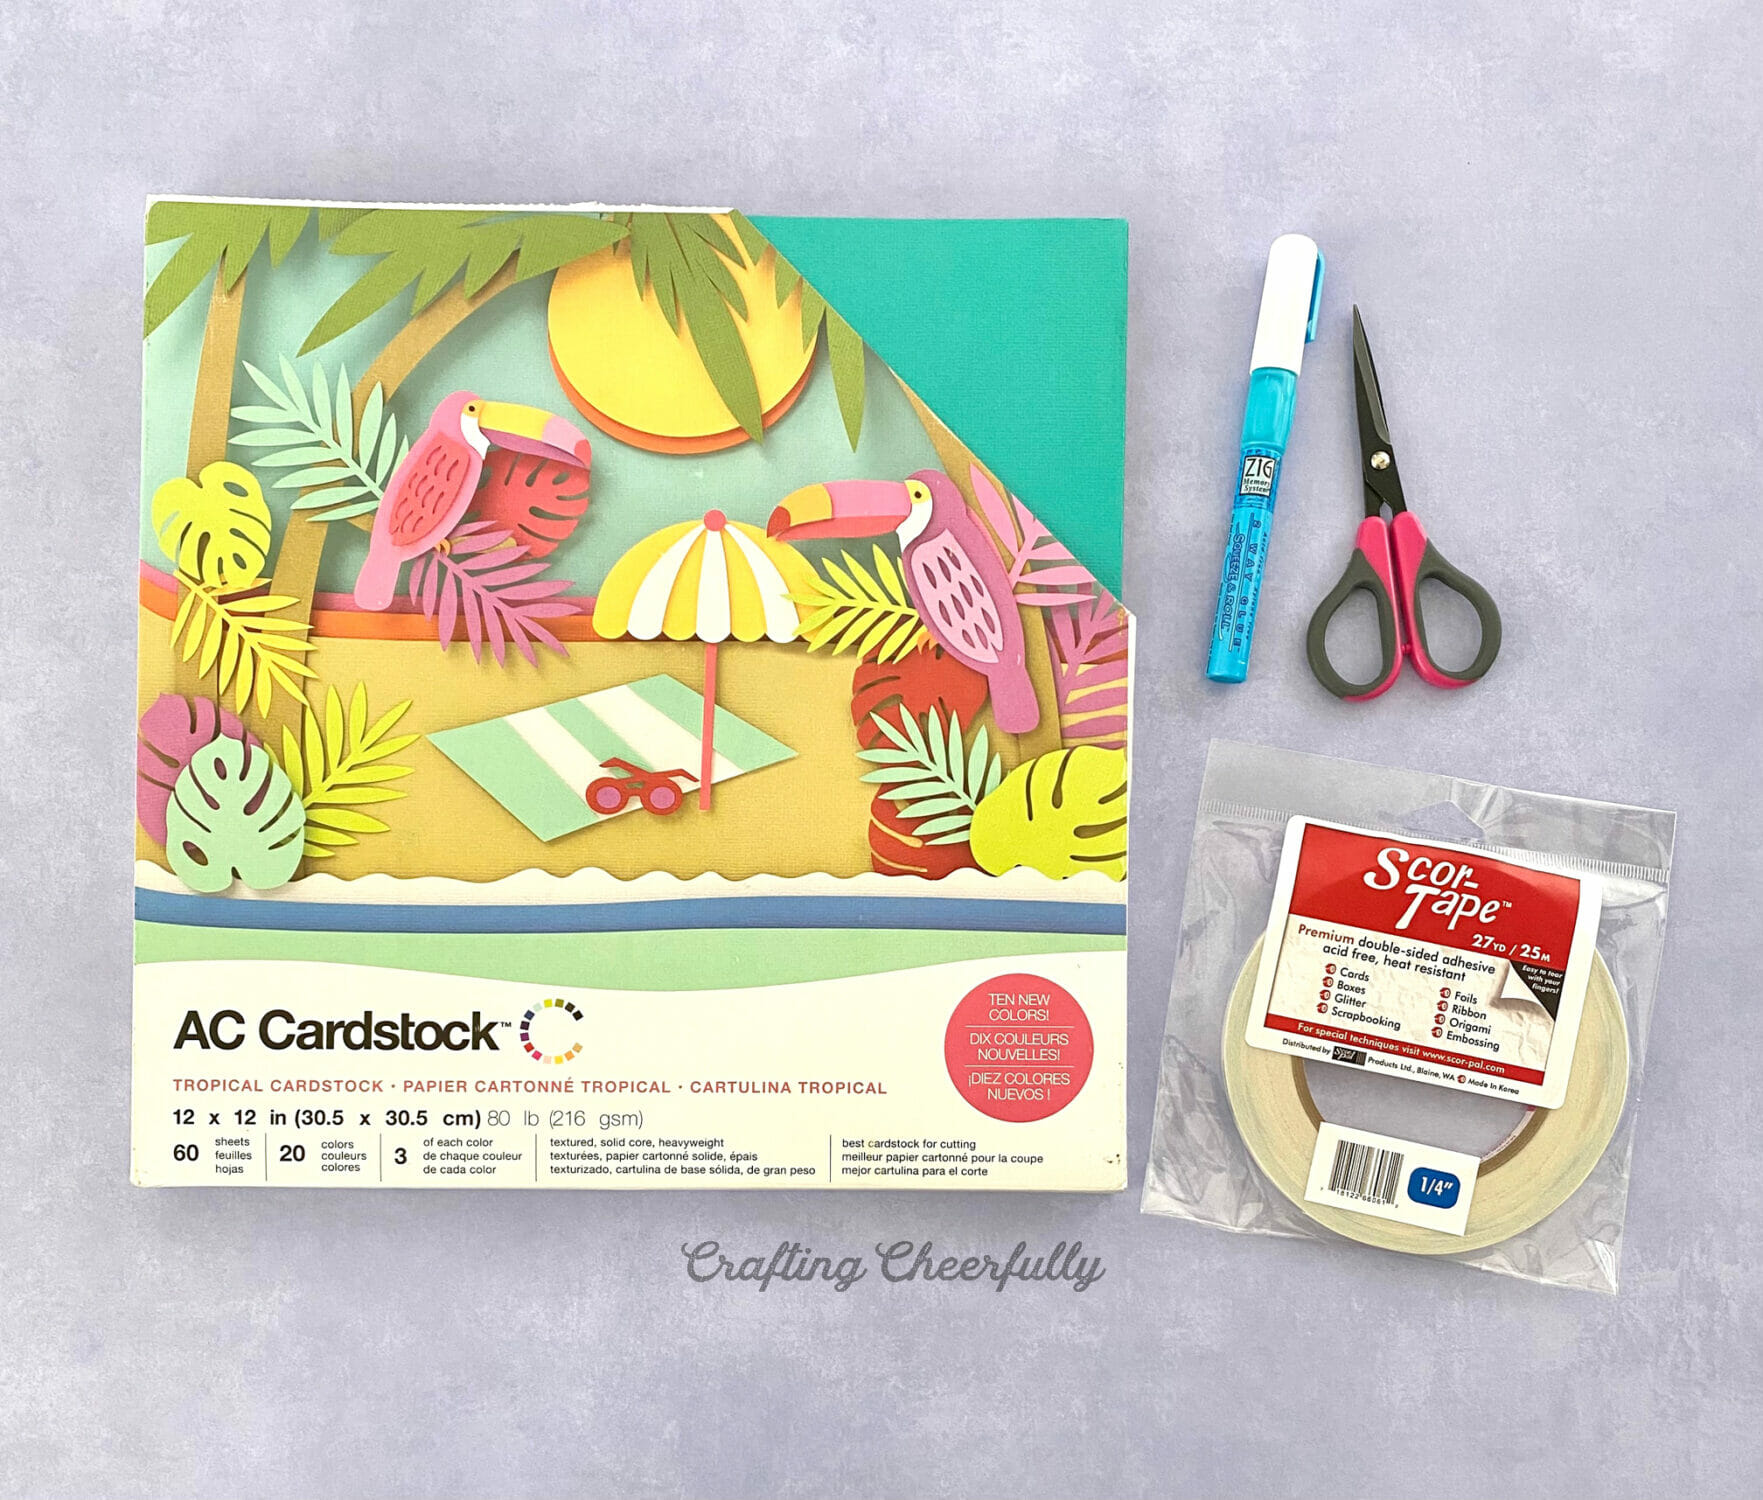
- Cardstock – I used paper from American Crafts Tropical Cardstock
- Double-sided tape – I used 1/2″ Scor-Tape
- Glue Pen
- *Scoring board and stylus – optional
Choosing the Paper
I made my fruit party treat boxes using paper from American Crafts Tropical Cardstock. I found it on Amazon and it had such great reviews I wanted to give it a try. It was a great weight for these boxes and the paper has a really lovely texture to it. The tropical colors were a lot of fun to use and the paper is 12″ x 12″ which meant each sheet of paper could fit two boxes.

Assembling the Boxes
Step One: Start by cutting the boxes out from Cricut Design Space. The files come with score lines but you can also score them by hand using a scoring board and stylus. The cut file comes with a guide for attaching the score lines in Cricut Design Space.
Step Two: Fold the boxes along the score lines.
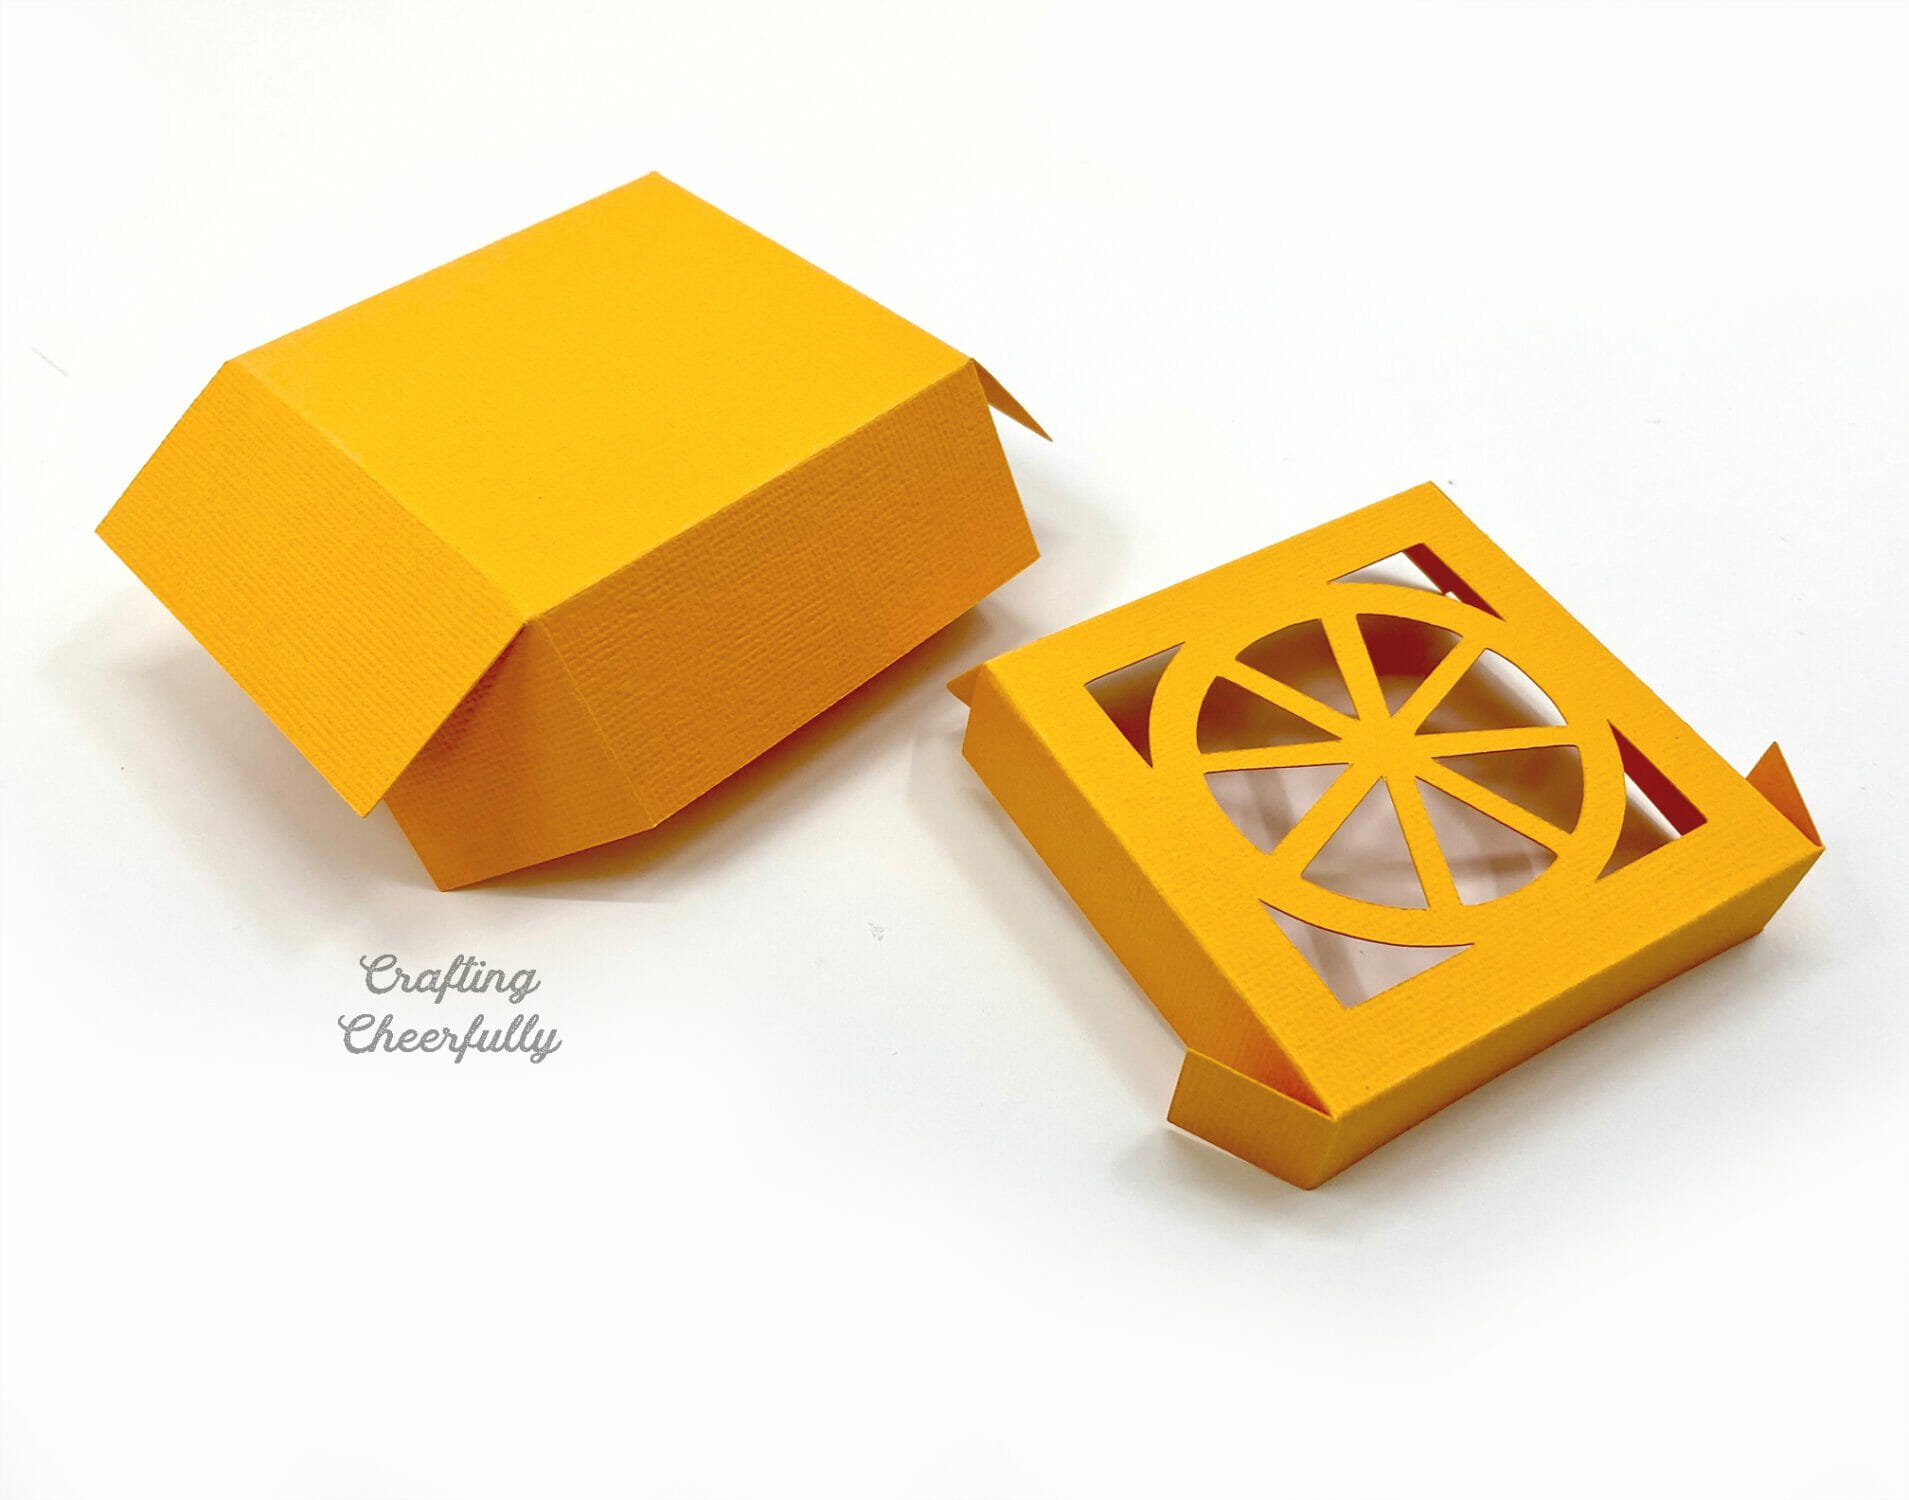
Step Three: Fill in the cut outs on each box lid. You can do this with the matching pieces that come with each cut file. Swap the blue piece out for clear craft plastic for a peekaboo window.


Step Four: Use double-sided tape to adhere the box pieces together. I used 1/2″ Scor-Tape on the flaps for the bottom of the box and the box lid.


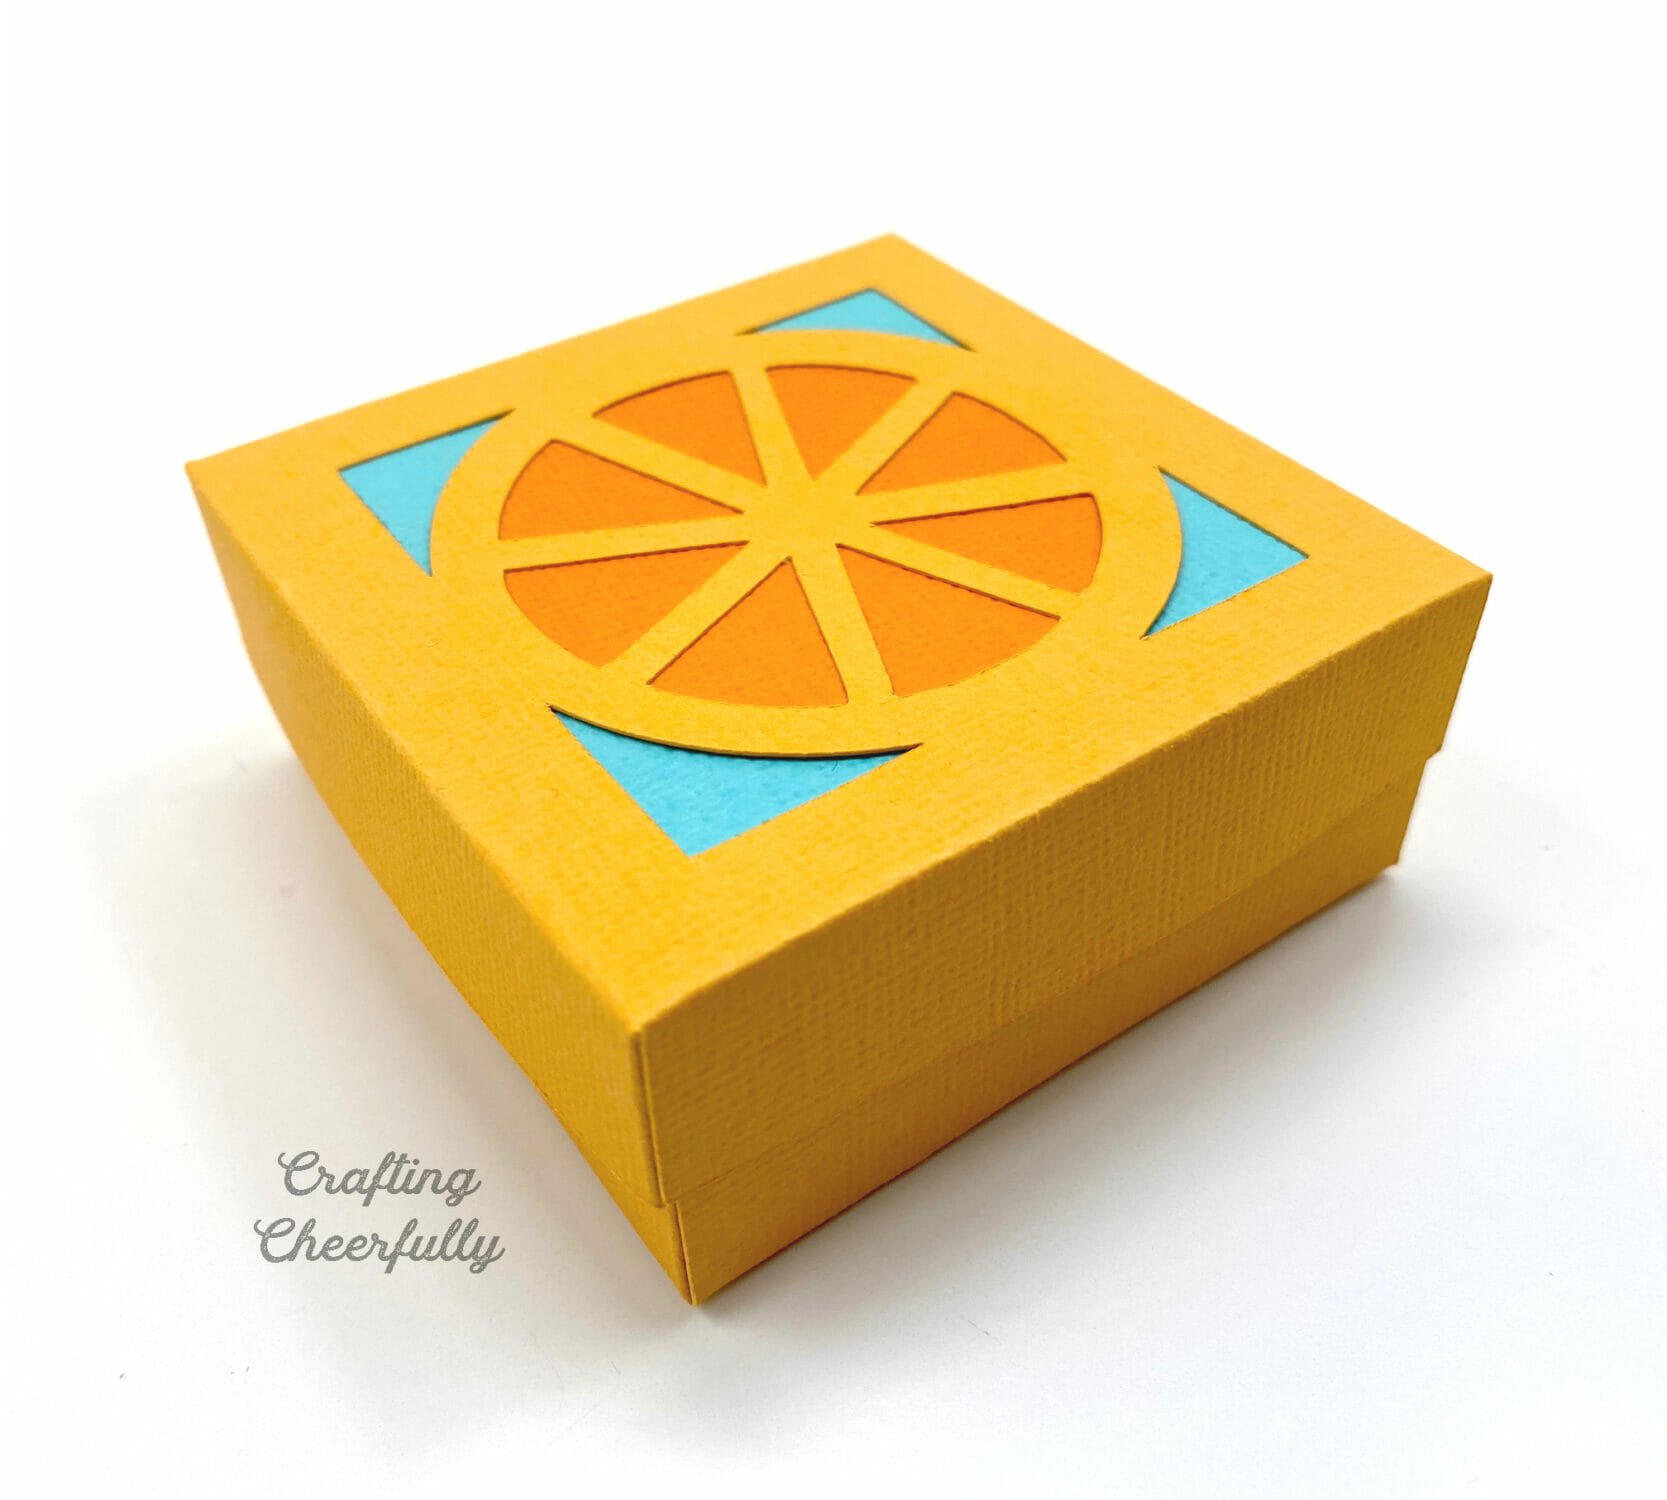
Below you can see all seven fruit boxes I made! Pineapple, strawberry, grape, watermelon, orange, lemon and lime! The blue background behind each lid makes them look like a cute little coordinating group.
Fill the Boxes
The box is assembled and ready to be filled with sweet treats! These make adorable party favors! I filled my boxes with Tootsie Roll Fruit Chews. The cardstock I used was not food-safe, so wrapped treats were best. You could also put unwrapped treats like cookies into clear plastic bags before they go into the boxes, or wrap them in parchment paper.

How to Get the Fruit Box SVG Cut Files
If you’d like to purchase the cut file for these Tutti Frutti Boxes, they are available in my Etsy shop. Thank you for supporting my small business :)

I love making treat boxes! Check out my collection of Treat Box crafts for more fun ideas.