How to Make Fabric Flowers with a Charm Pack
Create sweet DIY fabric flowers using cotton fabric and colorful buttons. These flowers can be made using a charm pack and are simple to make!
Hello Crafty Friends! Last week I started making a new wreath for spring using a fabric charm pack. I needed a few fabric flowers for the bottom of the wreath and made them using fabrics from the charm pack.
The flowers turned out so cute I thought I’d share a tutorial for creating them. While I’m using my fabric flowers for a wreath, they can be used for lots of fun things like hair clips, on home decor signs, and so much more.
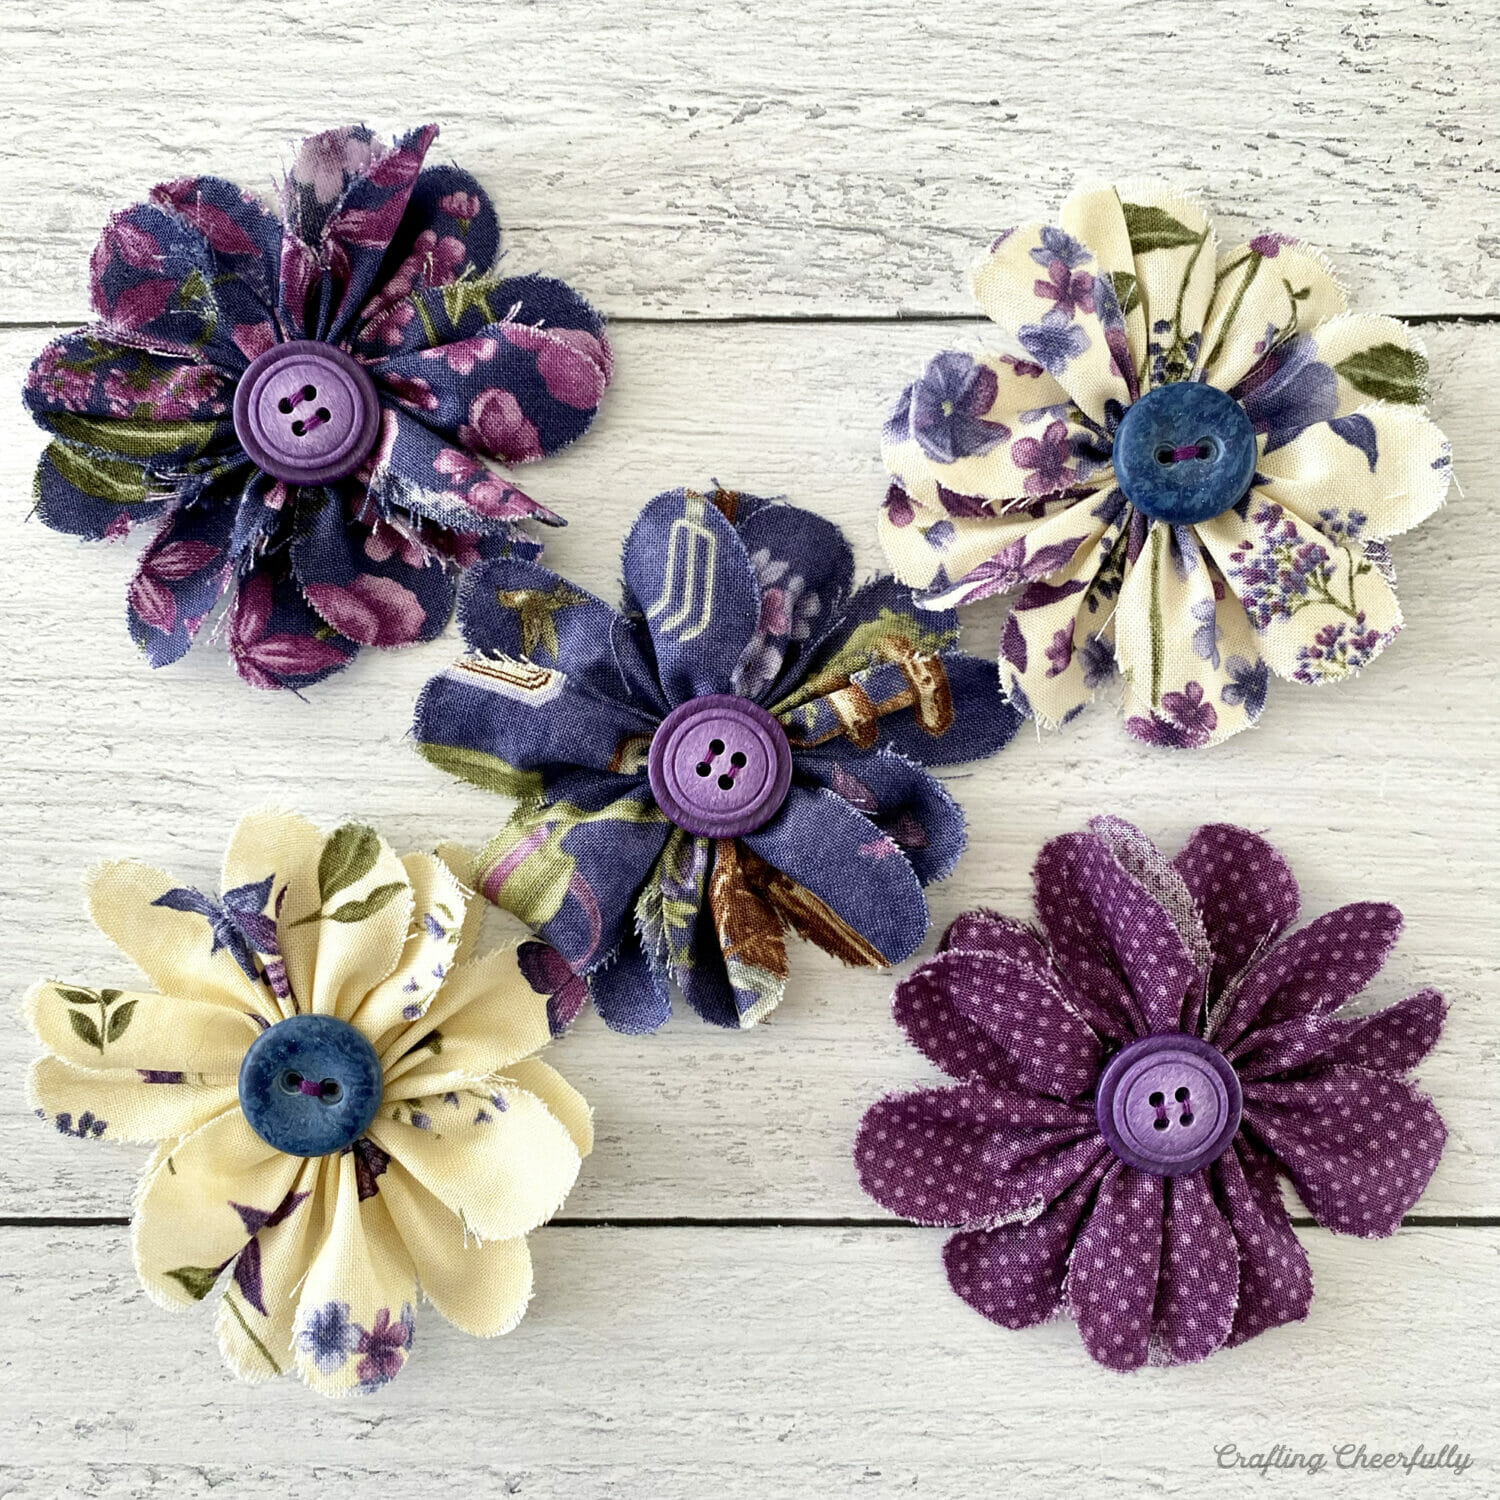
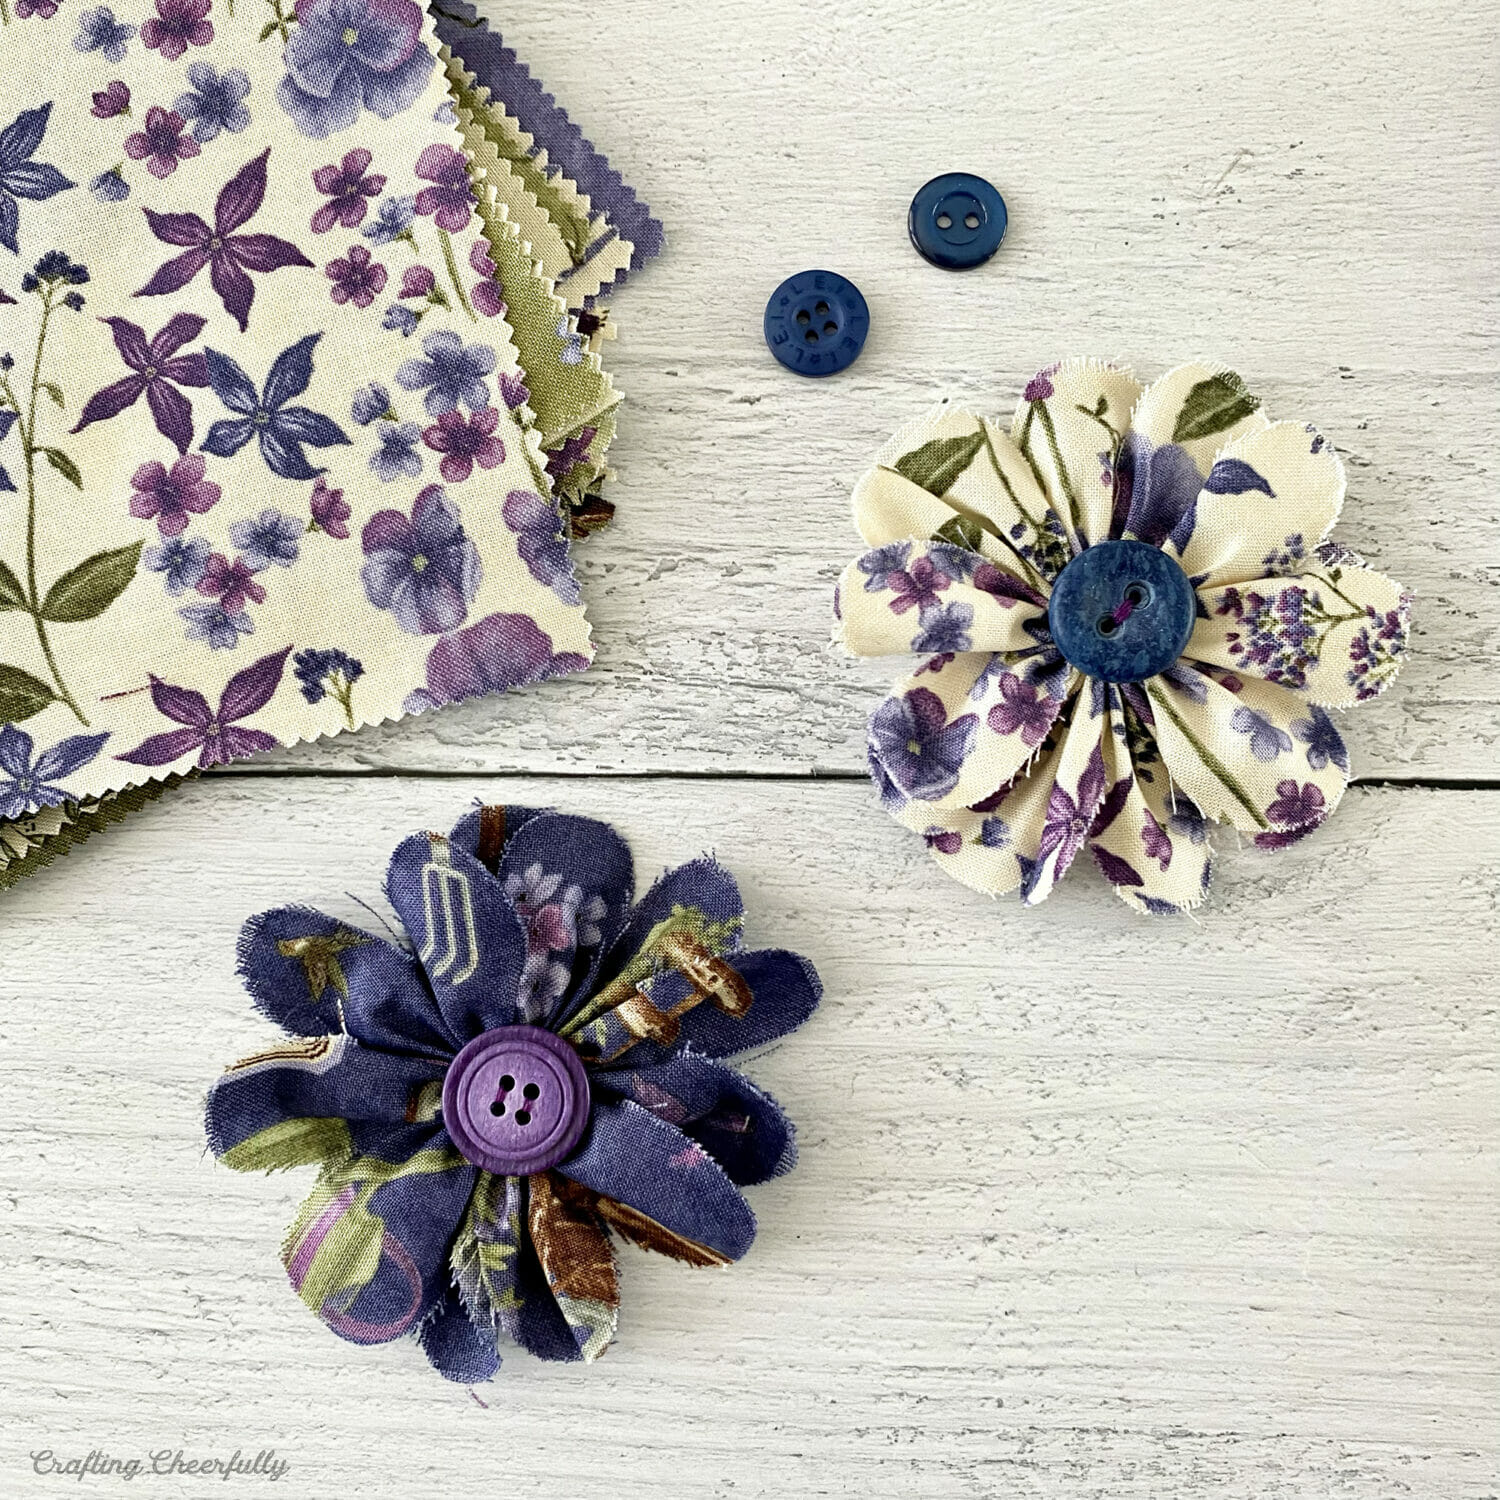
Each flower is made from one 5″ square piece of fabric from a charm pack. The finished flower is about 3″ in diameter. I also made a layered flower using two pieces of charm pack fabric to create a fabric flower that measures about 4.5″ in diameter.

For my flowers I used the charm pack Violet Hill by Holly Taylor for Moda Fabrics. It has beautiful floral prints in purple, blue, green and cream colors. I found coordinating buttons that were blue and violet for the center of each fabric flower.
Below is the tutorial for making the fabric flowers. I’ll be sure to include a link to the wreath I made with my fabric flowers when I post it!
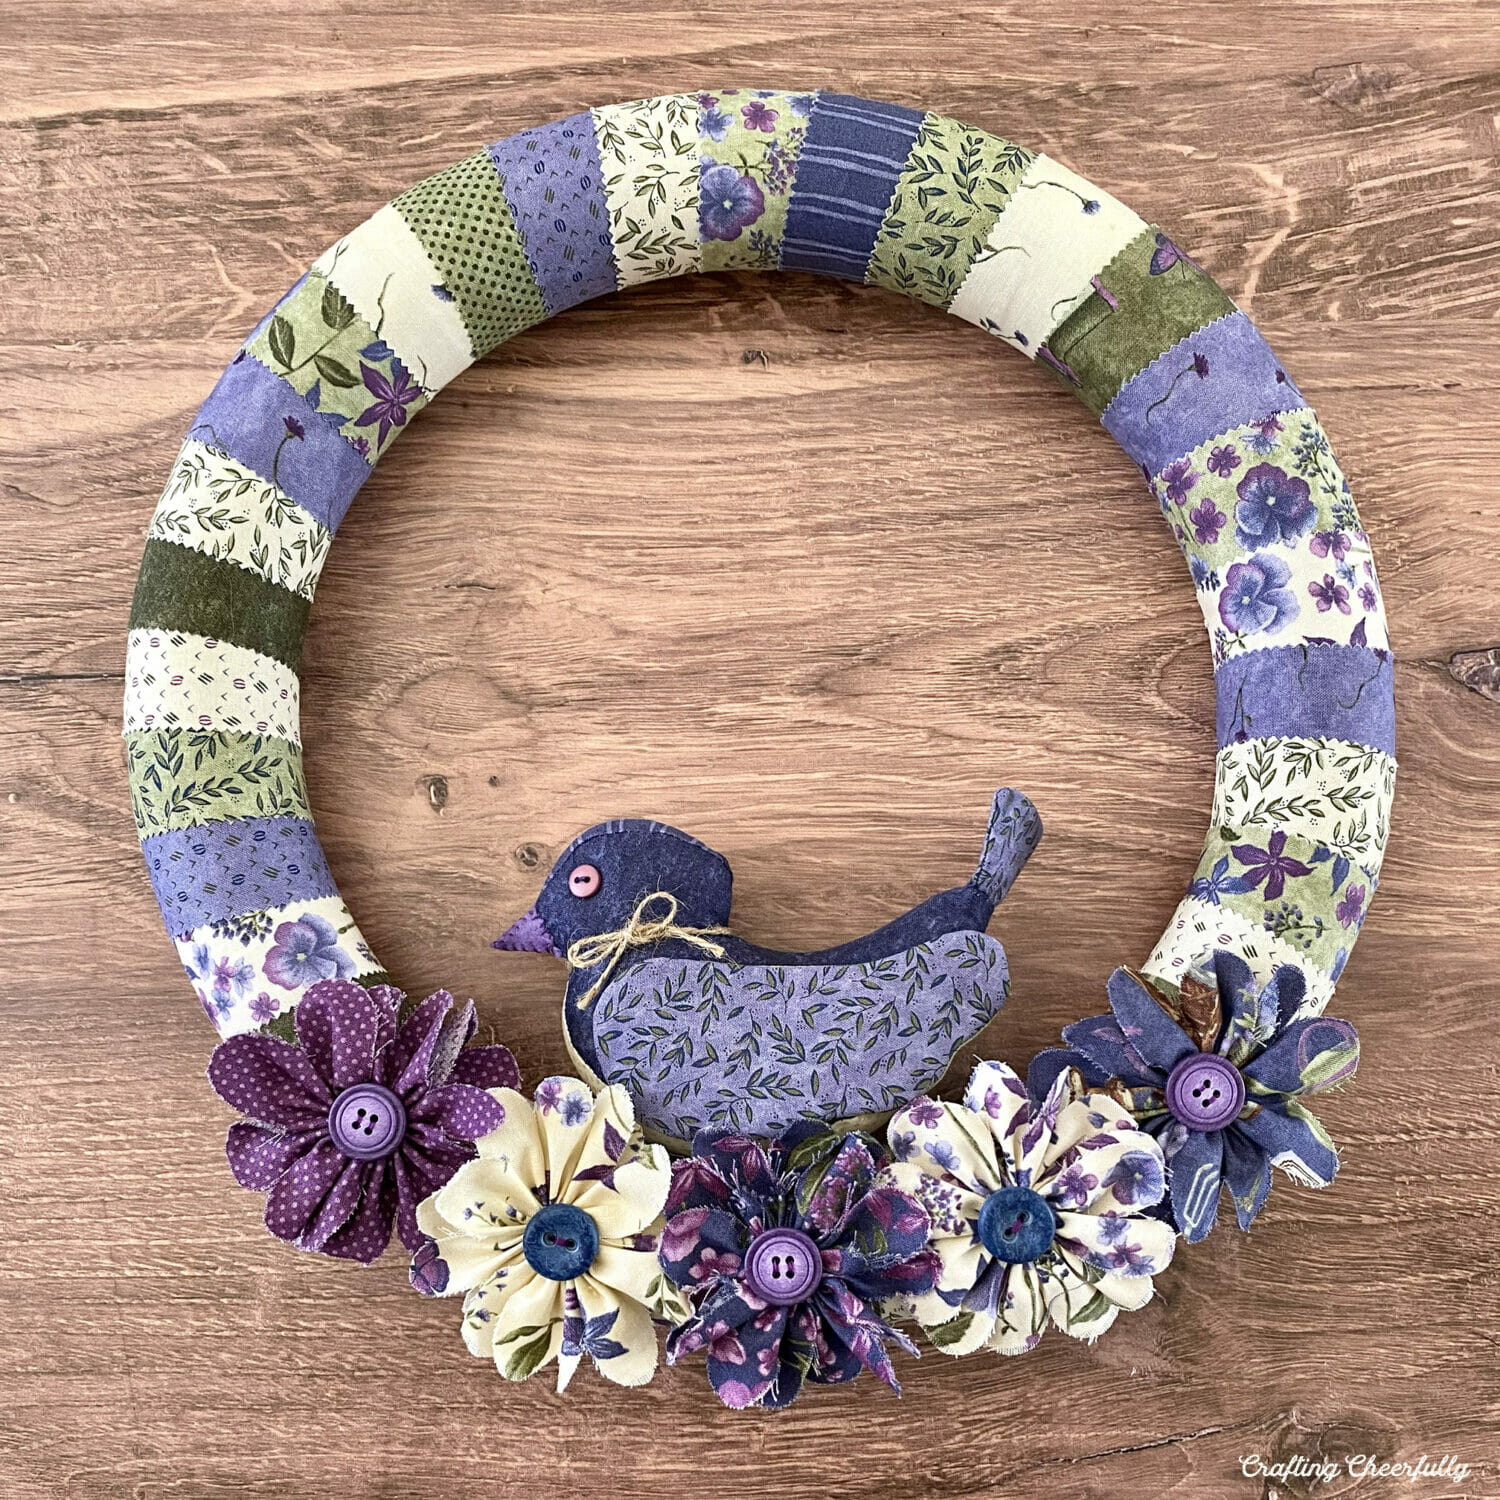
Update: Here is a my beautiful fabric wrapped spring wreath I made using these cute fabric flowers!
DIY Fabric Flowers
Supplies Needed:
- 5″ square piece of fabric (like from a 5″ Charm Pack)
- I used the charm pack Violet Hill by Holly Taylor for Moda Fabrics
- Coordinating thread
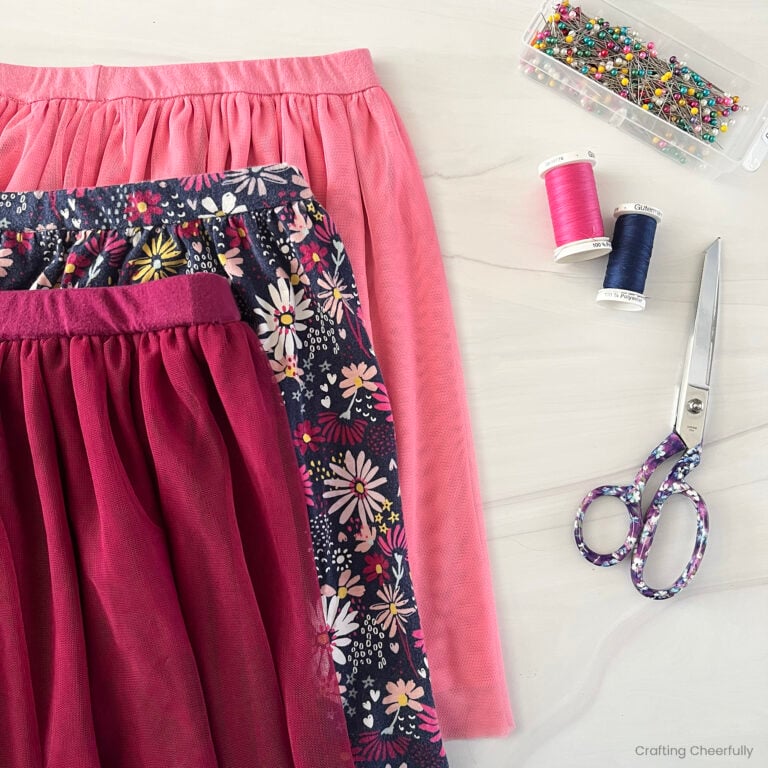
- Buttons – I found these Spectrum Cool brand purple buttons and blue buttons at Joann Fabrics.
- Sewing needle
- Fabric scissors and embroidery scissors

Step by Step Tutorial
Step One: Cut the fabric. Start by cutting the piece of fabric into thirds. I folded my fabric into thirds and pressed along the fold lines to create a cutting guide.

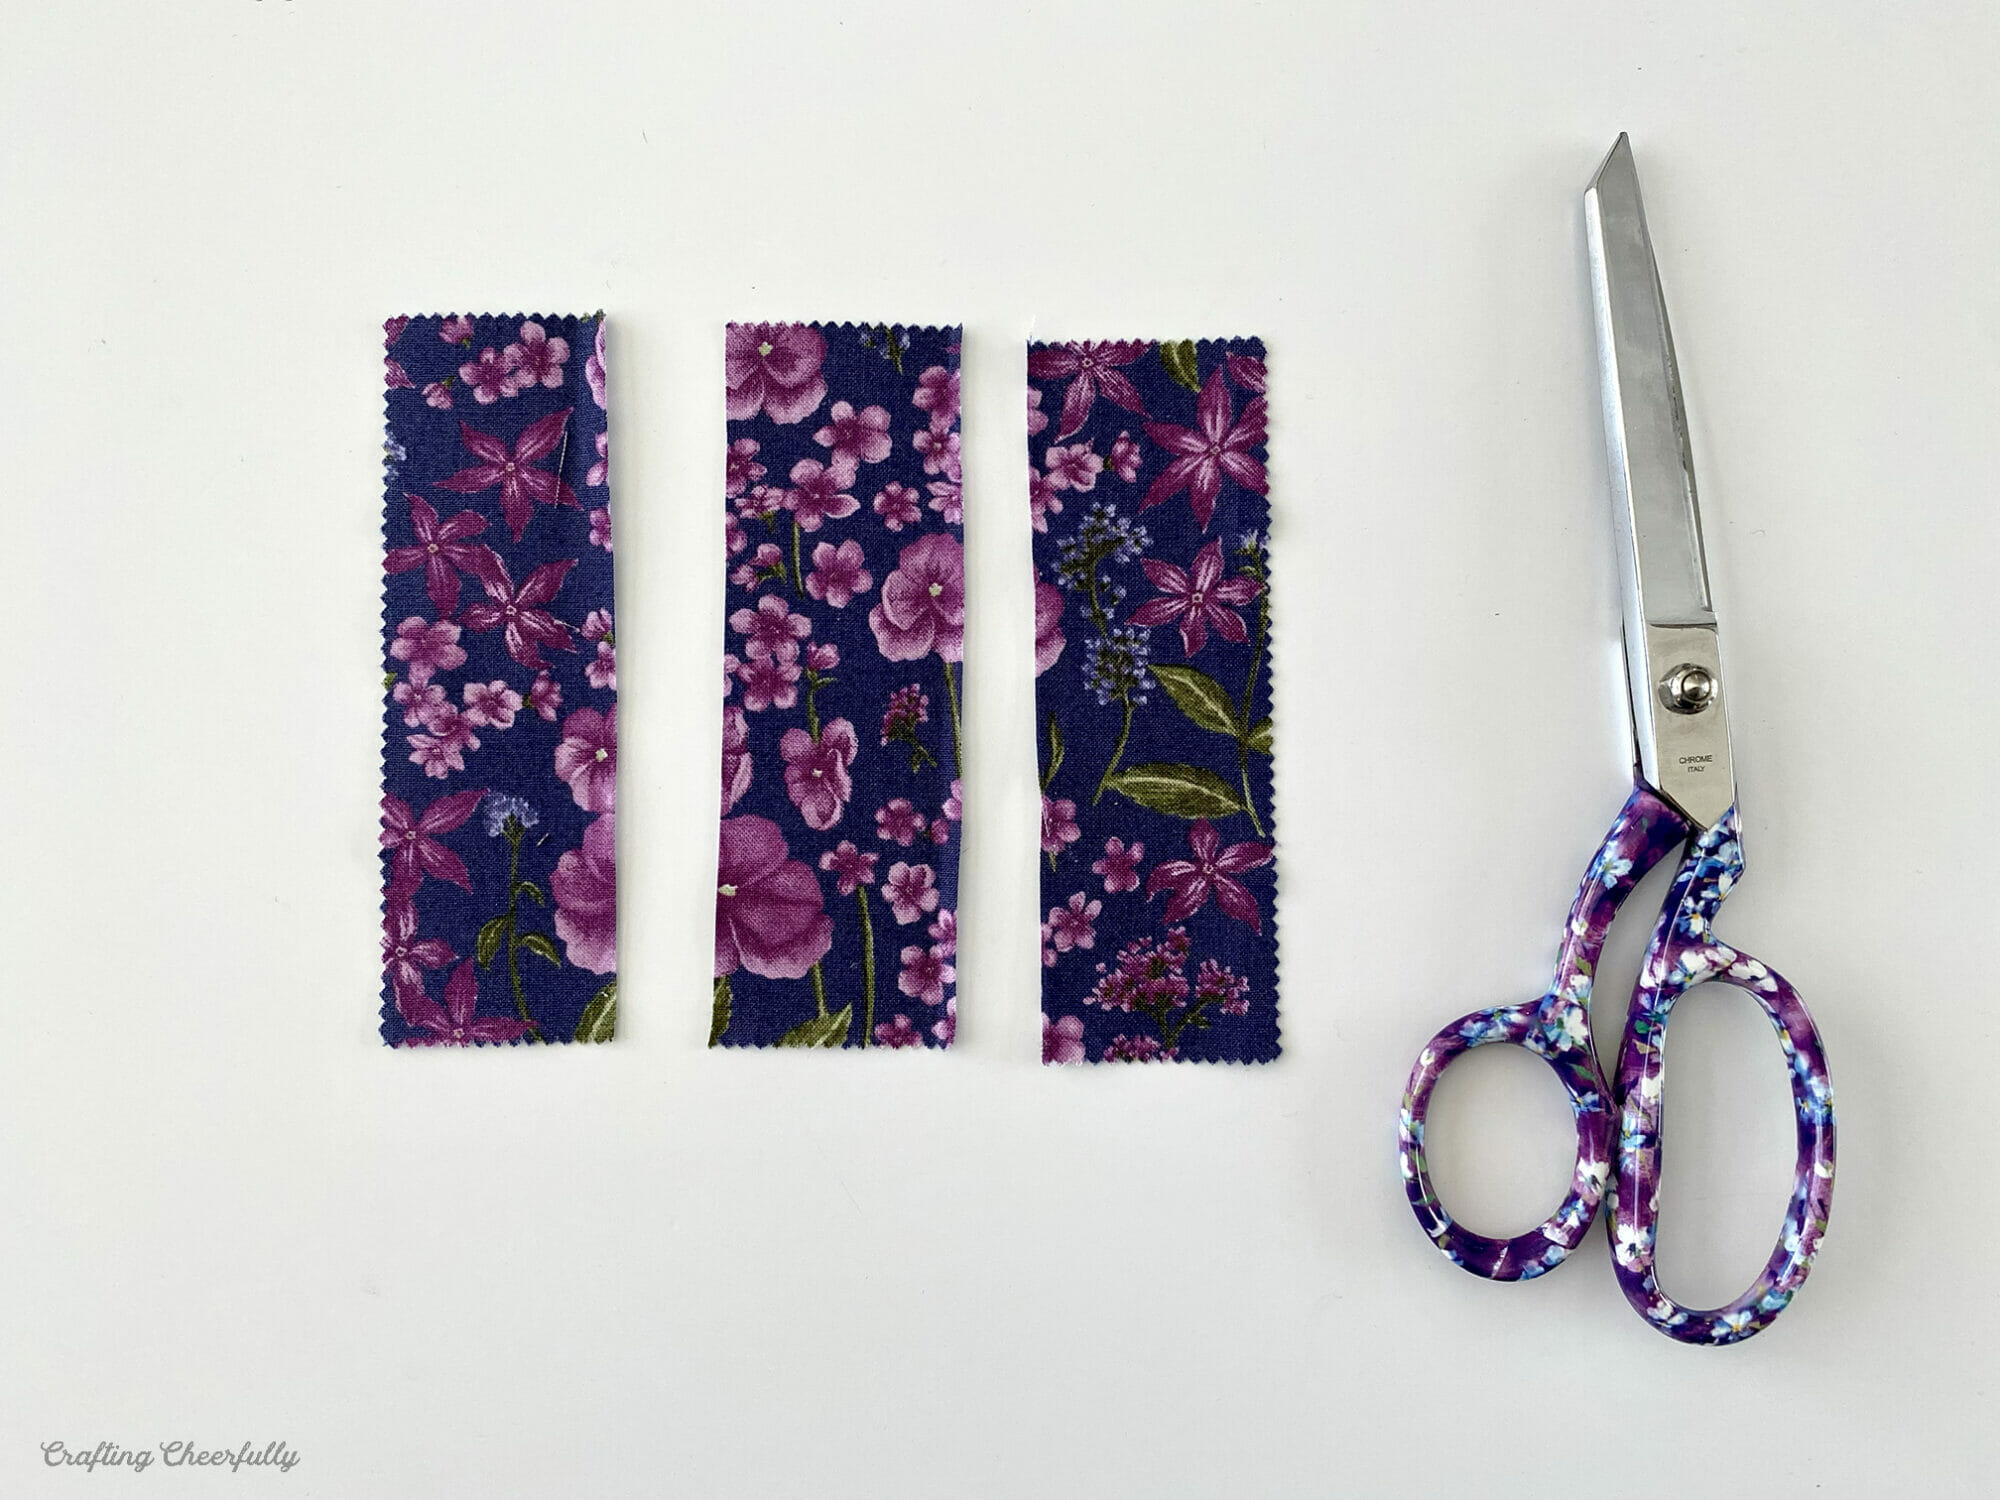
Layer the three pieces of fabric on top of each other and cut scallops along one edge. I created five scallops on each piece.


Step Two: Gather the fabric together to create a flower. Gather the three pieces of fabric together along the straight edges to create the flower. Start by securing the thread to one end of the first piece of fabric with a small knot.

Next, use a small running stitch along the straight edge of fabric.


When you come to the end of the first piece of fabric, continue your stitching to the second piece of fabric. Repeat for the third piece of fabric.

Pull the thread so the fabrics gather together tightly in the center. Secure the flower by taking a few stitches through the center of the flower on the backside.

Step Three: Add a button. Stitch a button to the center of each flower.

Step Four: Rough up the edges of the fabric flower petals. Below you can see my flower on the right has been roughed up to fray the edges of the petals. To do this, I hold the flower by the center and brush the petals against a table surface, my sleeve or an old brush. You can of course skip this step and leave your flower petals as is.

How to Create Layered DIY Fabric Flowers
For my spring wreath, I’m using five of these fabric flowers and am so excited with how they turned out! While I was experimenting with how to create these, I tried layering two flowers and wanted to share how to do that. It creates a larger flower with two fabrics.
The layered flower is made the same way except the bottom layer is larger. Cut a charm square in half and scallop one of the sides. I created four scallops on each piece.

Stitch the large flower together gathering the straight edges with a running stitch. Pull them tightly in the center.


Stitch the smaller flower on top of the larger flower and add a button to the center!

The layered flower is finished! These fabric flowers are so fun to make and are perfect for pretty fabrics and charm packs!