
DIY Easter Egg Ornaments Using Fabric Scraps
Create Easter egg ornaments using fabrics scraps to decorate a mini Easter tree or branch. This project is a fun way to use up fabric scraps and decorate your home for Spring and the Easter holiday!
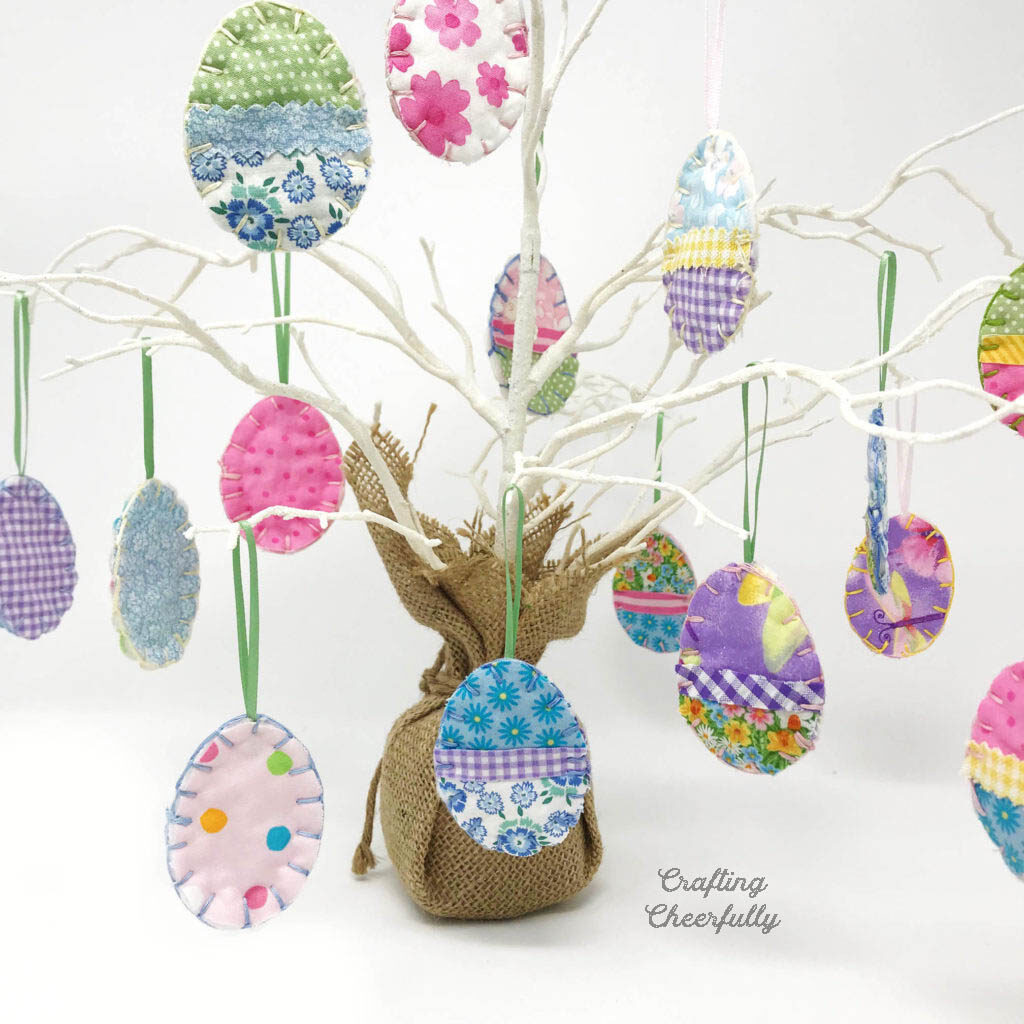
Hello Crafty Friends! I’m back today with a fun little DIY – Easter egg ornaments made from fabric scraps! Last year I made these sweet egg ornaments from small scraps of pastel fabrics I found in my stash. This year I found an adorable little tree on sale at Joann Fabrics and just love how cute the eggs look hanging from this little tree!
Below is the tutorial for making these egg ornaments. Search your stash for some small scraps and grab some fleece, embroidery floss and ribbon and you’ll have everything you need to make these ornaments!
How to Make Fabric Easter Egg Ornaments
Supplies Needed
- Free Egg Ornament Pattern – Grab the free file by filling out the purple form at the end of this post.
- White fleece or felt for inside layer
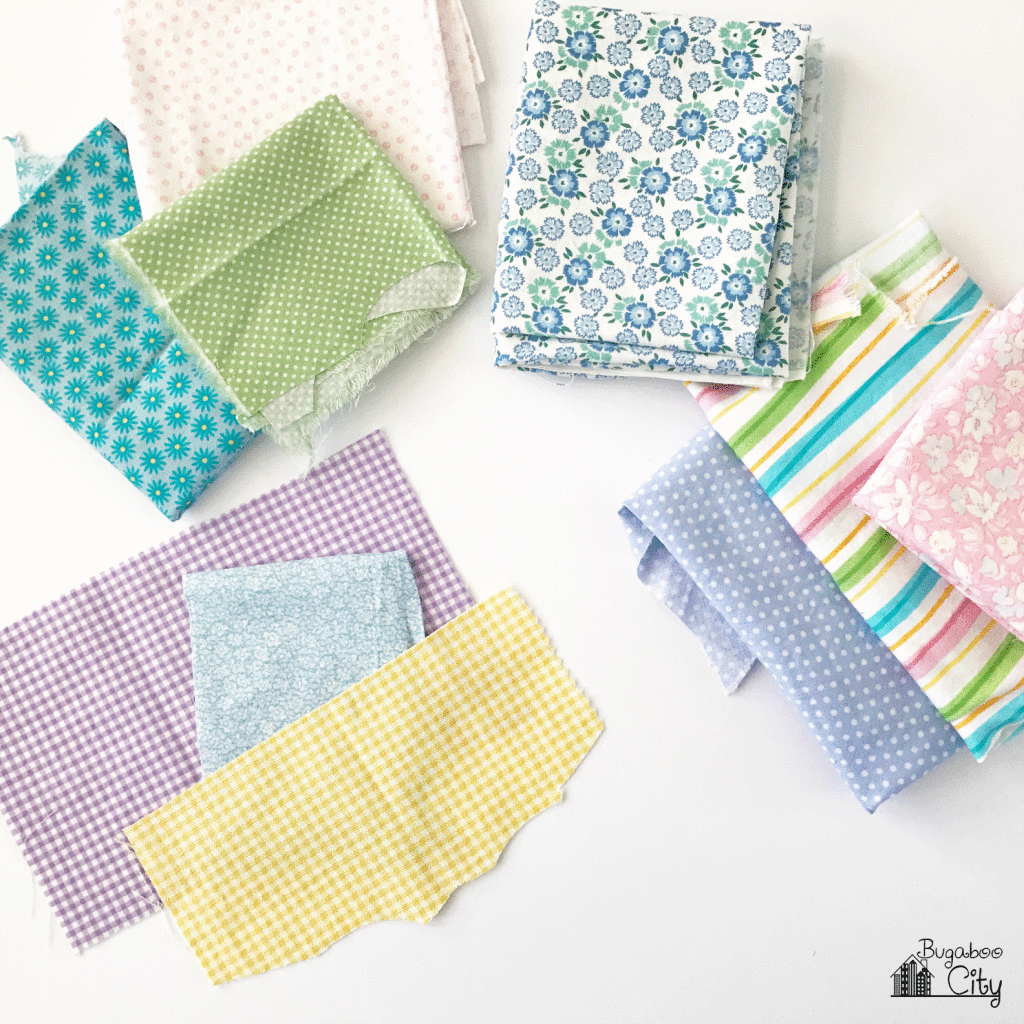
- Fabric scraps in pastels, florals, stripes, and any fun spring pattern you can find!
- 1/4″ ribbon for hanging
- Embroidery floss
- Fabric scissors and embroidery scissors
- Needle and white thread
Assembly Tutorial
Step One: Gather your supplies and print the free egg template.
I found a lot of sweet pastel and floral fabrics in my stash that felt perfect for spring and Easter. If you buy fabrics, consider asking for swatches at Joann Fabrics – usually cut as 2″ – 3″ strips – since you don’t need a lot of fabric for these small eggs!
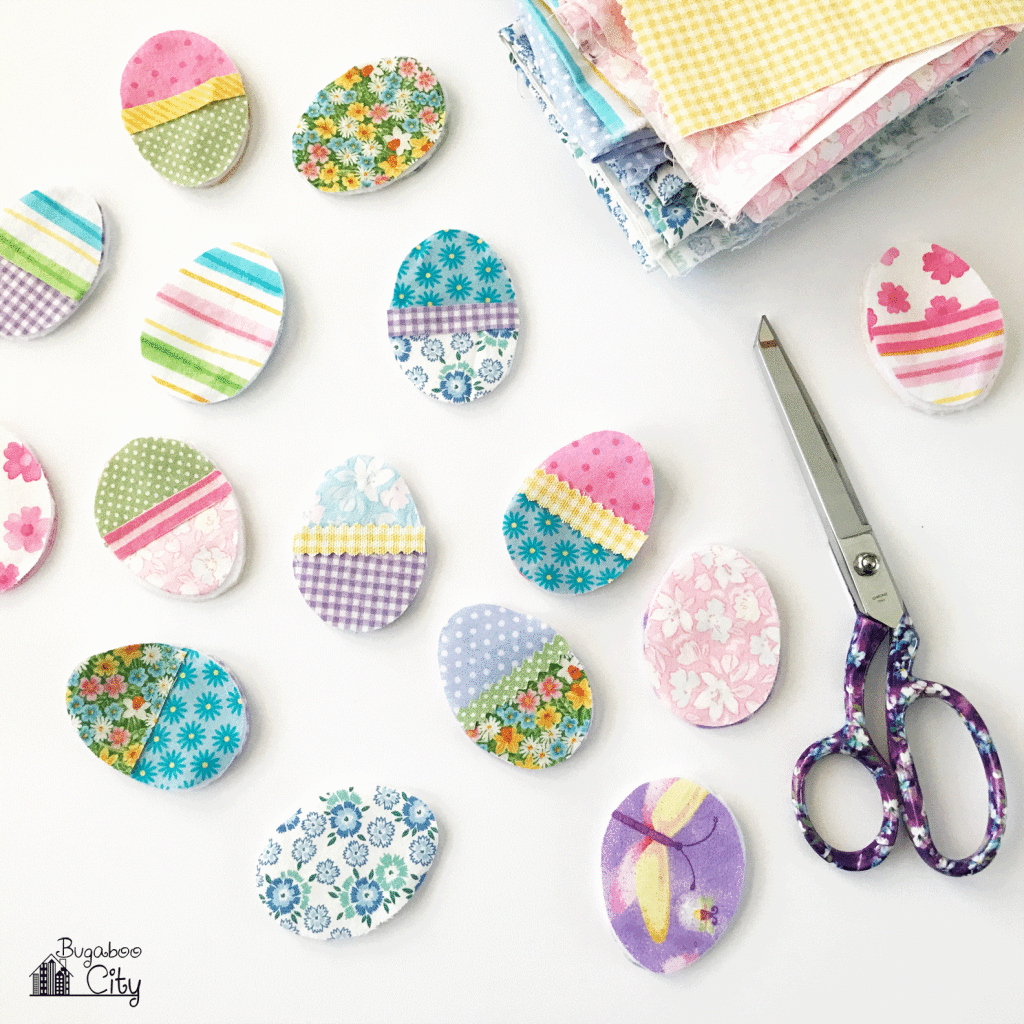
Step Two: Use the template to cut the fabric and fleece.
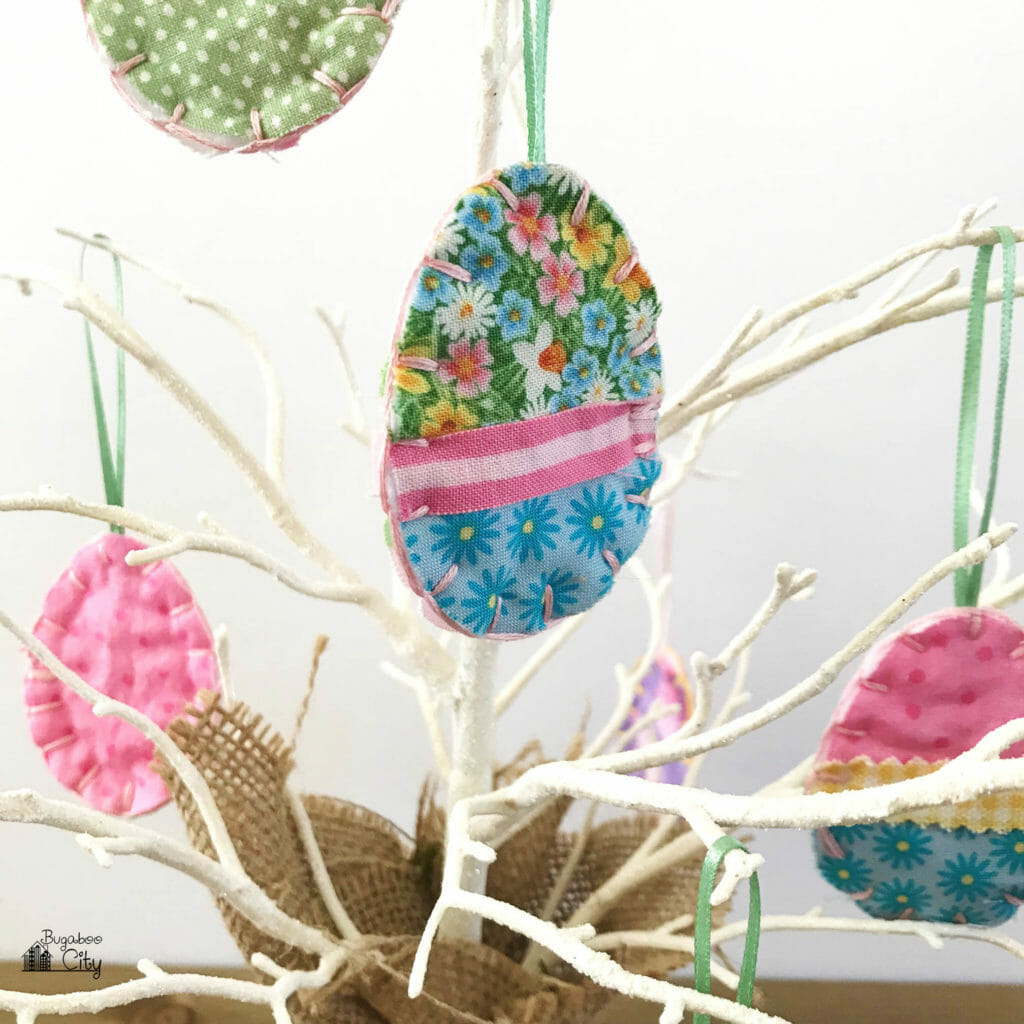
Cut one layer of white fleece for each egg. Then cut fabric layers – a front and back – for each egg. You can have the fabric cover one whole side of an egg, or split it up so the egg has a different fabric on the top and bottom. I loved this look and added a stripe from a third fabric in the middle. Make as many fun combinations as you want! I made 15 eggs total.
Step Three: Hand sew a ribbon loop to the top of each piece of white fleece.
Add the hanging loop to the layer of white fleece. I used white thread and just did a few backstitches to hold the ribbon in place. This will be hidden by the layers of fabric.
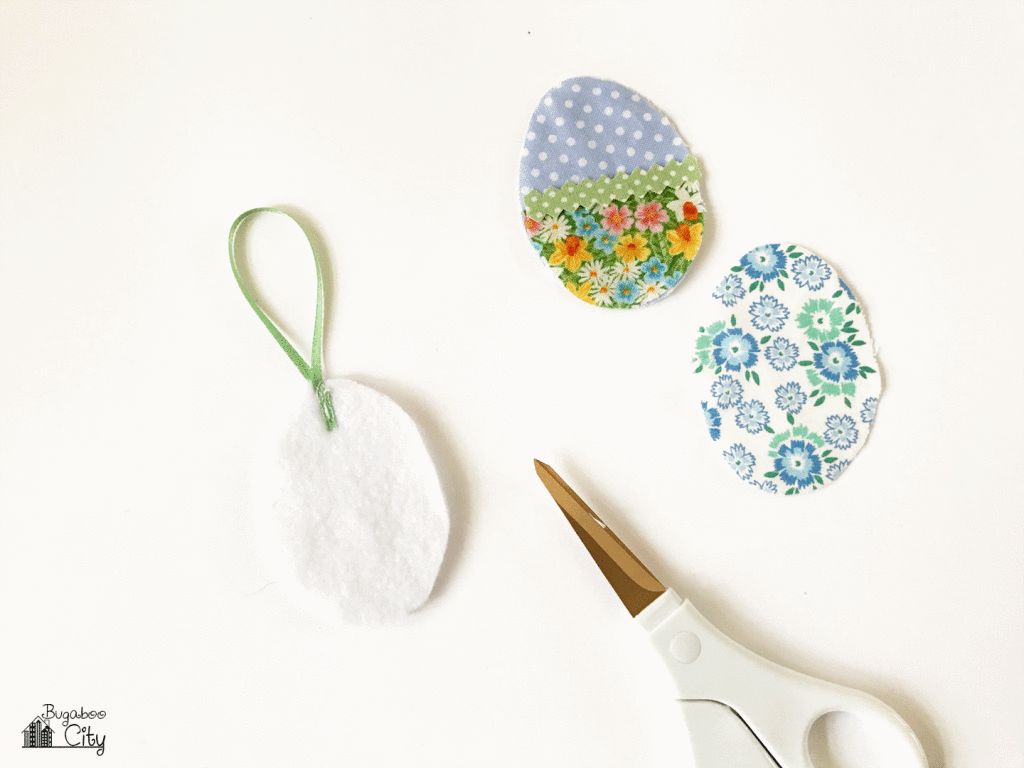
Step Four: Handstitch the fabric eggs.
To stitch each egg together, place all of your fabrics on the front and back of the white fleece. Using embroidery floss, stitch through all layers using a blanket stitch. You could also use a small running stitch around the edges. I chose a blanket stitch because it kept all of the layers together really well around the edges and hid the white fleece.
You can use coordinating embroidery floss or use a contrasting color – whatever you think looks pretty!

Once you have stitched around each egg, they are all finished! This was a fun little hand sewing project and I had a lot of fun using some of my fabric scraps. I always like remembering what the fabric was used for – sometimes it’s clothes I made for my little ones or craft projects. Sometimes the scraps are older and were from clothes and crafts my mom made me!

Hang your finished eggs on a cute little tree like the one I found at Joann’s – or find a pretty branch in your yard and place it in a vase. You could leave the branch natural or spray paint it.
I hope you enjoyed this fun DIY for Easter and can use up some of your fabric scraps too! Check out some of these other fun Easter projects I have that are great for using up fabric scraps!!

Get the Free Easter Egg Ornament Pattern!
Fill out the purple form below with your first name and email address! The free file will be sent straight to your inbox! If you have already filled out the form below, don’t worry – you won’t be added to my list twice! This freebie is for personal use only. I hope you enjoy crafting something special. Please let me know if you have any questions :)


Love Bugaboo City
Thank you! :)