
DIY Pumpkin Banner – with Buffalo Check Burlap
Learn how to create a simple, rustic farmhouse pumpkin banner perfect for Autumn using buffalo check burlap and a free template!

Hello Crafty Friends! Today I’m sharing a new banner perfect for autumn – a pumpkin banner using buffalo check burlap! I love this banner because you can leave it up through Halloween and Thanksgiving, and best of all – it is easy to make!
While shopping at Joann’s for Halloween costume supplies, I found a roll of orange buffalo check burlap on sale. I love buffalo check! It feels so cozy and reminds me so much of fall and winter. It instantly gives your space a farmhouse feel. I grabbed it and decided to use it on a new banner.
I found some orange felt, twine and tiny clothespins in my craft stash and threw this banner together. The twine goes so well with the burlap and was perfect for making cute little bows for each pumpkin. The tiny clothespins are perfect for banners because they allow you to move things around and are a quick and simple way to attach things.
How to Make a Fabric Pumpkin Banner
Supplies Needed for Farmhouse Pumpkin Banner
- Free pumpkin template – grab the free file by filling out the form at the end of this post.
- Orange Buffalo Plaid Ribbon – this roll is similar to the one I purchased at Joann Fabrics, though a little brighter in color.
- Orange Felt Soft or Stiffened (I used Kunin Brand felt but this orange felt from Amazon looks very similar)
- Orange embroidery floss and needle
- Twine
- Mini clothespins – I used metallic mini clothespins by Recollections from Michaels
- Fabric scissors
- Pen/pencil for tracing

Step by Step Tutorial
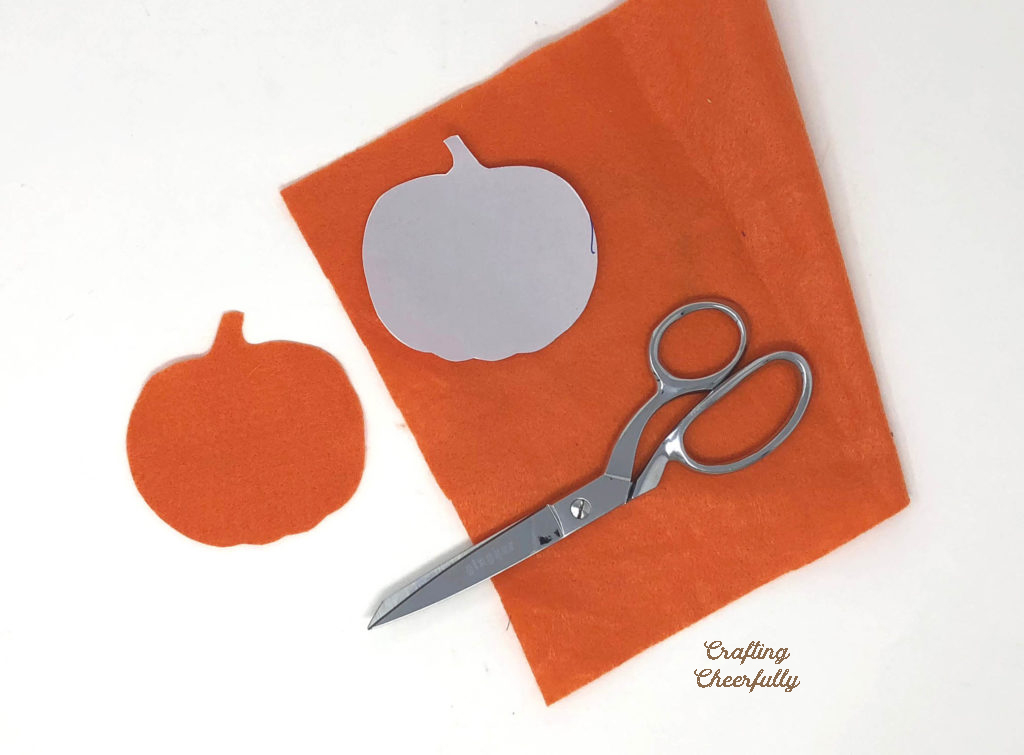
Step One: Print the free template and cut it out. Use the template to cut pumpkins from the orange felt. Make as many pumpkins as you want!
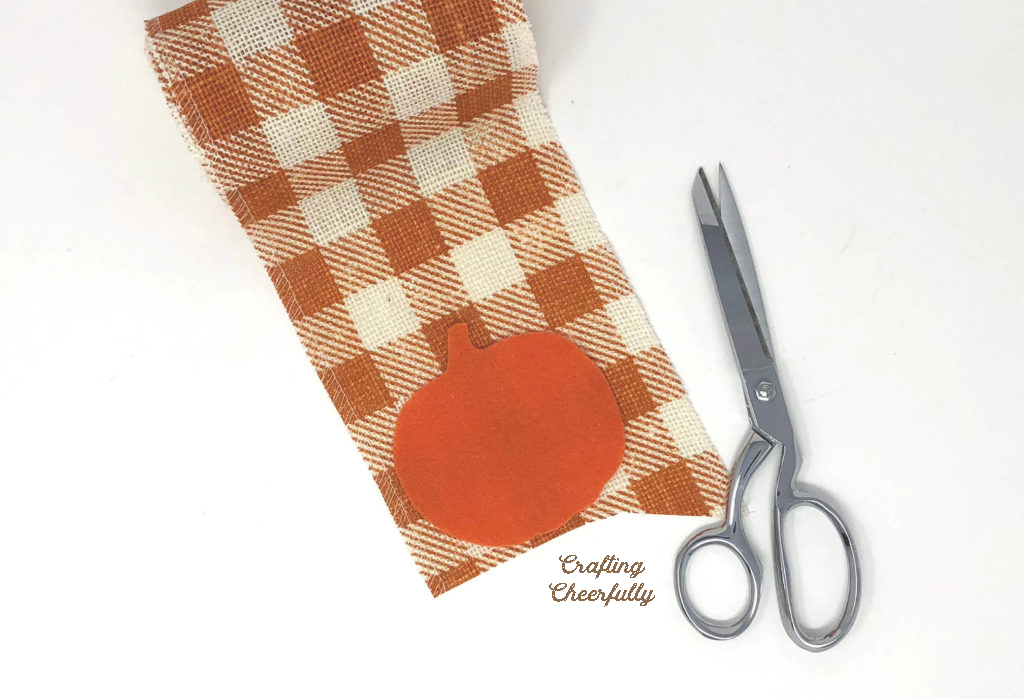
Step Two: Use the felt pumpkin shapes to cut the burlap. The burlap will be layered over the felt to create each pennant. I lined up the buffalo check burlap so a square was centered on each pumpkin but tried to keep each pumpkin a little different. Since I knew these pumpkins would be hanging side-by-side, I made sure the rows were all hitting the pumpkins at the same spot.
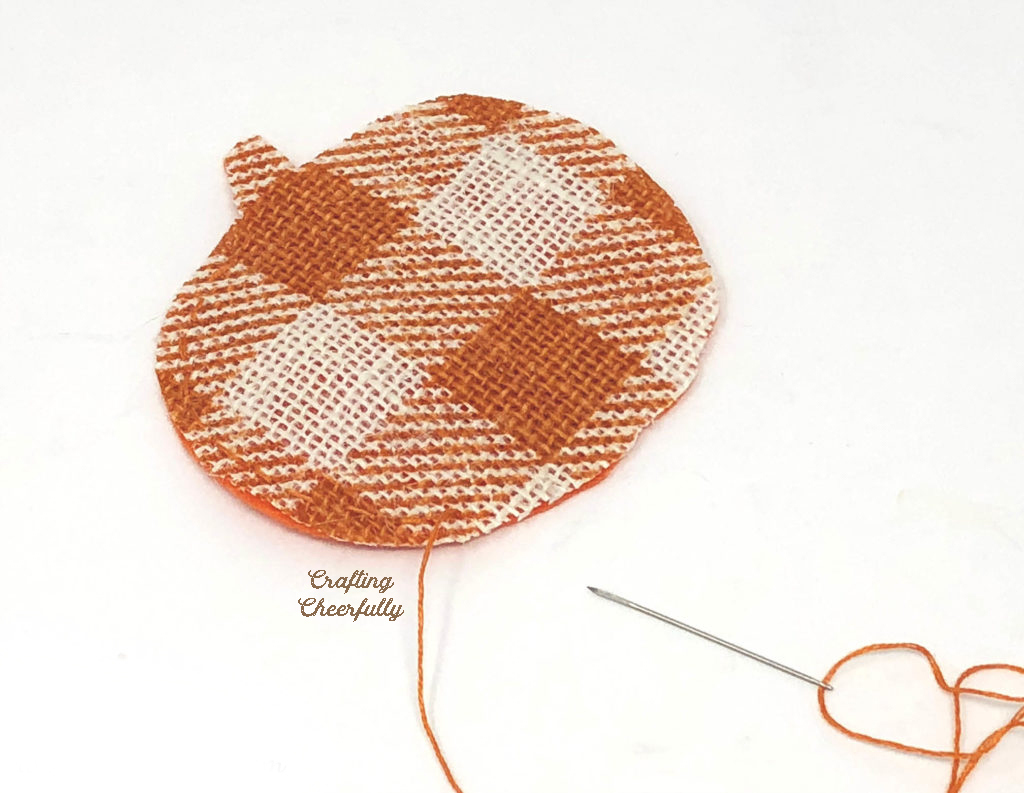
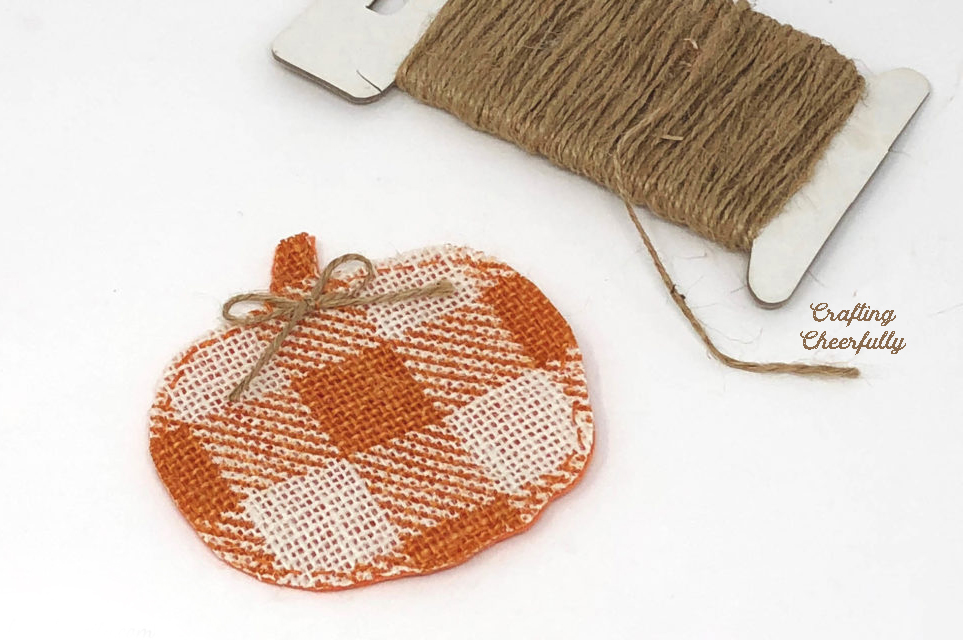
Step Three: Use orange embroidery floss to stitch the burlap layer to the felt layer for each pumpkin. I used three stands of embroidery floss and and a simple running stitch.
Step Four: Add a twine bow to the top of each pumpkin! I stitched it in place using my orange embroidery floss.
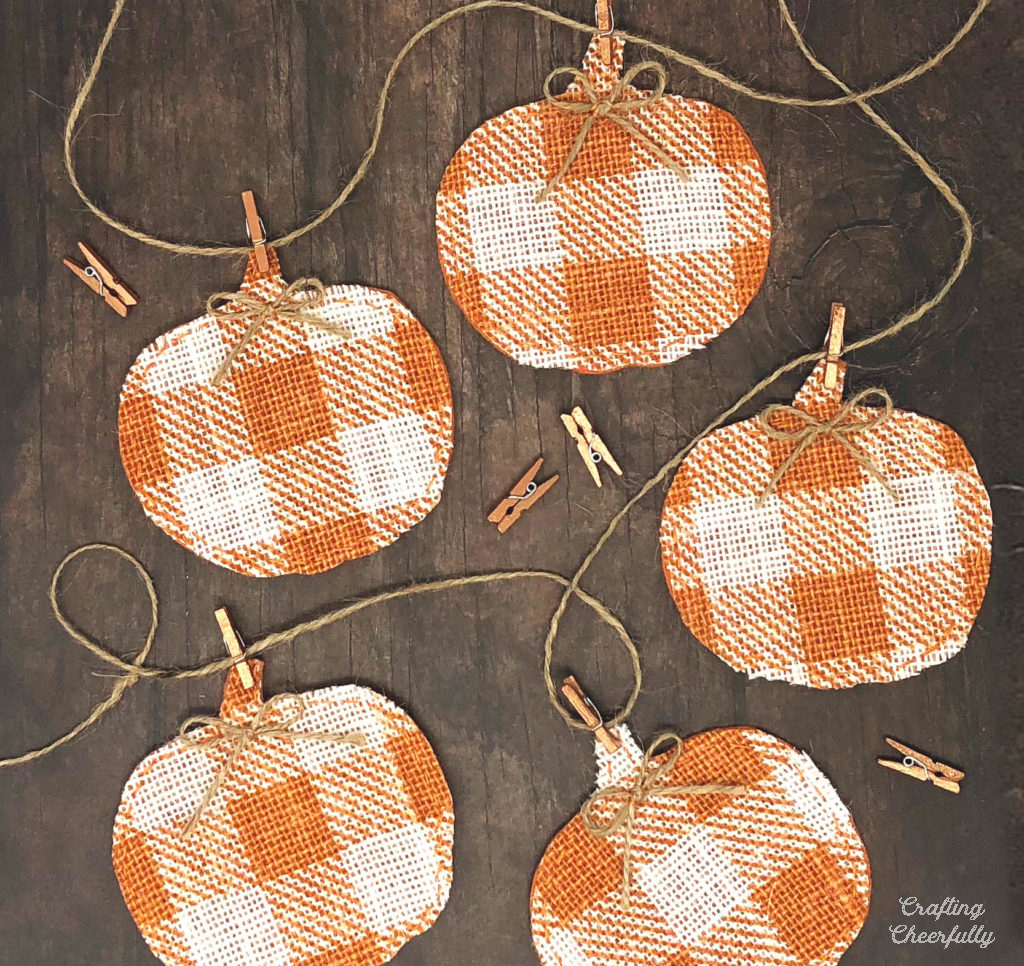
Step Five: Once all of the pumpkins are finished, you can attach them to a length of twine using mini clothespins. I picked out copper colored clothespins from my metallic set.


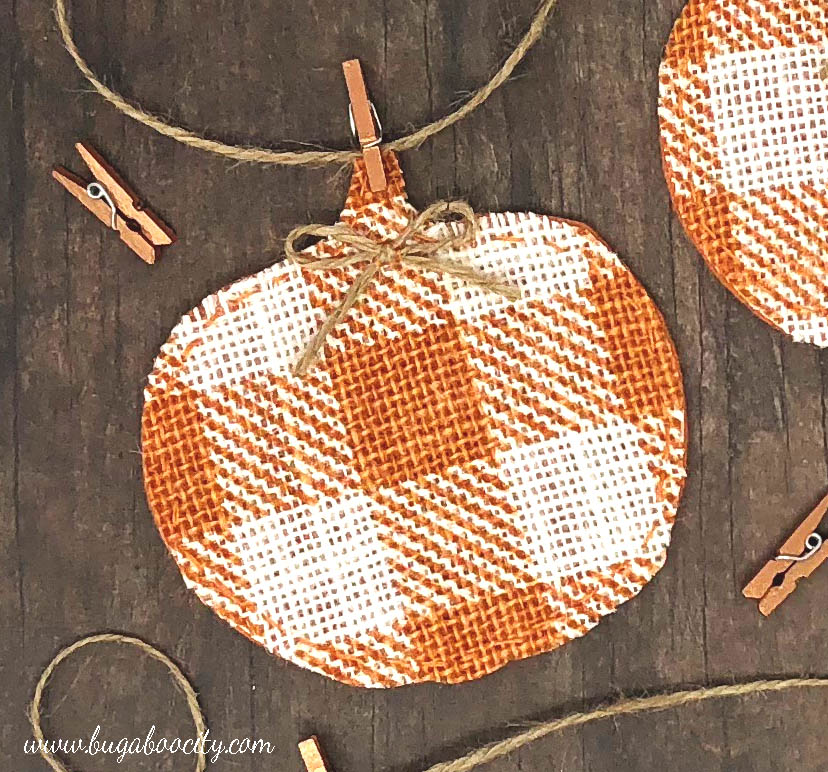
All finished! I hung ours on our mantle with some of our other Halloween decorations and love how sweet it looks.
I’ve started working on my children’s Halloween costumes and am hoping to share them soon! If you love banners as much as I do, be sure to check out these other fun banners that would be perfect for Autumn or Halloween.


Get the Free Pumpkin Banner Template!
Fill out the purple form below with your first name and email address! The free file will be sent straight to your inbox and you’ll receive my fun email newsletter with more free files and DIY craft tutorials. If you have already filled out the form below, don’t worry – you won’t be added to my list twice! This freebie is for personal use only. I hope you enjoy crafting something special. Please let me know if you have any questions :)


3 Comments