Postage Stamp Ornament with Fabric Scraps
Create retro-inspired postage stamp ornaments using felt, fabric scraps and Heat Transfer Vinyl! Grab my free pattern and SVG cut file to get started!

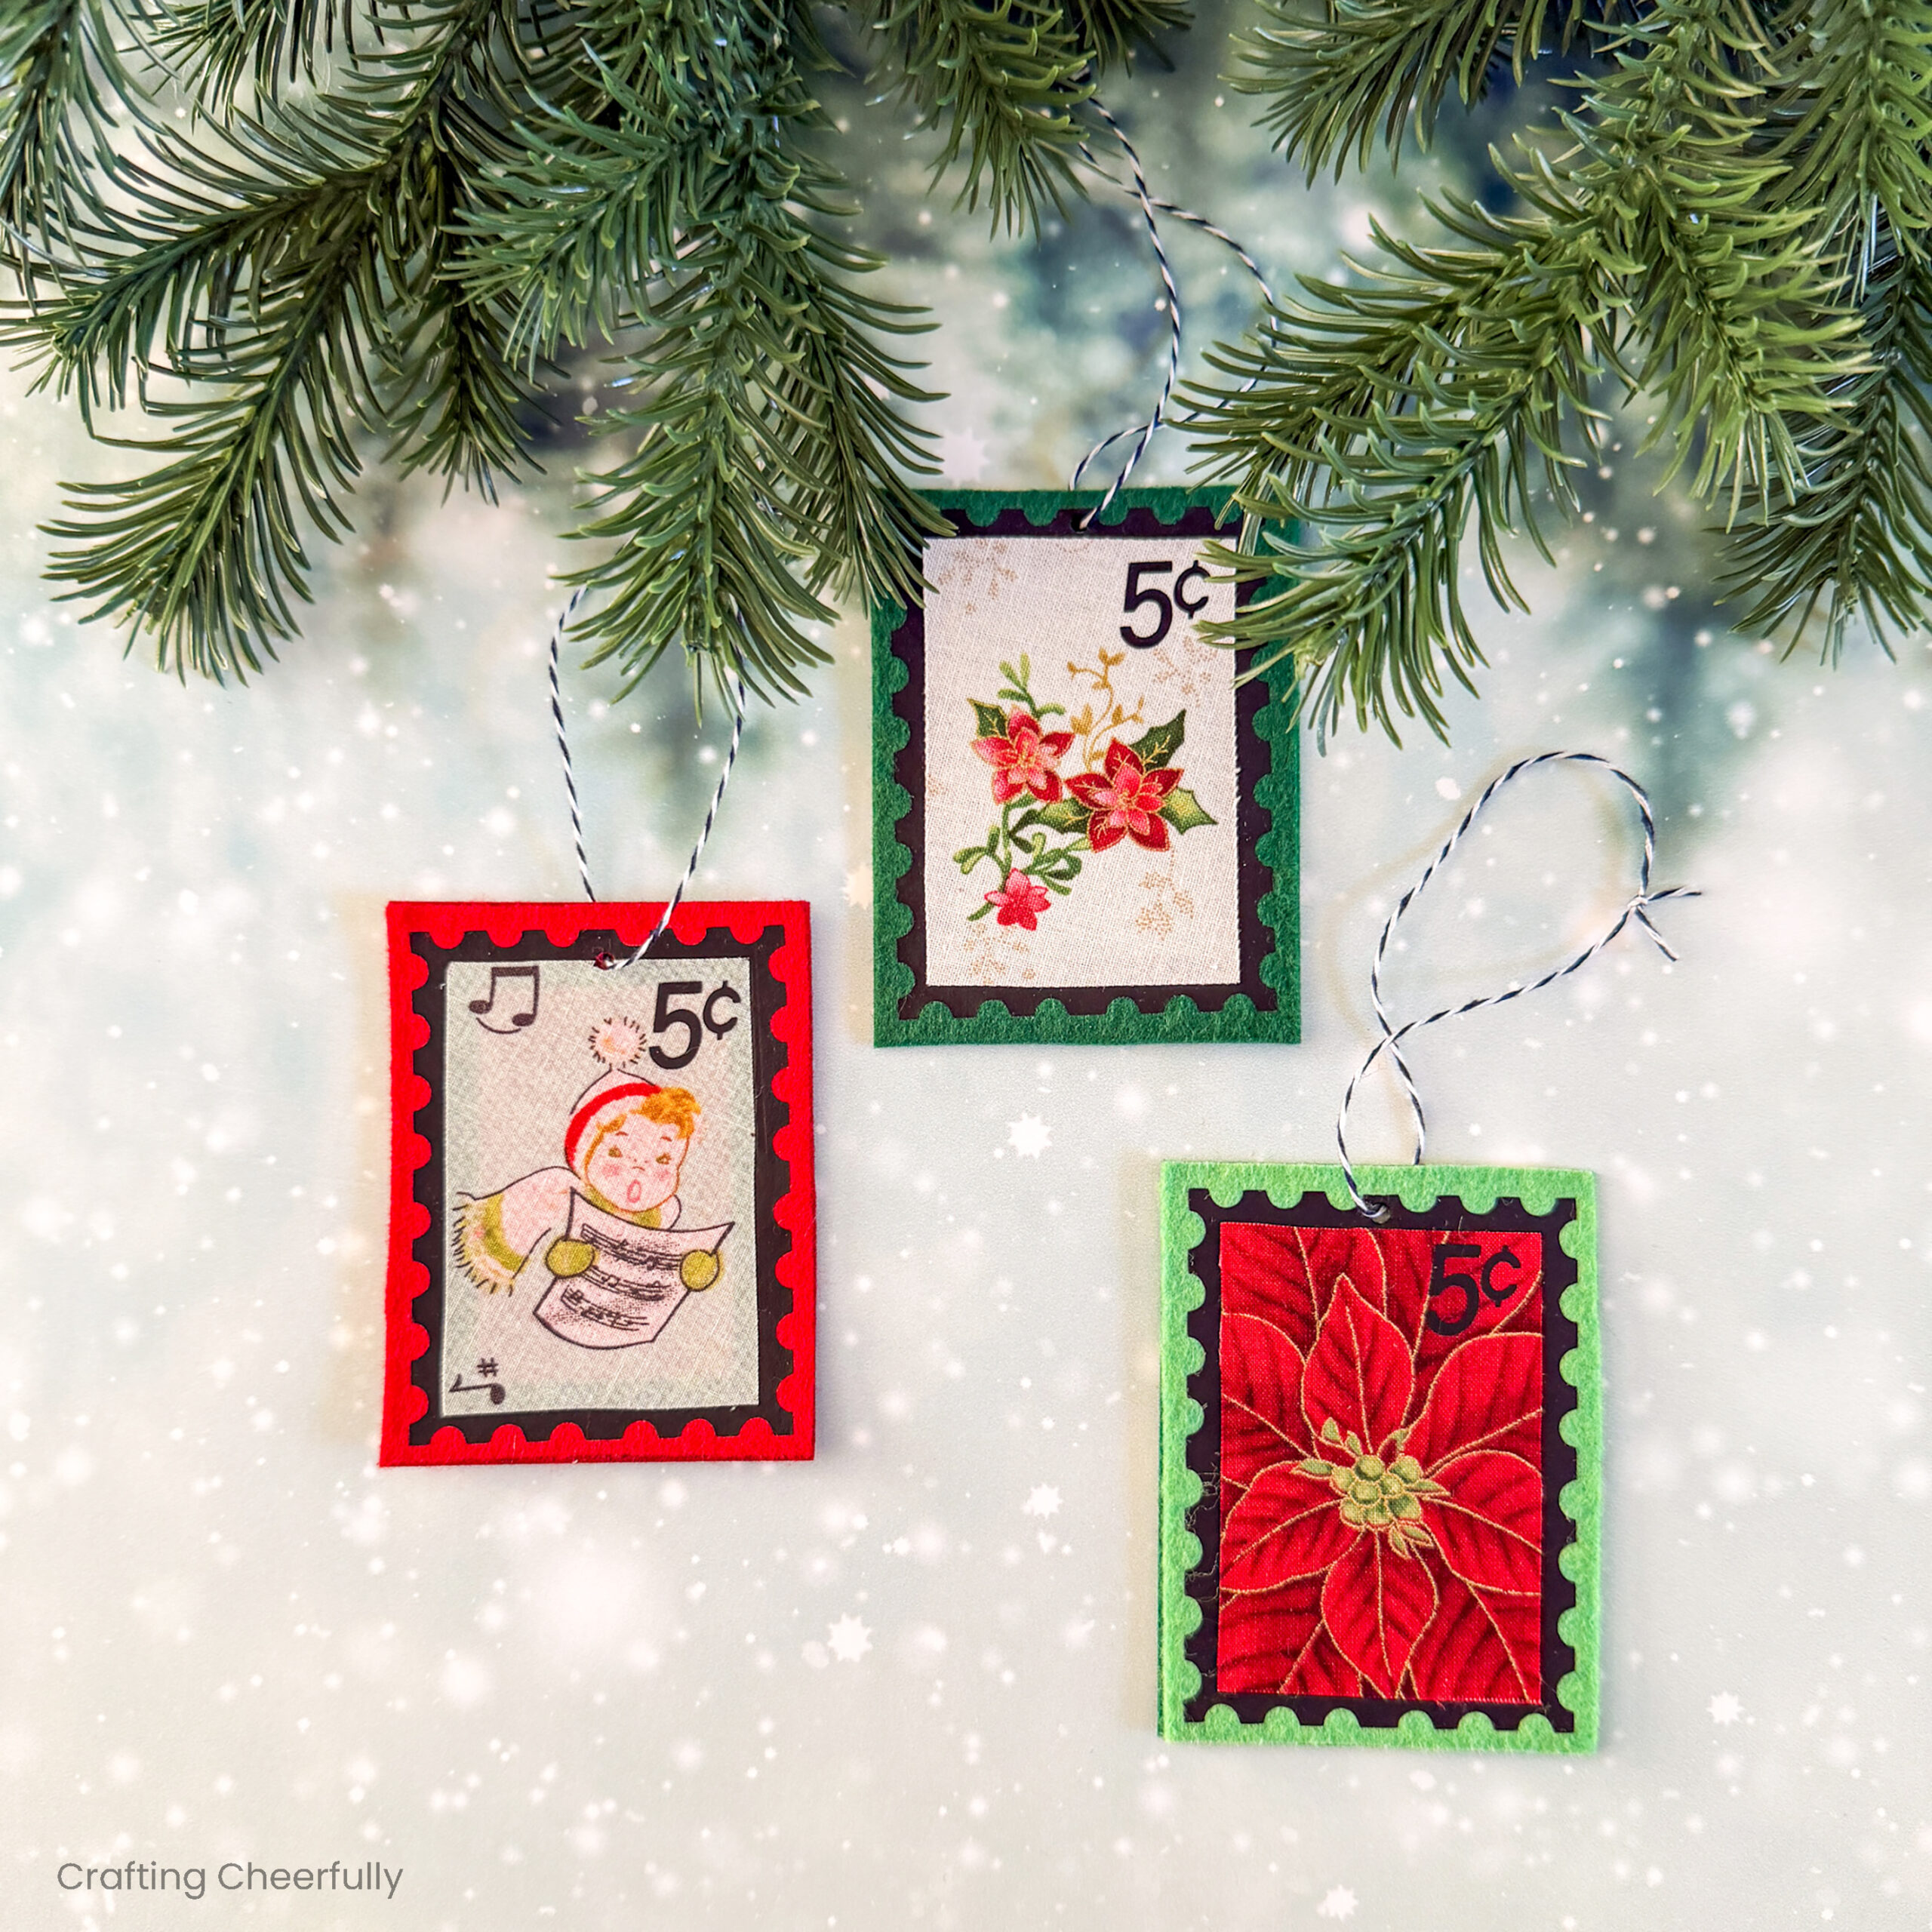
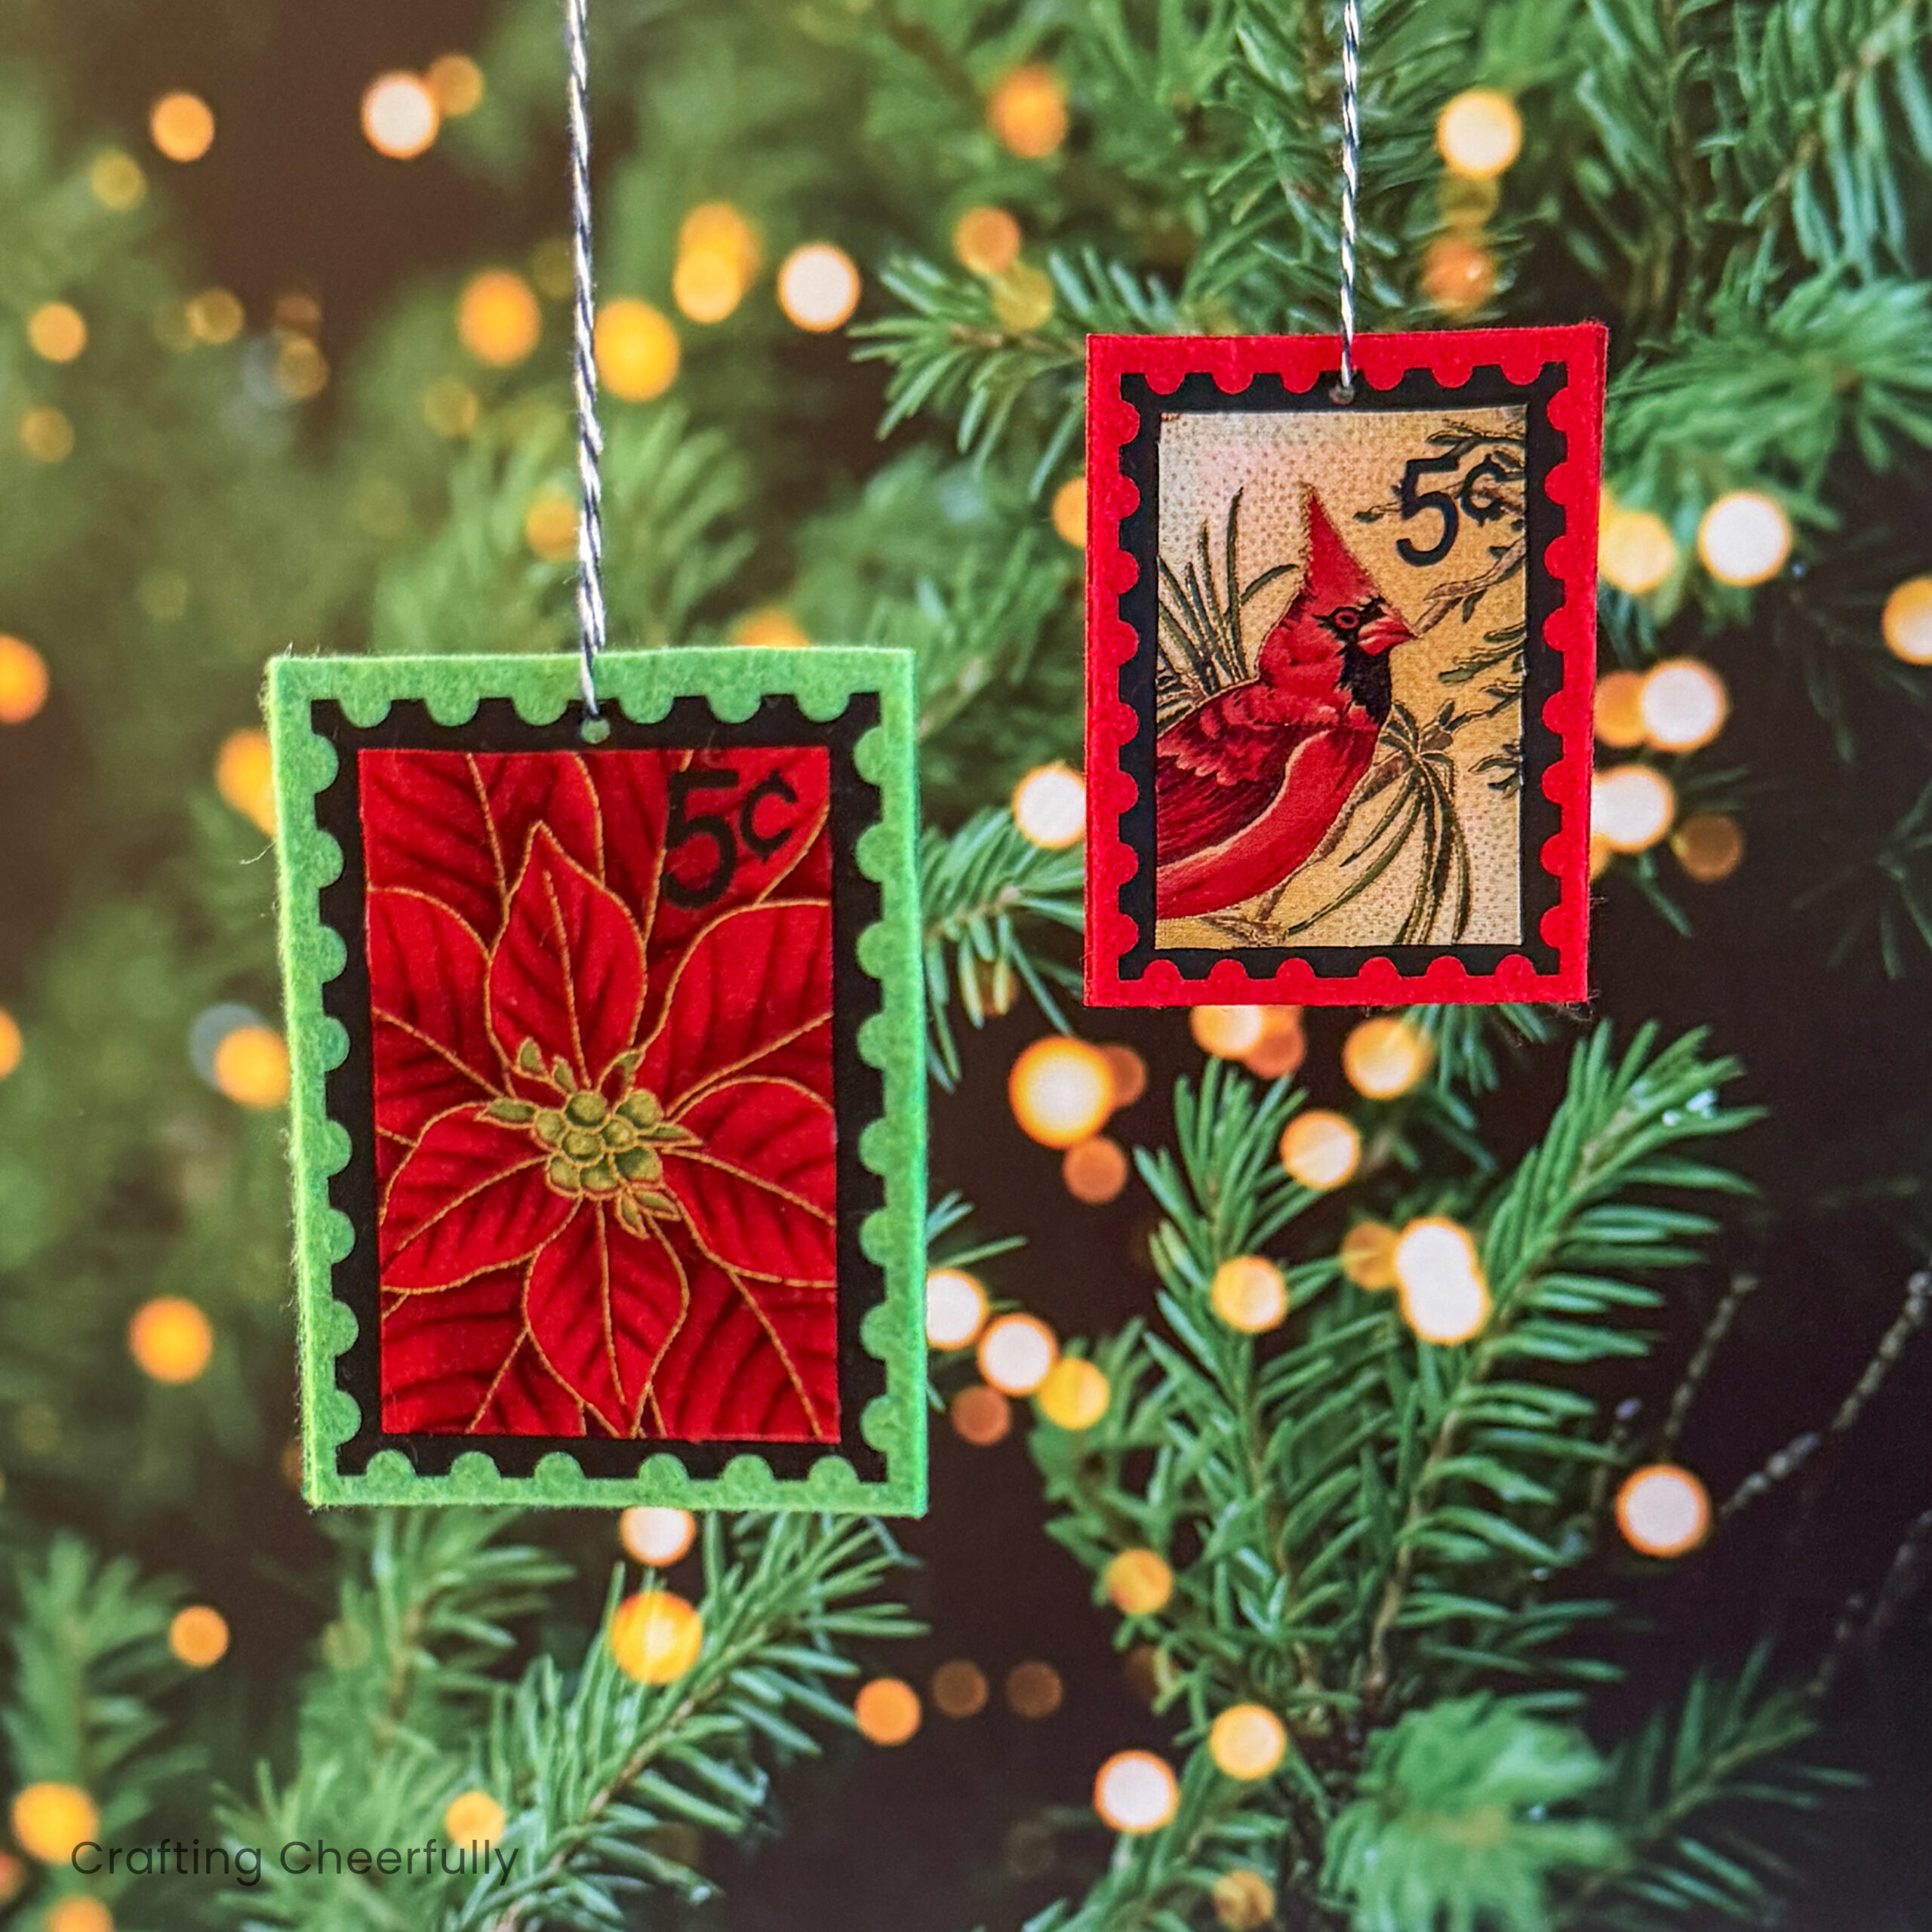
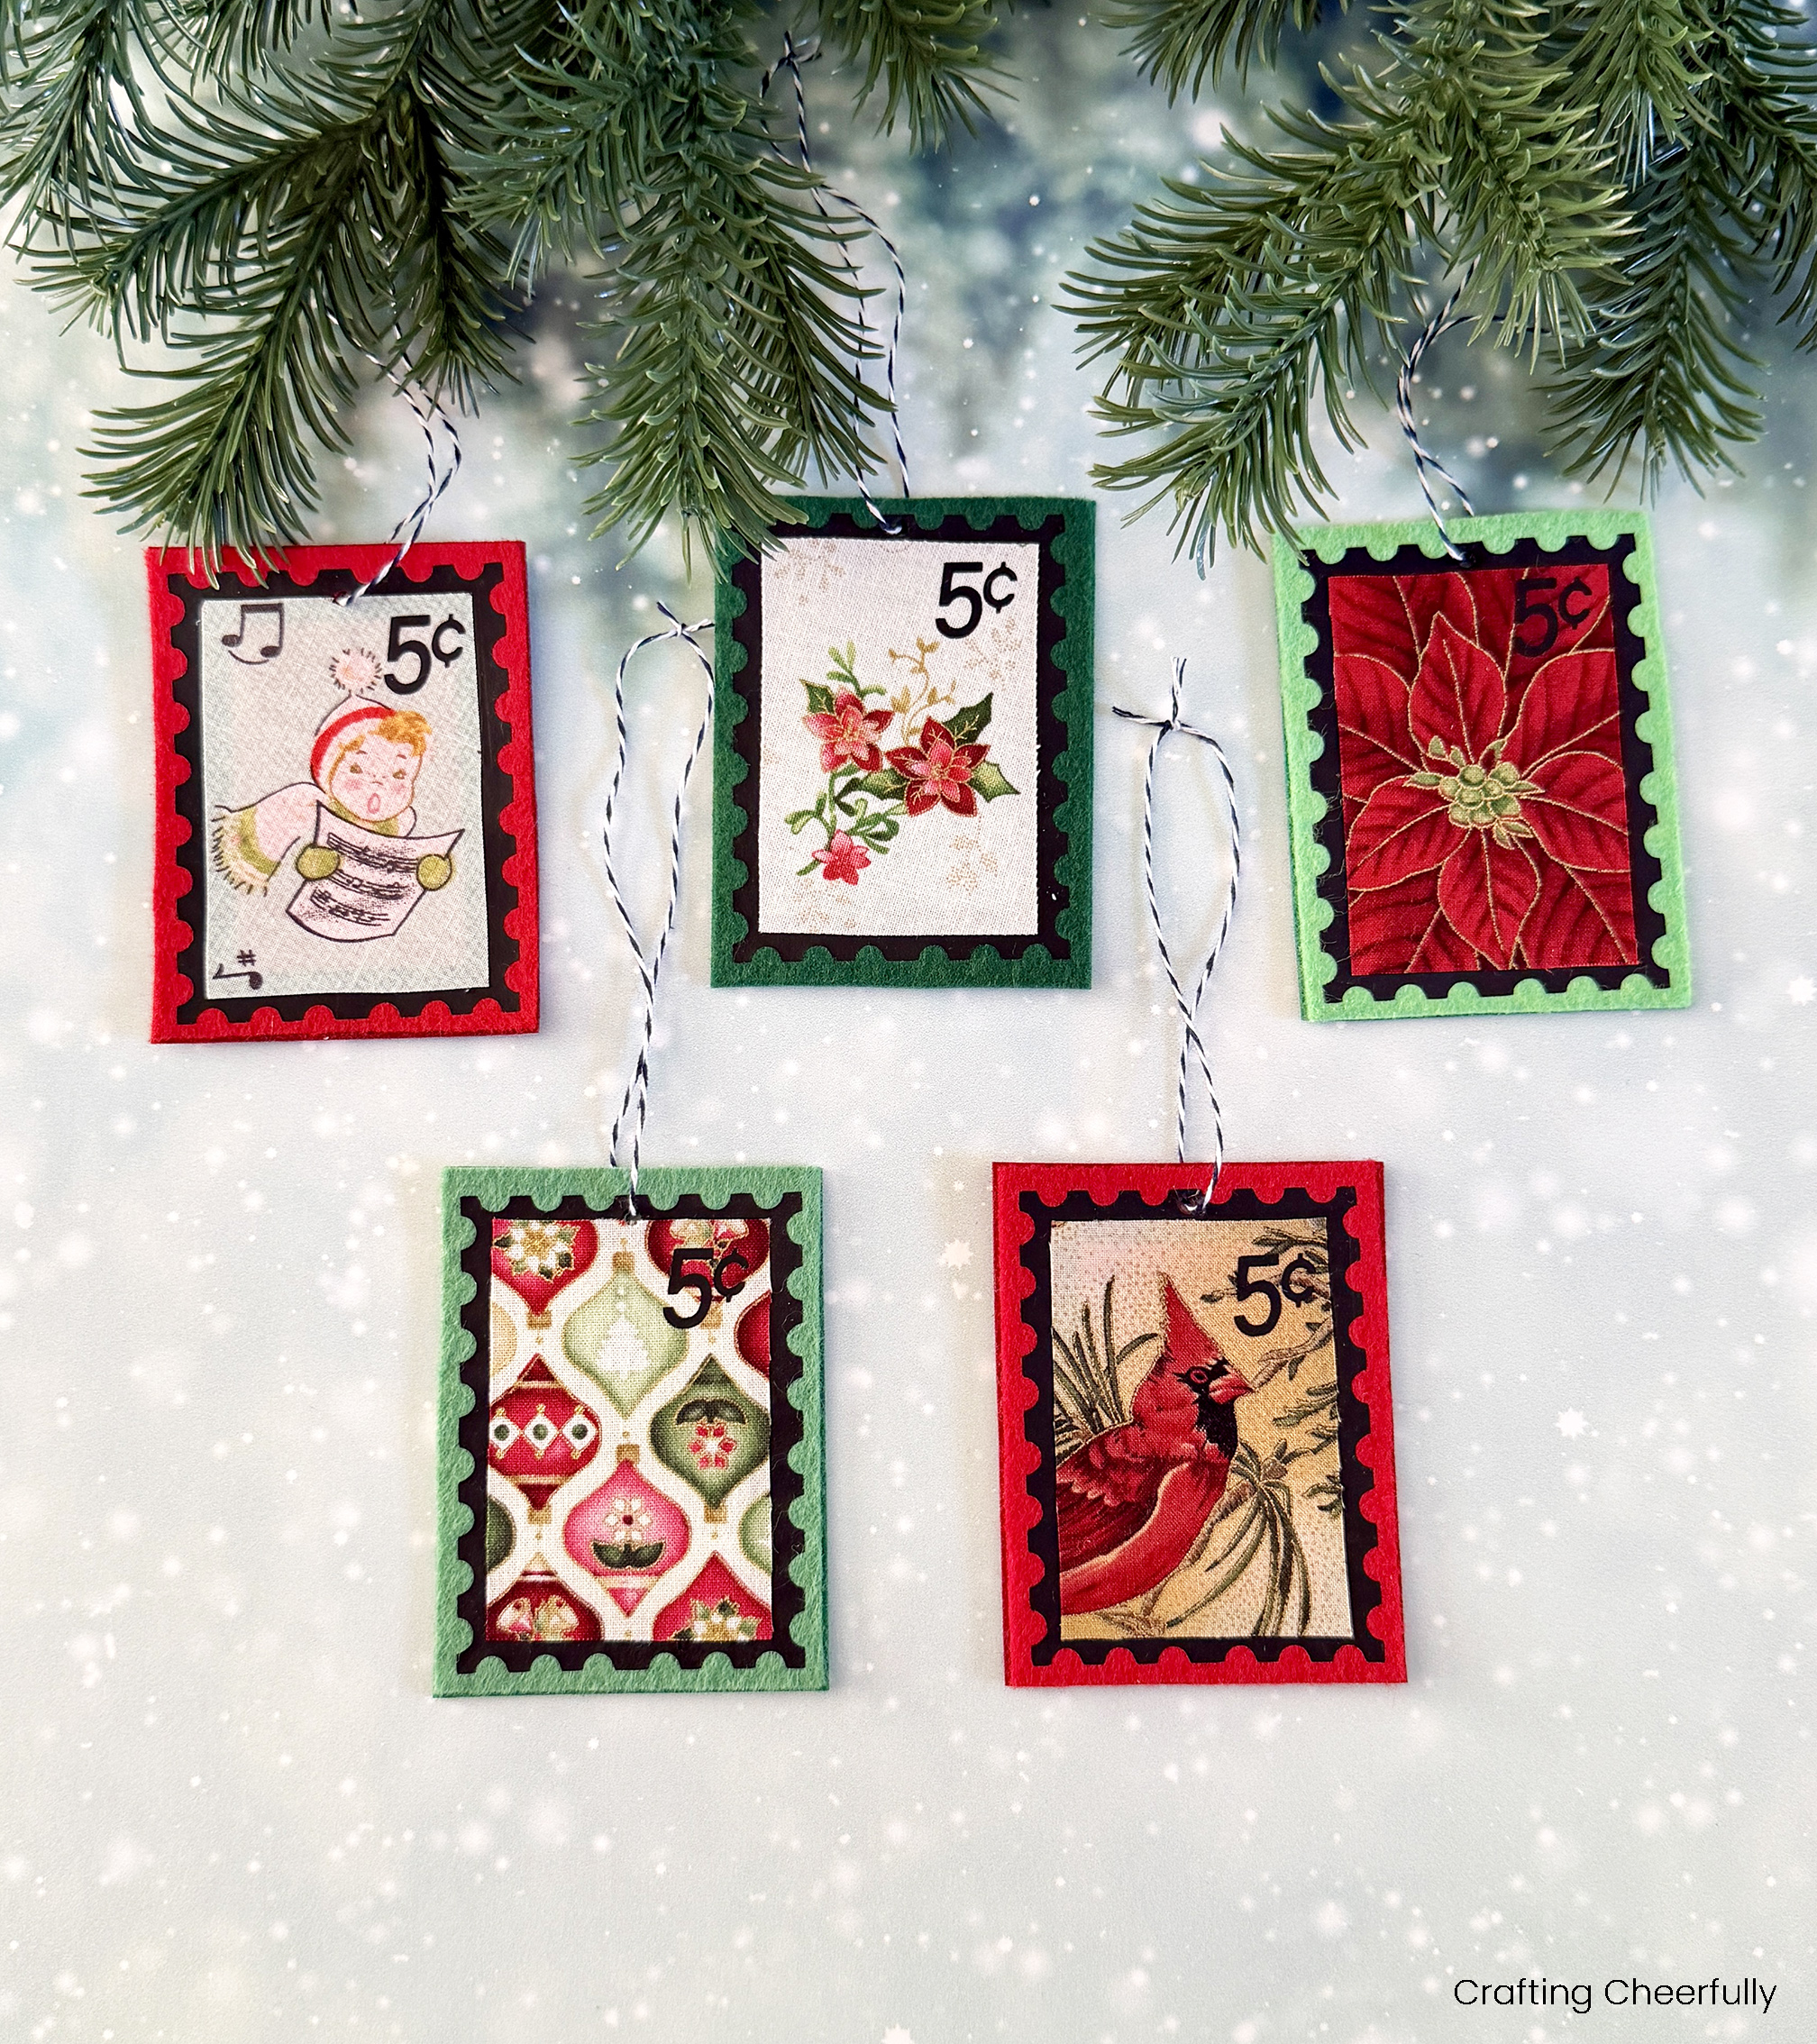
Hello Crafty Friends! Today is day seven of my series “12 Days of Holiday Crafts” and I’m excited to share these cute postage stamp ornaments with you! These ornaments were so much fun to make using scraps of fabric I found in my stash. I was surprised at the number of cute images I was able to make and love how these turned out. I think they make great ornaments and would also be fun as gift tags.
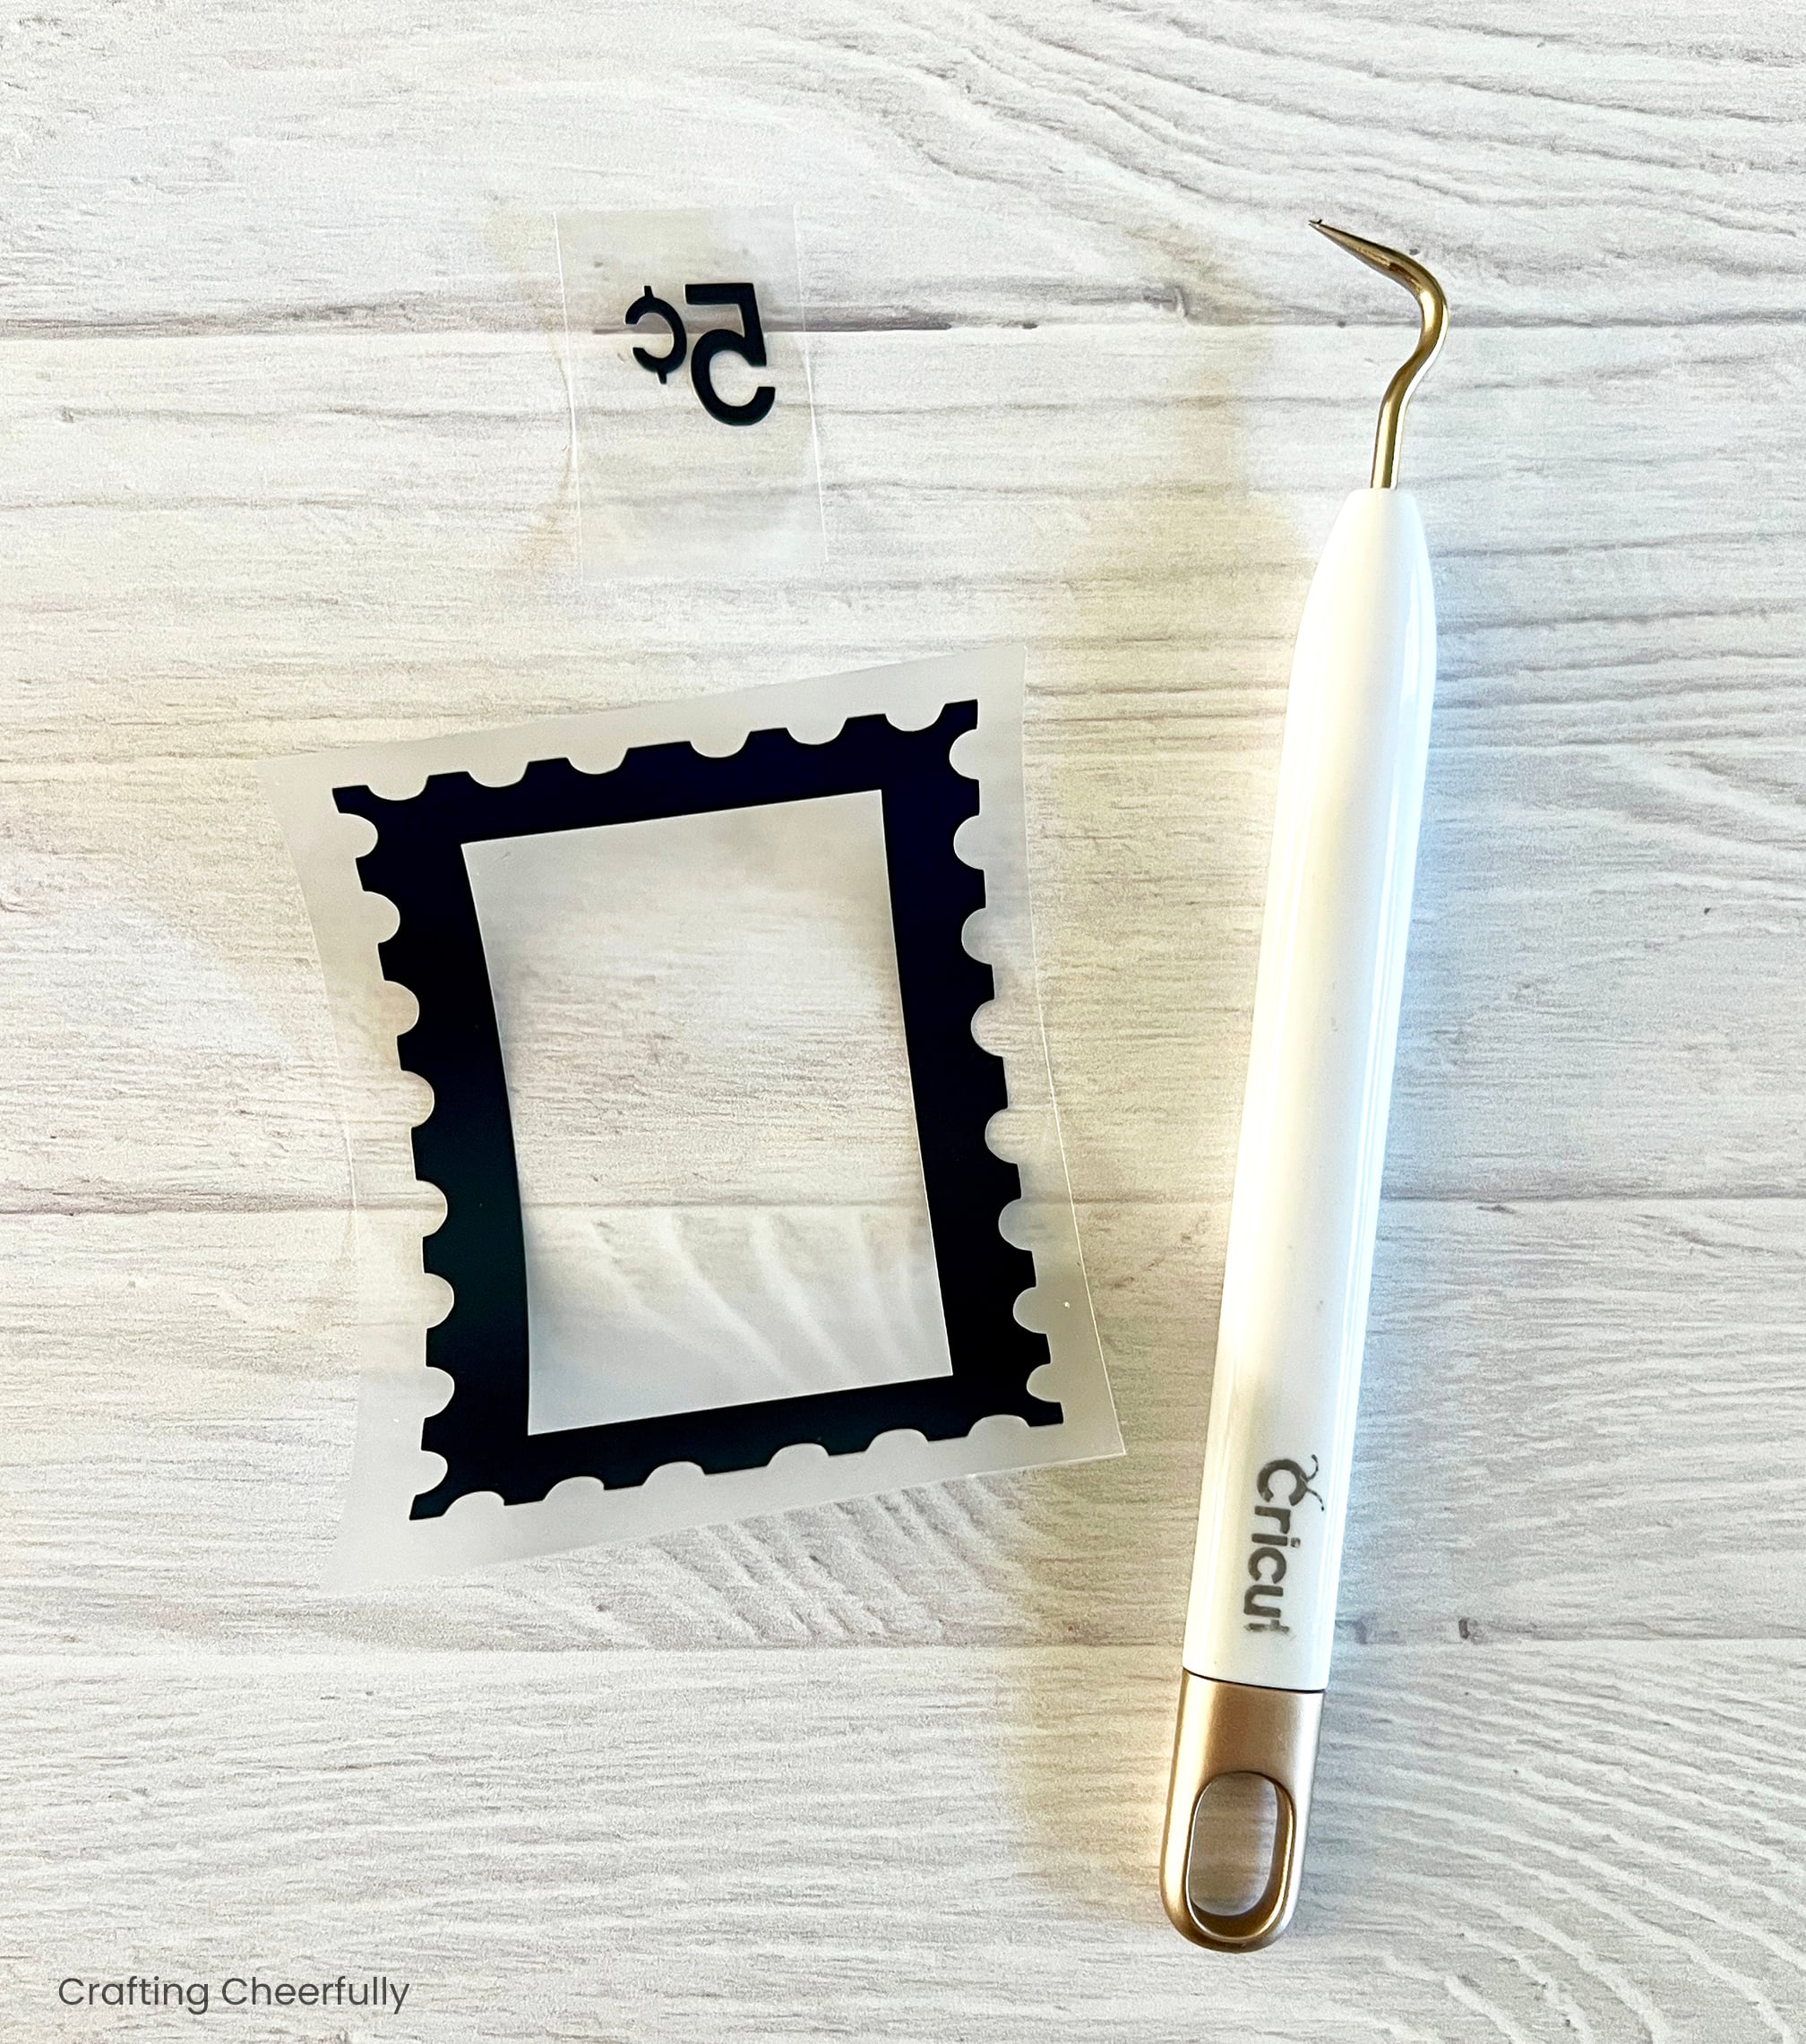
These ornaments are a great multi-media project! I started by using just felt and fabric, but ended up cutting the perforated stamp border and price from Heat Transfer Vinyl using my Cricut Explore. I love how crisp the border looks and how intricate I could cut the five cents. If you don’t have a cutting machine, you can use pinking shears to create the perforated border from felt or fabric, then add the price to the stamp using a fabric marker or embroidery.
How to Make Postage Stamp Ornaments
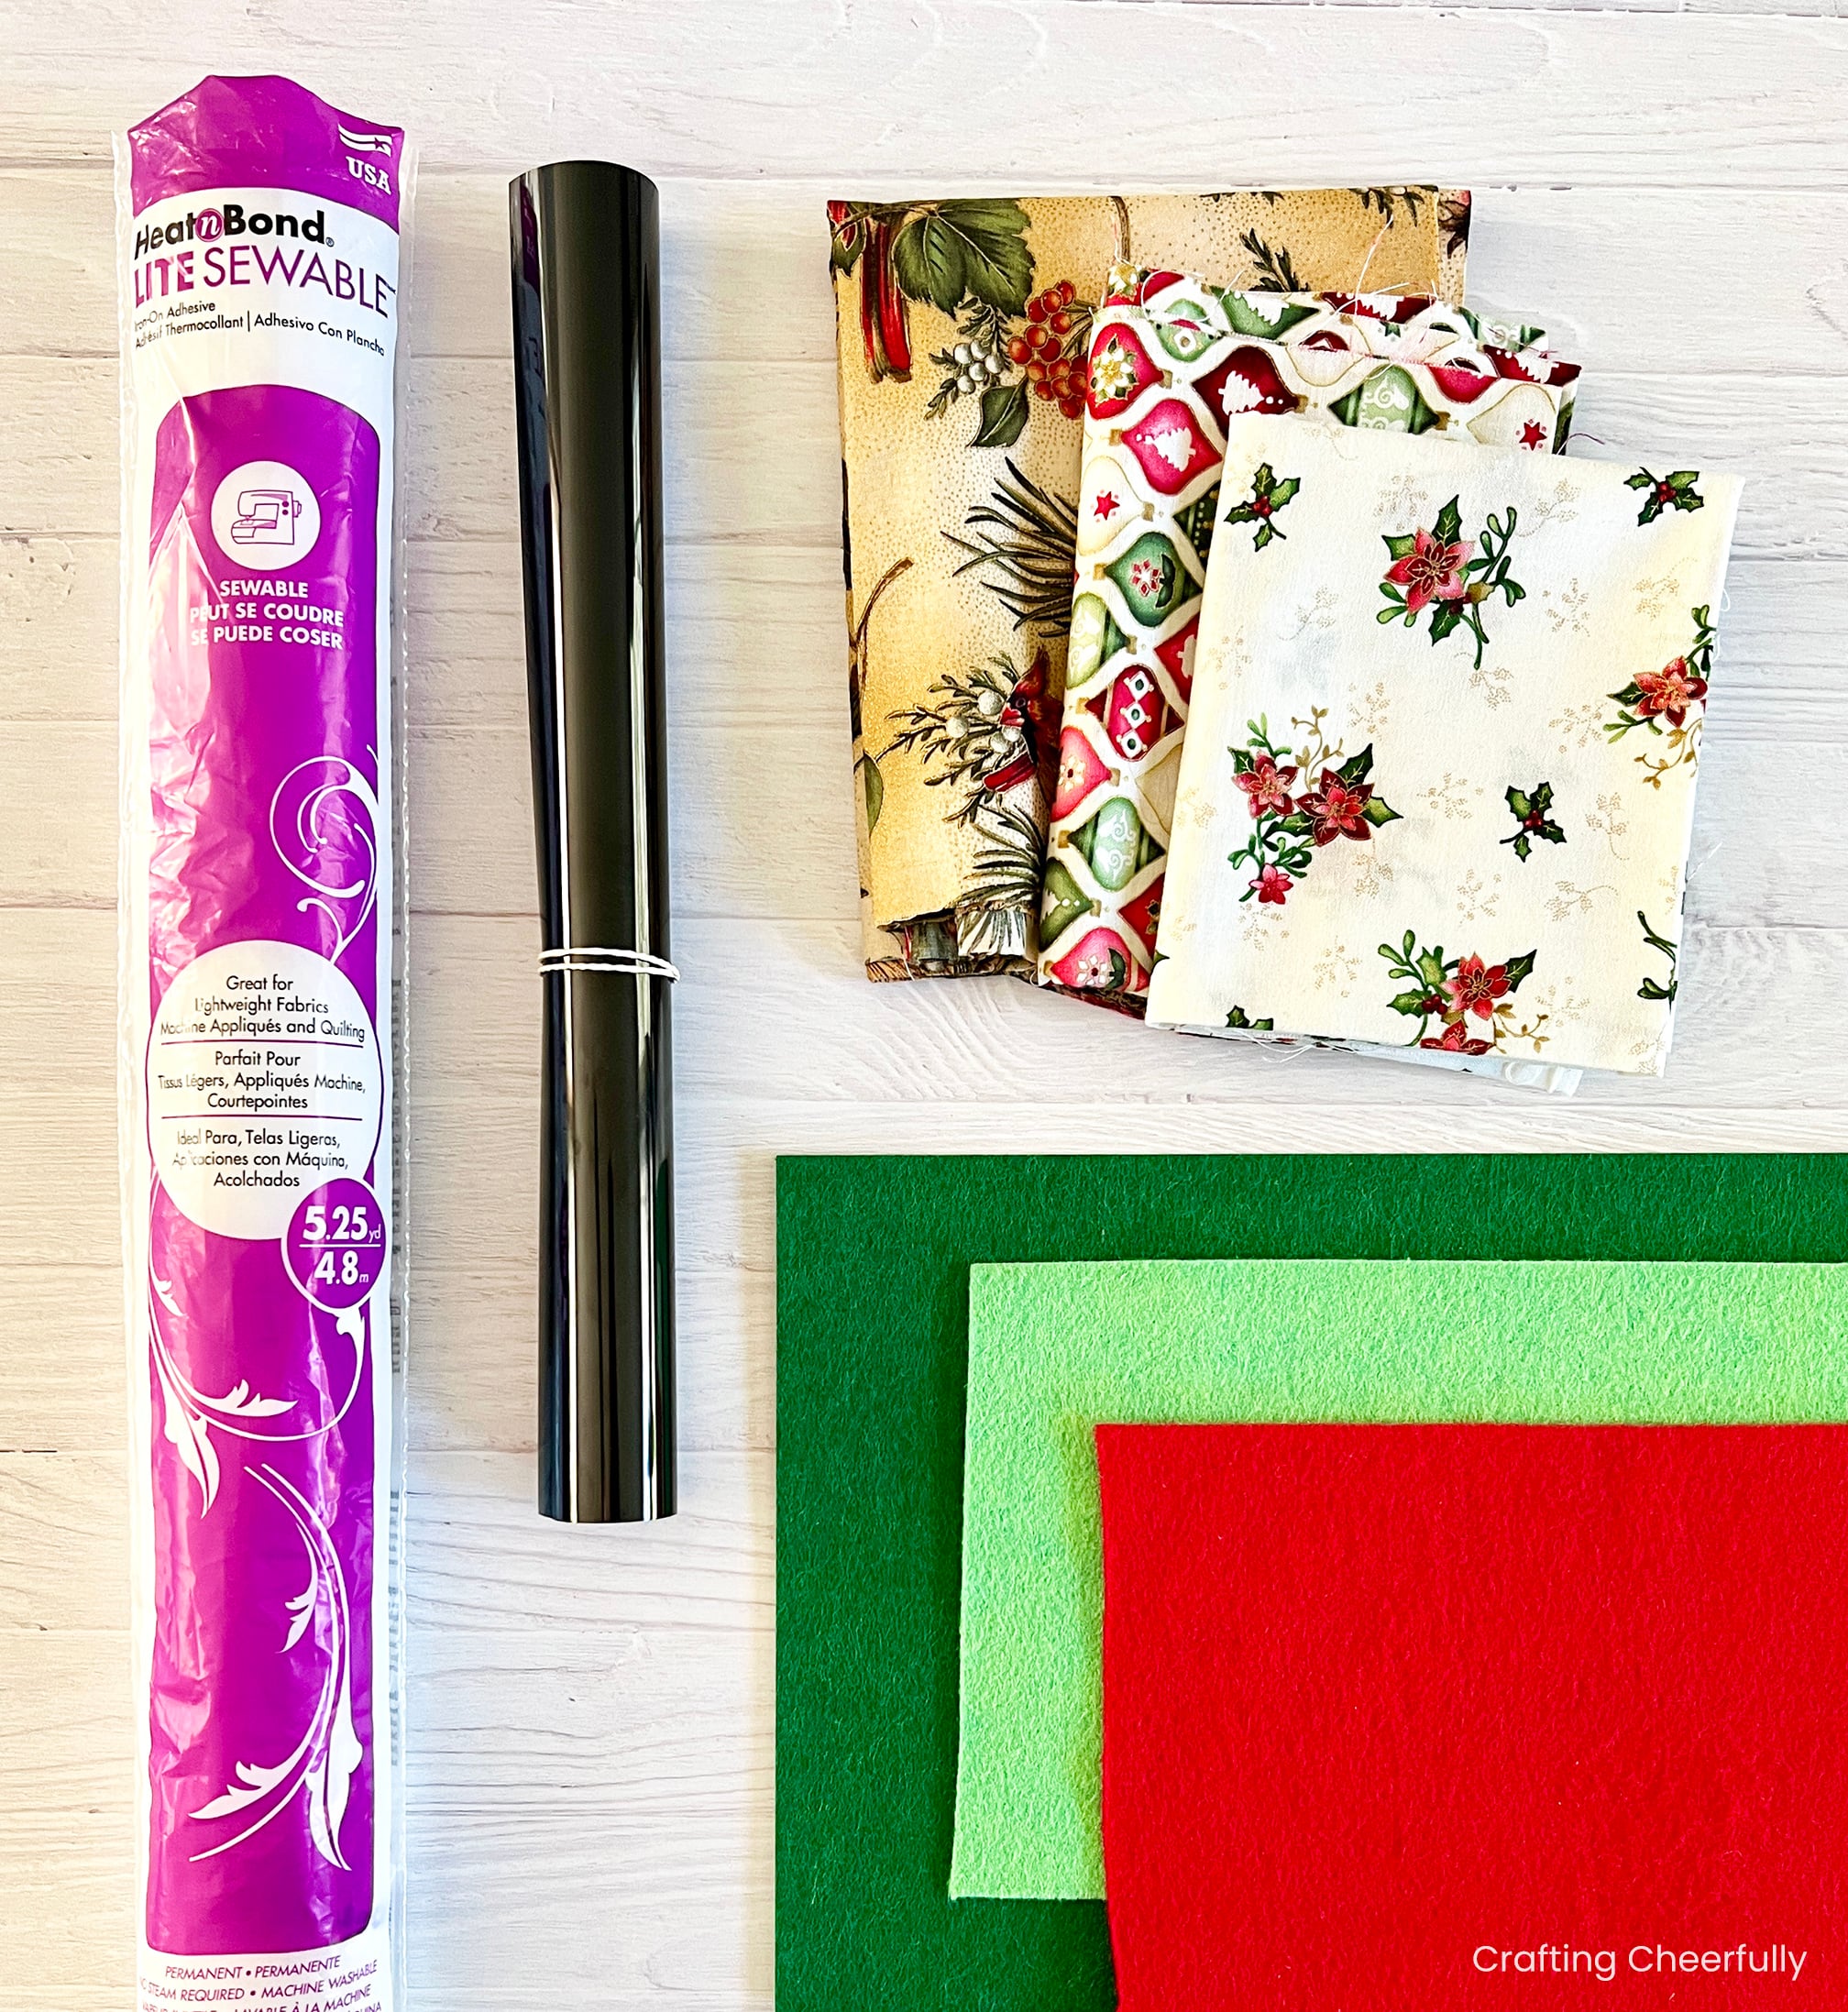
Supplies Needed
- Free PDF Template and SVG Cut File – Fill out the purple form at the end of this post to have the free files sent directly to your inbox
- Felt – I used scraps from Benzi Design and this stiffened felt pack.
- Scraps of fabric
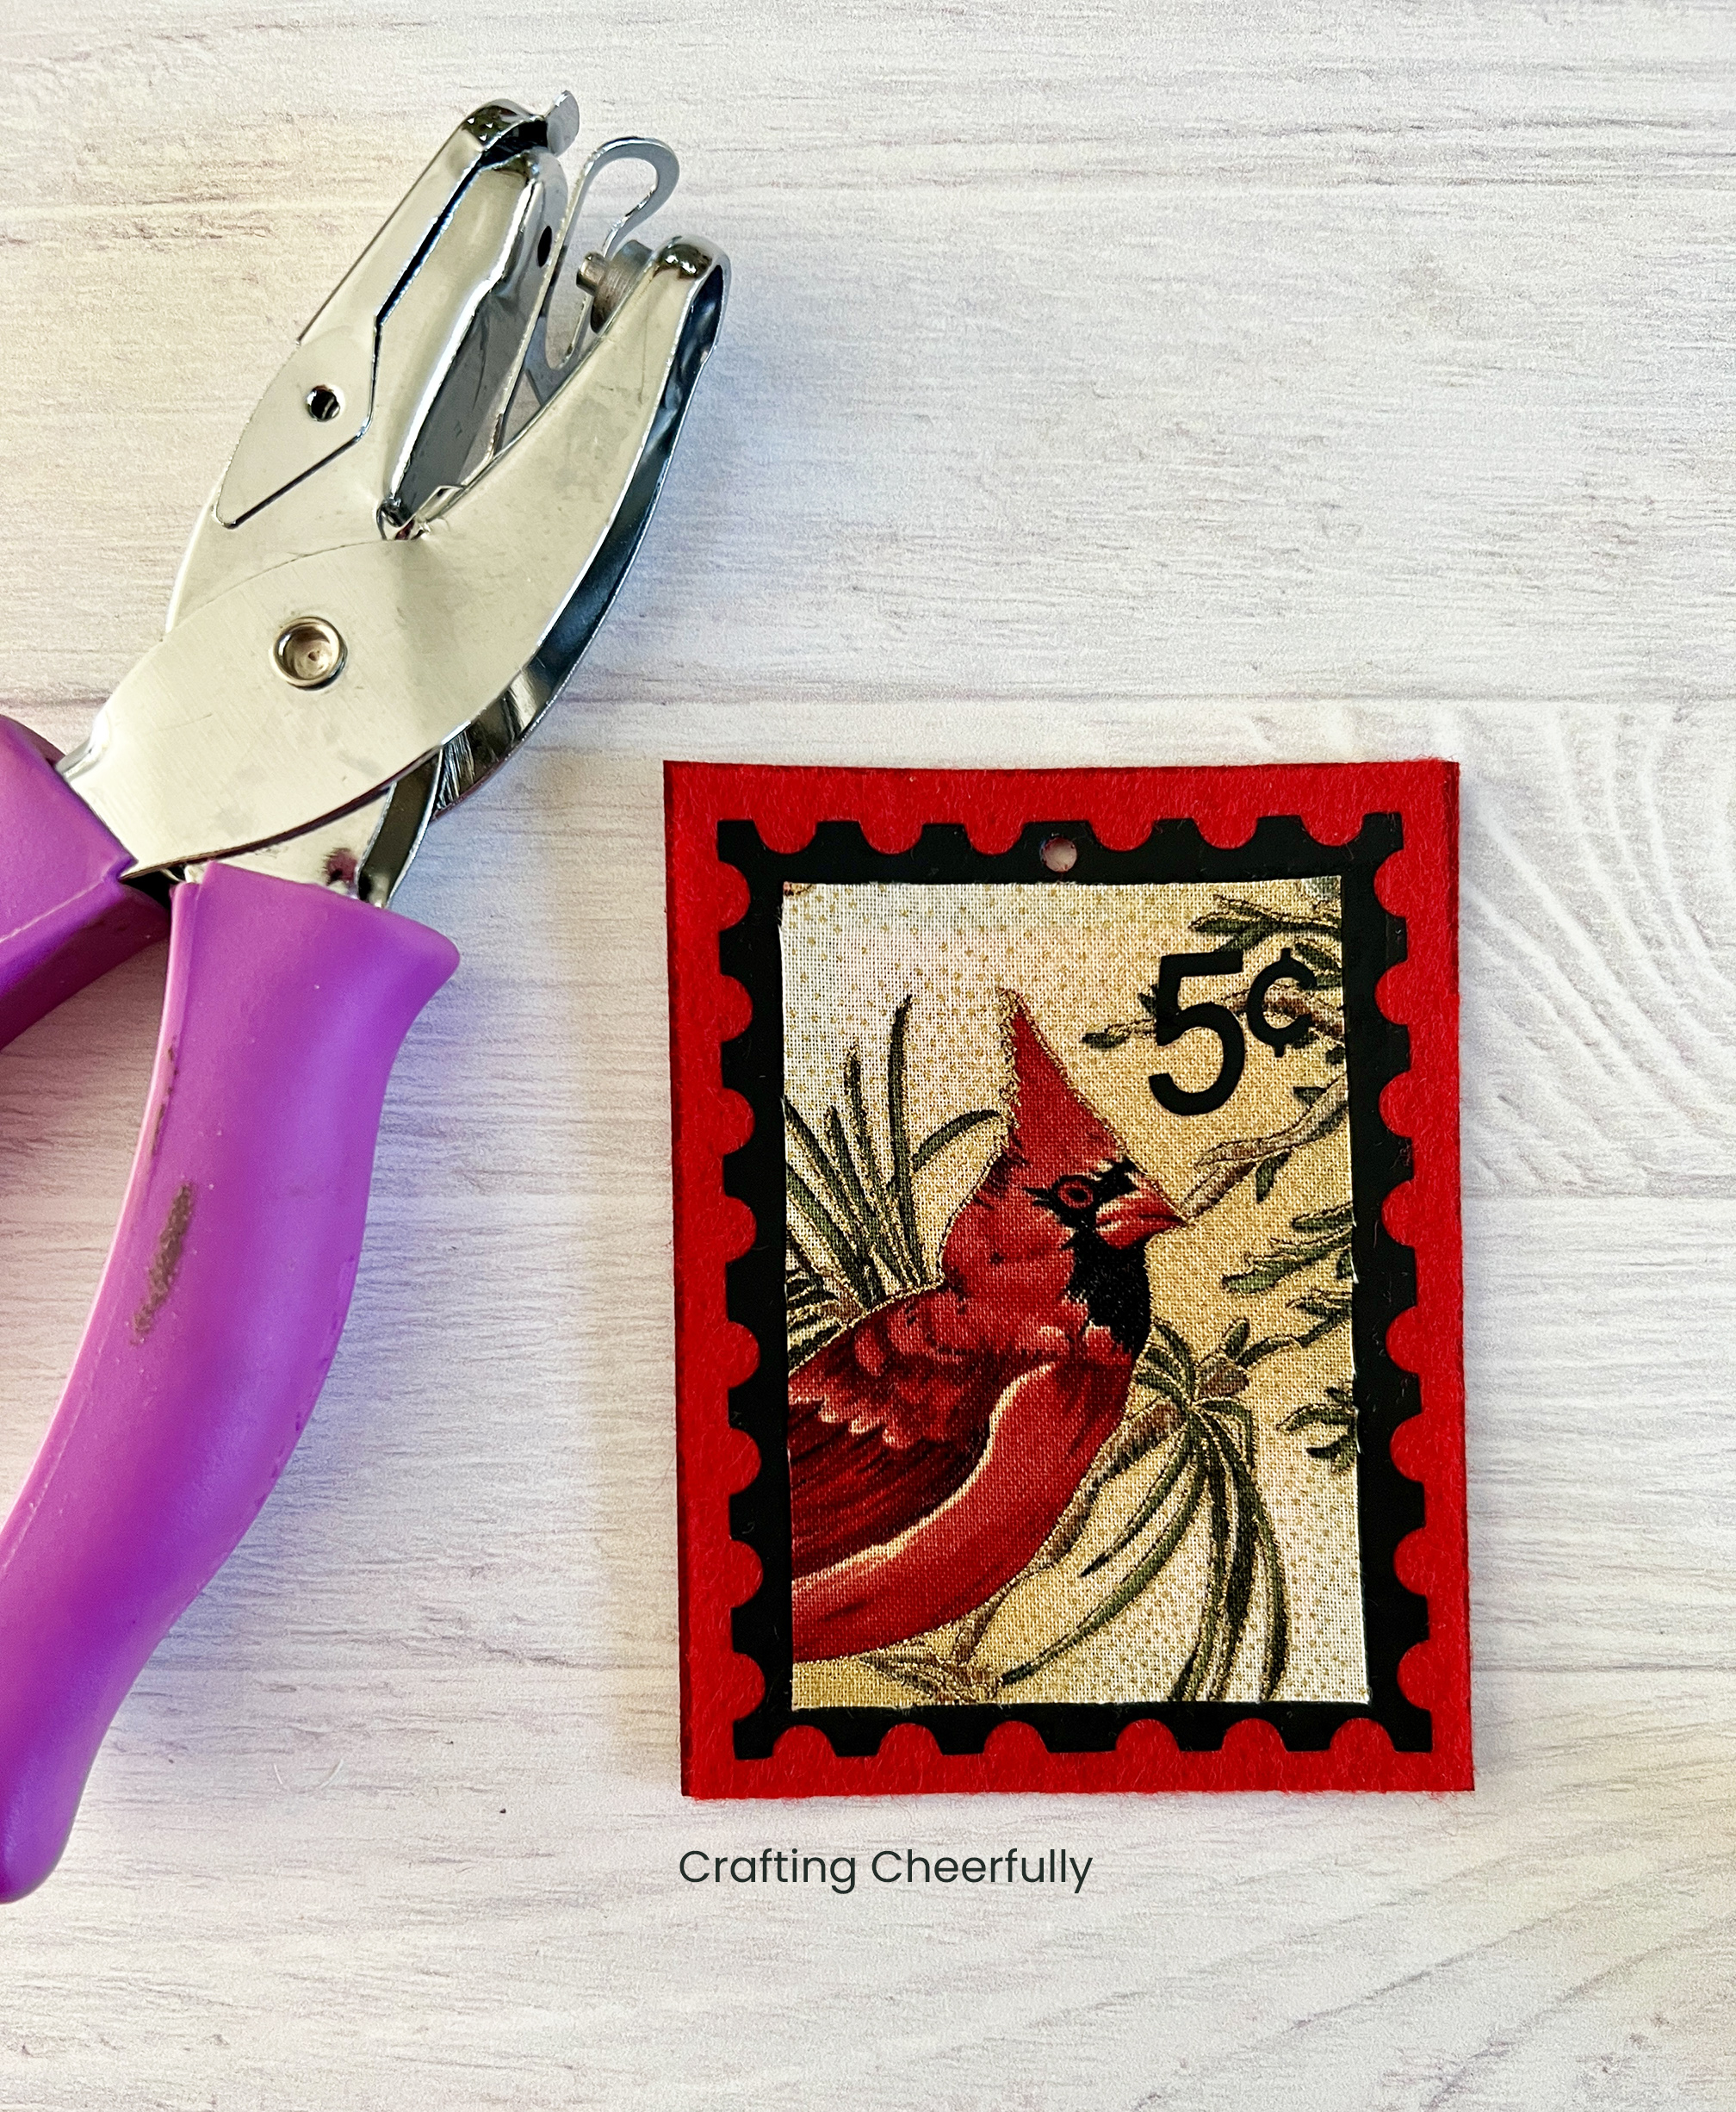
- 1/8″ Hole Punch
- Fabric scissors
- HeatnBond Fusible Interfacing
- Mini Heat Press or Iron
- Wool pressing mat – I love mine!
- Ruler and pencil
- Baker’s Twine or ribbon
- Cutting Machine Tools
- Pinking Shears – if you aren’t using a cutting machine these will work to create the look of a perforated edge.
Make the Felt Ornament Base
Step One: Download the pattern which comes as a PDF to cut the pieces by hand or as an SVG cut file to cut things with a cutting machine. I used both – the PDF pattern for the felt and fabric pieces and the SVG cut file for the Heat Transfer Vinyl pieces.
Step Two: Cut two rectangles from fusible interfacing using the pattern. One will be used for the felt backing and one for the fabric image.

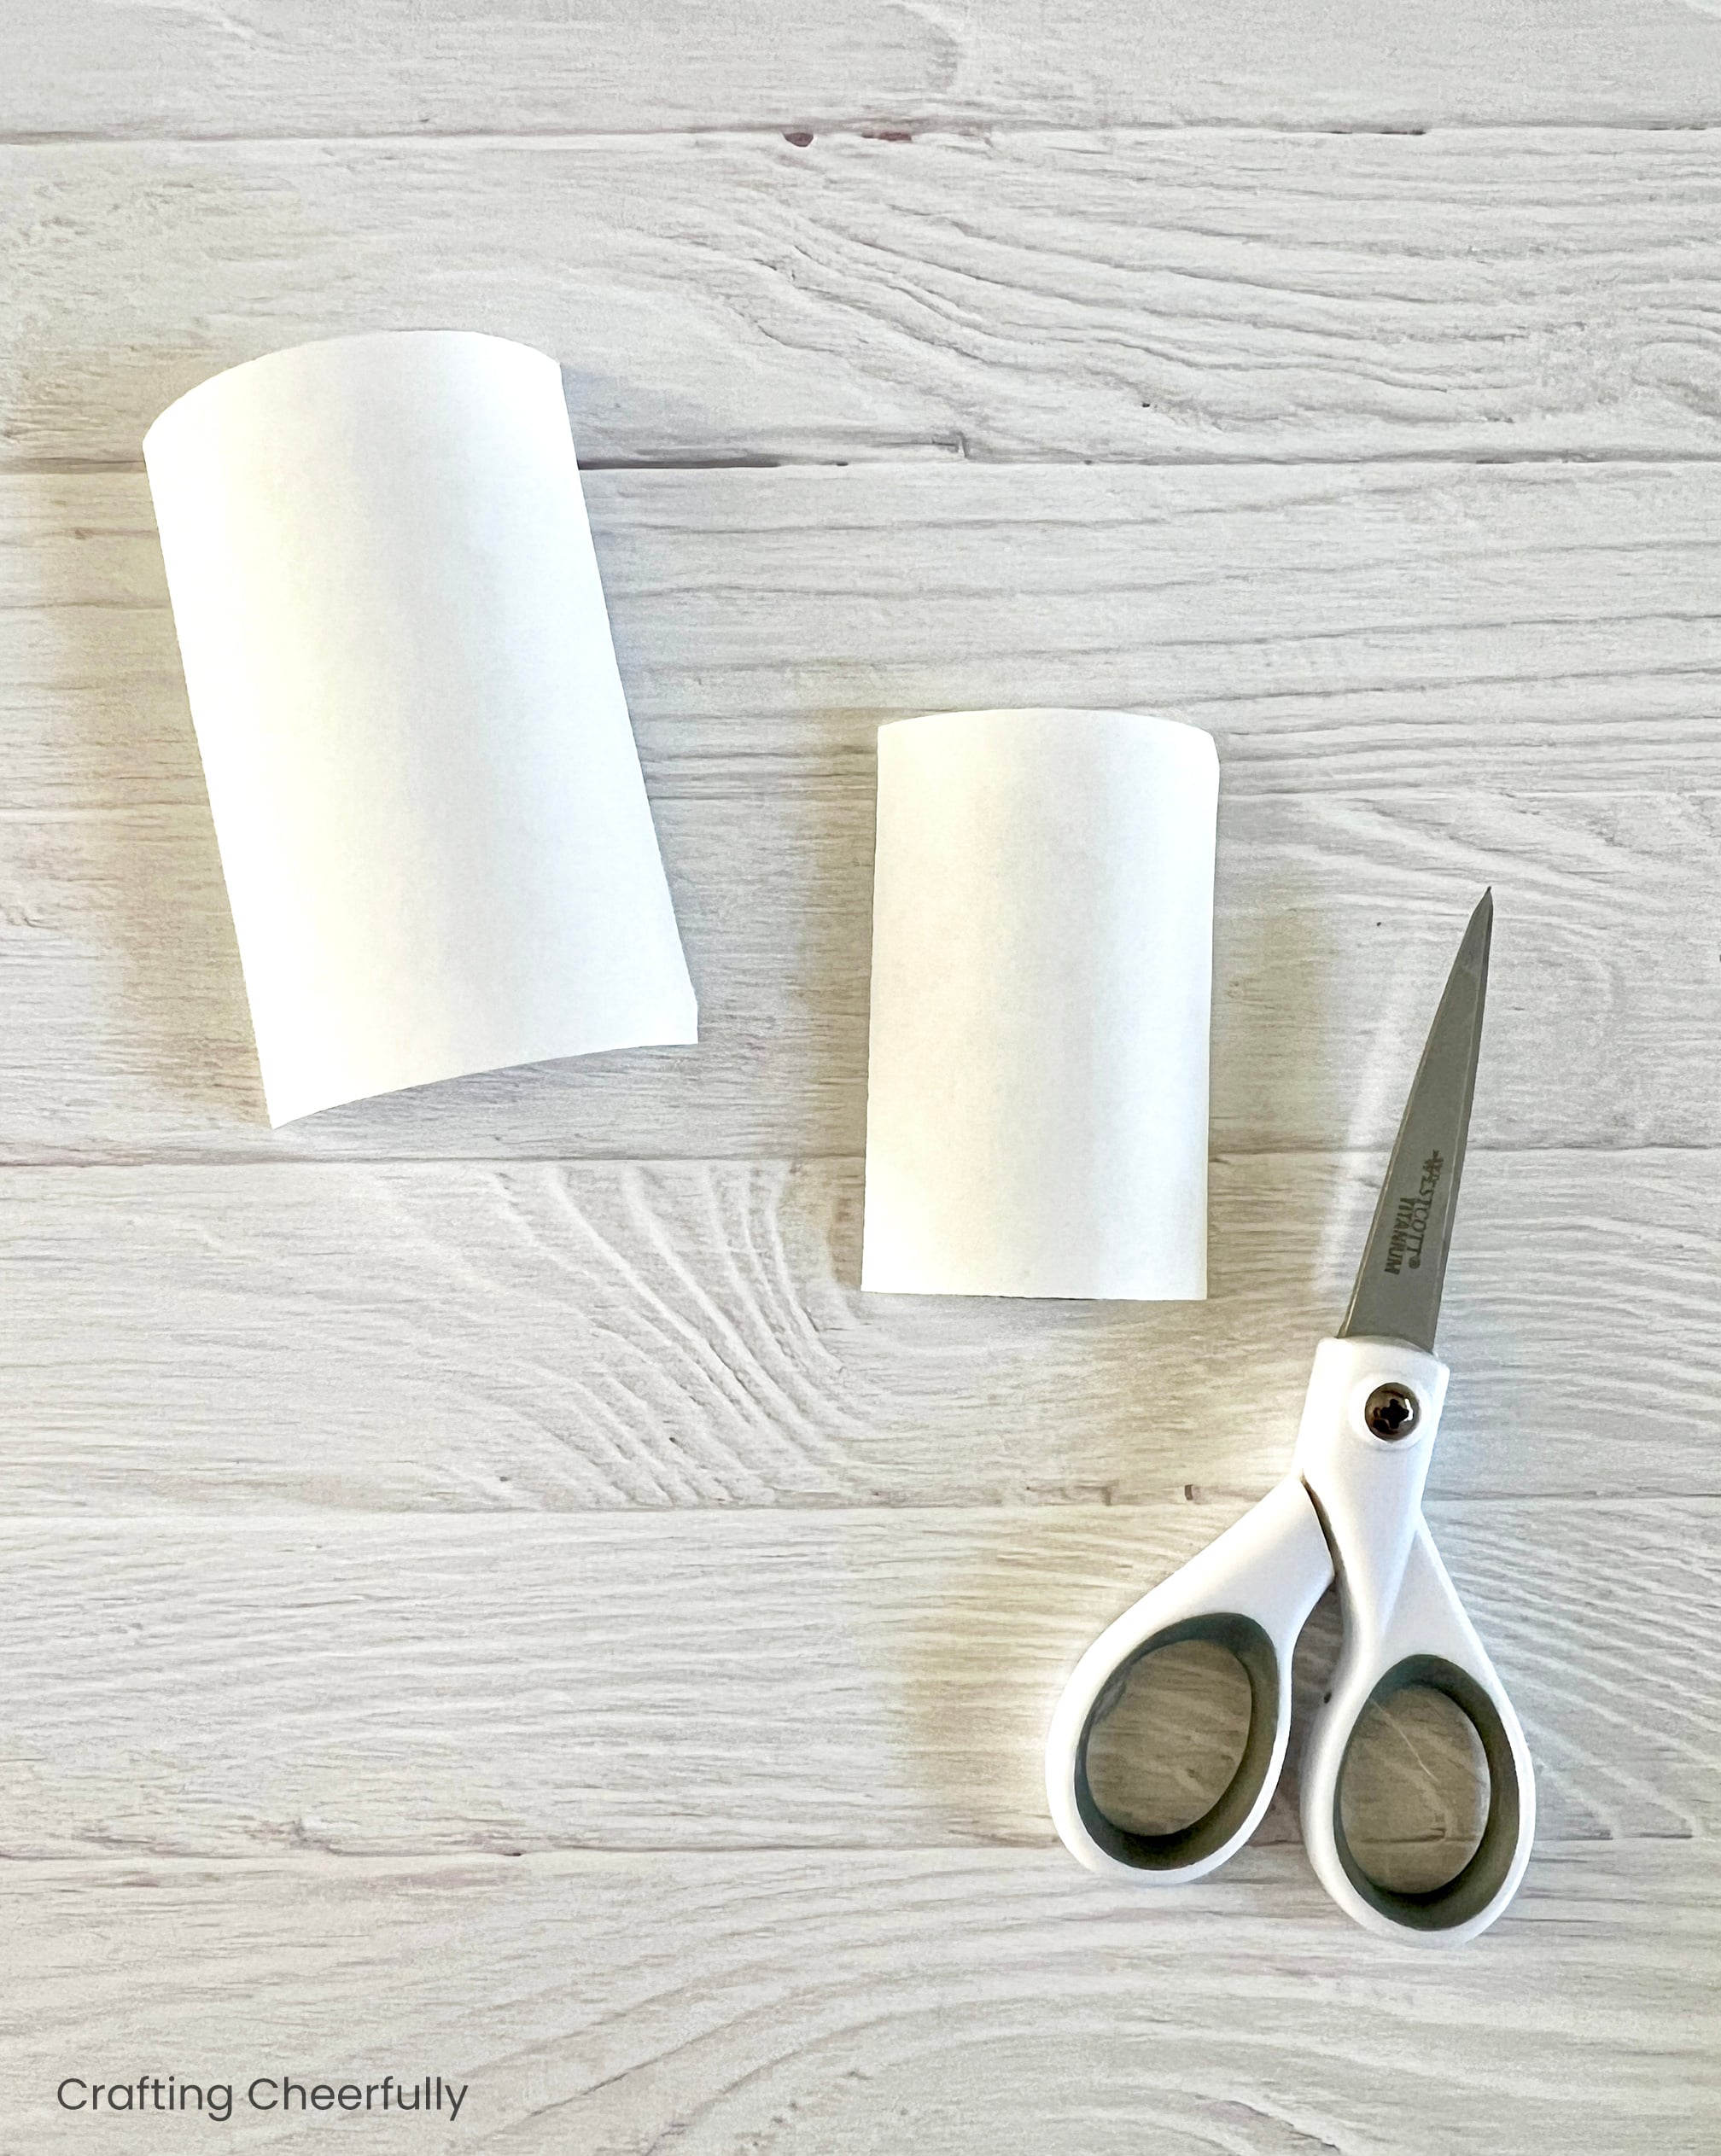
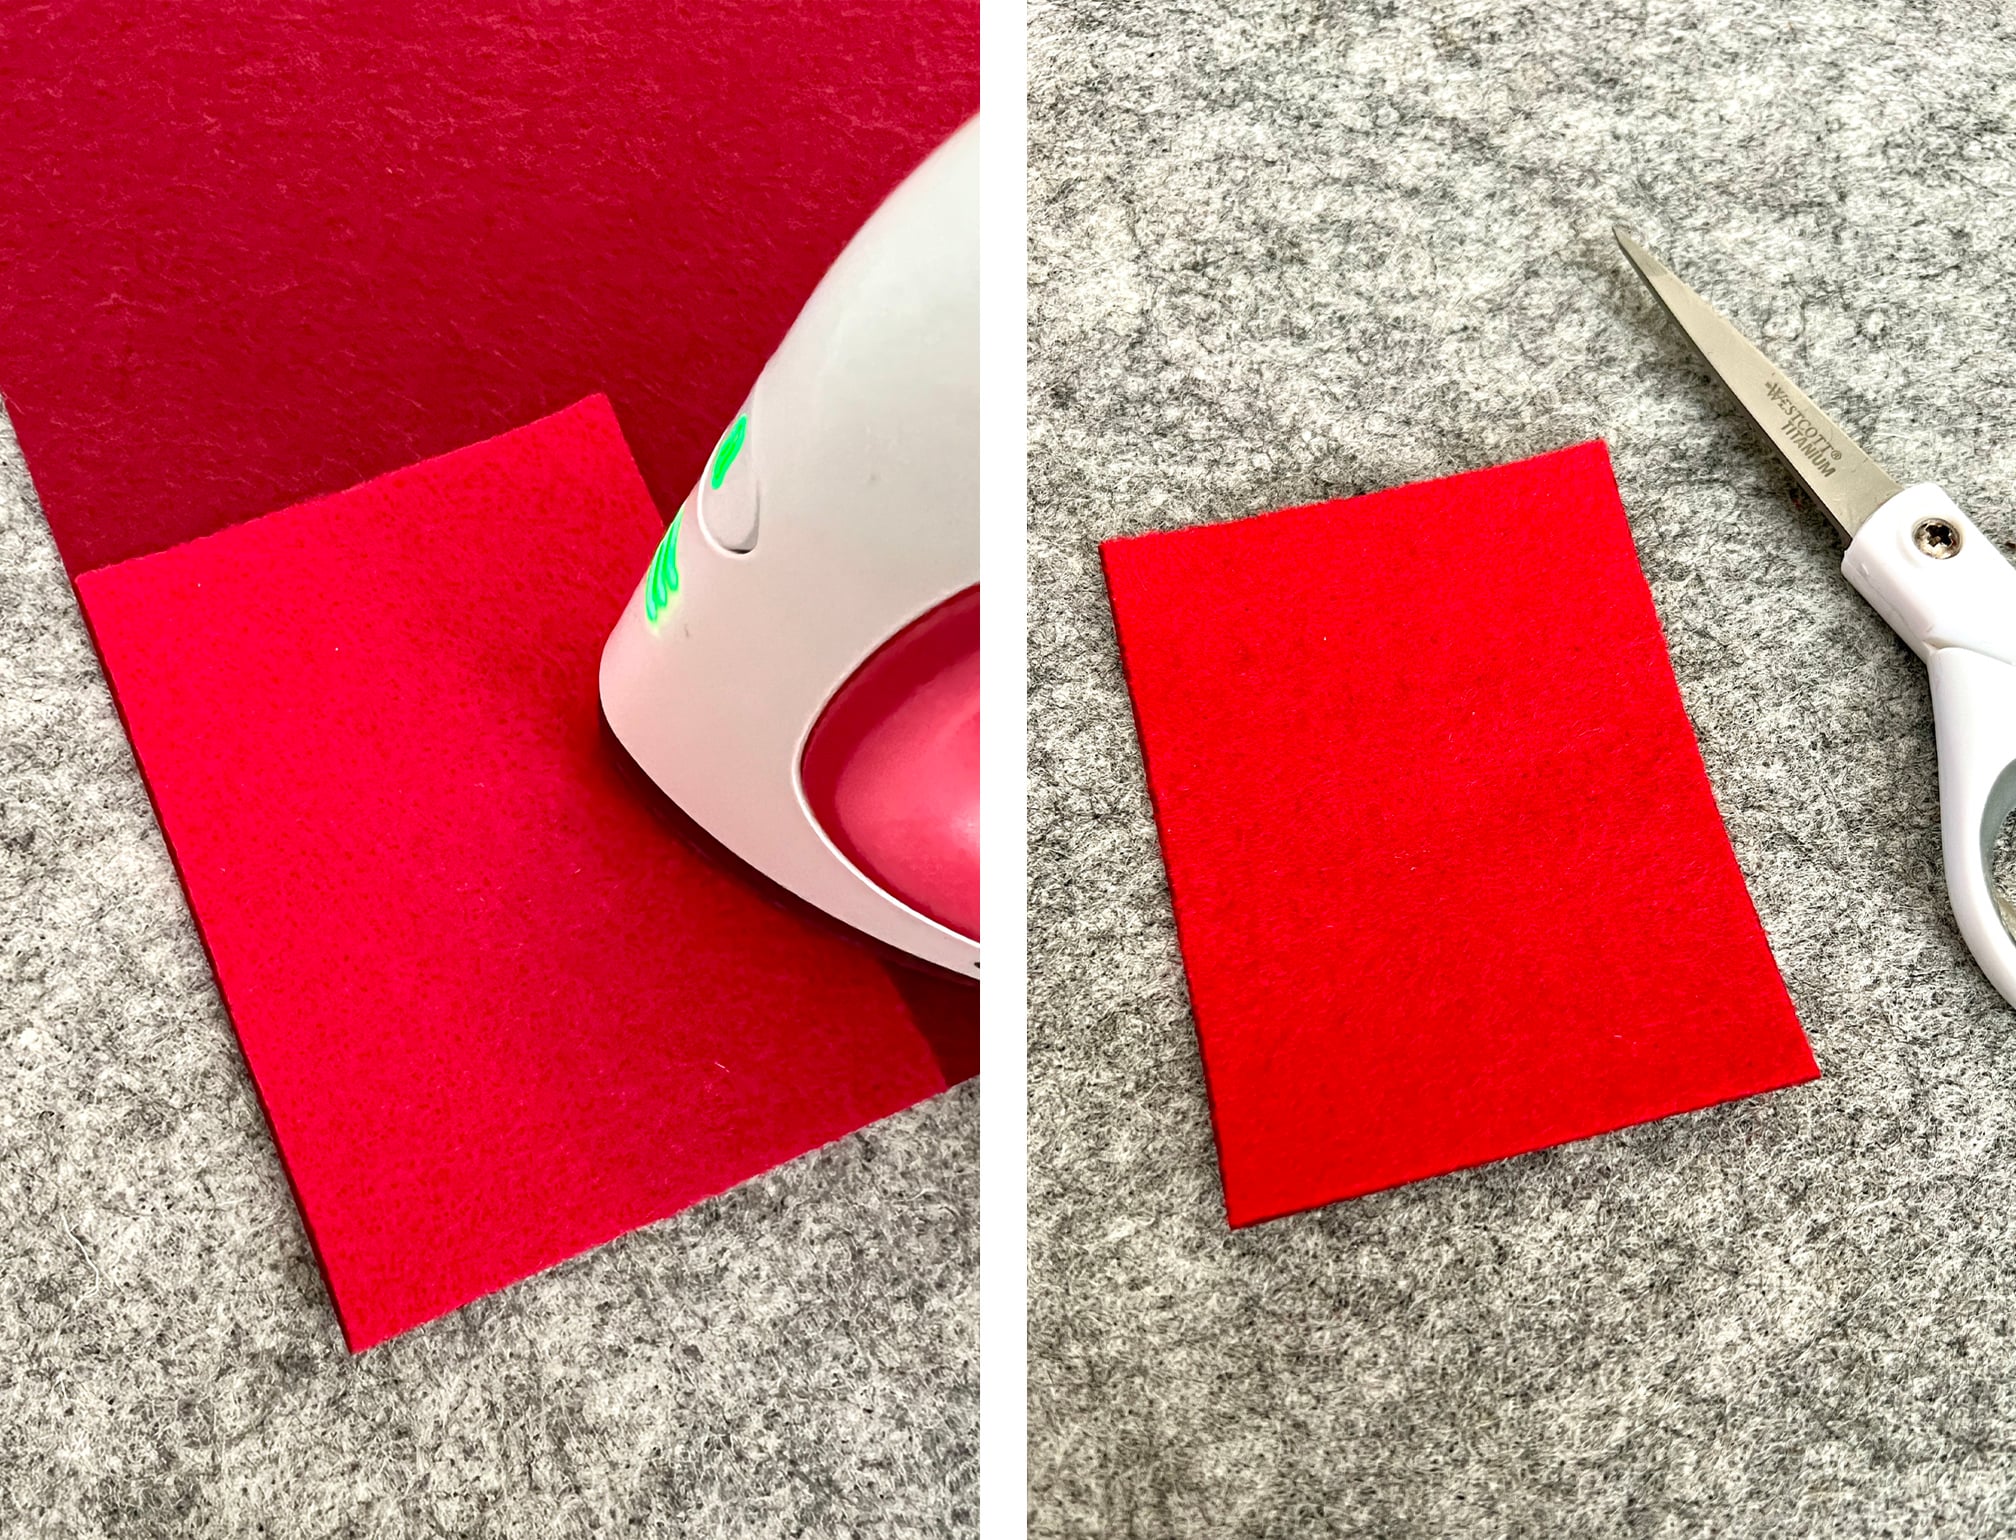
Step Three: Iron the larger interfacing rectangle to a piece of felt and cut the rectangle out.
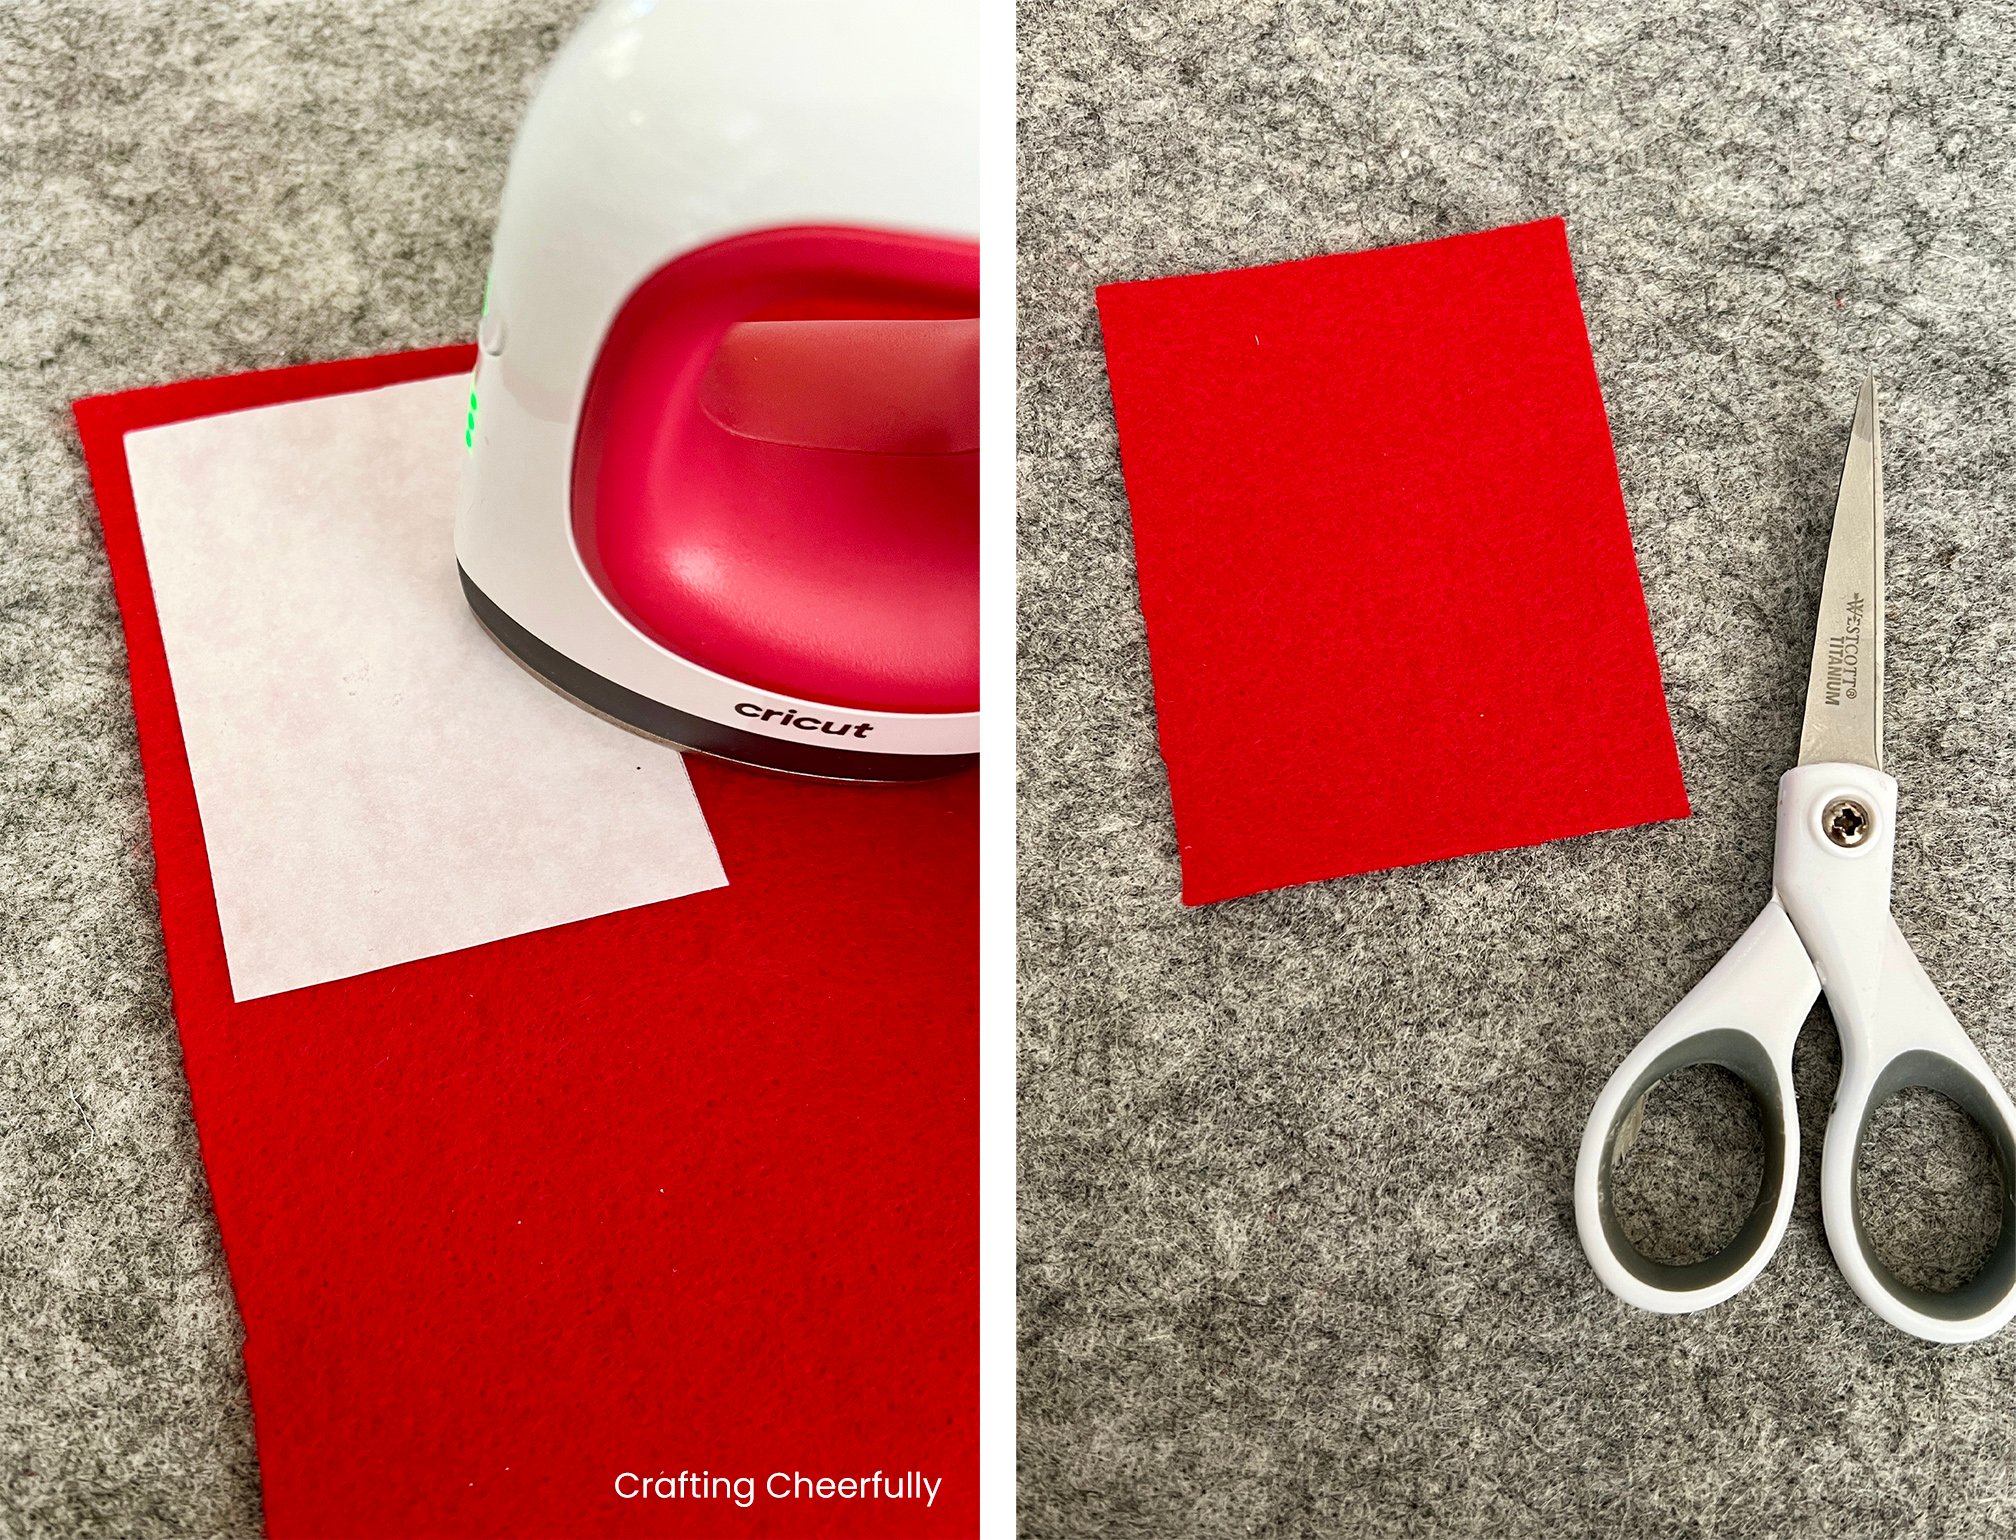
Peel the paper backing from the fusible interfacing and iron the rectangle to a second piece of felt, then cut out the rectangle again. I used a piece of stiffened felt for the second piece to help make my stamp more sturdy. The stamp is now two layers of felt thick.
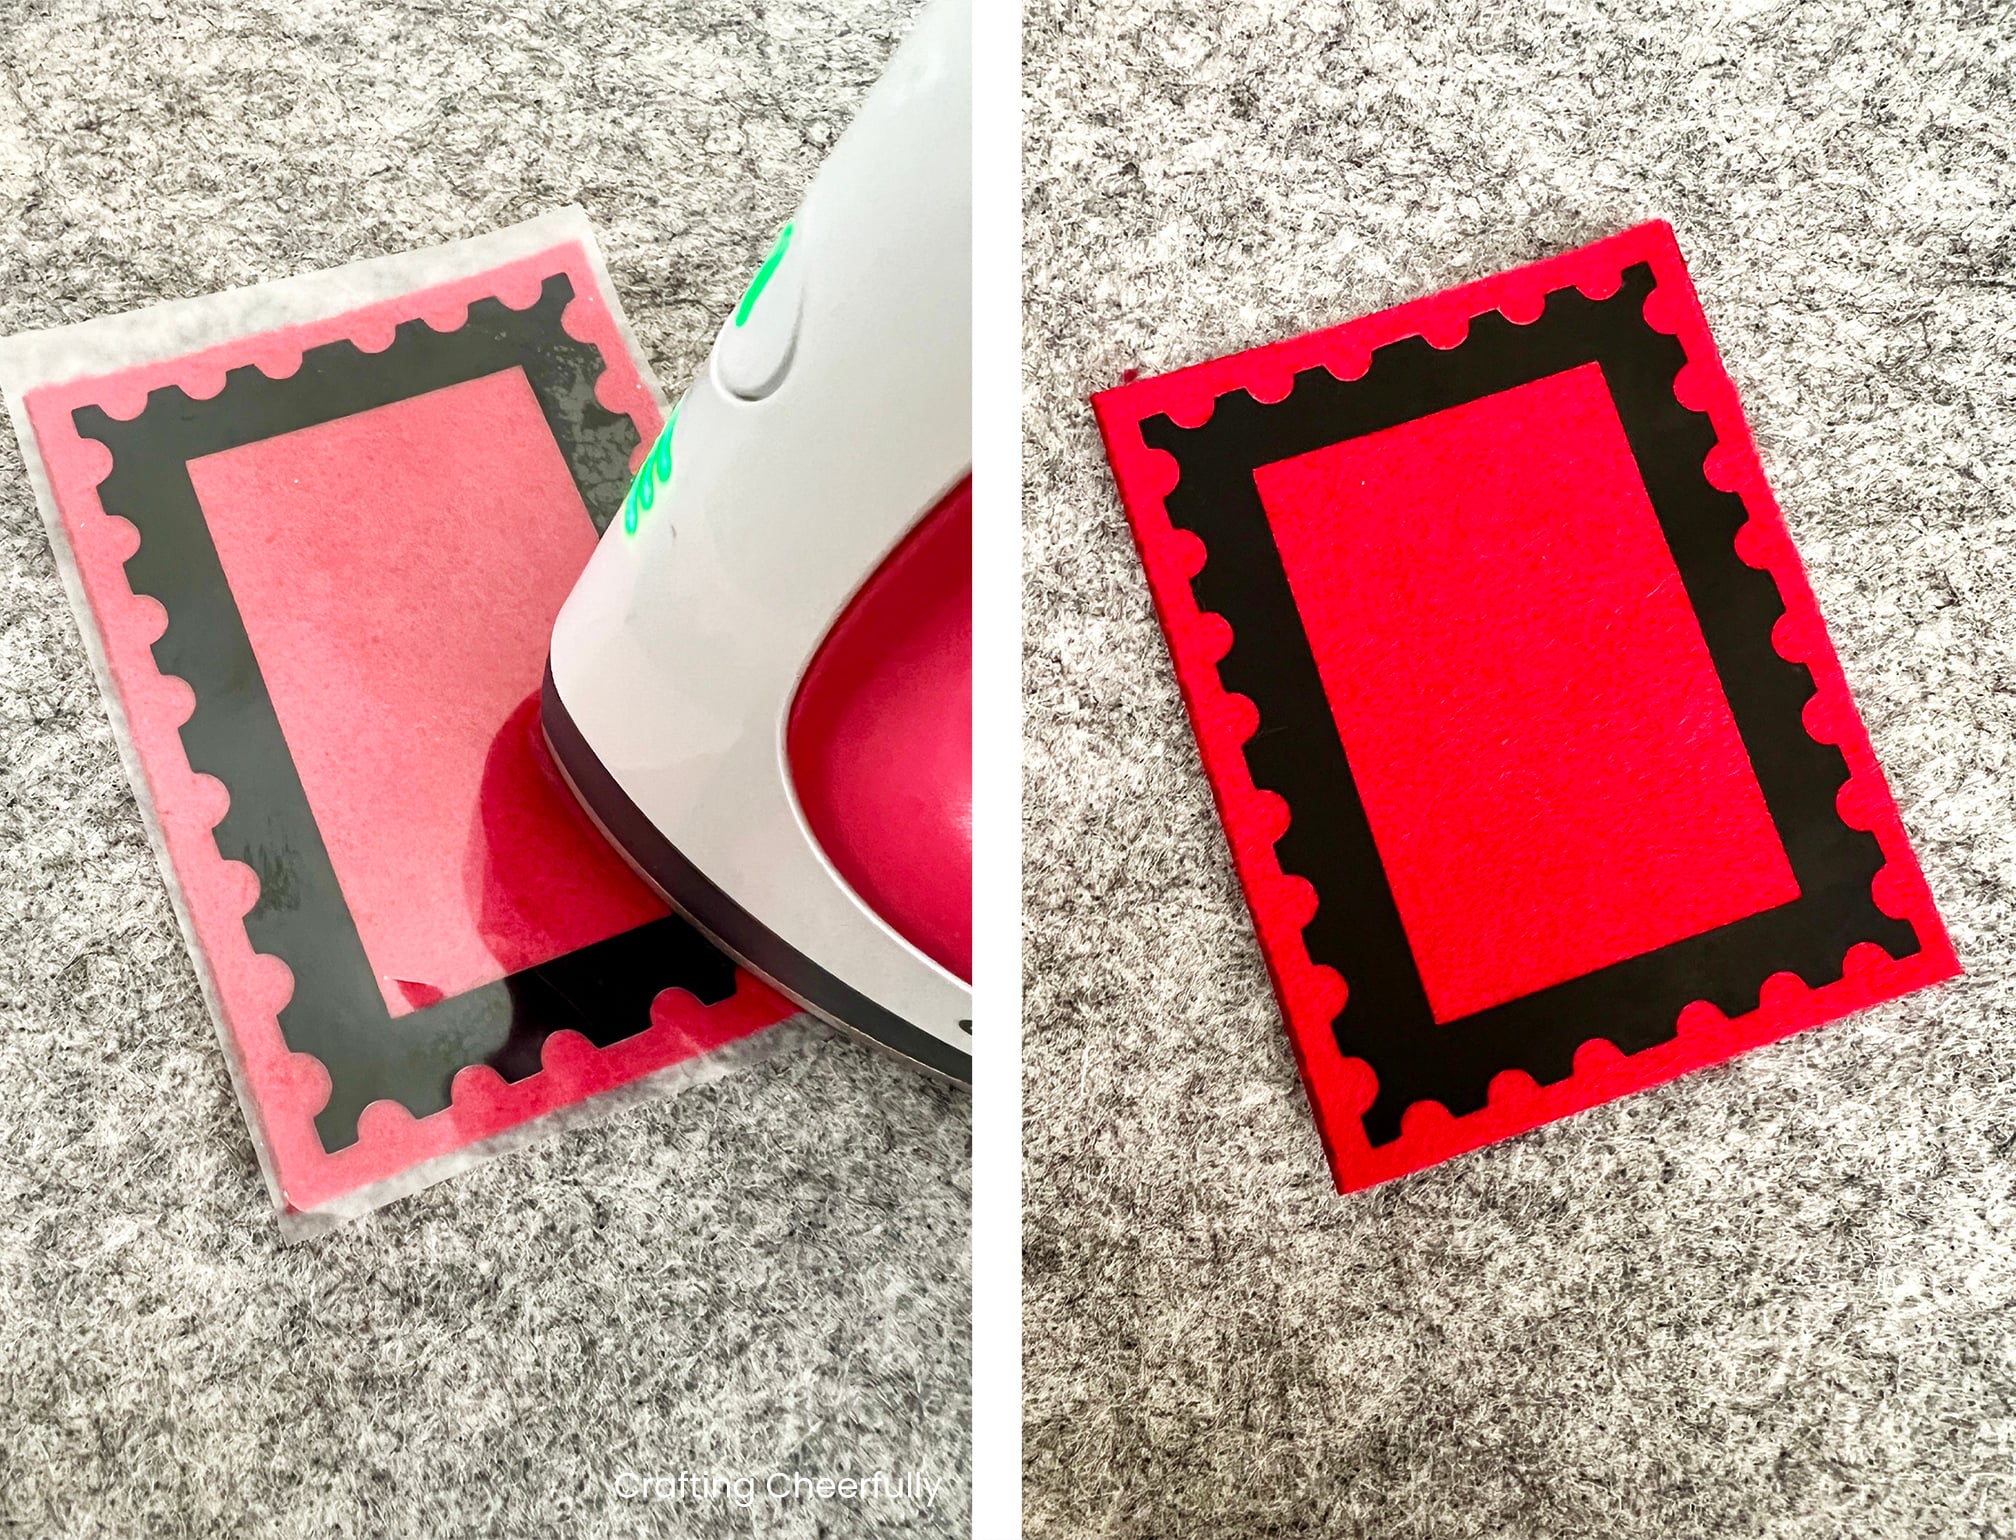
Create the Perforated Stamp Border
Step Four: Cut out the perforated postage stamp border and price using a cutting machine and Heat Transfer Vinyl. Using a cutting machine will help cut out these intricate pieces, especially the five cents. If you do not have a cutting machine you can use the PDF template to cut them by hand from felt or fabric. You can use pinking shears to create a perforated edge and adhere it using fusible interfacing or fabric glue.
Iron the perforated border to the center of the felt rectangle.
Add the Fabric Stamp Design
Step Five: Create the stamp vignette using the smaller rectangle. Iron this to the back of a piece of fabric, strategically choosing a fun print or design. I had a lot of fun looking through my holiday fabrics for little images that were the right size for these stamp ornaments!
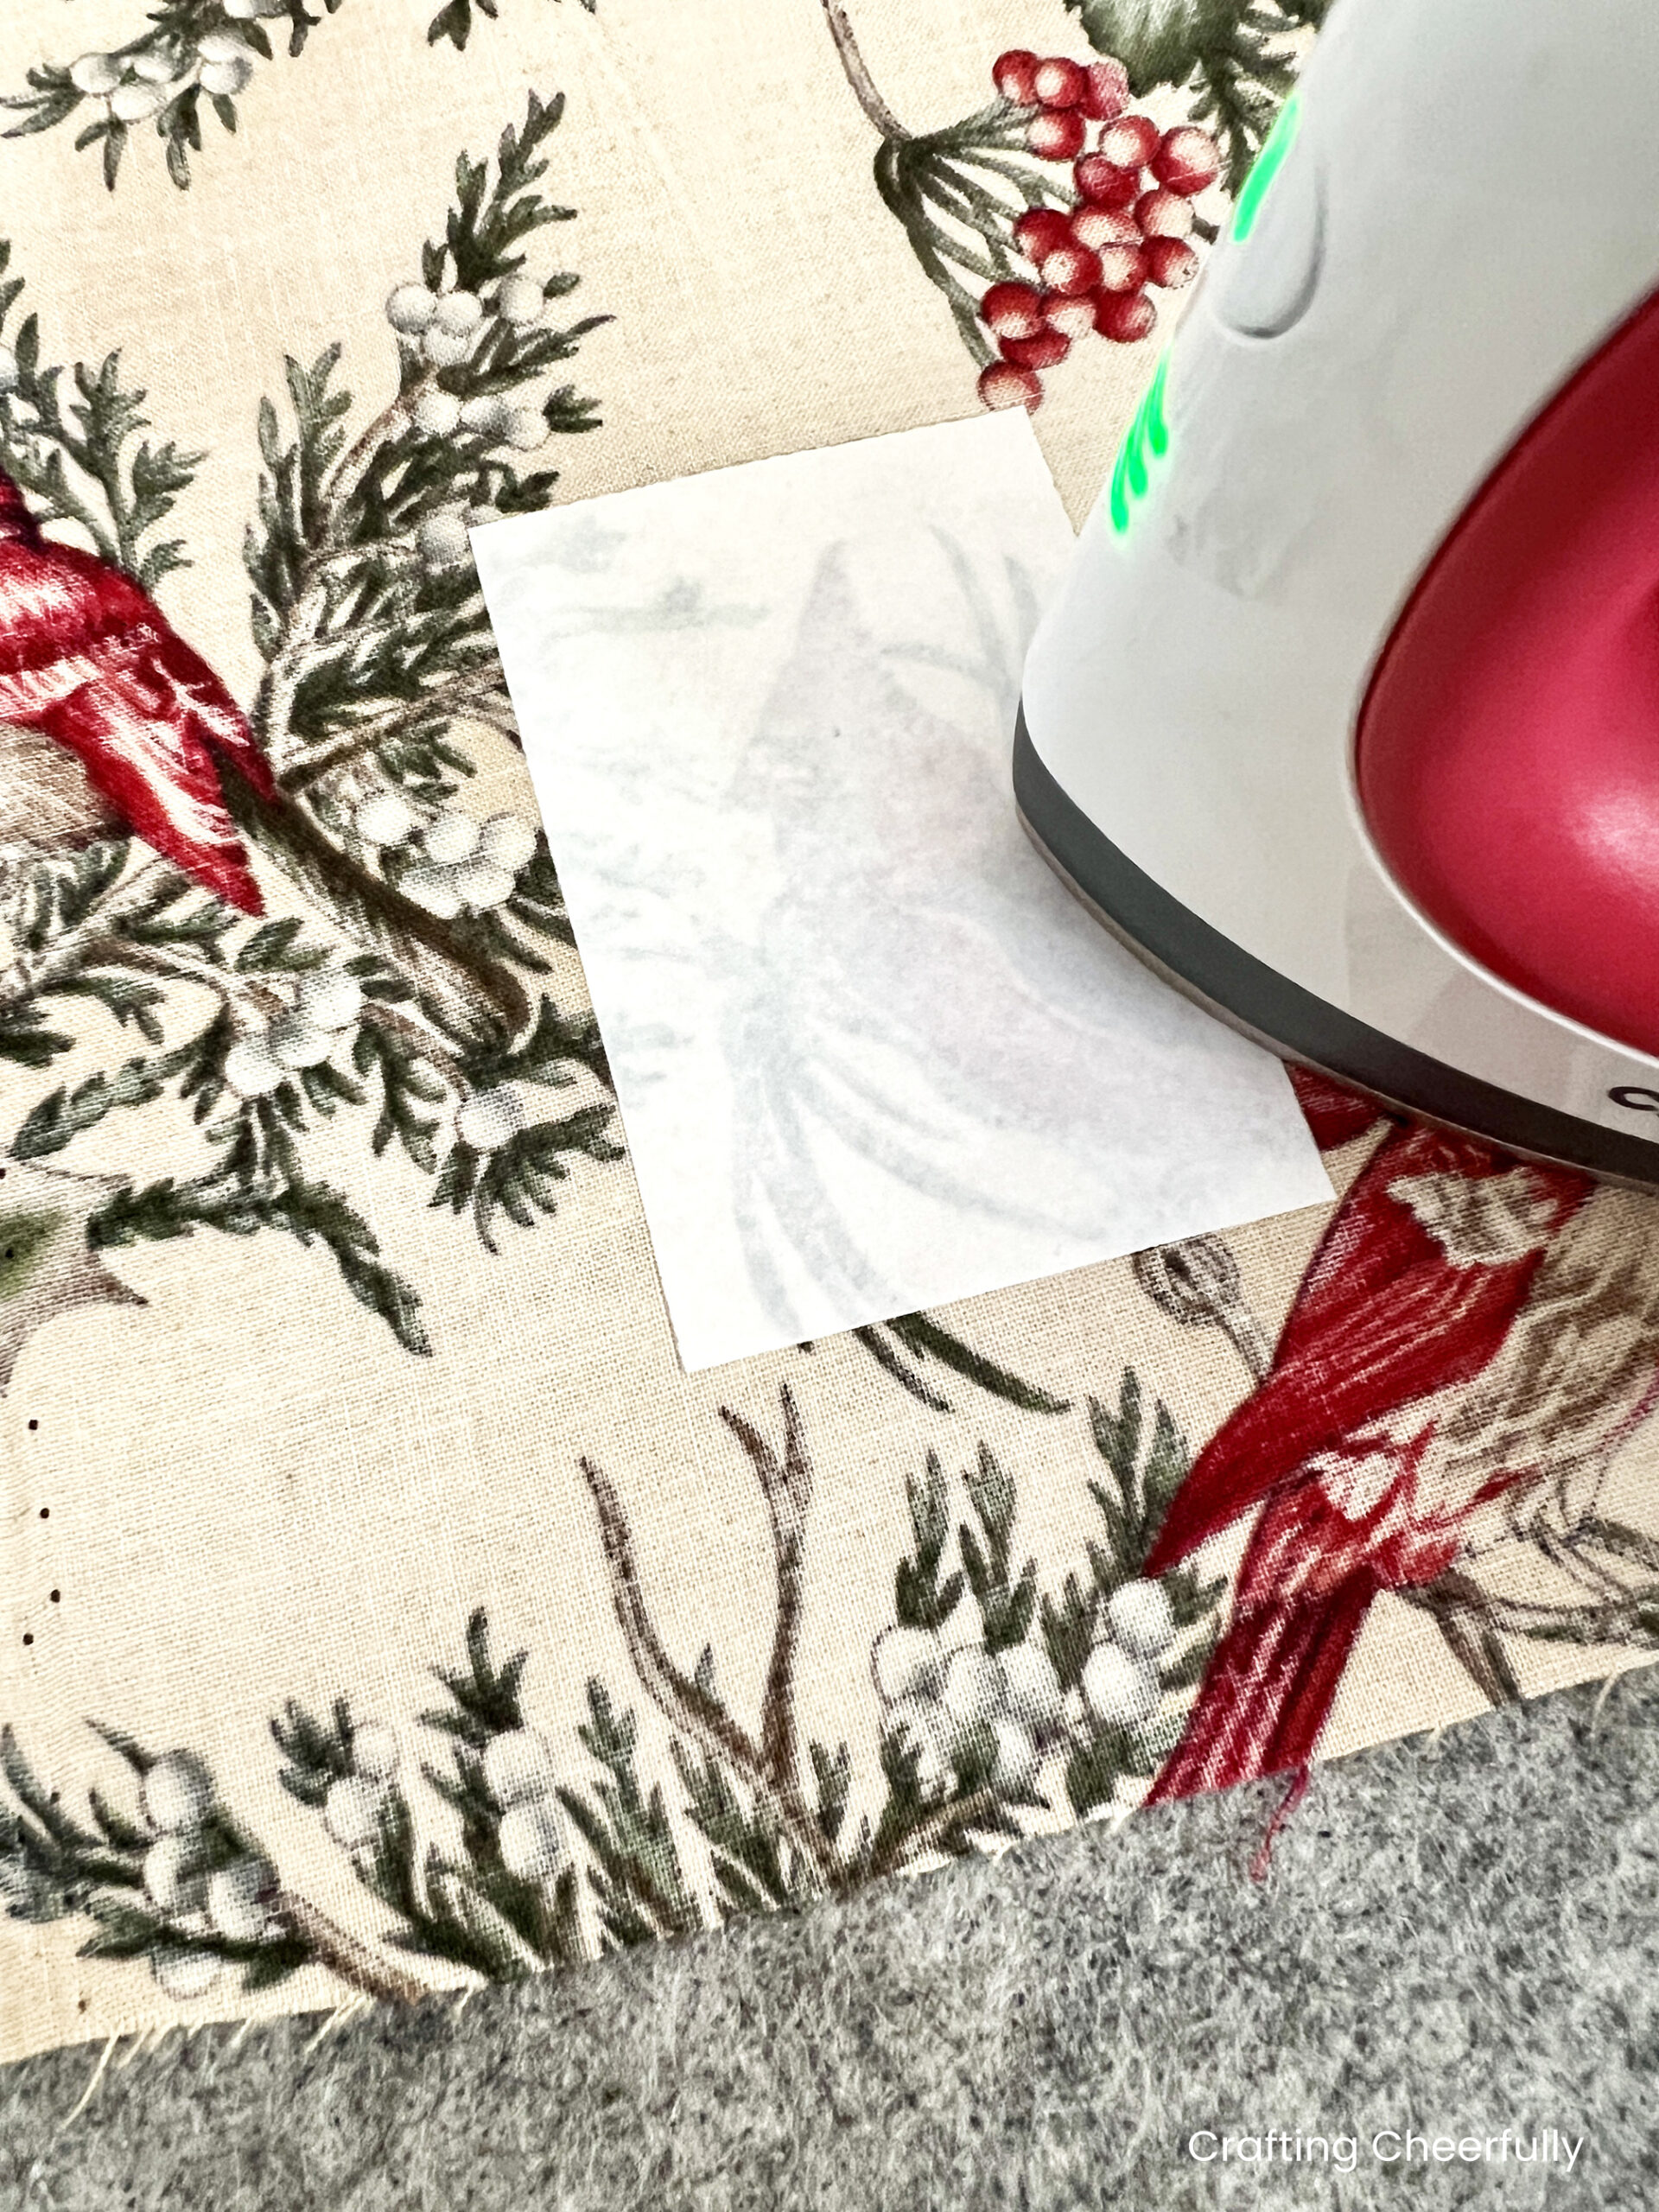
Cut out the rectangle of fabric, peel away the paper backing, and iron it to the felt stamp centered within the stamp’s perforated border.

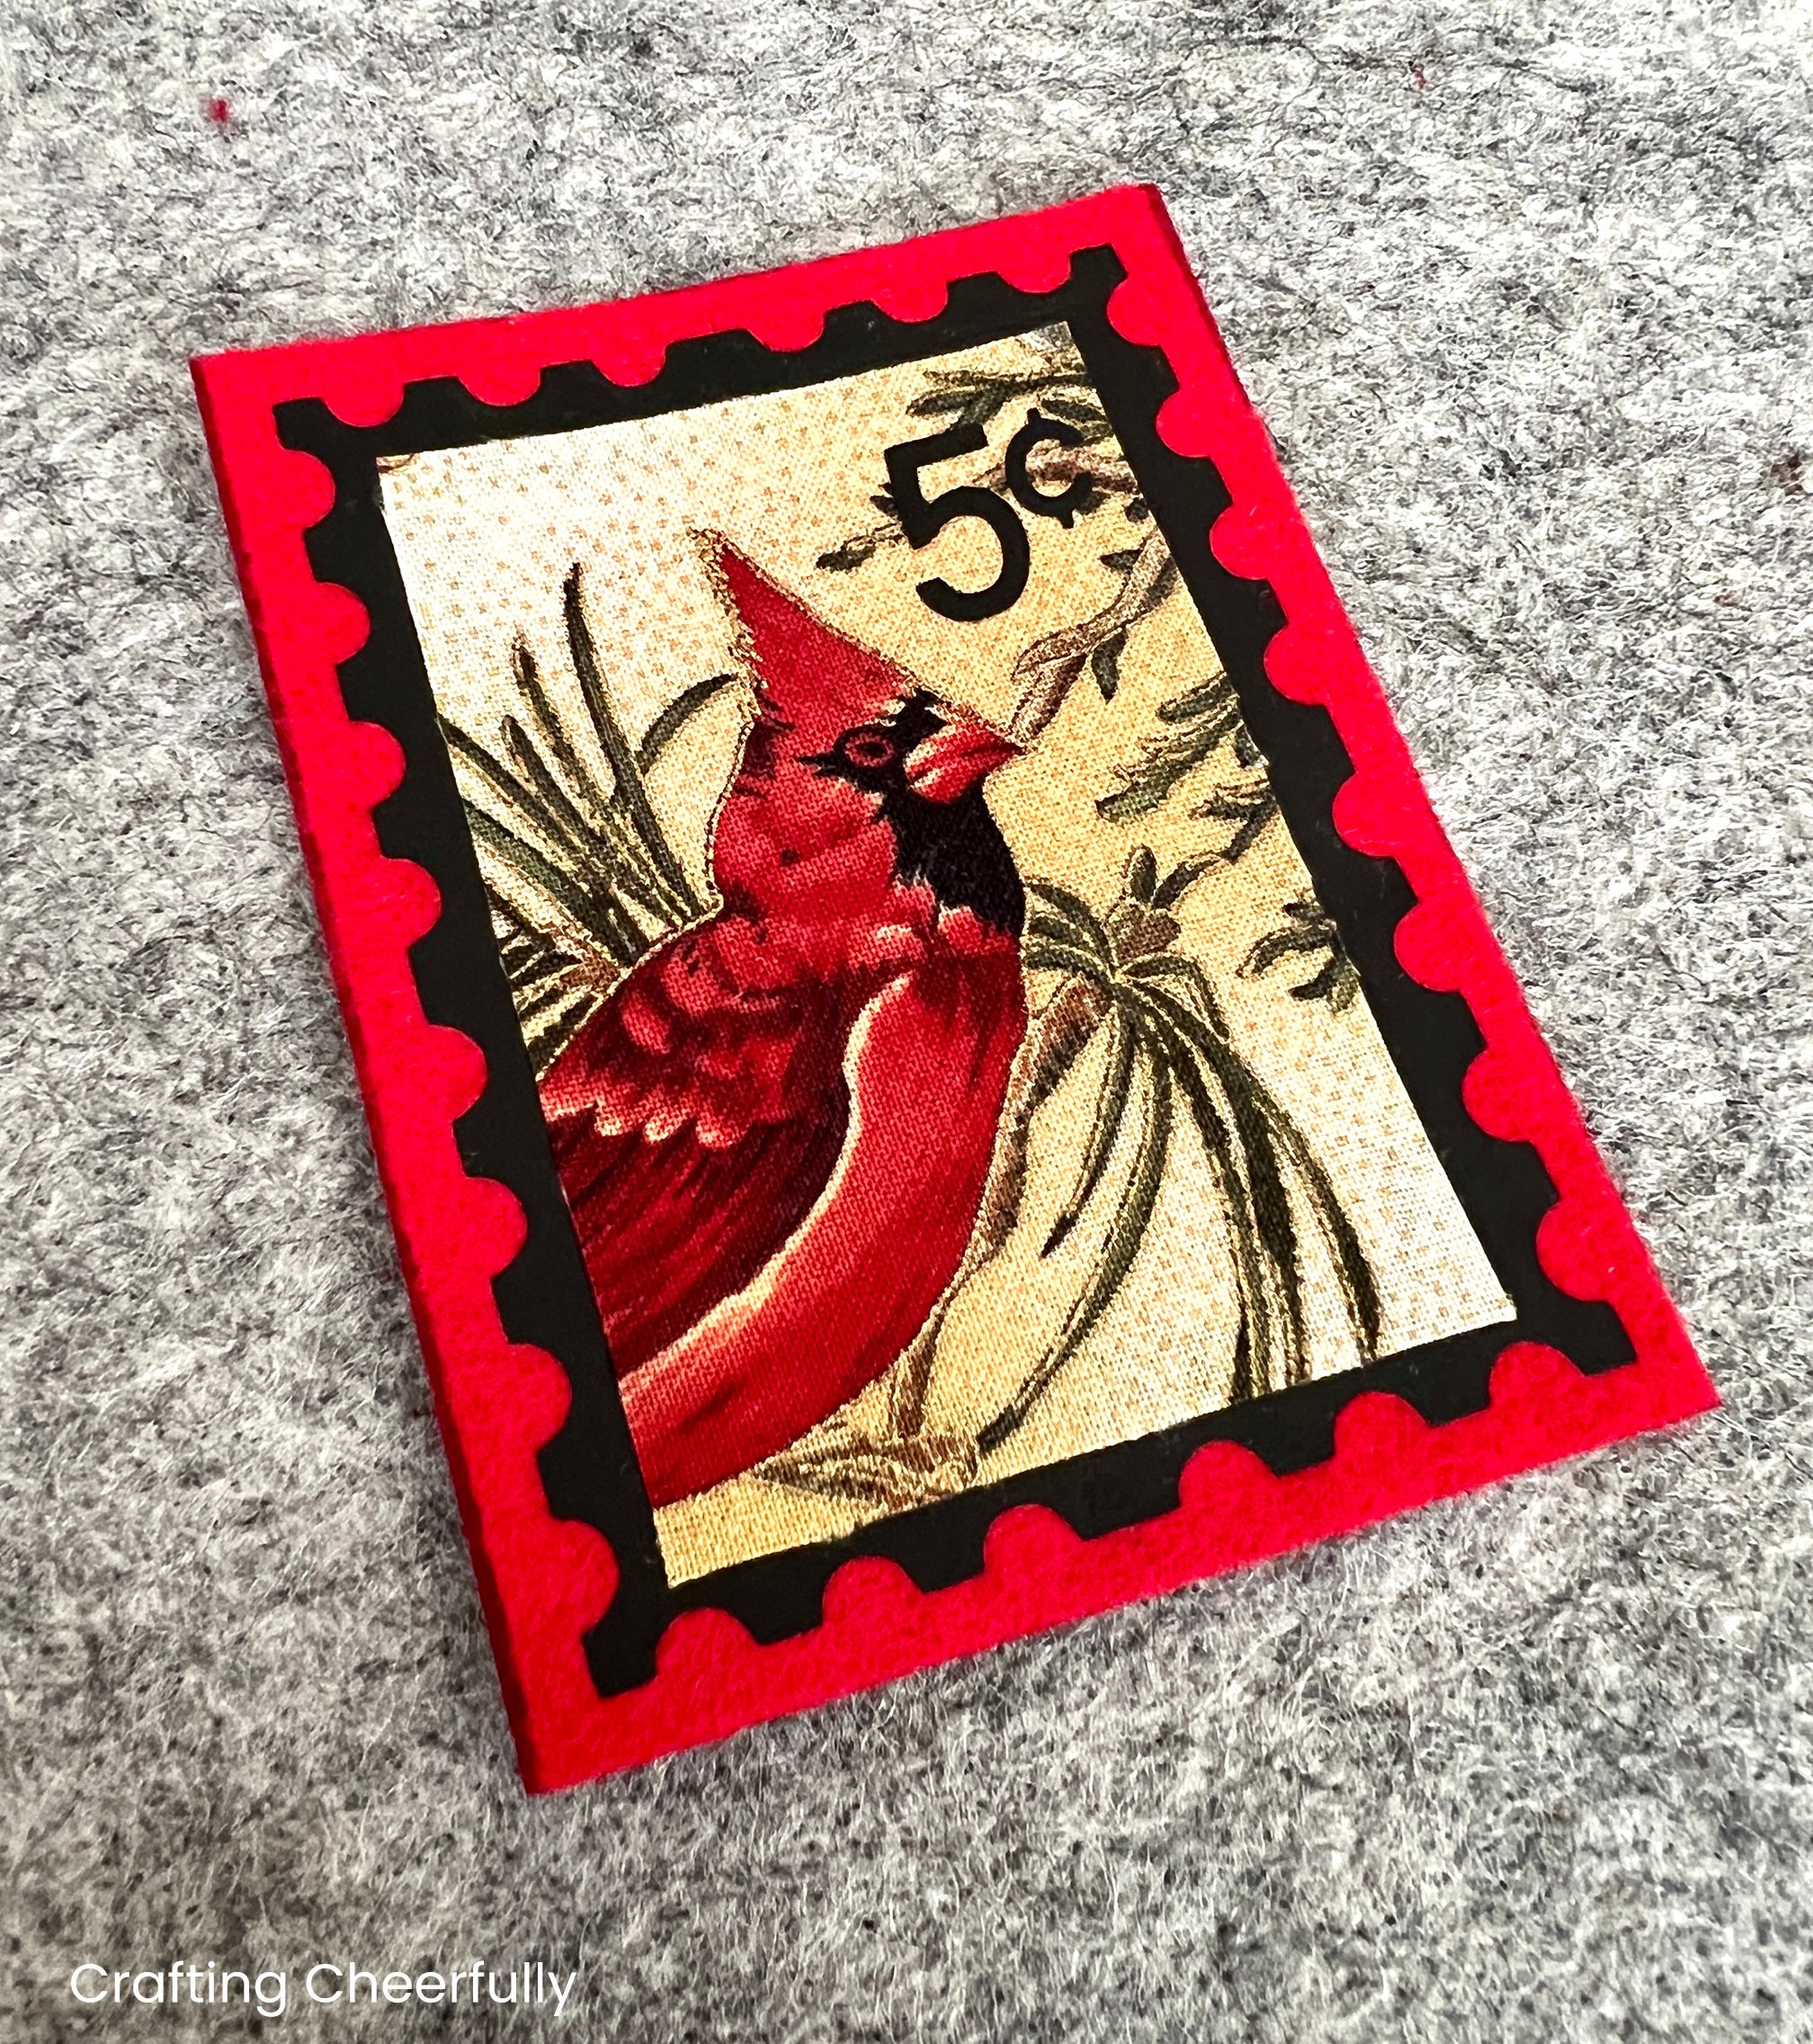
Step Six: Next, iron the “5 cents” price to the top right corner of the fabric image.
Create the Hanging Loop
Step Seven: Finally, punch a hole in the top of the stamp using a hole punch and add a hanging loop using twine, yarn or ribbon. I used 1/8″ hole punch.
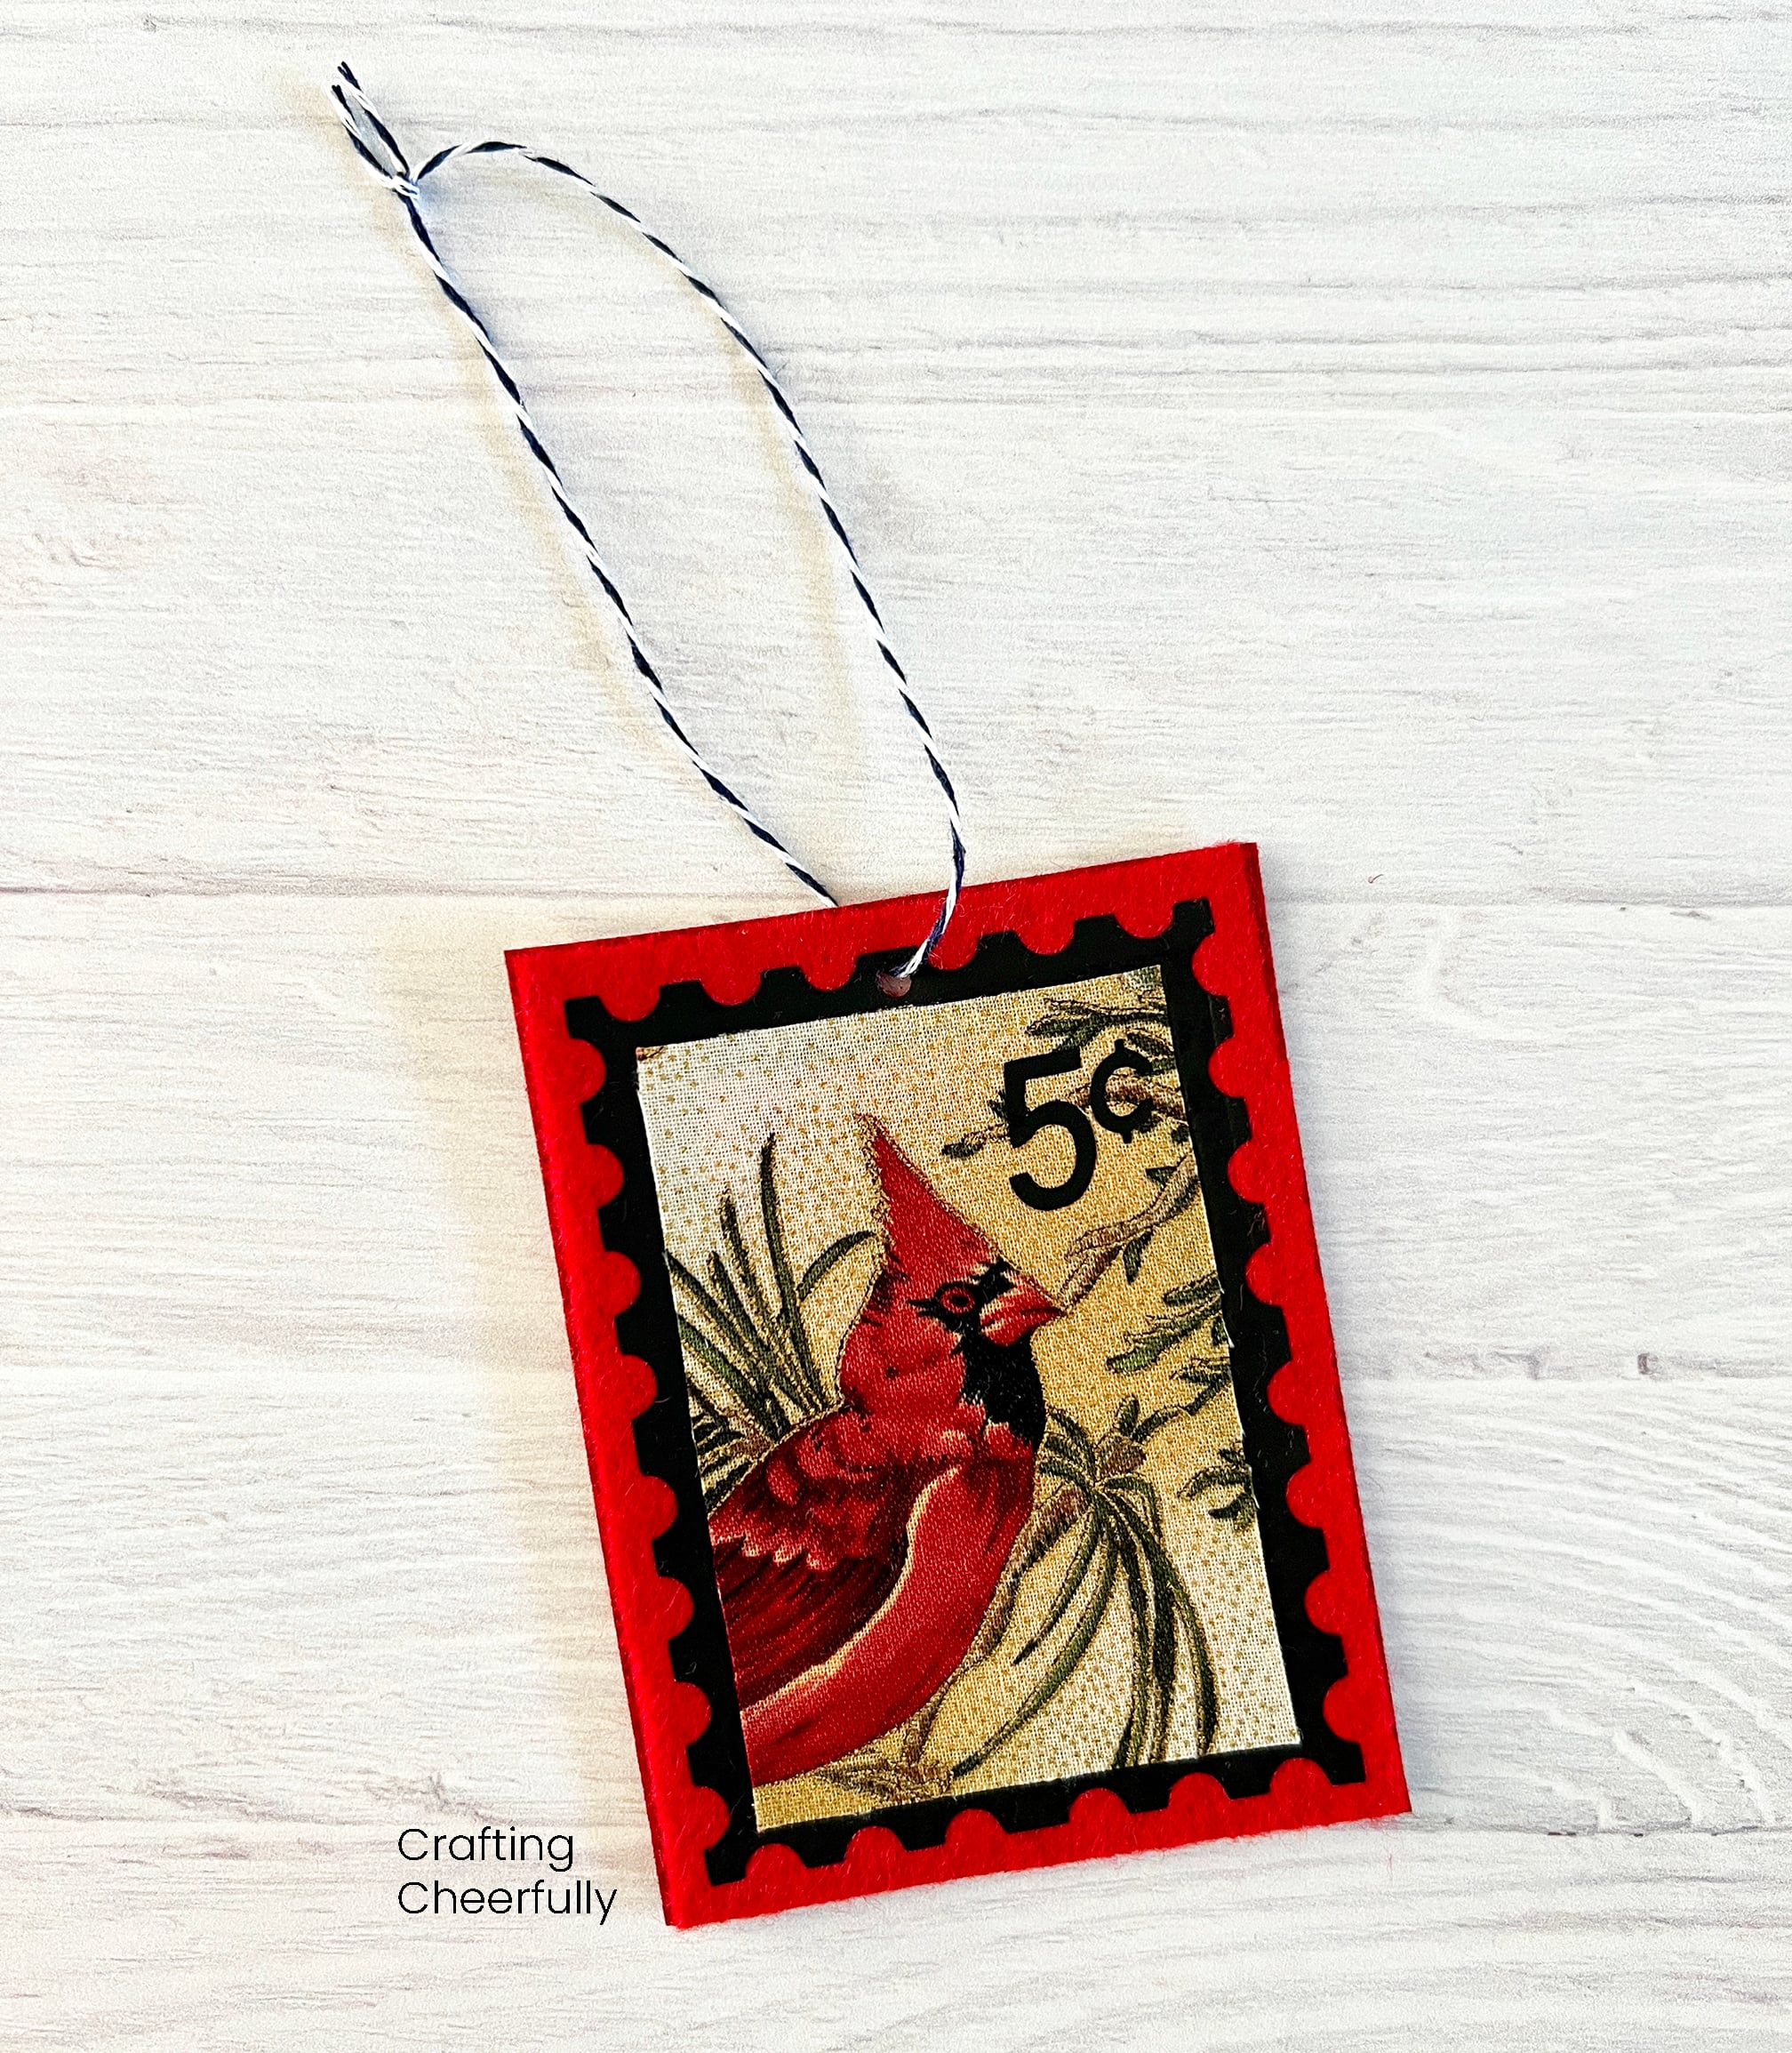
The postage stamp ornament is finished! Once you make one you’ll likely want to make a few more – they are kind of addicting once you get started!
I hope you enjoyed this ornament craft! Be sure to check out my other ornament projects and come back tomorrow for the 8th day of my series, “12 Days of Holiday Crafts“.
Get the Free Ornament Files
Fill out the purple form below with your first name and email address! The free file will be sent straight to your inbox! If you have already filled out the form below, don’t worry – you won’t be added to my list twice! This freebie is for personal use only. I hope you enjoy crafting something special. Please let me know if you have any questions :)