DIY Hot Cocoa Treat Box
Create sweet hot cocoa treat boxes for the holidays with these fun printables!

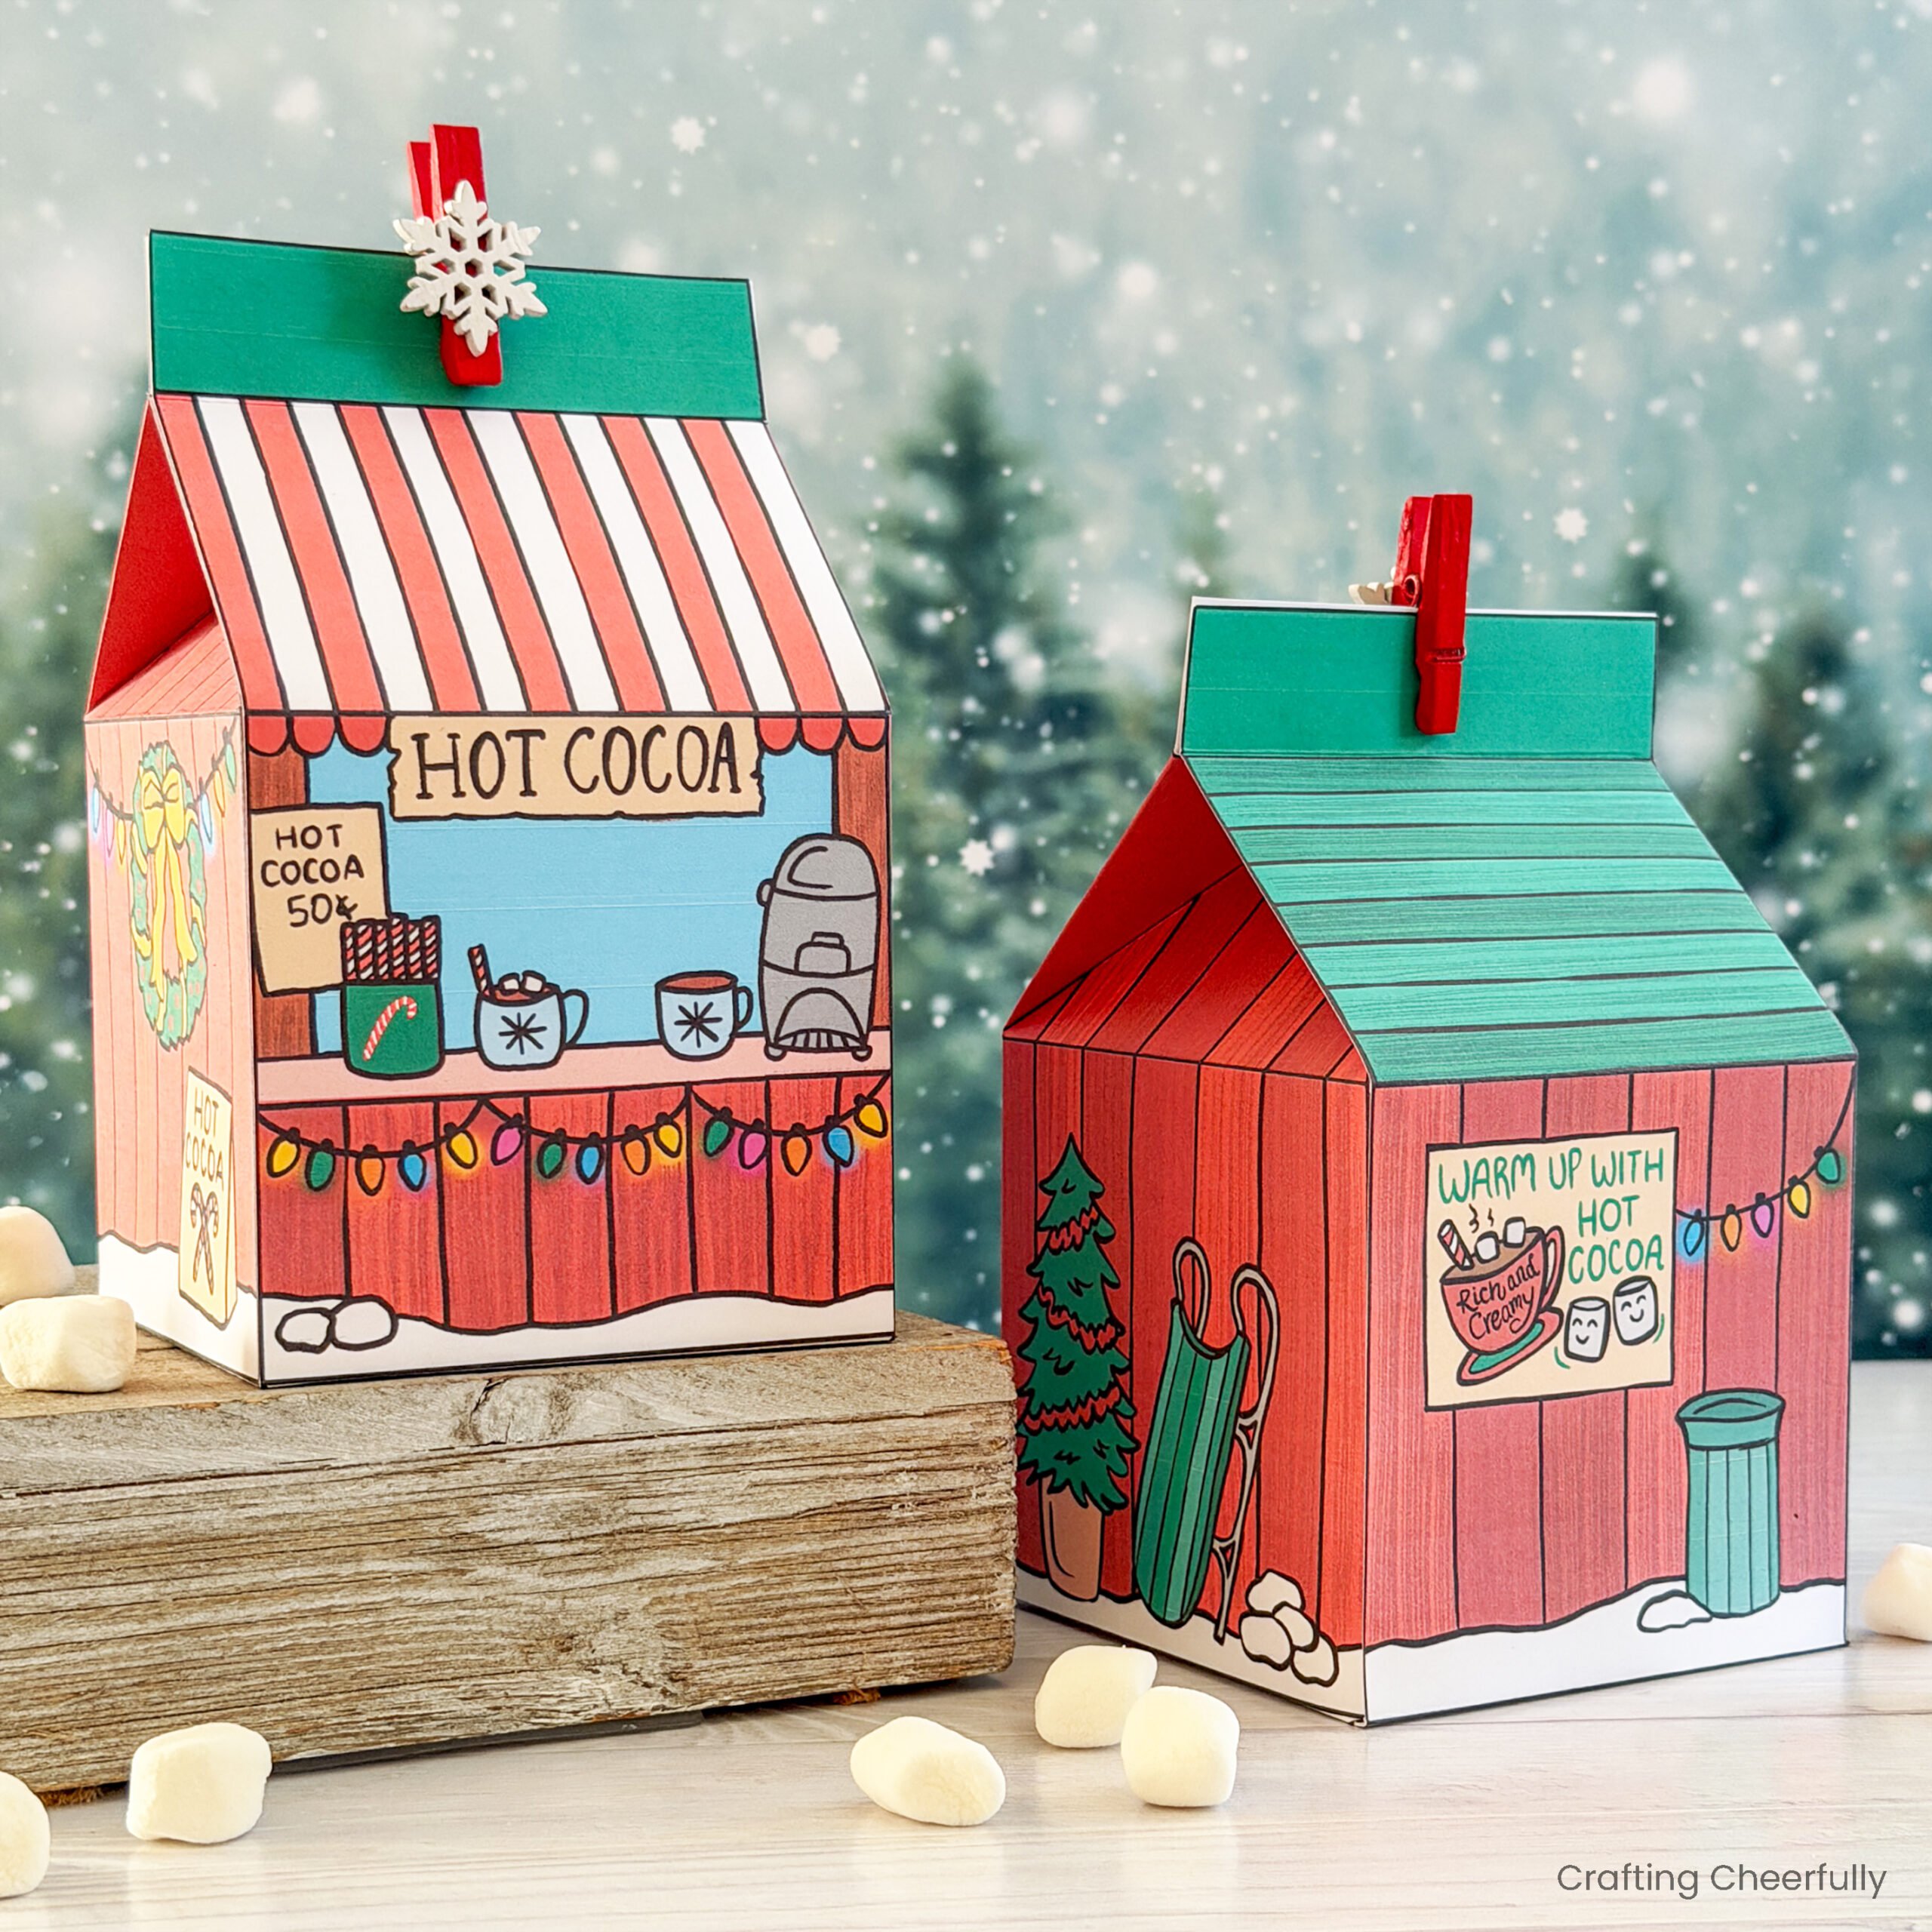
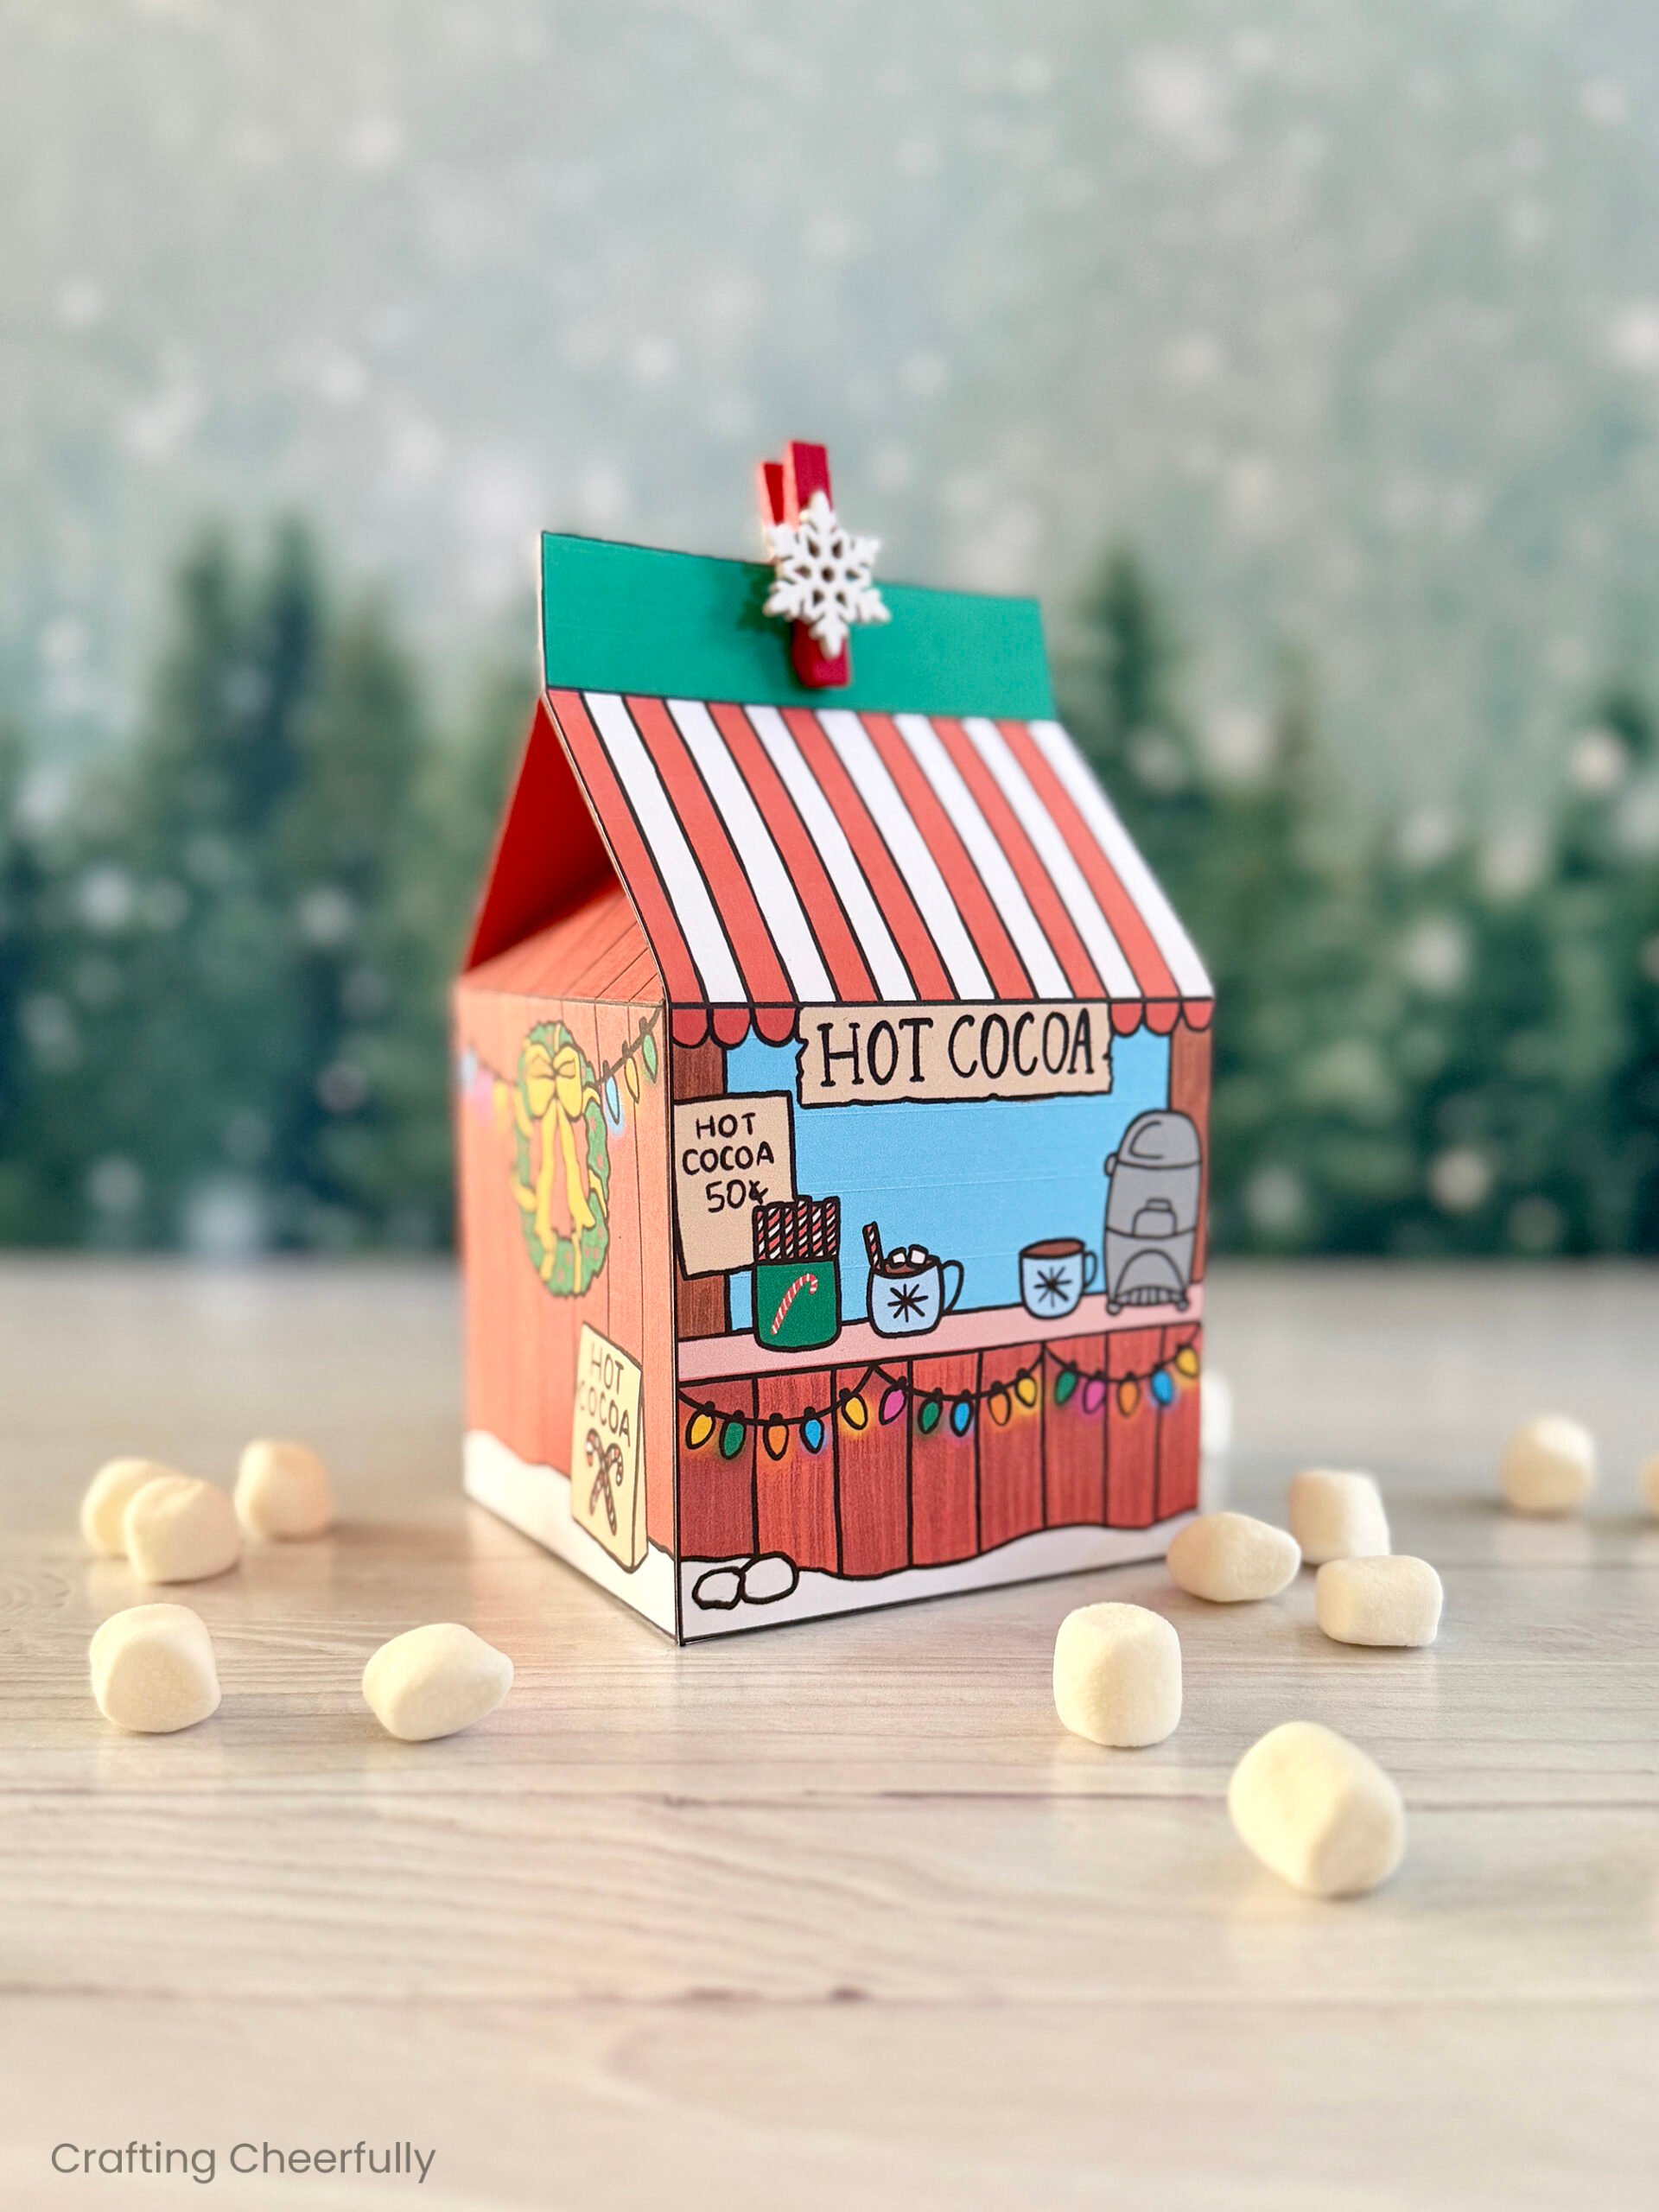
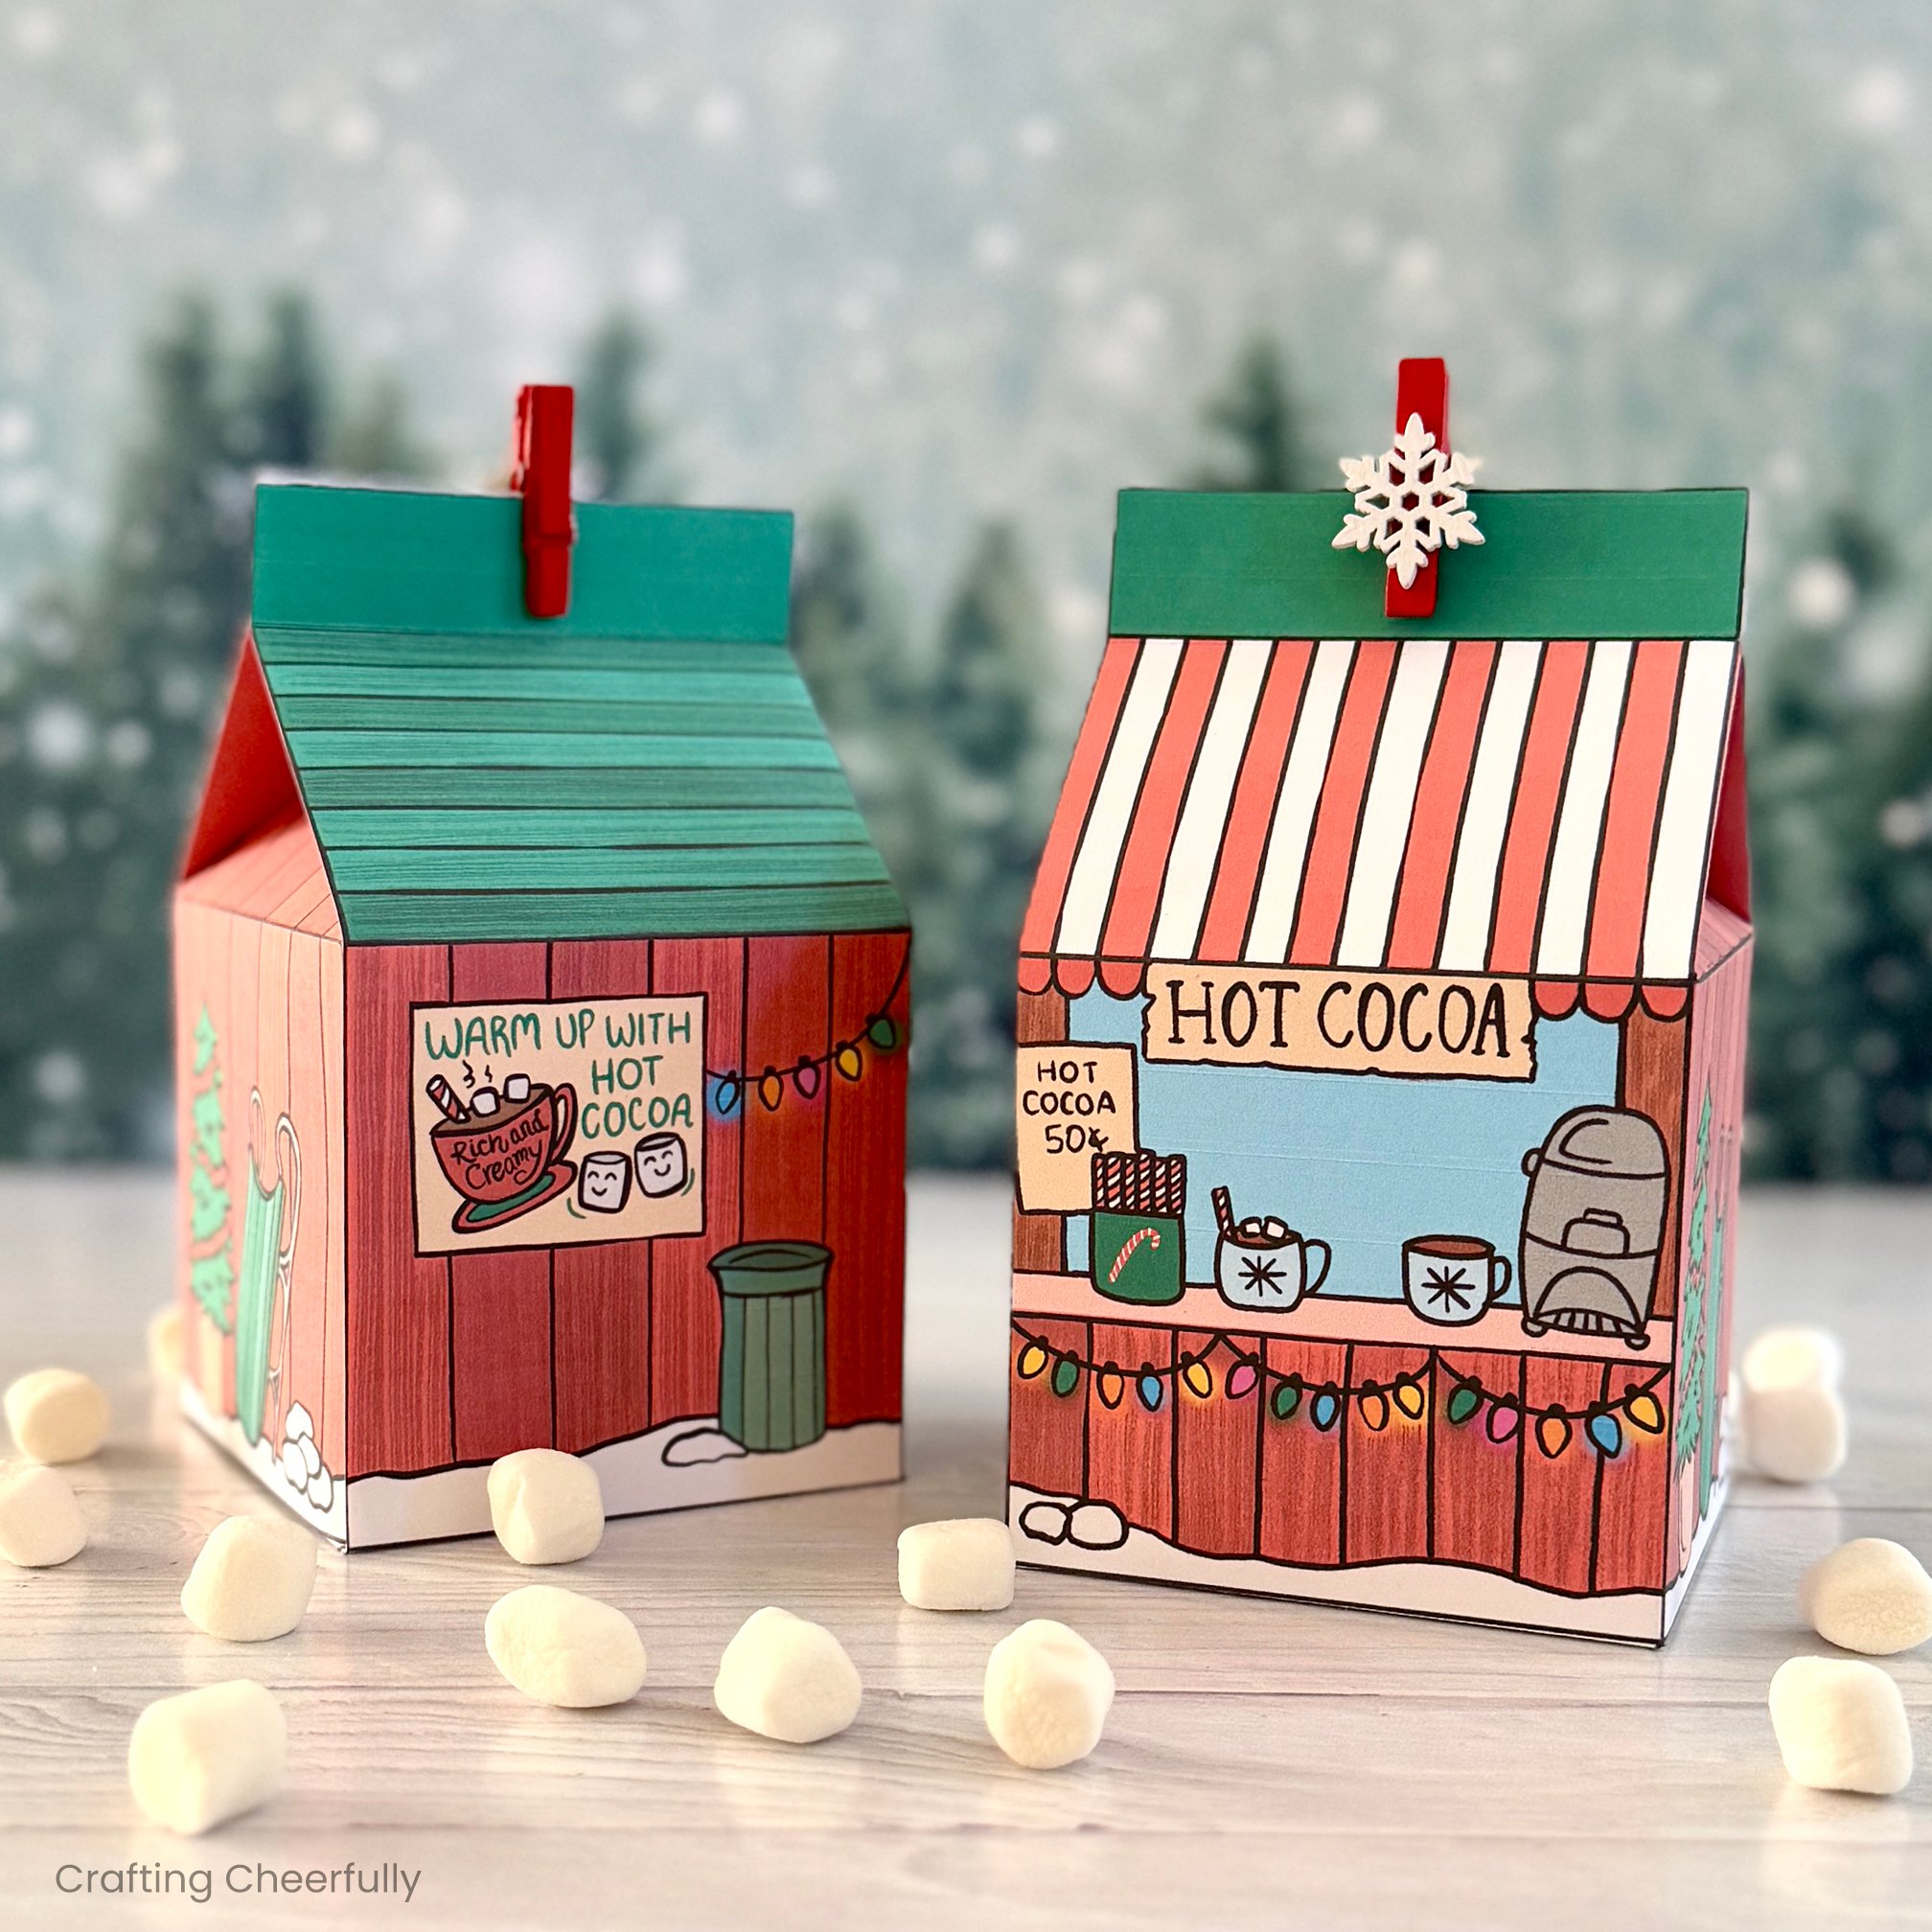
Hello Crafty Friends! It’s day six already of my annual series “12 Days of Holiday Crafts” and today I’m sharing a new printable treat box with you. I absolutely love making treat boxes – they make really cute gifts especially at the holidays. These new treat boxes have been designed to look like a hot cocoa stand ready to serve up toasty cups of cocoa to nearby sledders.
I designed these boxes by first drawing a picture with pencil and paper. Next, I scanned the drawing into Procreate and digitally colored it before turning it into a treat box. This hot cocoa box joins other favorites like my Gingerbread House Treat Box, Christmas Barn Treat Box and Country Christmas Treat Box. All of these started as little doodle sketches before being turned into giftable boxes!
This new treat box is perfect for gifting everything needed to make hot cocoa! Try adding cocoa mixes, marshmallows and fun stirrers to the box for a DIY Hot Cocoa Kit! You can also use the boxes to hold handmade gifts, ornaments or baked goods.
Printable Hot Cocoa Christmas Gift Boxes
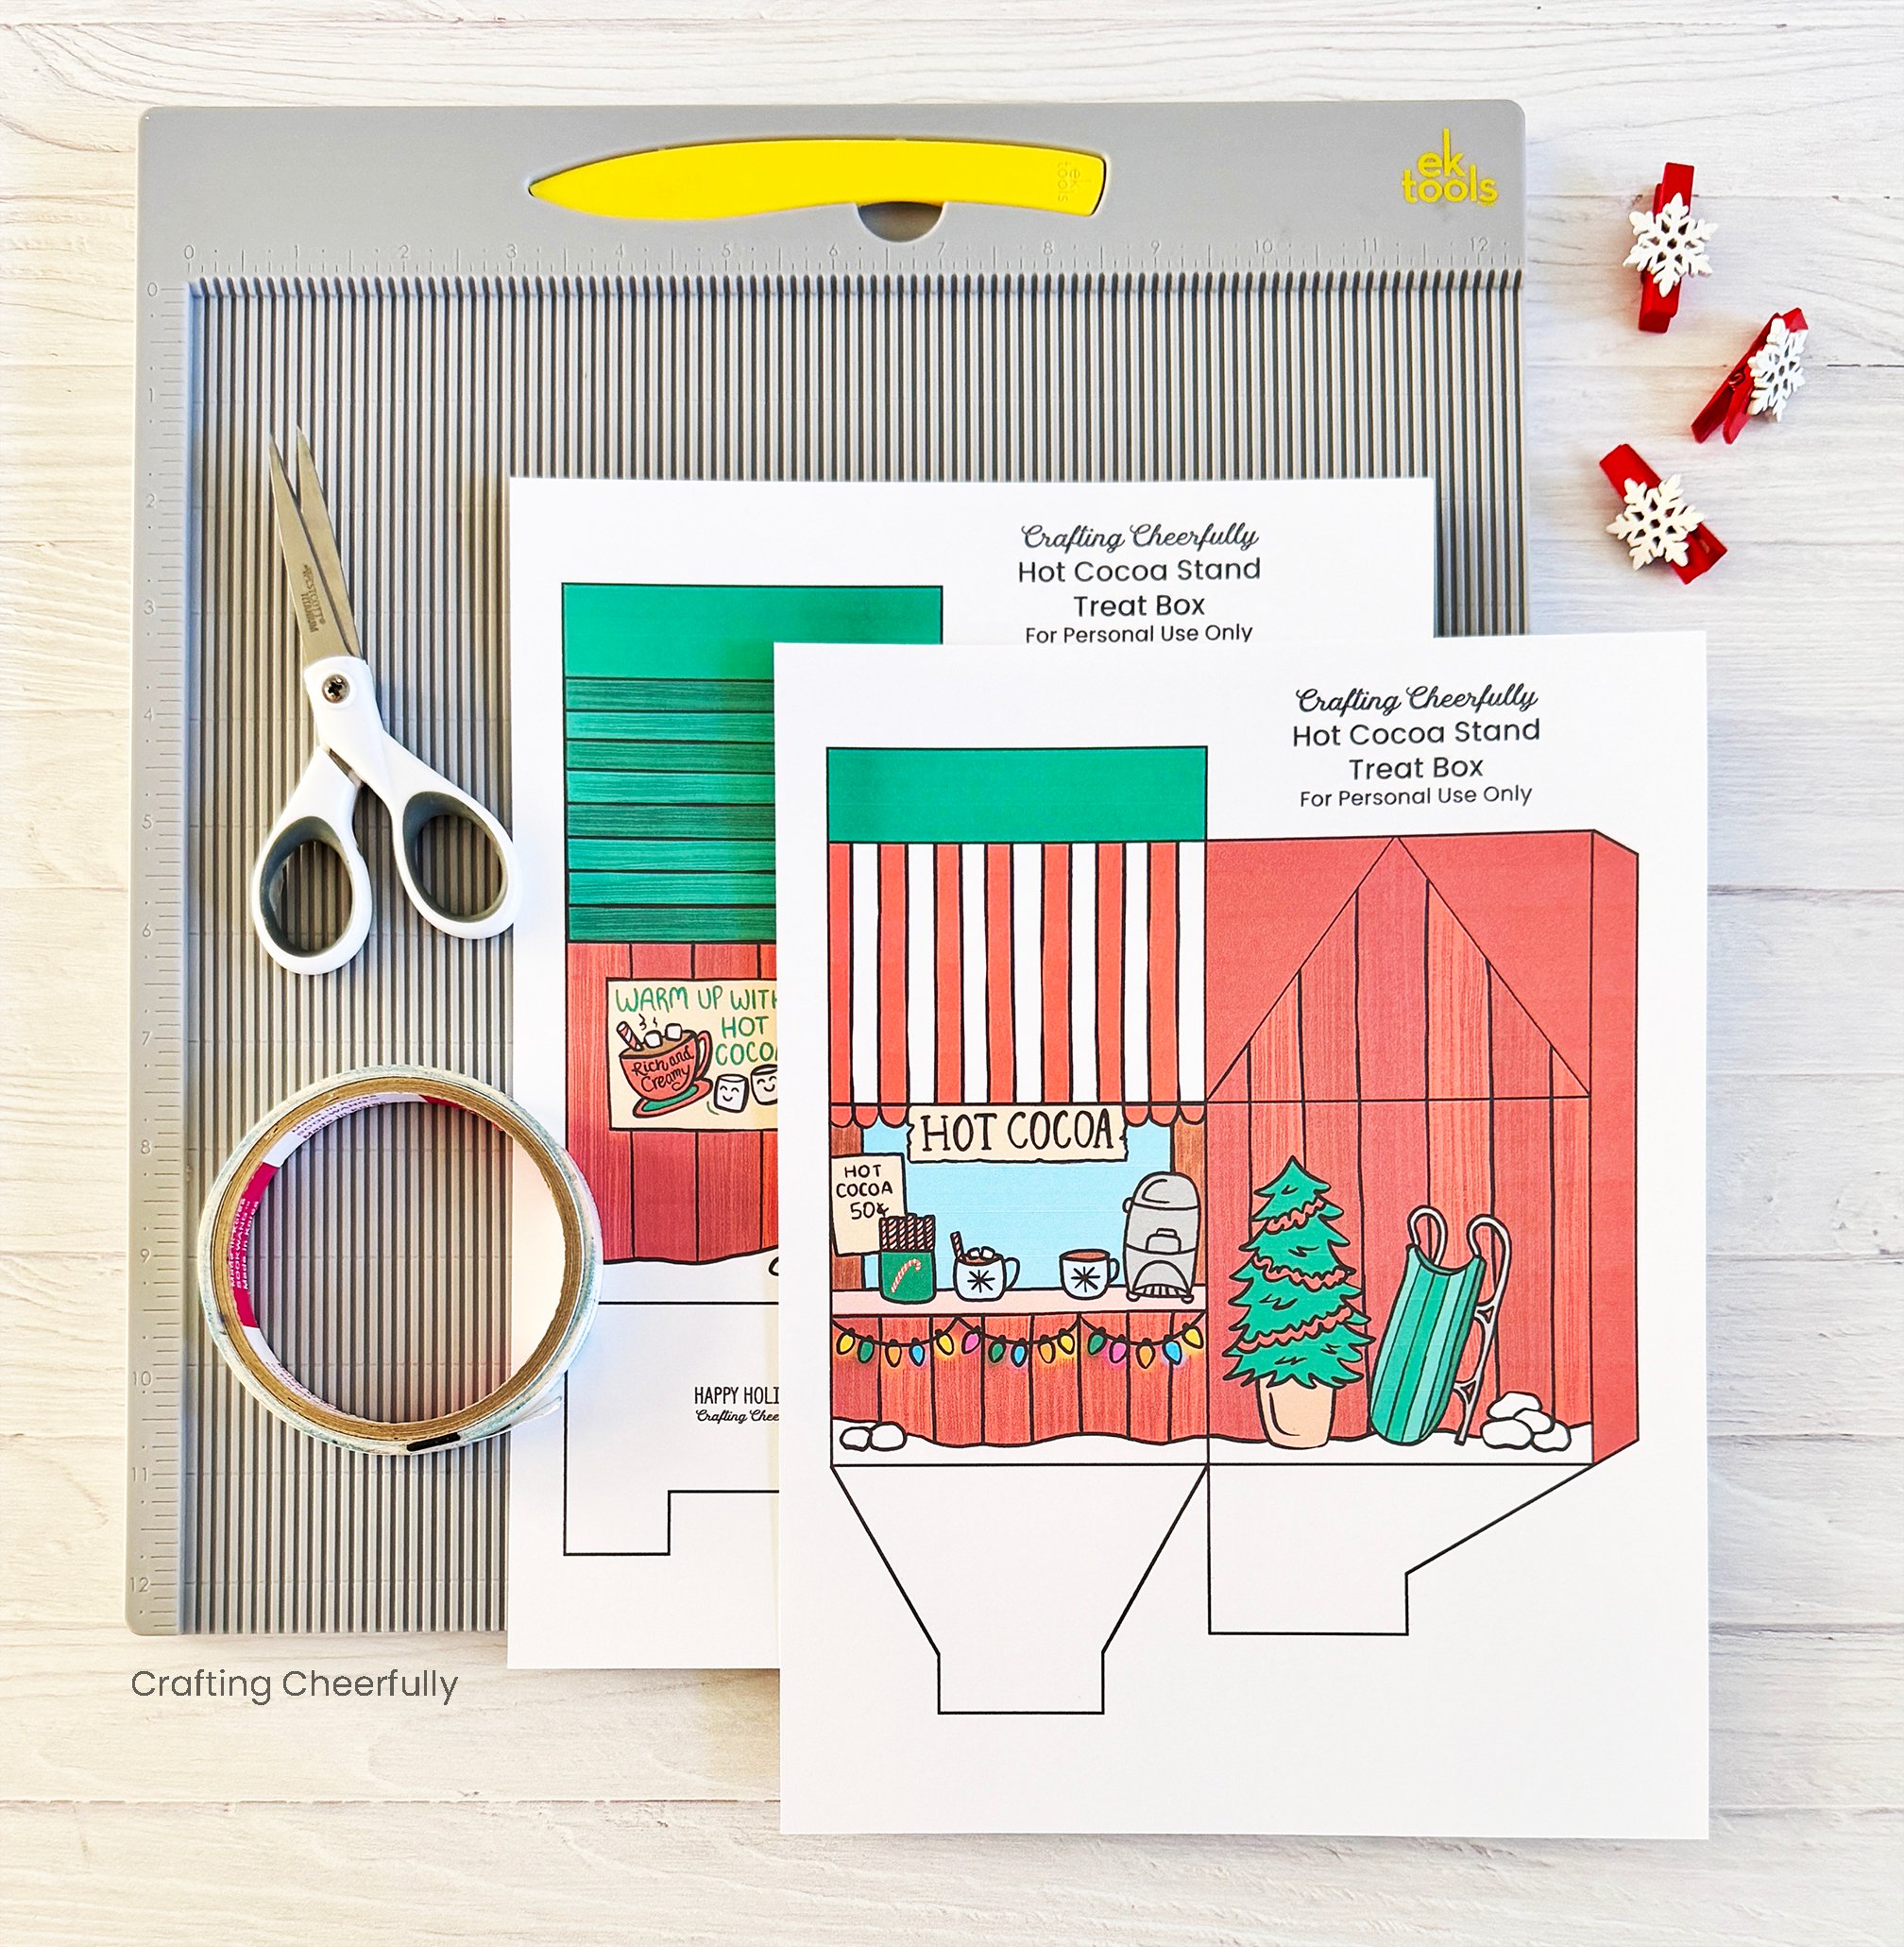
Supplies Needed:
- Printable boxes – Available in my Etsy shop! Thank you for supporting my small business.
- White cardstock
- Paper trimmer and/or scissors
- Scoring board
- 1/2″ Score tape
- Snowflake clothespins
Creating the Hot Cocoa Stand Treat Boxes
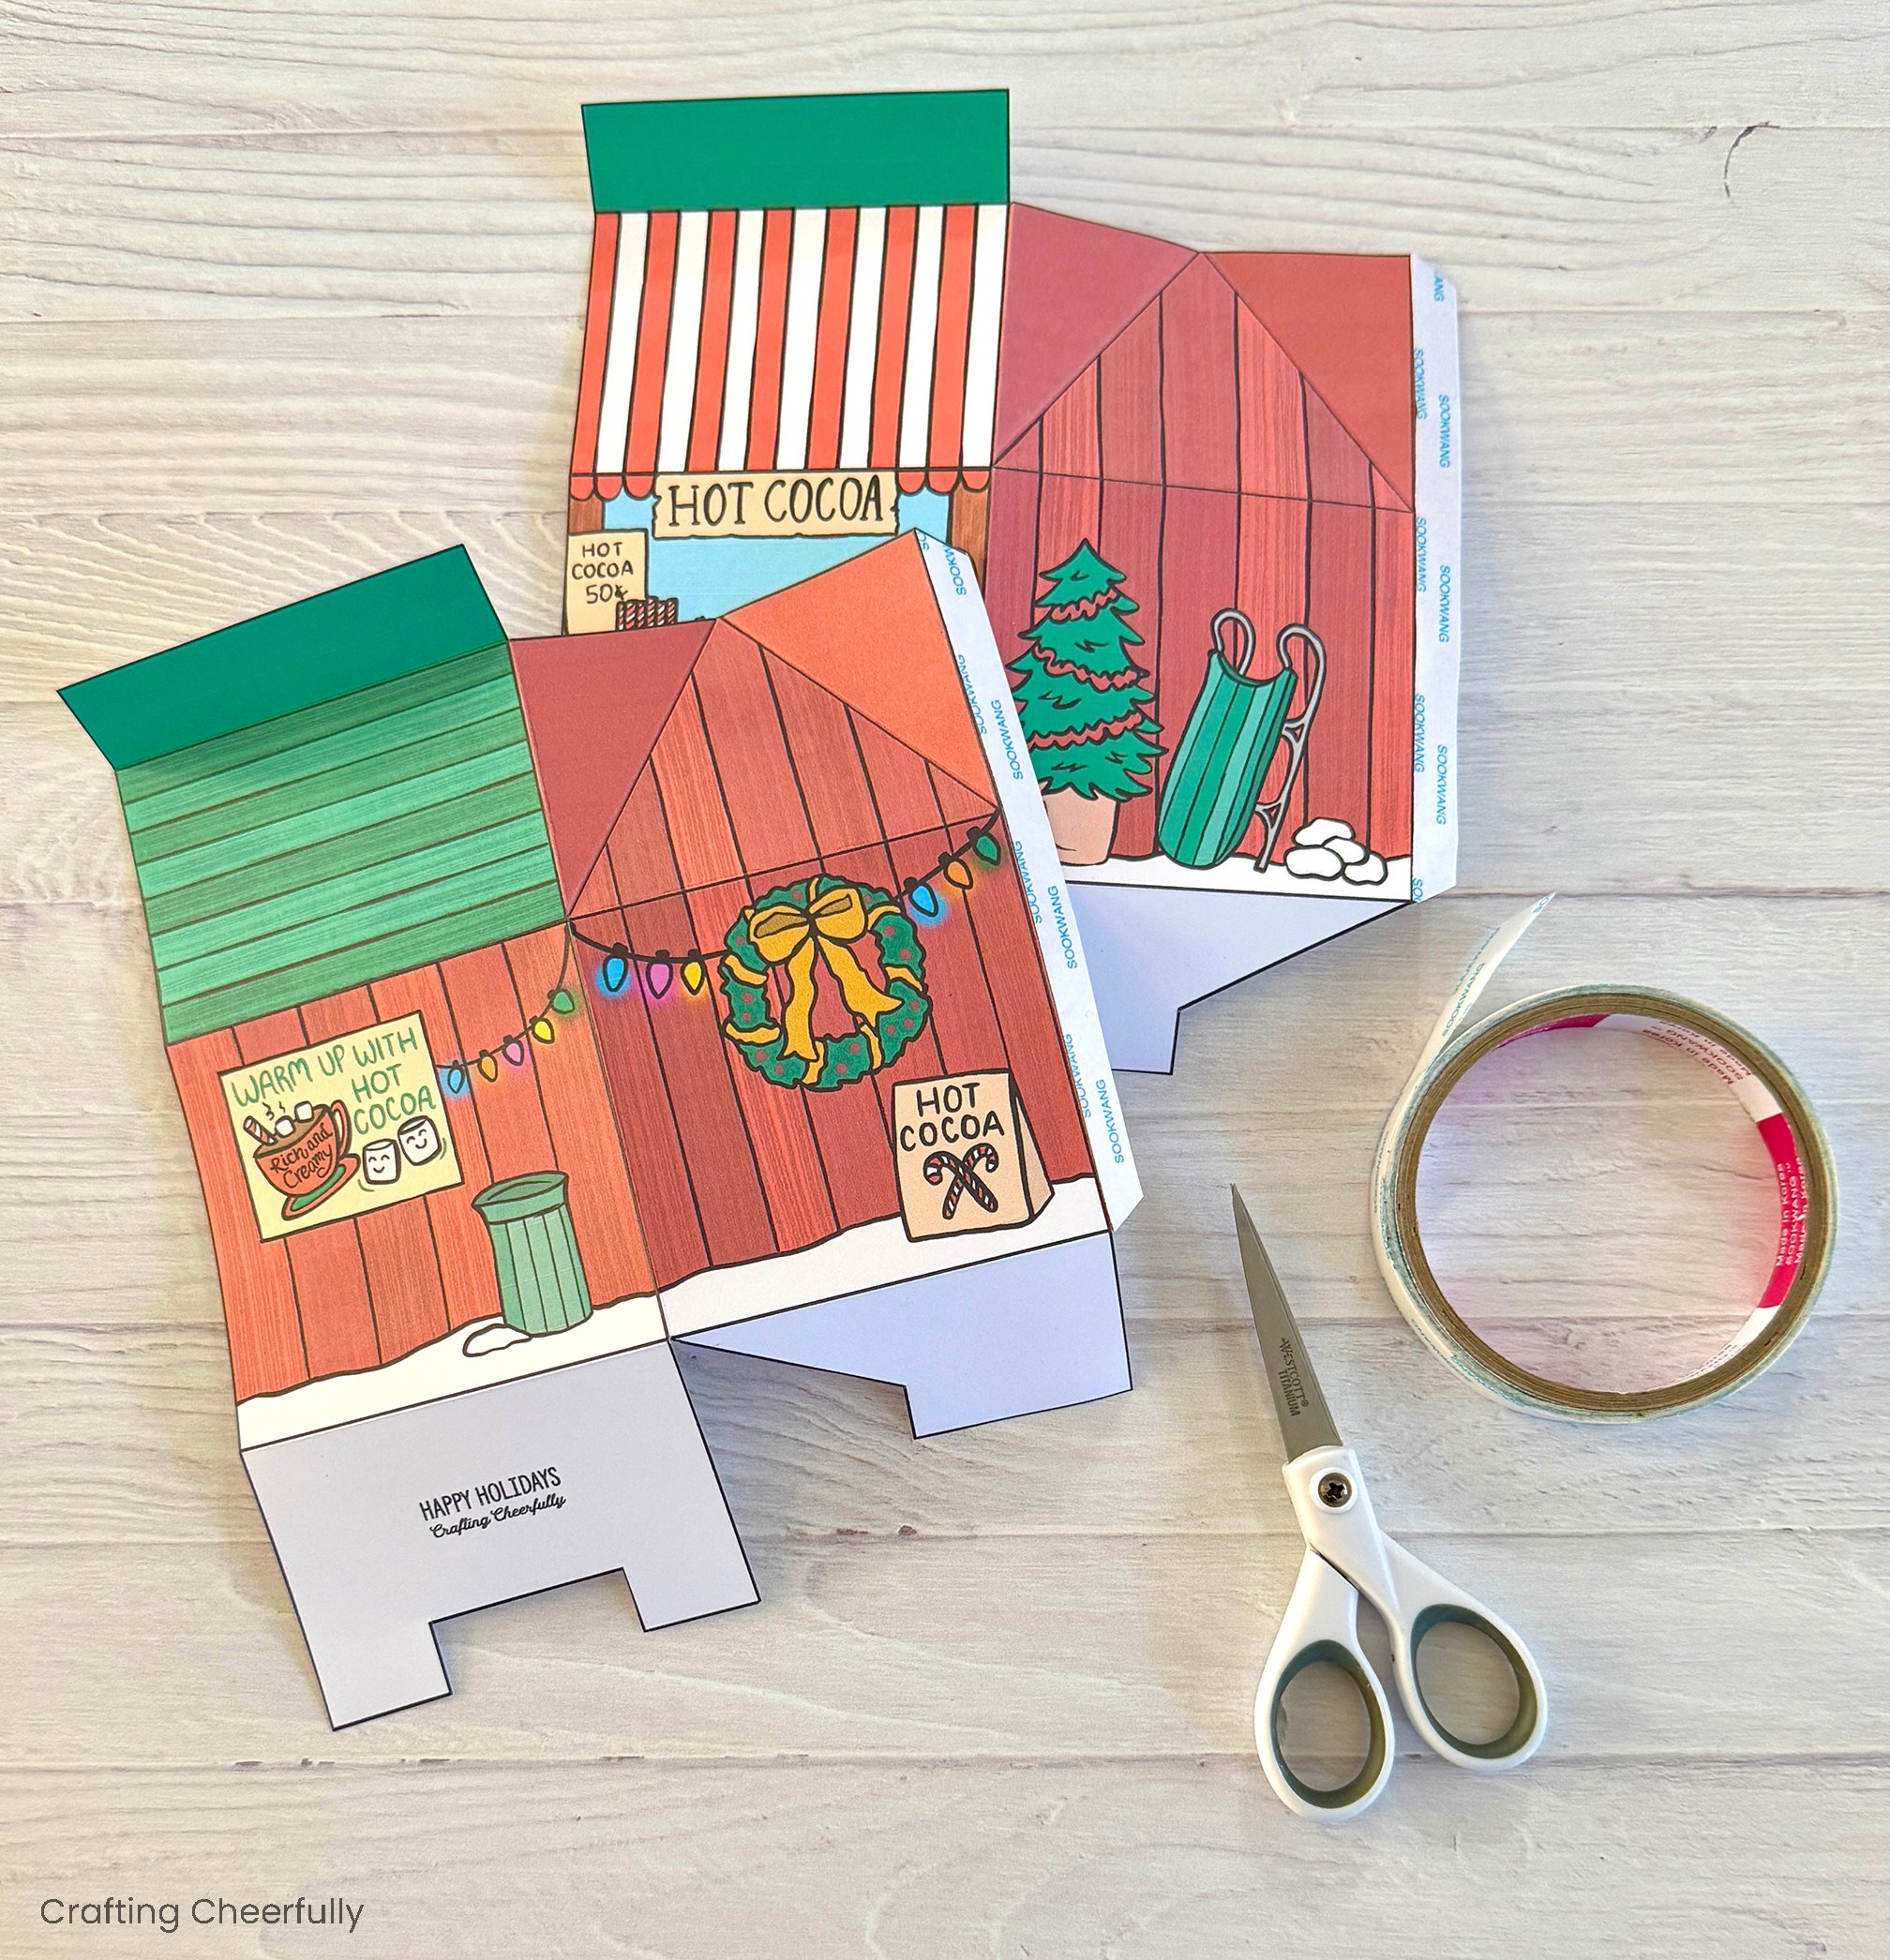
Step One: Start by downloading and printing the Hot Cocoa treat boxes from my Etsy shop. Cut out the box pieces using a paper trimmer and scissors.
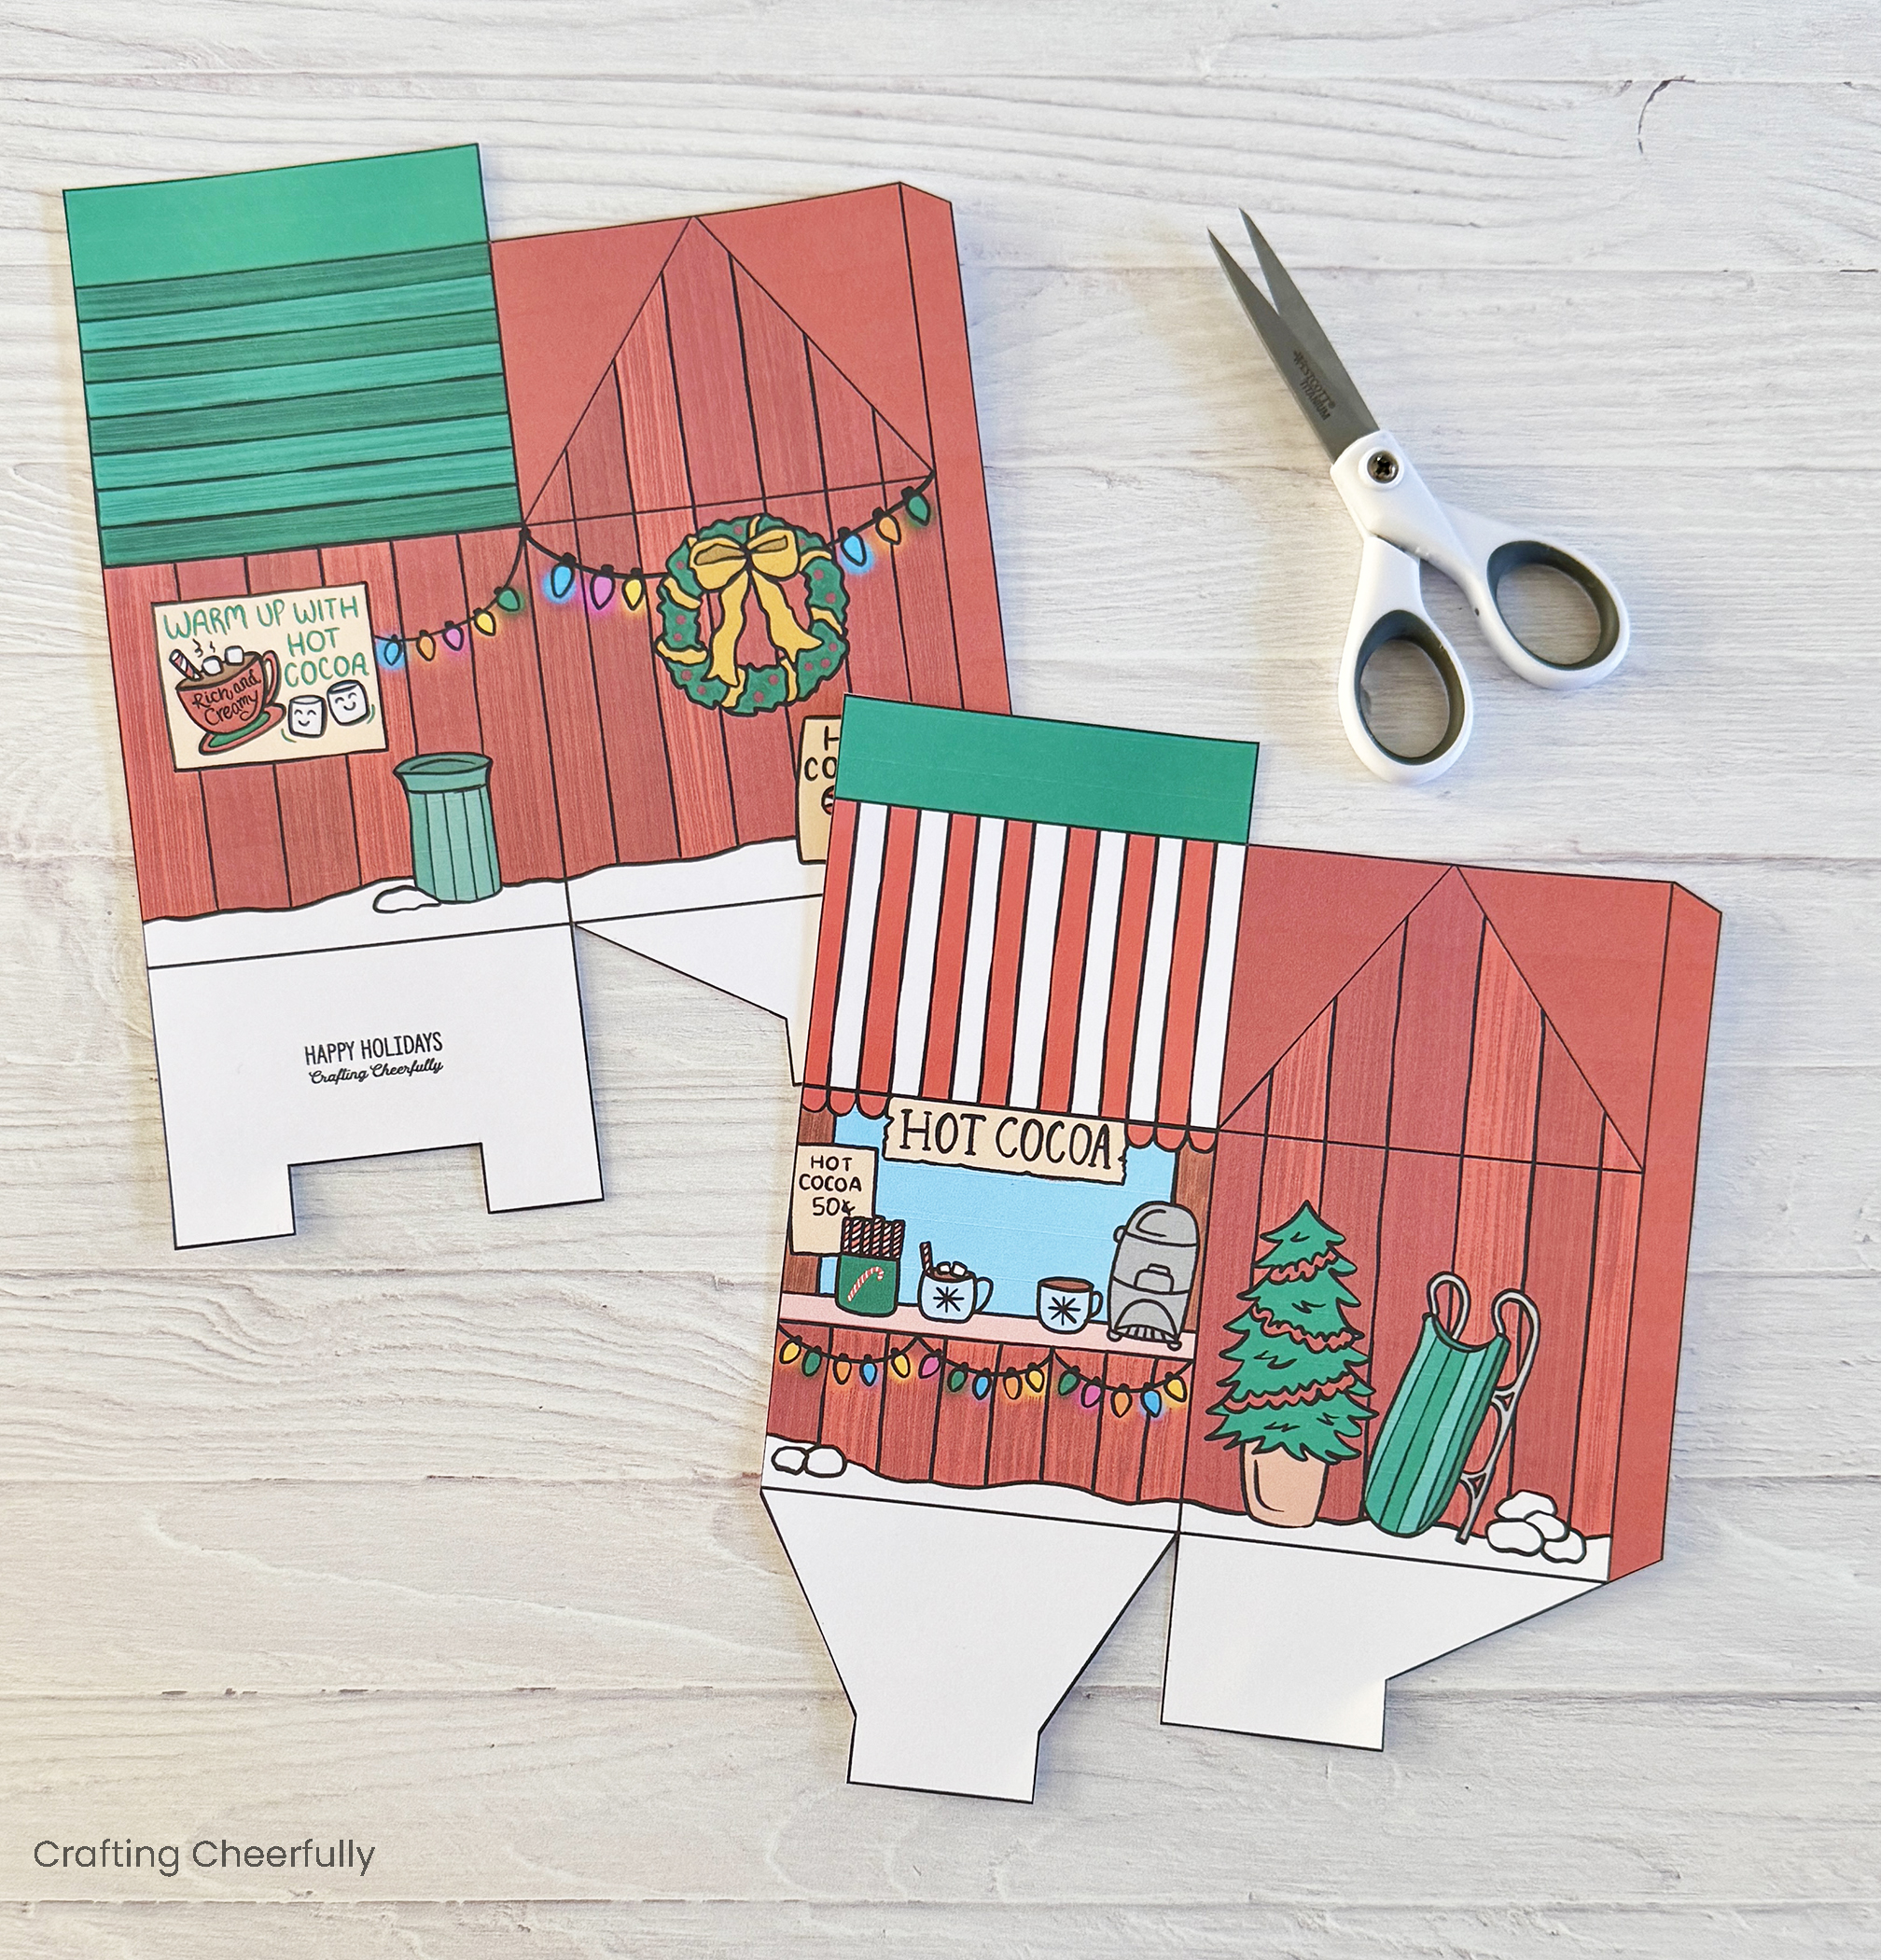
Step Two: Use a scoring board and stylus to score along the fold lines.
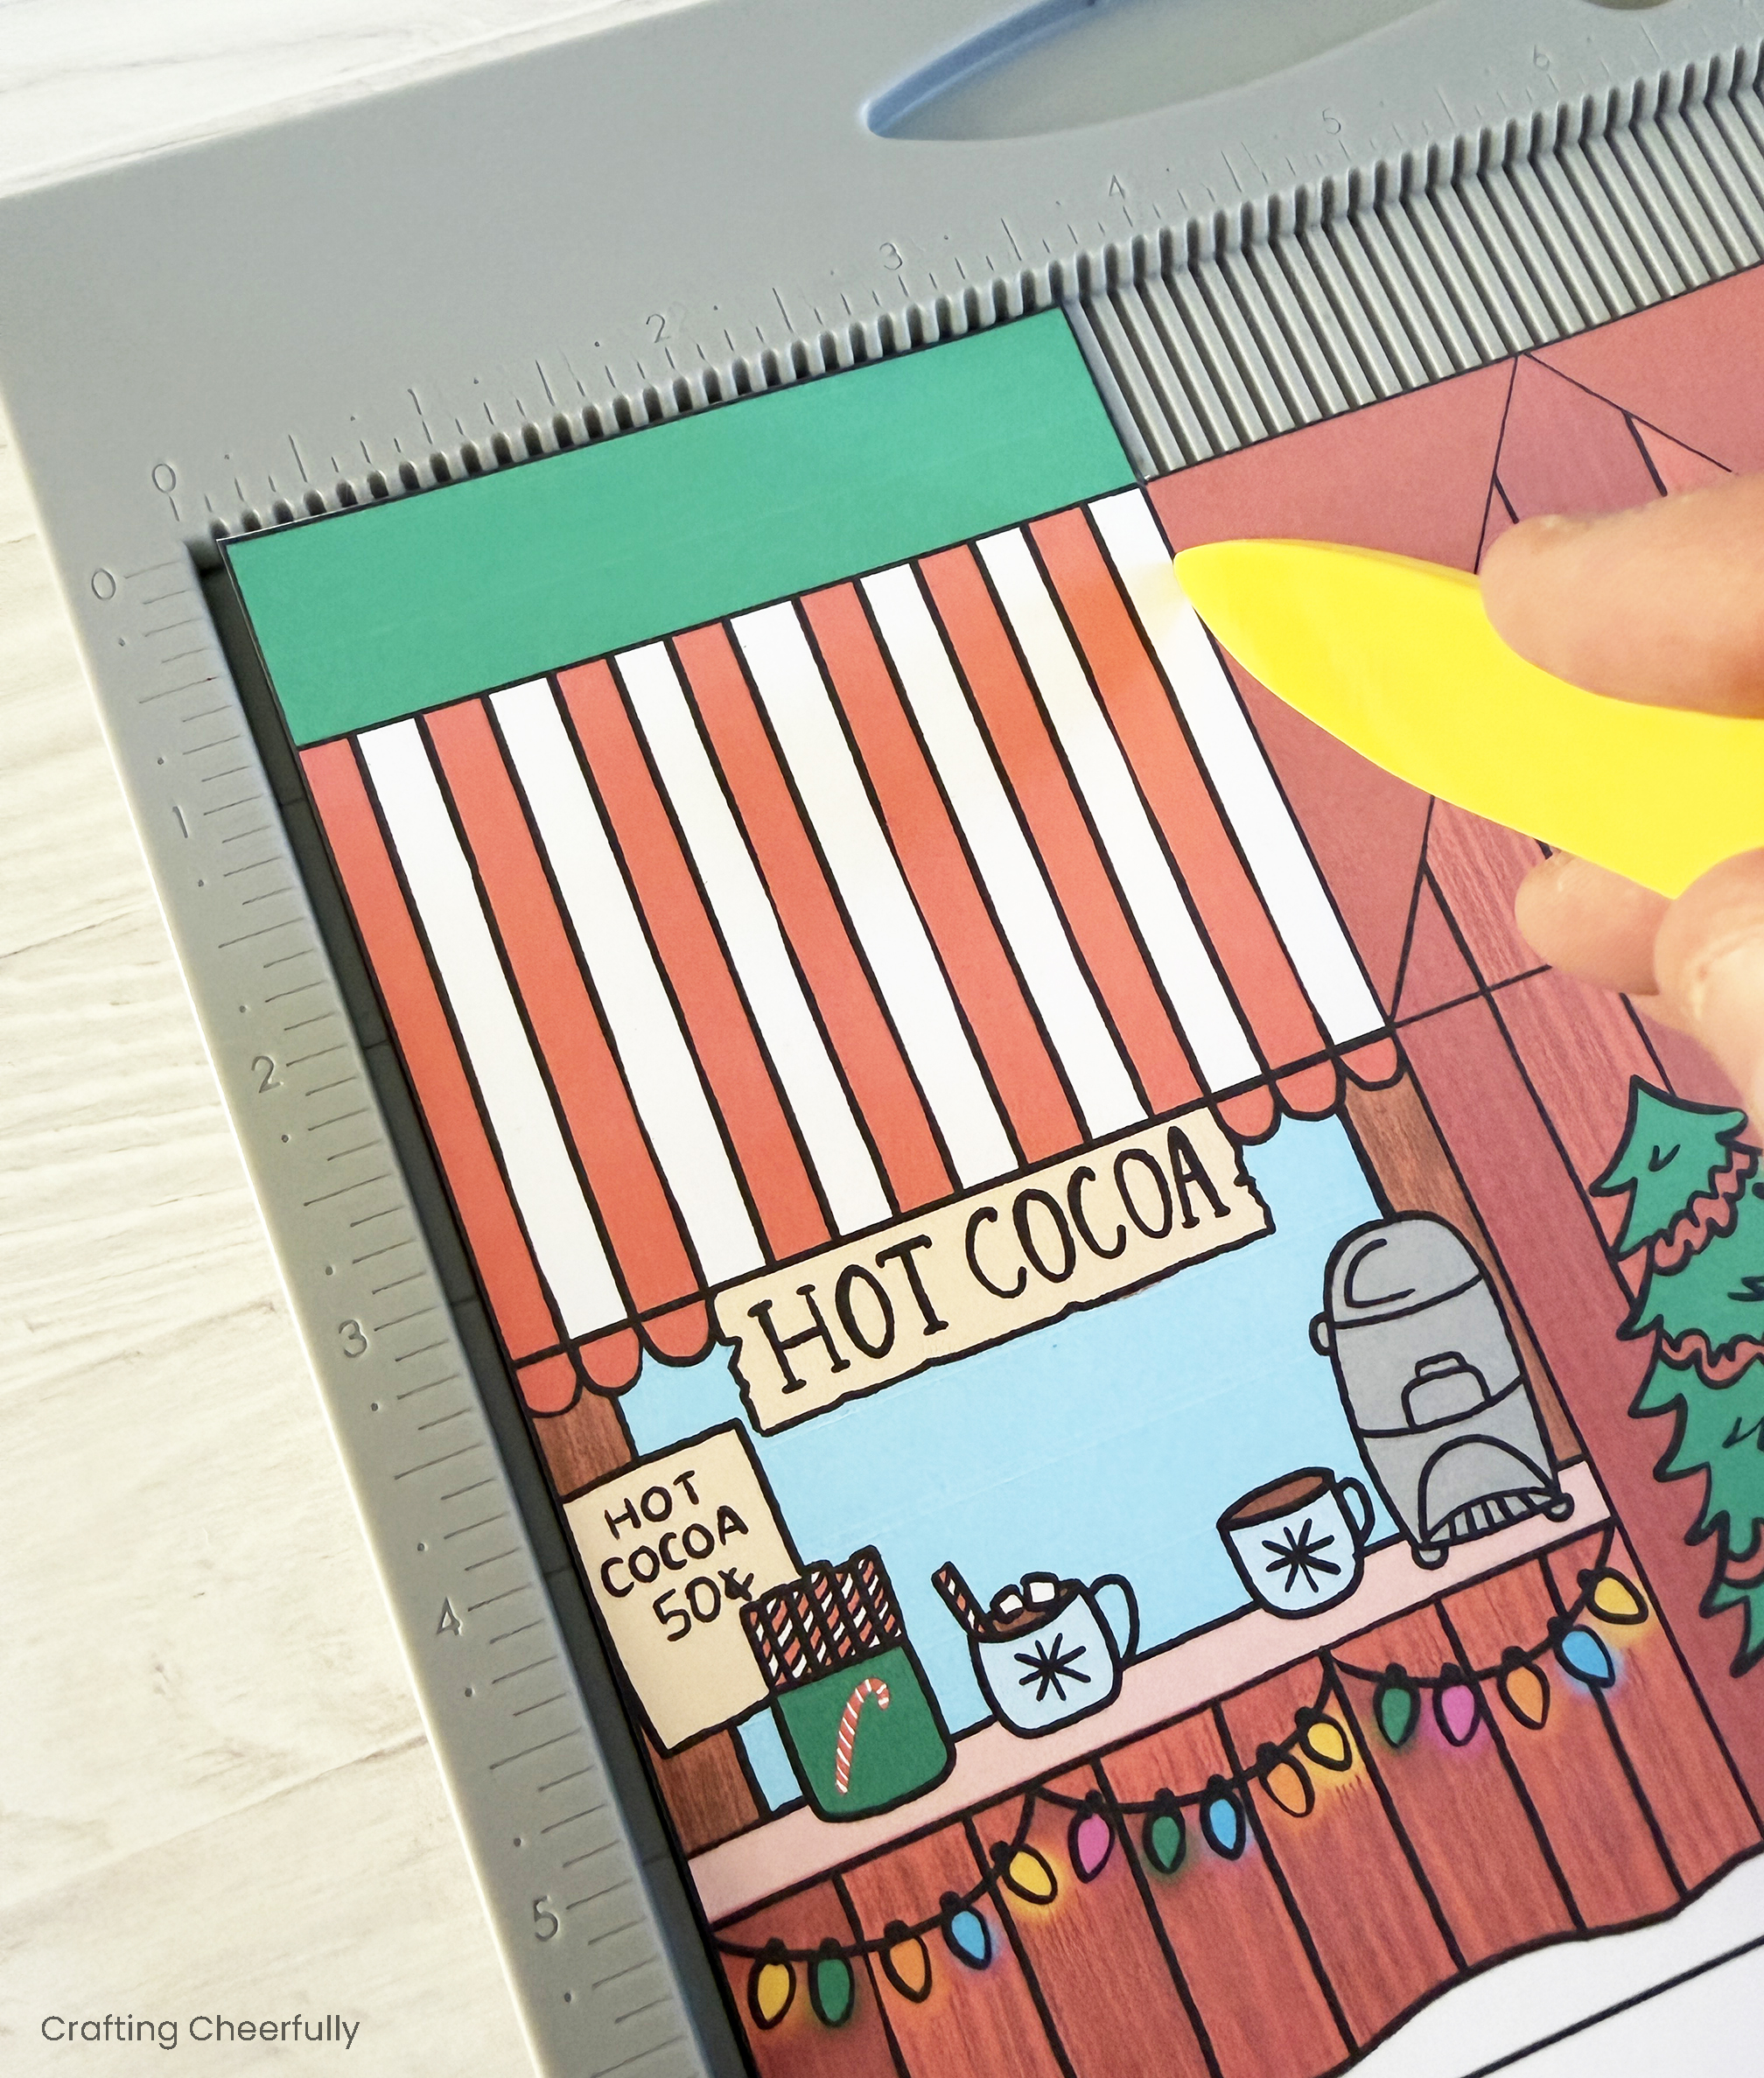
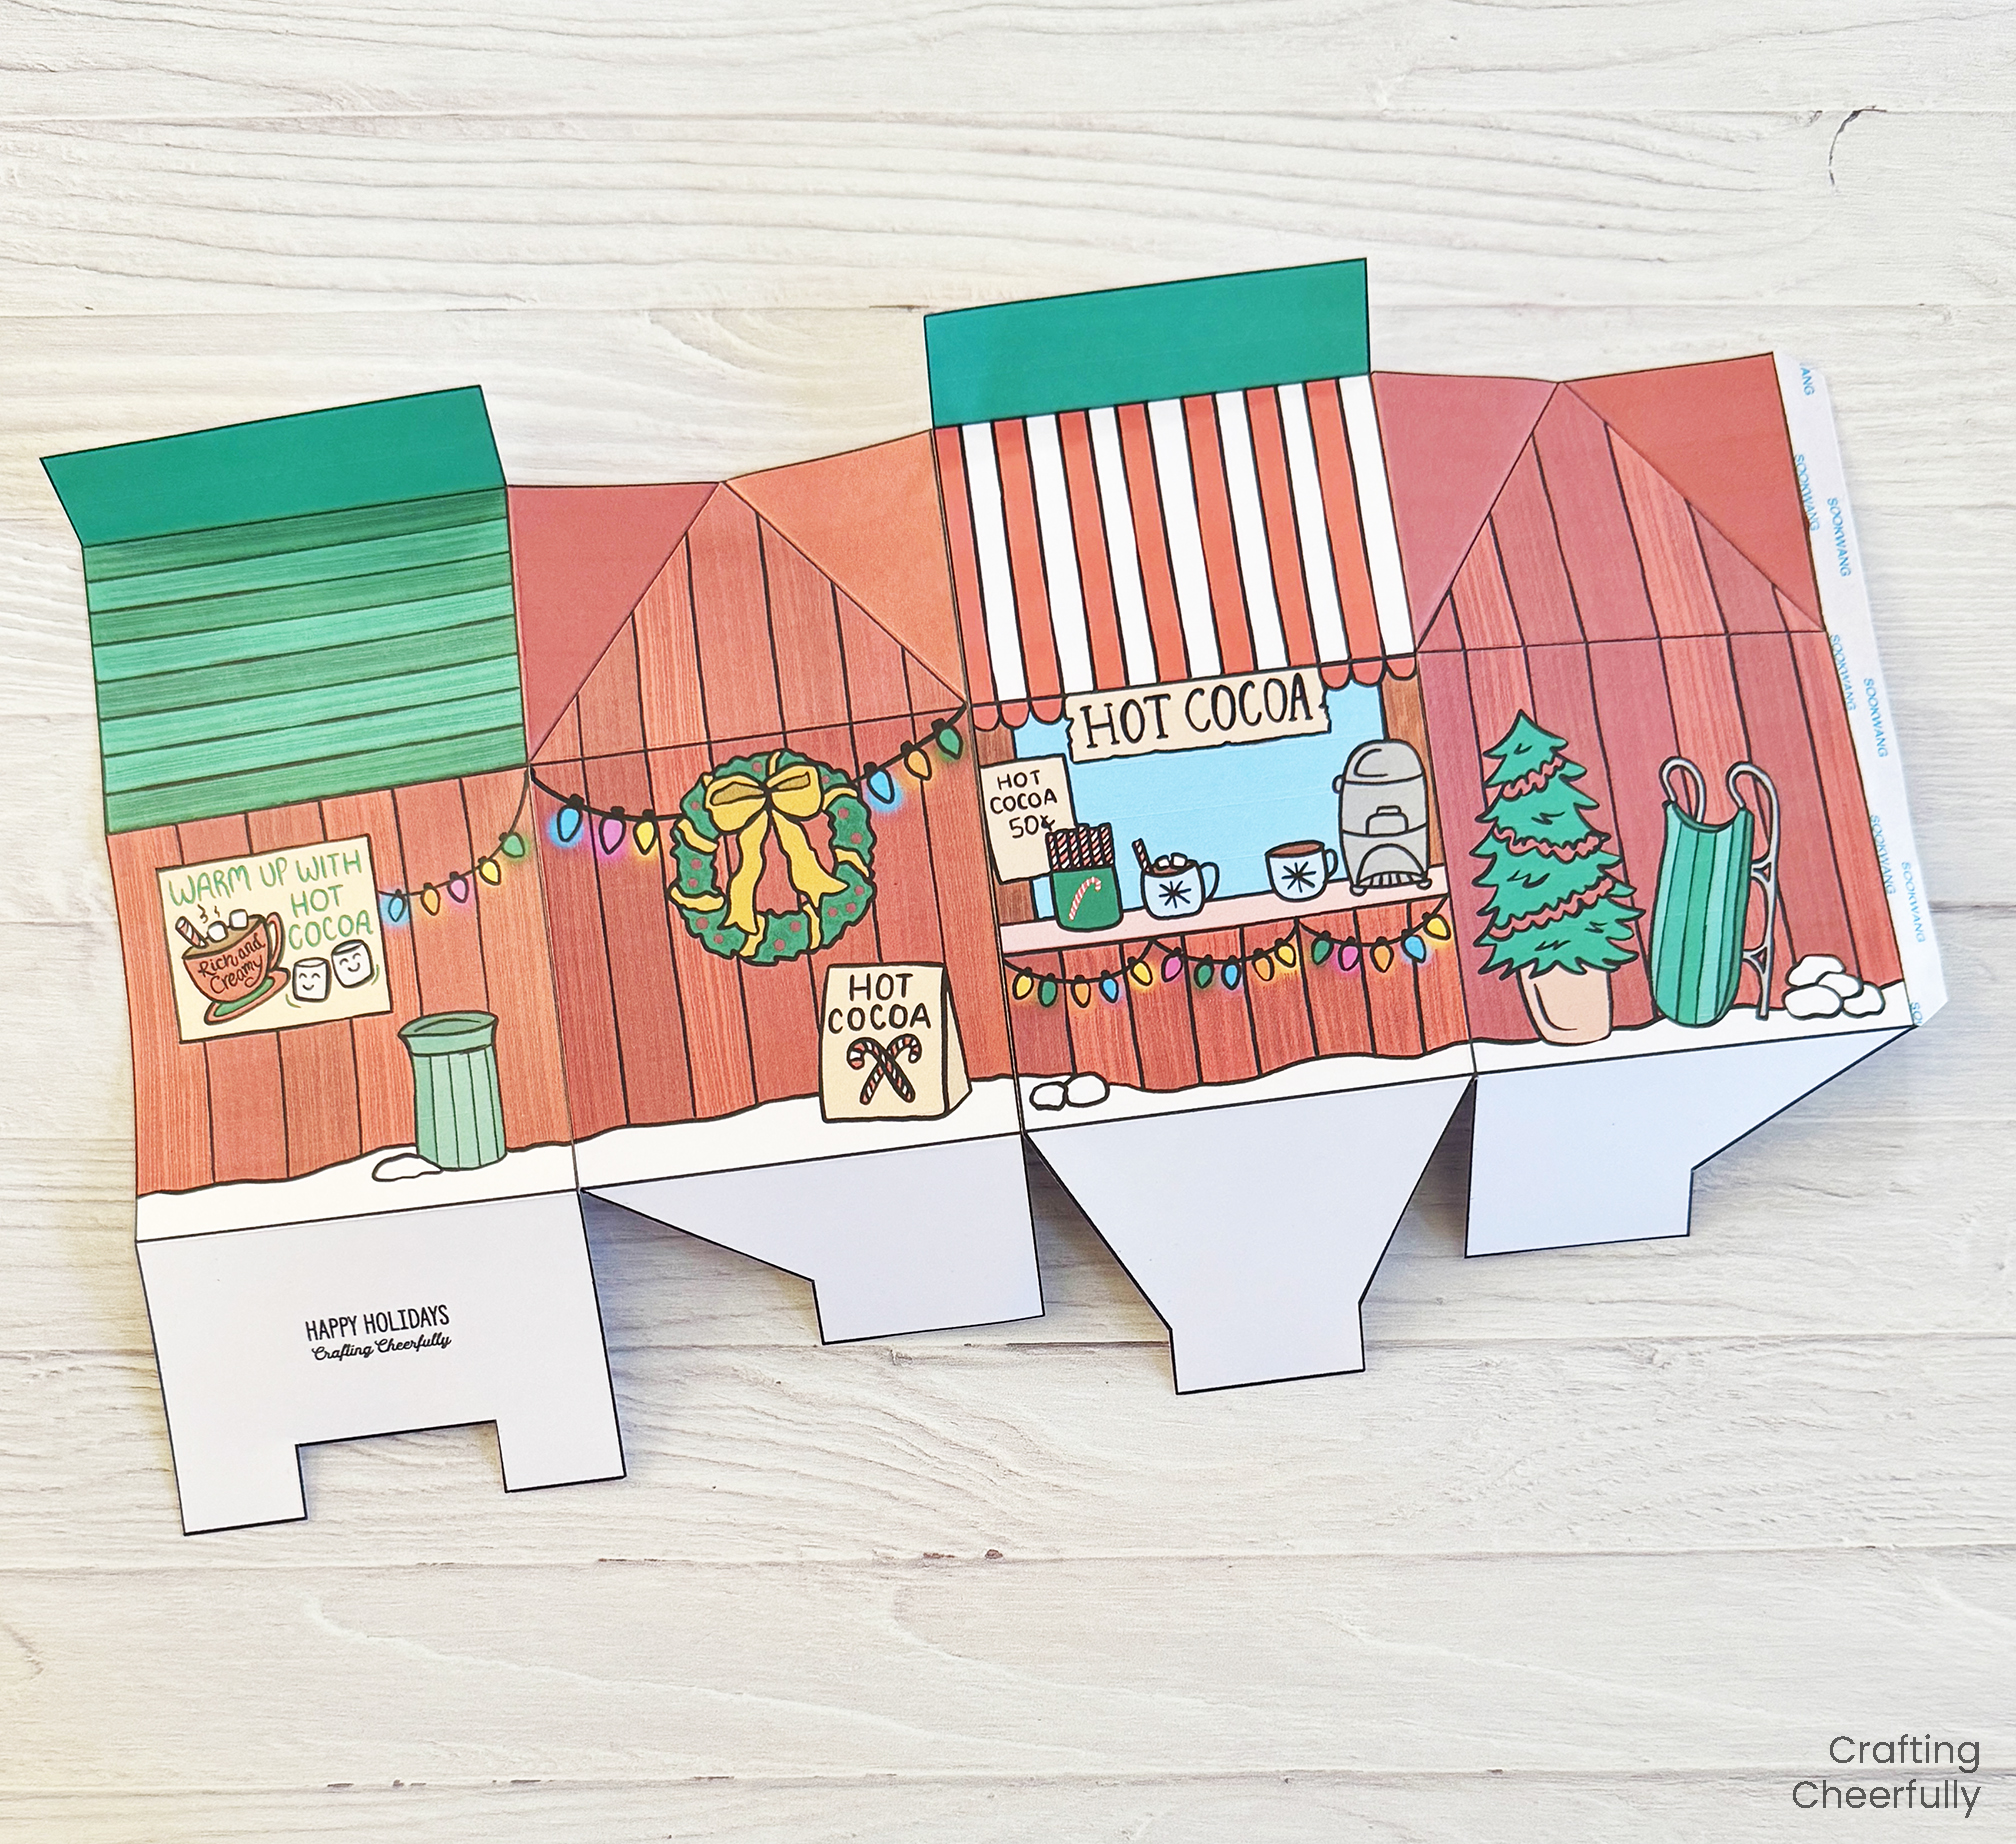
Fold along the scored lines. Go over the folded edges with the side of the stylus to help create nice, crisp edges.
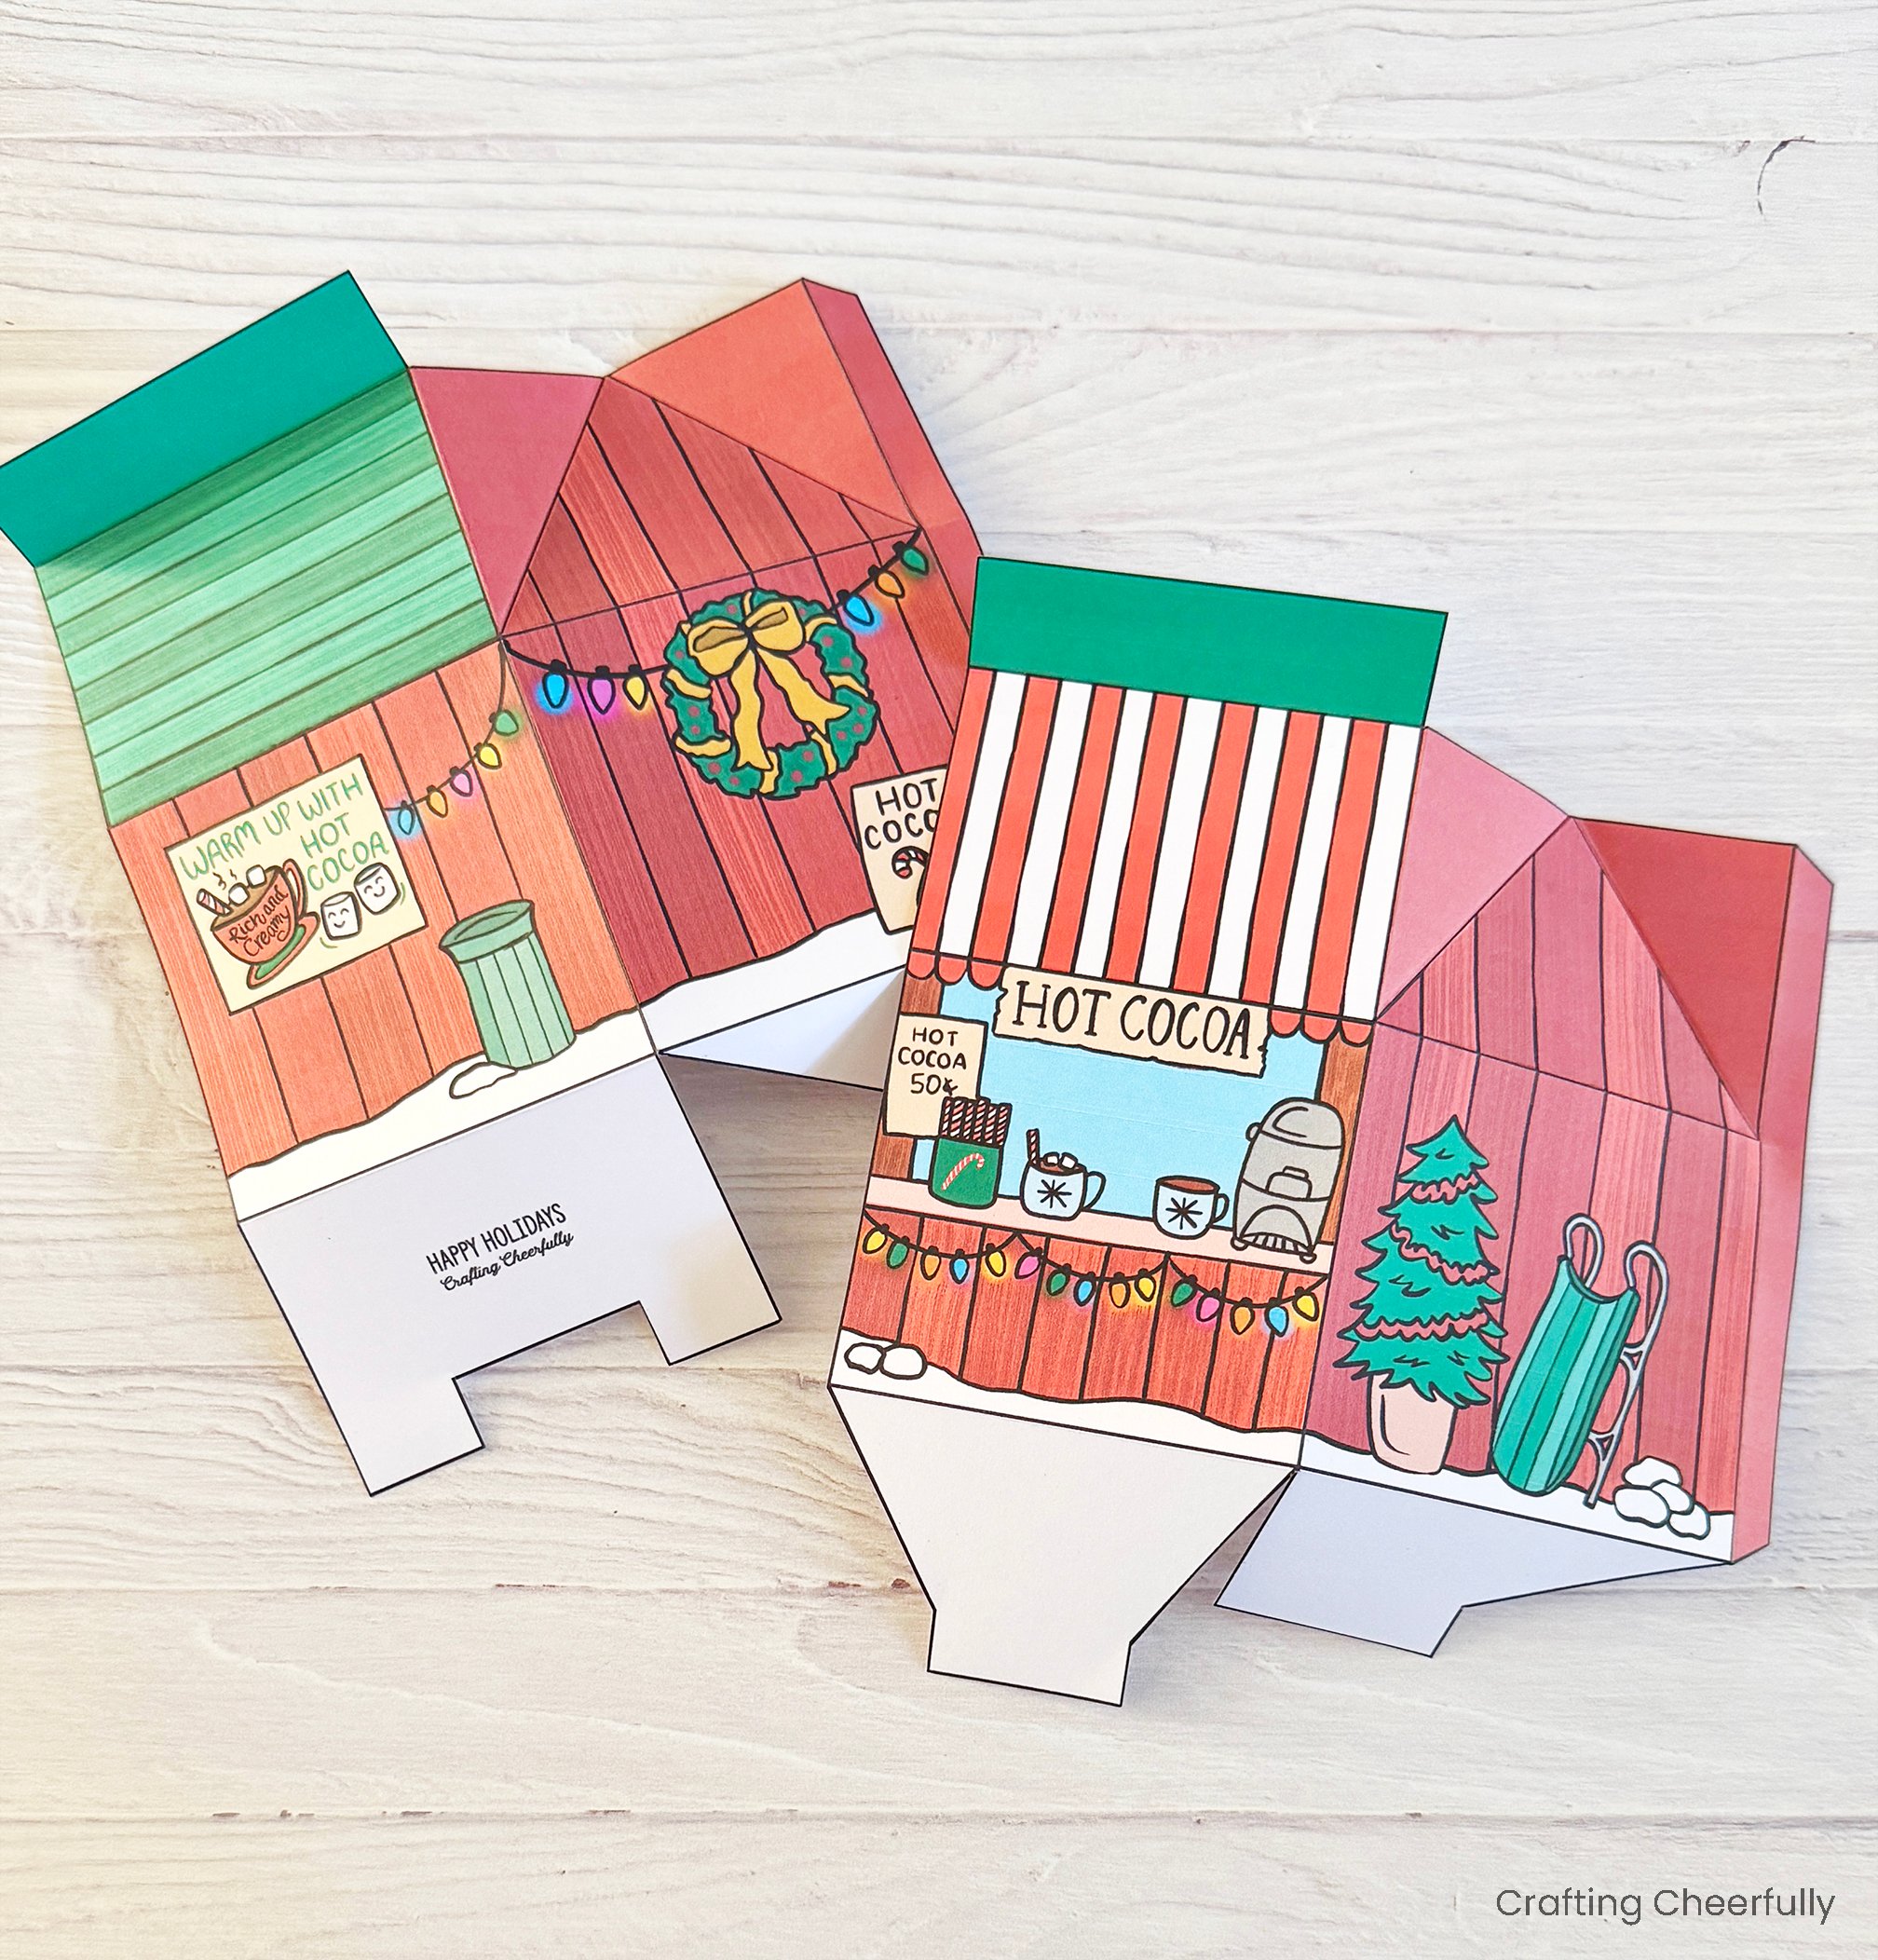
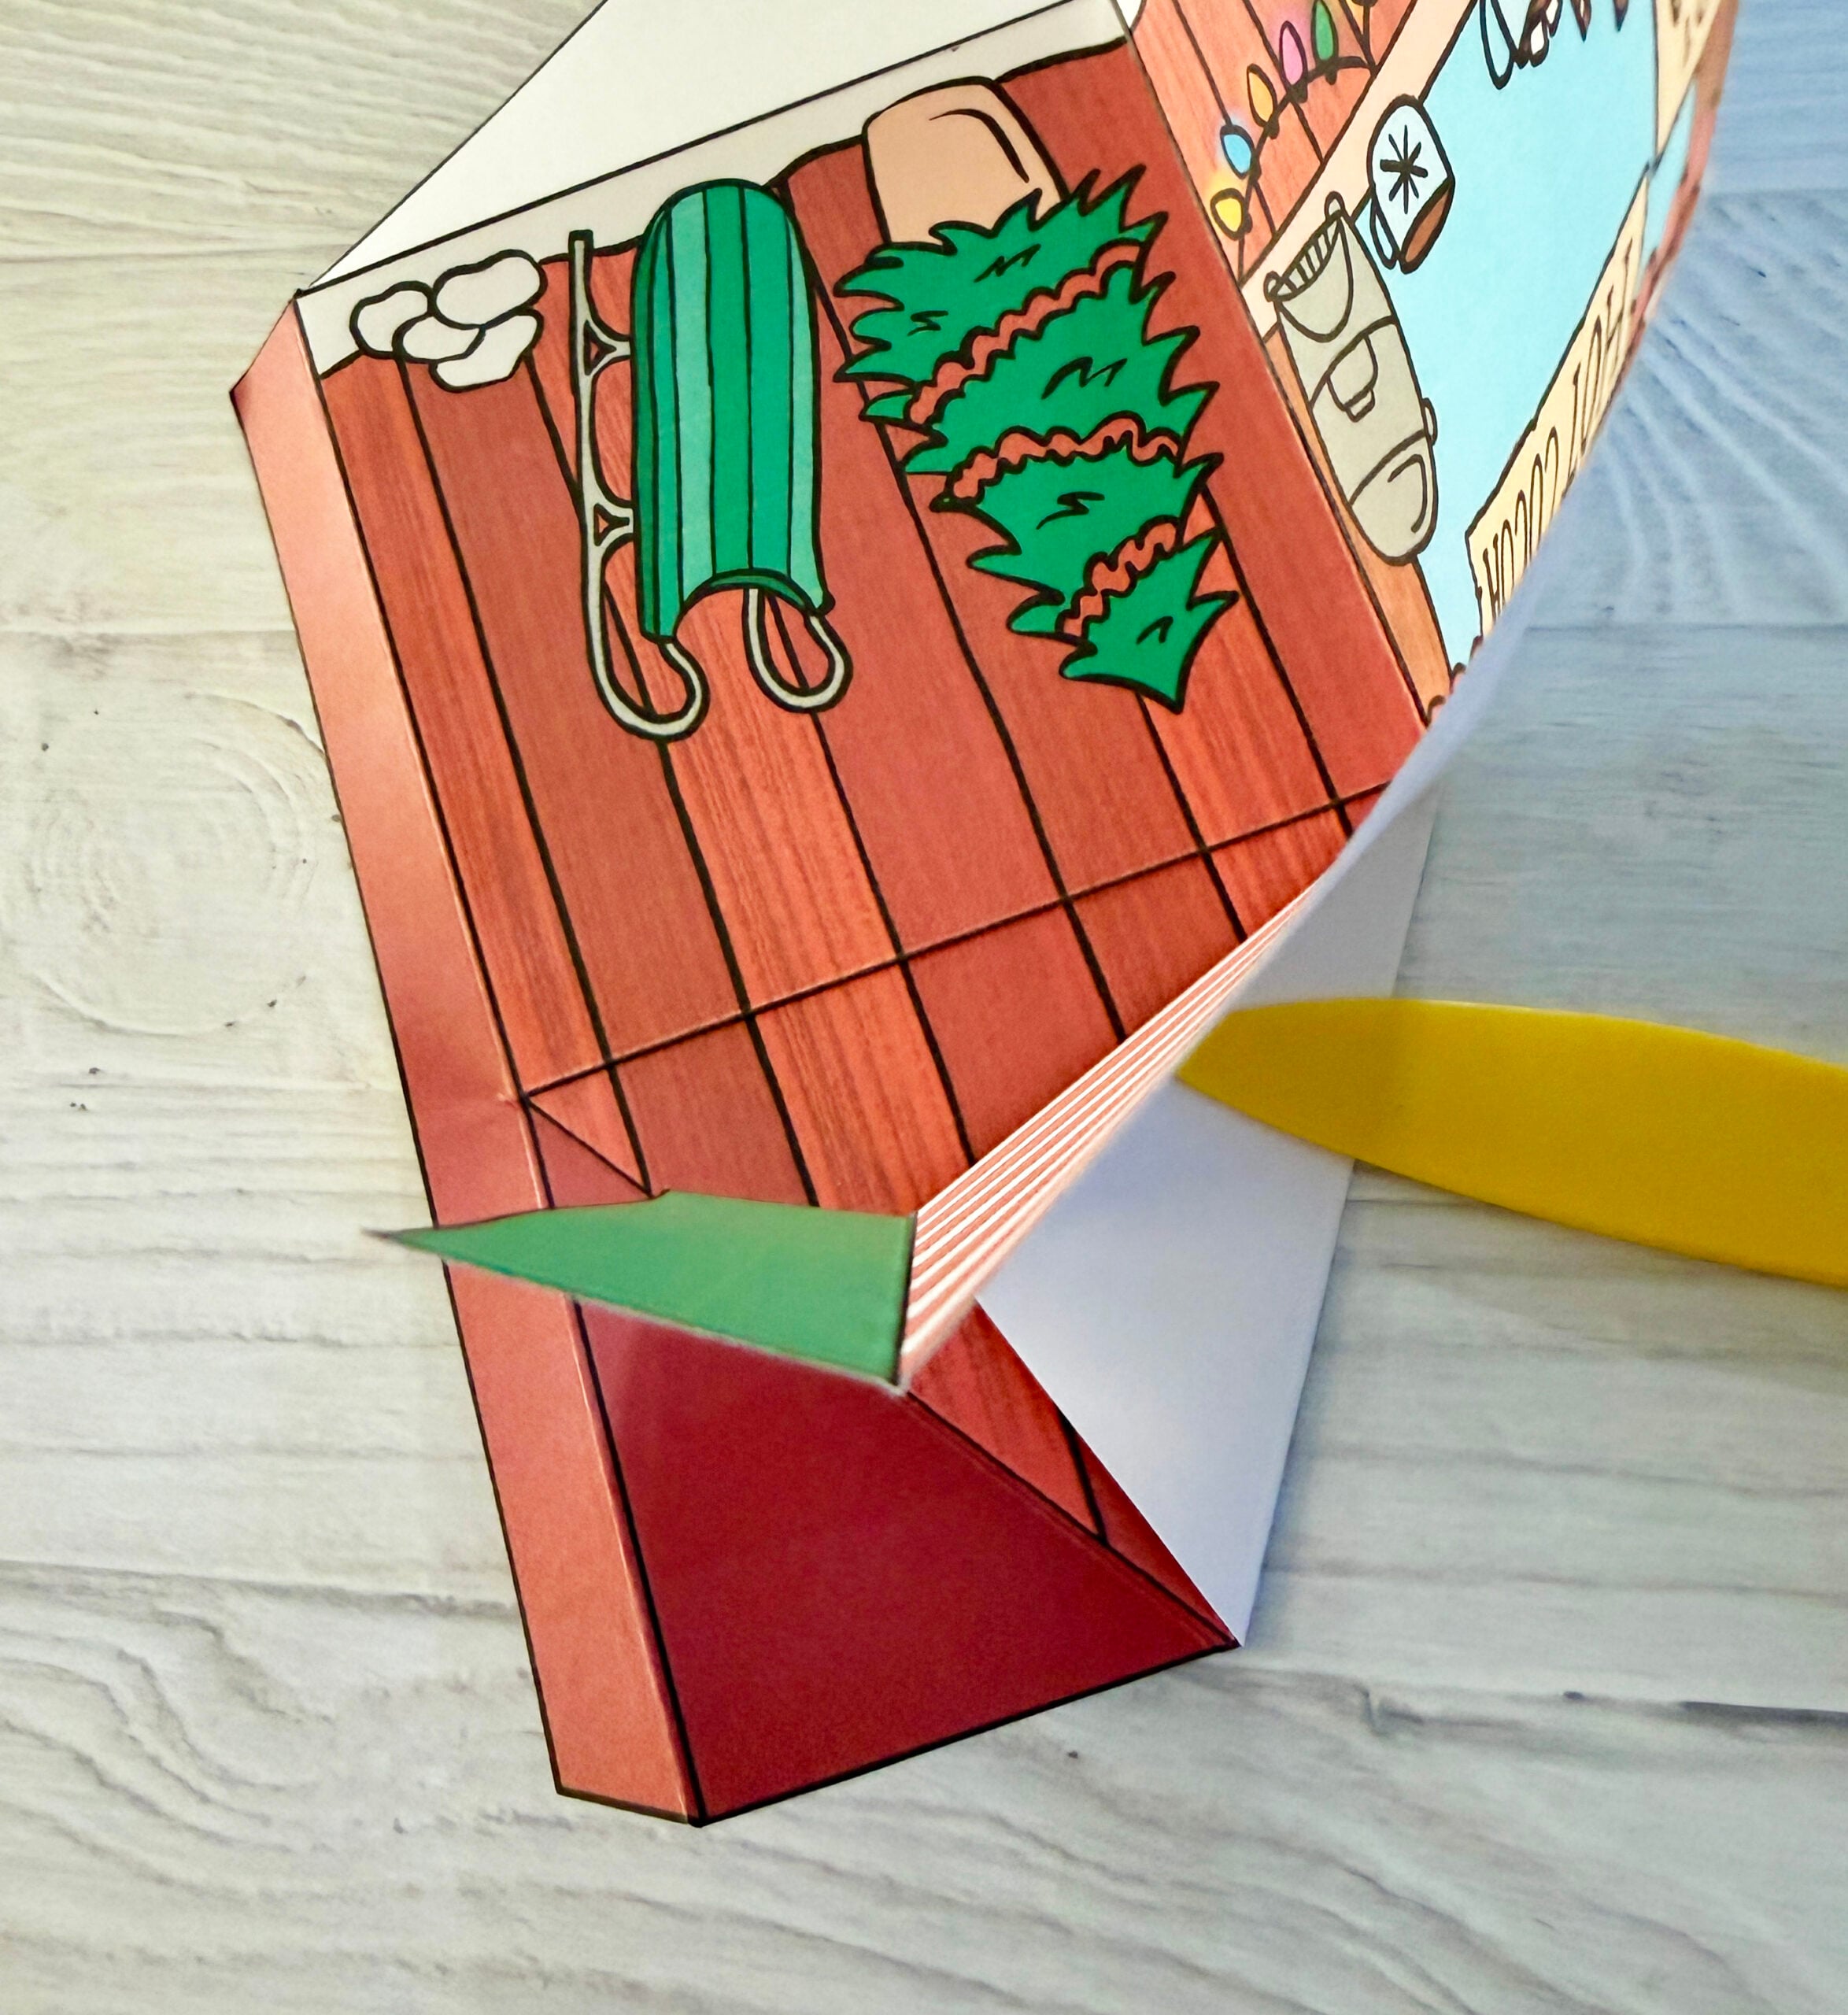
Step Three: Apply adhesive to the tabs to connect the treat box. I used 1/2″ Scor-tape.
Form the box by attaching the pieces along the tabs.
Fold in the bottom of the box. The “H” shaped piece gets folded first, then the two side flaps, and finally insert the “Y” piece into the gap. If you plan to place something heavy in the bottom of the box, you can place a piece of cardboard or chipboard that measures just under 3.5″ x 3.5″ in the bottom of the box. This will add a lot of stability to the box and prevent the bottom from opening up.
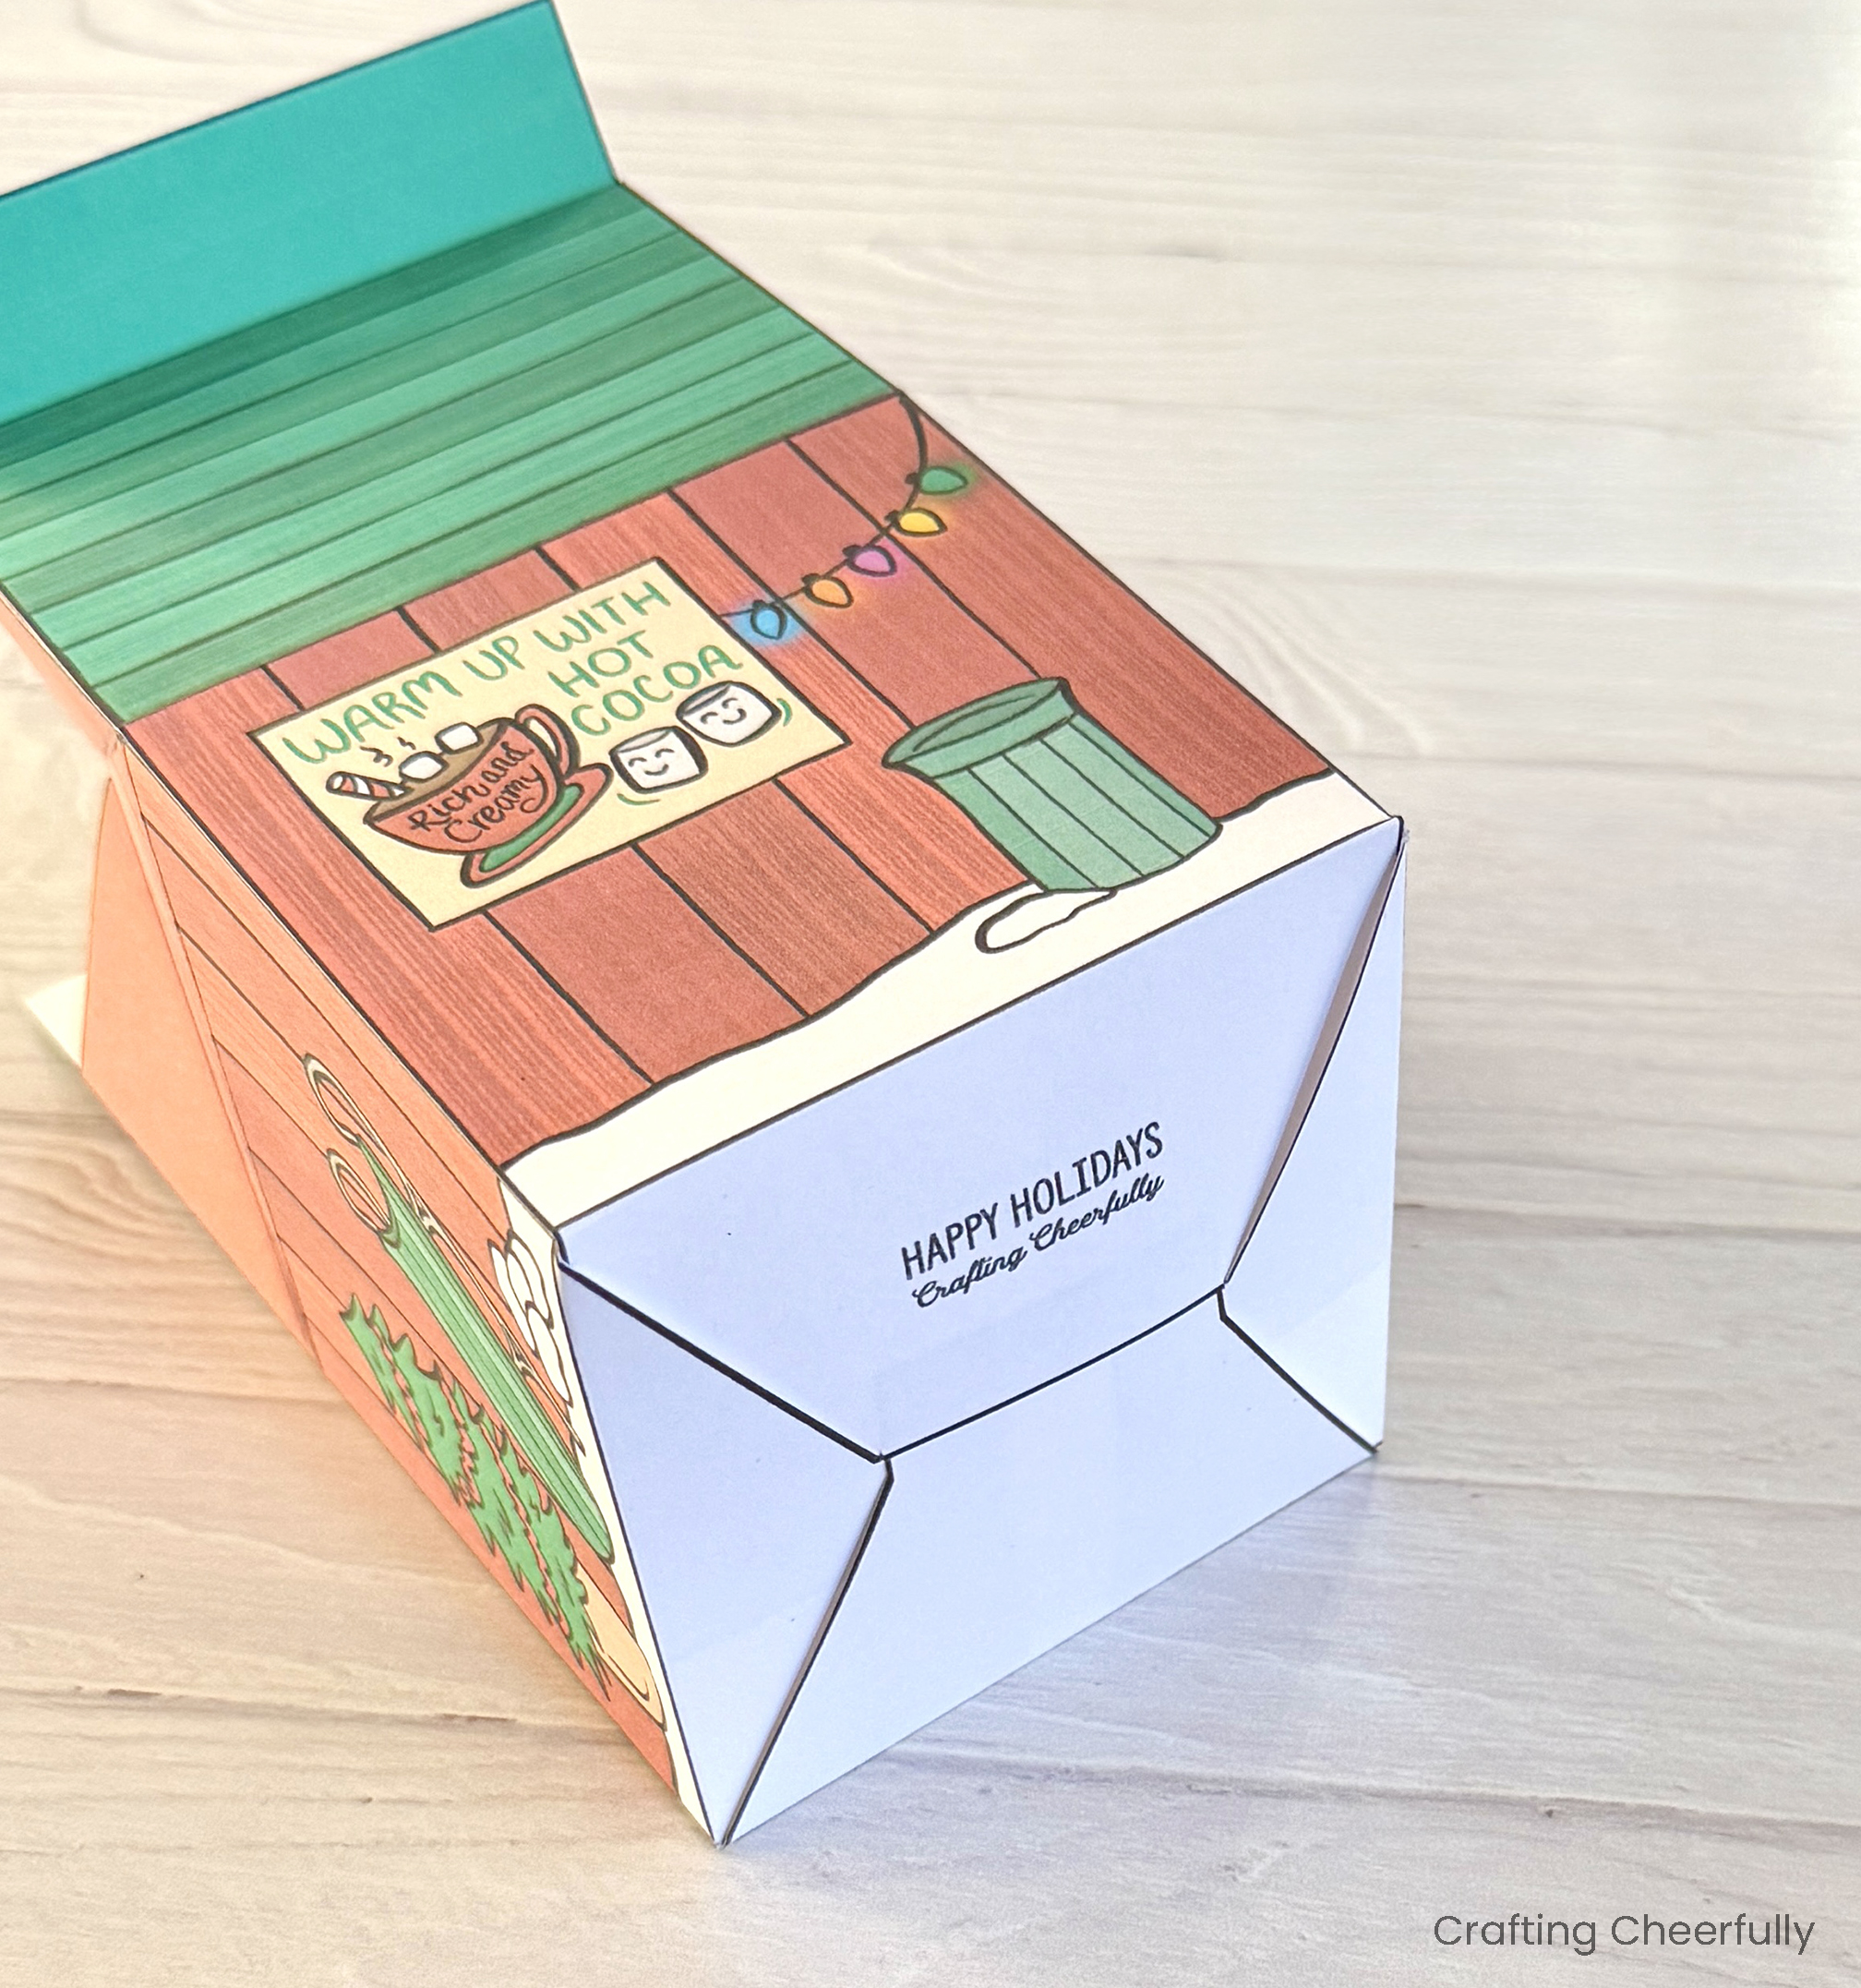
The treat box is finished! I love to close my treat boxes with a small snowflake clothespin at the top but you can also punch holes and tie them with string.
I hope you enjoyed this fun paper craft! The printable box is available in my Etsy shop along with a detailed step-by-step picture tutorial.

I’ll be back tomorrow for day seven of my series and I hope you’ll join me! If you love making treat boxes as much as I do, make sure to check out my DIY Treat Box Craft Page where I share fun designs for all year round!