
Colored Pencil Treat Box
Create a fun and colorful treat box made to look like a box of colored pencils! Grab the free printable and create some as party favors for color or art-themed parties or back-to-school gifts!
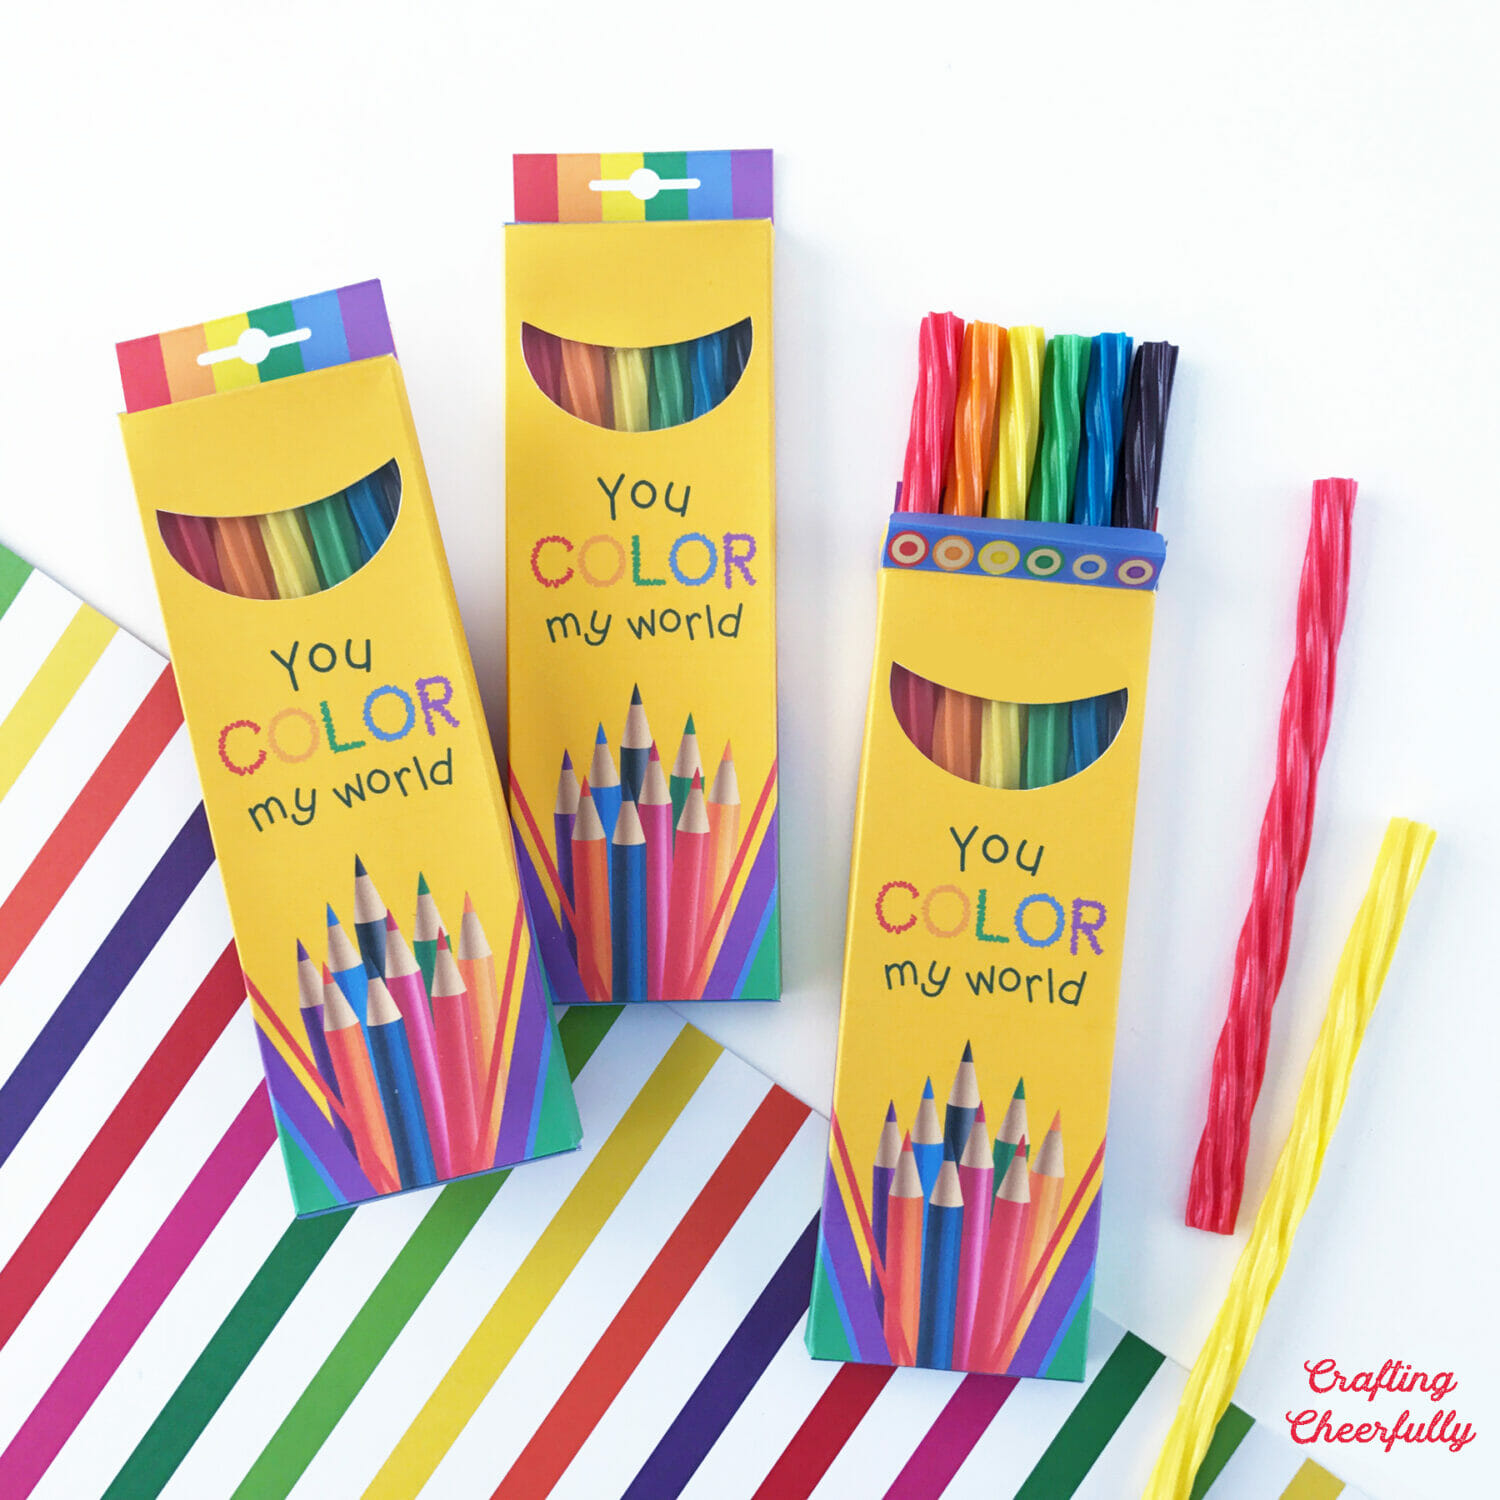
Hello Crafty Friends! Treat boxes are by far my favorite paper craft to create! Who doesn’t love receiving a fun and unique box filled with goodies?! For my children’s color-themed birthday party last week, I created these colored pencil treat boxes to look like a box of colored pencils – they can be filled with colorful licorice or other tall thin candies. These boxes would be great for back-to-school treats, art parties, or any time of the year.
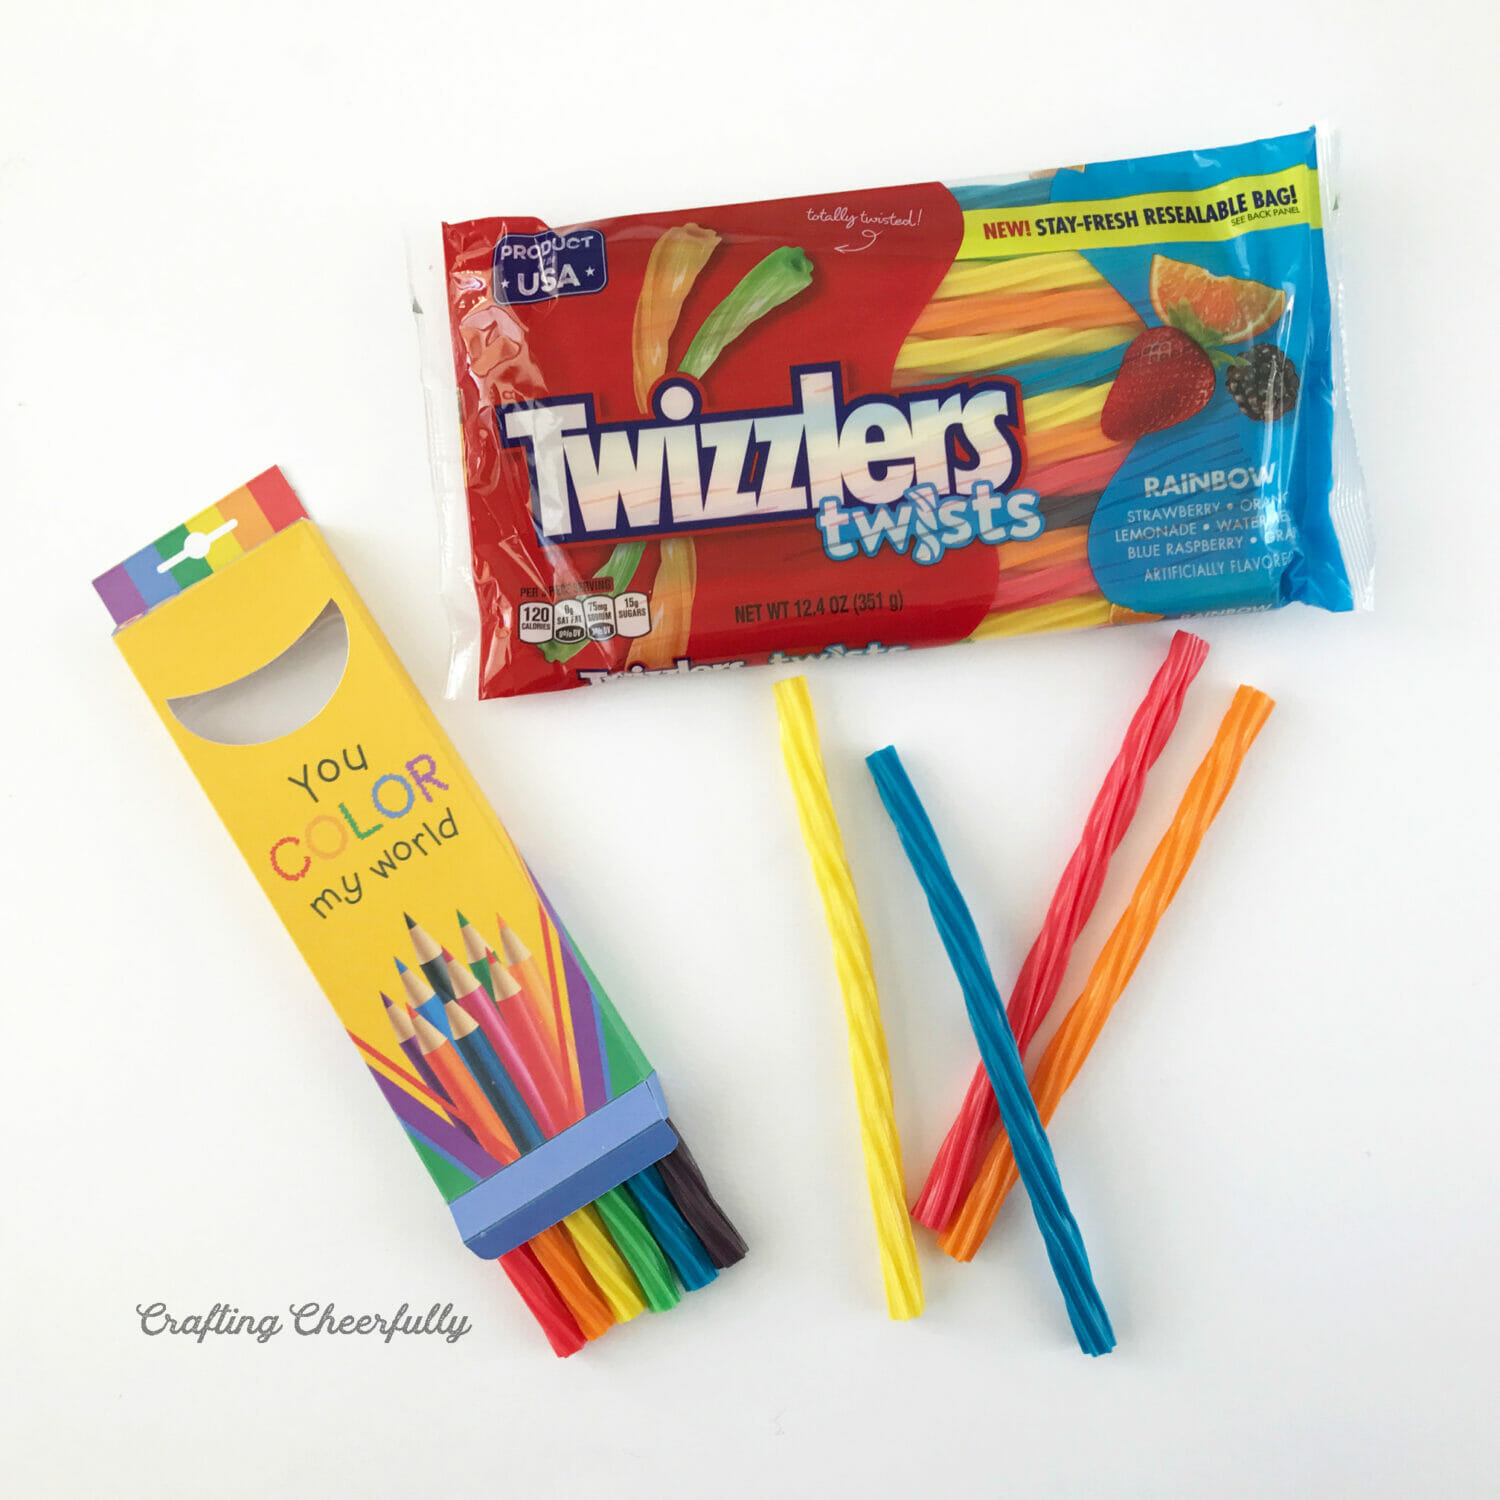
I designed the boxes to fit Rainbow Twist Twizzlers, this is not a sponsored post thought, I just thought it would be cute to use these. They are the perfect size to fit six Twizzlers. They can get hard though when not kept sealed in a plastic bag, so I recommend adding the Twizzlers as close to gifting these as possible, or place the boxes in a plastic bag until gifting.
We made our treat boxes in advance and then added the candy right before the party. They stayed soft and were perfect. I tested one and found they stayed soft for a day or two, but after that they became way too hard to eat so definitely something to consider if you use Twizzlers.
These were a lot of fun to create and even more fun to have at our party! I’ll be sharing the complete color-themed party in a couple weeks, so be sure to check back!

Colored Pencil Treat Boxes
Supplies Needed:
- Free printable boxes – Grab the free file by filling out the purple form at the end of this post.
- White cardstock – I used Neenah 110lb bright white paper which works with my printer, but use whatever works best for you
- Paper trimmer and/or scissors
- Craft Knife and self-healing cutting mat
- Scoring board (optional, but very helpful!)
- Clear craft plastic I used craft plastic with a .007 thickness
- Adhesive – glue stick, tape runner or double-sided tape like 1/4″ Scor-Tape
- Twizzlers Twists candy
Step by Step Tutorial
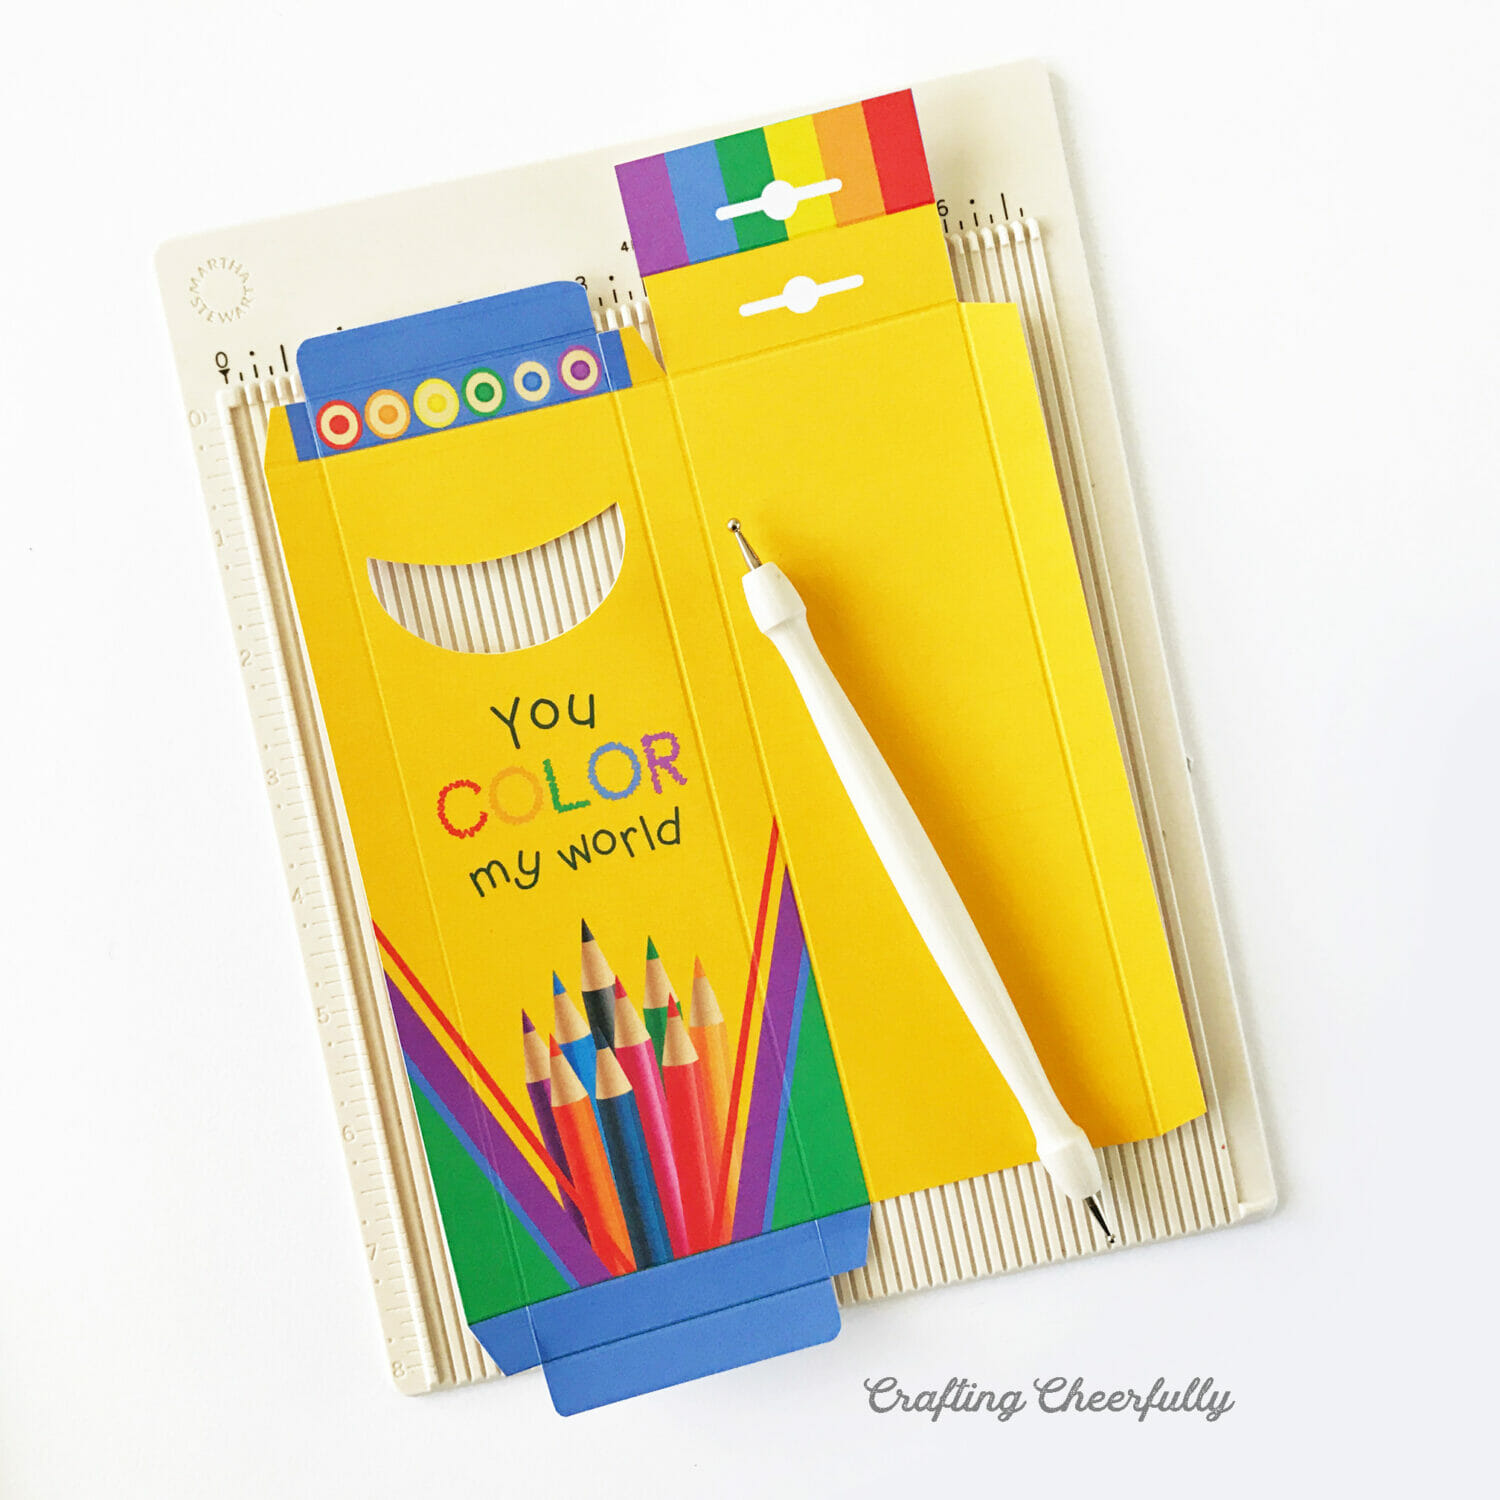
Step One: Print the treat box on white paper. I used 110lb index paper, it is a great weight for treat boxes that will still go through my printer. After the boxes are printed, cut them out using a paper trimmer and scissors.

Use an craft knife to cut out the smile-shaped window from each box.
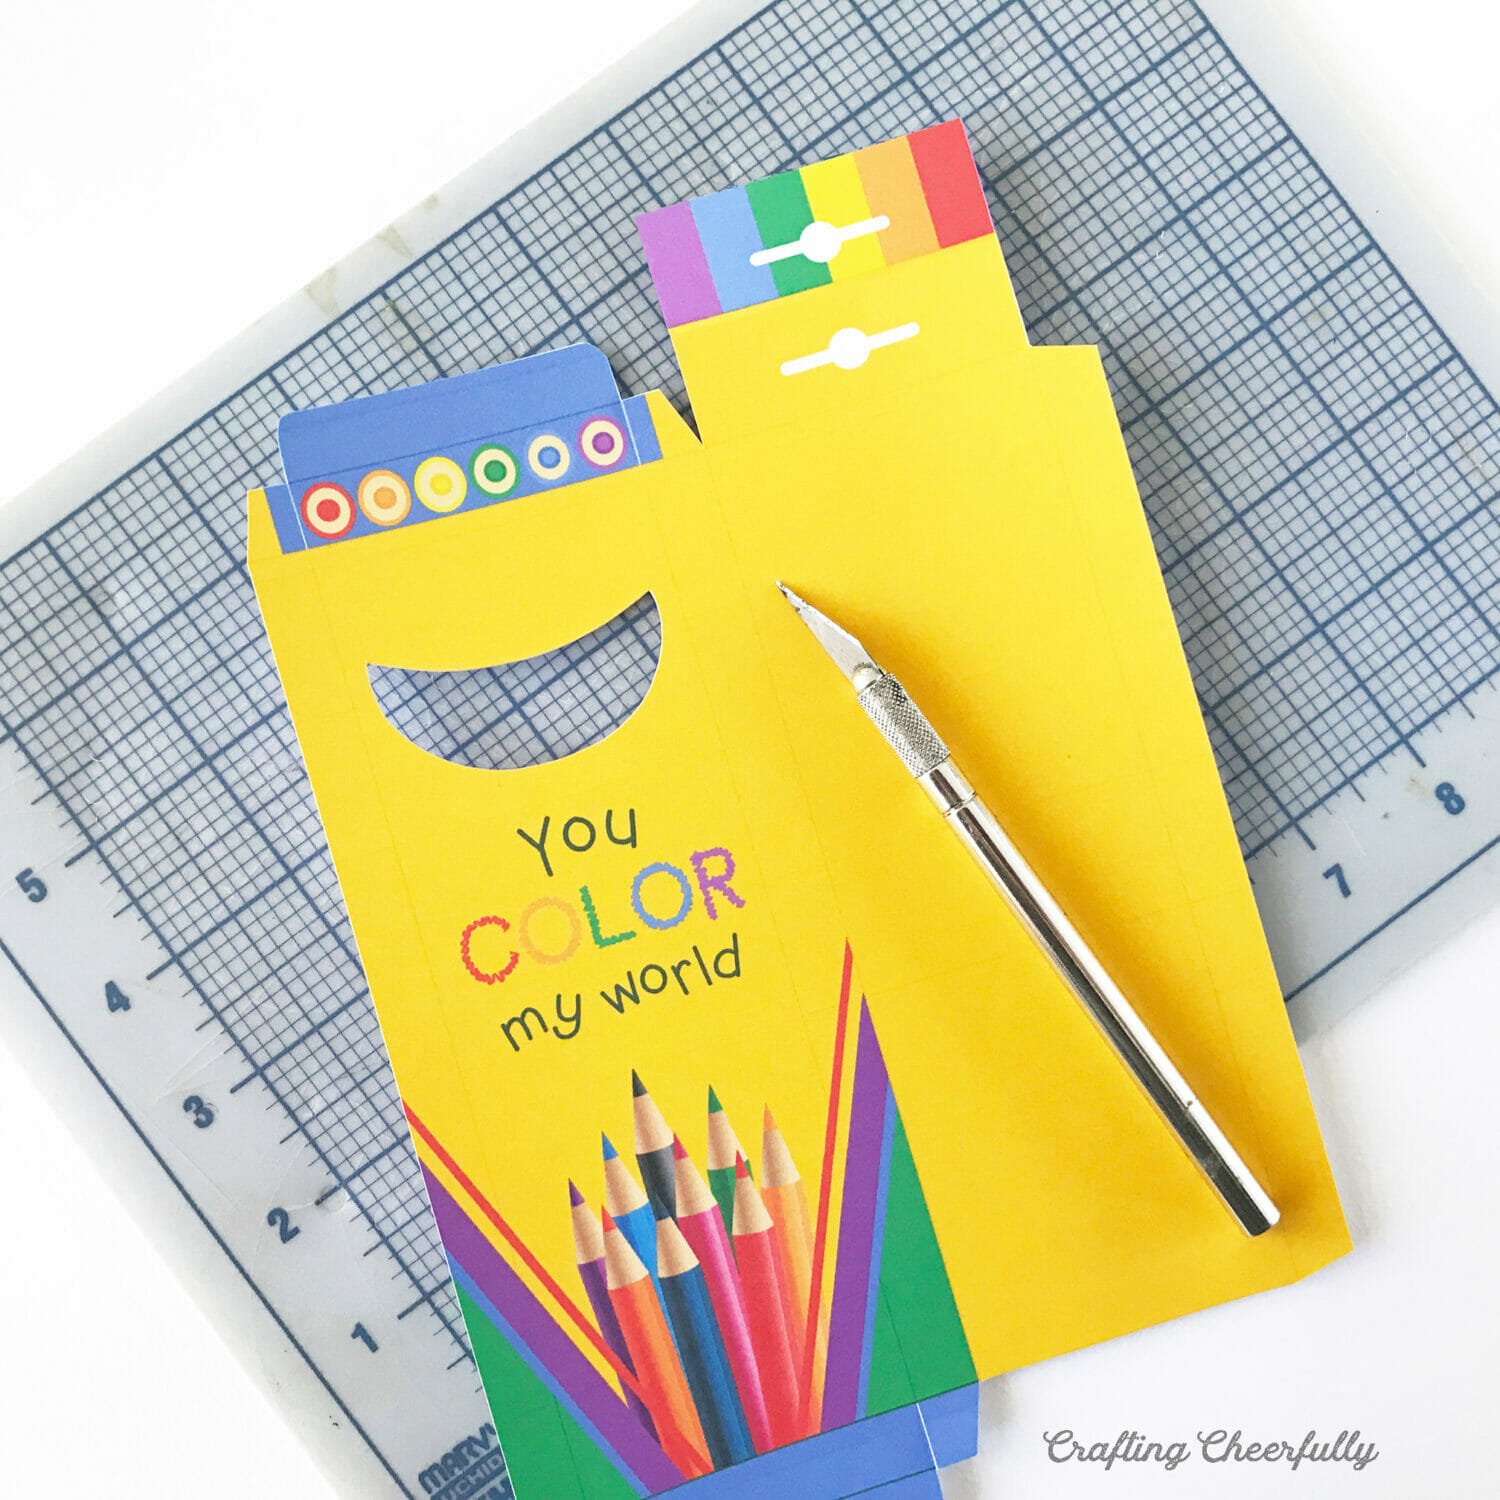
Step Two: Score along the fold lines. I love using my mini scoring board and stylus for this part. It isn’t necessary, but it does a great job creating crisp and perfectly straight fold lines.
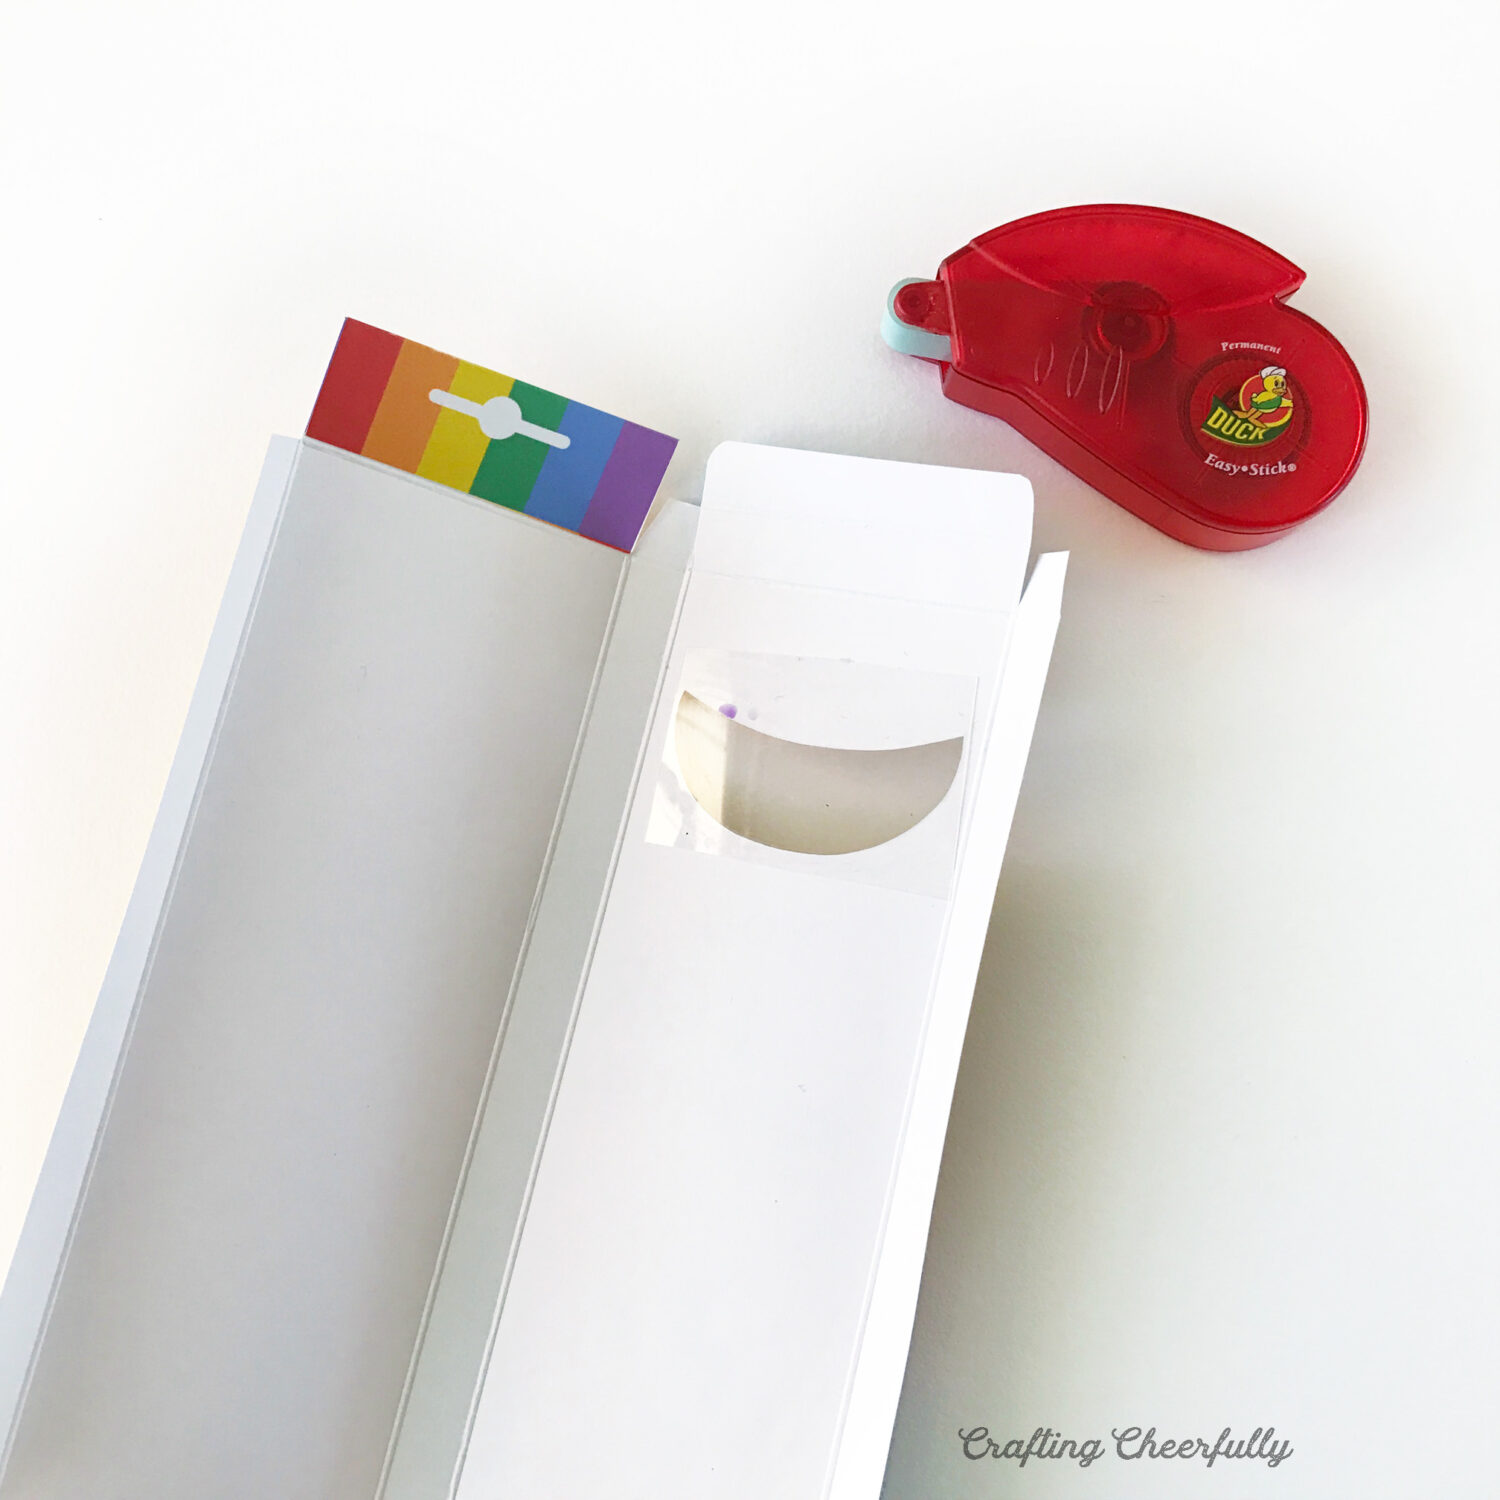
Step Three: Glue the clear plastic window in place. I cut a rectangle of craft plastic slightly larger than the smile-shaped window. The width needs to be longer than the window, but keep it between the score lines of the treat box; otherwise, it will be difficult to fold the box together.

Step Four: Fold the treat box along the scored fold lines.
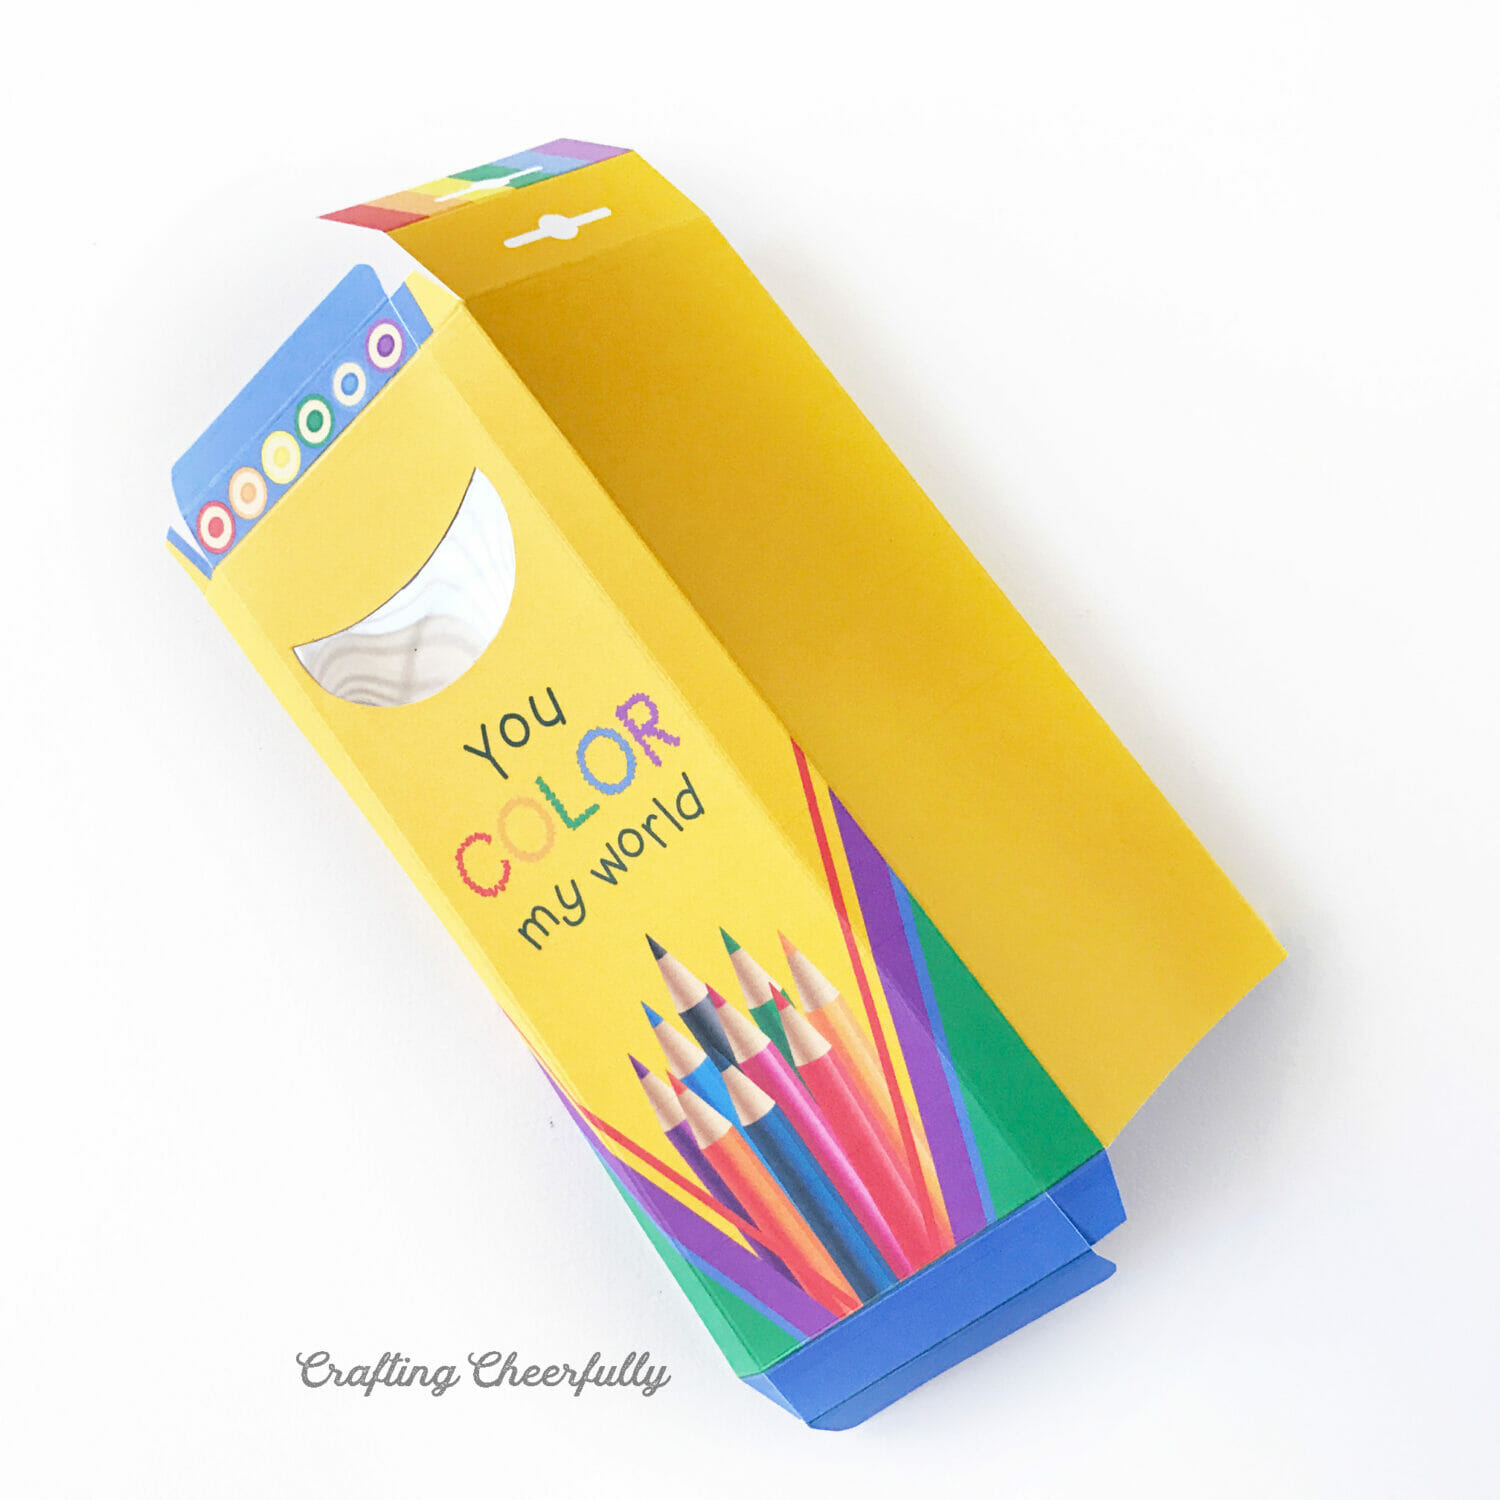
Step Five: Flip the rainbow tab down toward the inside of the box and tape into place. I used a tape runner for this part, but you could also use your glue stick.
Adhere the long side of the treat box together. I used a tape runner again. Fold the bottom of the box together and use a small piece of tape to keep it together, if necessary. For some of my boxes, it was easier to load the Twizzlers in through the bottom of the box, so you could wait to tape the box shut until after you fill them.
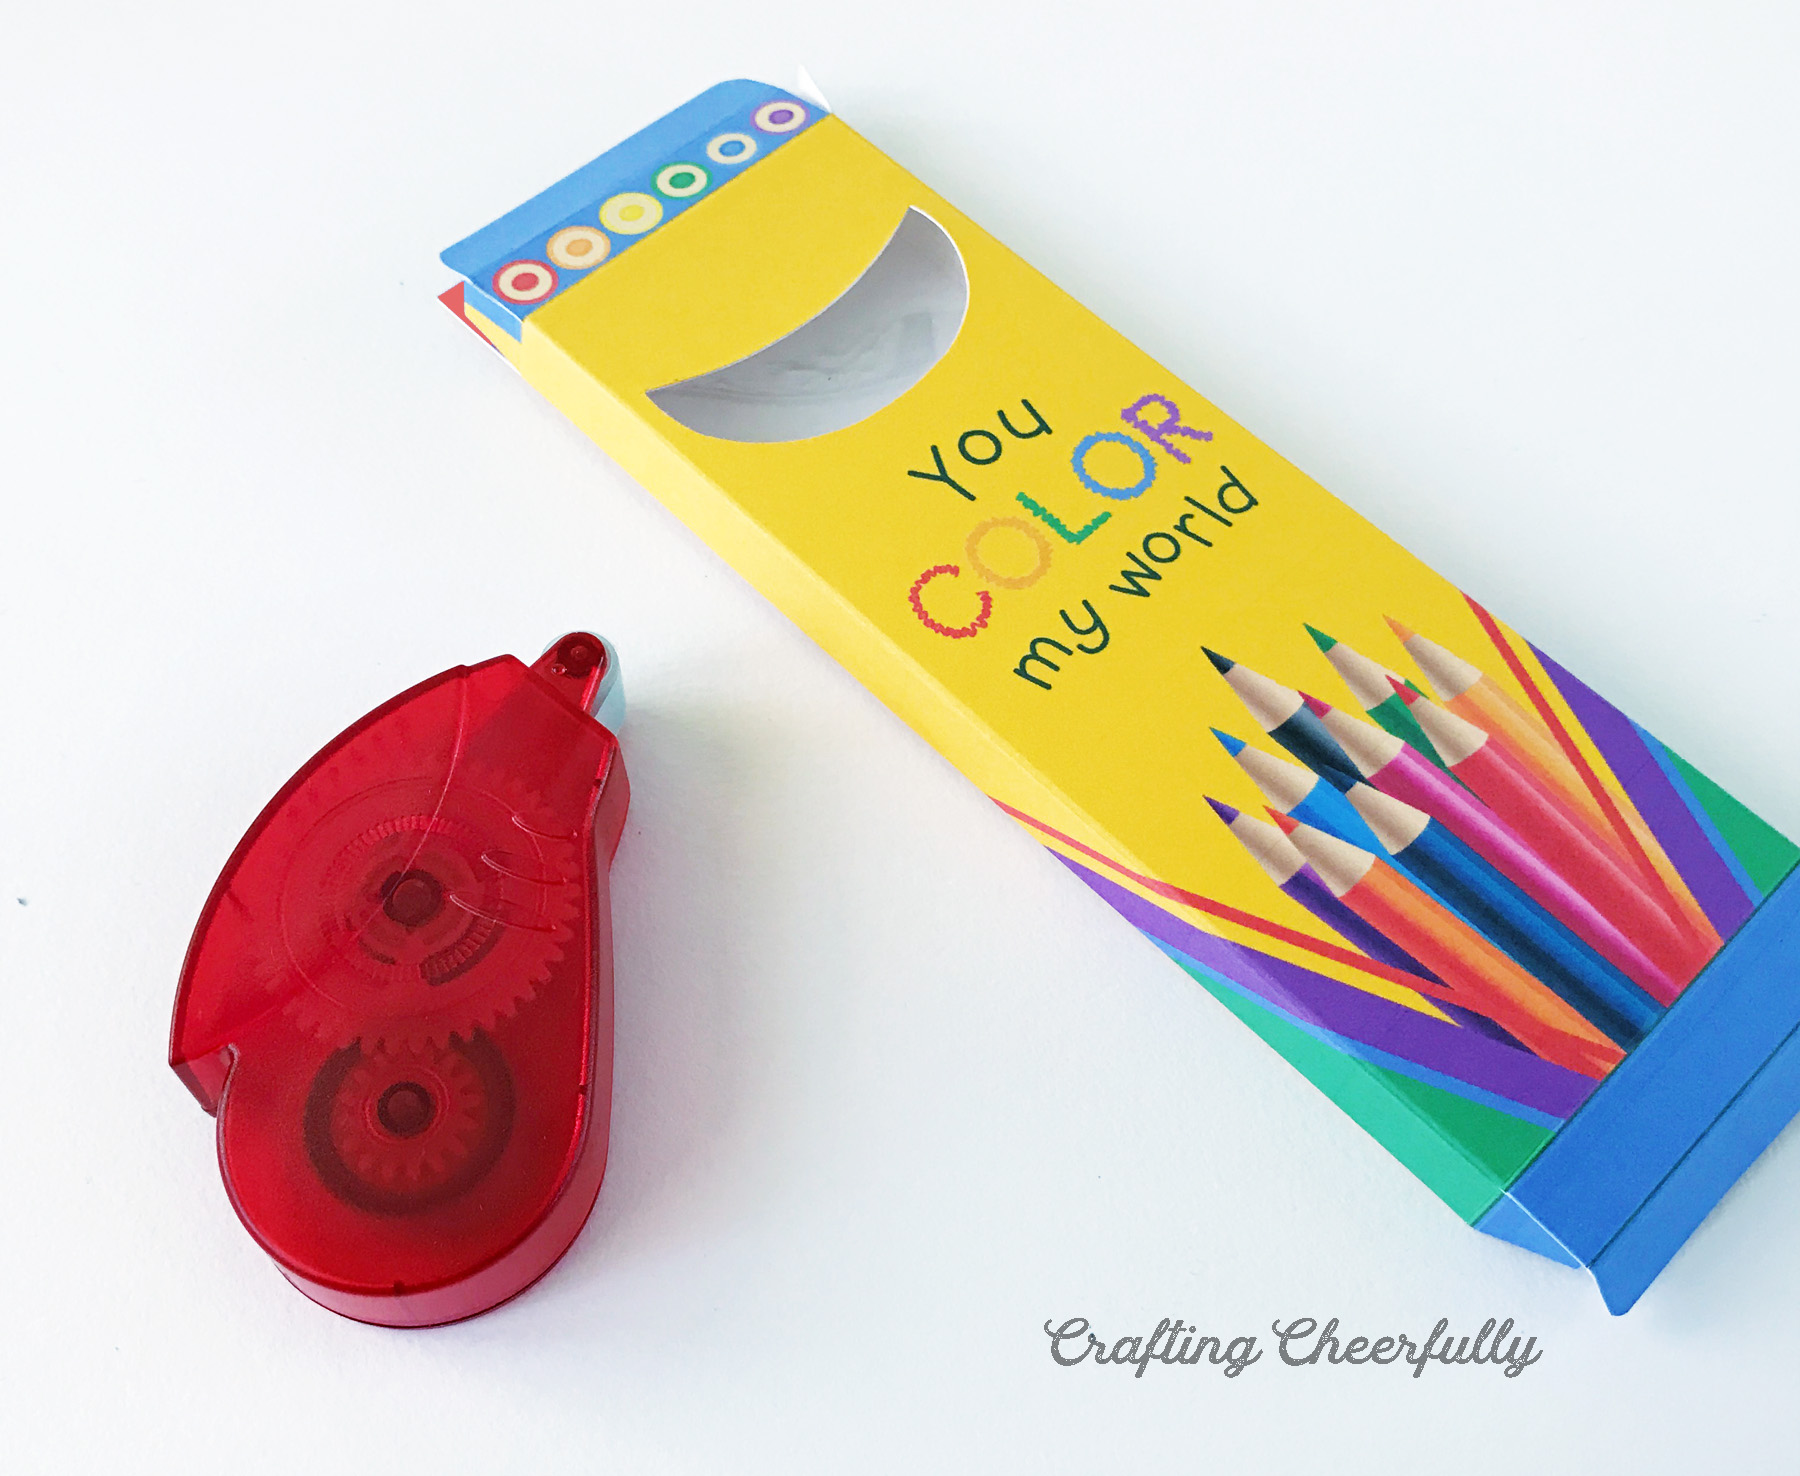
Step Six: Fill the treat box with Twizzlers Rainbow Twists and it will look like colored pencils in a box! I bought several bags, not knowing how many of each color would be in each bag. It was a happy surprise to find the bags had five twists of each color – perfect for this project. So one bag of the Twizzlers Rainbow Twists filled five treat boxes.
This is not a sponsored post. I just chose to use Twizzlers Rainbow Twists because they looked like colored pencils and I made the box to fit them! If you use Twizzlers, the favors should be enjoyed soon since the Twizzlers will be dry out in the box after a day. A great way to solve this would be to place them in the box and place the box in a clear plastic candy bag with a twist tie and ribbon for a really cute party favor.
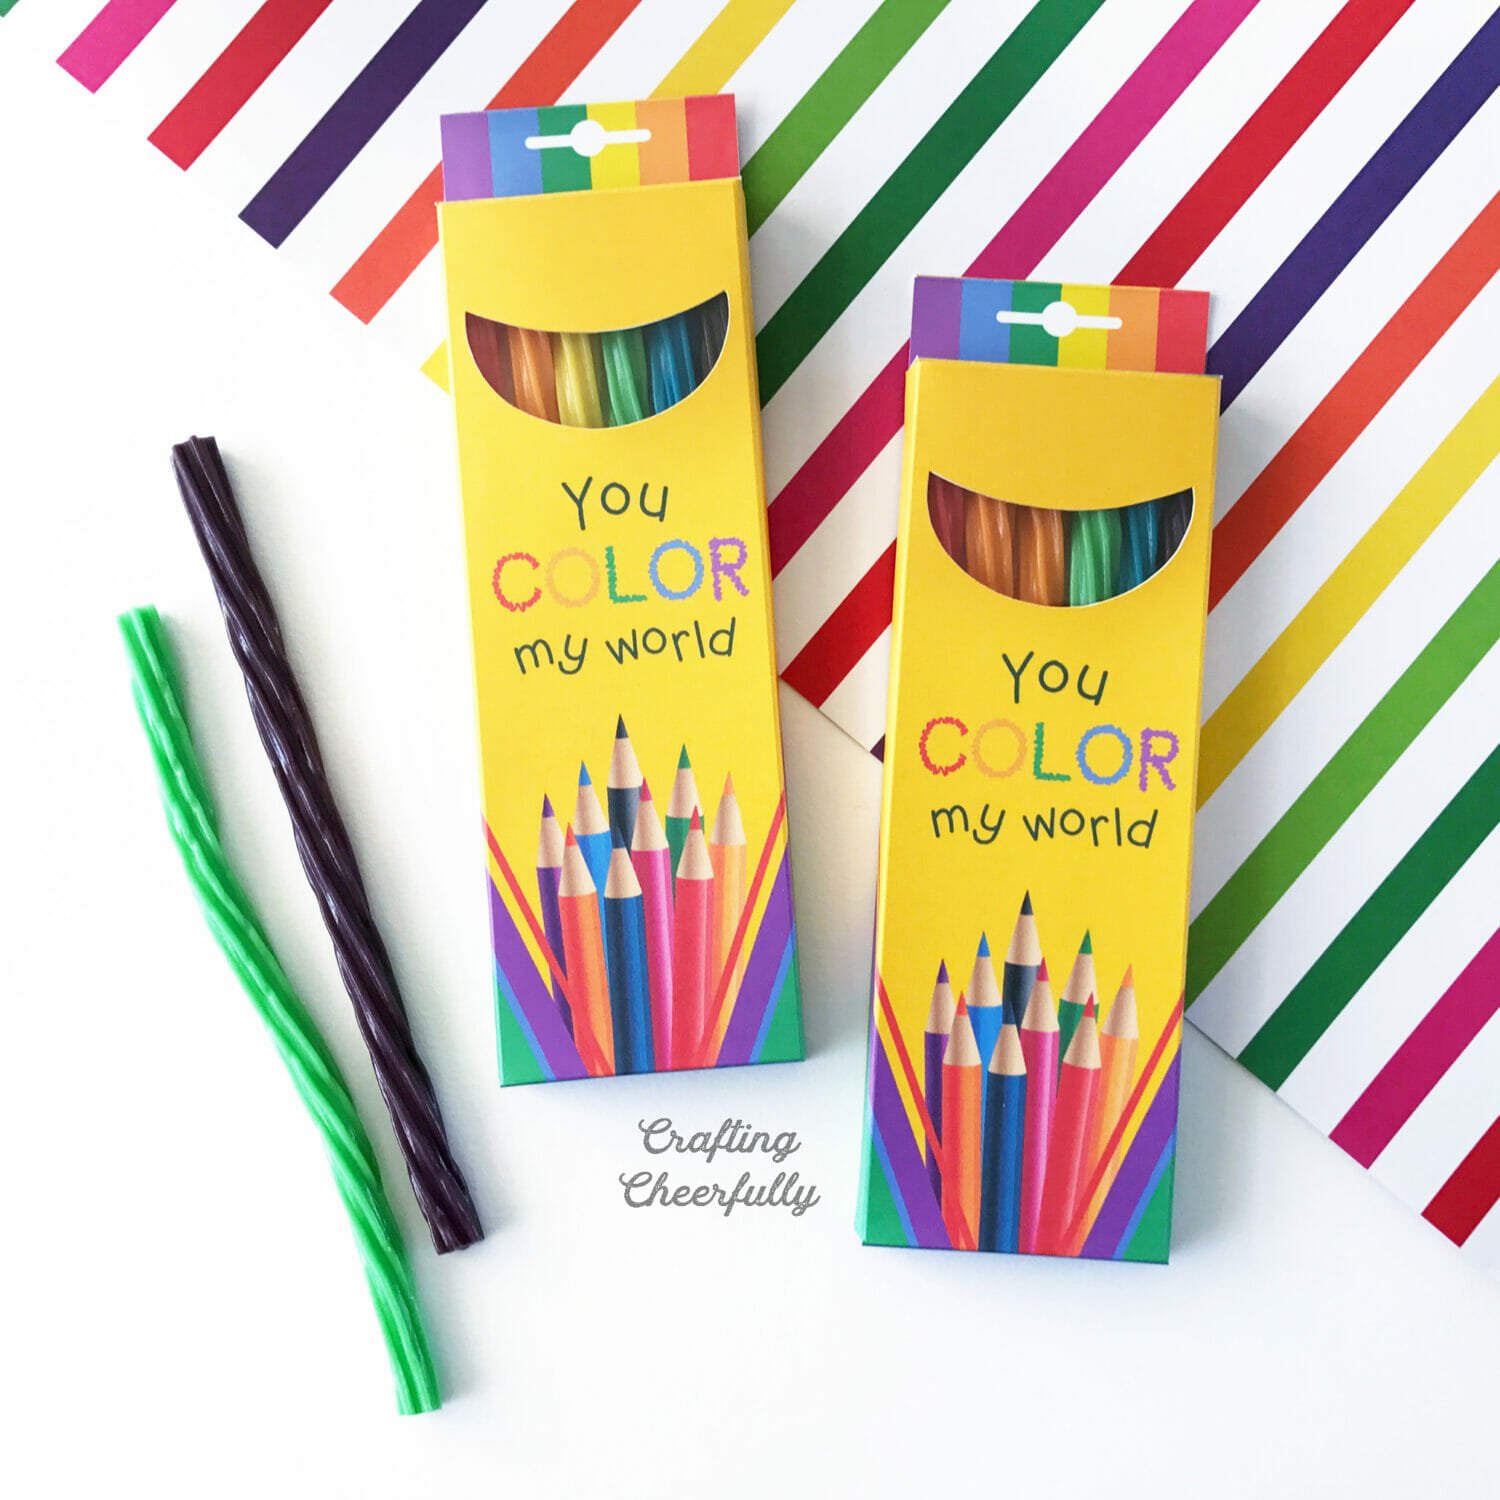
The colored pencil treat boxes turned out really fun! We did have to tell a few of our guests there was candy inside and not real colored pencils!
I’ve really been in a paper crafting mood lately and am trying to think of ways to use up some beautiful papers I just picked up last month from our local scrapbook store. If you, too, are in the paper crafting mood, check out AllFreePaperCrafts.com for more ideas! There is so much creativity shared on this site with lots of amazing ideas!
Over the next few weeks I’ll be sharing more DIY projects from our color-themed party and some great Easter crafts. There may be 12″ of snow outside my window right now, but it’s spring in my craft area! :)

Get the free Colored Pencil Treat Boxes!
Fill out the purple form below with your first name and email address! The free file will be sent straight to your inbox! If you have already filled out the form below, don’t worry – you won’t be added to my list twice! This freebie is for personal use only. I hope you enjoy crafting something special. Please let me know if you have any questions :)


I think my granddaughter will love doing these crafts with her gigi!
Yay! I hope you both have fun crafting! :)
Soo darling! I love it!
Thank you! :)
Great party favor for my daughter’s birthday party! Love the bright colors and my mind is full of ideas to coordinate around these — thank you!
Thank you! I’ll be posting more DIY ideas for color-themed parties in the upcoming weeks :)