DIY Felt Paint Palette Ornament
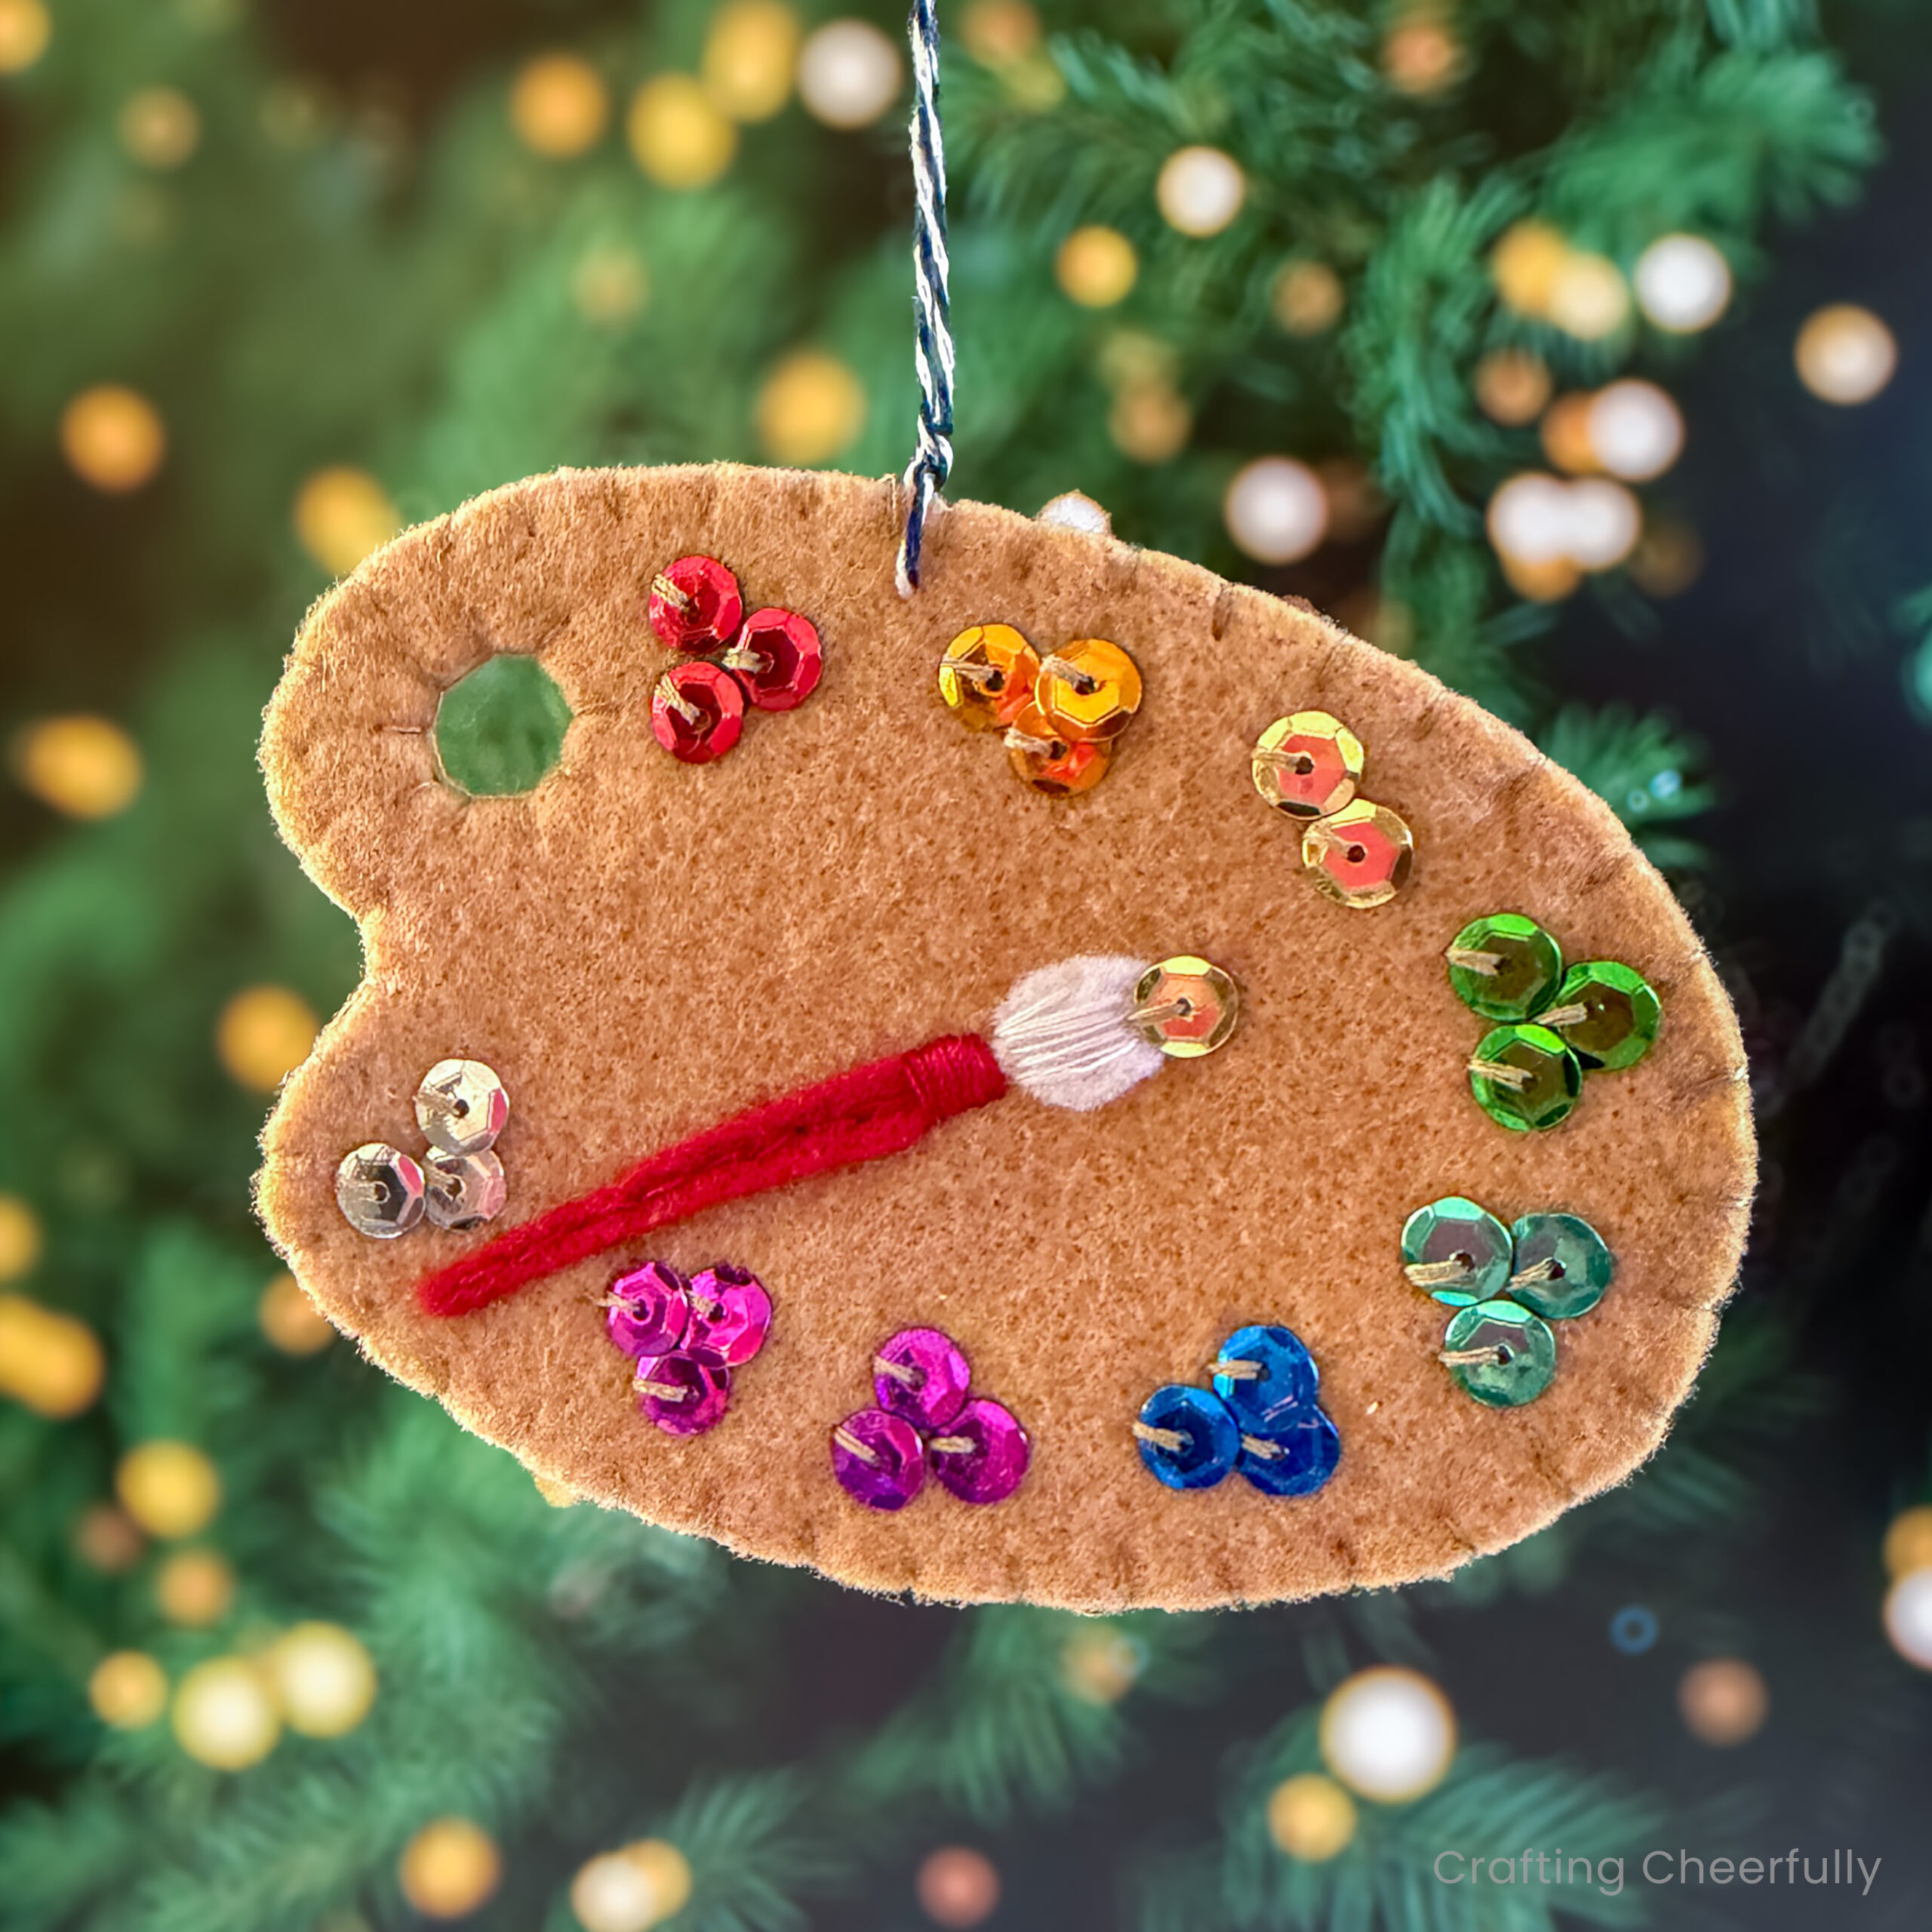
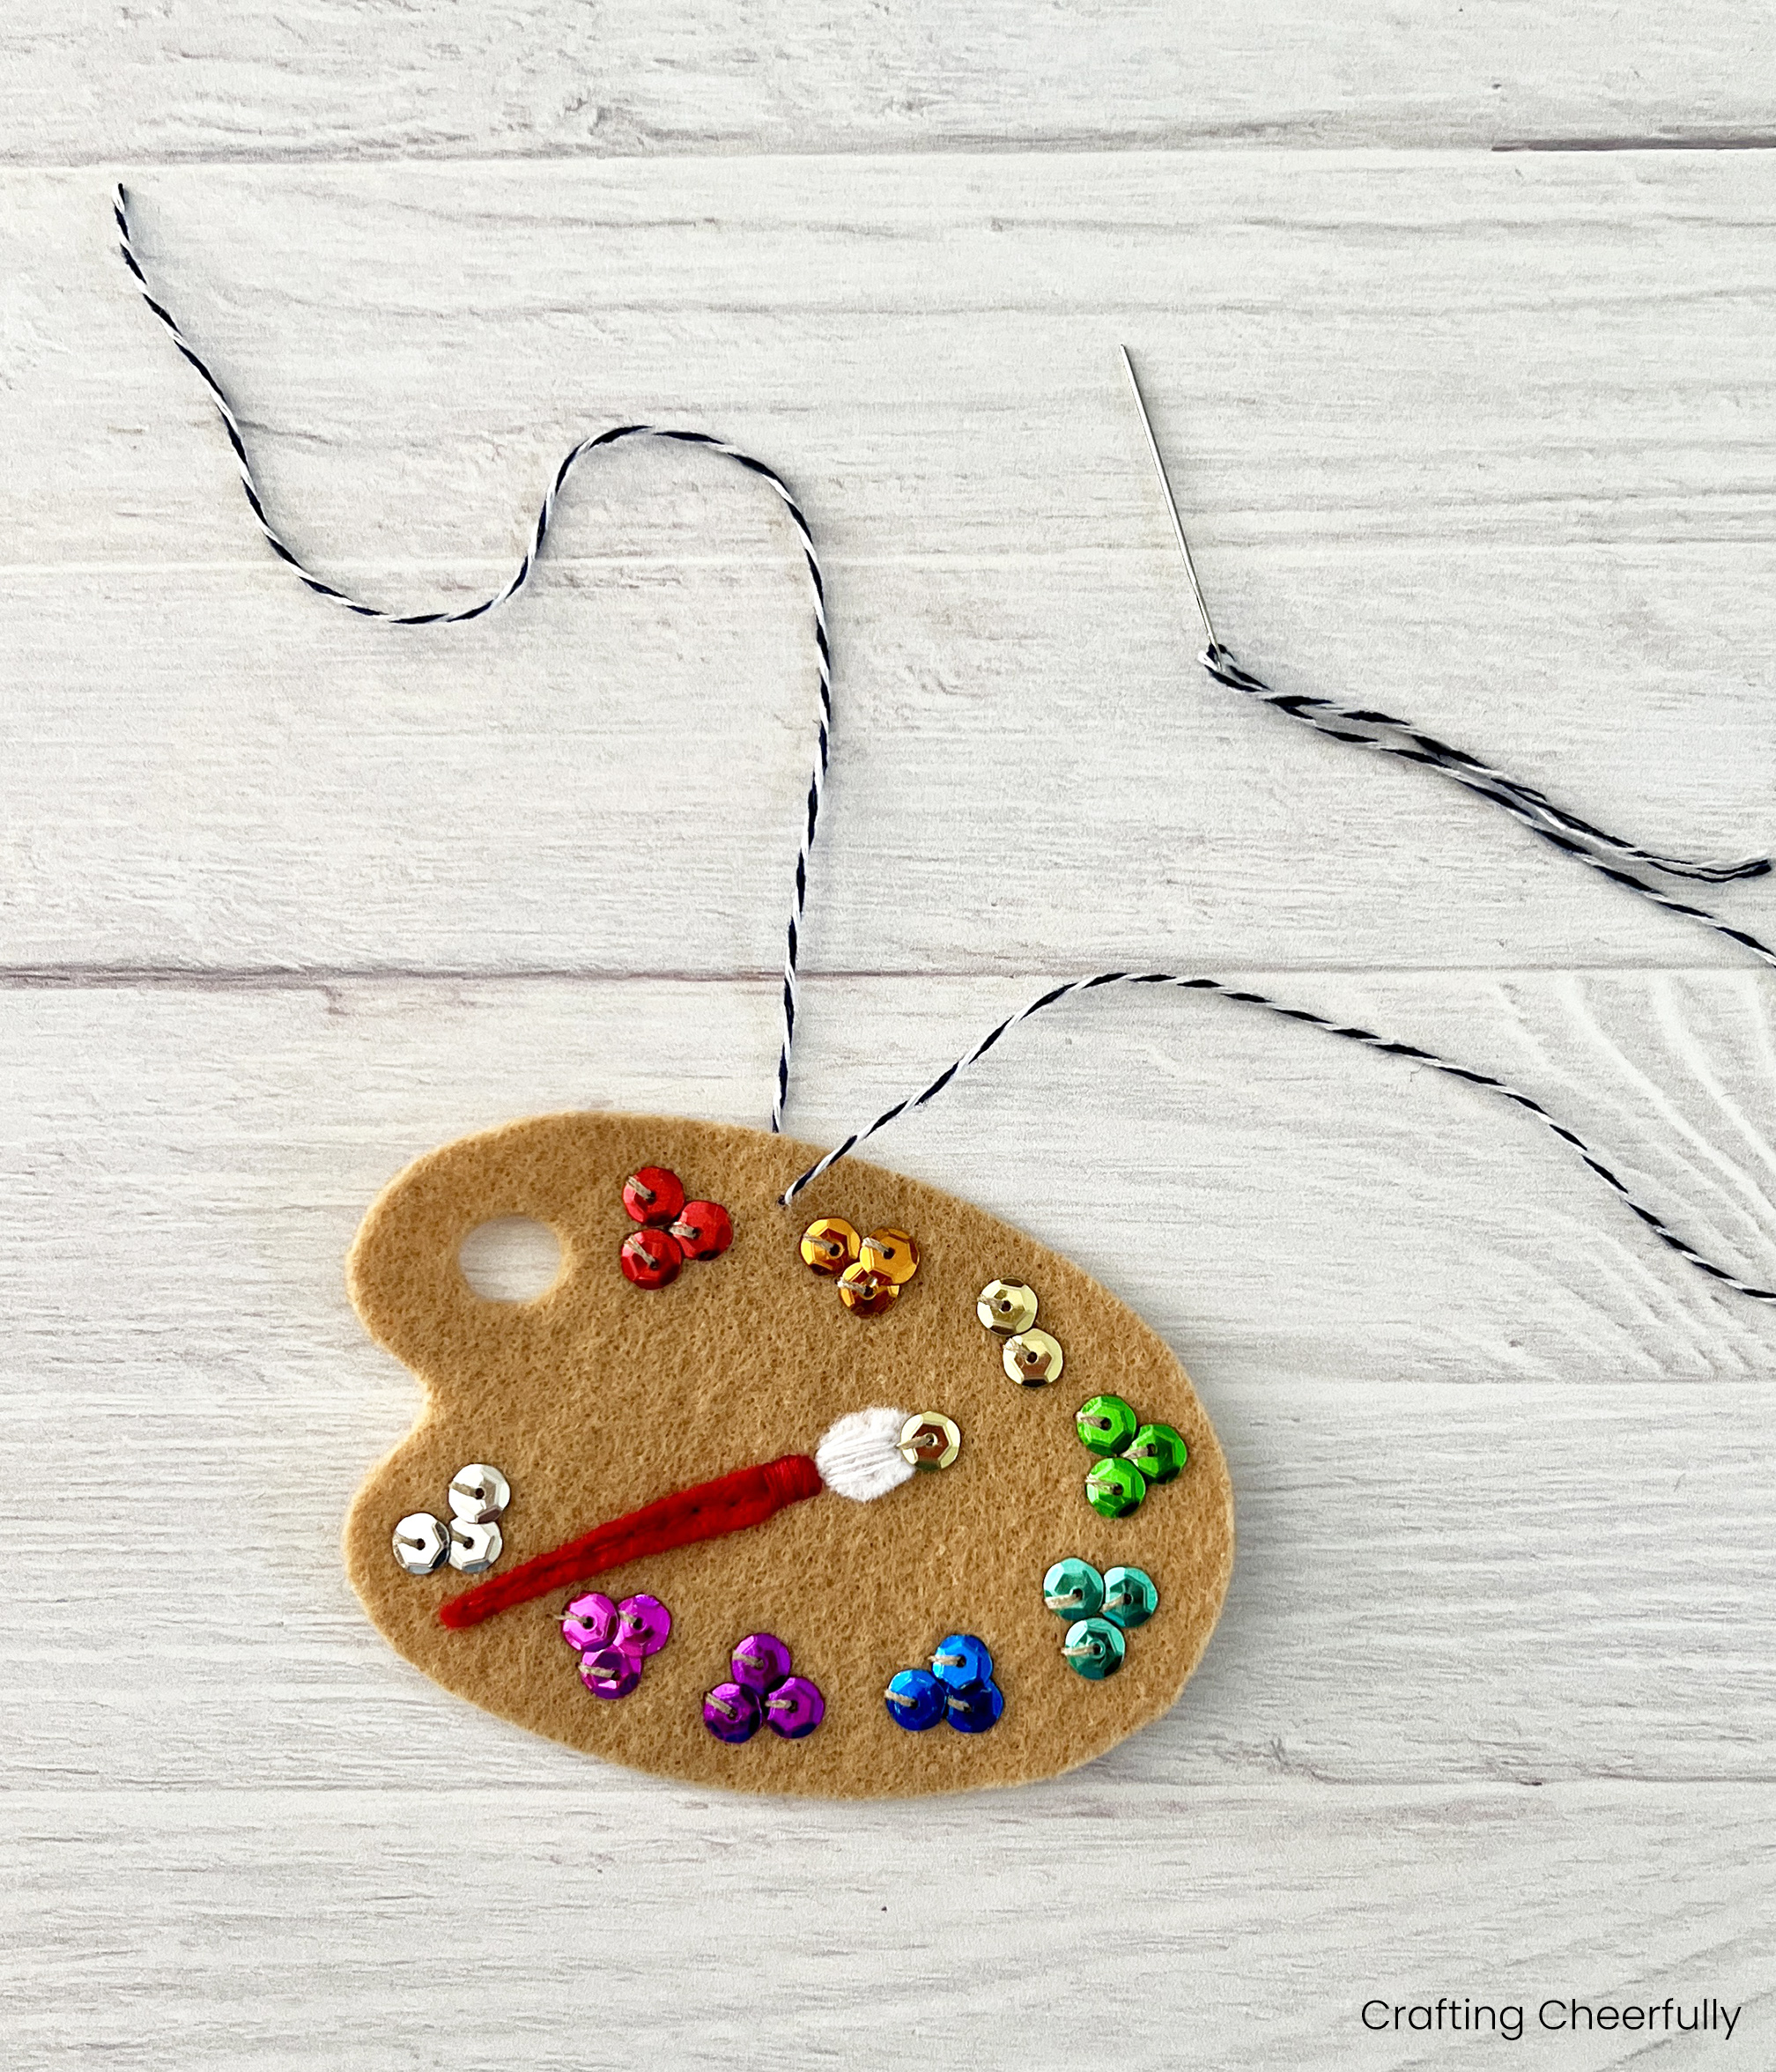
Use felt and colorful sequins to create a fun paint palette ornament perfect for adding a little sparkle to your tree. Grab the free template to help you get started!


Hello Crafty Friends! It’s day five of my series “12 Days of Holiday Crafts” and I’m sharing a new tutorial and free pattern for creating a felt paint palette ornament! Every year I make each of my kids a handmade ornament and a couple years ago I made my daughter this sweet felt paint palette. With its rainbow sequins this palette adds a fun sparkle to the tree.
This ornament only takes a few supplies – felt, sequins and thread. It’s a great little hand sewing project that makes a terrific gift someone artistic. I added my daughter’s name and the year to the back of the ornament which is a fun way to personalize the gift.
Felt Paint Palette Ornament
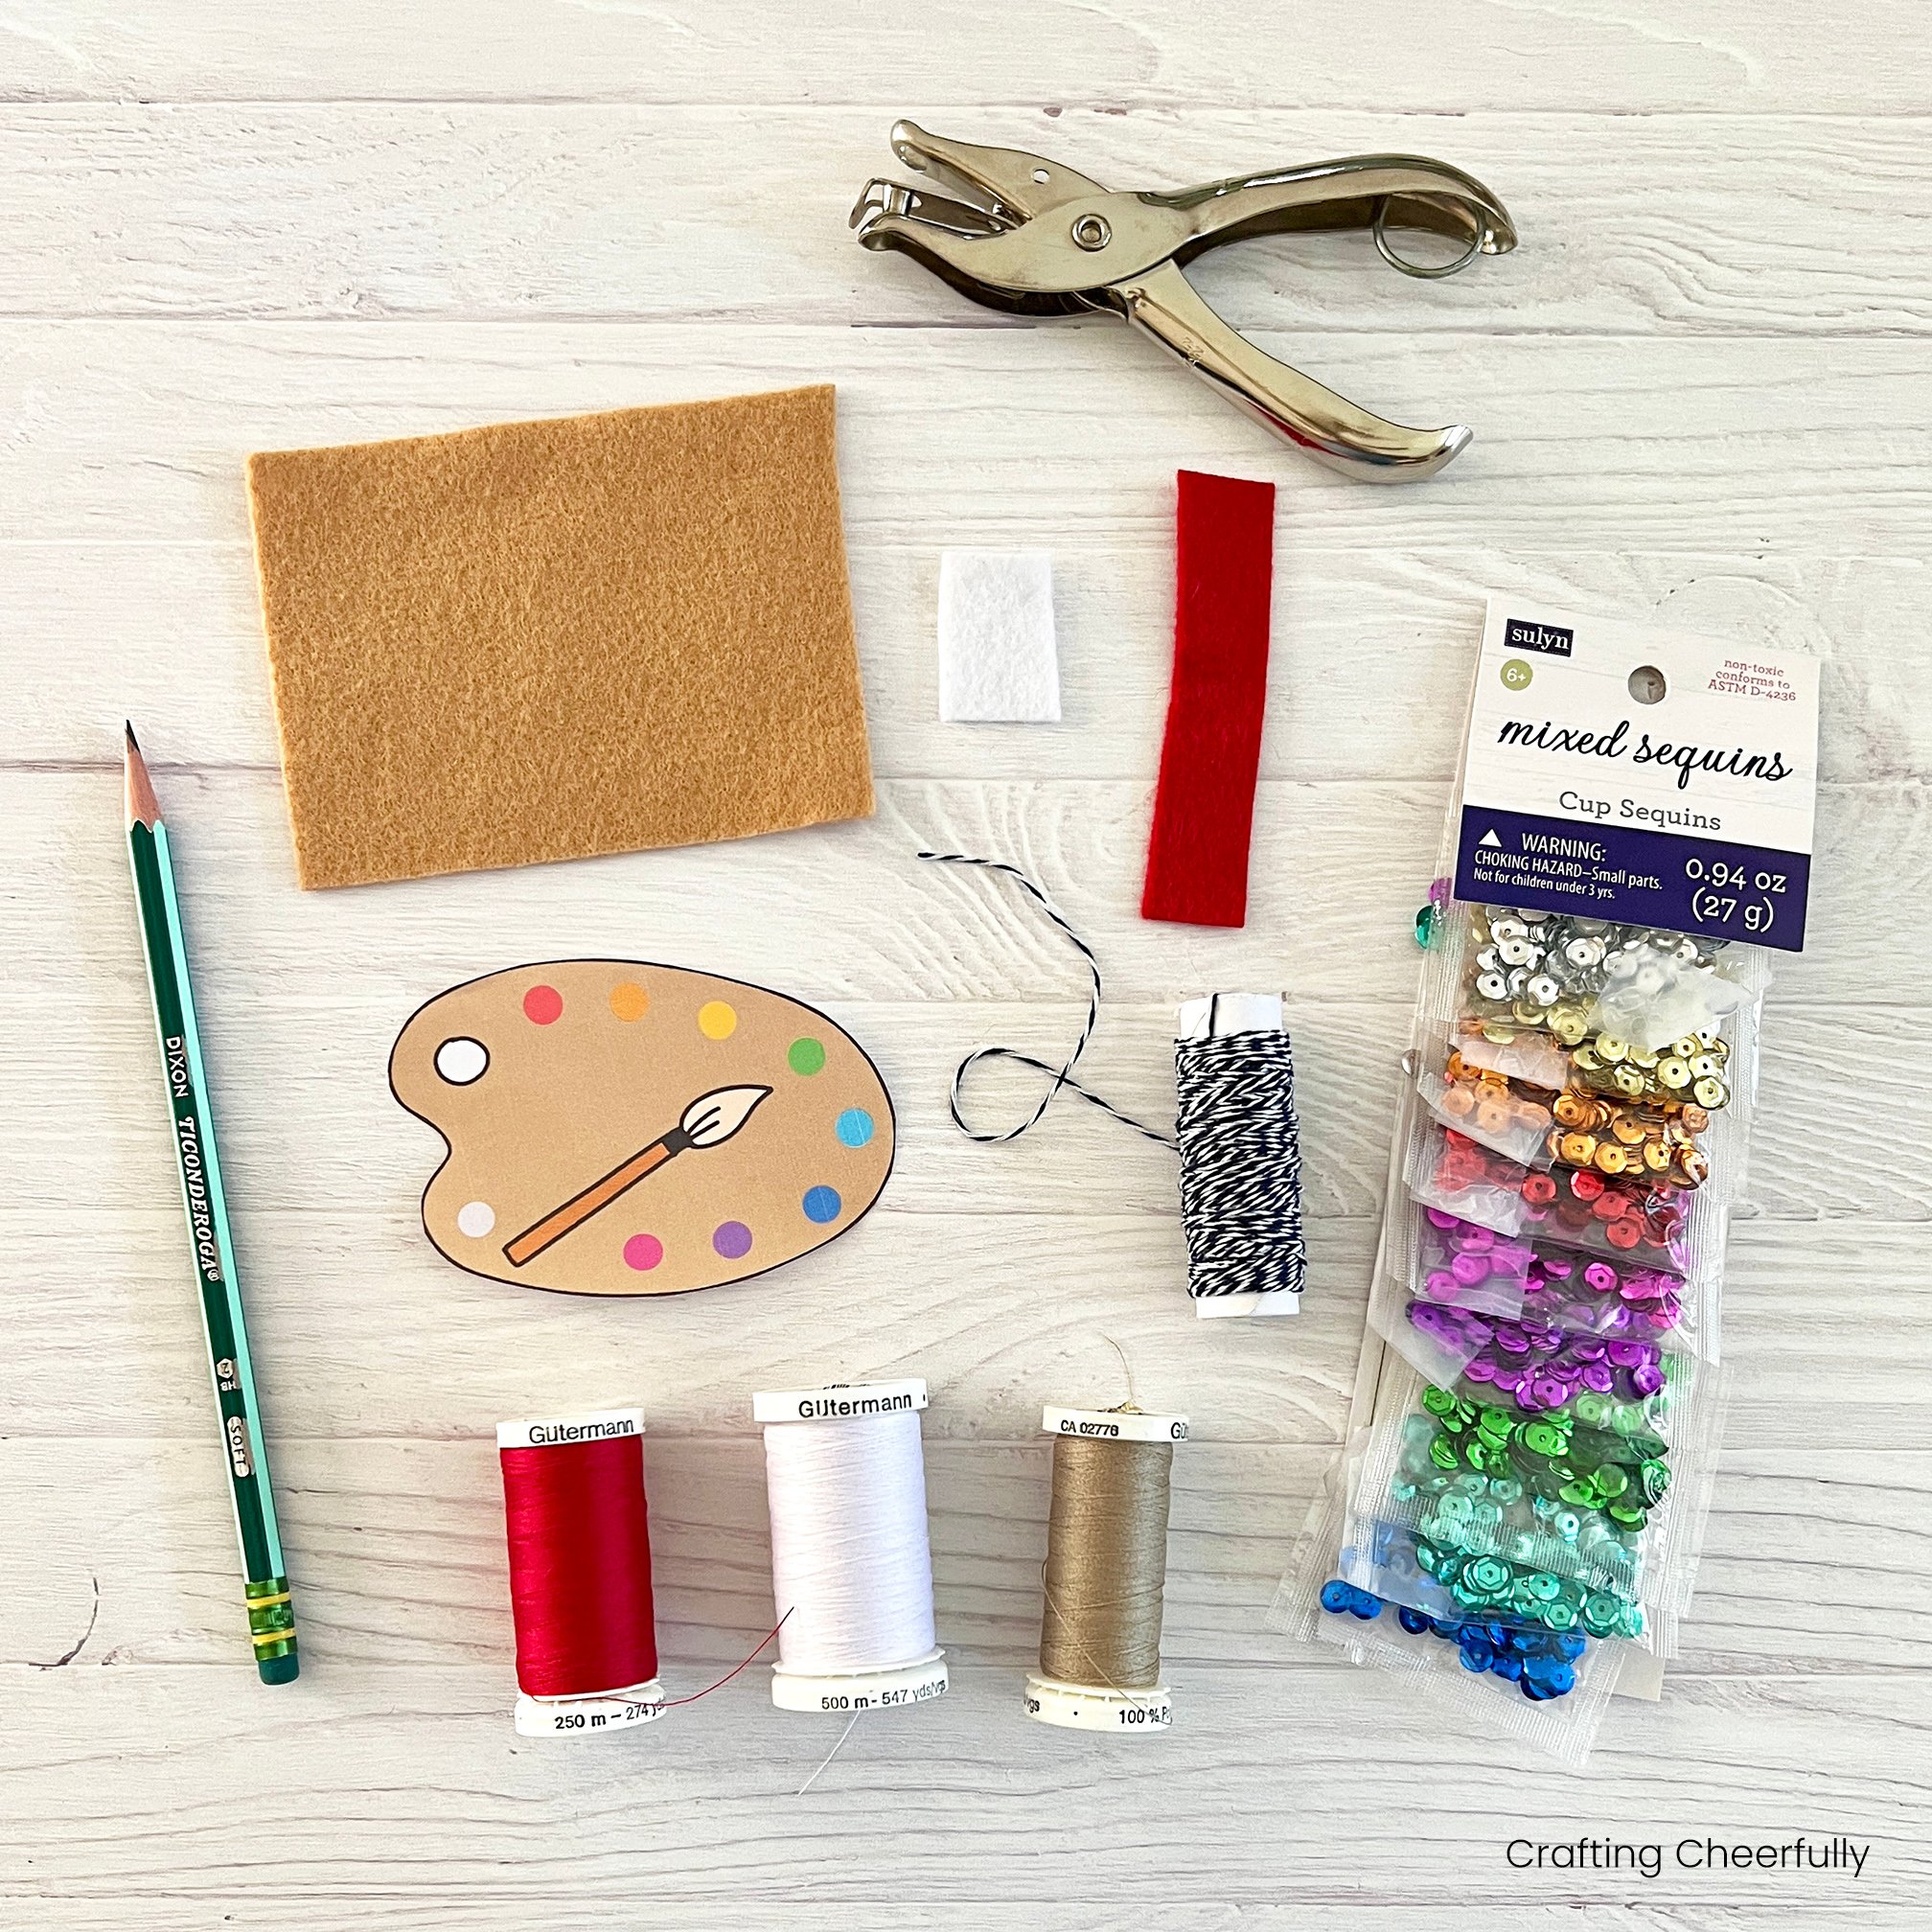
Supplies Needed
- Free Printable Pattern – Grab the freebie by filling out the purple form towards the end of this post.
- Tan felt
- Small pieces of red and white felt
- Sequins in rainbow colors
- Tan, red and white thread
- Baker’s Twine, ribbon or yarn
- Hole Punch
- Fabric Scissors
- Embroidery Scissors
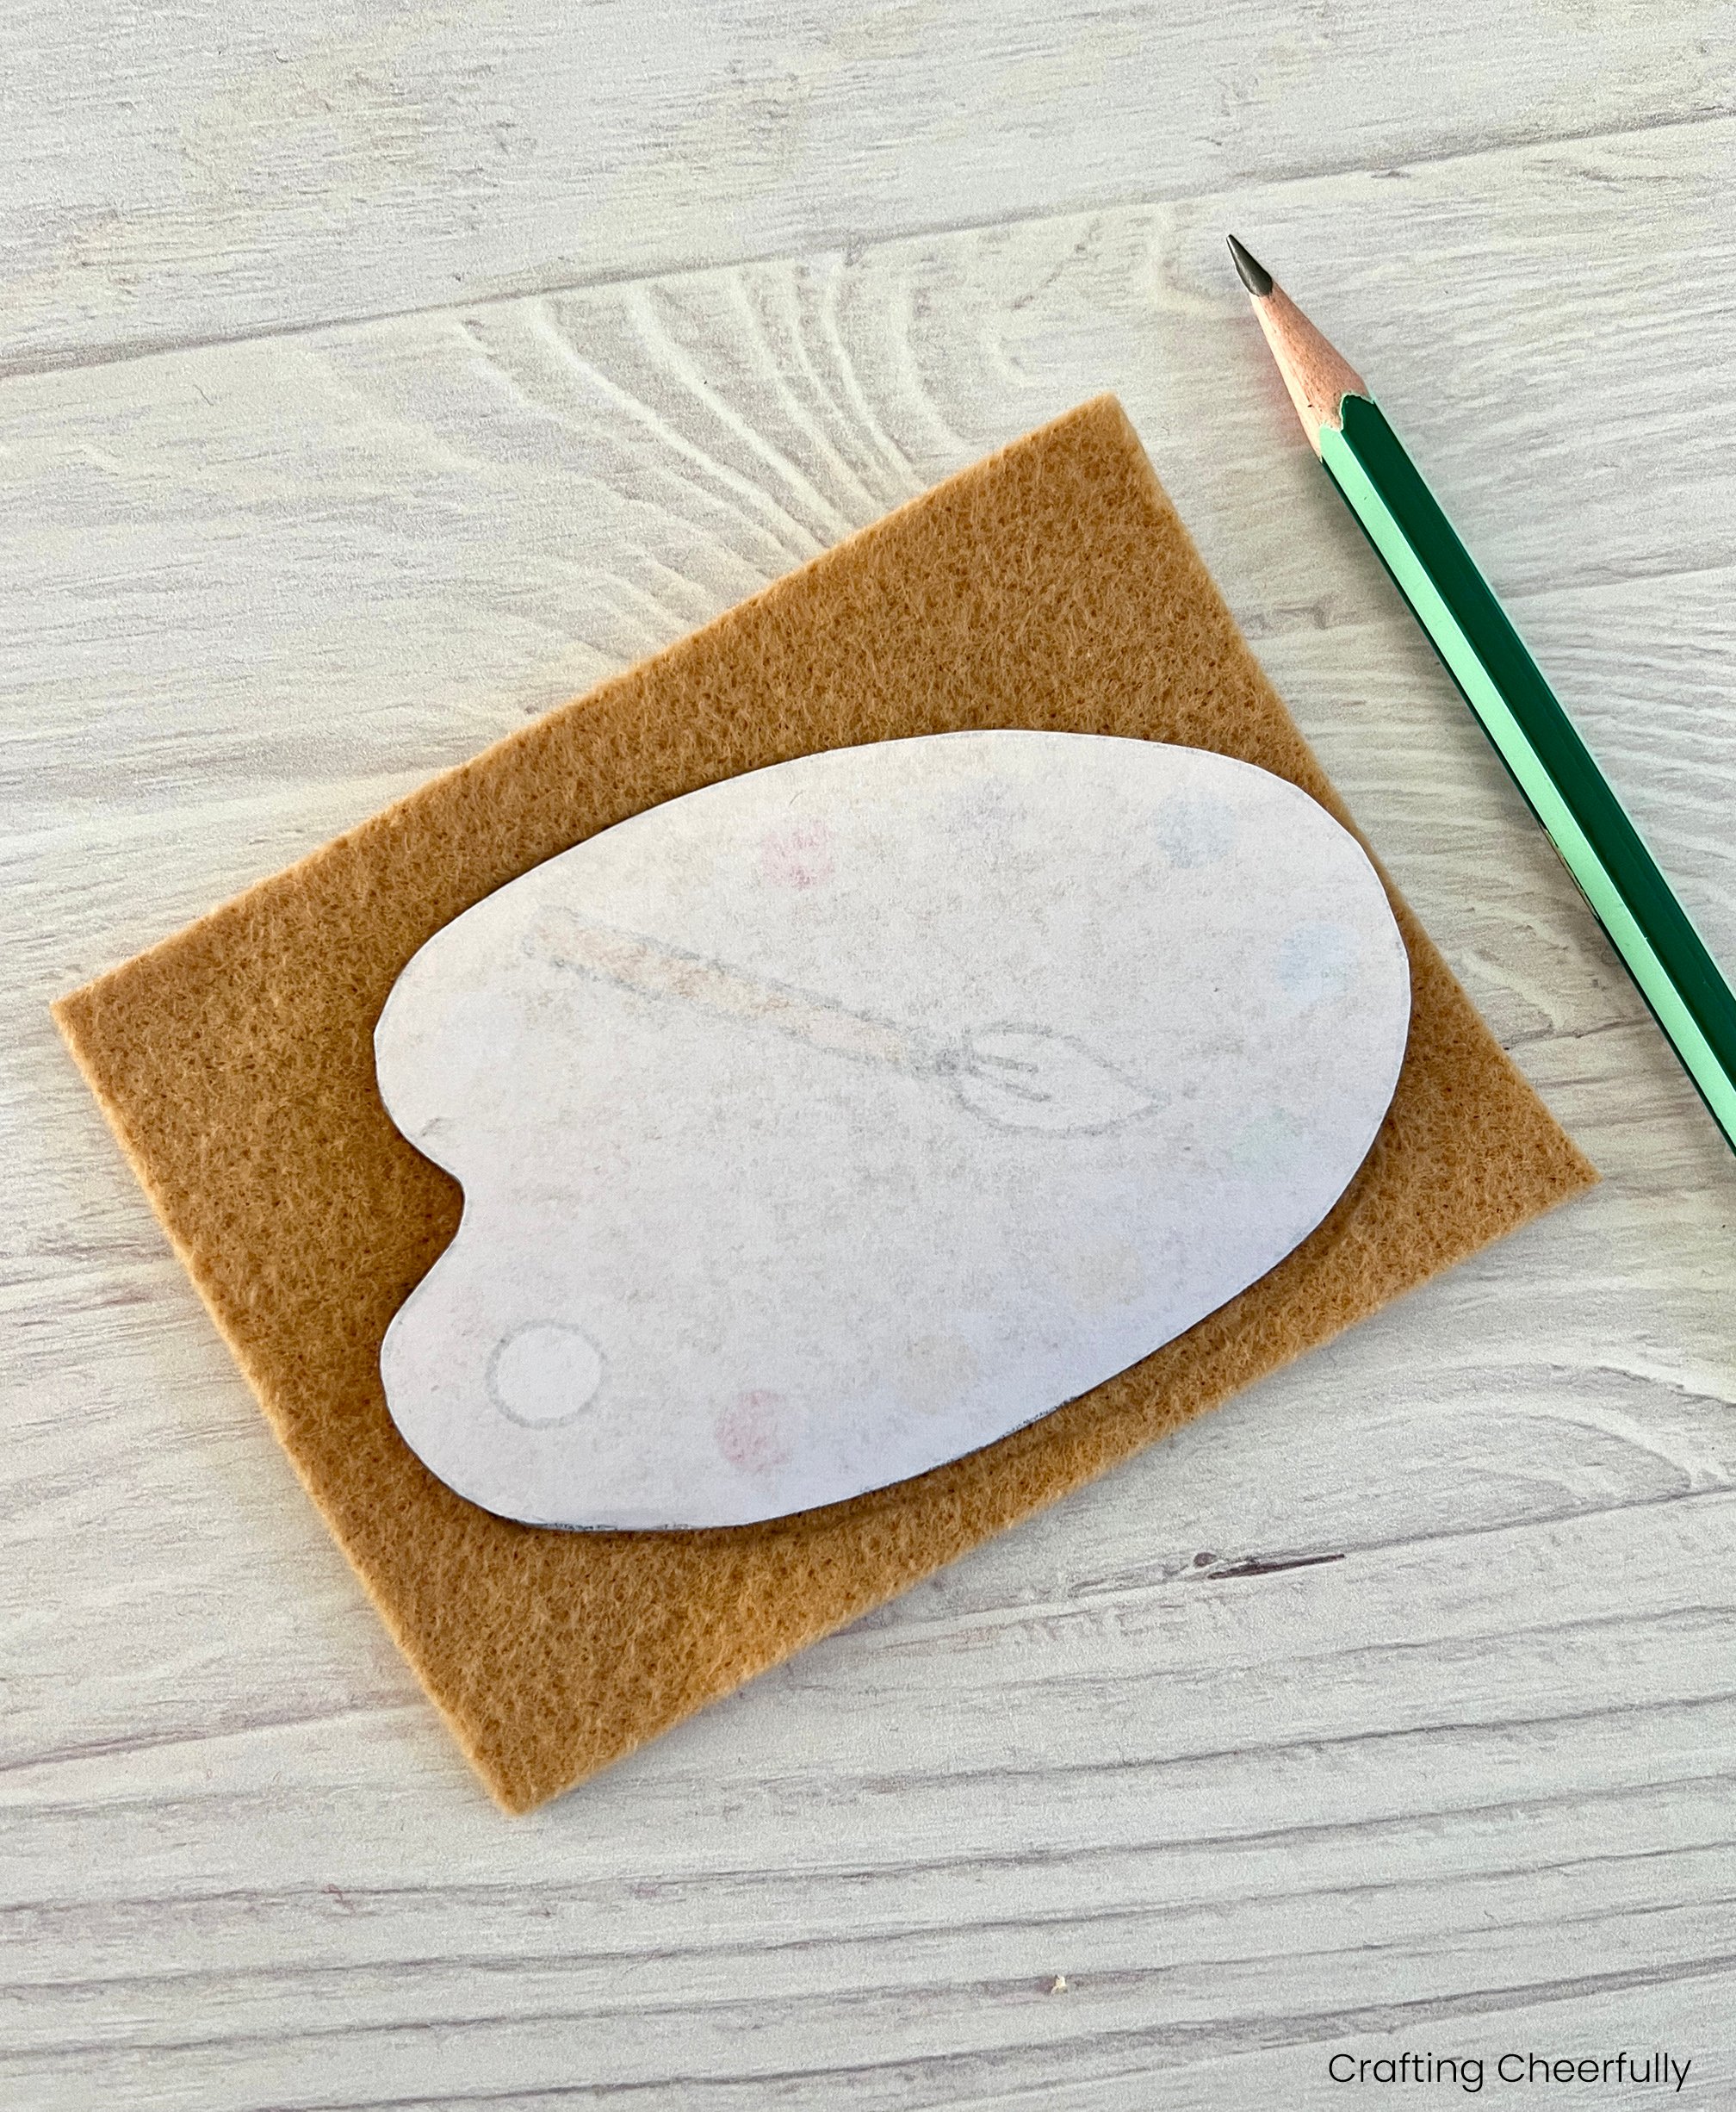
Cutting out the Felt Pieces
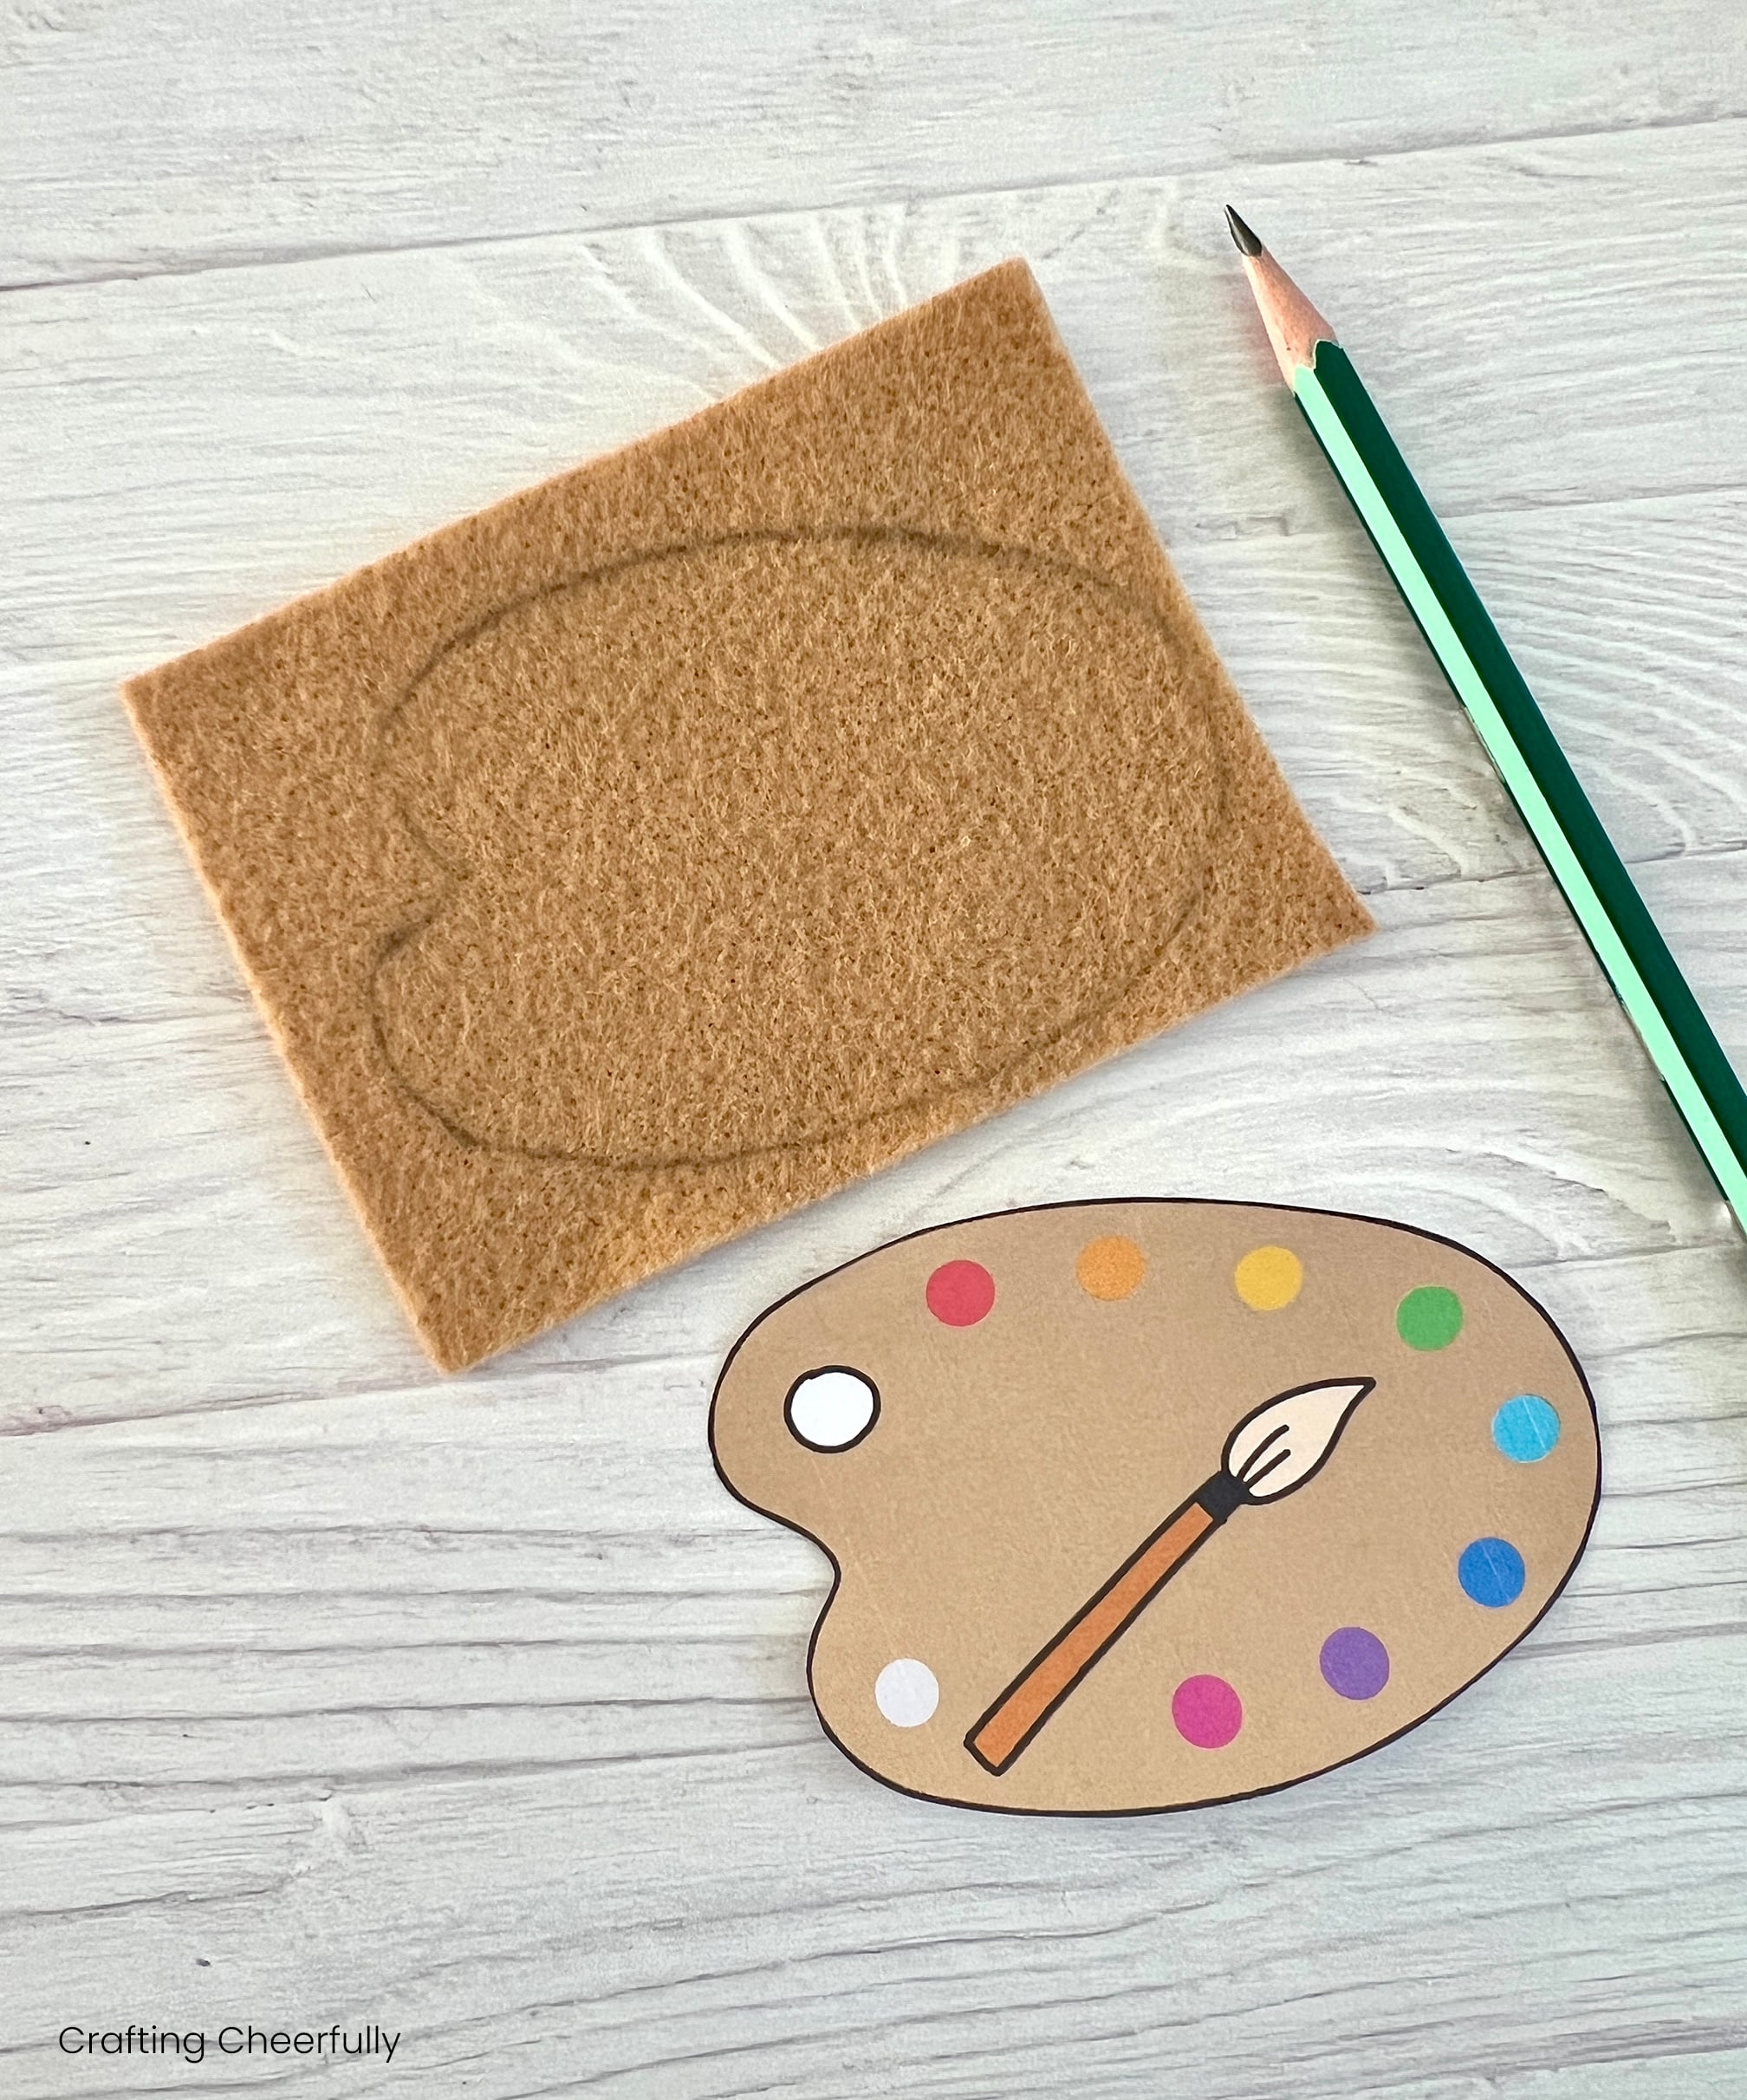
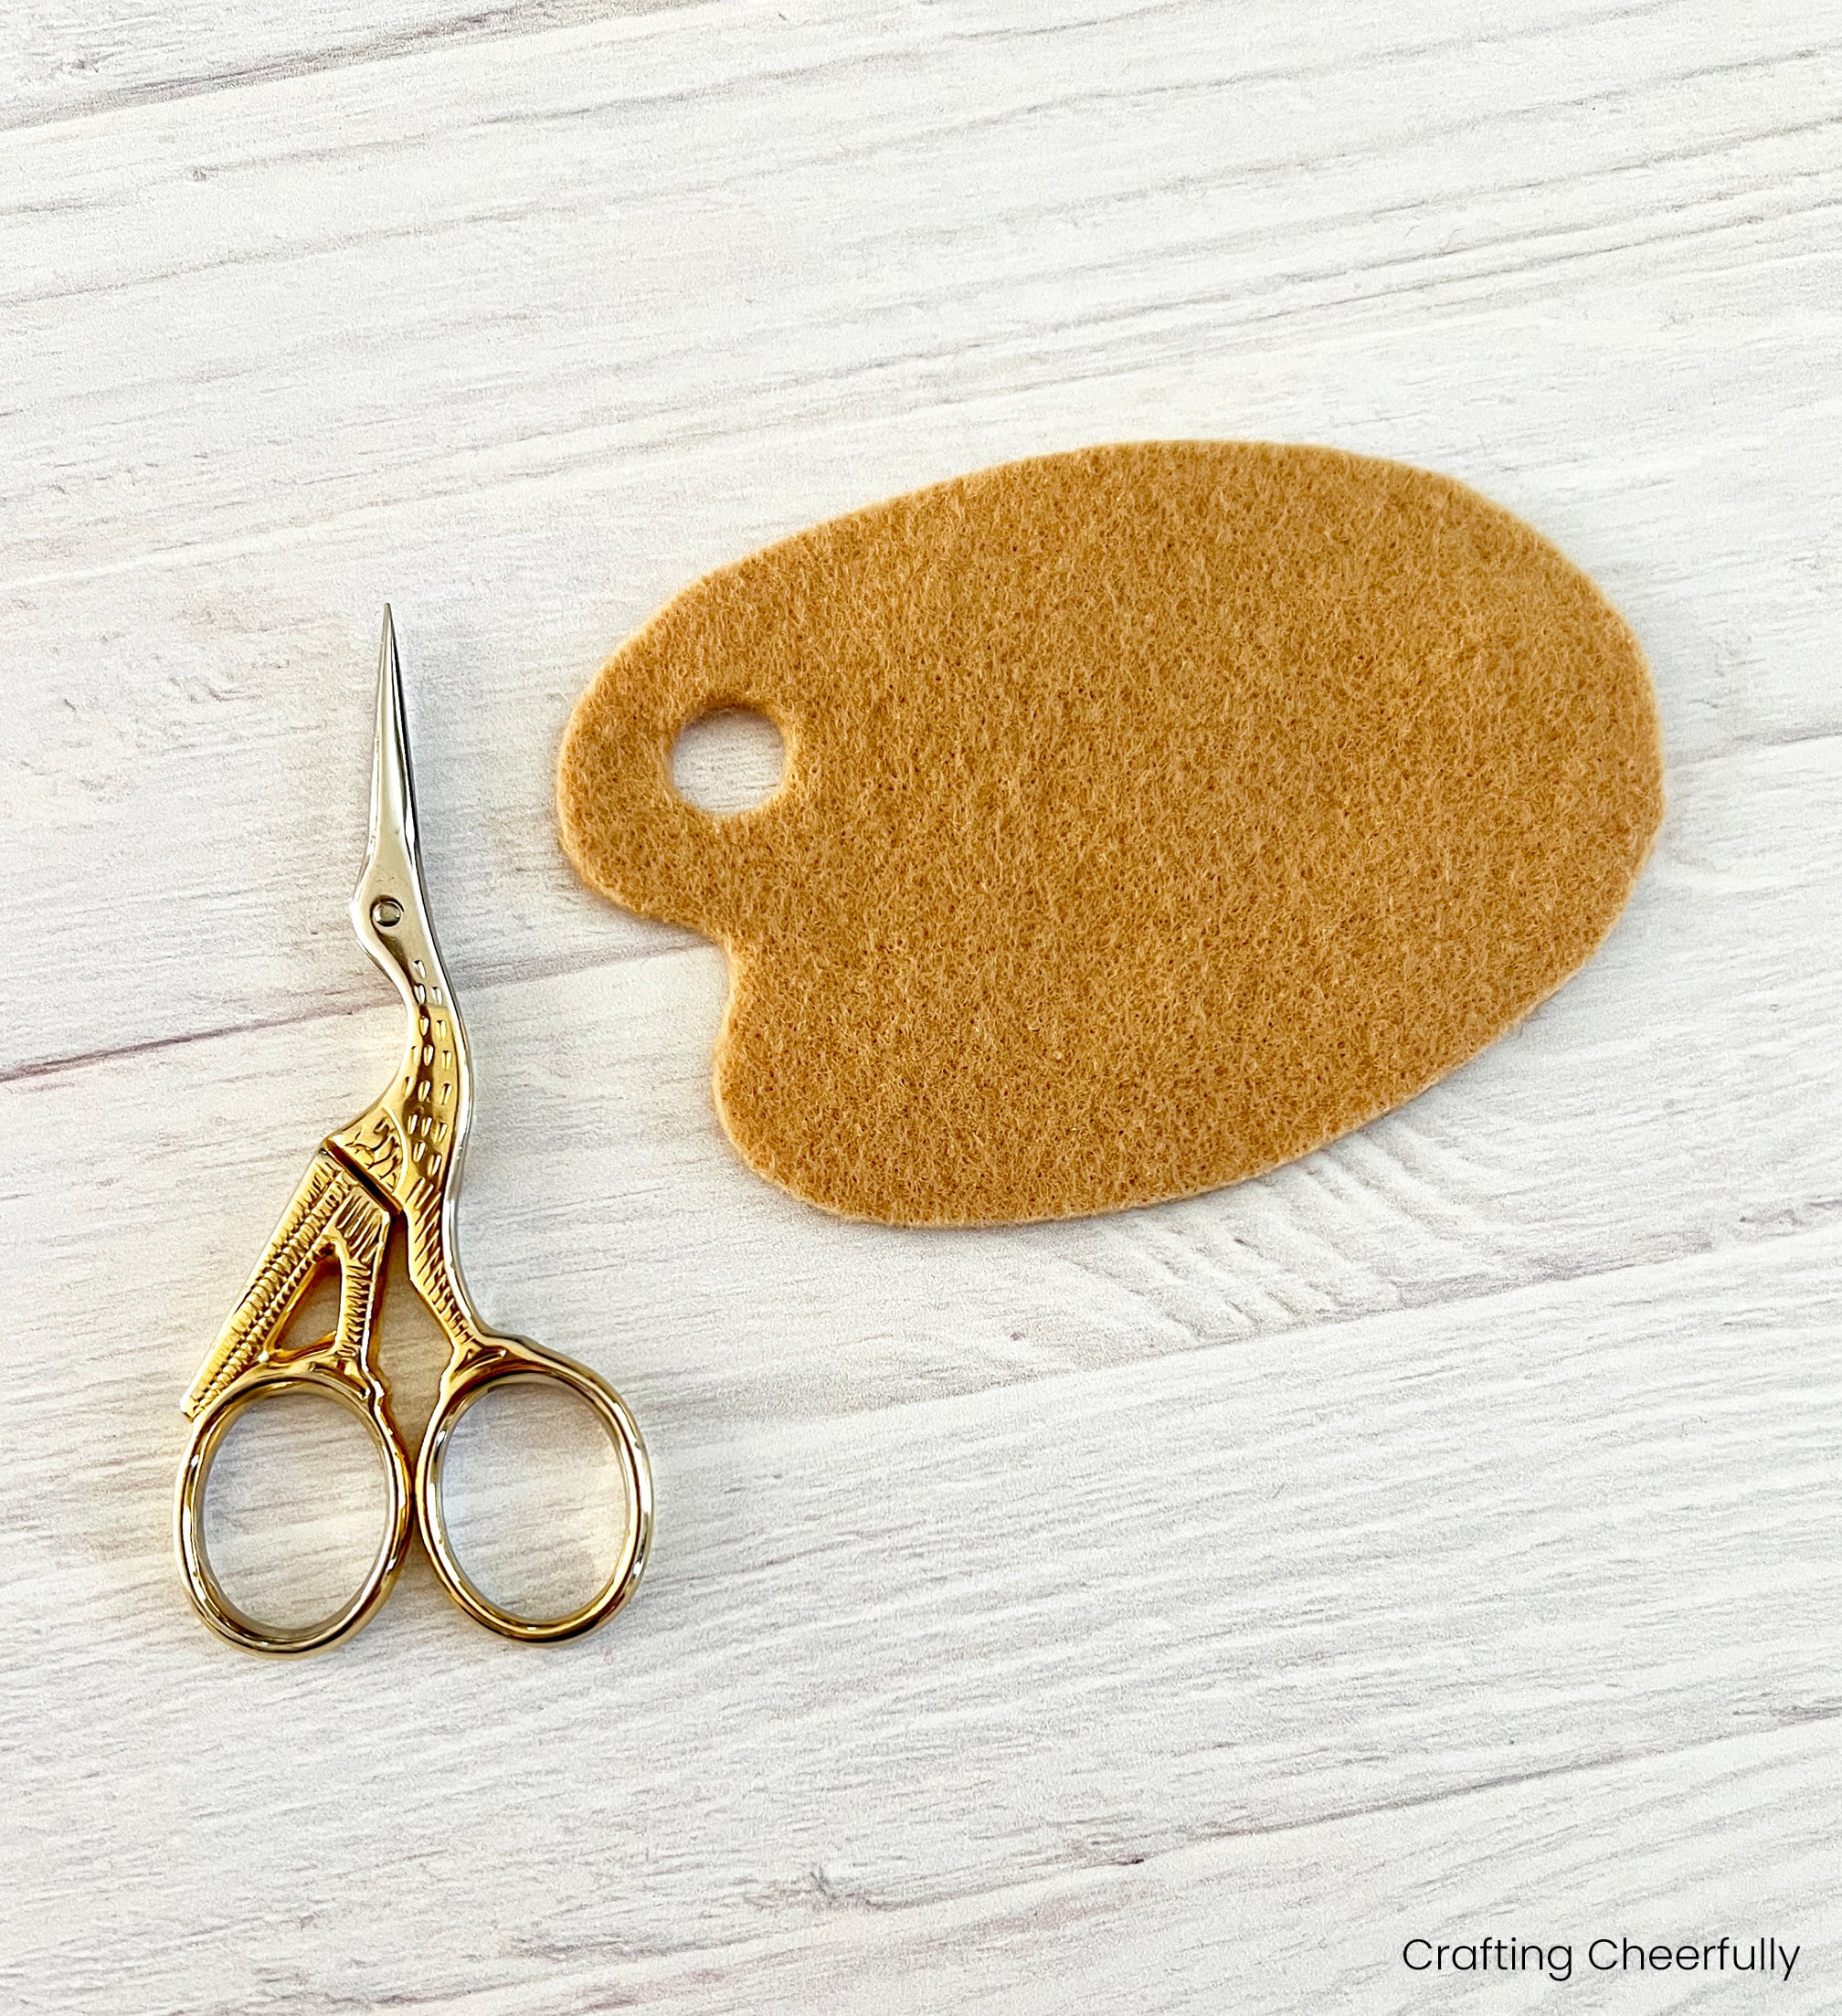
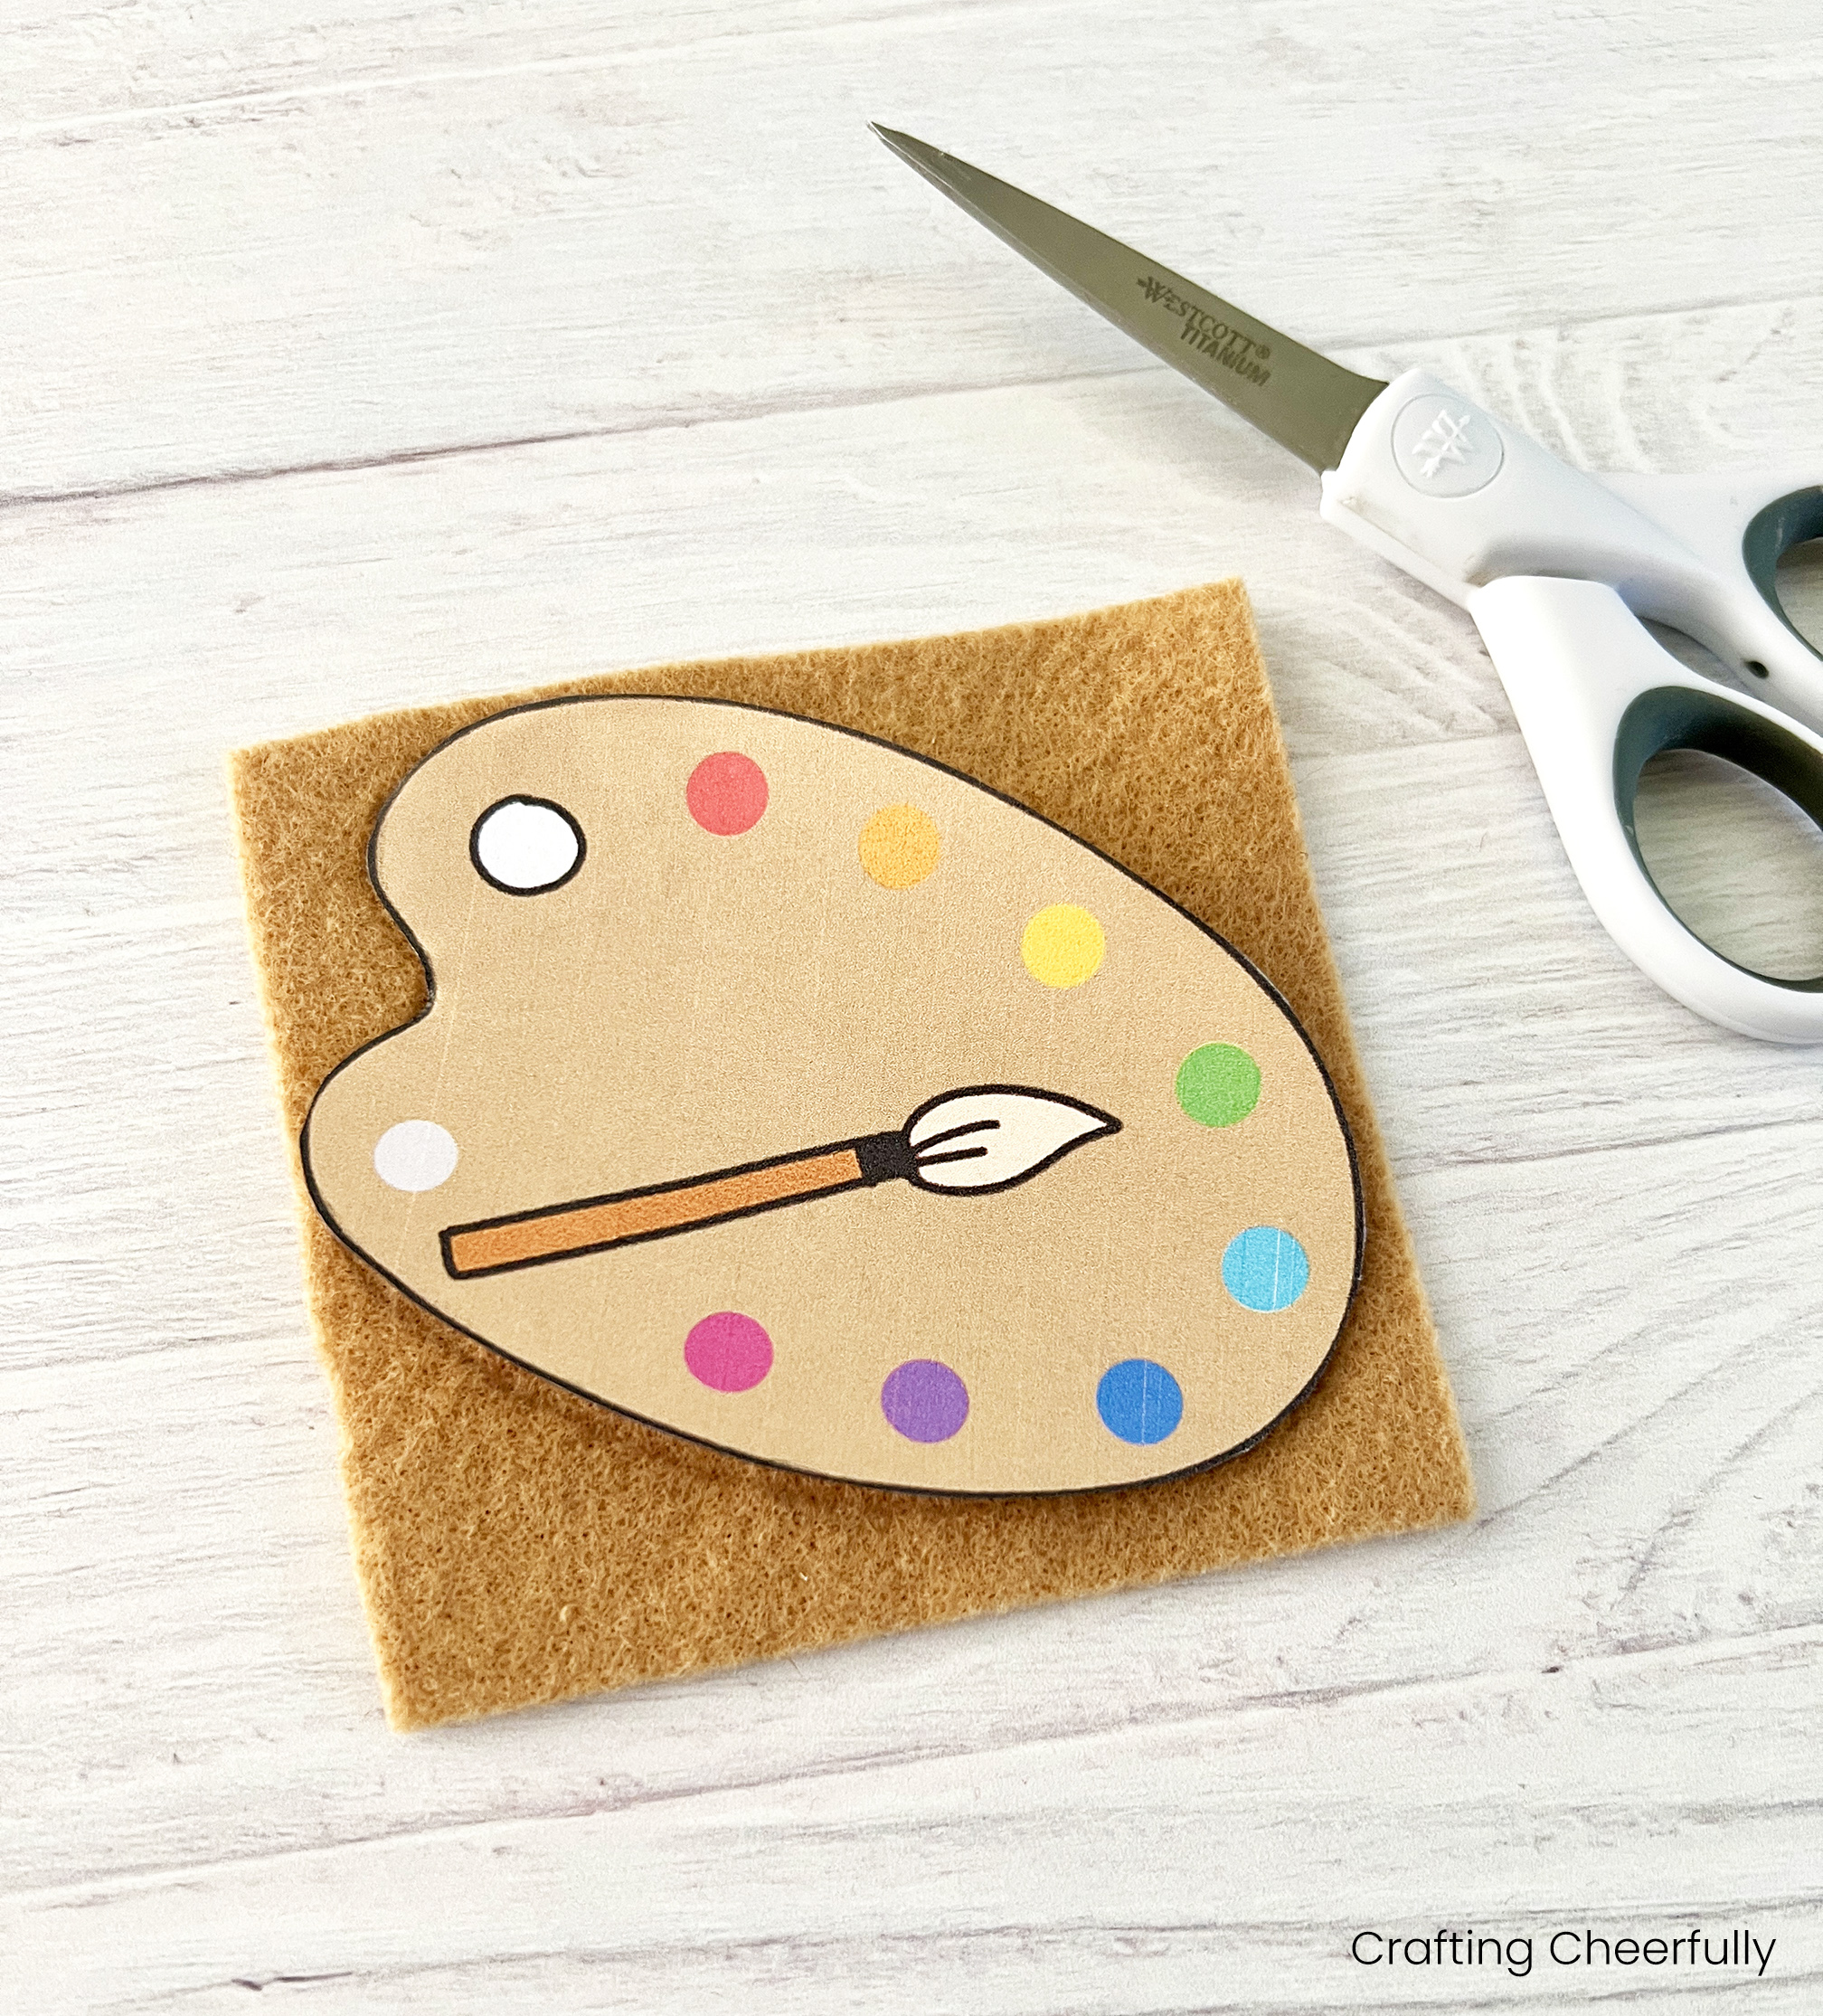
Step One: Download and print the free paint palette template. Place it upside-down on a piece of tan felt and trace the pattern piece with pencil. Next, cut it out.
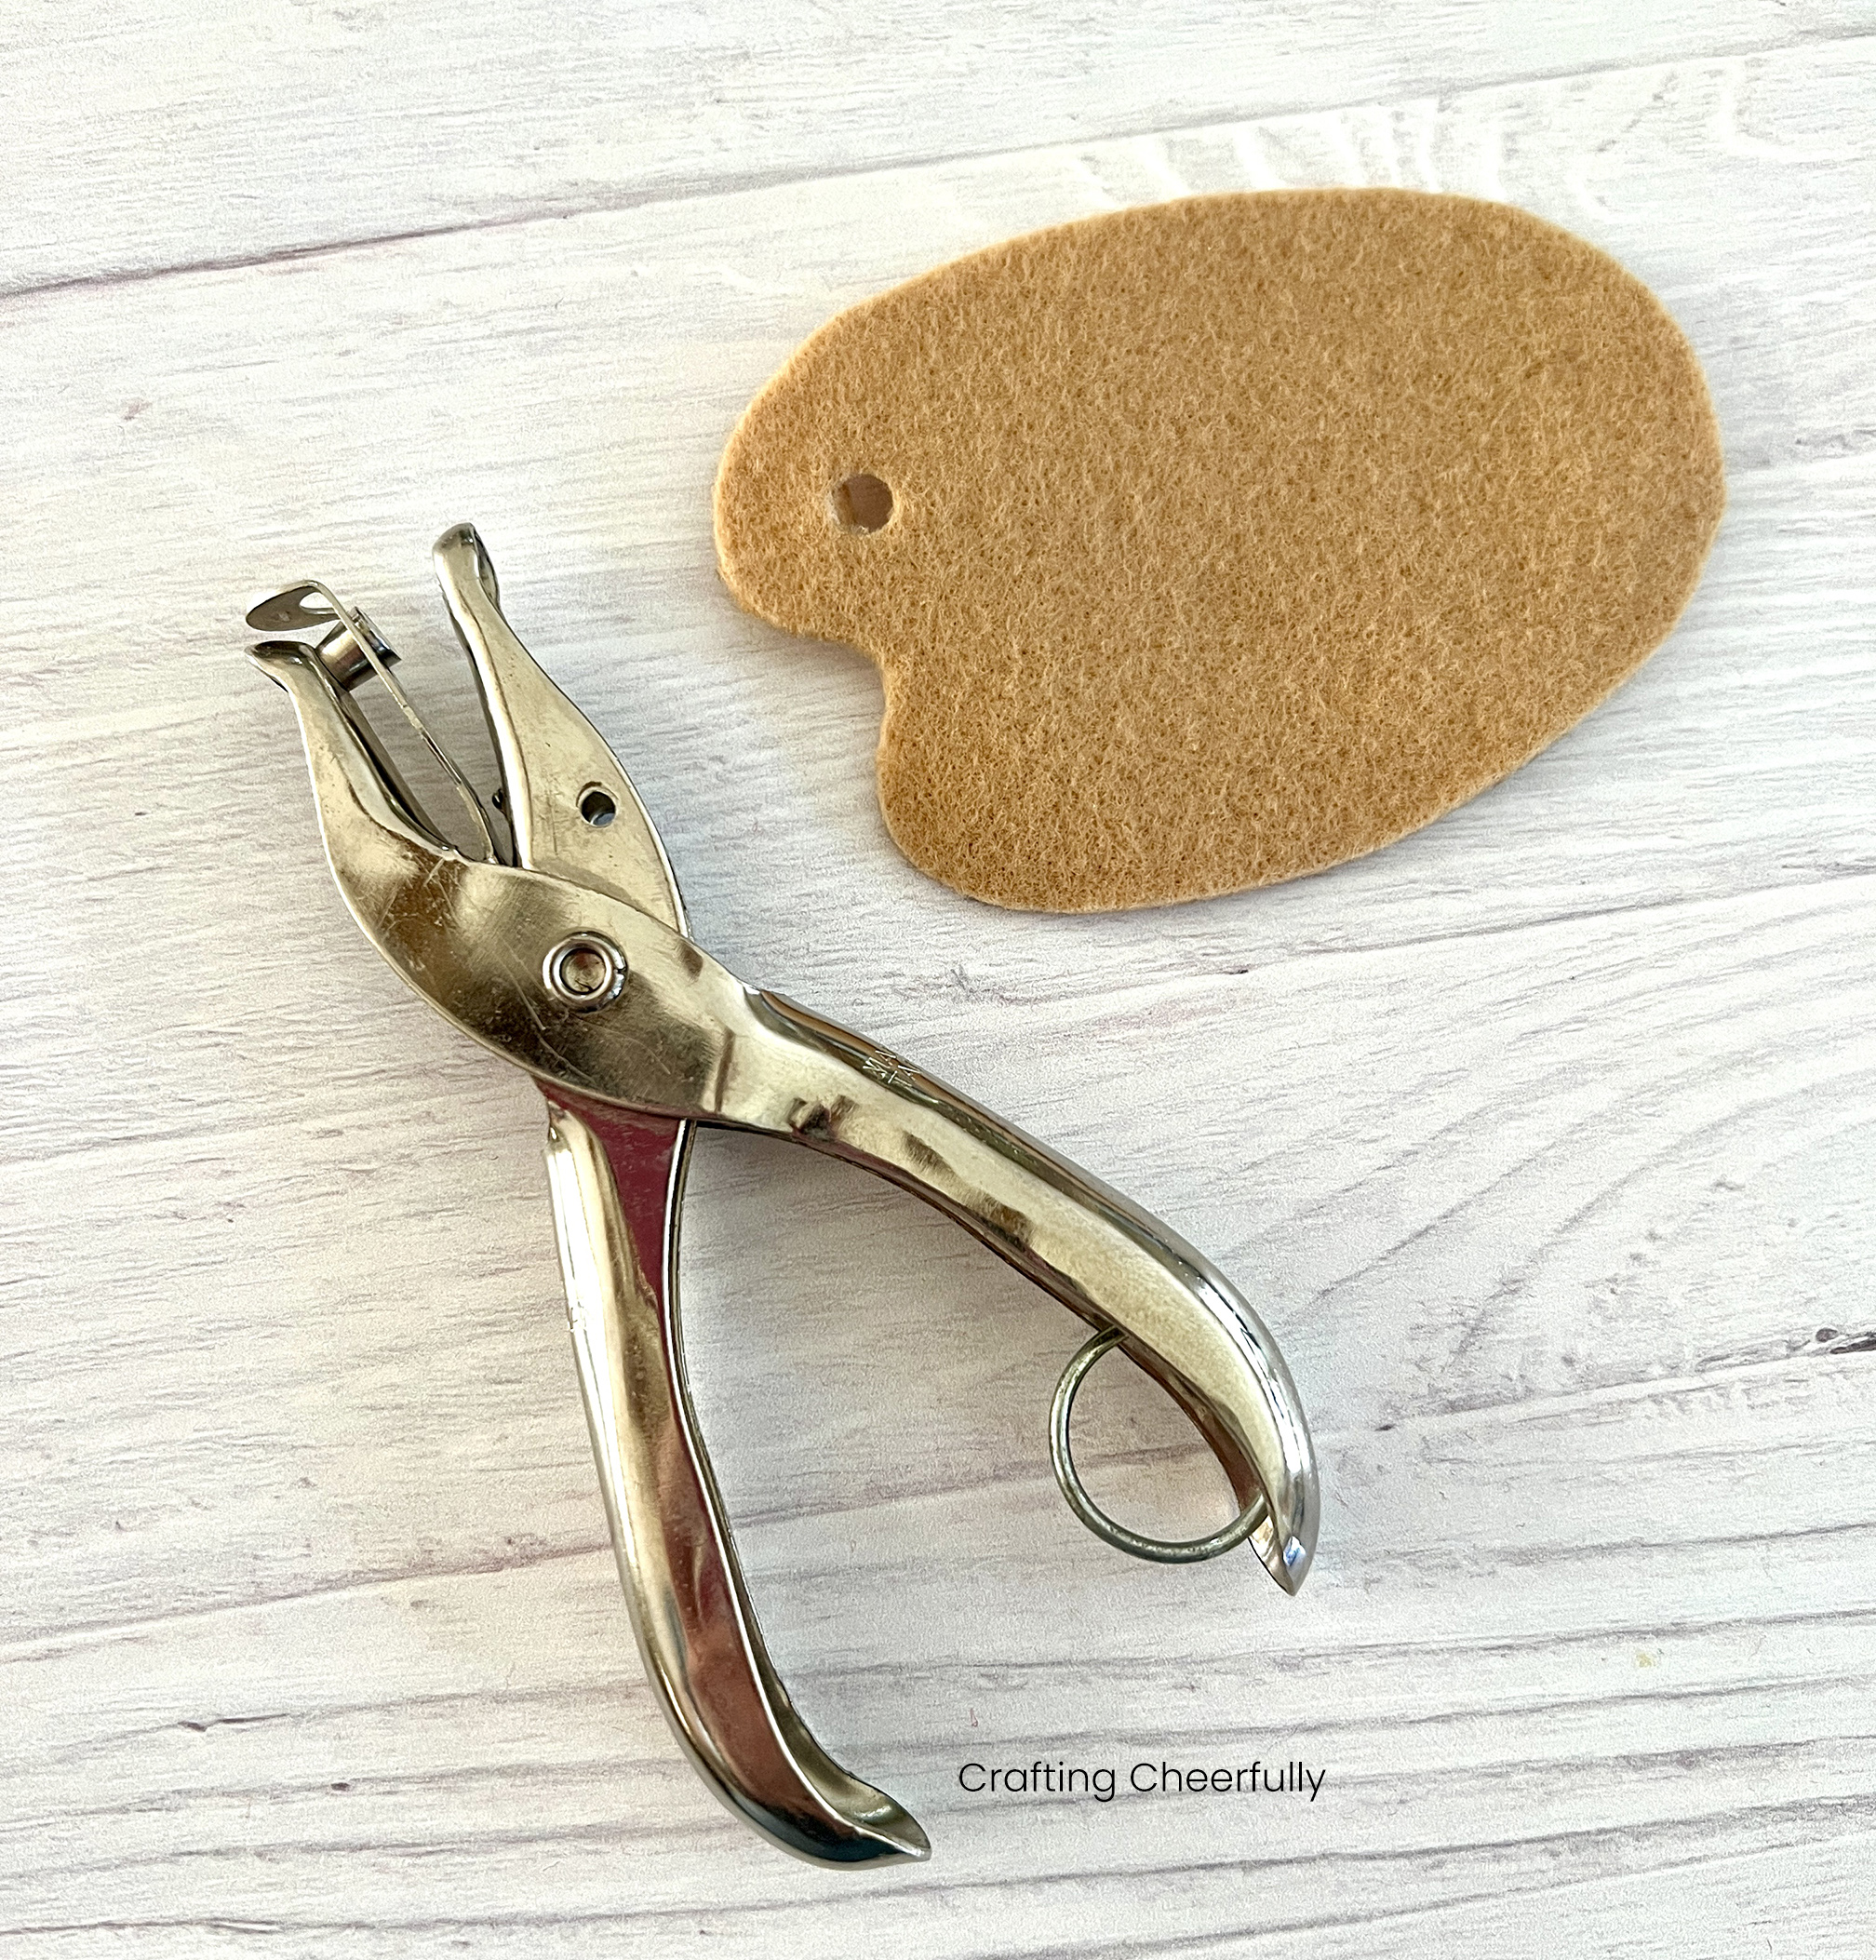
Use a hole punch to help cut out the circle for the handle on the palette. Once you punch the hole, use a small embroidery scissors to make the hole slightly larger.
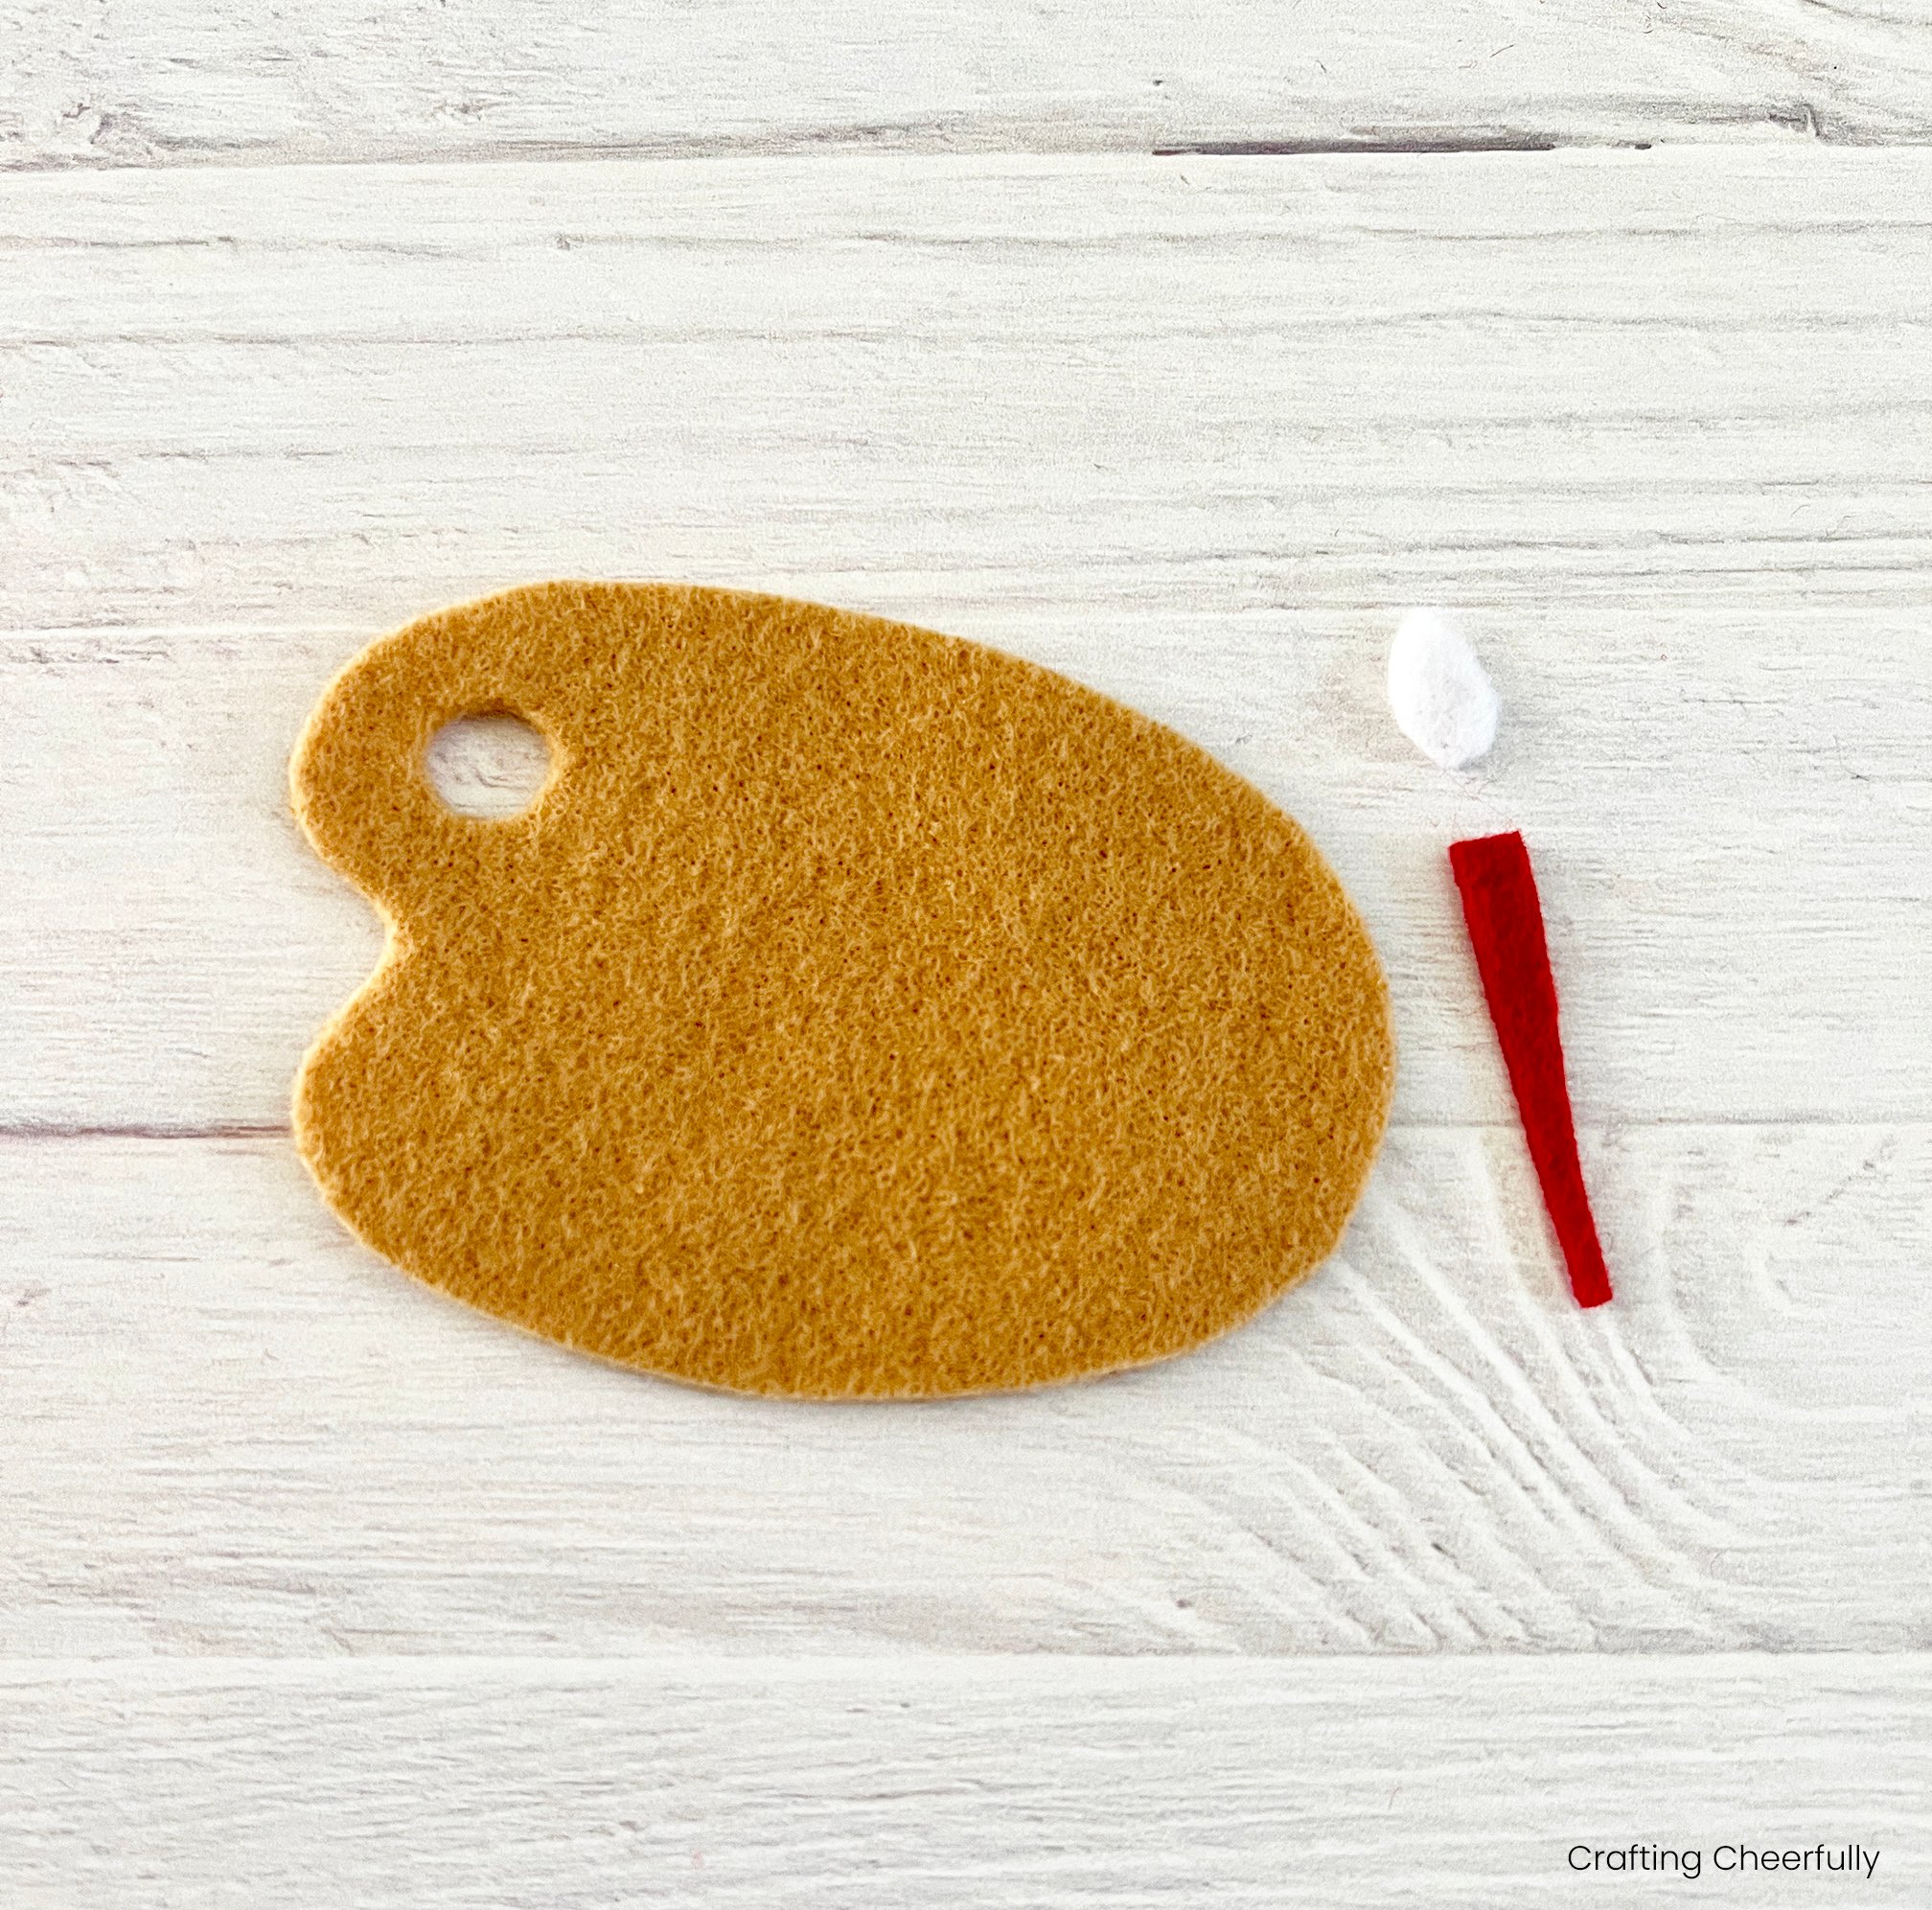
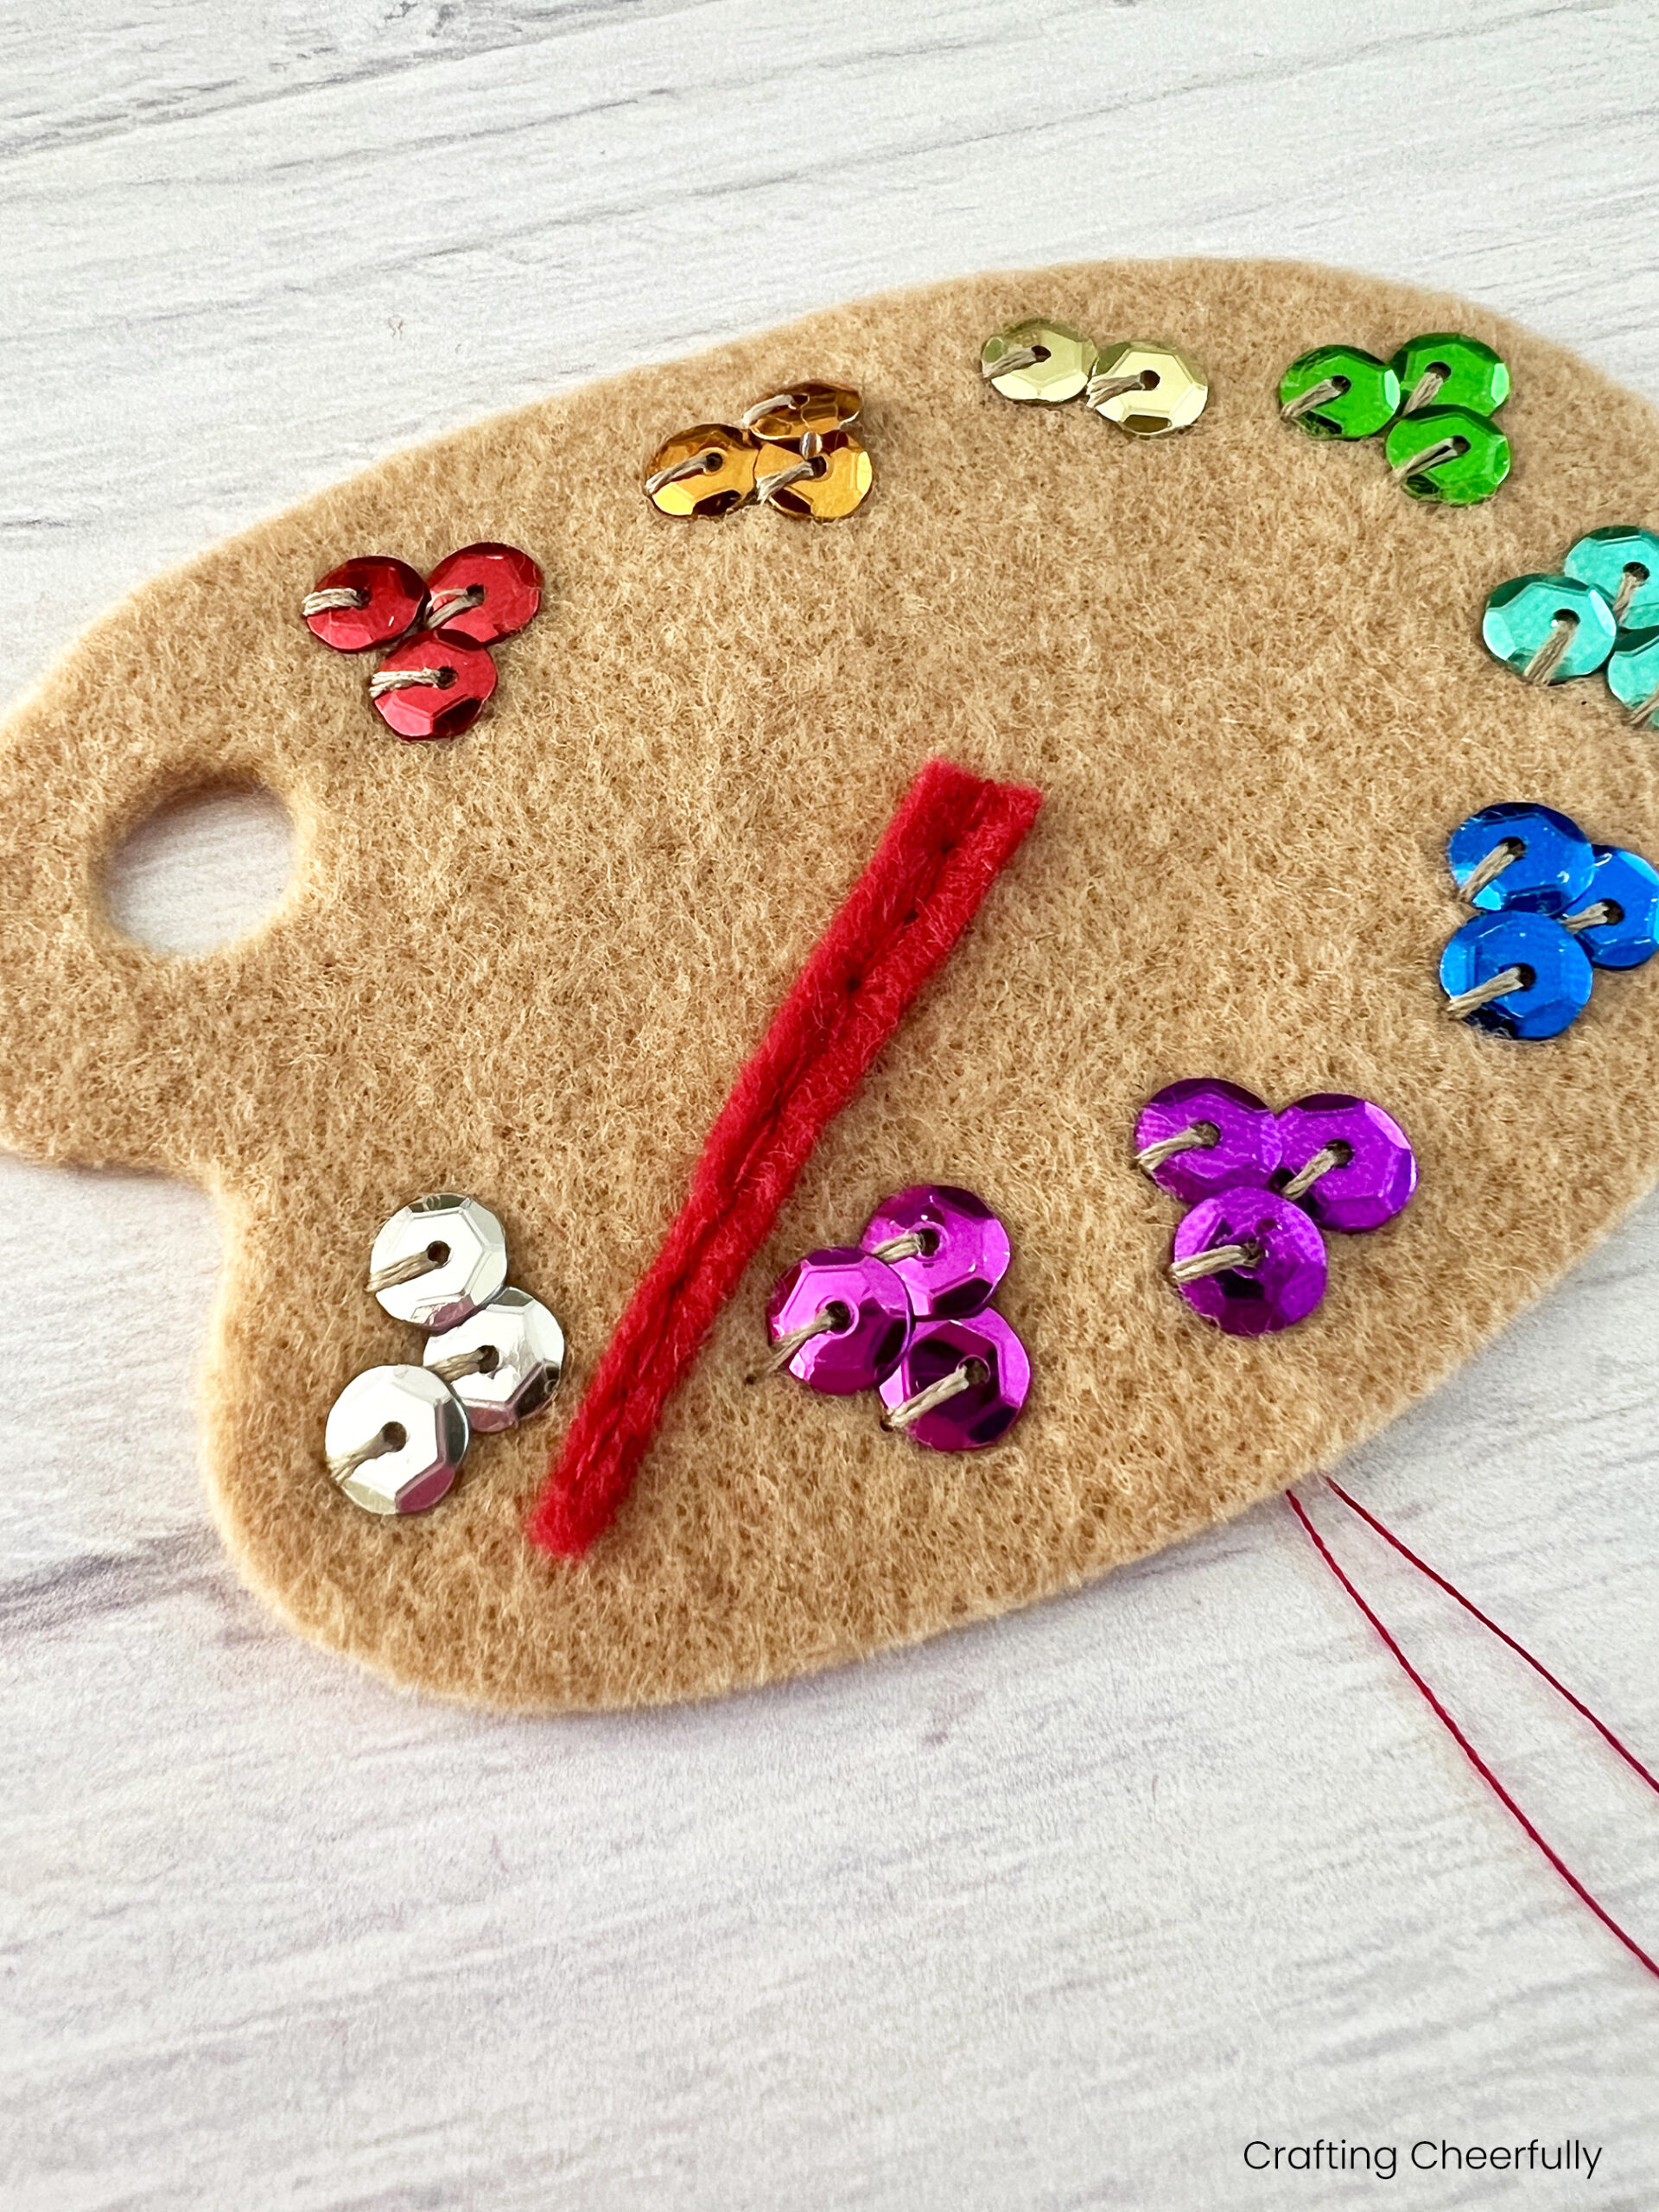
Cut a thin piece of red felt for the paintbrush handle and a teardrop shape of white felt for the brush.
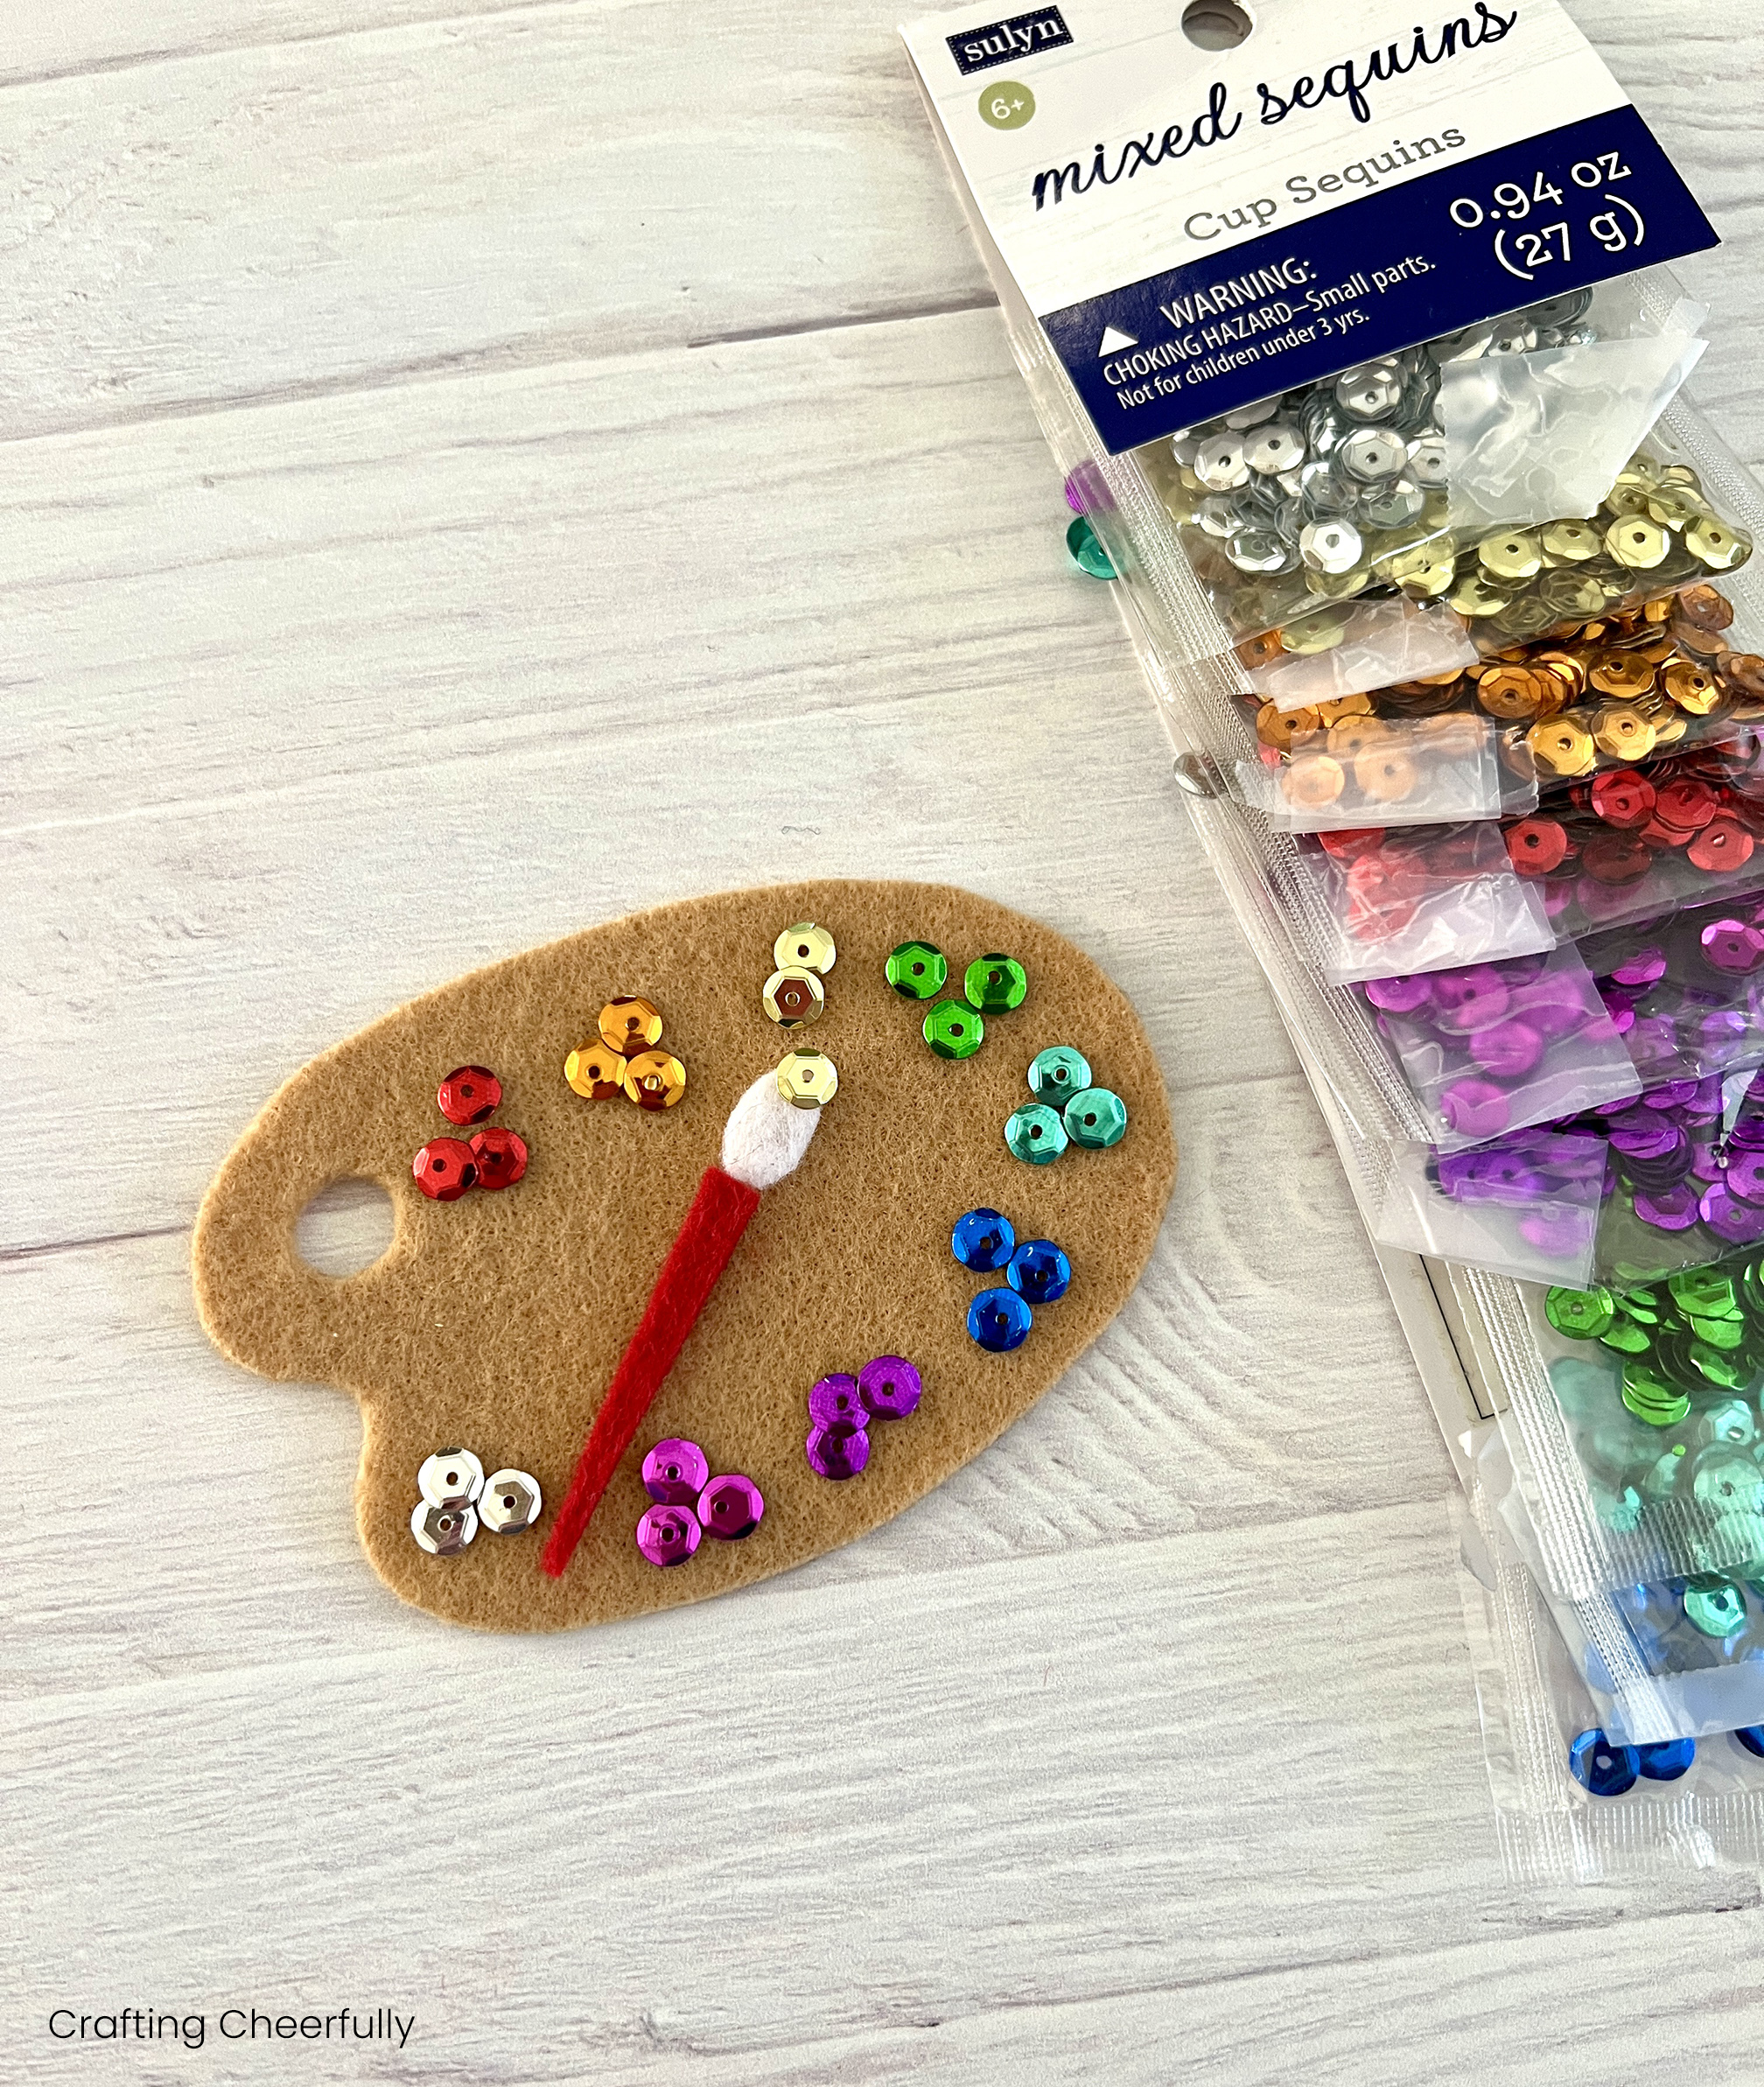
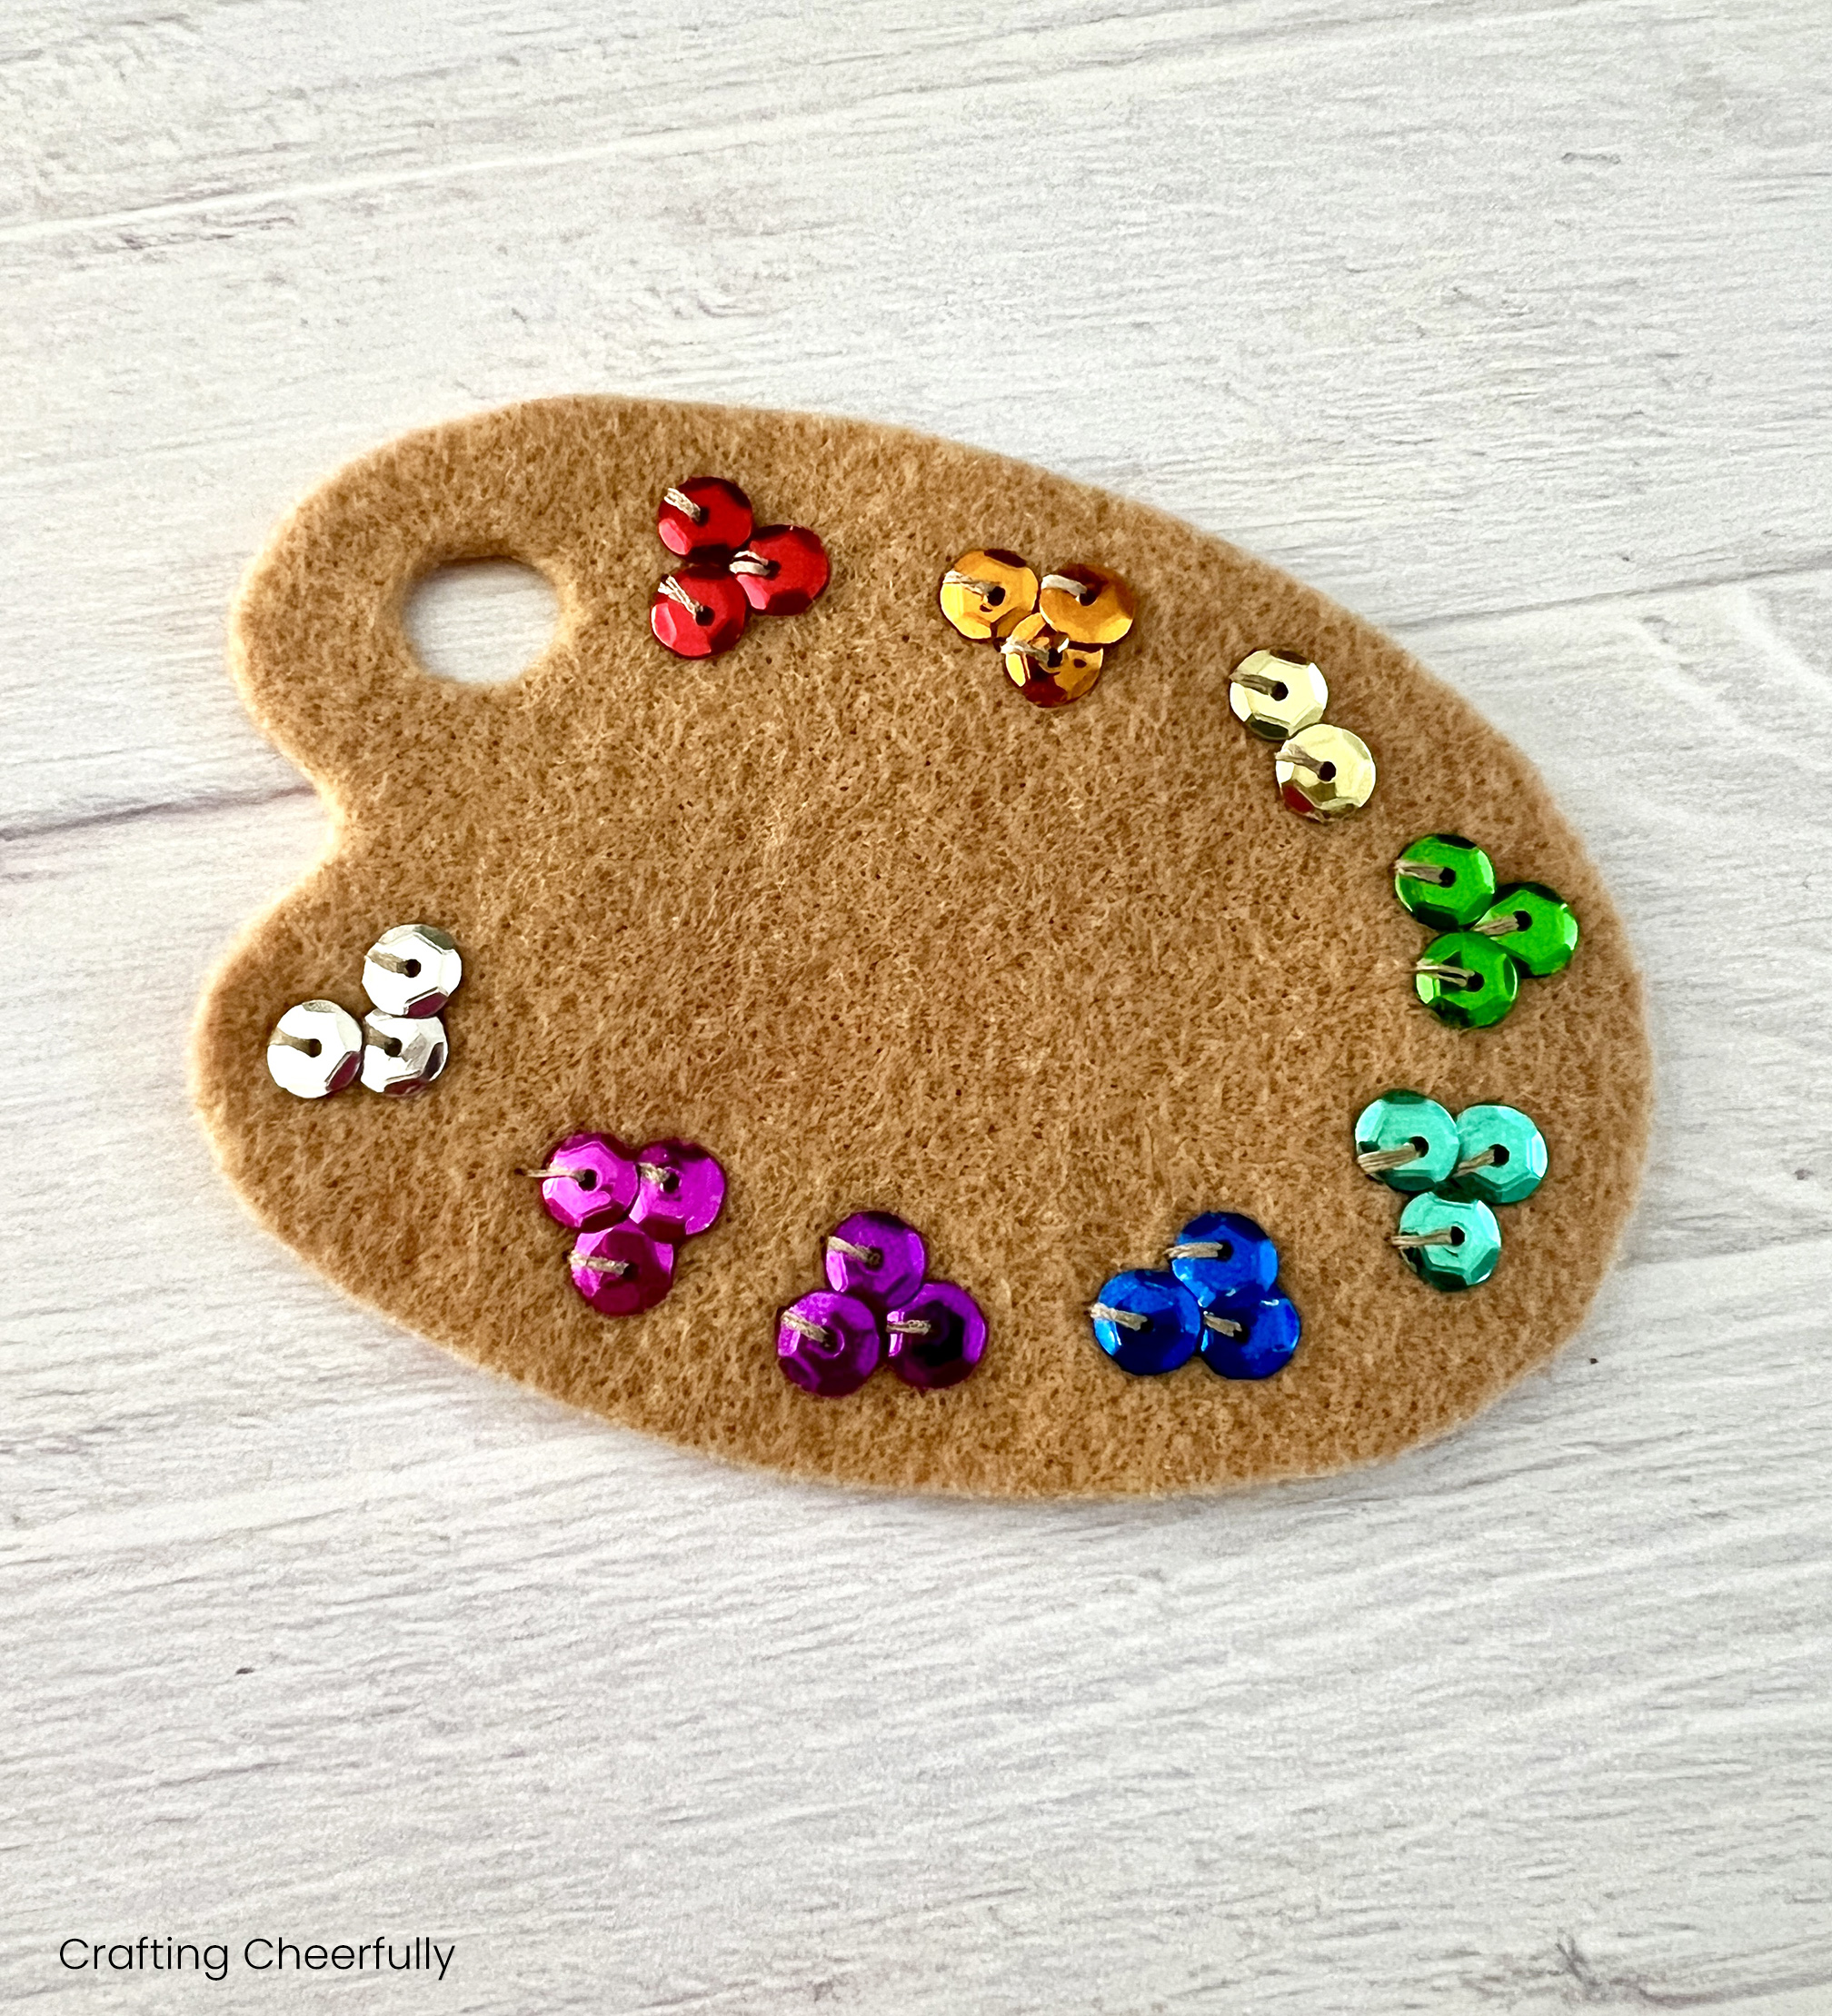
Step Two: Arrange colorful sequins on the felt paint palette in clusters following the pattern piece. Use a pencil to mark a dot on the felt where each color should go. Use three sequins for each paint color except for the yellow sequins where you can use just two. Position the third yellow sequin on the felt paintbrush.
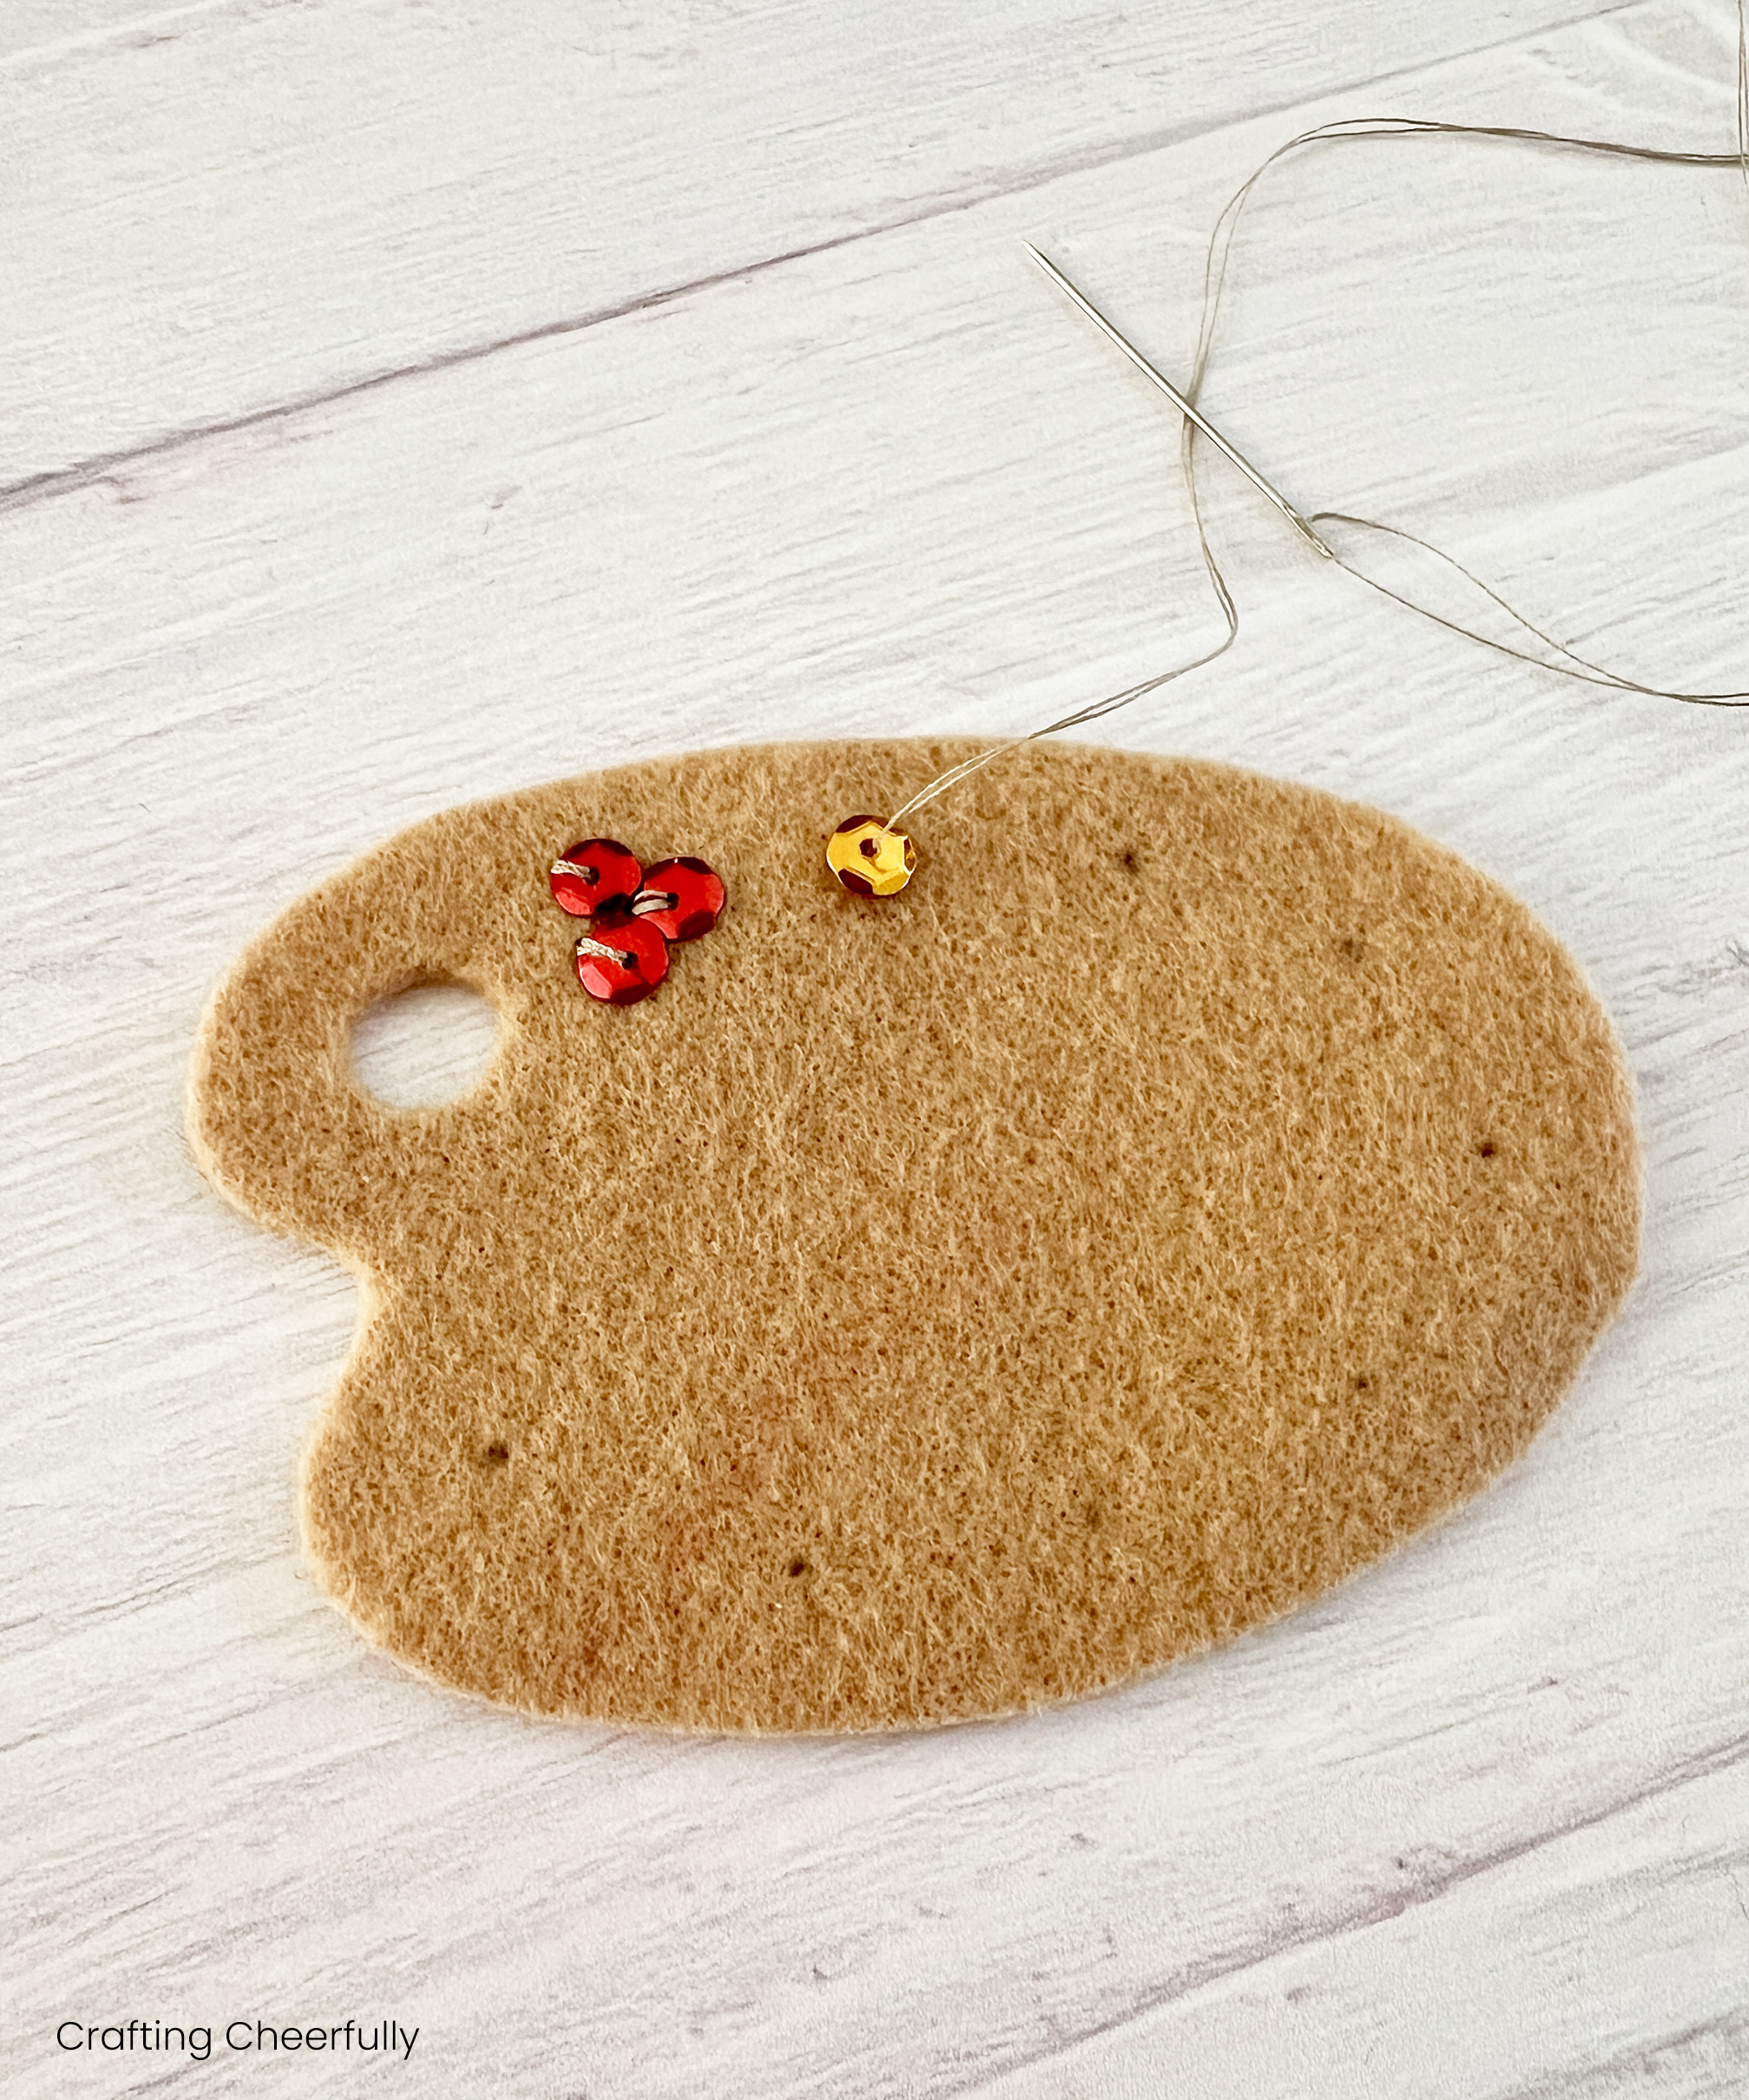
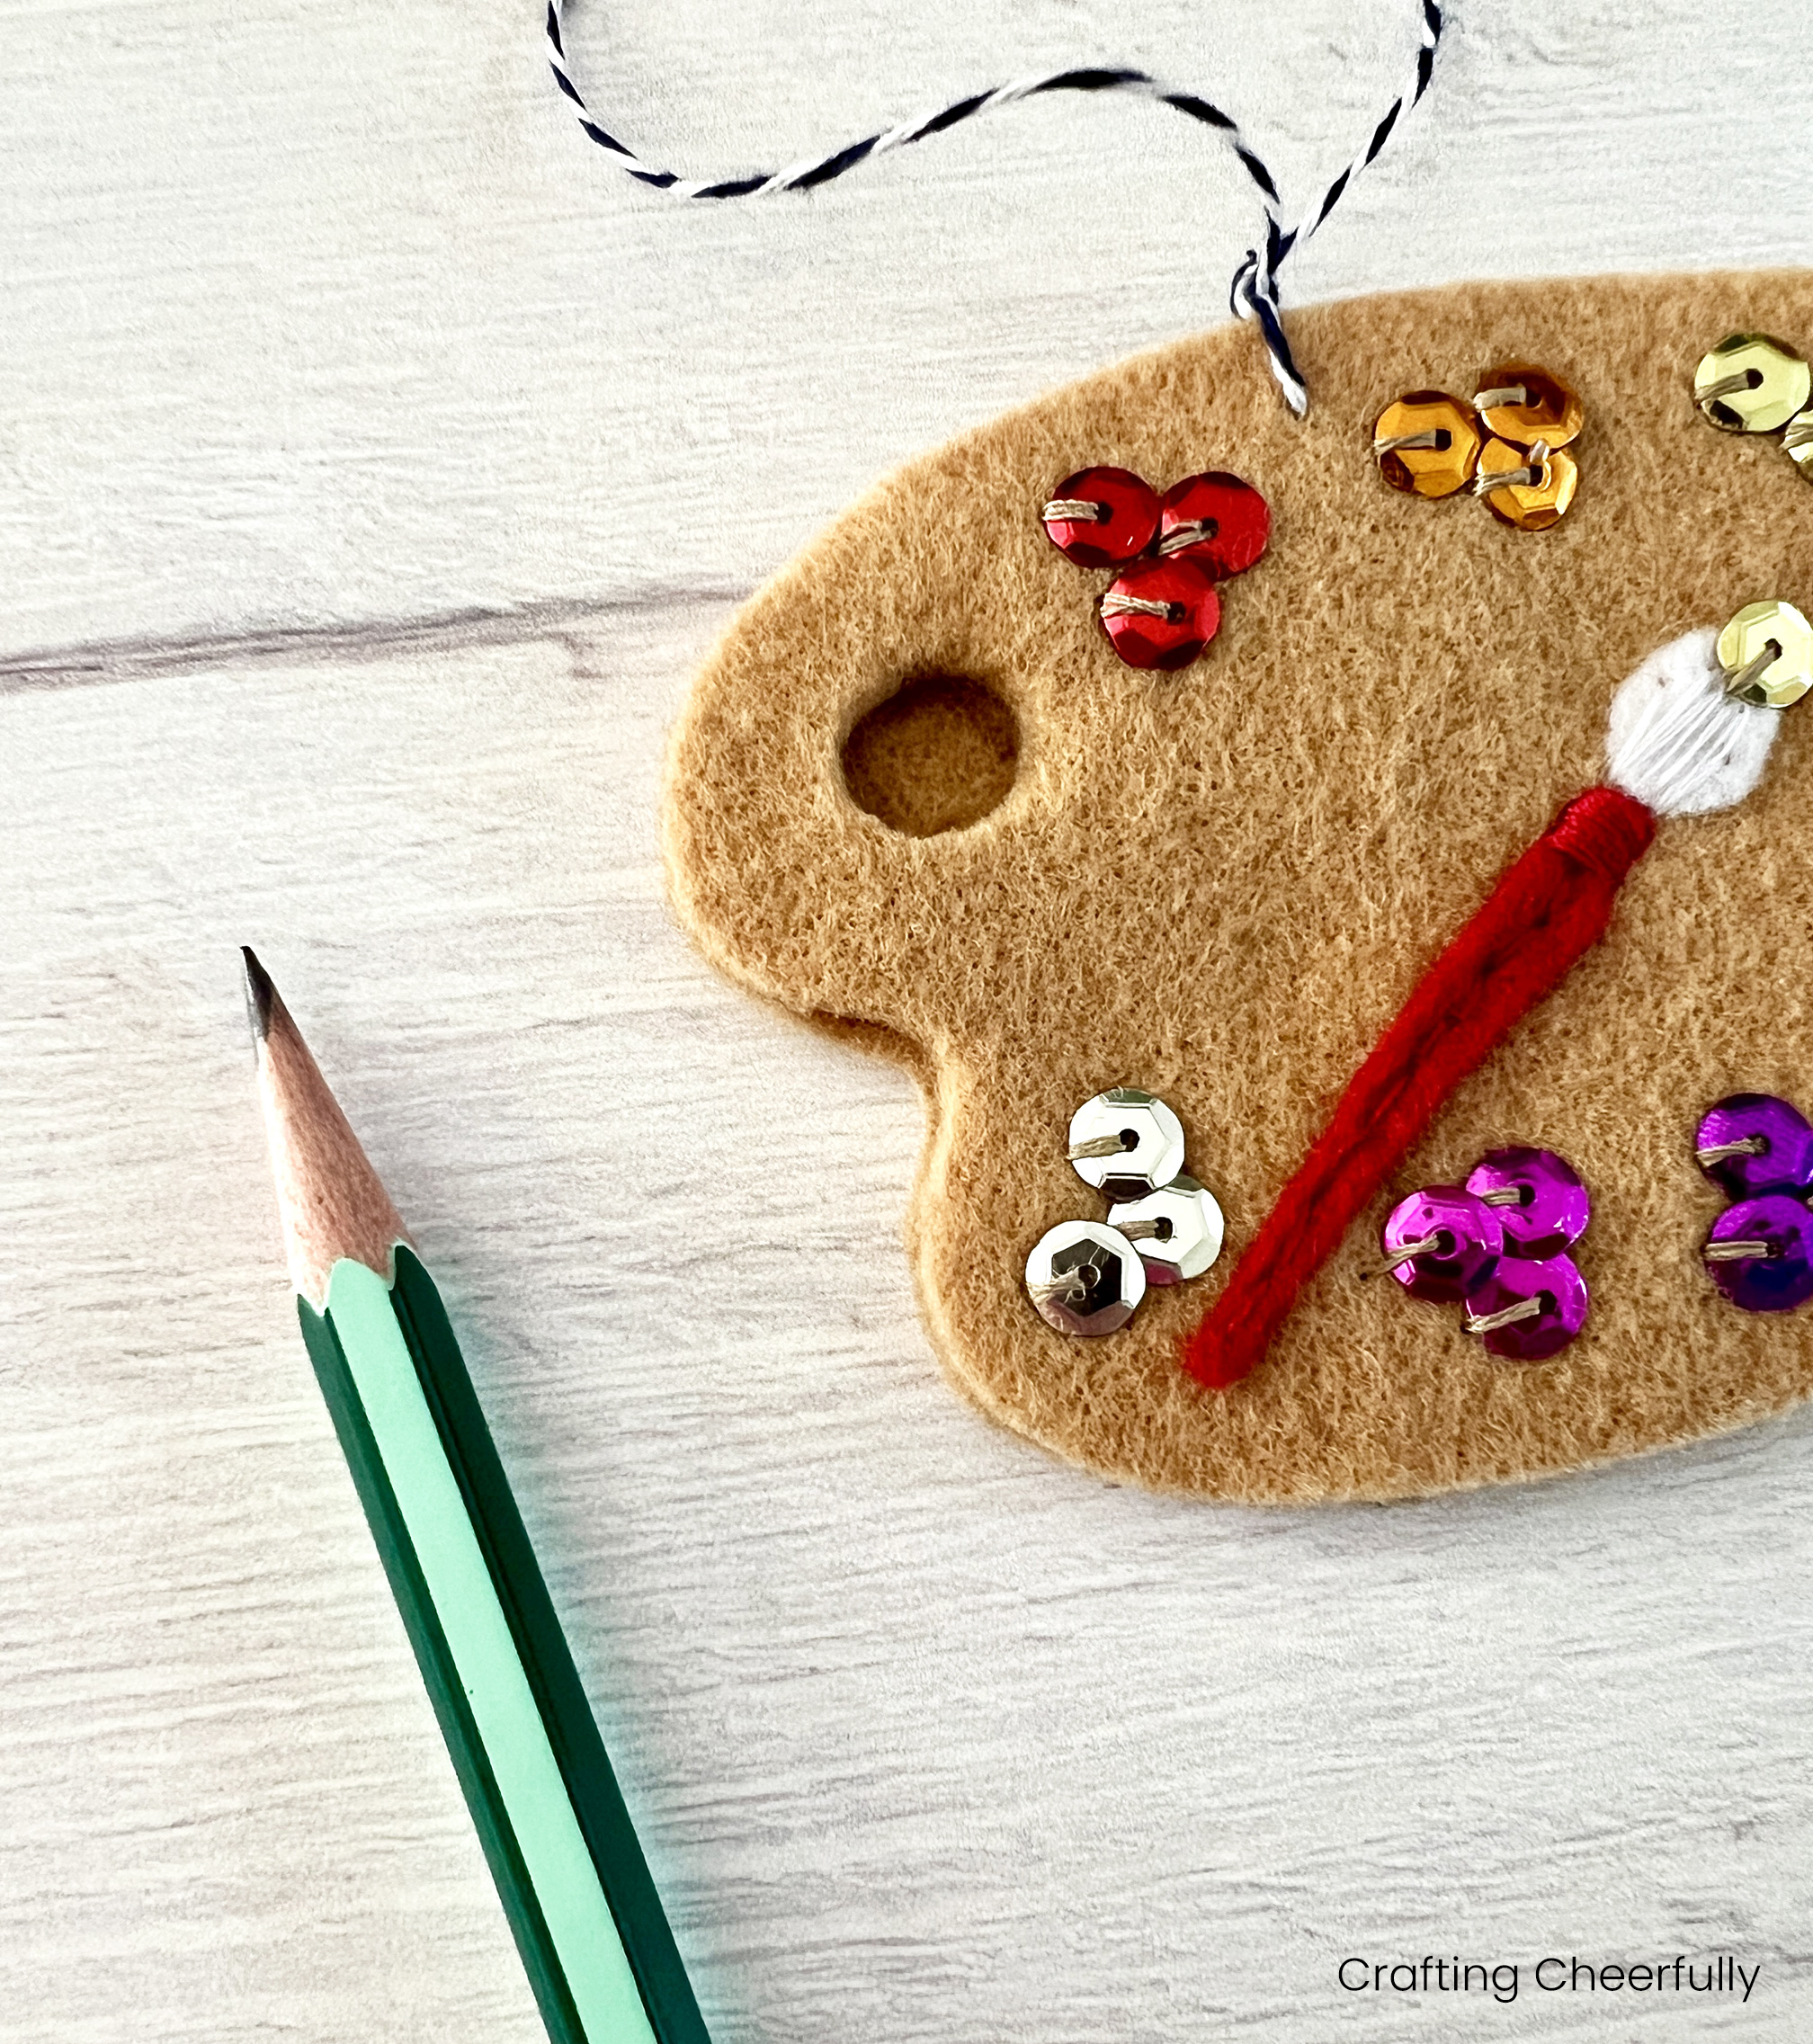
Stitch the sequins in place with tan thread and a small whip stitch. I tried to keep my stitches going in the same direction for each sequin.
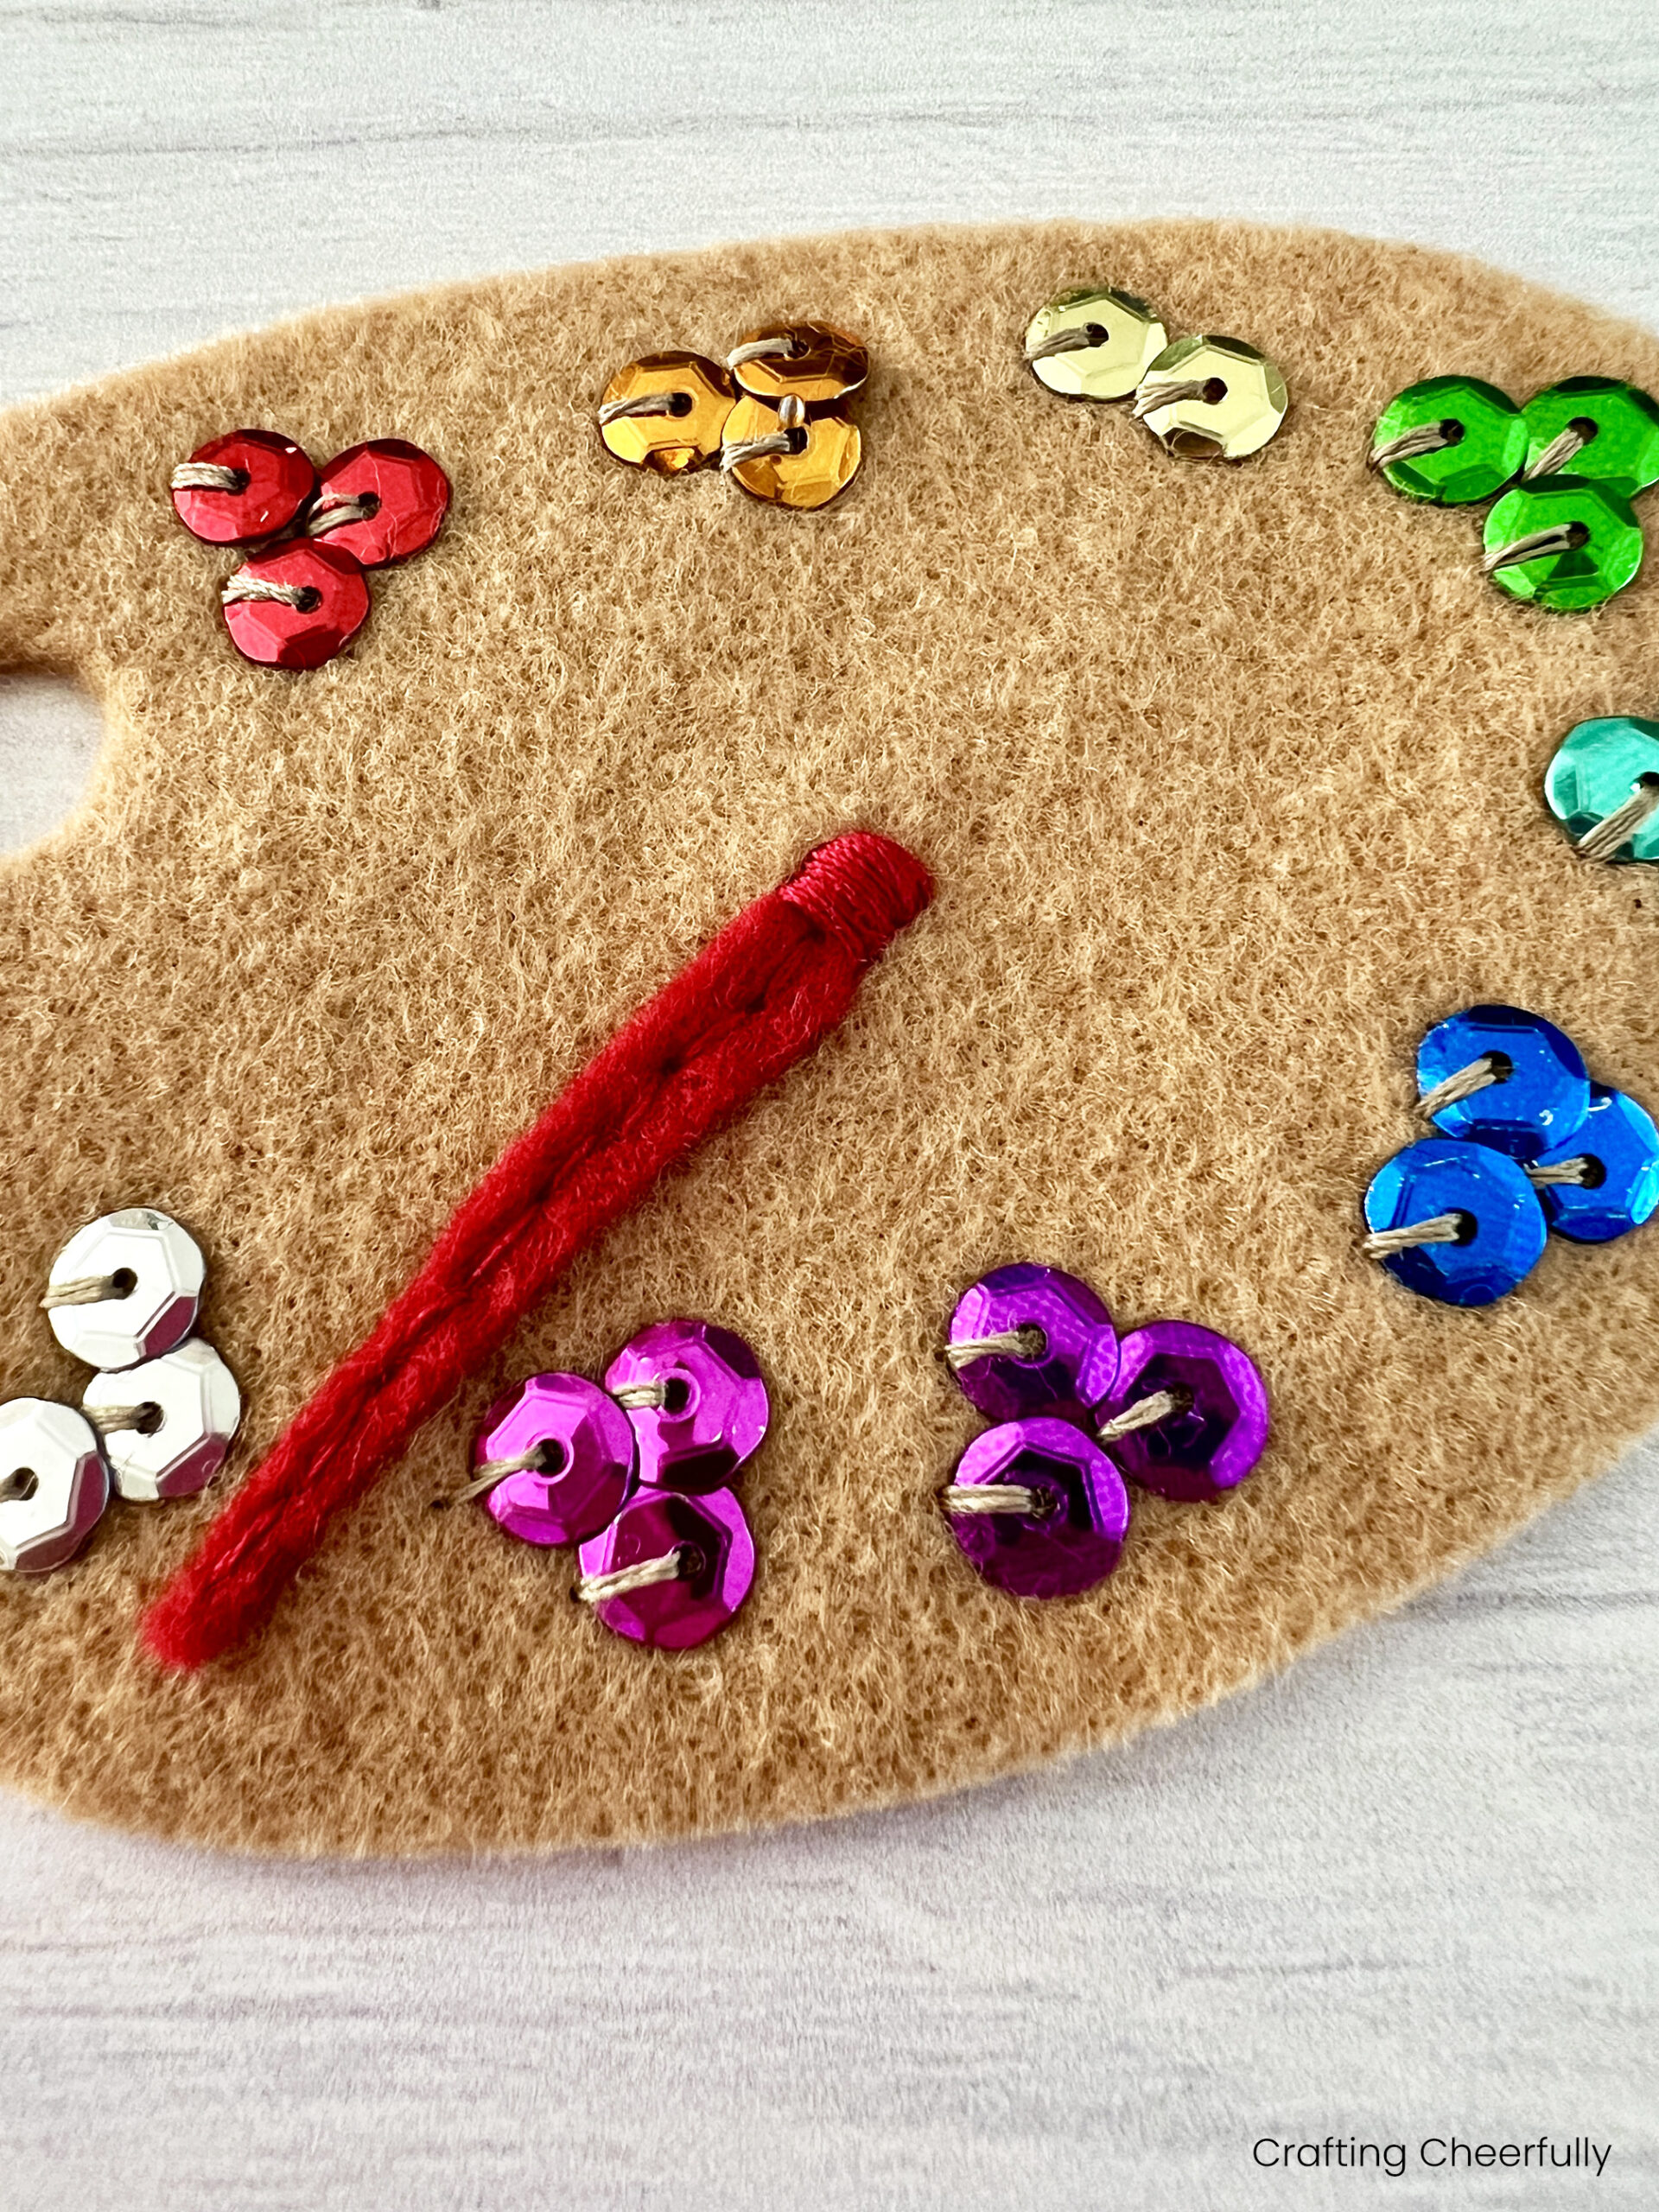
Step Three: Next use red thread and a small backstitch to attach the red handle of the paintbrush to the palette.
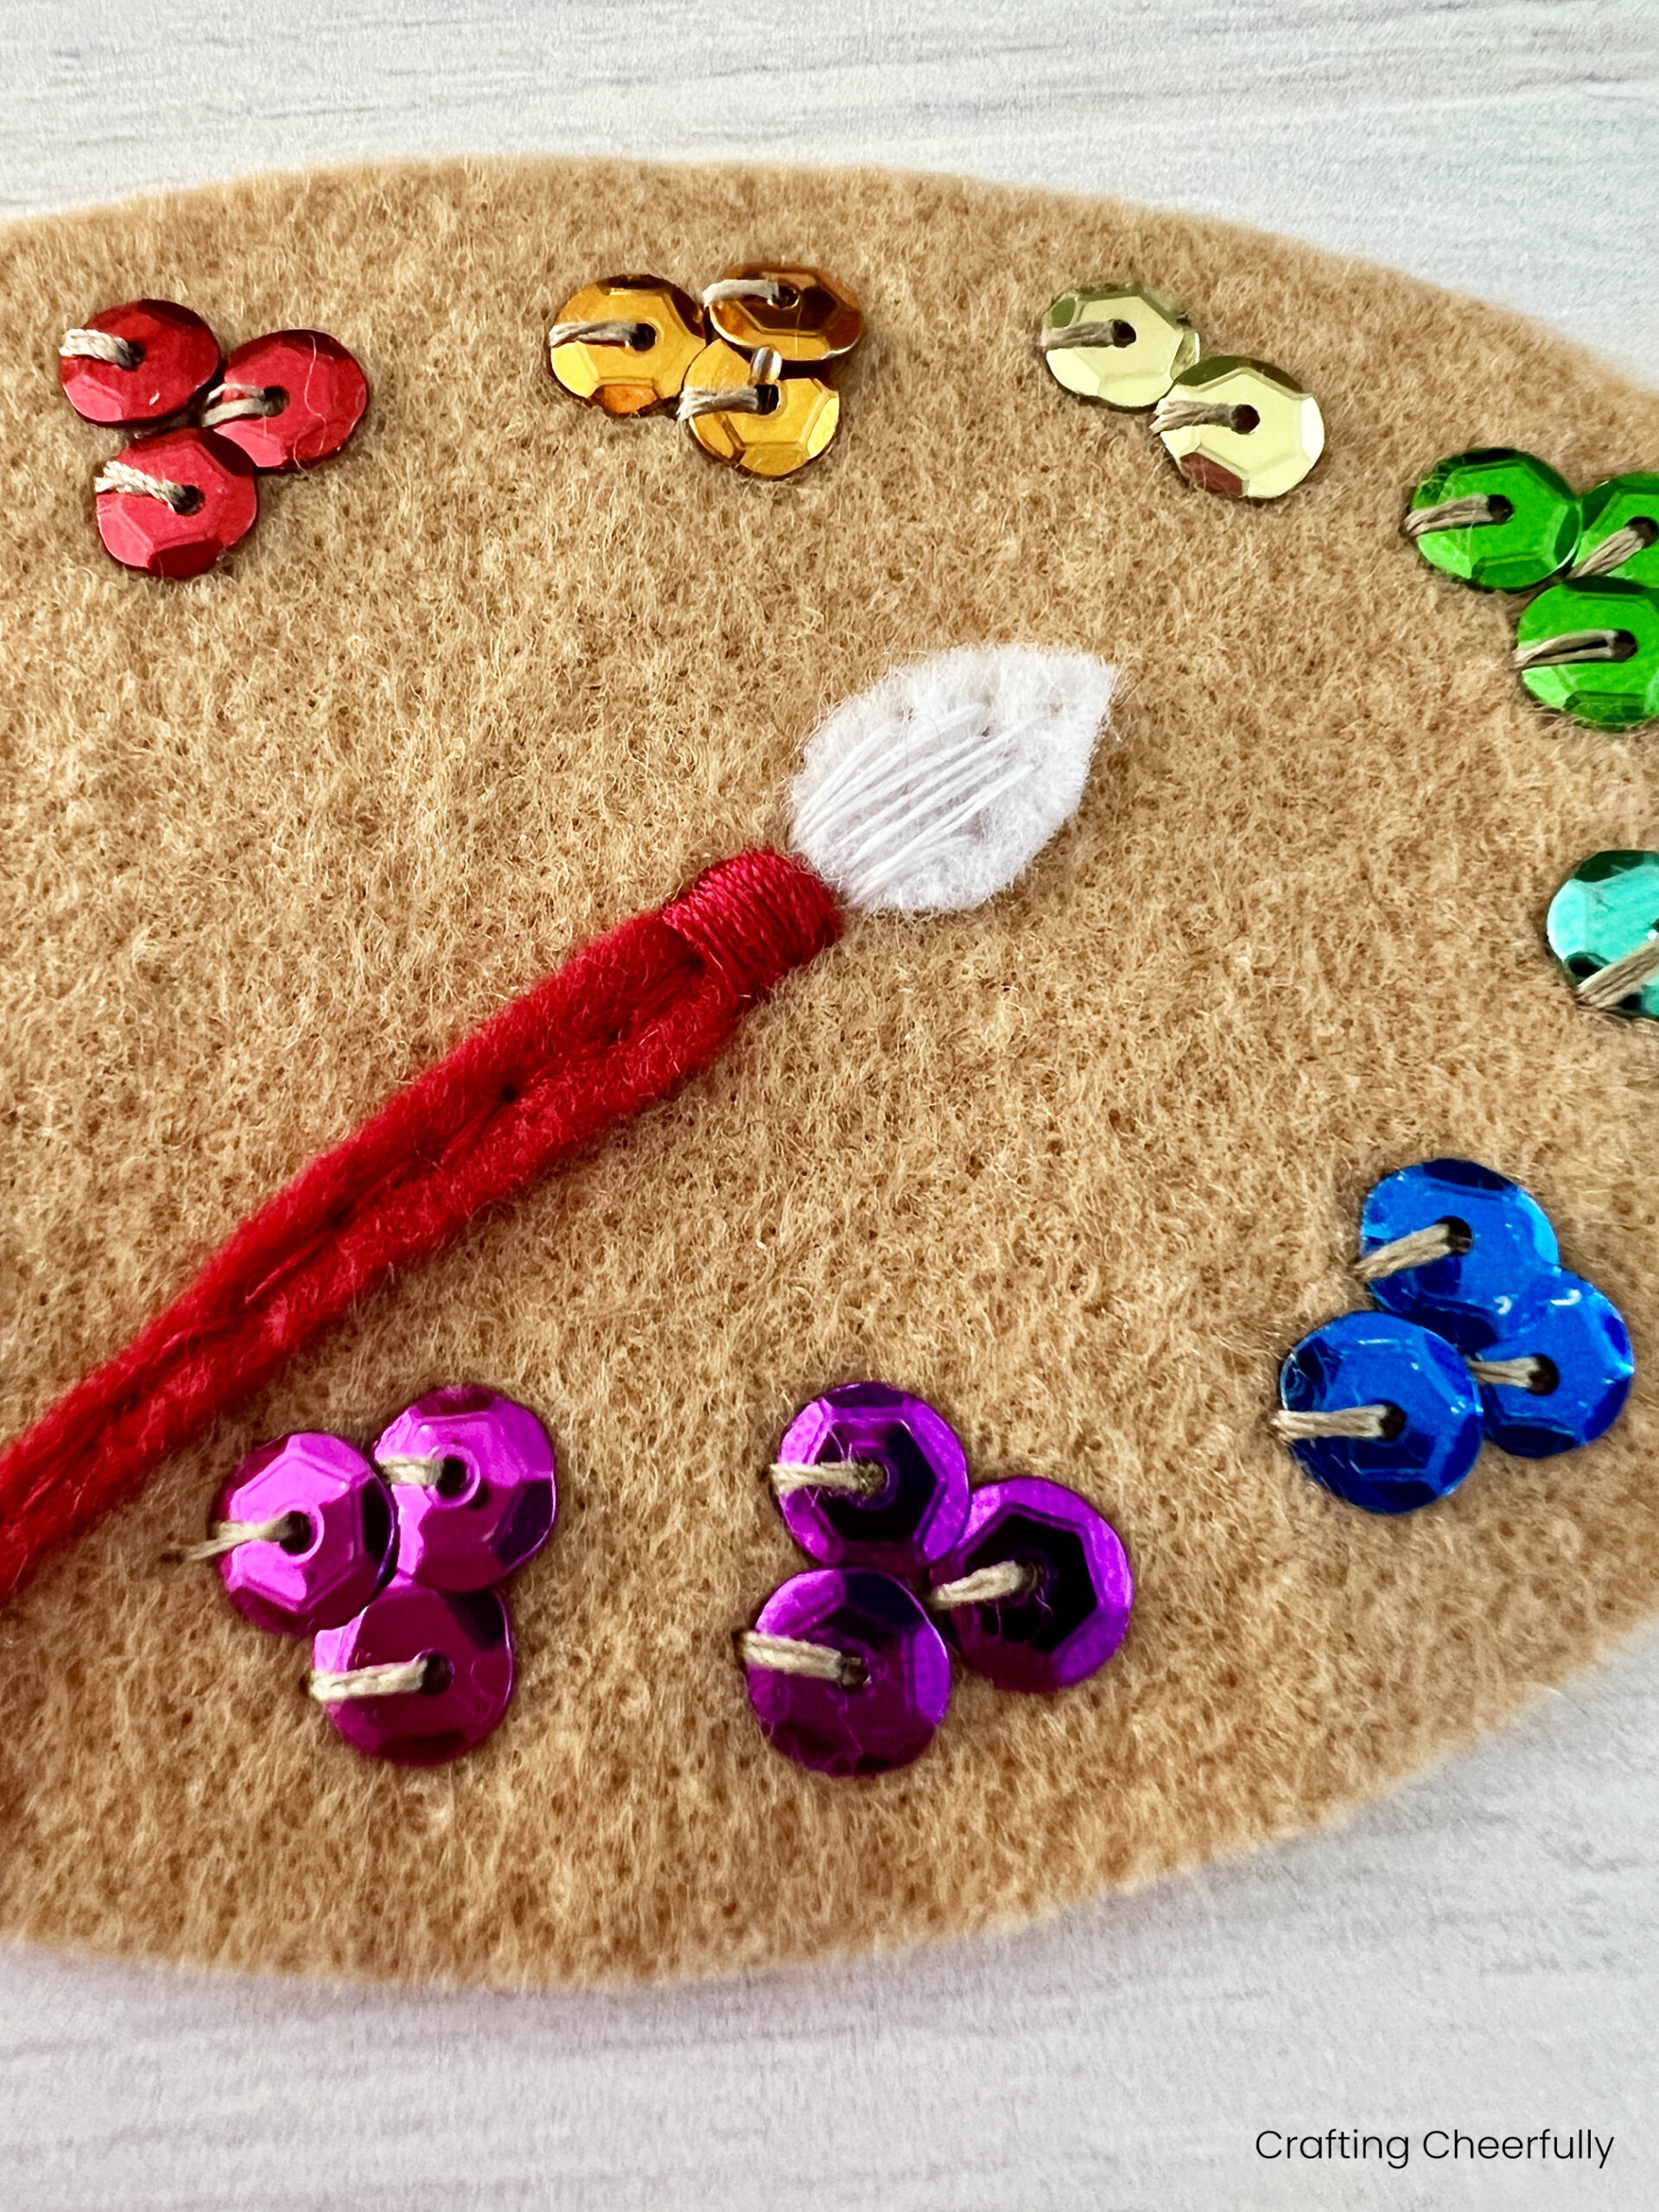
Wrap the top of the felt paintbrush with red thread.
Attach the tip of the paint brush with white thread and place the third yellow sequin on the end of the brush.
Step Four: Add a hanging loop to the ornament using Baker’s twine or string.
Step Five: If you would like to cover the back of the ornament, cut another paint palette from tan felt. Place the pattern piece face up on the felt this time before tracing the palette.
Cut out the backing and place it on the backside of the paint palette ornament. Use a pencil to trace the hole then cut it out with a small embroidery scissors.

Step Six: Attach the two felt palettes together using tan thread and a blanket stitch around the edges of the ornament. If you are new to the blanket stitch, check out this video tutorial by Red Ted Art.
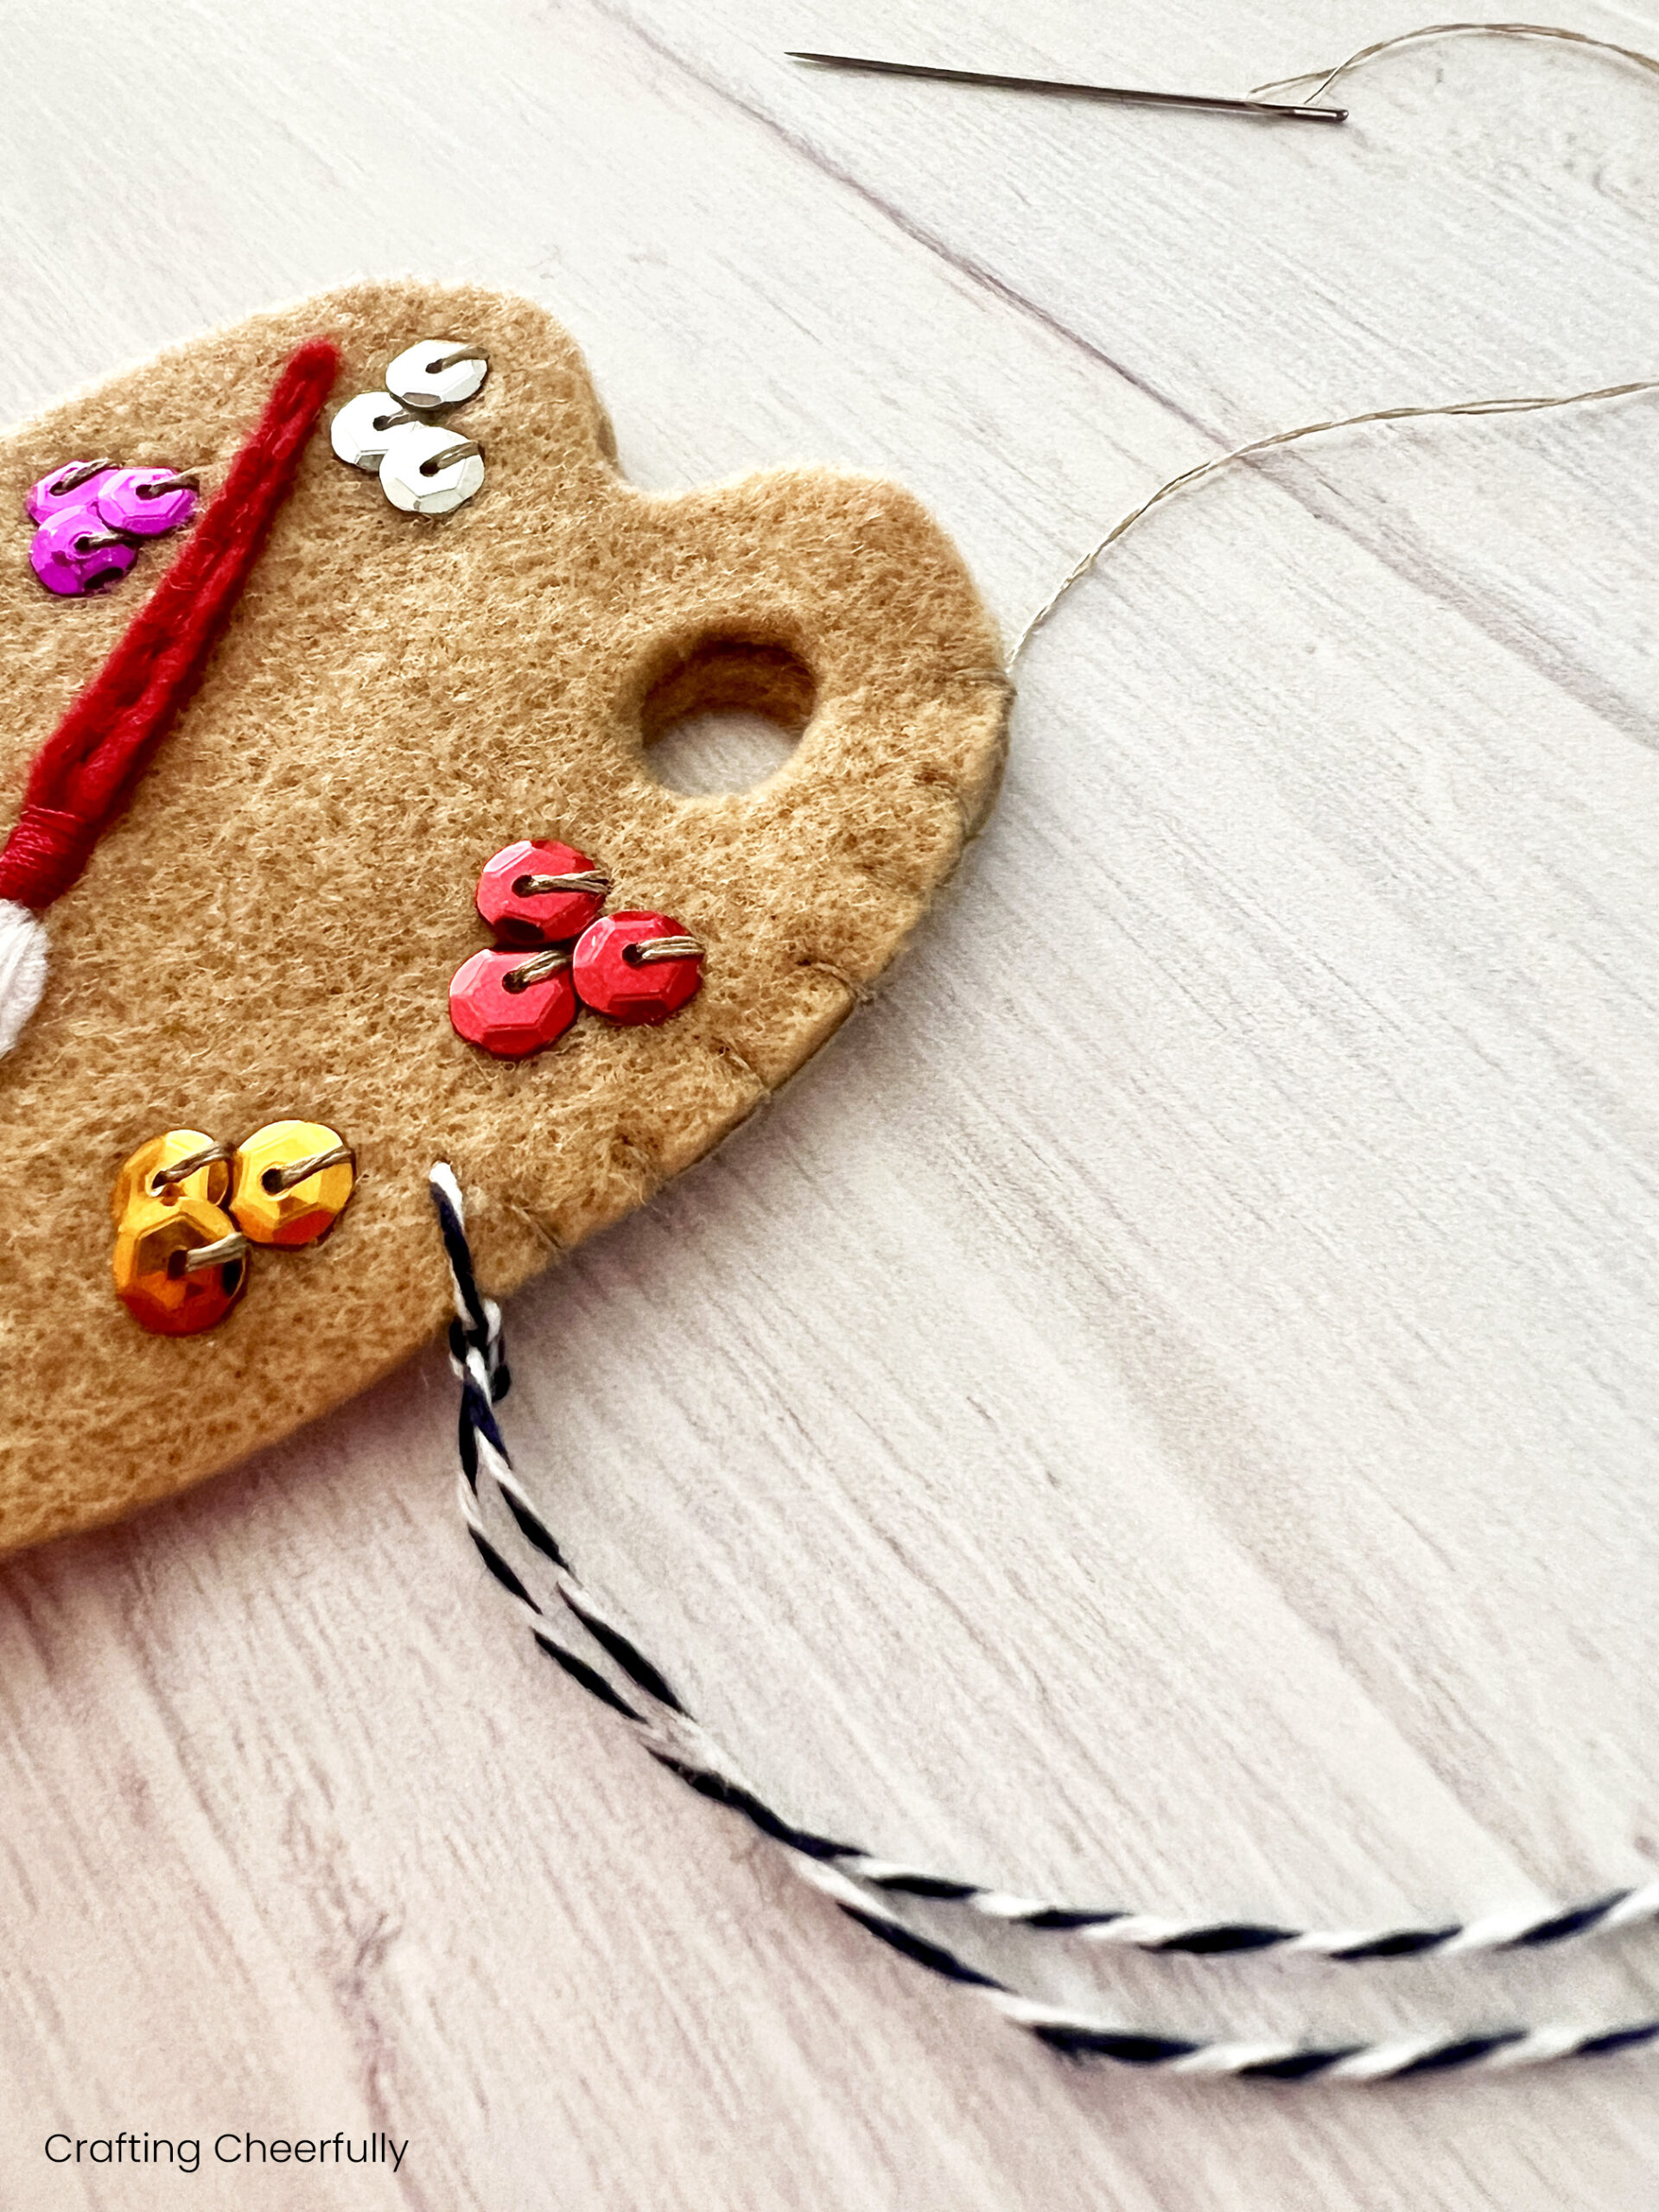
The paint palette ornament is finished and ready to be hung on your tree or gifted to someone special! You can check out some of the other ornaments I have made my kids over the years under my Christmas Ornament page including a Rubik’s cube ornament and Board Game Ornament!

Get the Free Ornament Pattern
Fill out the purple form below with your first name and email address! The free file will be sent straight to your inbox! If you have already filled out the form below, don’t worry – you won’t be added to my list twice! This freebie is for personal use only. I hope you enjoy crafting something special. Please let me know if you have any questions :)