Printable Christmas Barn Treat Box
Create festive treat boxes for the holiday with these printable Christmas barn treat boxes! Fill them sweets, treats and small gifts!


Hello Crafty Friends! Today is the last day of my series “12 Days of Holiday Crafts” and I’m excited to share a new free printable treat box with you! This Christmas barn treat box is such a cute box for the holiday season. It’s perfect for gifting small treats, sweets and gifts.
The Christmas barn box started as a watercolor painting! After painting the barn, I scanned it onto my computer and turned it into a box. It features a red barn at Christmas time complete with holiday wreaths, pine trees, snow and two holiday-themed barn quilts!

Earlier this year I created my Fall Barn Treat Box. It was such a big hit and so many of you loved it I knew I had to make a Christmas version. This one uses the same template and is cut and assembled the exact same way.

Below is the tutorial for the Christmas barn box plus you can fill out the purple form at the end of this post to get the free printable! If you are looking for more holiday treat boxes, be sure to check out my Treat Box idea page!
DIY Christmas Barn Treat Box
Supplies Needed
-
- Printable treat box – Grab the free file by filling out the purple form at the end of this post.
- White cardstock – I printed my boxes on 110lb Index Paper. This 65lb White Cardstock is also a great option. Choose a paper around 65lbs – 80lbs.
- Paper trimmer and/or scissors
- Craft knife and self-healing cutting mat
- Scoring board
- 1/4″ Double-sided tape

How to Assemble the Boxes
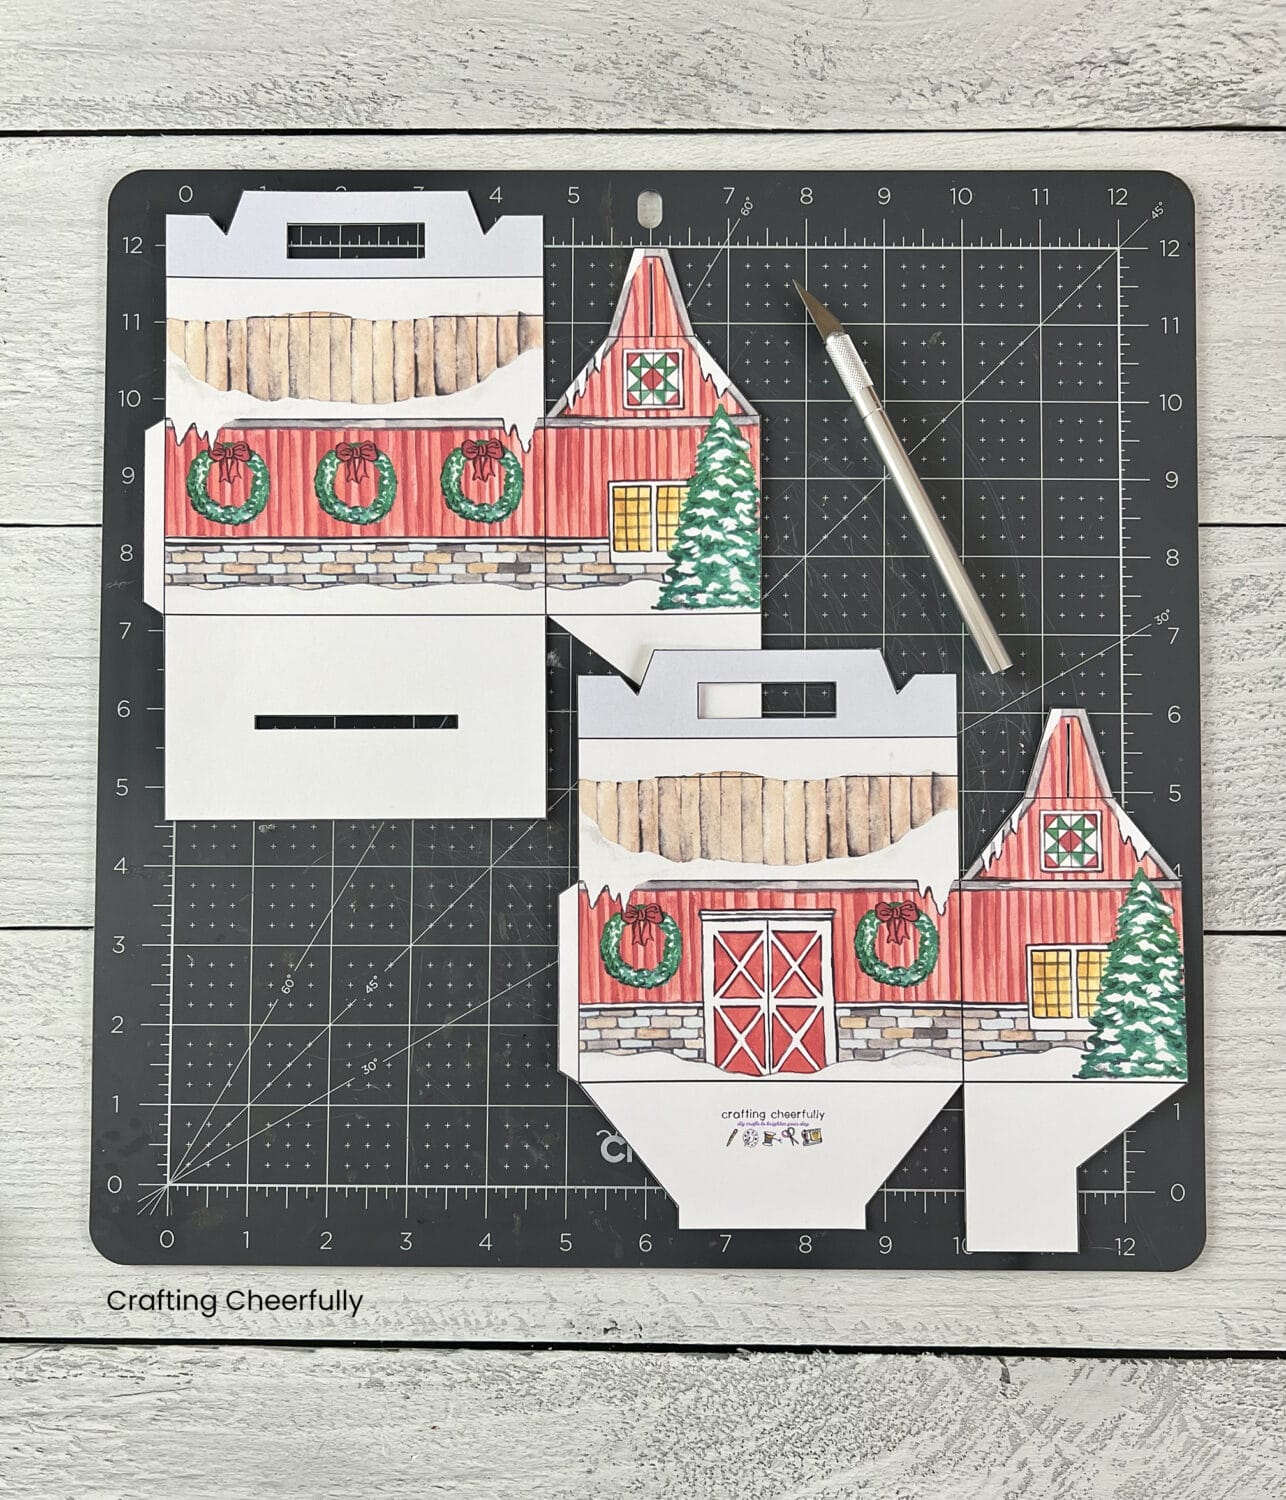
Step One: Start by printing the treat boxes on white cardstock and cutting them out. I like to use my paper trimmer to cut the large straight edges of the pieces, then I use a small craft scissors to cut out the rest.


Use a craft knife to carefully cut out the white areas in the top and bottom of the box so the box can close at the top and bottom.

You will also need to cut out the tiny slits in the side tabs (the pieces above the barn quilts).

Step Two: Score the box and gently fold along the fold lines. I included a scoring guide with the printable box to help you know where to score. The score line at the very top of the box, underneath the handle, is folded the opposite way as the other fold lines.


Step Three: Connect the treat box pieces together using adhesive on the tabs. I like to use 1/4″ Scor-Tape which is a strong double-sided tape perfect for treat boxes. You can also use a tape runner or craft glue. If making multiple boxes I recommend making one and filling it with your treat or gift to test your adhesive before making the rest.


Step Four: Fold in the bottom of the box and close the handle. The box is complete!

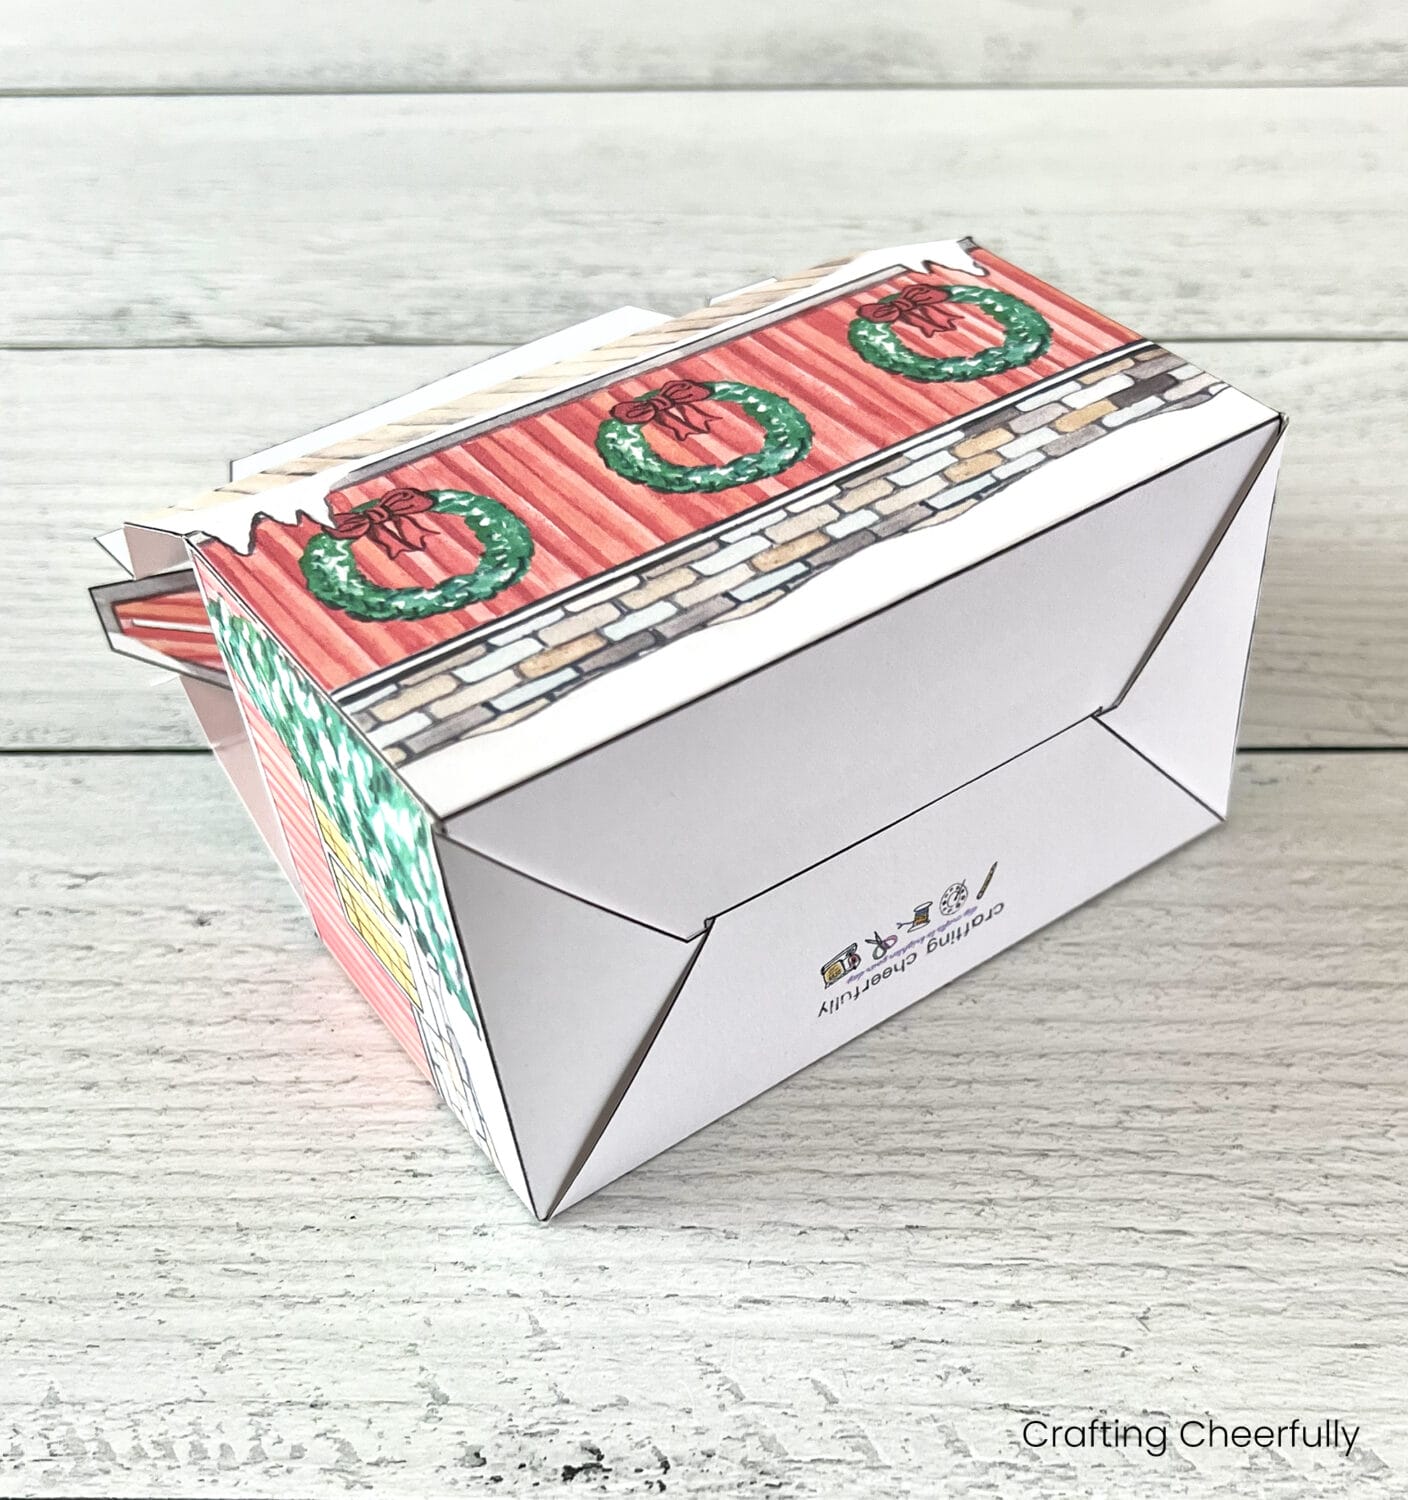
Open the box and add a piece of tape along the bottom of the box to help keep it closed. The box can now be filled with sweets, treats or small gifts. You could also use it as a holiday decoration in your home or to decorate a table.


I hope you enjoyed learning how to make this fun Christmas barn treat box! My Cozy Cabin Treat Box and Color-Your-Own Gingerbread House Treat Box use a similar template and are perfect for Christmas as well!

Get the Christmas Barn Treat Boxes!
Fill out the purple form below with your first name and email address! The free file will be sent straight to your inbox! If you have already filled out the form below, don’t worry – you won’t be added to my list twice! This freebie is for personal use only. I hope you enjoy crafting something special. Please let me know if you have any questions :)