
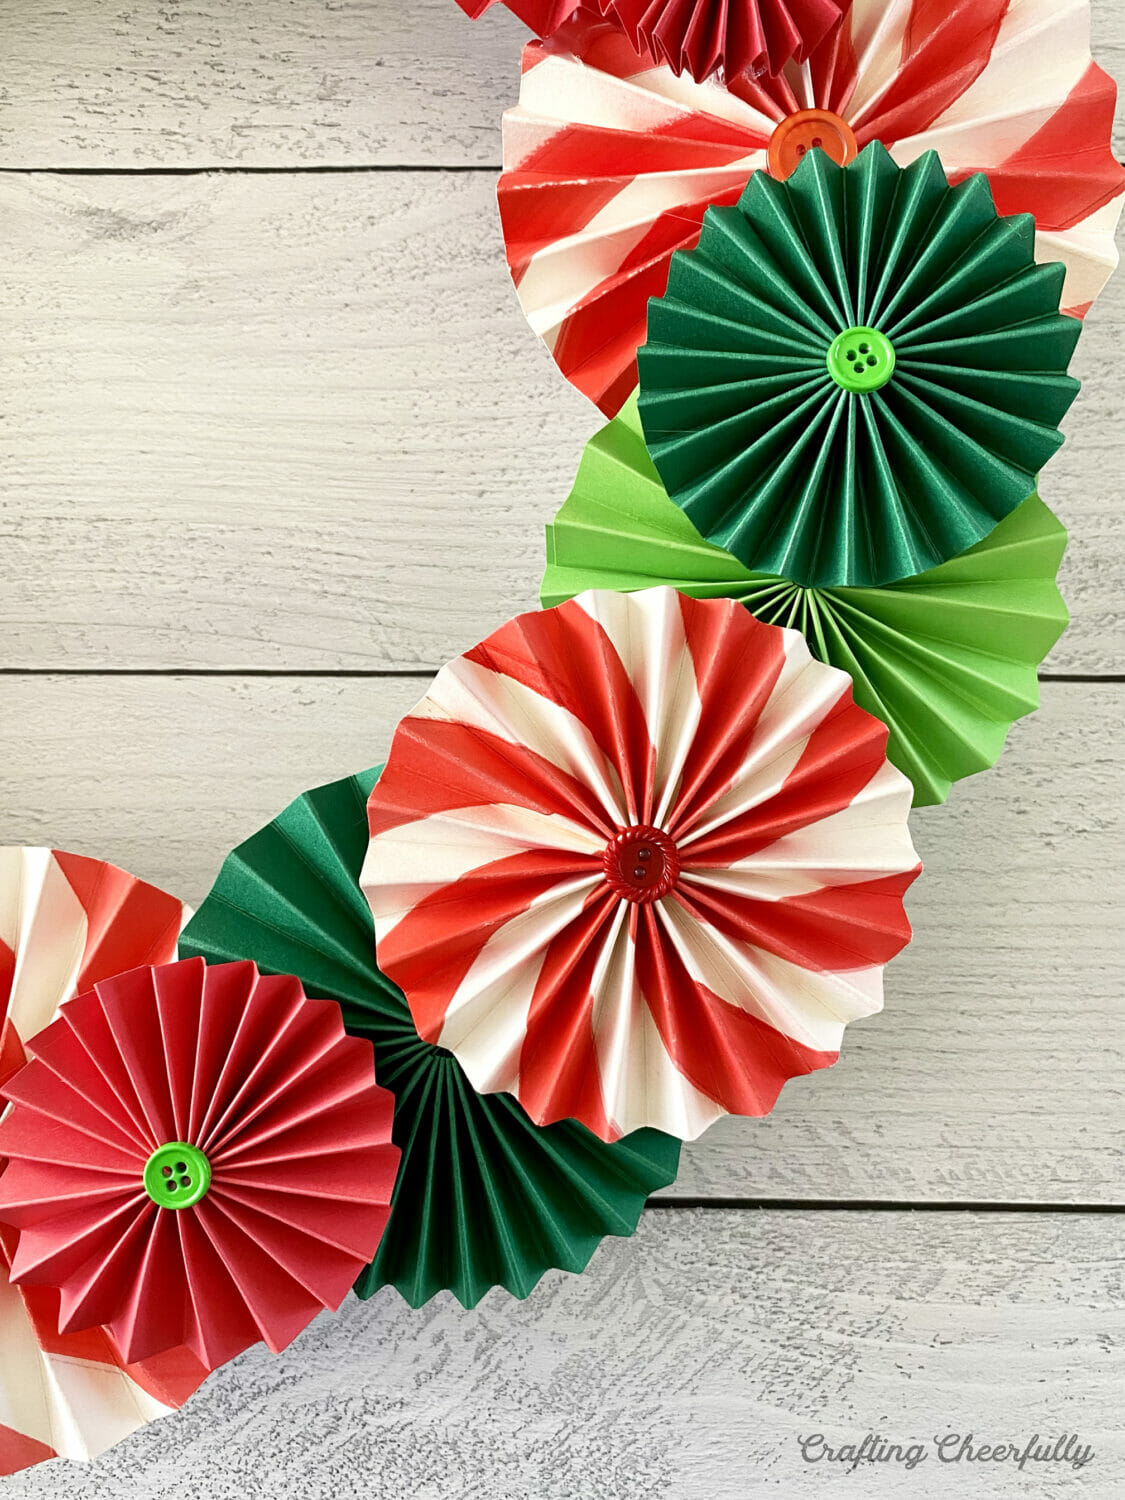
Peppermint Paper Christmas Wreath
Learn how to create a festive Christmas wreath using paper rosettes this holiday season! Mix red and green paper rosettes with peppermint rosettes to create a unique wreath design!

Hello! With December right around the corner I’m excited to share a new Christmas wreath with you today. This Peppermint paper rosette wreath is perfect for the holiday season! It’s made almost entirely of paper in varying shades of red and green. It also features my whimsical peppermint rosettes I made a few weeks ago. I initially made them for a holiday banner but made a few extras to use in this wreath!
This wreath only uses a few supplies including a 15.6″ wreath form, cardstock and buttons. Paper rosettes are really fun to make once you get started. You can make them in different colors and sizes. I made my rosettes in several sizes to make layering them on the wreath easier.

Below is the tutorial for how to make this paper rosette wreath (or paper medallion wreath if you prefer to call them medallions!) I made the peppermint rosettes by first creating my own paper using watercolor paint but you can also use marker or crayons.
Paper Rosette Christmas Wreath
Supplies Needed:
- 15.6″ Foam Wreath Form
- Red and green cardstock
- Peppermint rosettes (I used 6 peppermint rosettes for this wreath)
- Paper Trimmer or scissors
- Scoring Board
- Hot glue
- Red and green buttons (I used buttons from my stash but I’ve linked to similar buttons!)
- Small piece of ribbon or twine for hanging
How many rosettes does the wreath need?
You can make this wreath with any number of rosettes, it really depends on your personal taste. Below are the exact measurements and numbers of the rosettes I used in case it is helpful. I used a 15.6″ wreath form and 22 rosettes in four different sizes.
- 5″ Large rosettes (These use two strips of 2.5 x 11″” wide paper)
- 3 peppermint
- 4″ Medium rosettes (These use two strips of 2″ x 11″ wide paper)
- 3 peppermint
- 3 dark green
- 2 light green
- 3 red
- 3″ Small rosettes (These use two strips of 1.5″ x 11″ wide paper)
- 3 dark green
- 2 light green
- 1 red
- 2″ Extra-small rosettes (These use two strips of 1″ x 11″ wide paper)
- 2 red

How to Create a Paper Rosette
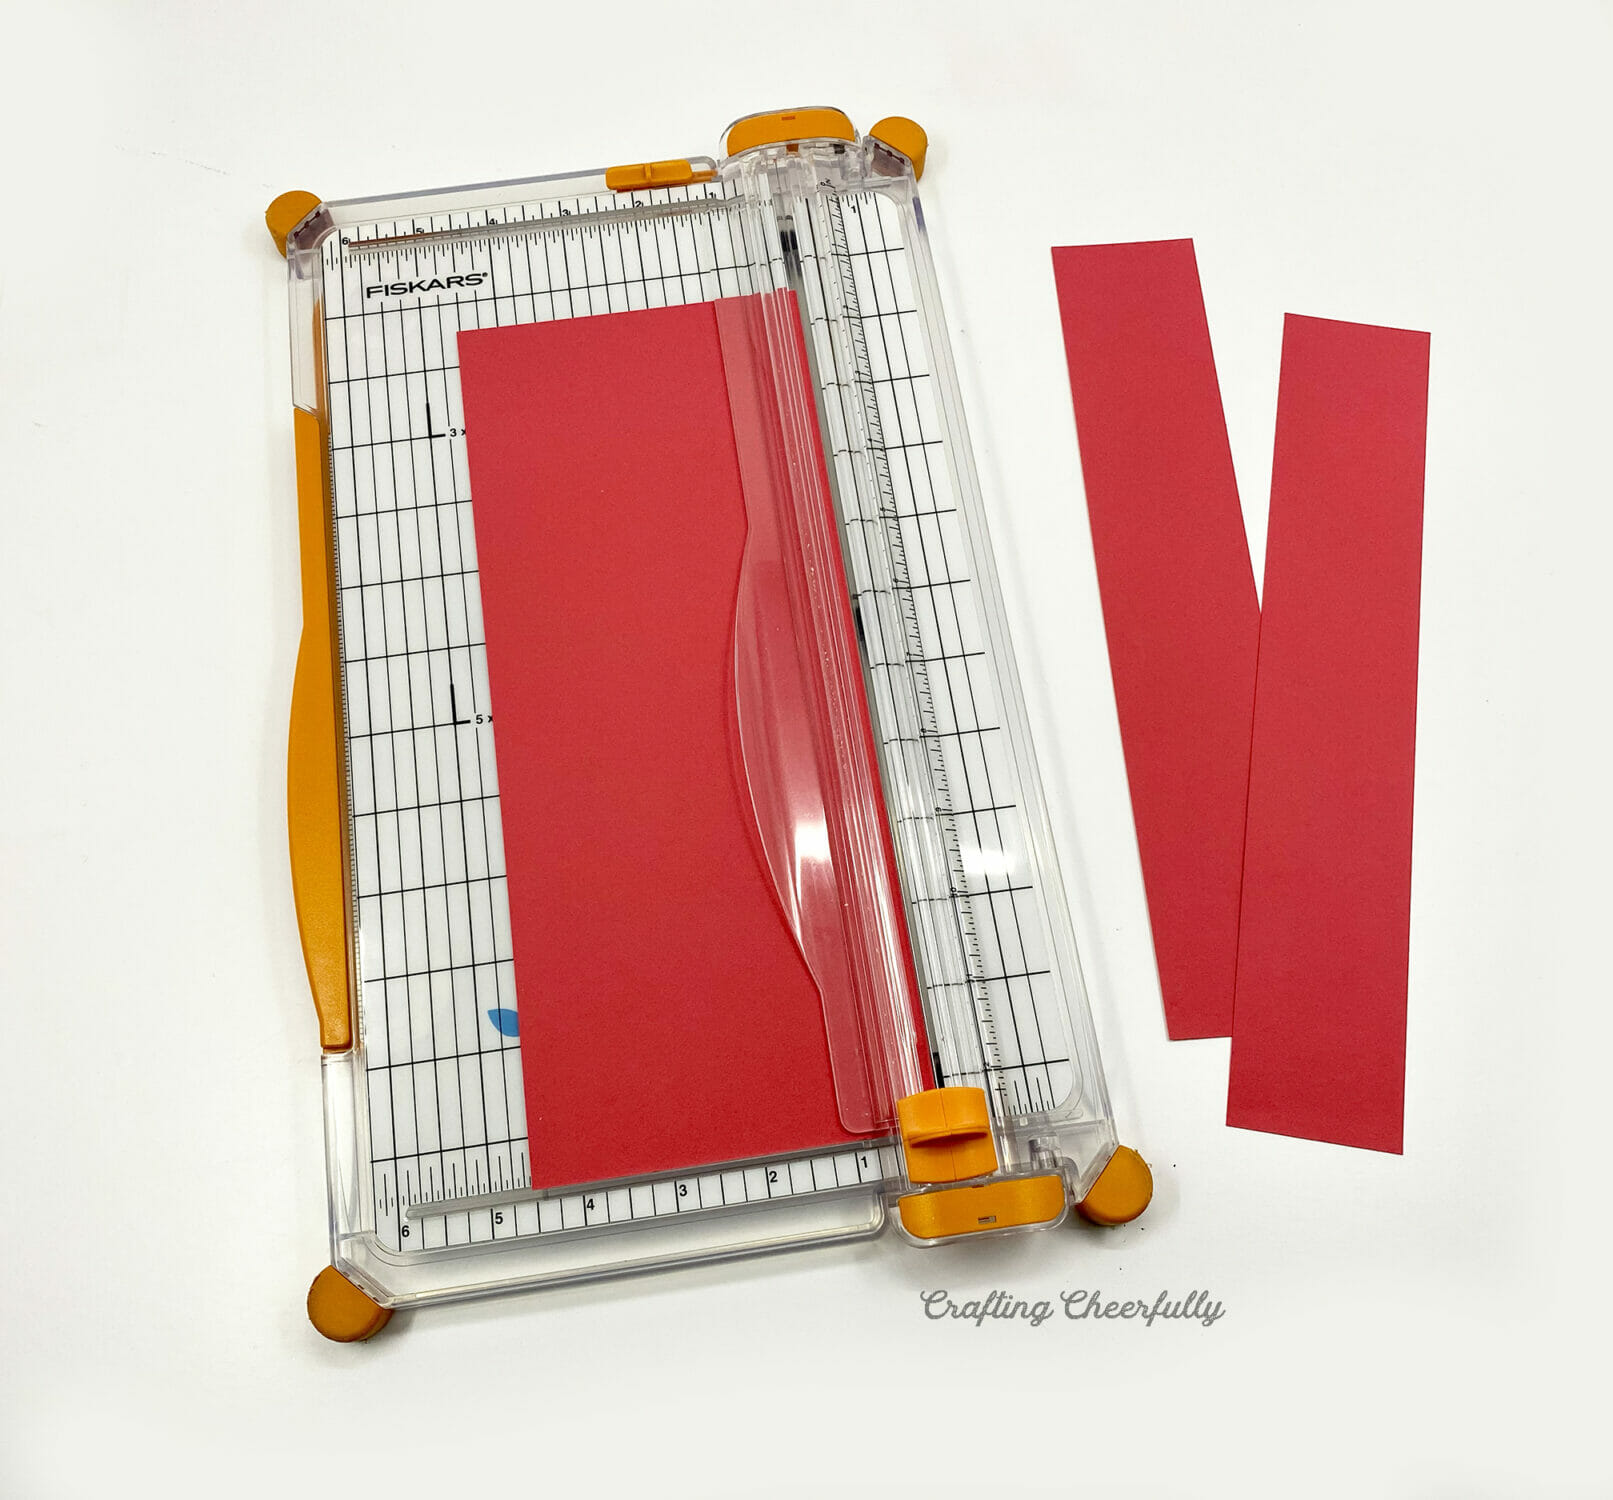
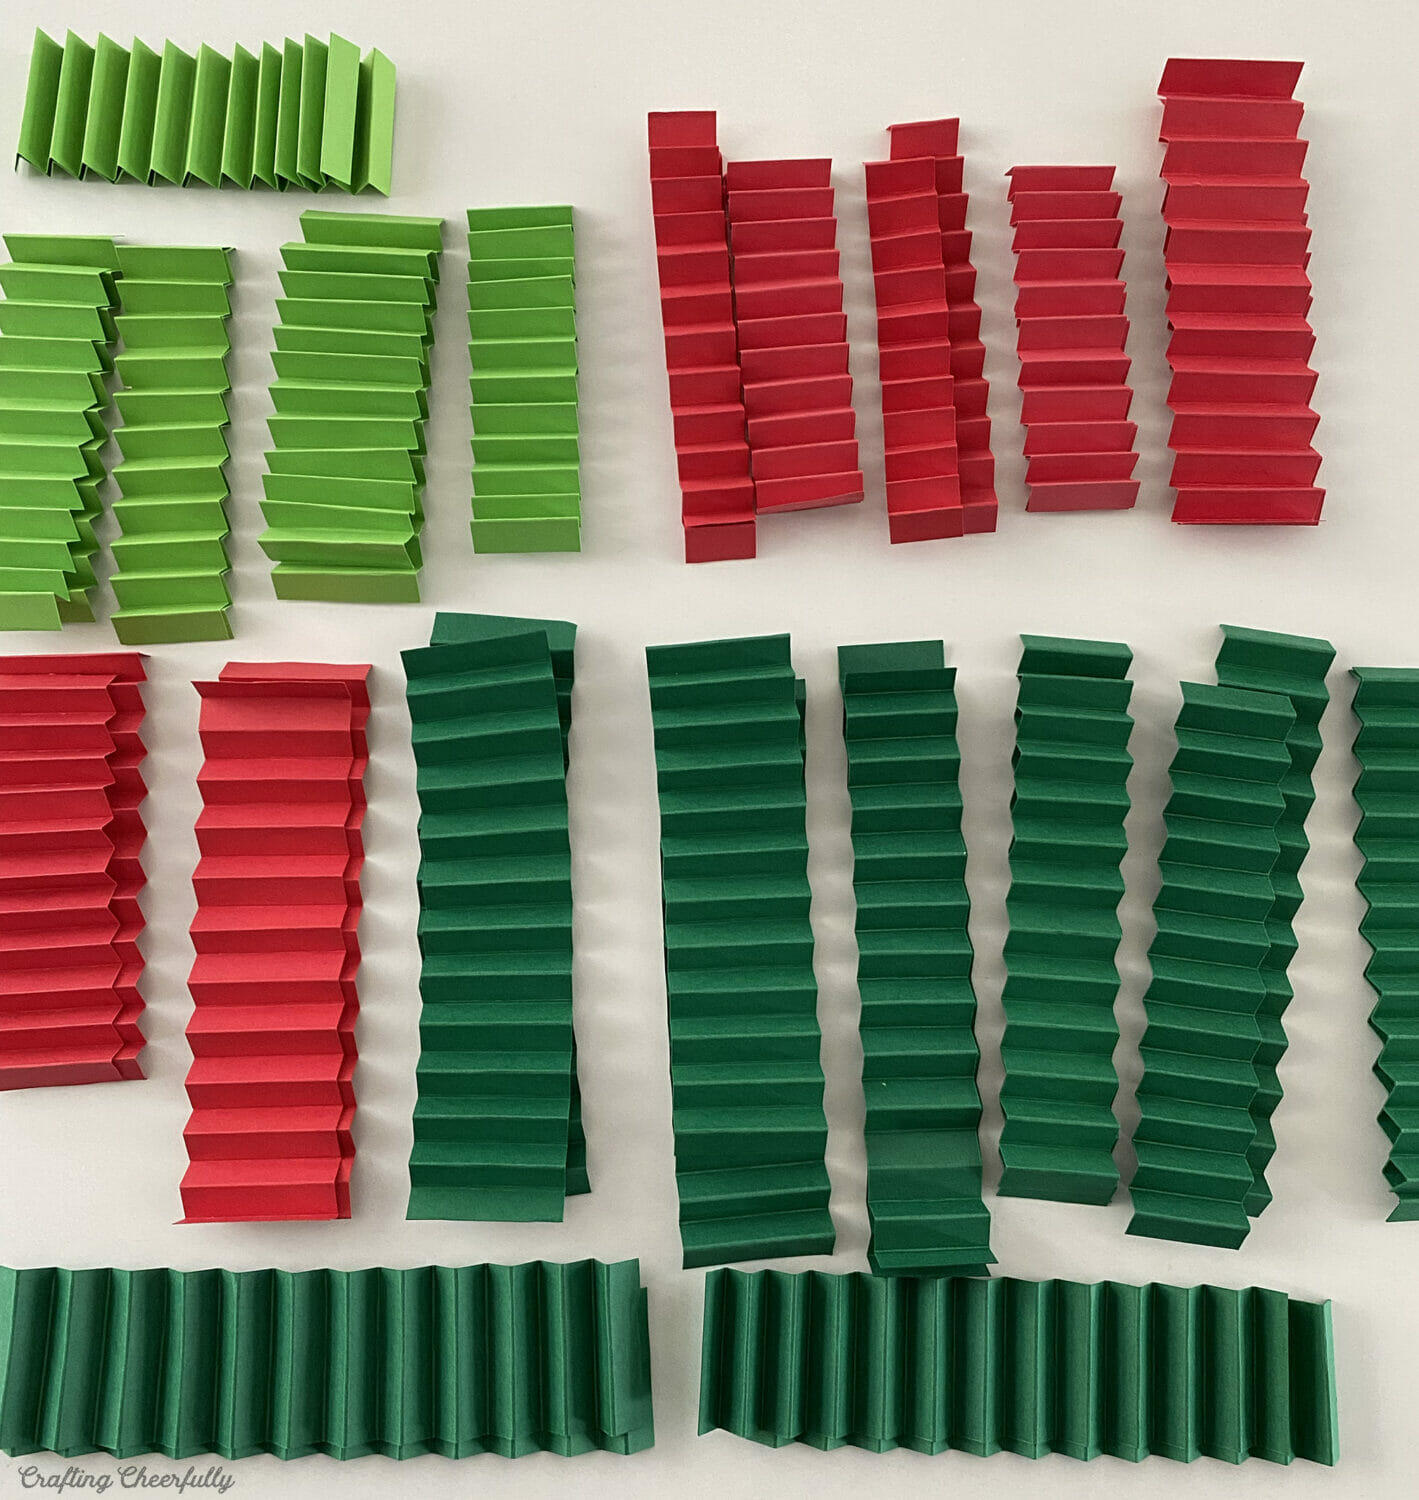
Step One: Start by cutting the paper into strips using a scissors or paper trimmer. Each rosette uses two strips of paper. Vary the width of the paper strips to create different sized medallions. I made my wreath with four different sizes of medallions. Above you can see how many of each size I made but you should feel free to experiment!!
Step Two: Score the strips of paper every 1/2″ and then accordion fold them. I used a scoring board which makes this step go quickly. If you don’t have a scoring board, you can use a pencil to mark 1/2″ on the back of each strip of paper and then accordion-fold following your marks.


Step Three: Each rosette is made from two strips of paper. Adhere two strips together to form a loop.

Step Four: Once the loop is formed it is time to form the rosette. Place a little mound of hot glue on a small piece of paper about 1″ x 1″. Center the accordion-folded loop over this and press the center edges down so the loop becomes flat and looks like a paper rosette. Hold it in place for a bit while the glue dries.


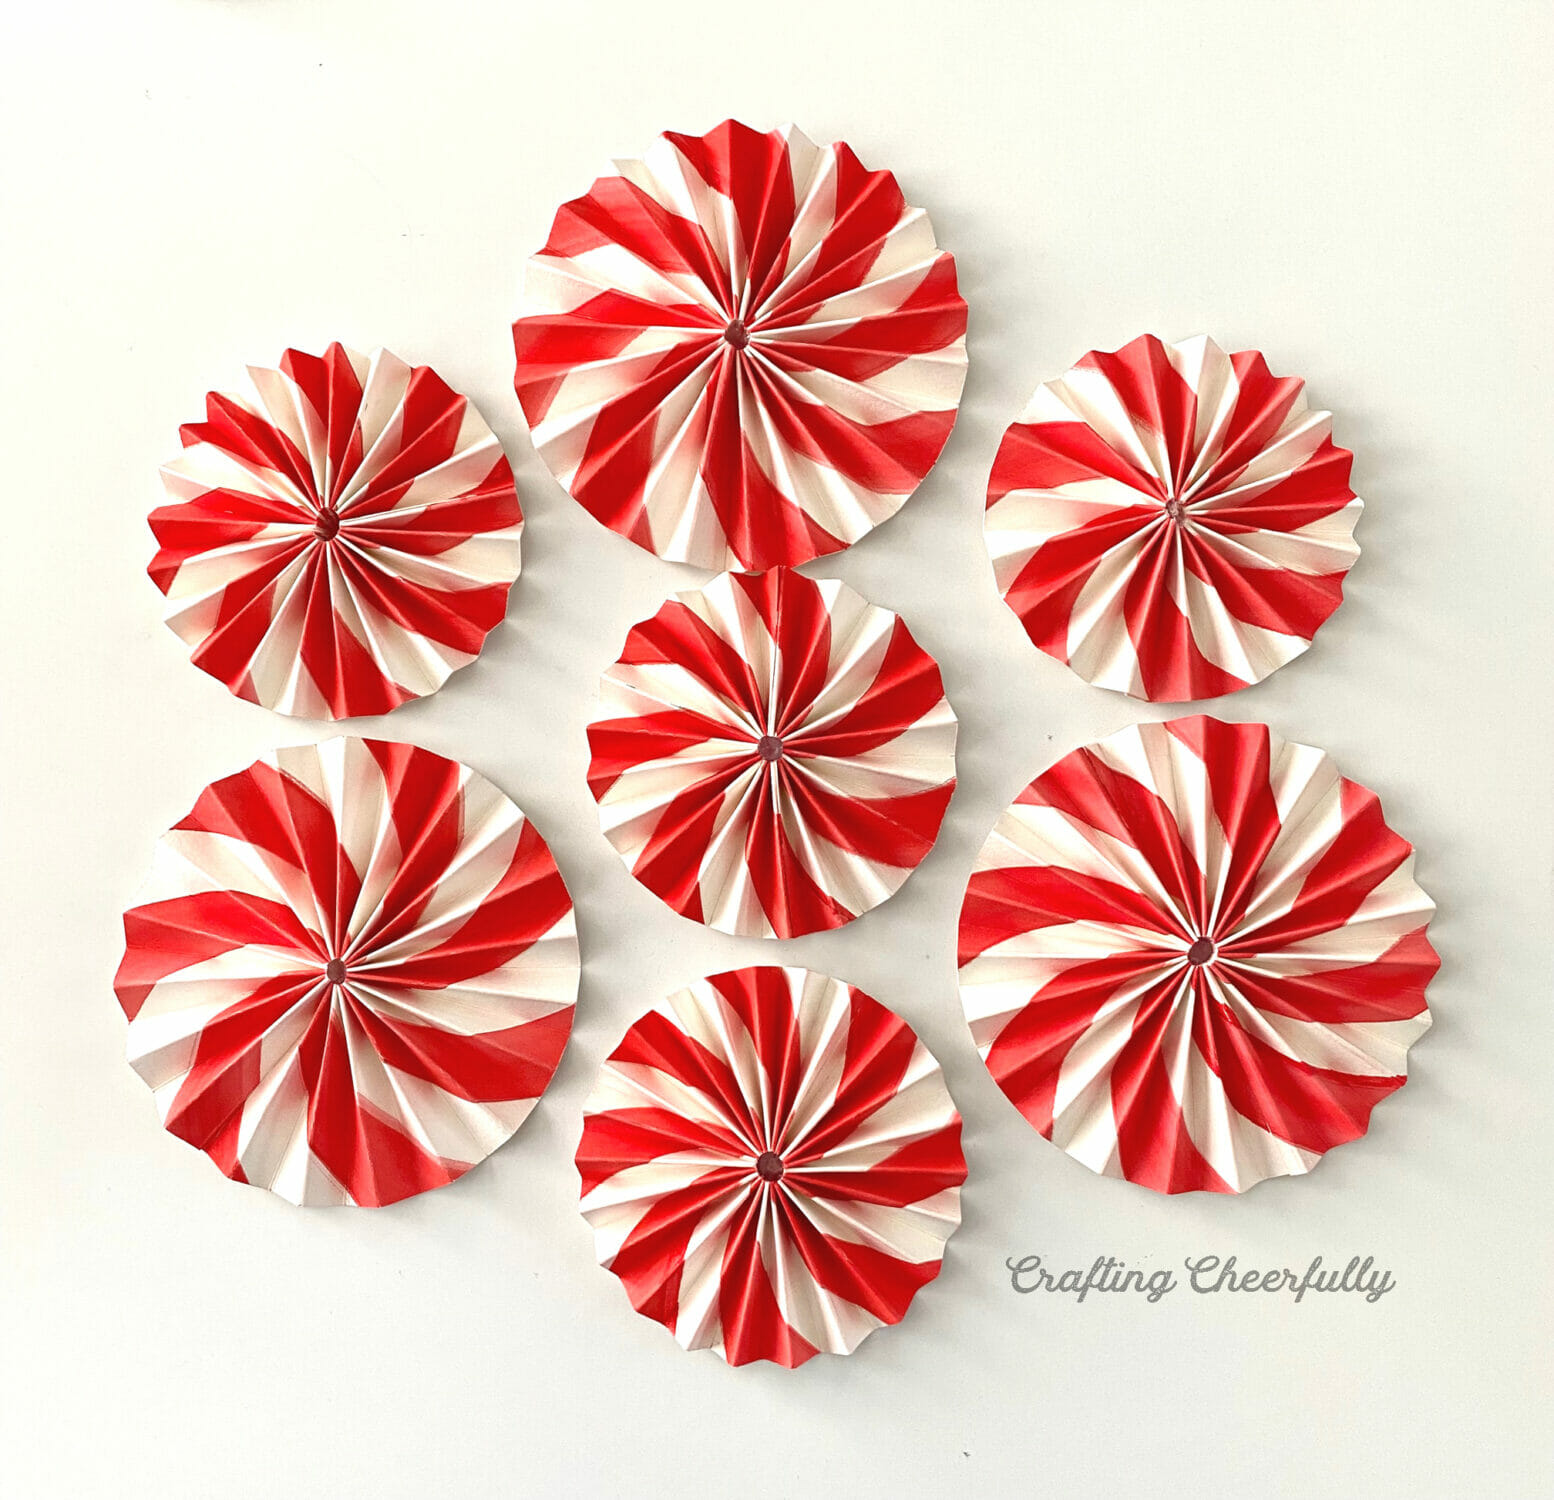
How to Create a Peppermint Rosette
To create peppermint rosettes, please check out my Peppermint Rosette Banner tutorial for detailed step-by-step instructions. They are made the same way except that I created my own paper which gives these rosettes their spiraled design.

How to Assemble the Wreath
Once you have your paper medallions made, it is time to turn them into a fun Christmas wreath! The paper rosettes look best when layered. Start by arranging your larger rosettes on the wreath form. Once you are happy with the arrangement, glue them into place with hot glue.
Something that helped me was placing my three largest peppermint rosettes in a triangle and then filling in with the colored rosettes. I tried to place my colored rosettes so two of the same color weren’t right next to each other. *Tip: You can add a hanging loop to the wreath form now before glueing the rosettes on. Just keep in mind where ever the hanging loop is that is the top of your wreath.

Add a second layer of rosettes arranging them to cover up the gaps from the previous layer.

Add buttons to rosettes that have their center points showing and add a hanging loop if you didn’t add it earlier.

The paper rosette wreath is finished and ready to be hung up and enjoyed this holiday season! I love creating handmade Christmas crafts this time of year and this peppermint wreath is so cute! It matches all of my Gingerbread Crafts perfectly!


