DIY Pressed Leaf Autumn Frame
Create beautiful autumn frames with pressed leaves, flowers and lamination sheets! Grab the free template to get started!
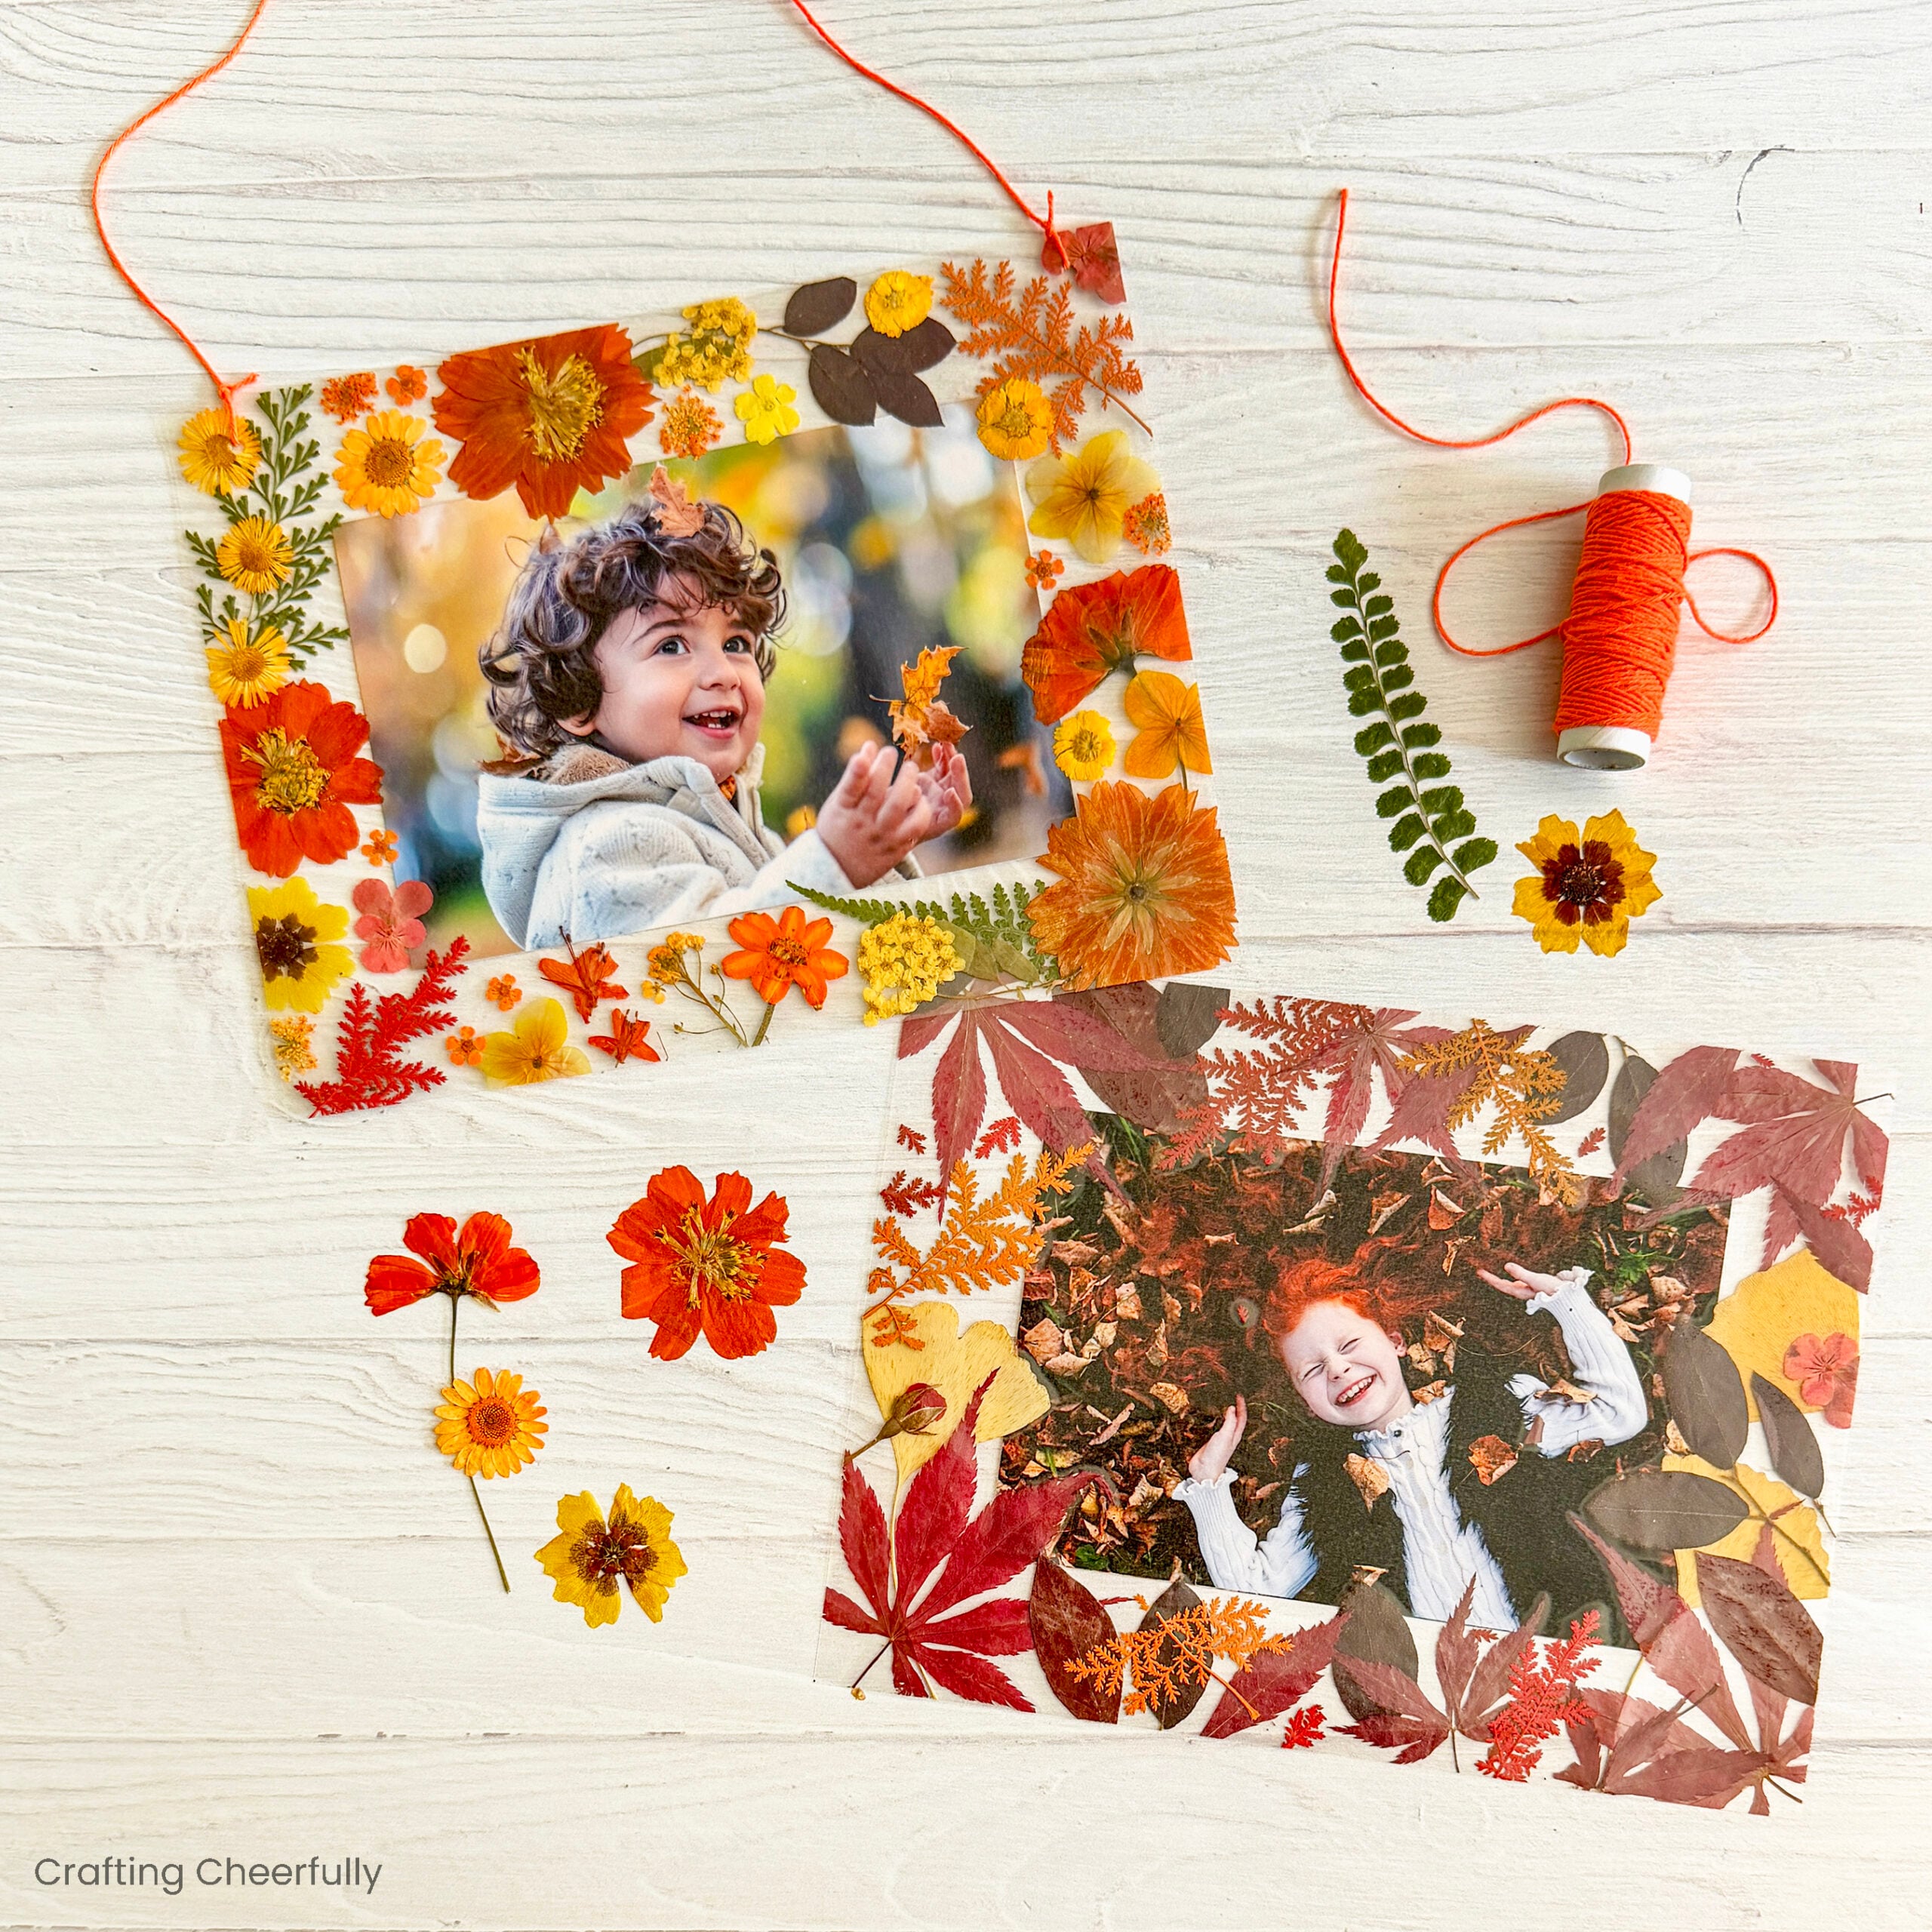
Hello Crafty Friends! With Autumn right around the corner, I’m excited to share a new fun photo craft with you – a tutorial for making pressed leaf and flower frames. This past spring I created pressed flower frames and love how they turned out. I knew I would have to try them with leaves this fall!
I purchased my pressed leaves on Amazon (since the leaves haven’t started changing color here yet) but I’m looking forward to making these with my kids with leaves from our yard. This craft is great for tweens and teens, but of course it’s also great for anyone wanting to frame a beautiful keepsake photo in a fun and unique way!
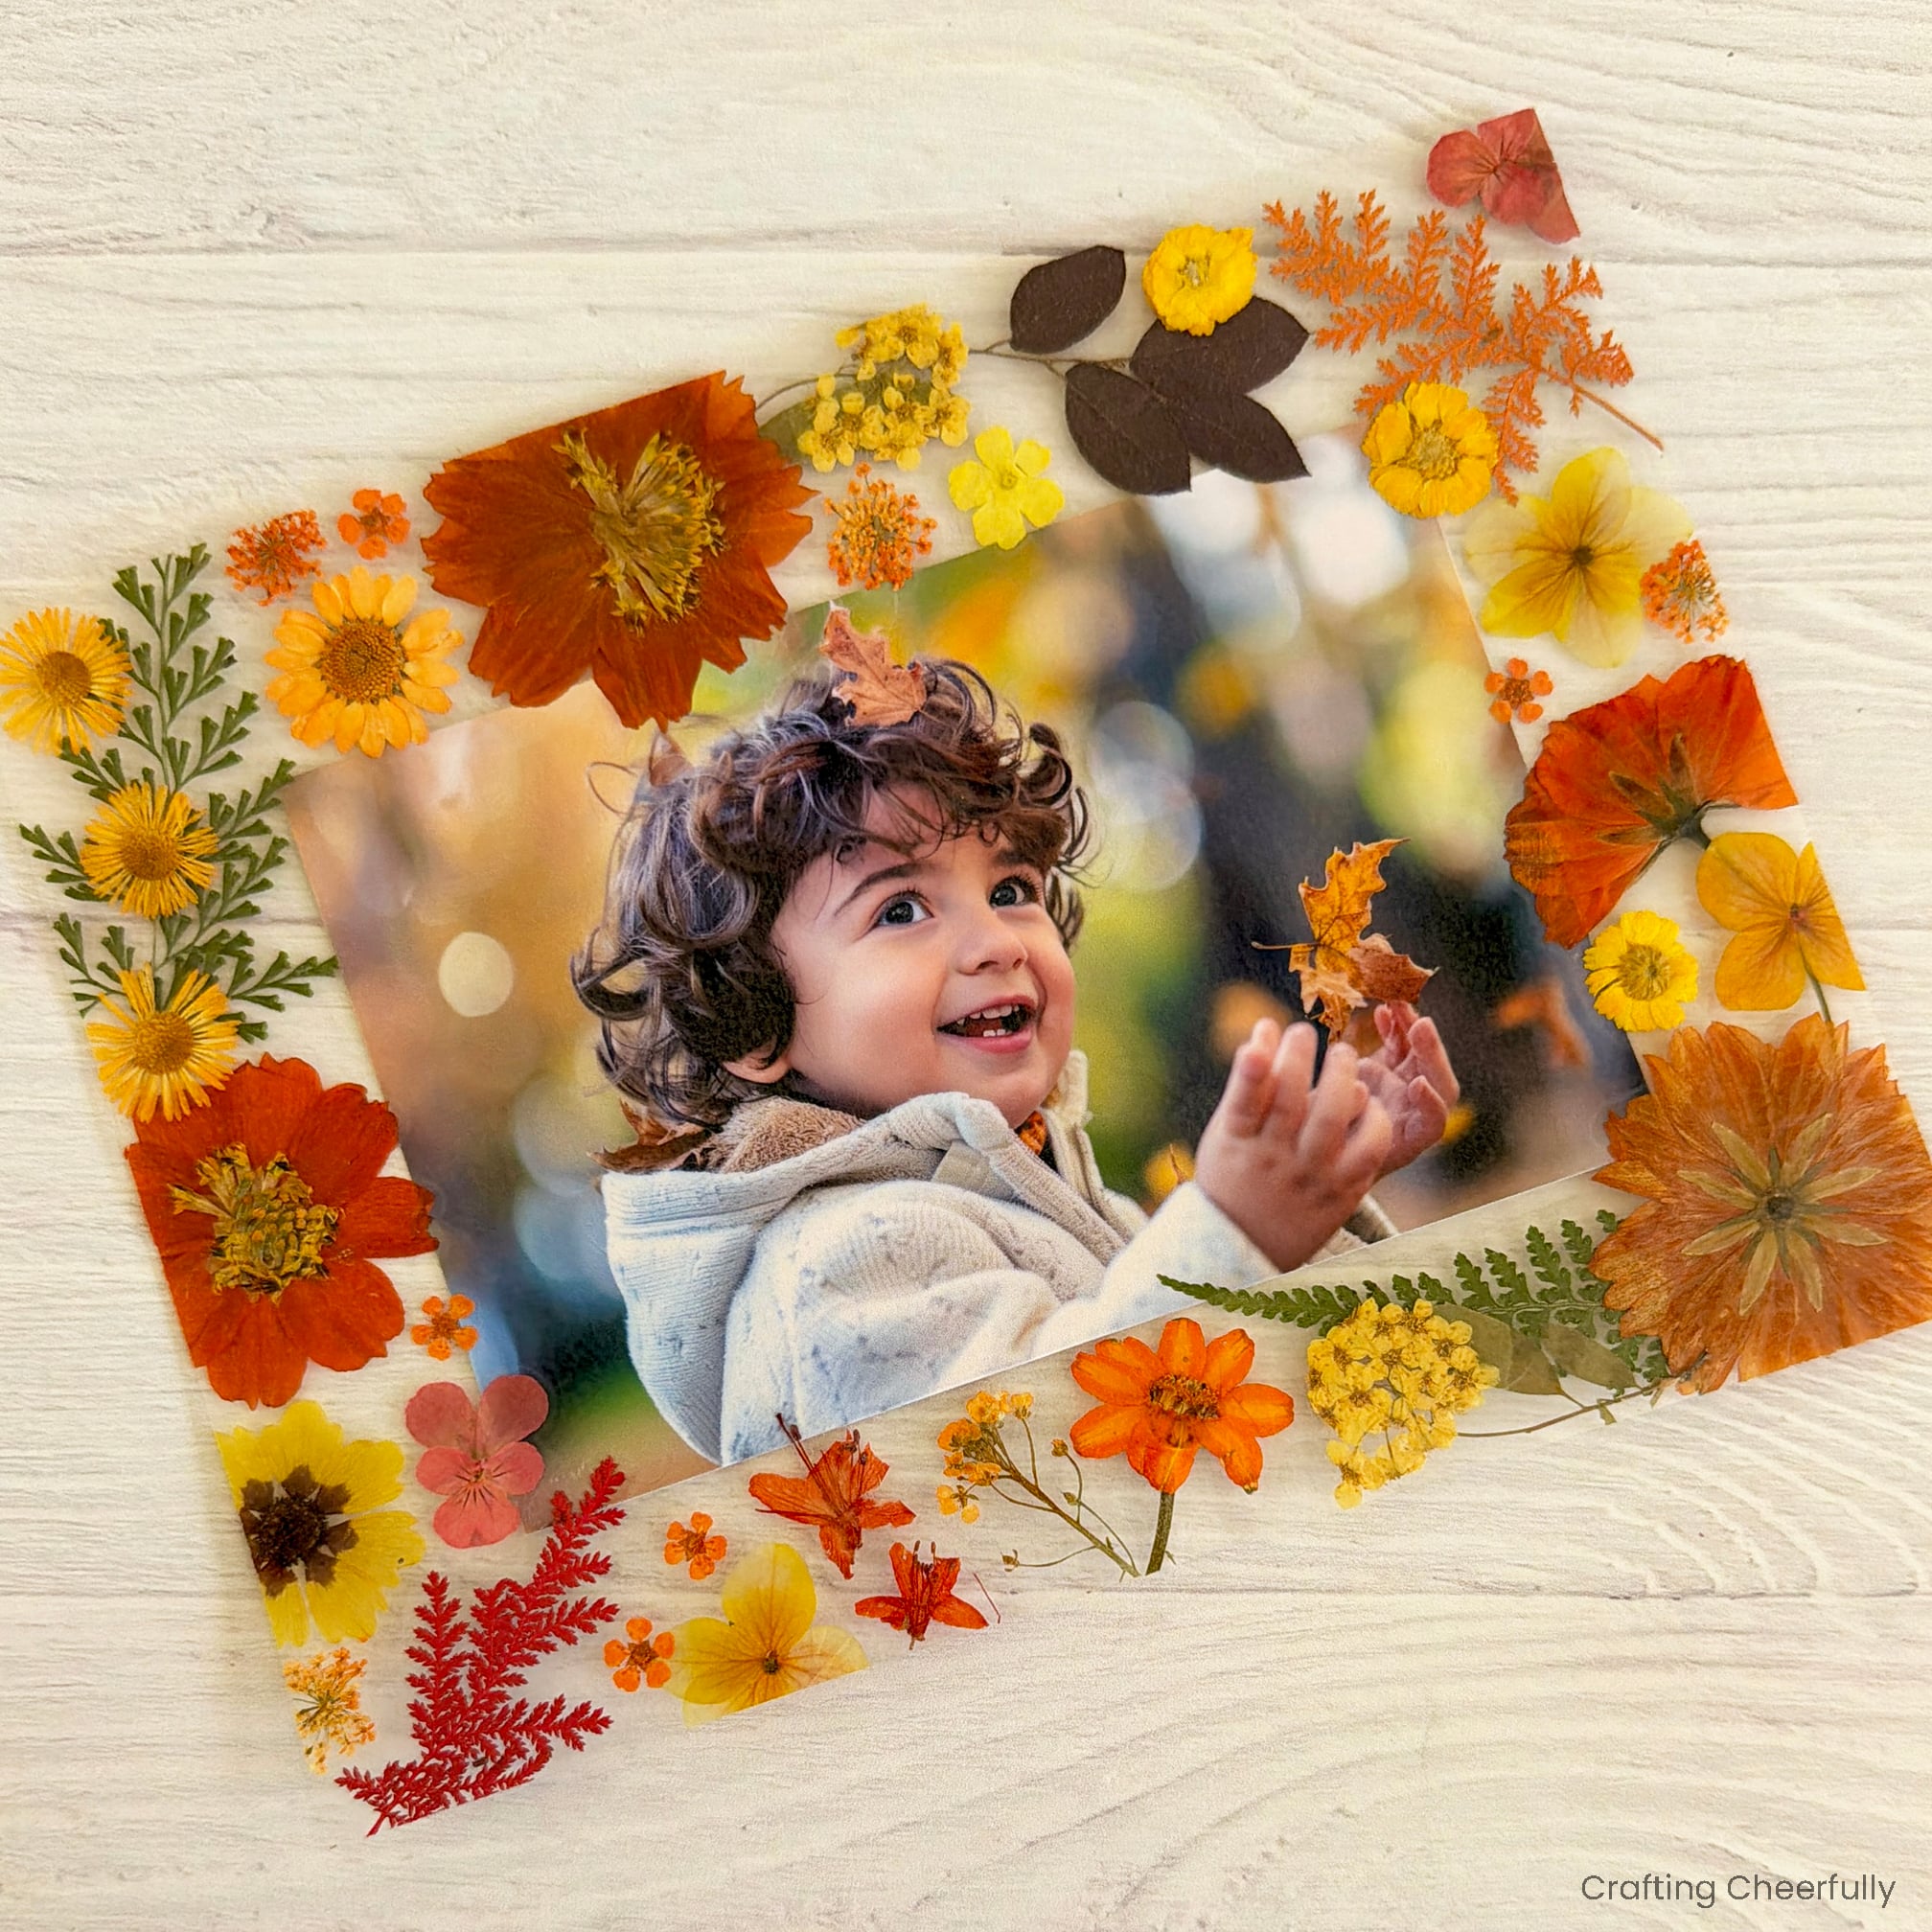
For these frames, I used clear Self-Laminating sheets. While you could attach the leaves and flowers to regular paper, we found it really fun to seal them in the clear lamination. The leaves and flowers appear to be floating around the picture!
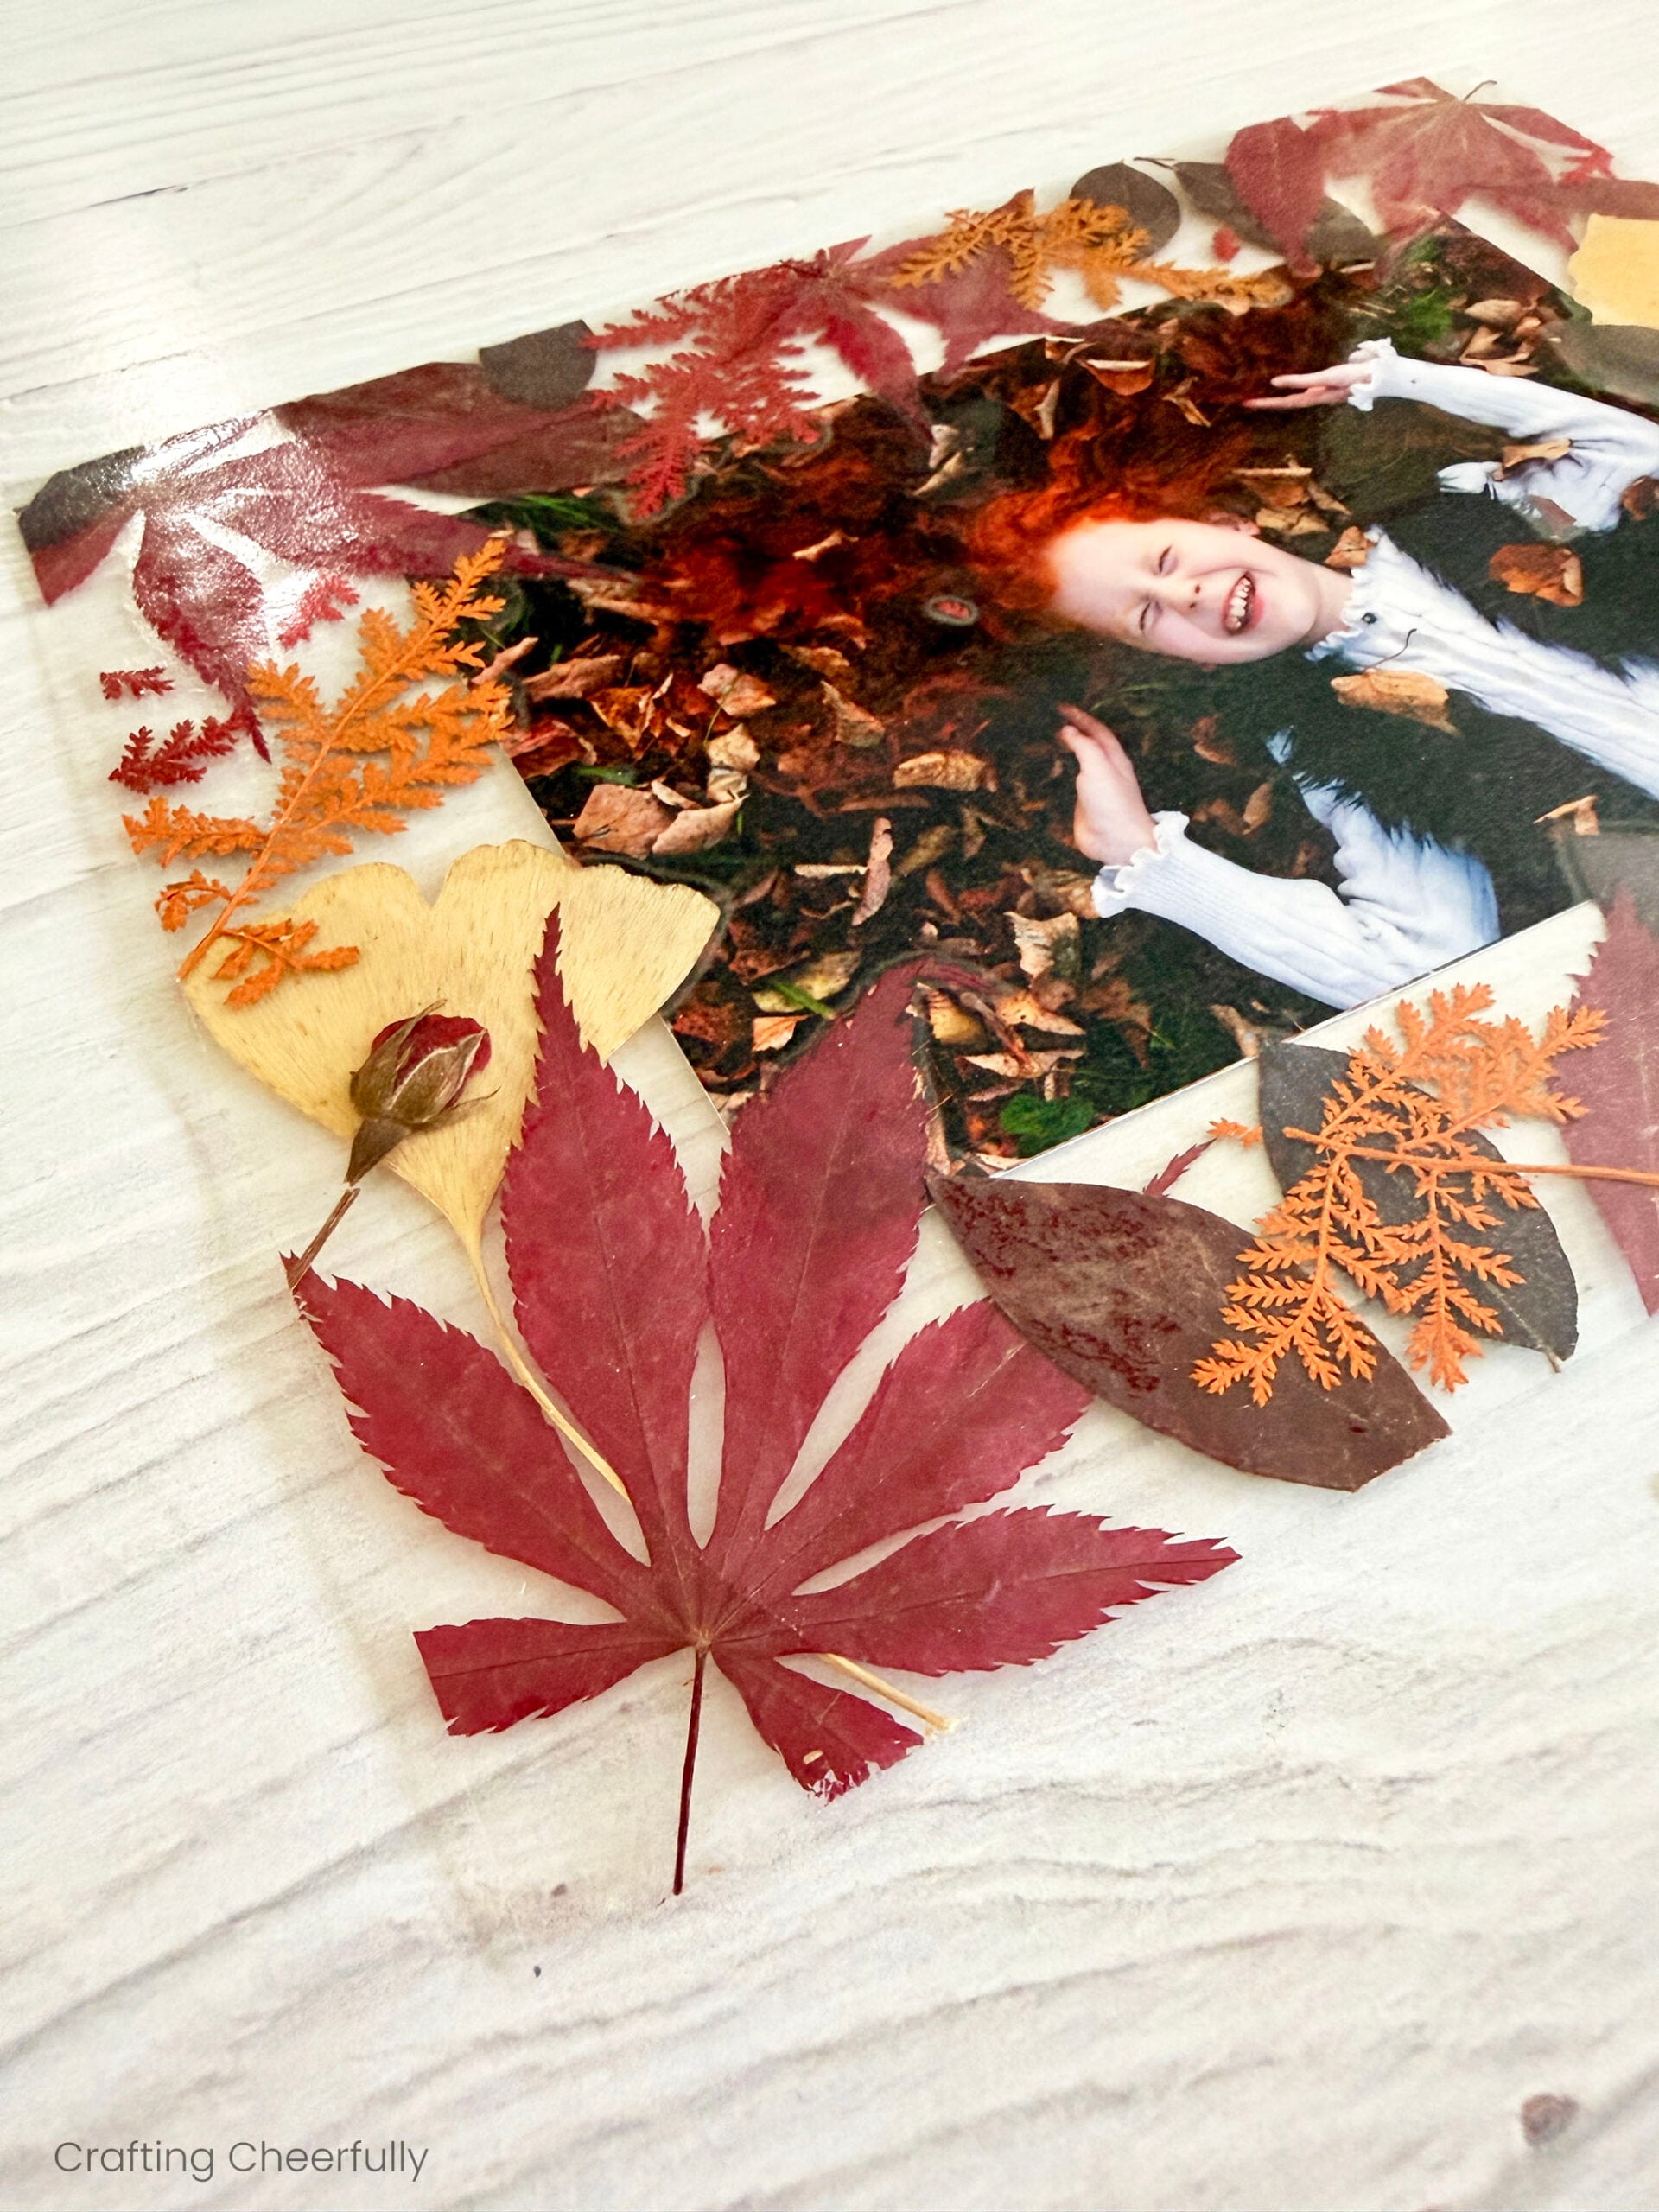
DIY Pressed Leaf Frames
Supplies Needed
- Free printable template – Grab for free by filling out the purple form towards the end of this blog post.
- 4″ x 6″ photo
- Dried Pressed Leaves and flowers
- Avery Clear 9″ x 12″ Self -Laminating Sheets
- Scissors and paper trimmer
- Clear tape
- Black Sharpie
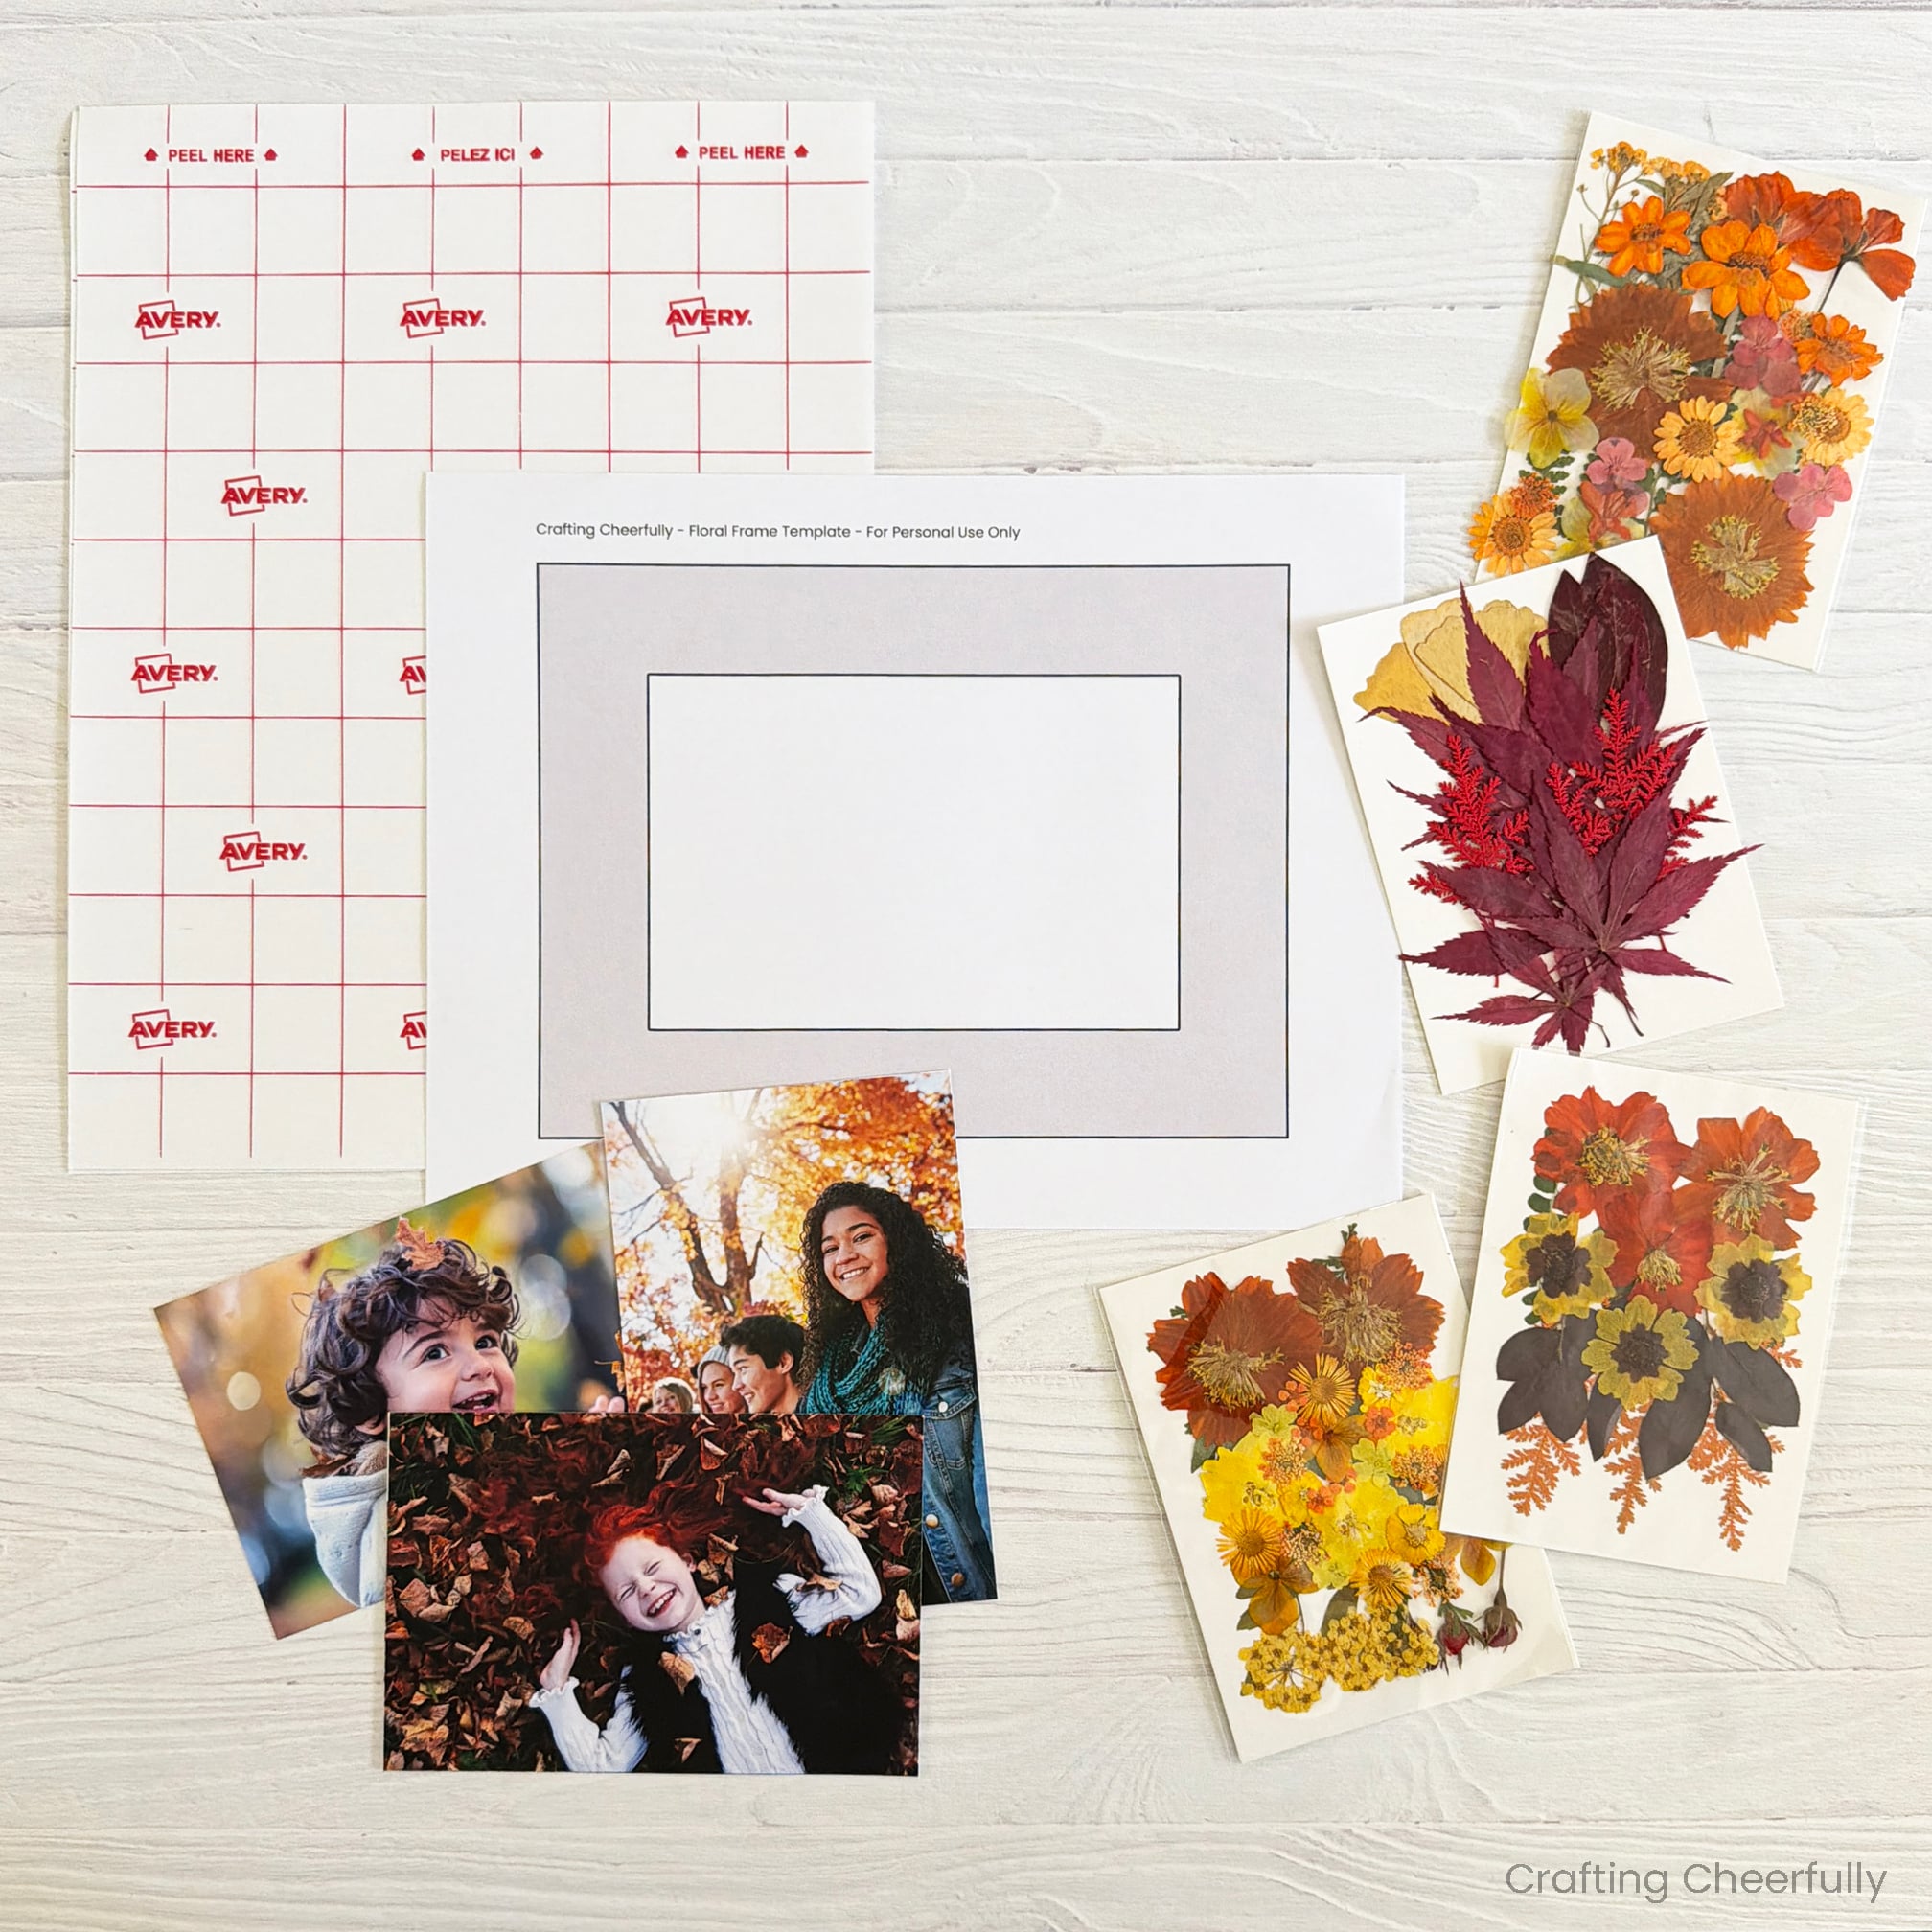
Preparing the Frame
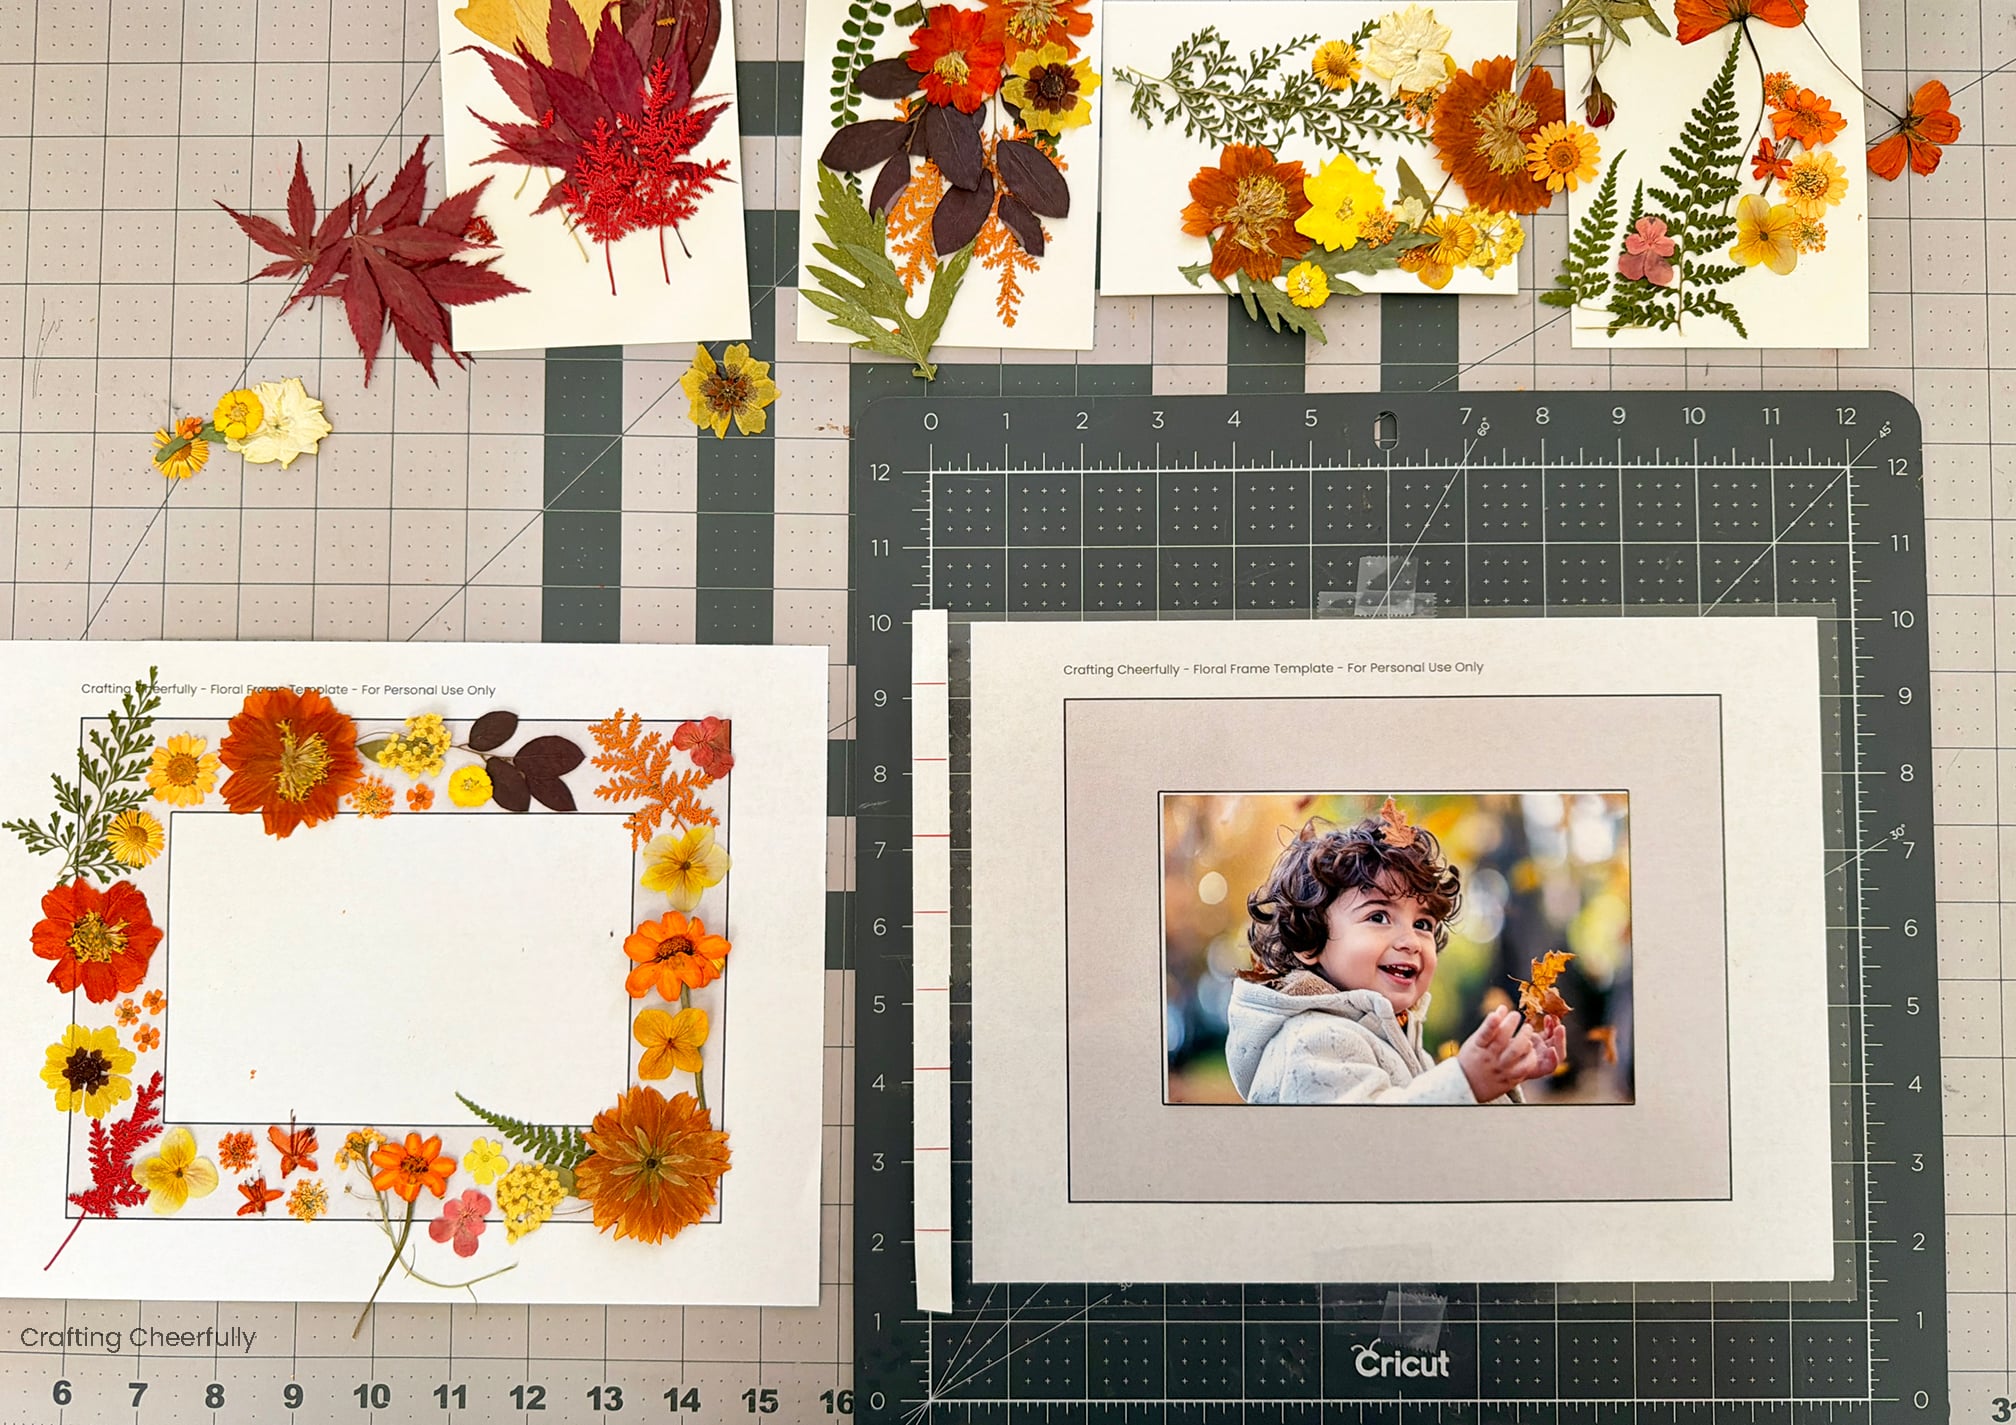
Start by printing two templates. One will be used to help you plan your arrangement, and the other will be used under the lamination sheet as a guide.
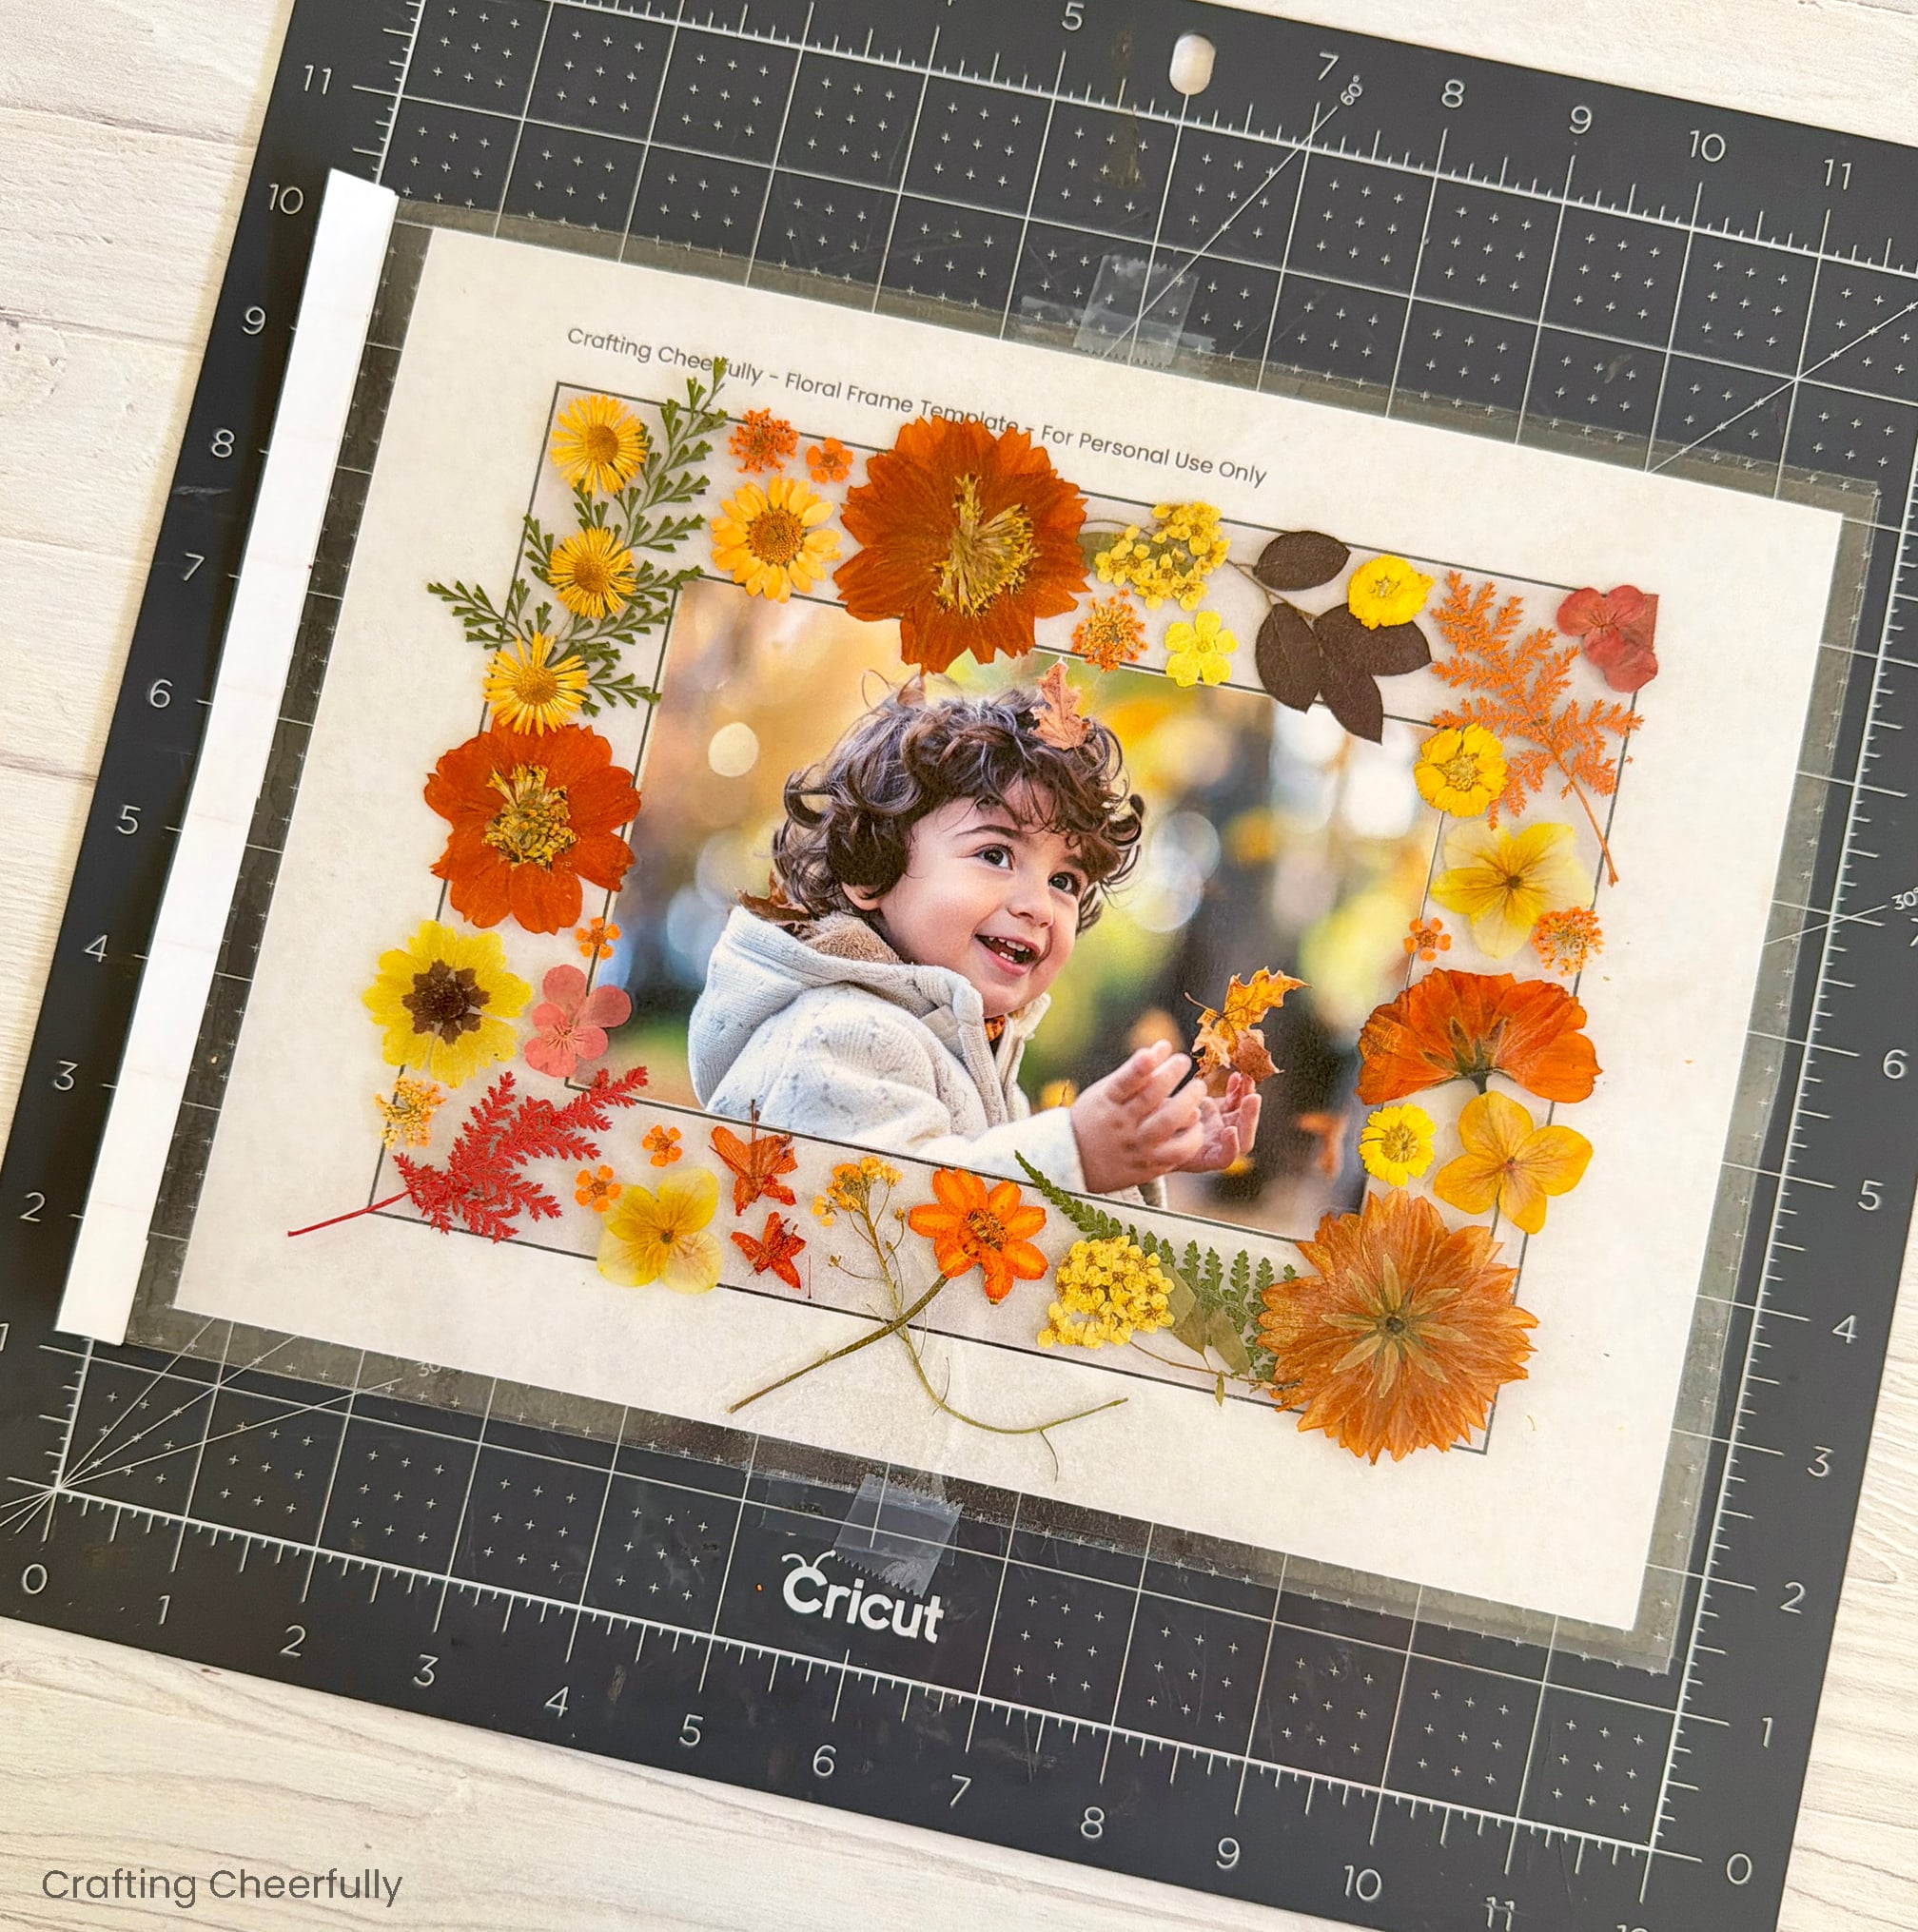
To make the guide, tape one of the templates to a board or mat that can be temporarily moved out of the way. I taped mine to my cutting mat.
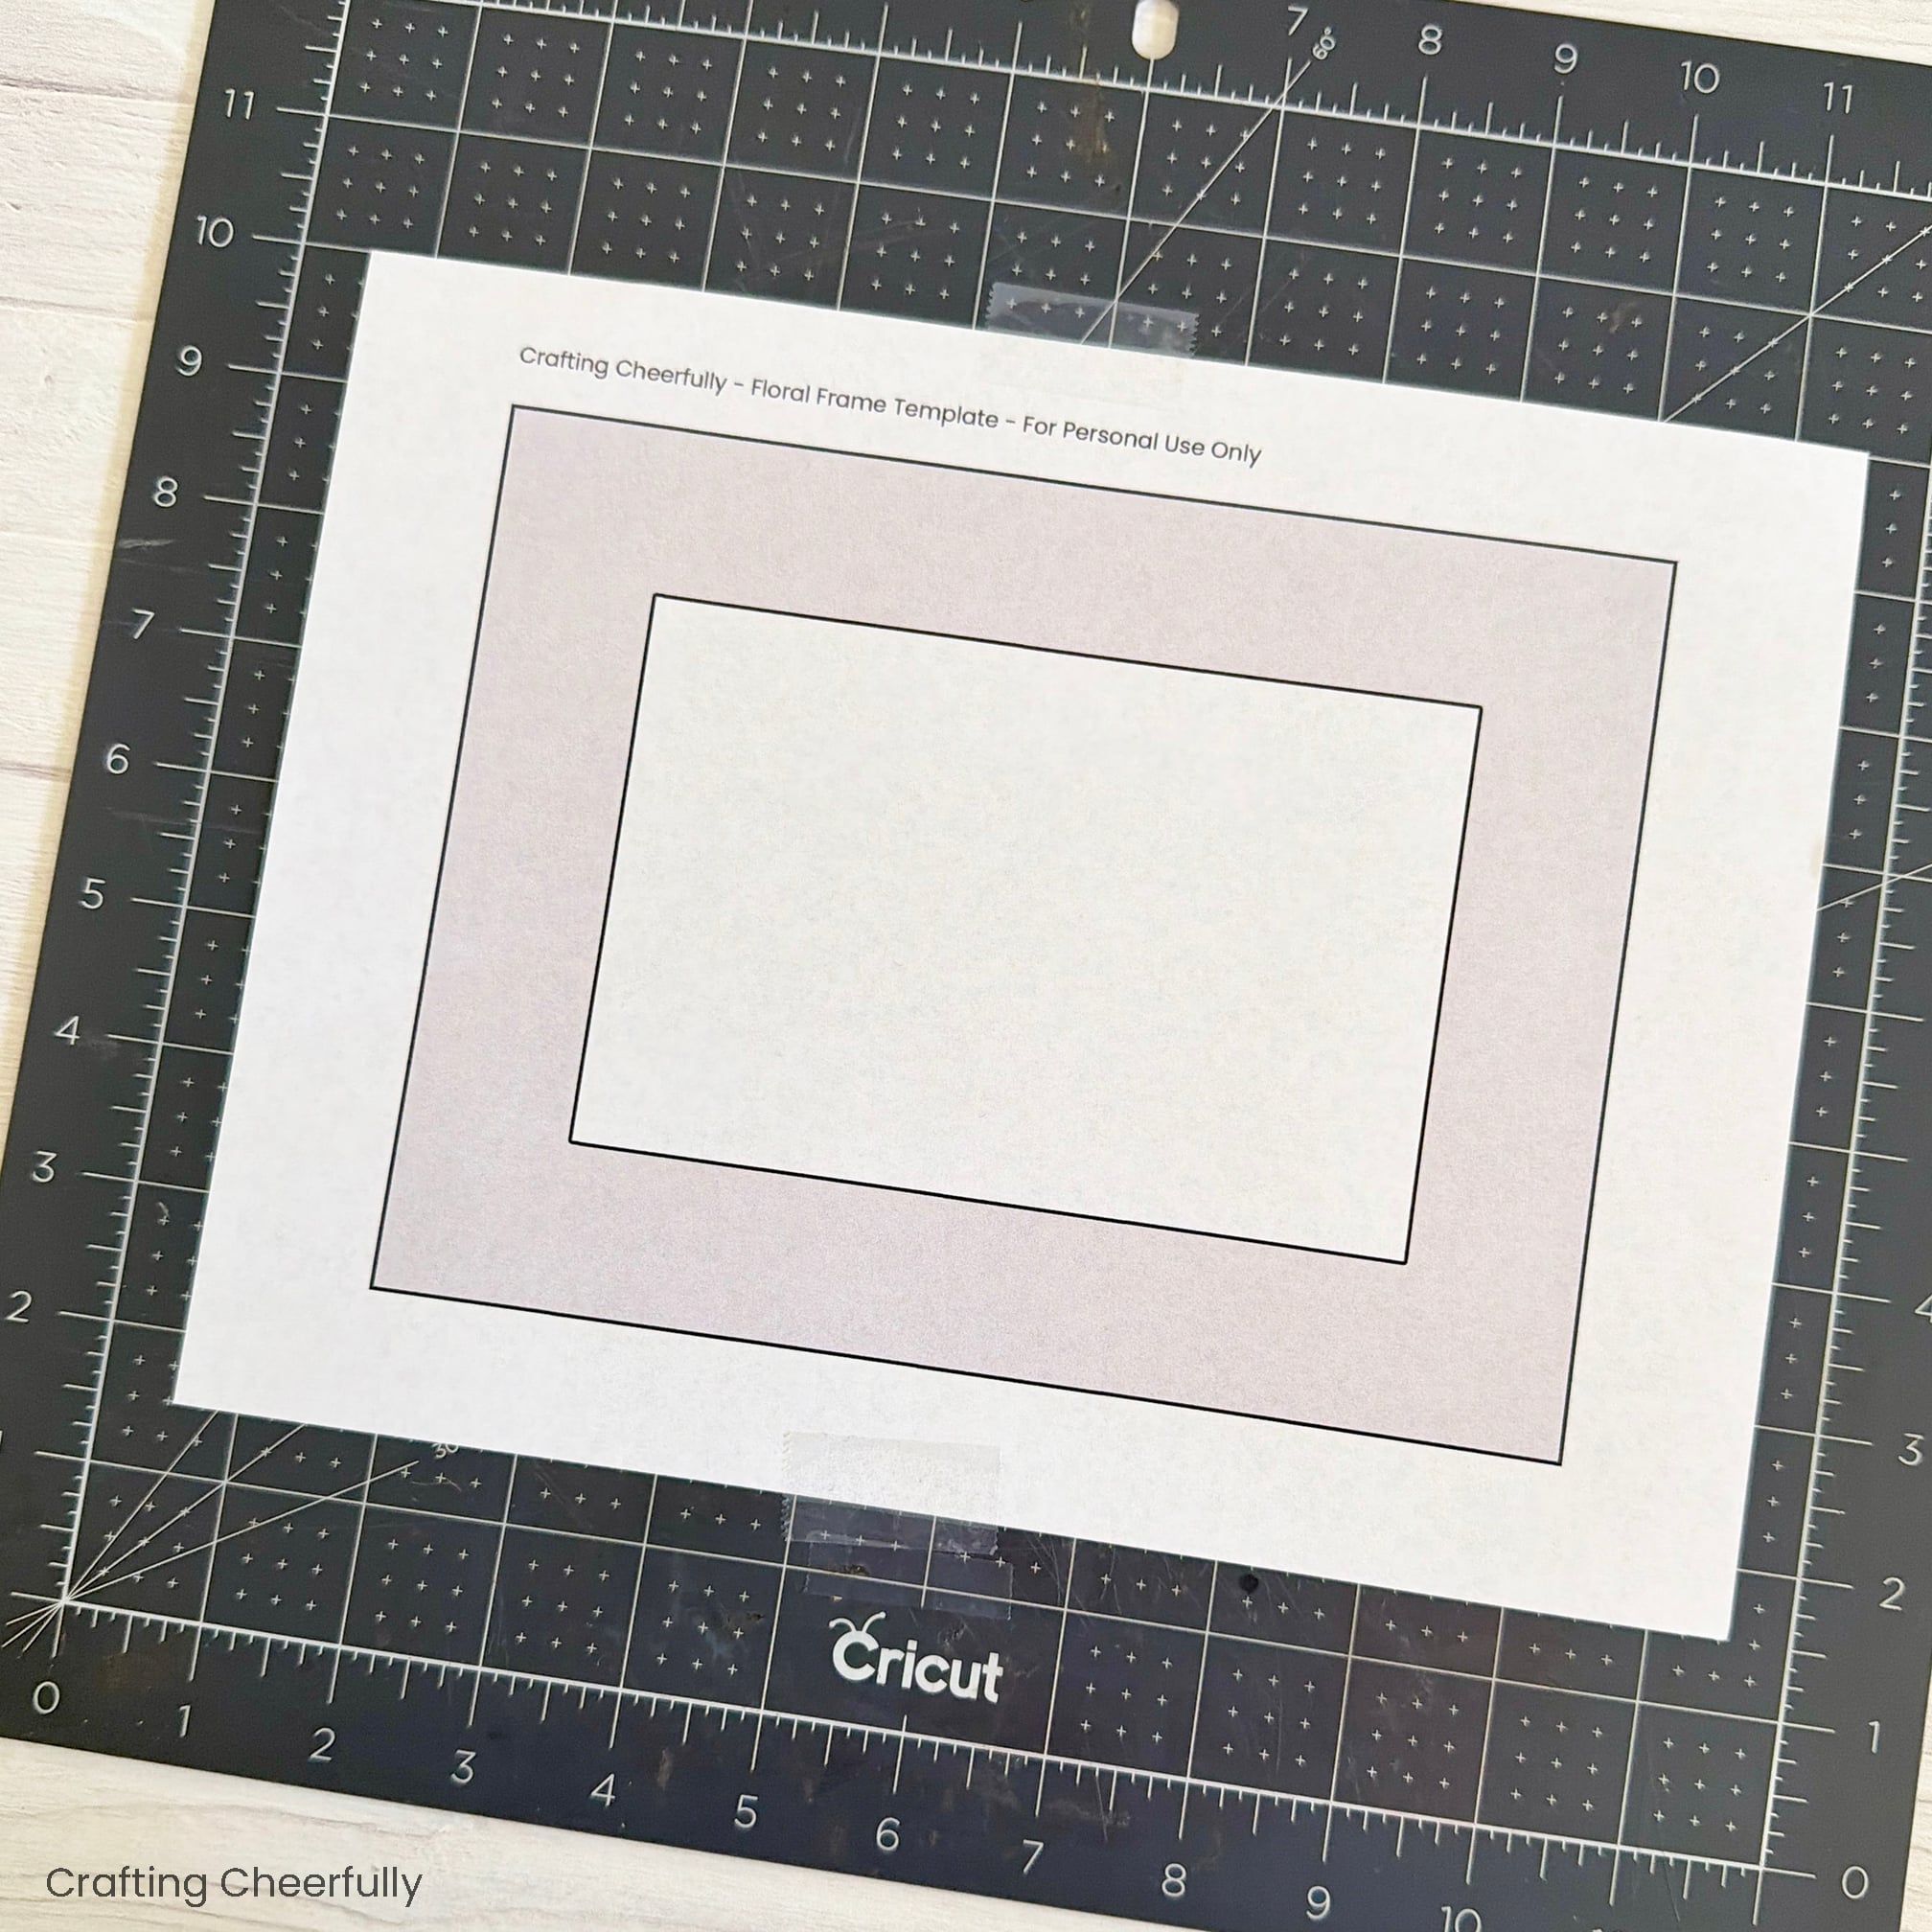
Next, peel the backing from one sheet of self-lamination. Lay this over the frame template (sticky side up) and hold it in place with two small pieces of tape. Carefully lay the 4″ x 6″ photo on the sticky lamination sheet following the guide page underneath. Set this aside, but remember the surface will be sticky, so don’t let anything fall onto your lamination page.
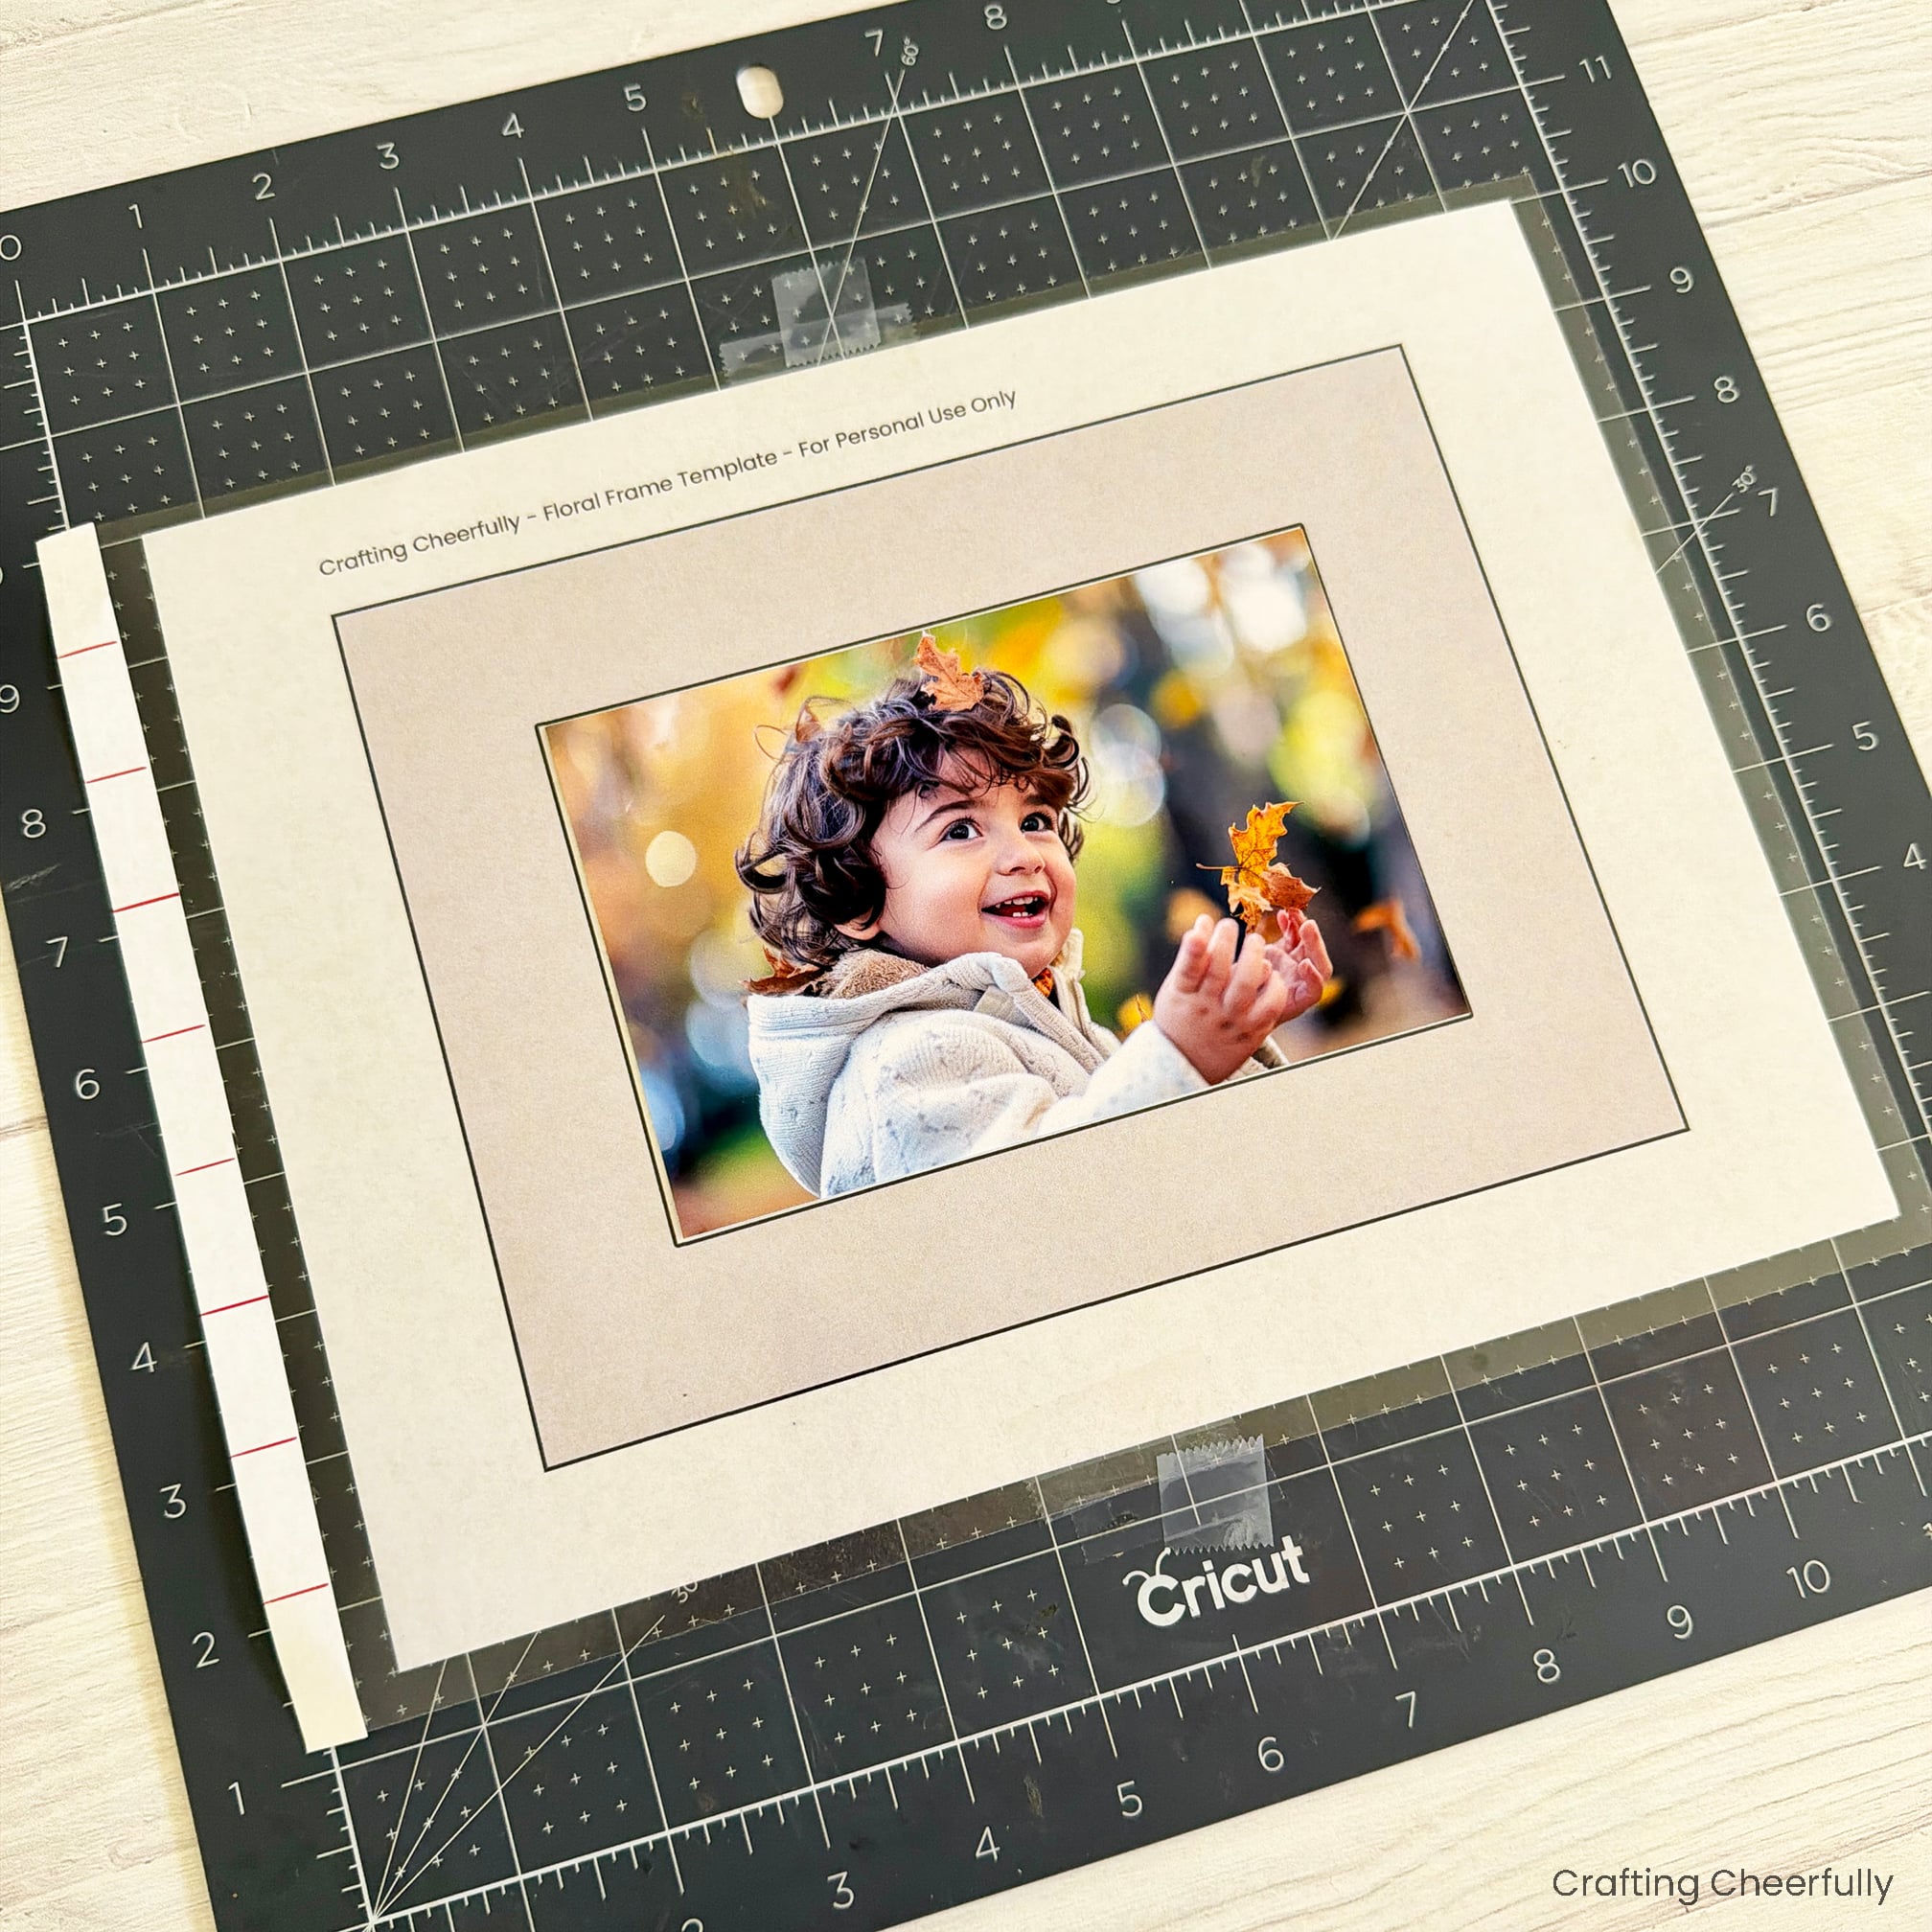
Arranging the Leaves and Flowers
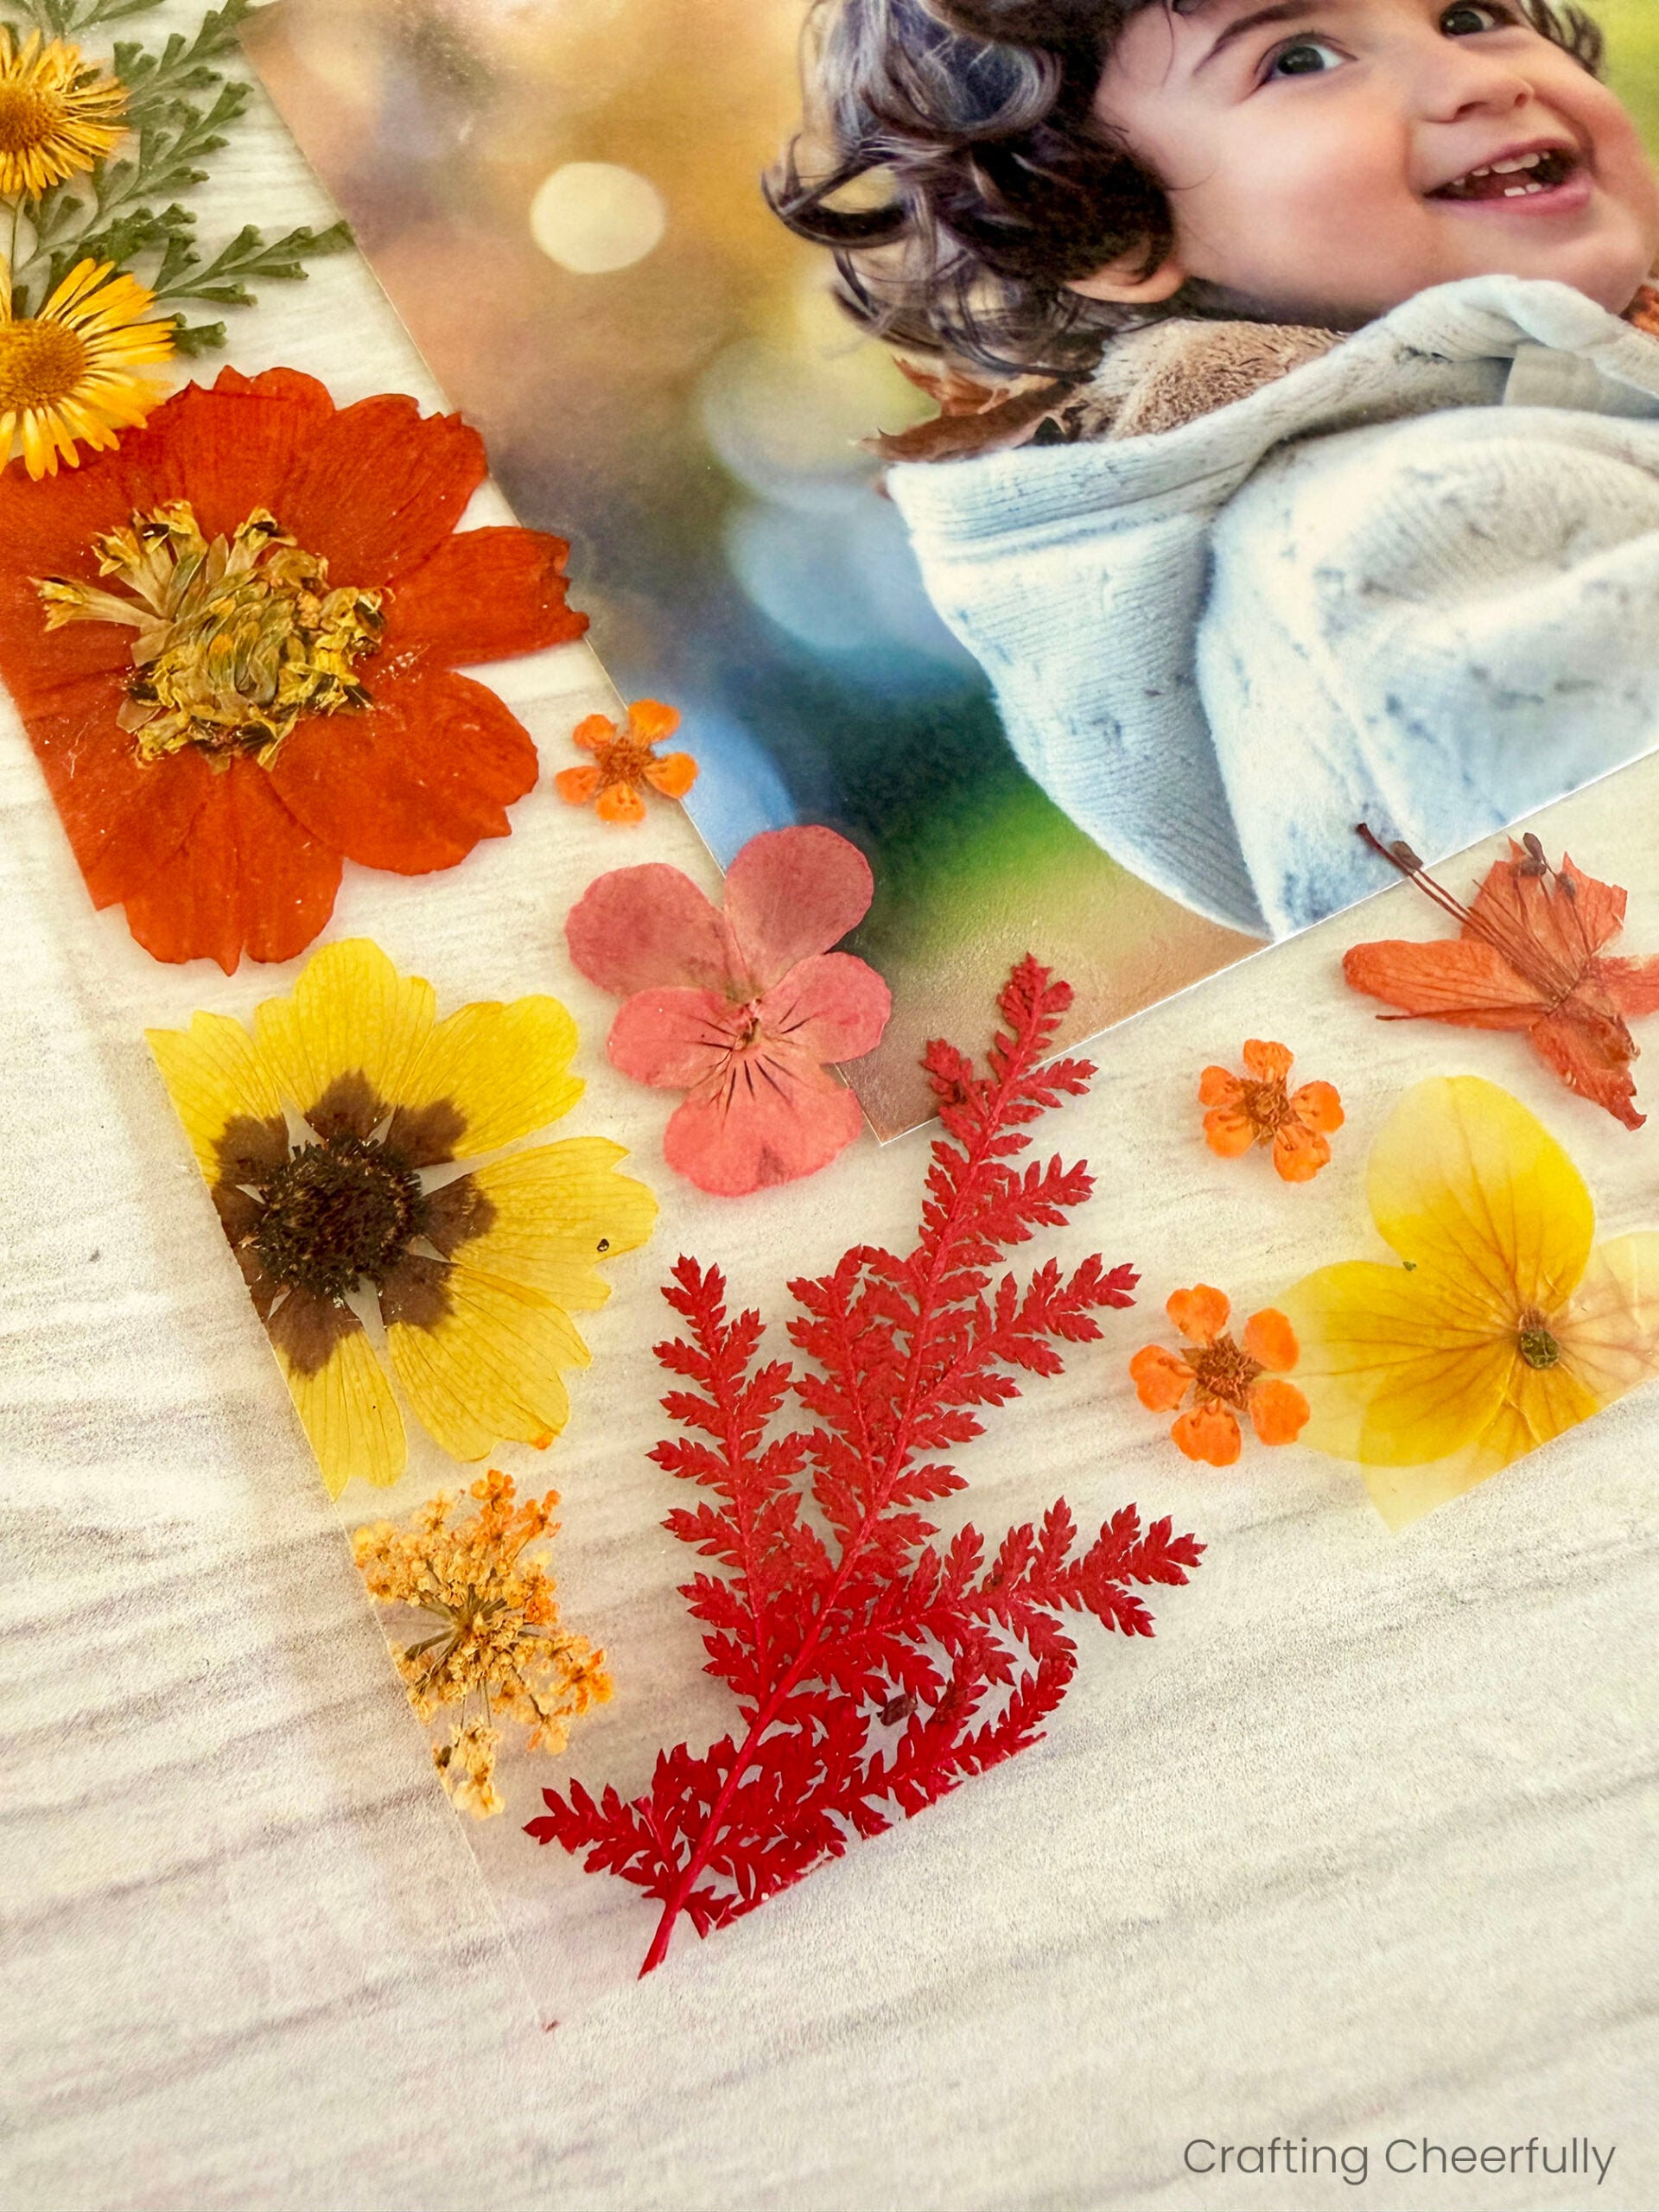
Use the other template to help you plan out your leaf and flower arrangement. Play around and have fun filling in the frame. It’s okay if the leaves or stems peek over the edges, but remember anything peeking over the inside lines of the frame will cover parts of your photo and anything sticking outside of your frame will be cut off.
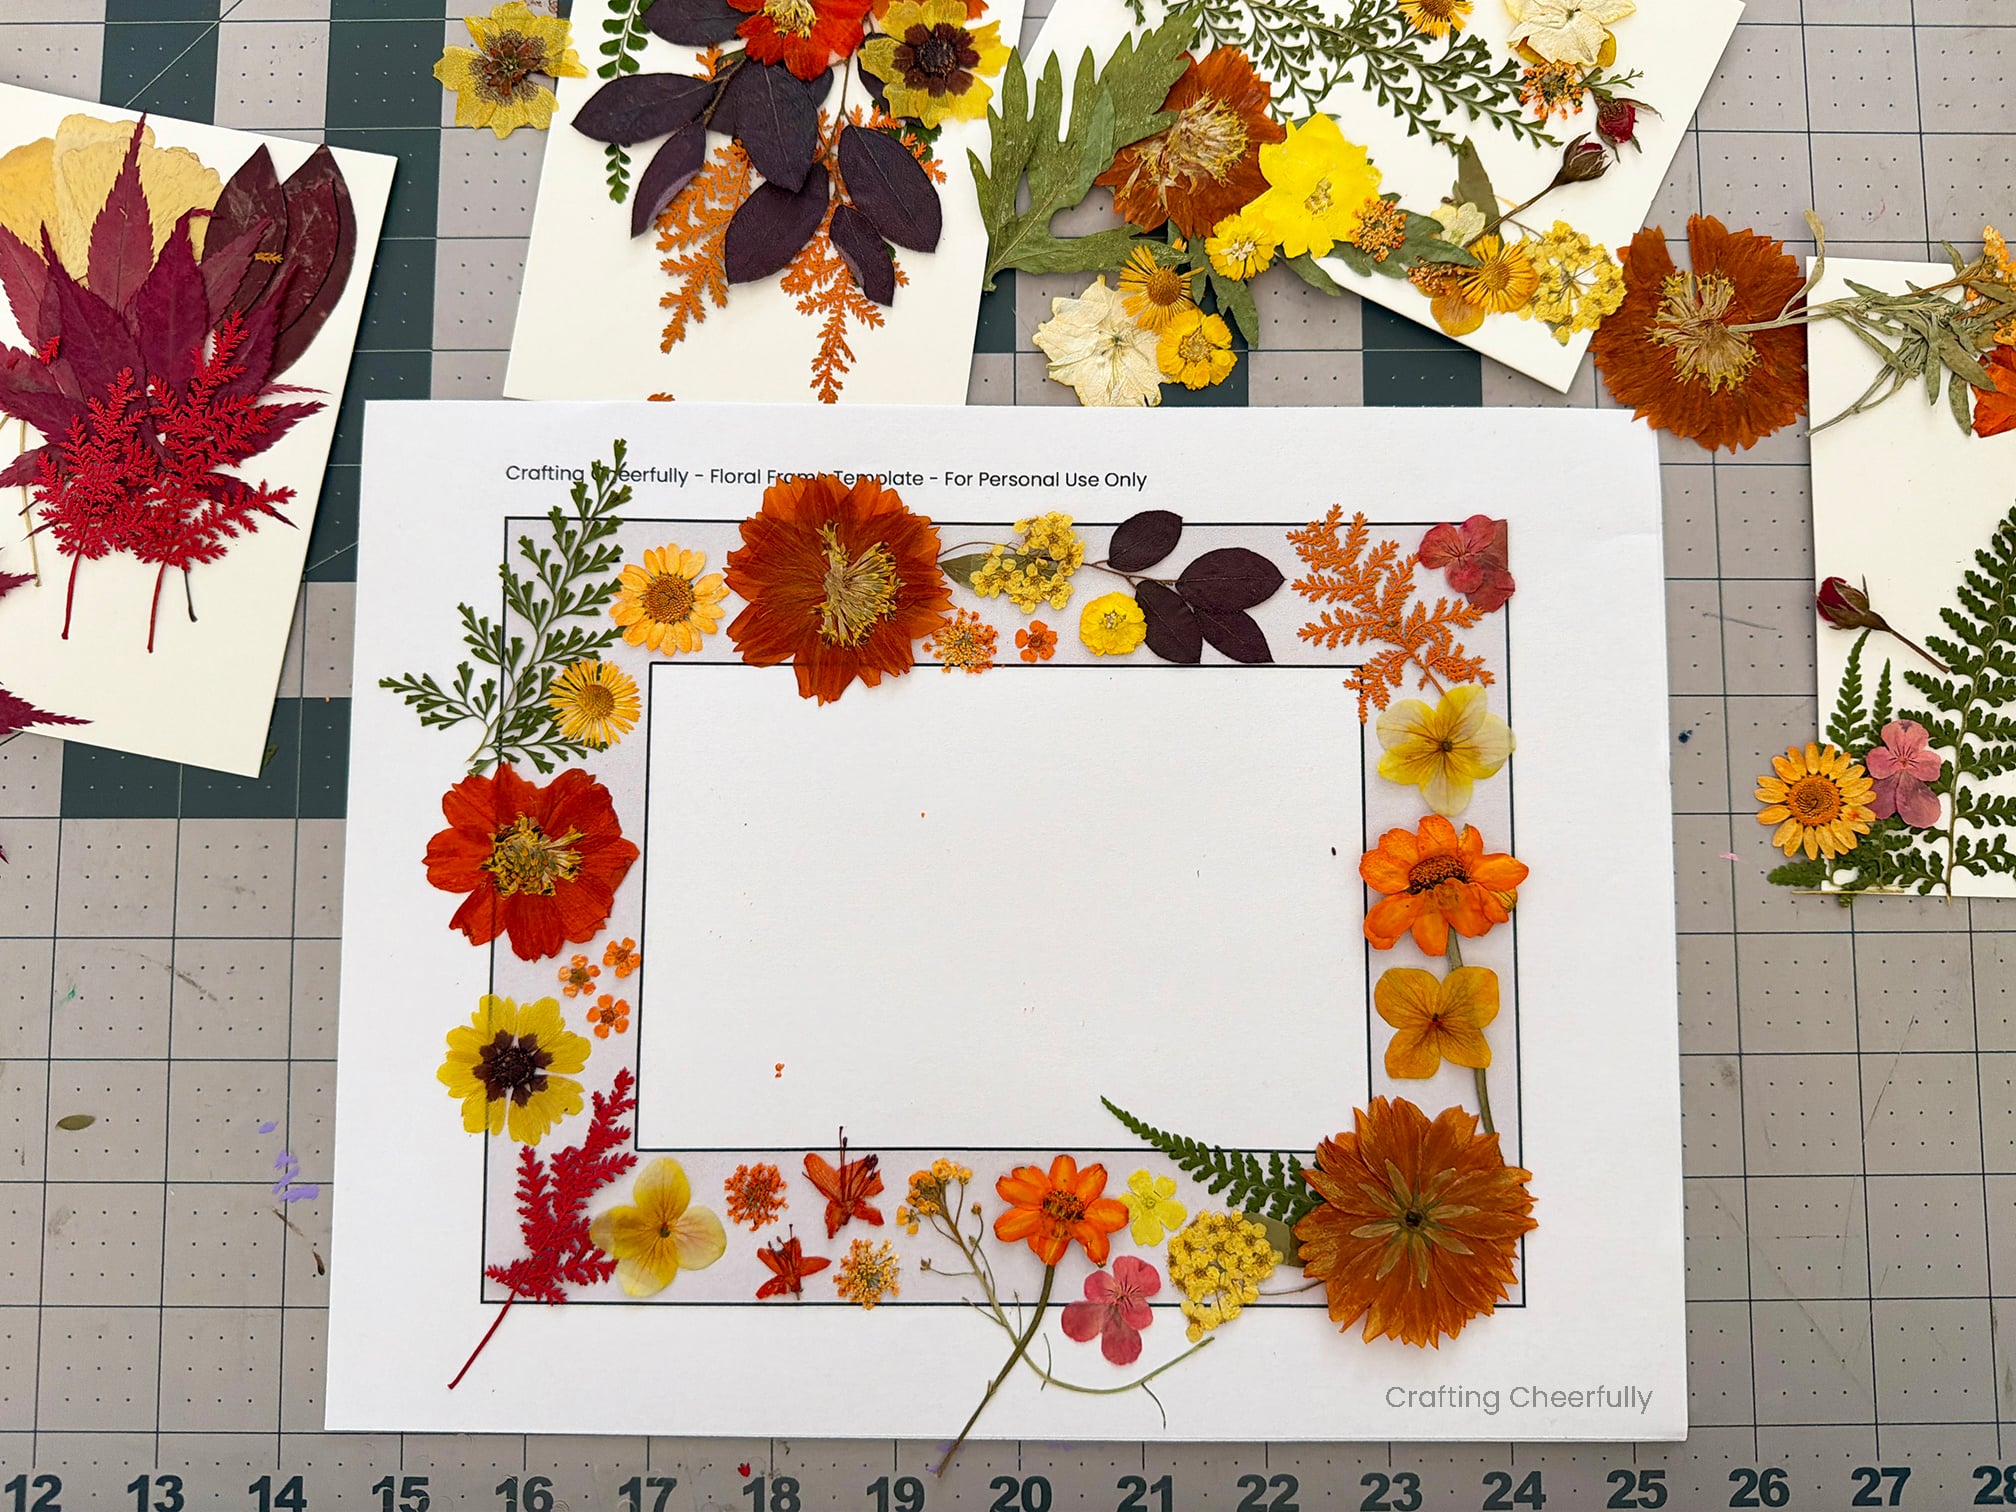
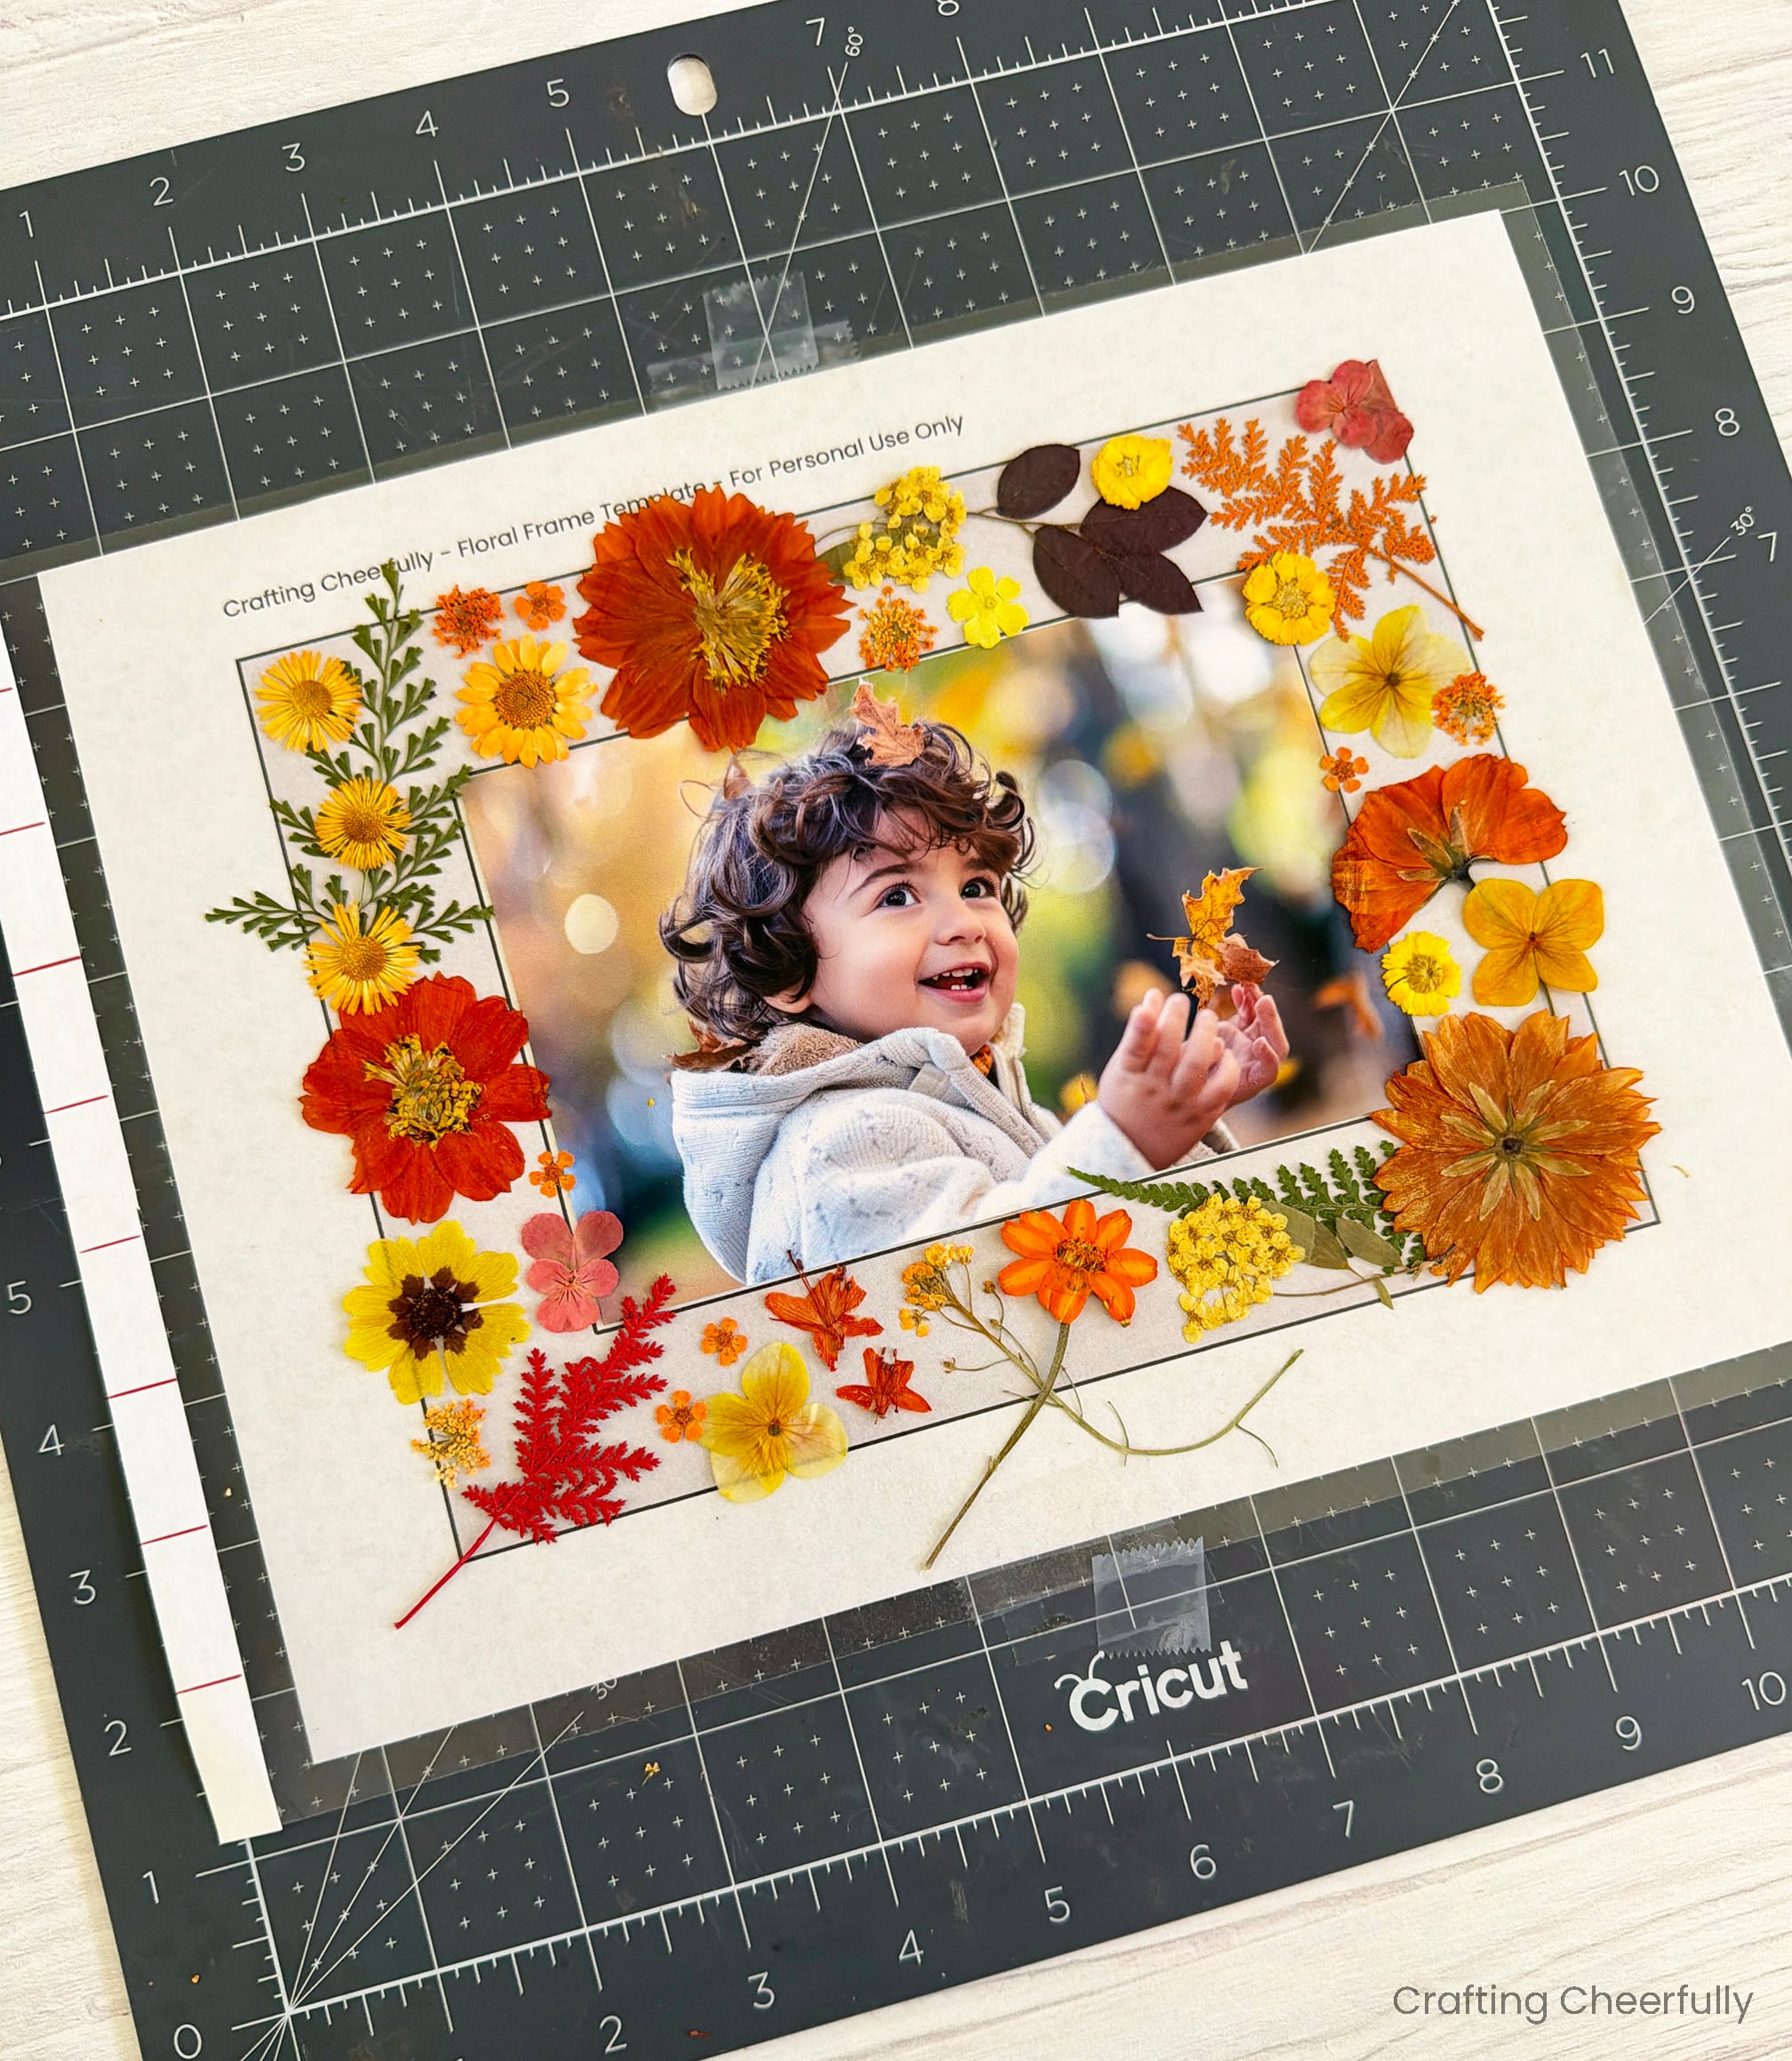
Once you are happy with your arrangement, it is time to transfer it over to the laminated sheet. Follow the guide under the lamination sheet and the arrangement you just made. Your arrangement may change as you transfer the pieces but that’s okay. You can take a photo of your arrangement to reference as you are moving the pieces around.
Doing this in sections and starting with the pieces that are underneath will help. Once you lay something onto the sticky lamination, it will be difficult to pick it back up without damaging the leaves and flowers. This is why I recommend playing around on the paper template to figure out what you think looks nice.
Laminating the Leaves
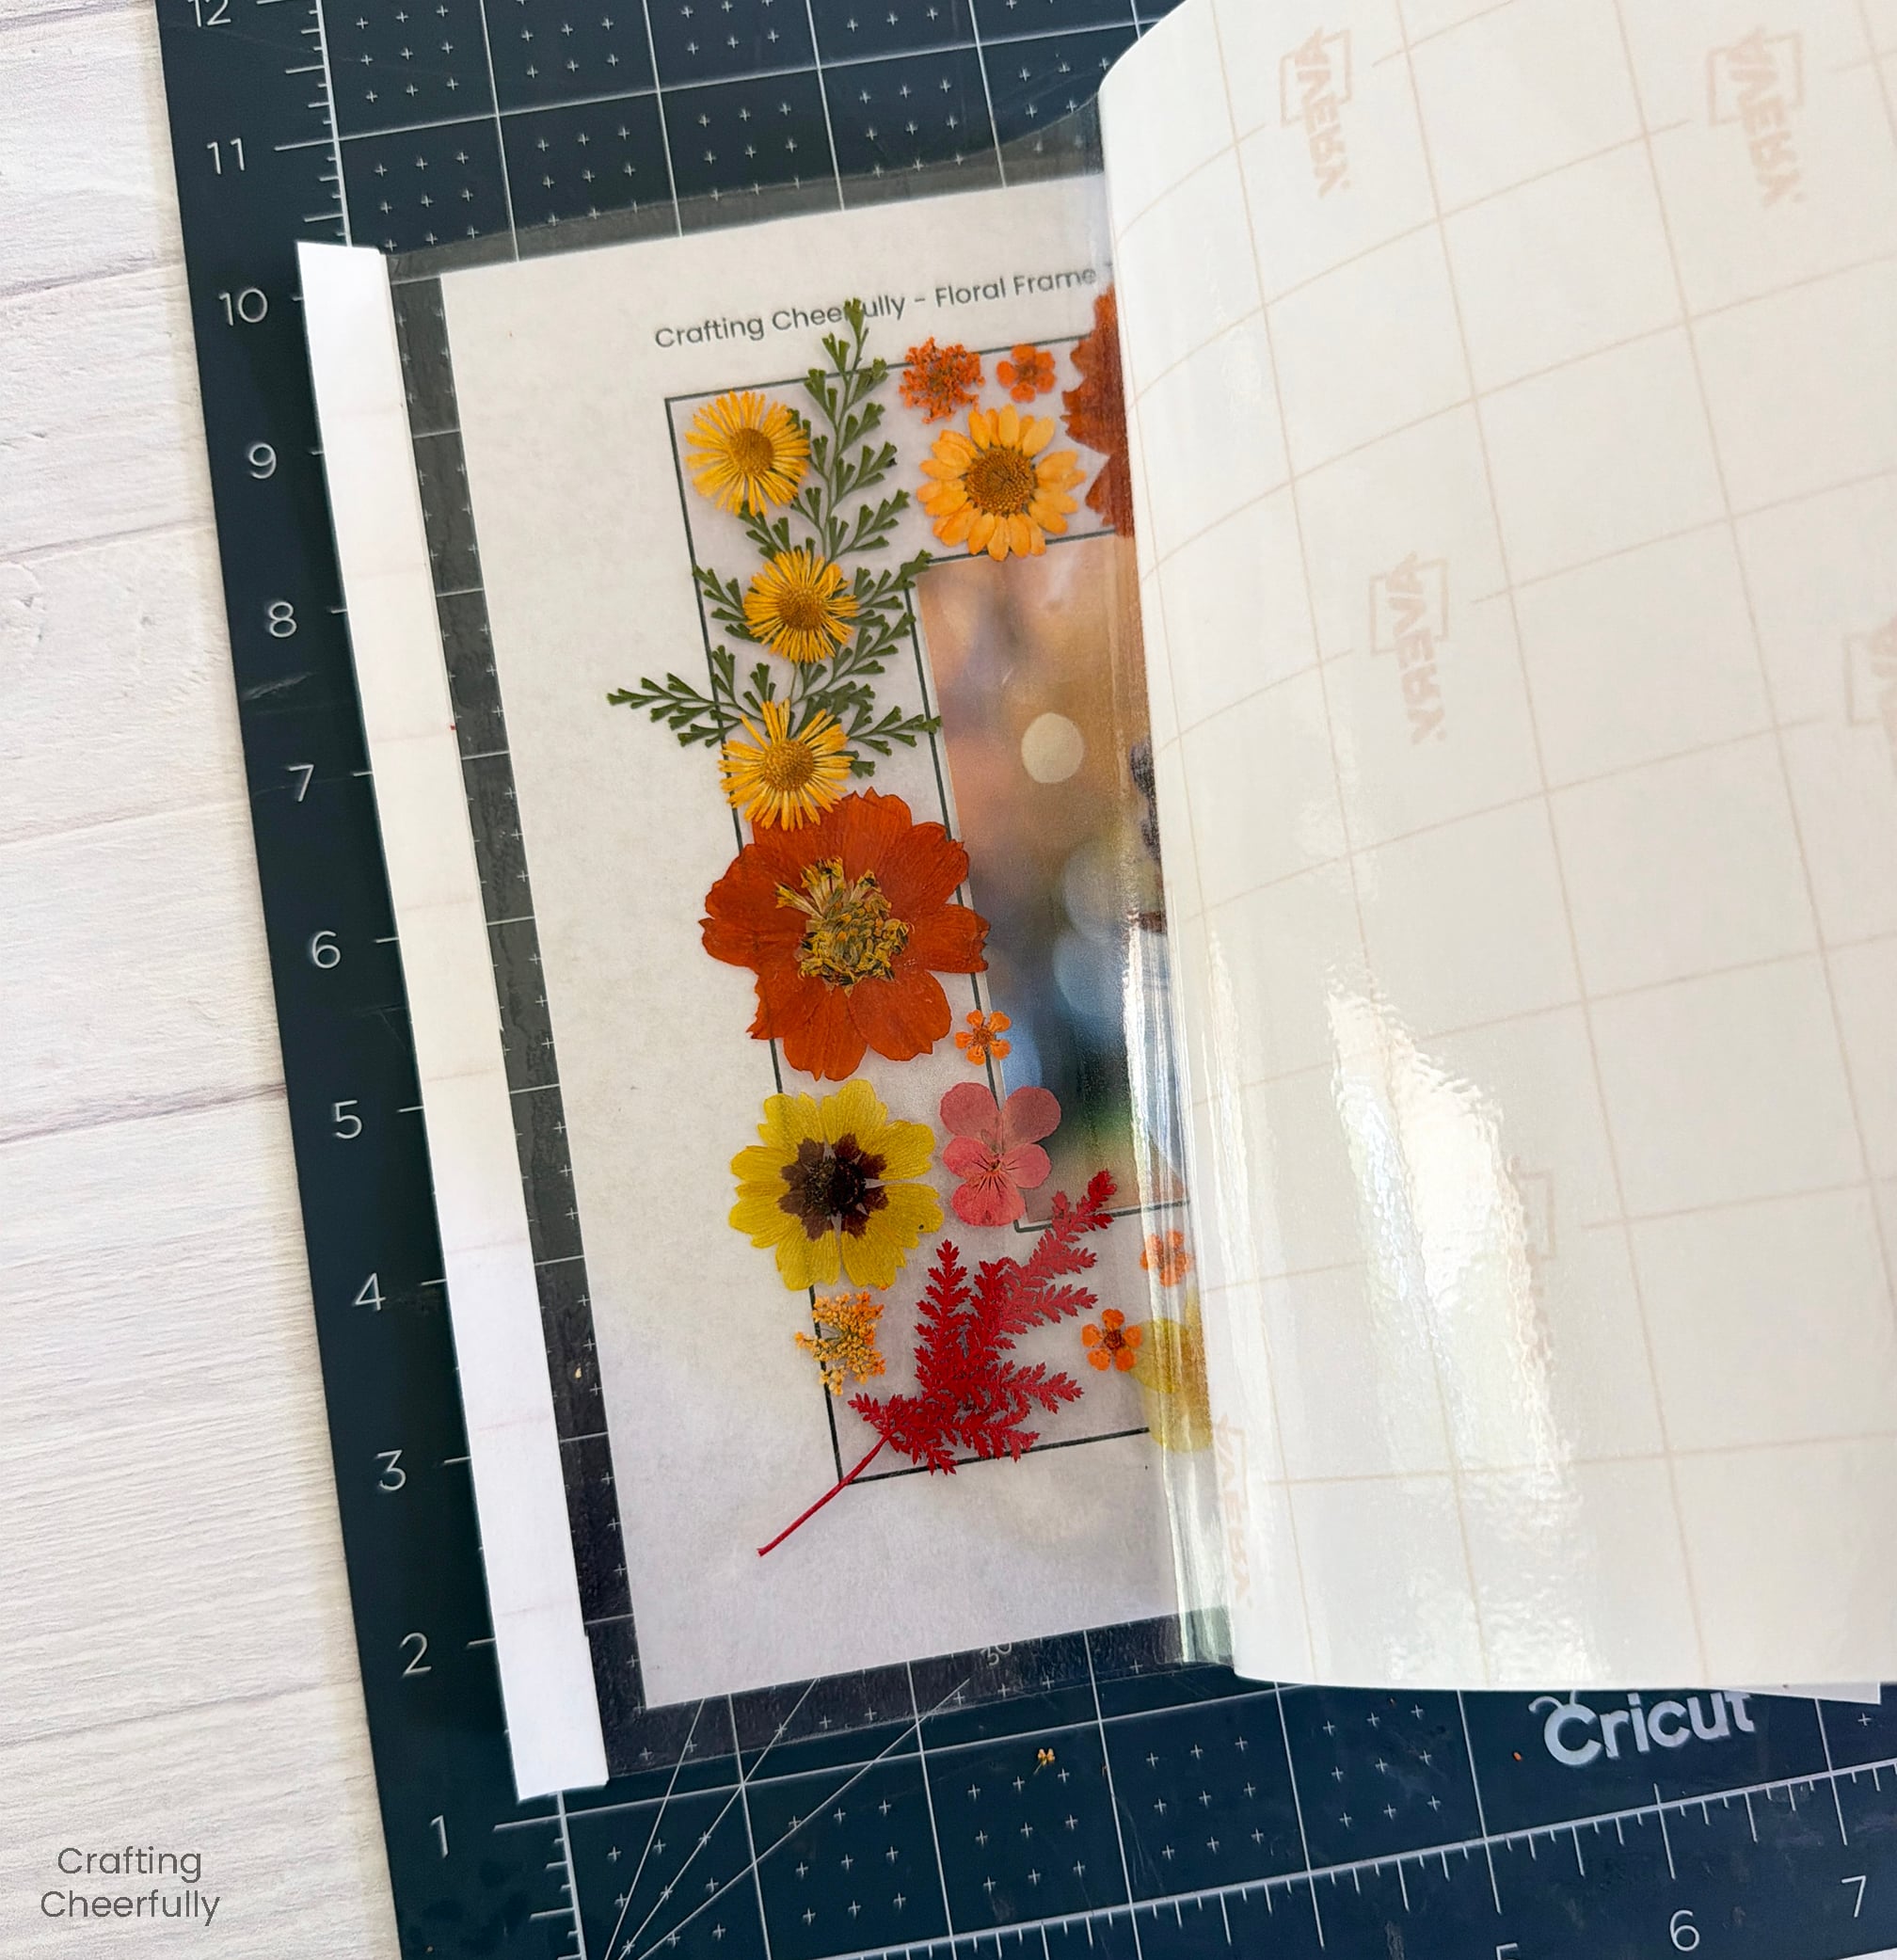
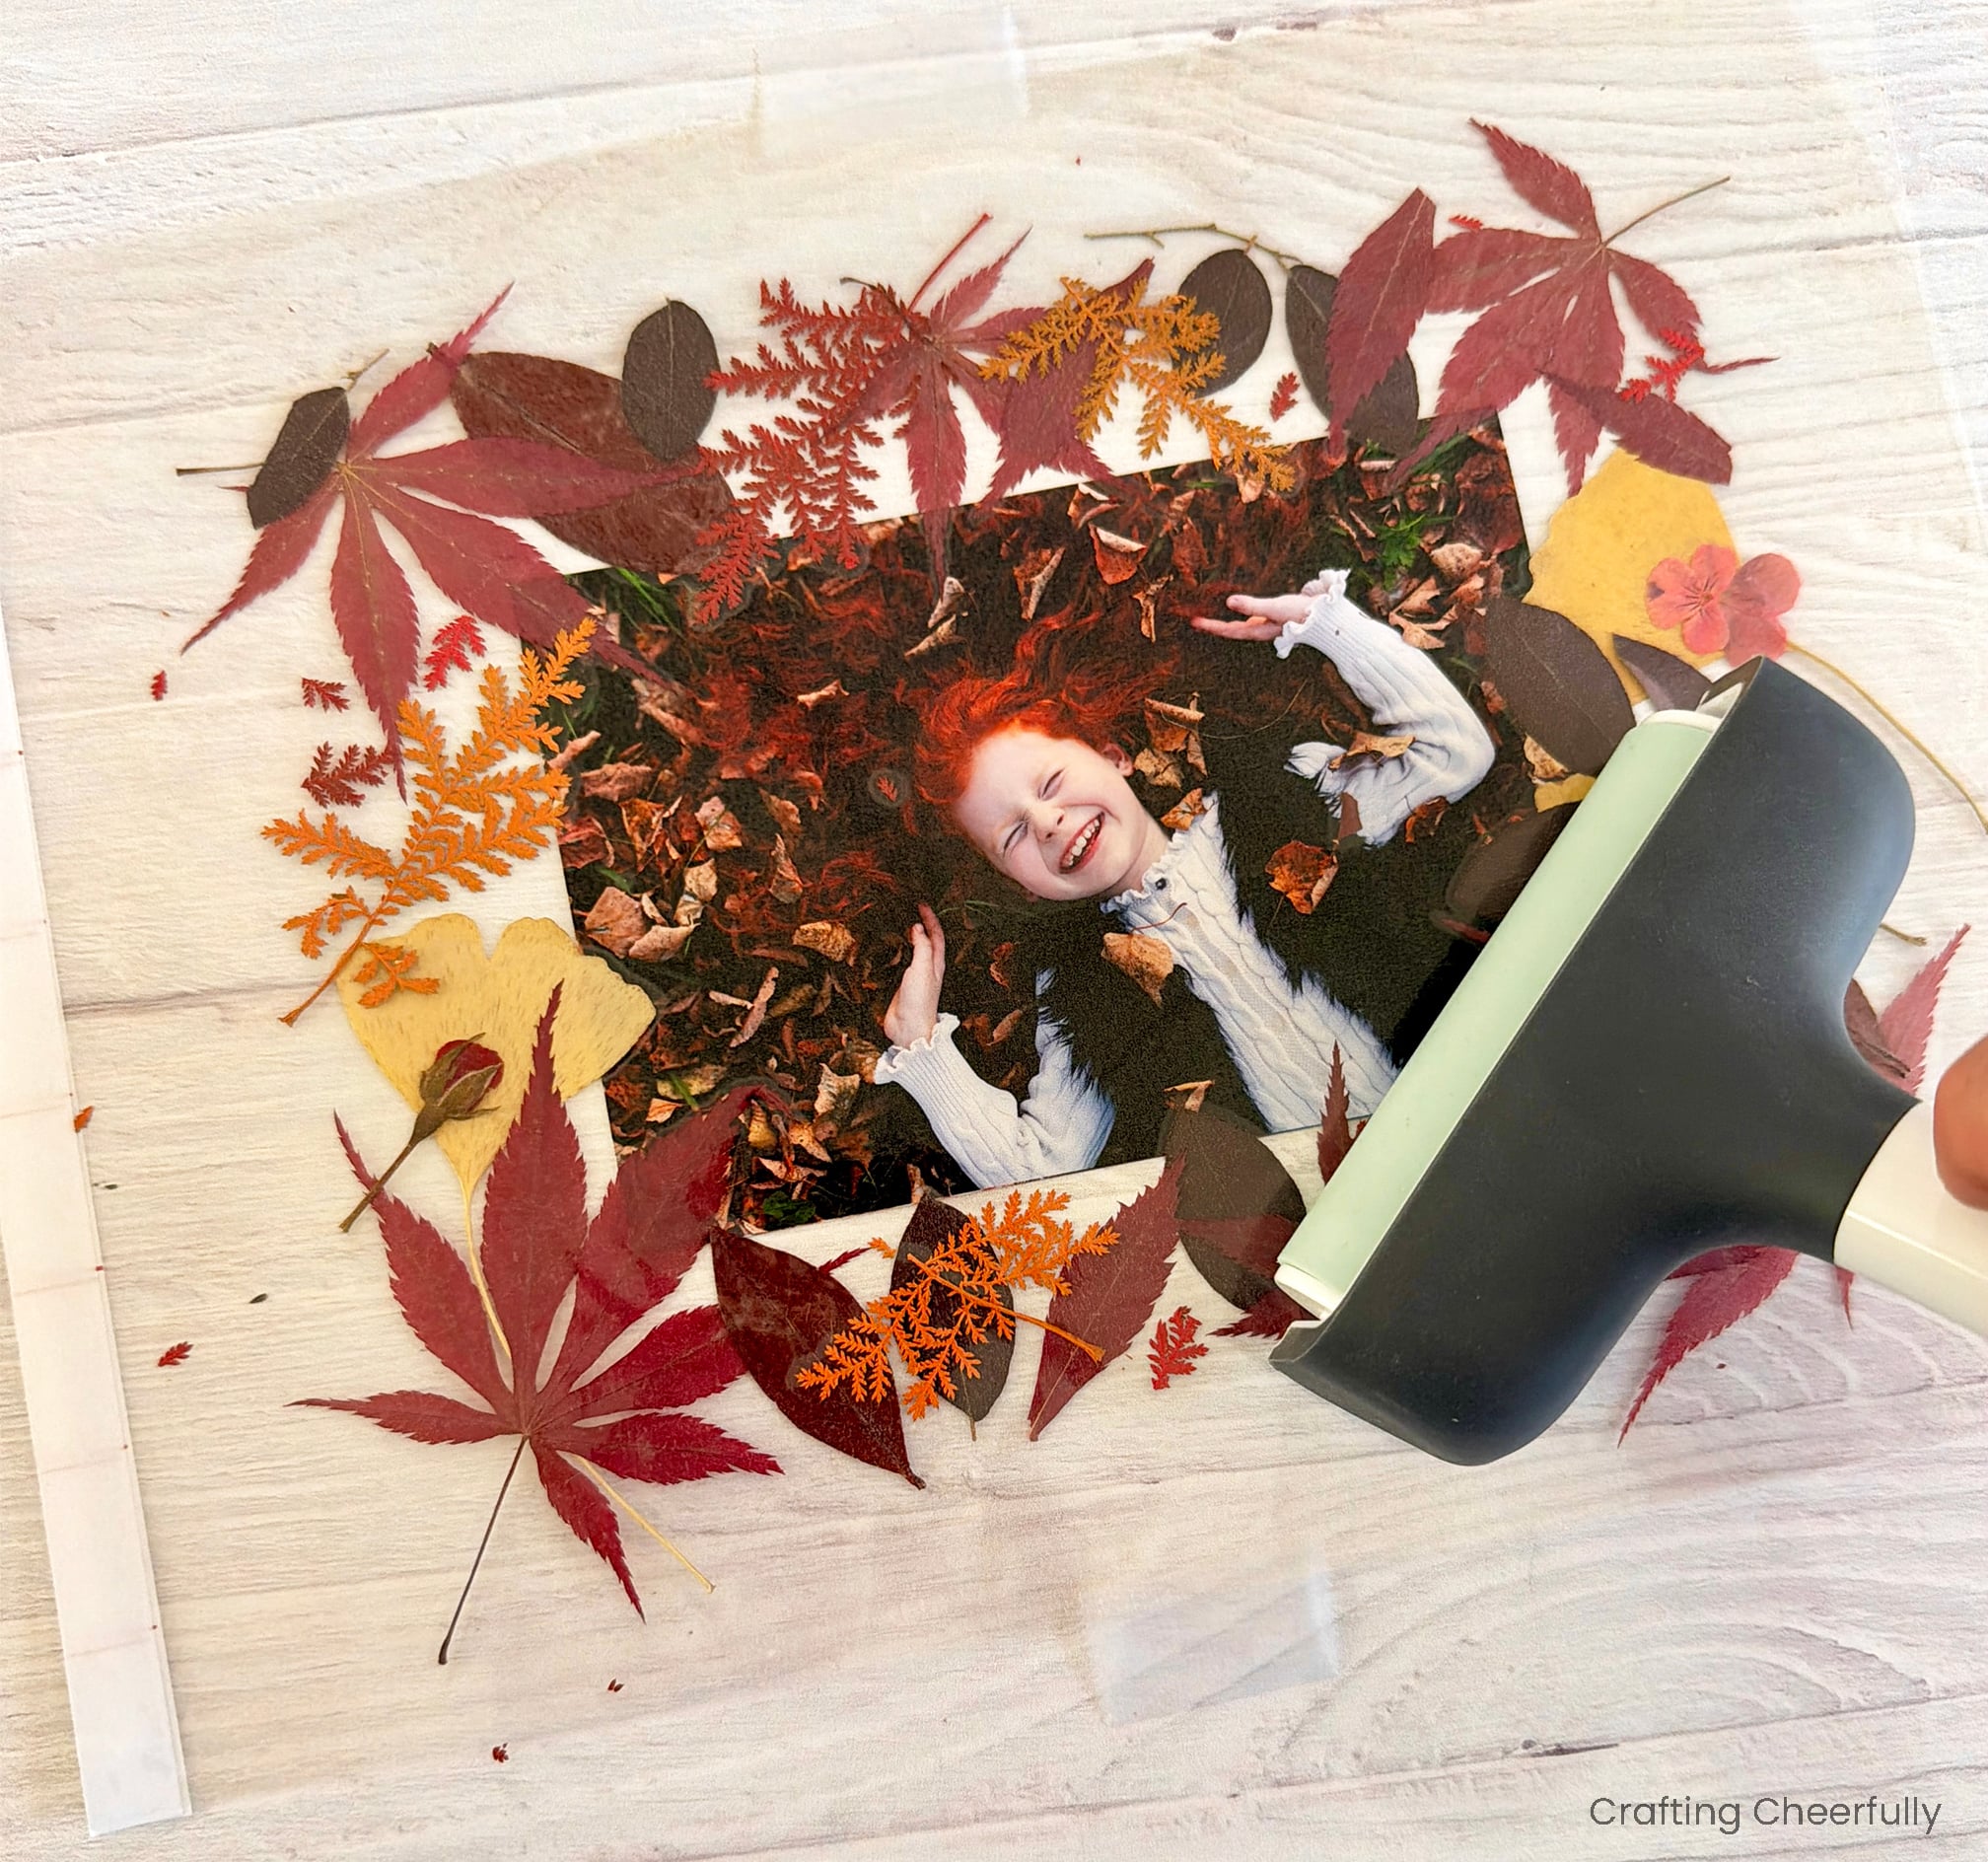
Once you are happy with your arrangement on the laminated page, it is time to cover it with the other sheet of lamination and seal the pressed leaves and flowers in place. Carefully apply the top layer, lining up the paper edges and slowly peeling the paper backing, smoothing down the lamination as you go. Use your hands or a brayer to smooth it down.
Cutting the Frame
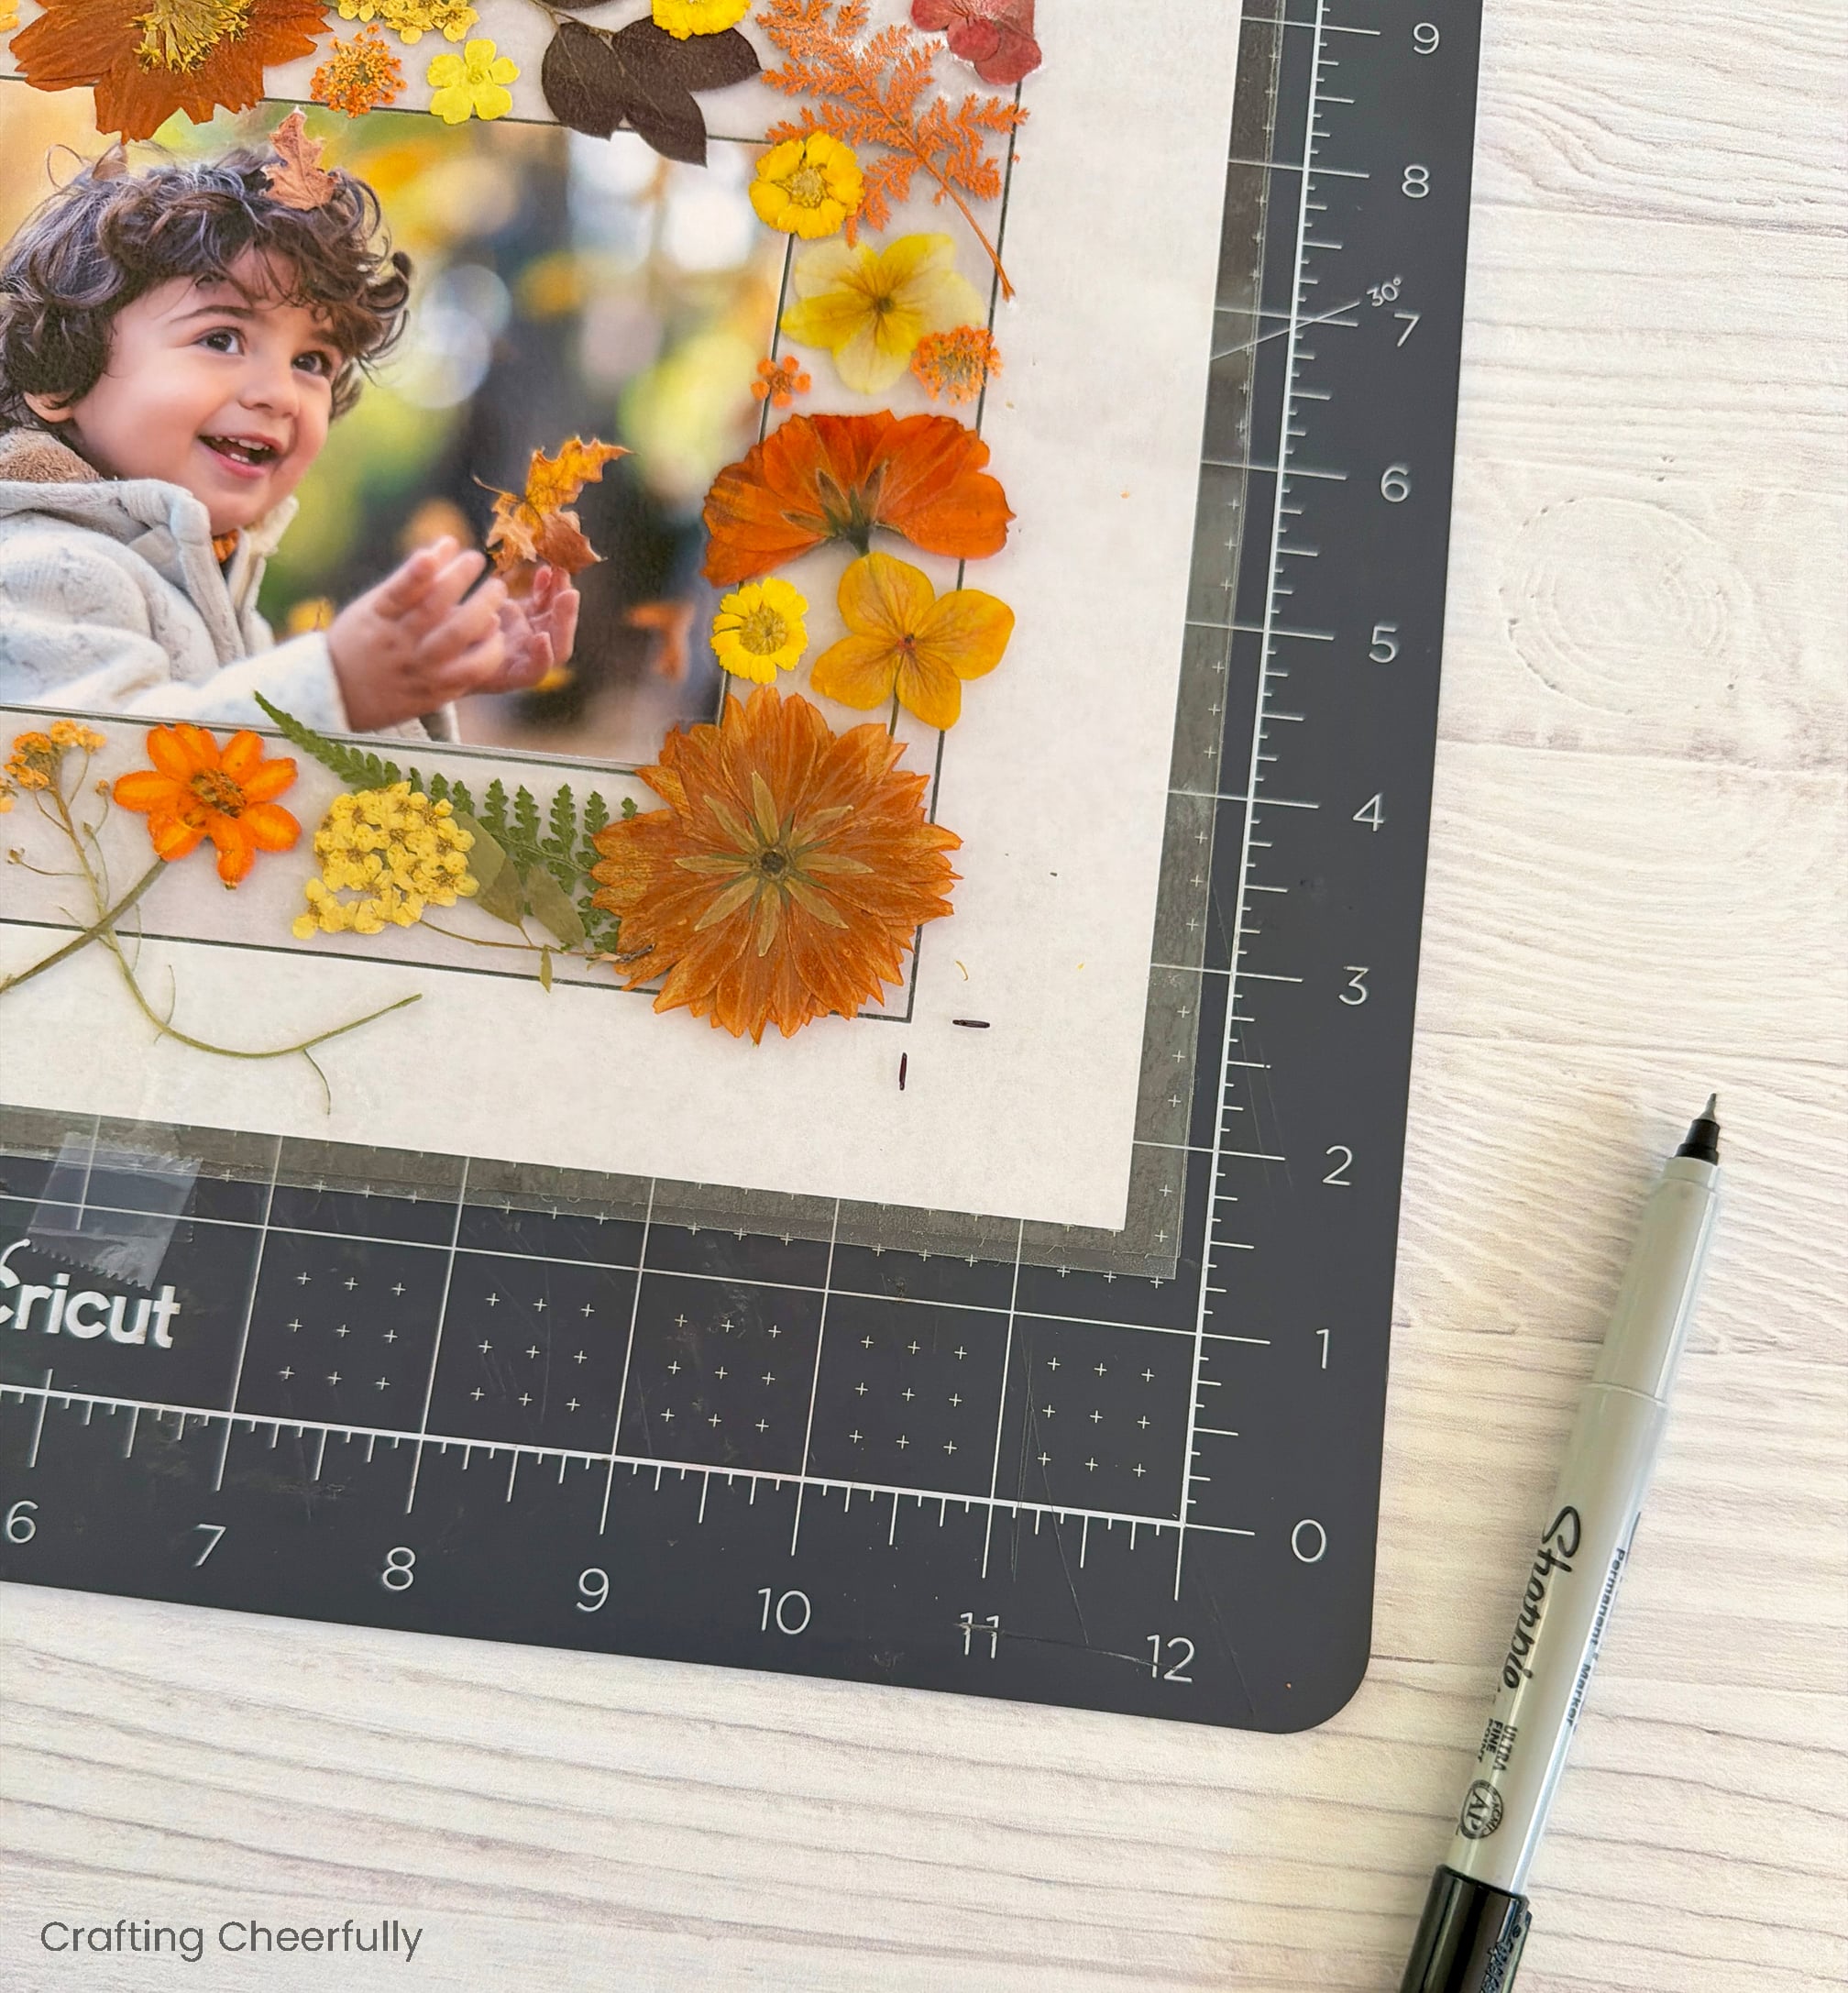
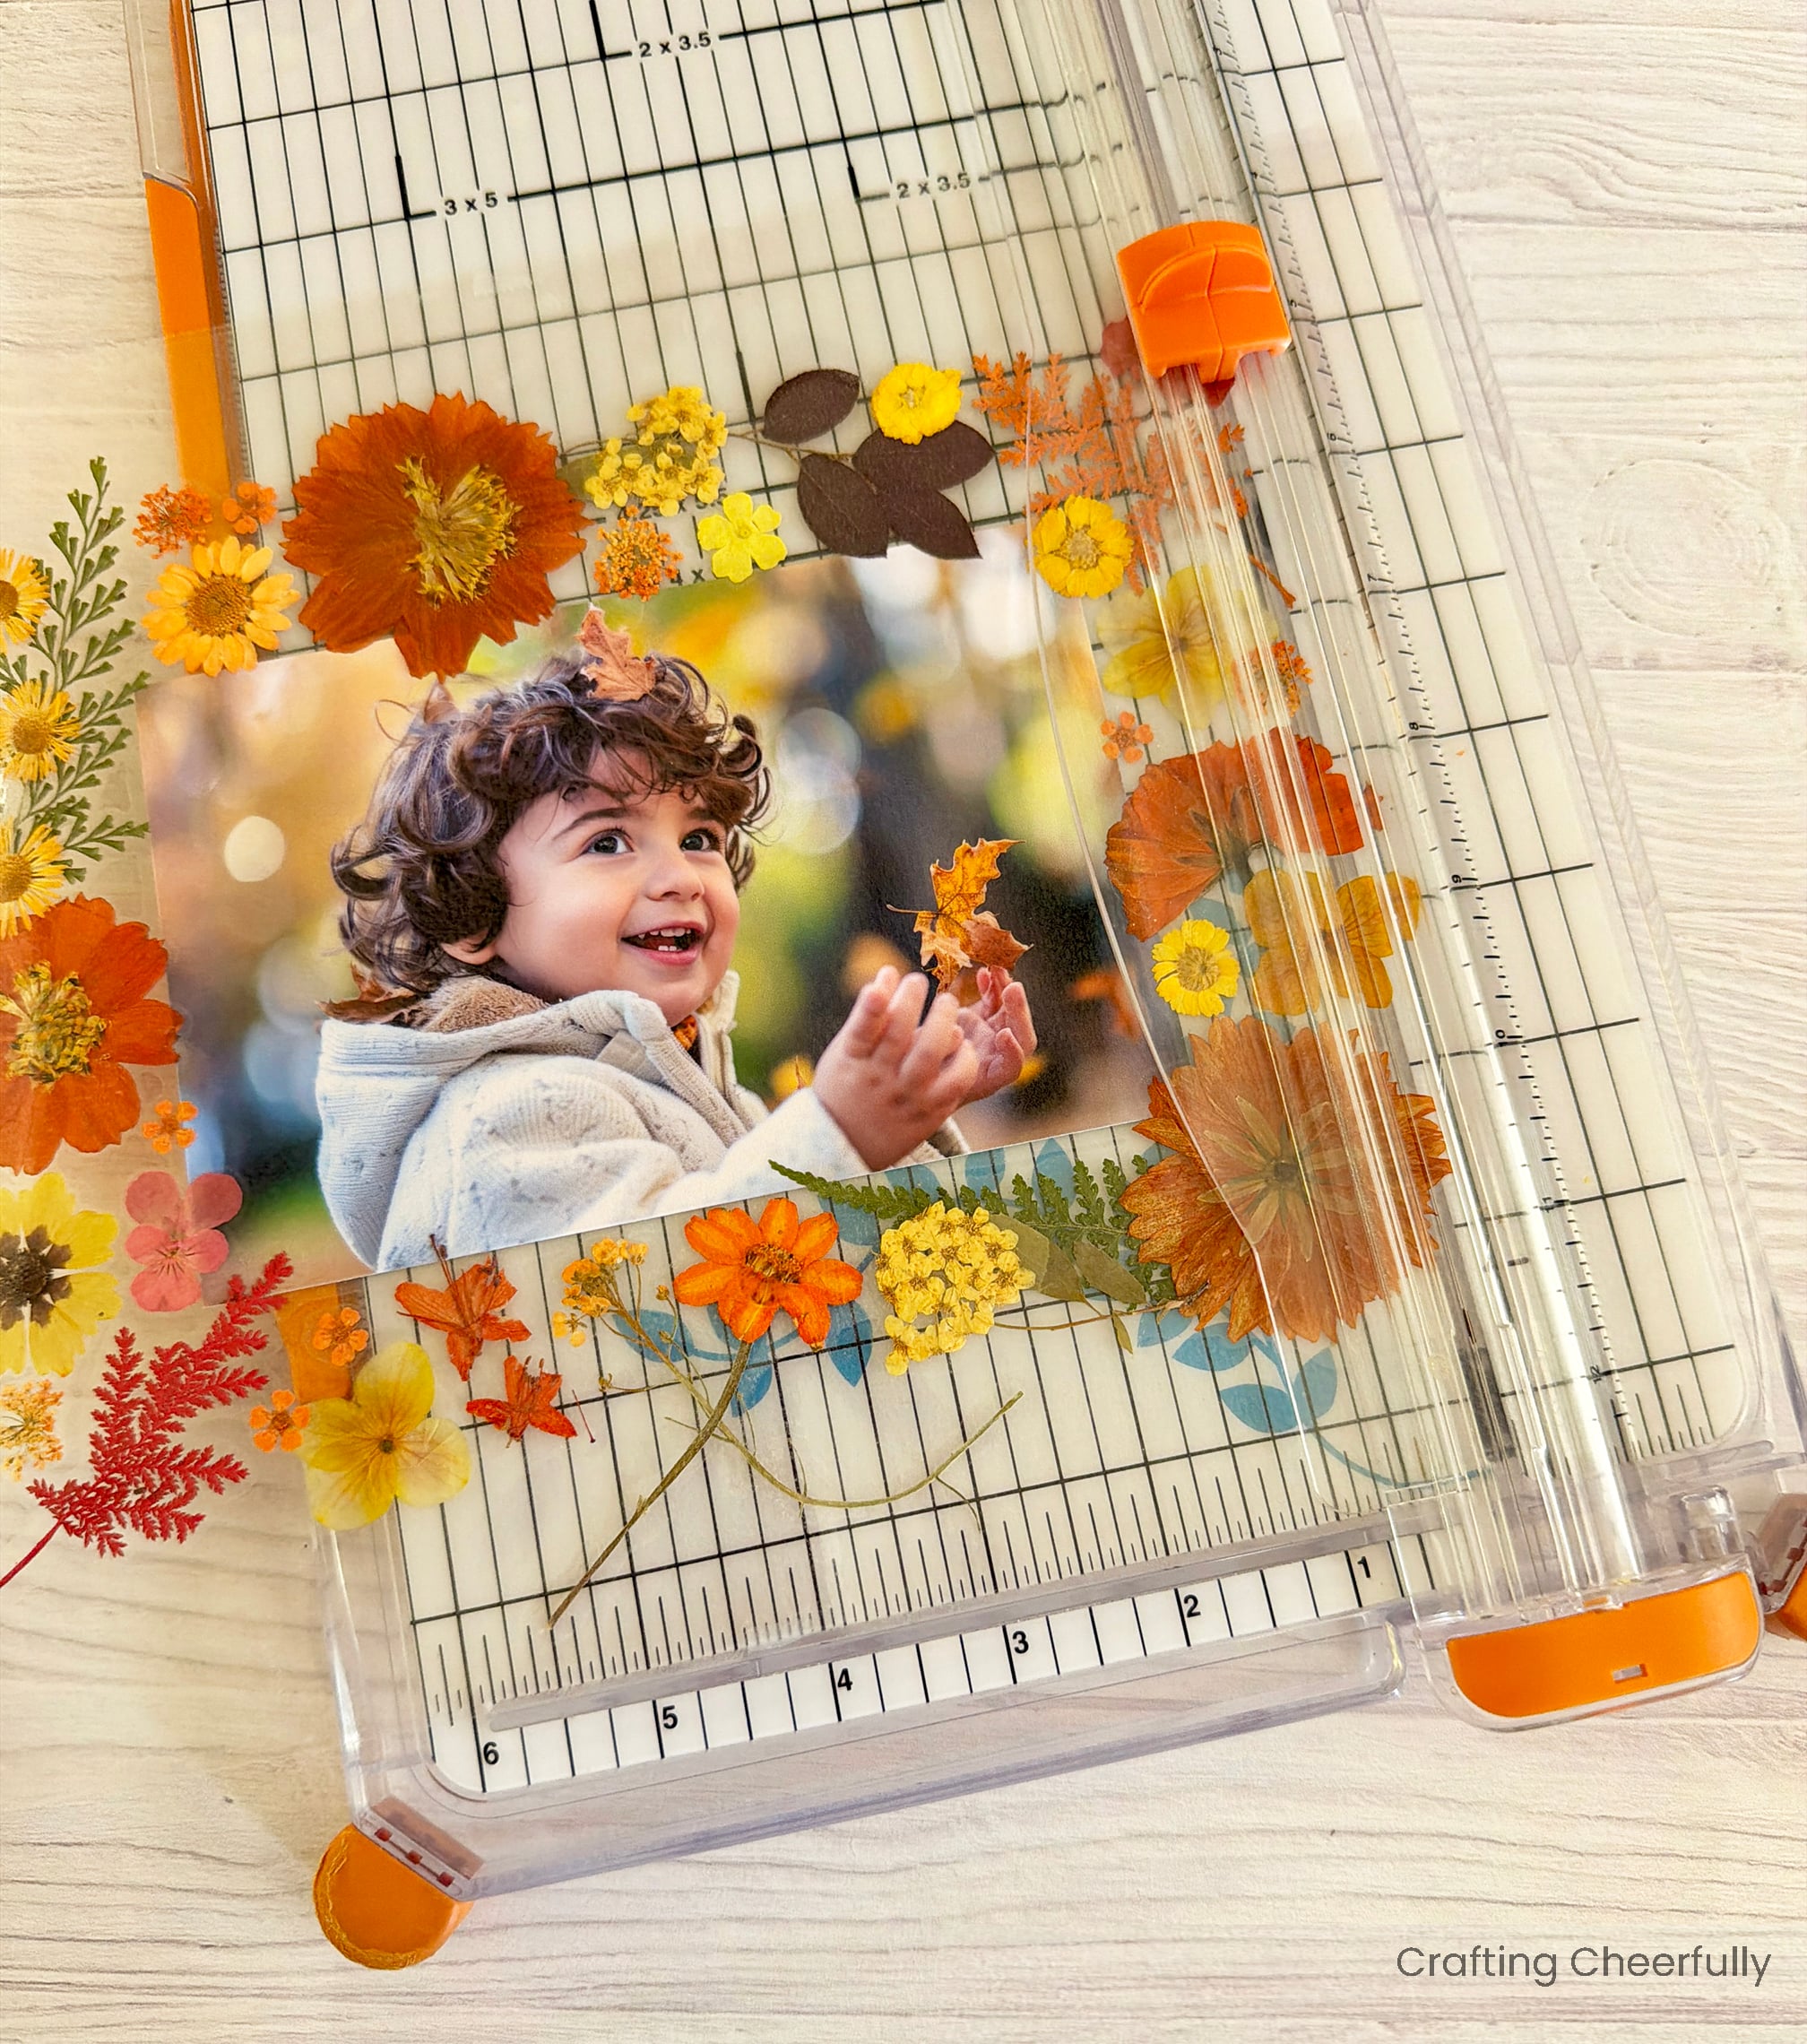
Next it’s time to cut out the frame. Use a marker or Sharpie to mark the edges of the frame on the laminated sheets using the guide below. Remove the laminated frame and cut it down to size using a paper trimmer or scissors. If cutting it with a scissors, I recommend tracing the frame with marker on all four sides using a ruler so you have straight lines to cut along.
Finishing the Frame
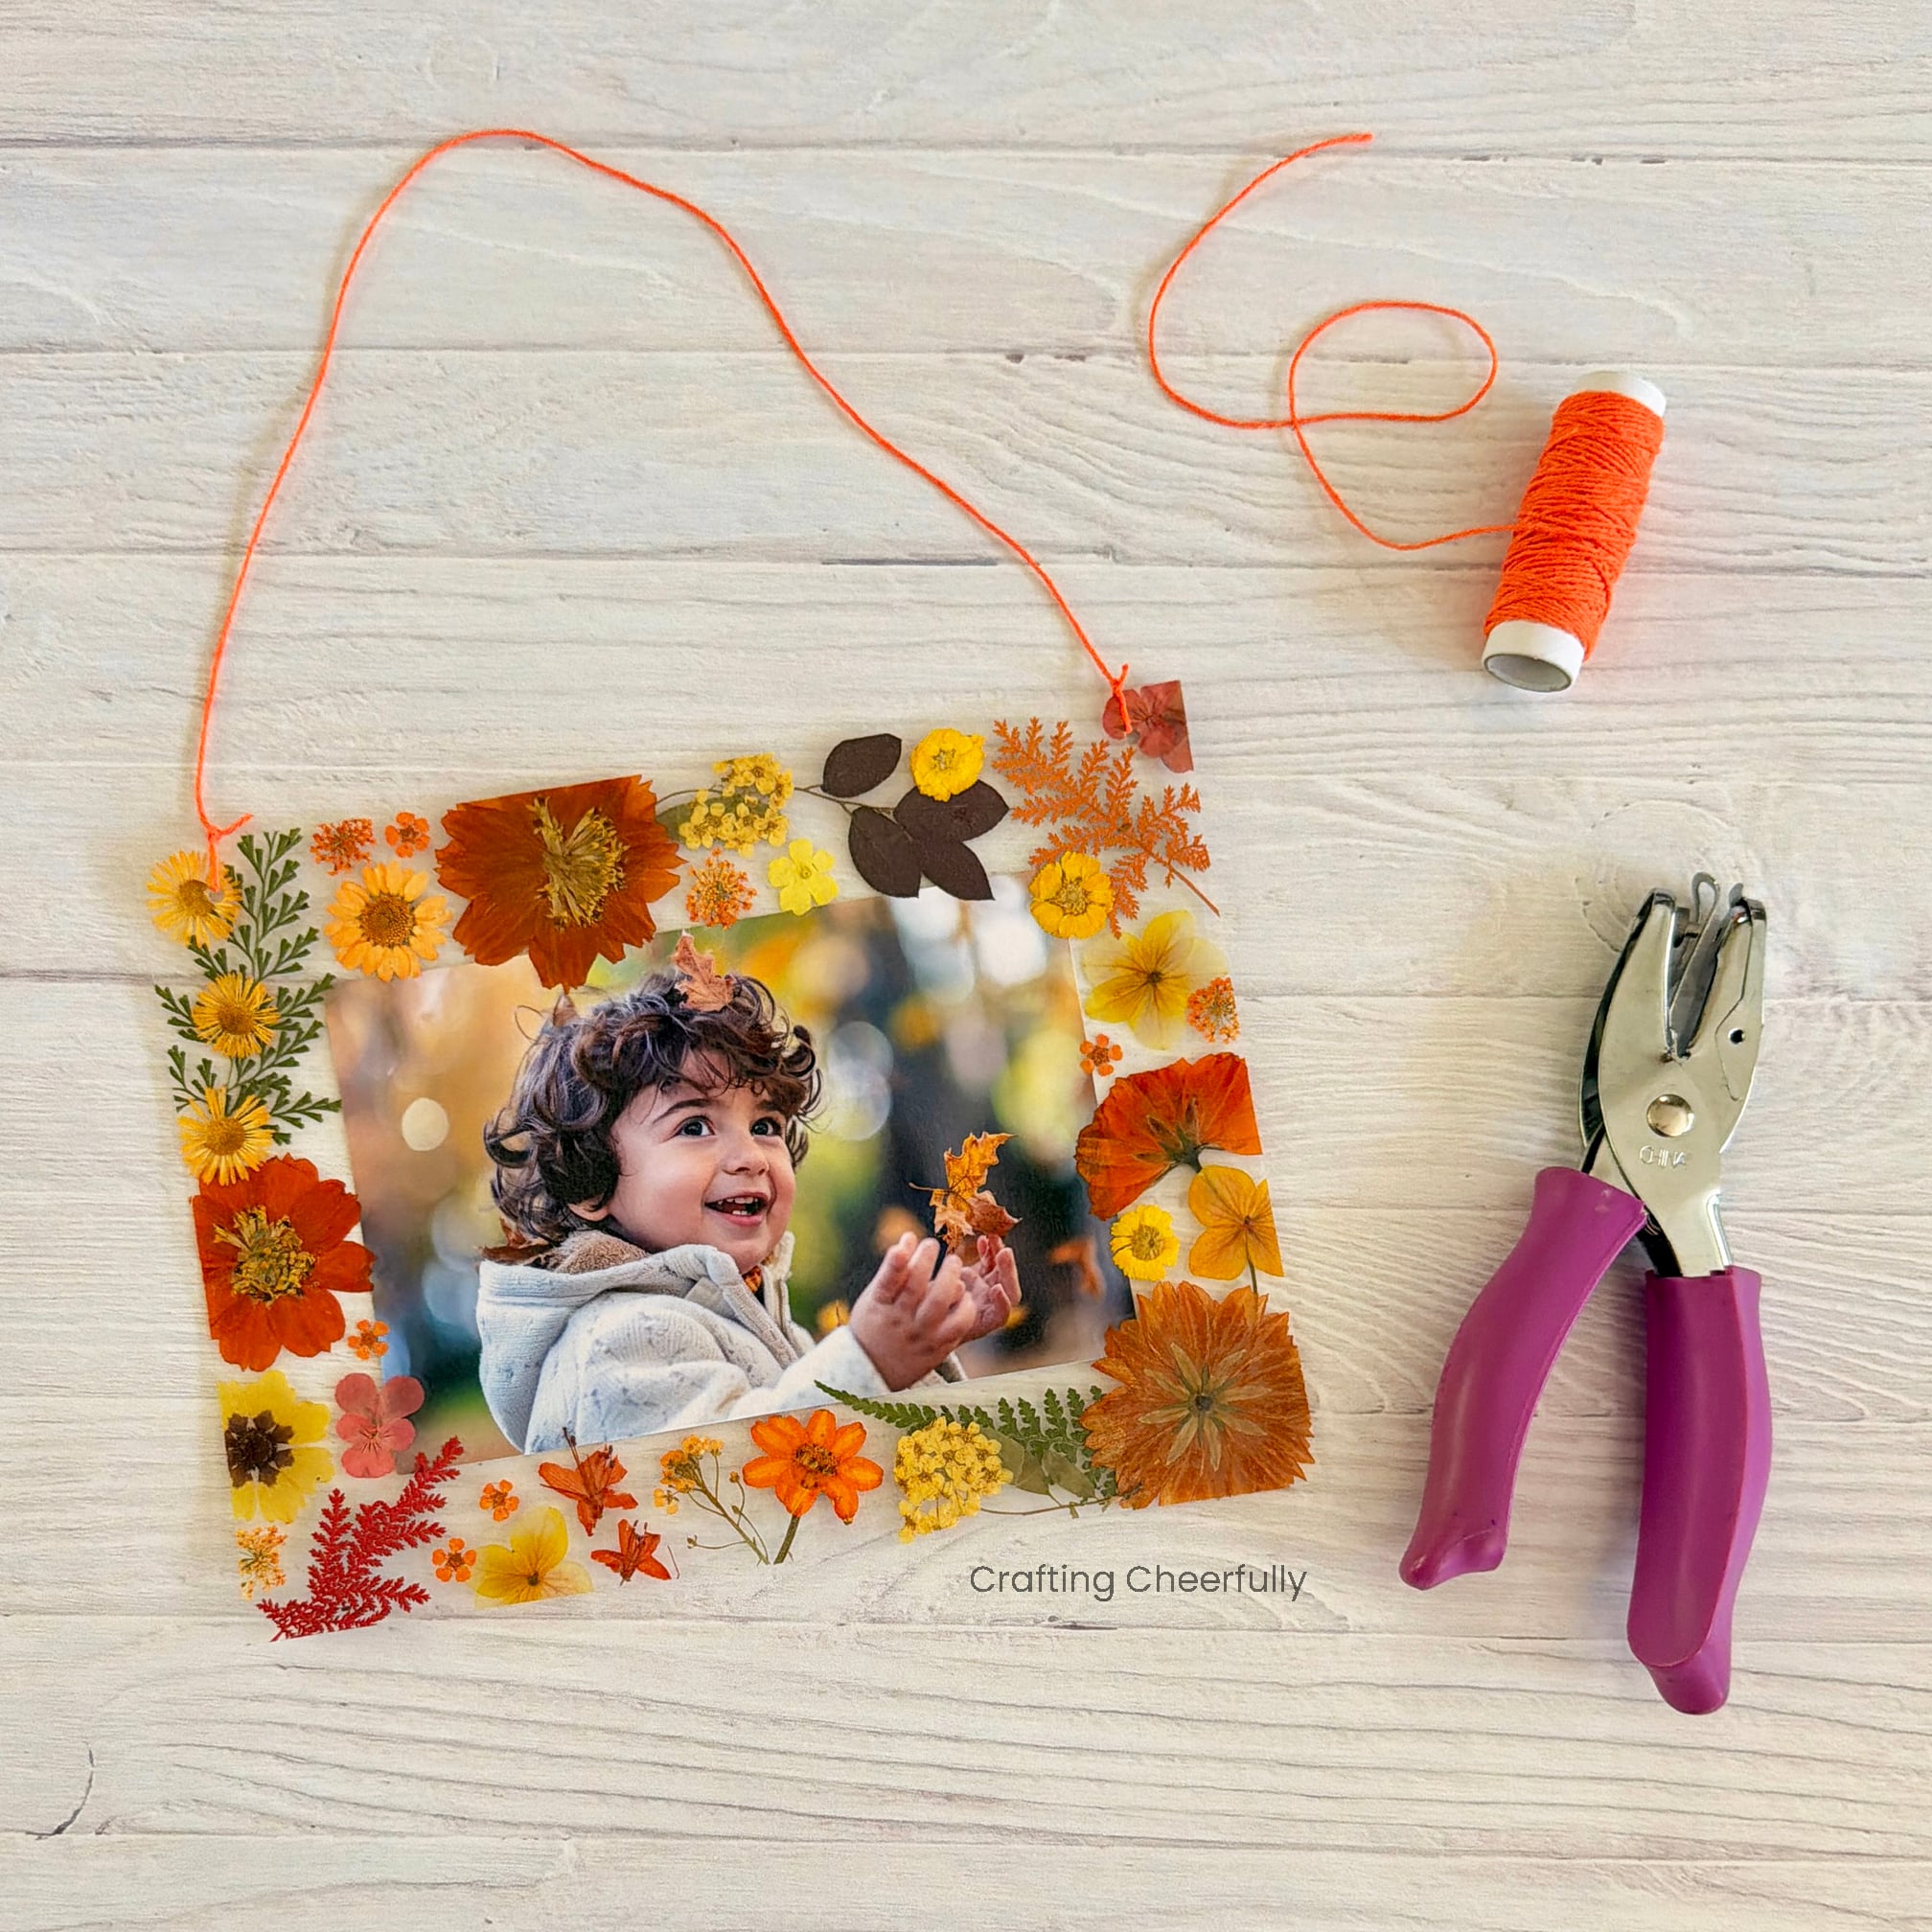
You can finish the frame by punching two small holes in the top corners and using Baker’s Twine or yarn to add a hanging loop.
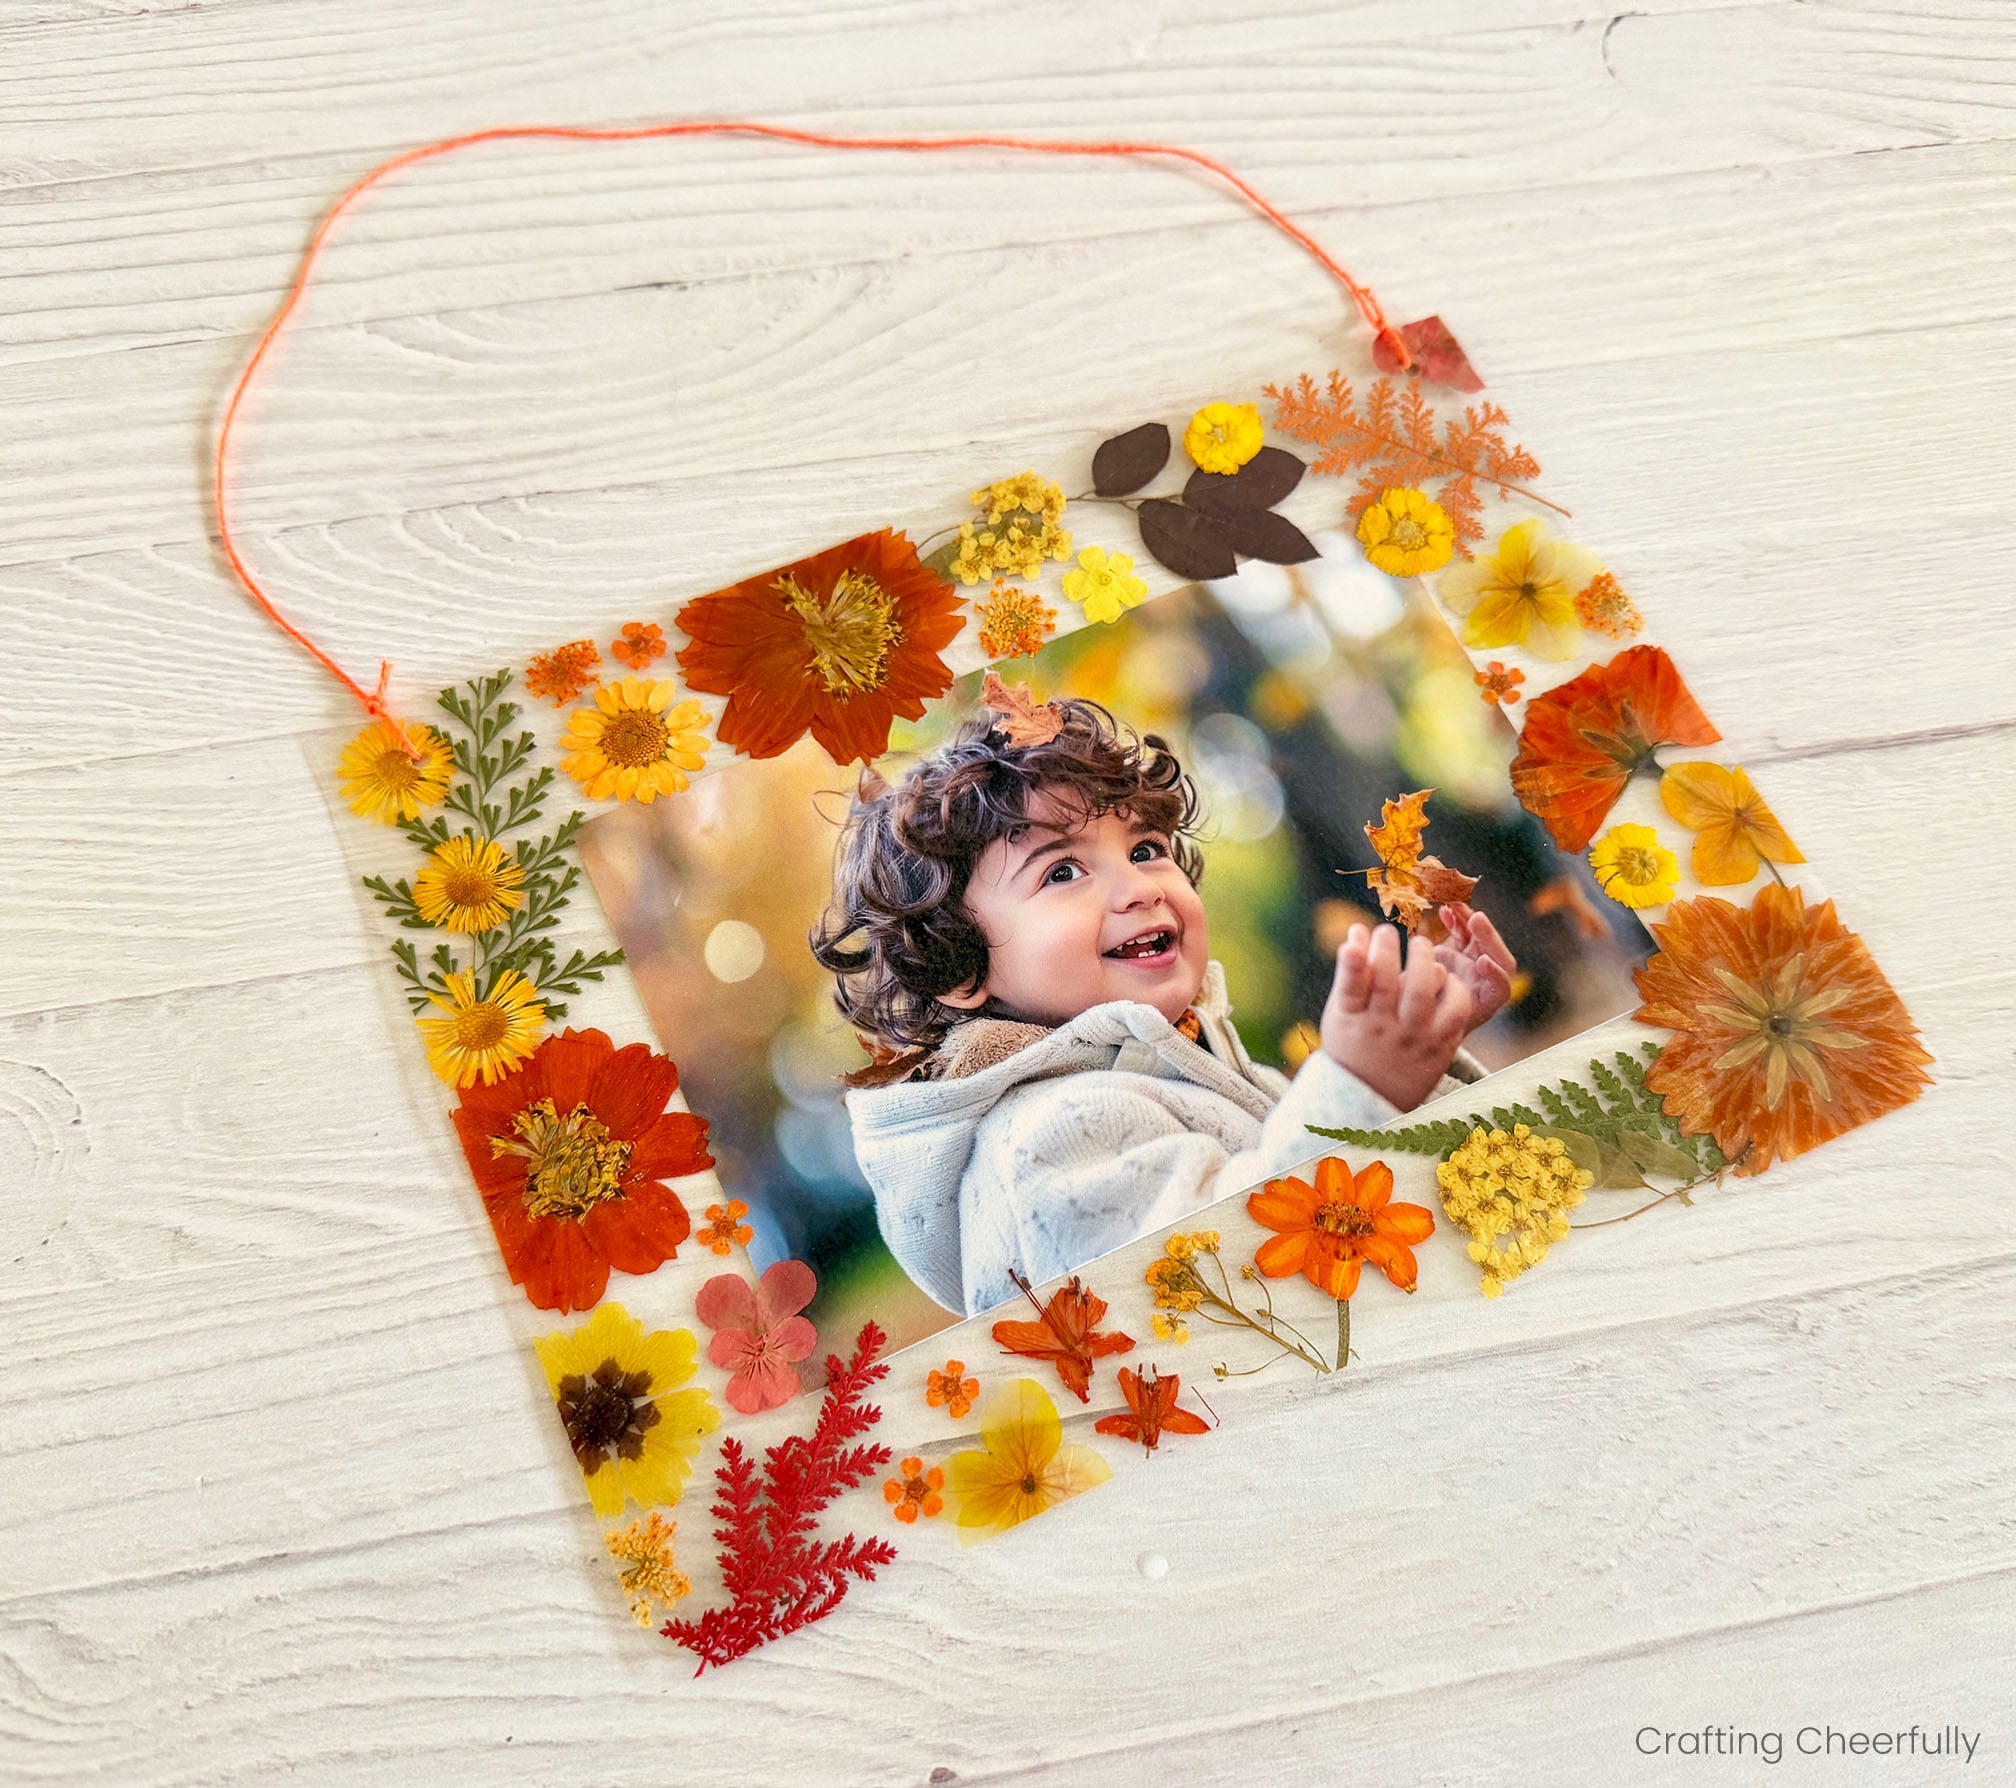
If you wish to display your frame in an easel, I recommend cutting a piece of white cardstock to set behind it. The frame can stand up on it’s own, but over time it will start to lean backwards and droop over your easel.
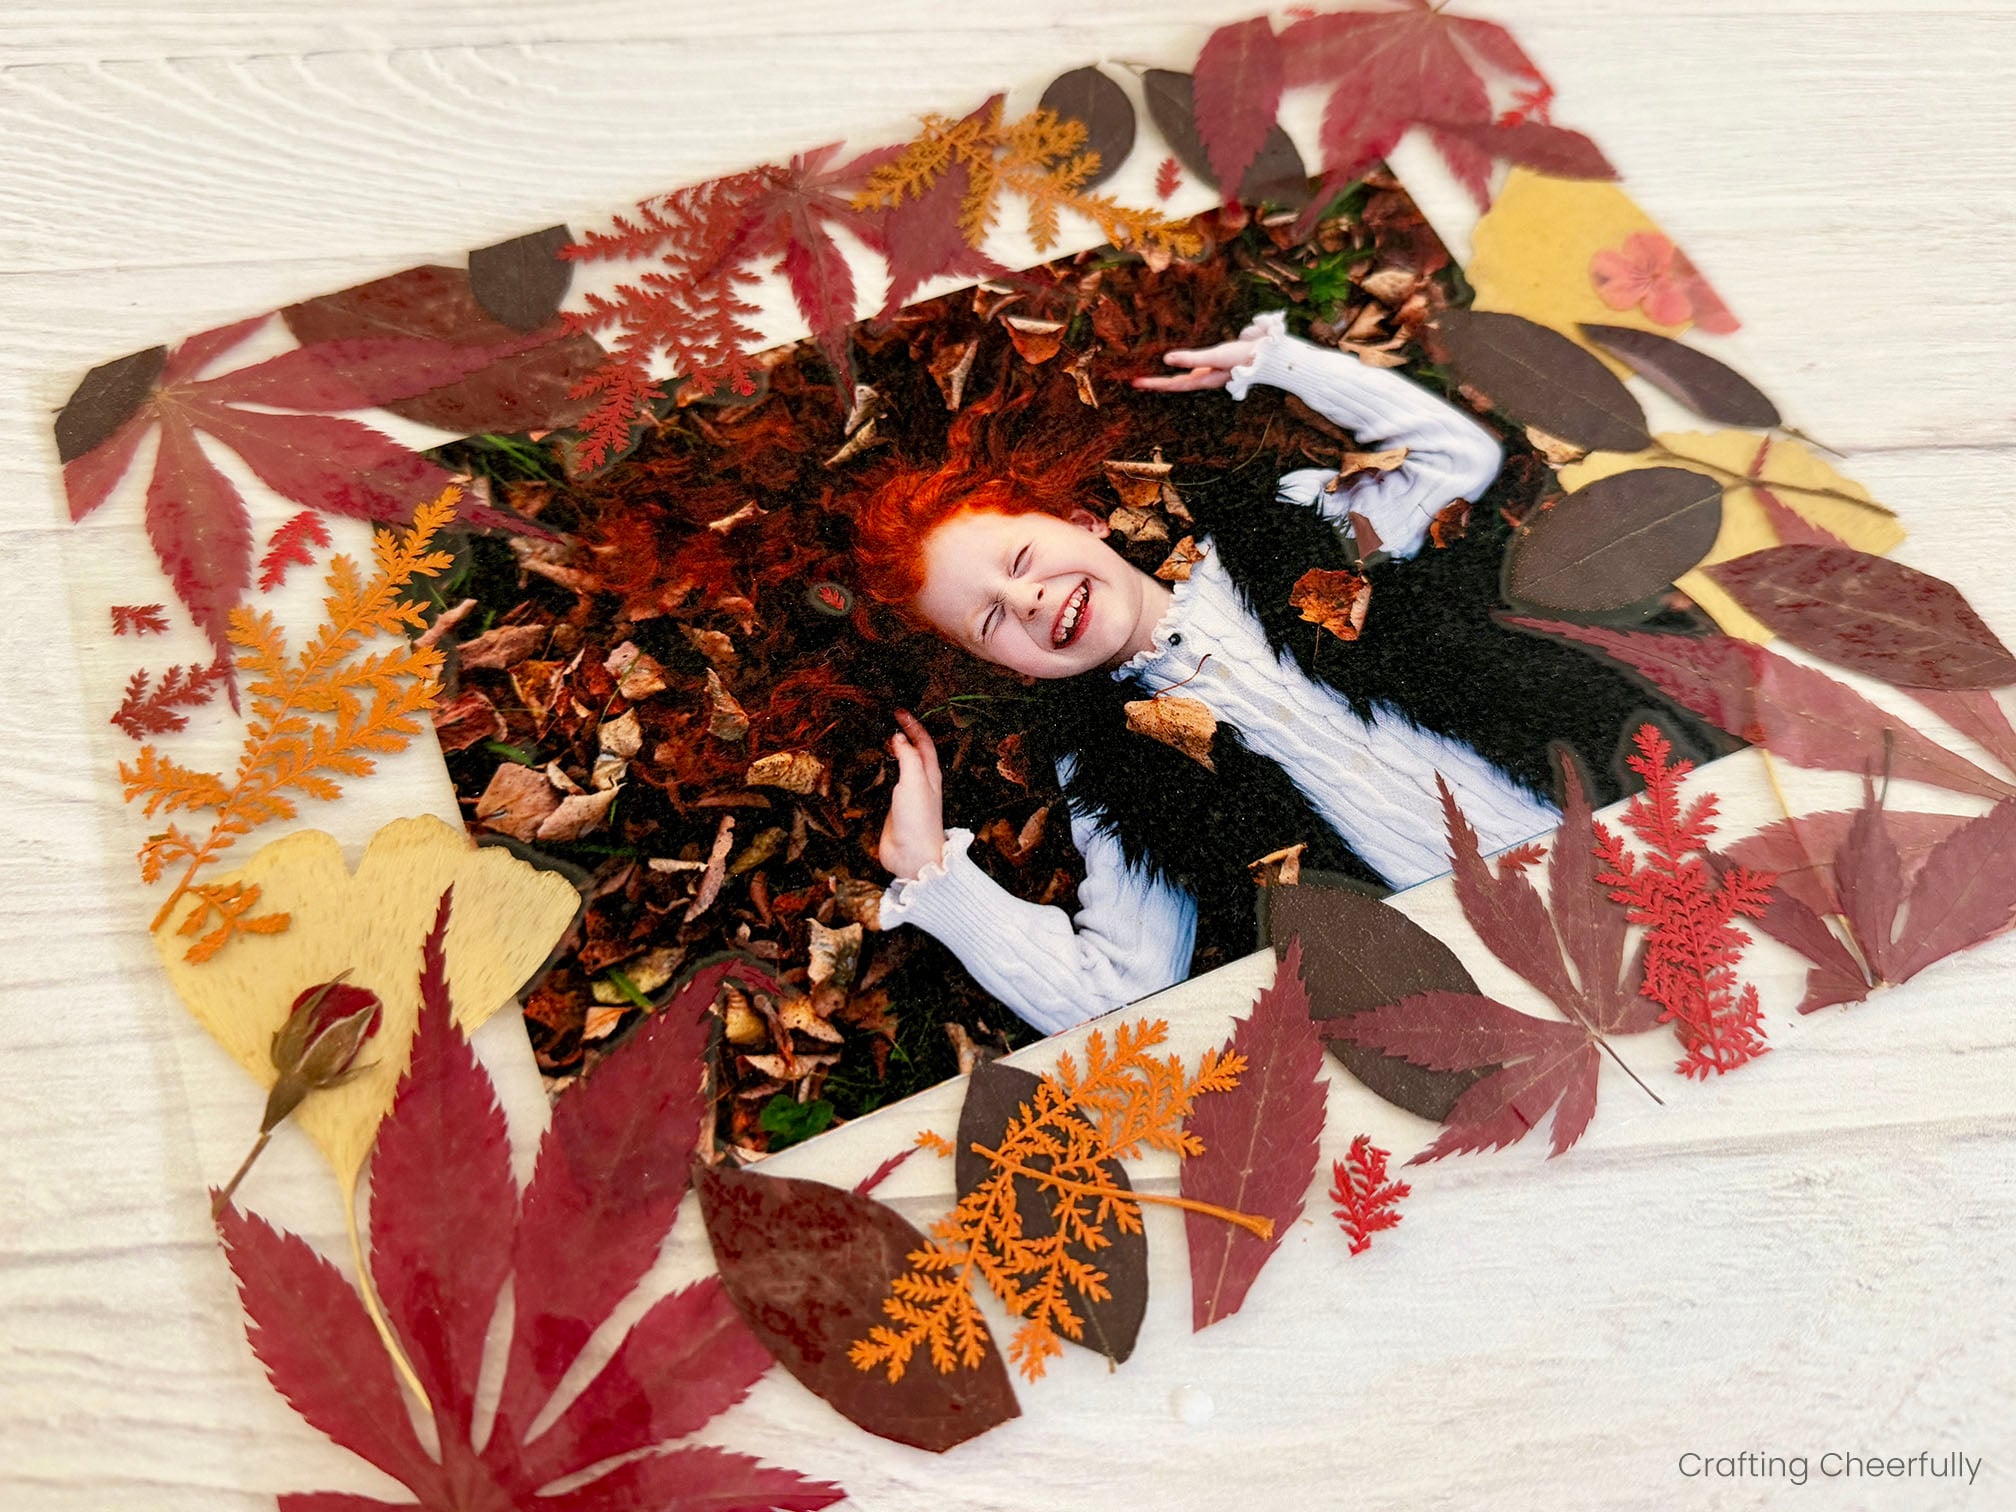
The frames are finished and ready to be enjoyed! I hope you enjoyed this fun fall craft. Don’t forget to collect leaves while on your next nature walk!

Get the Free PDF Template
Fill out the purple form below with your first name and email address! The free file will be sent straight to your inbox! If you have already filled out the form below, don’t worry – you won’t be added to my list twice! This freebie is for personal use only. I hope you enjoy crafting something special. Please let me know if you have any questions :)