
DIY LEGO Stamped Vase
Create a cute LEGO-stamped vase to display your LEGO botanicals in!
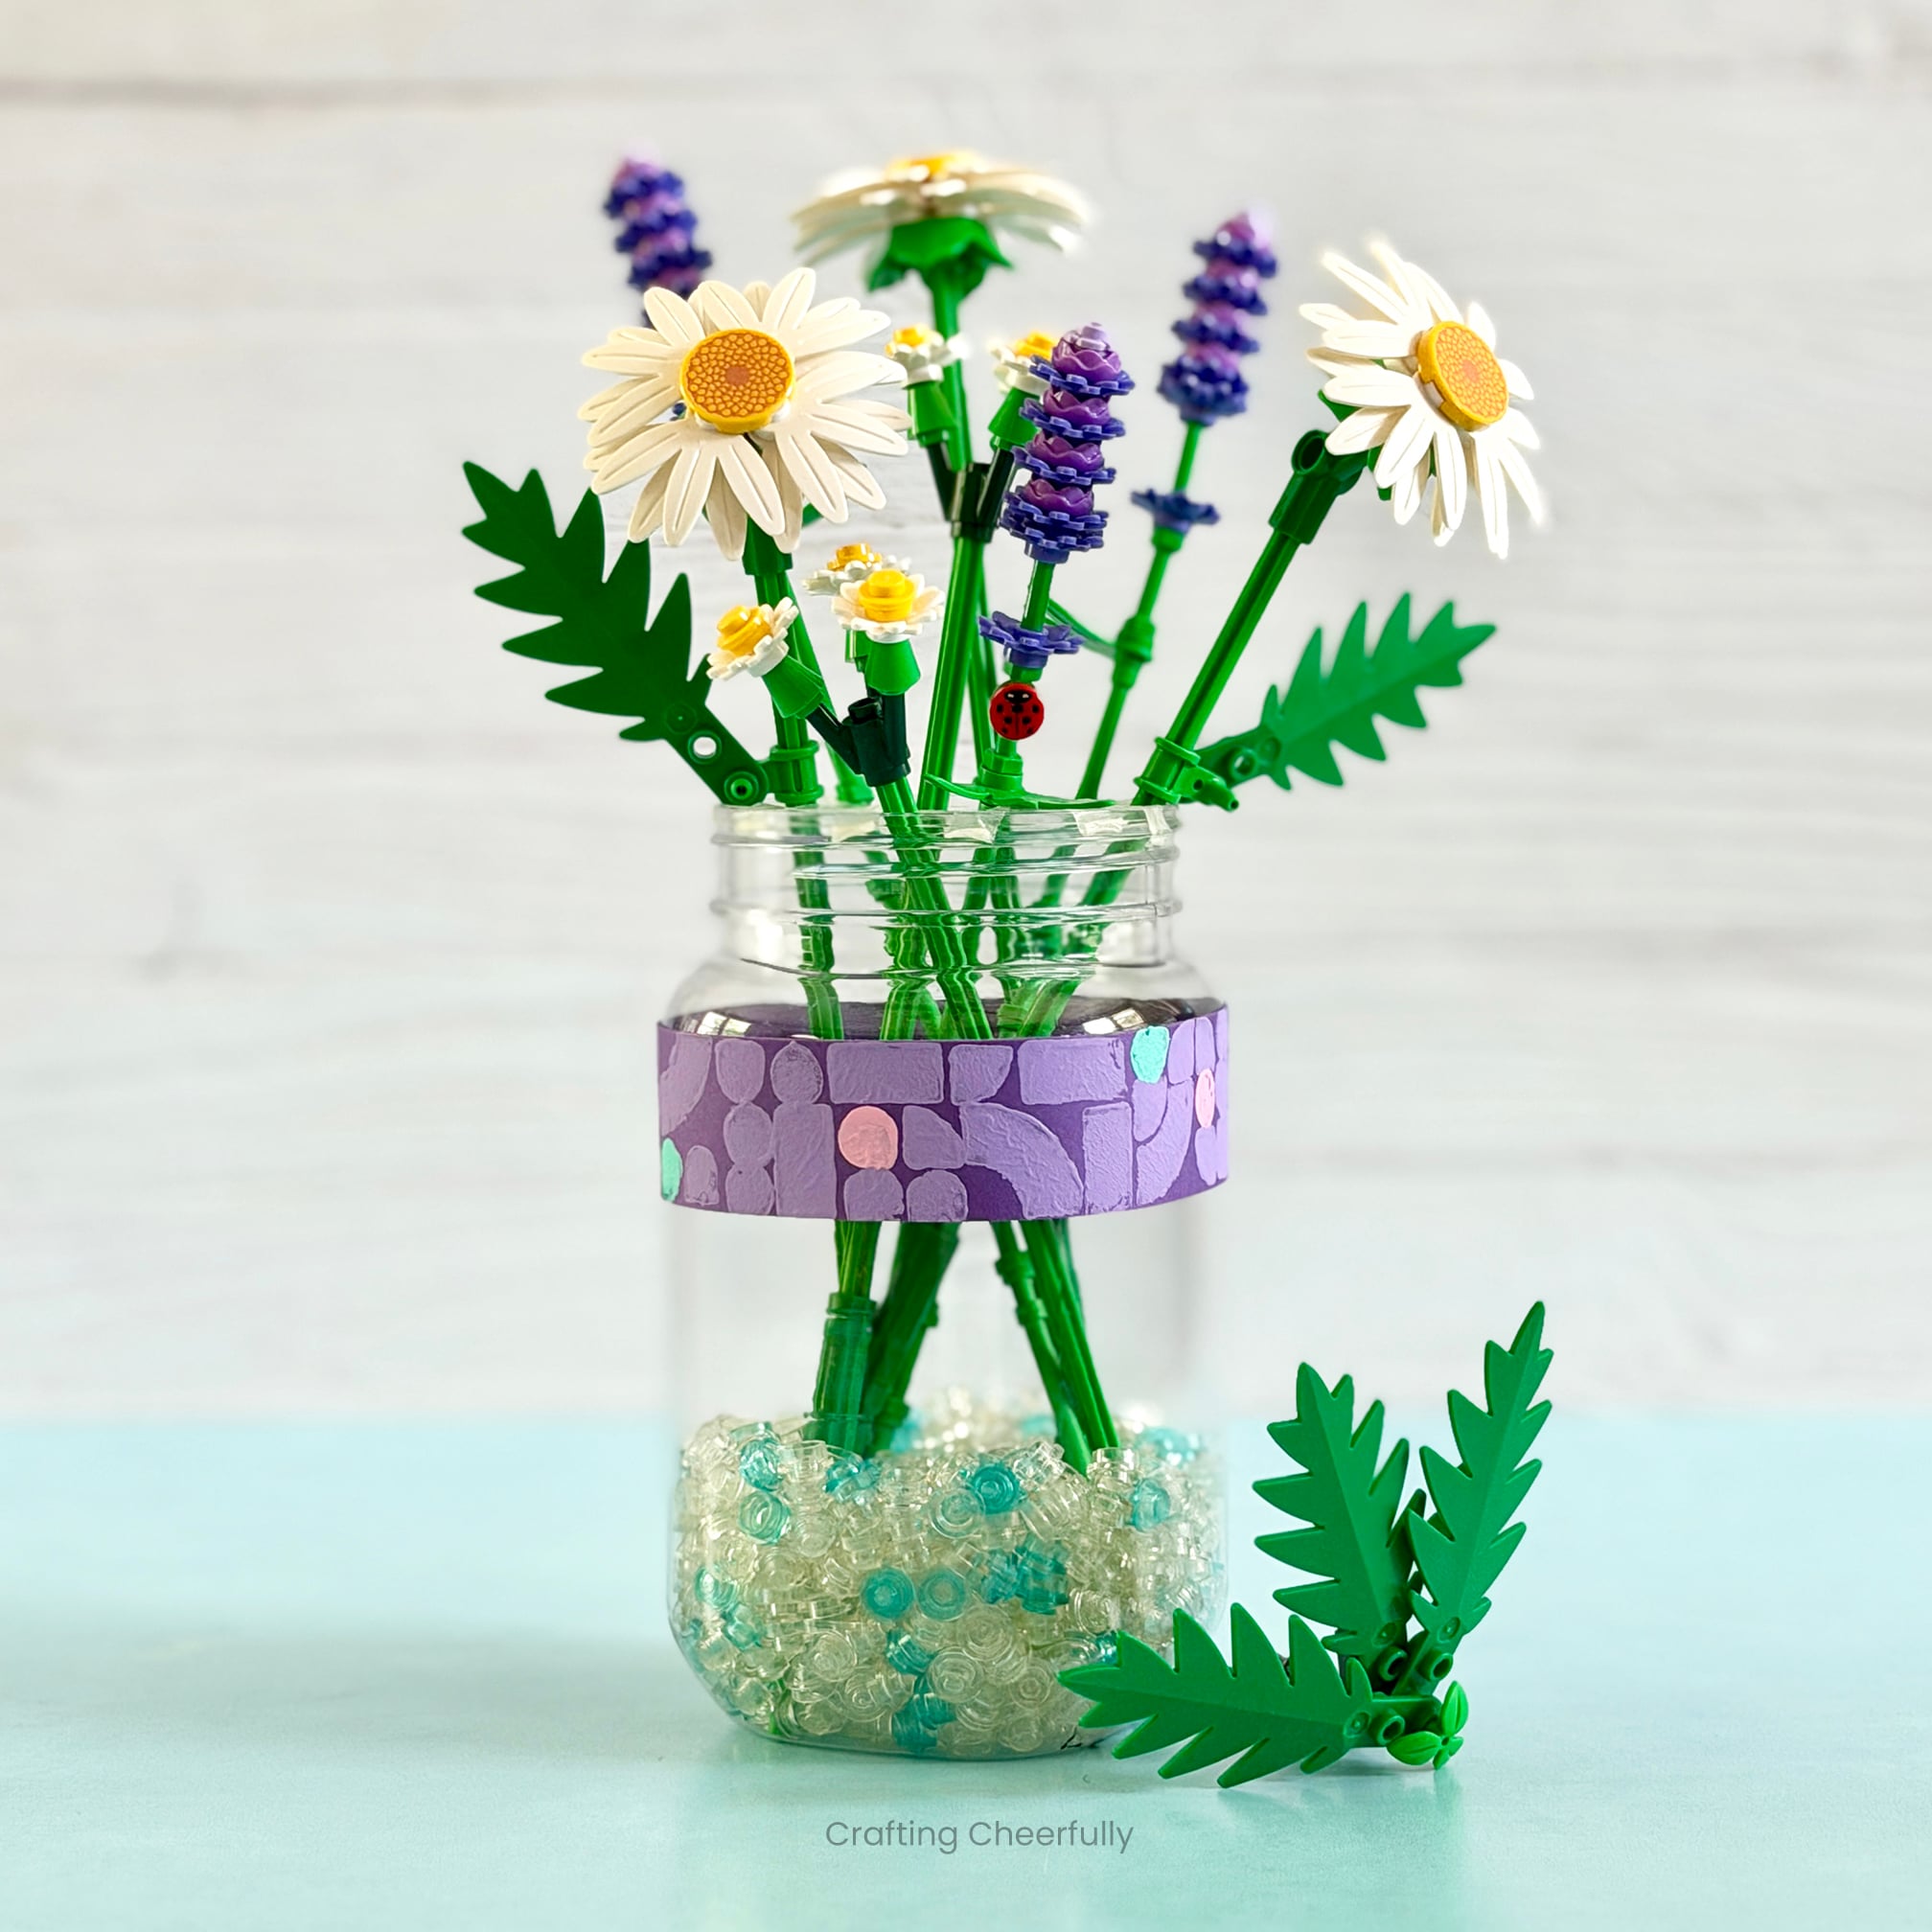
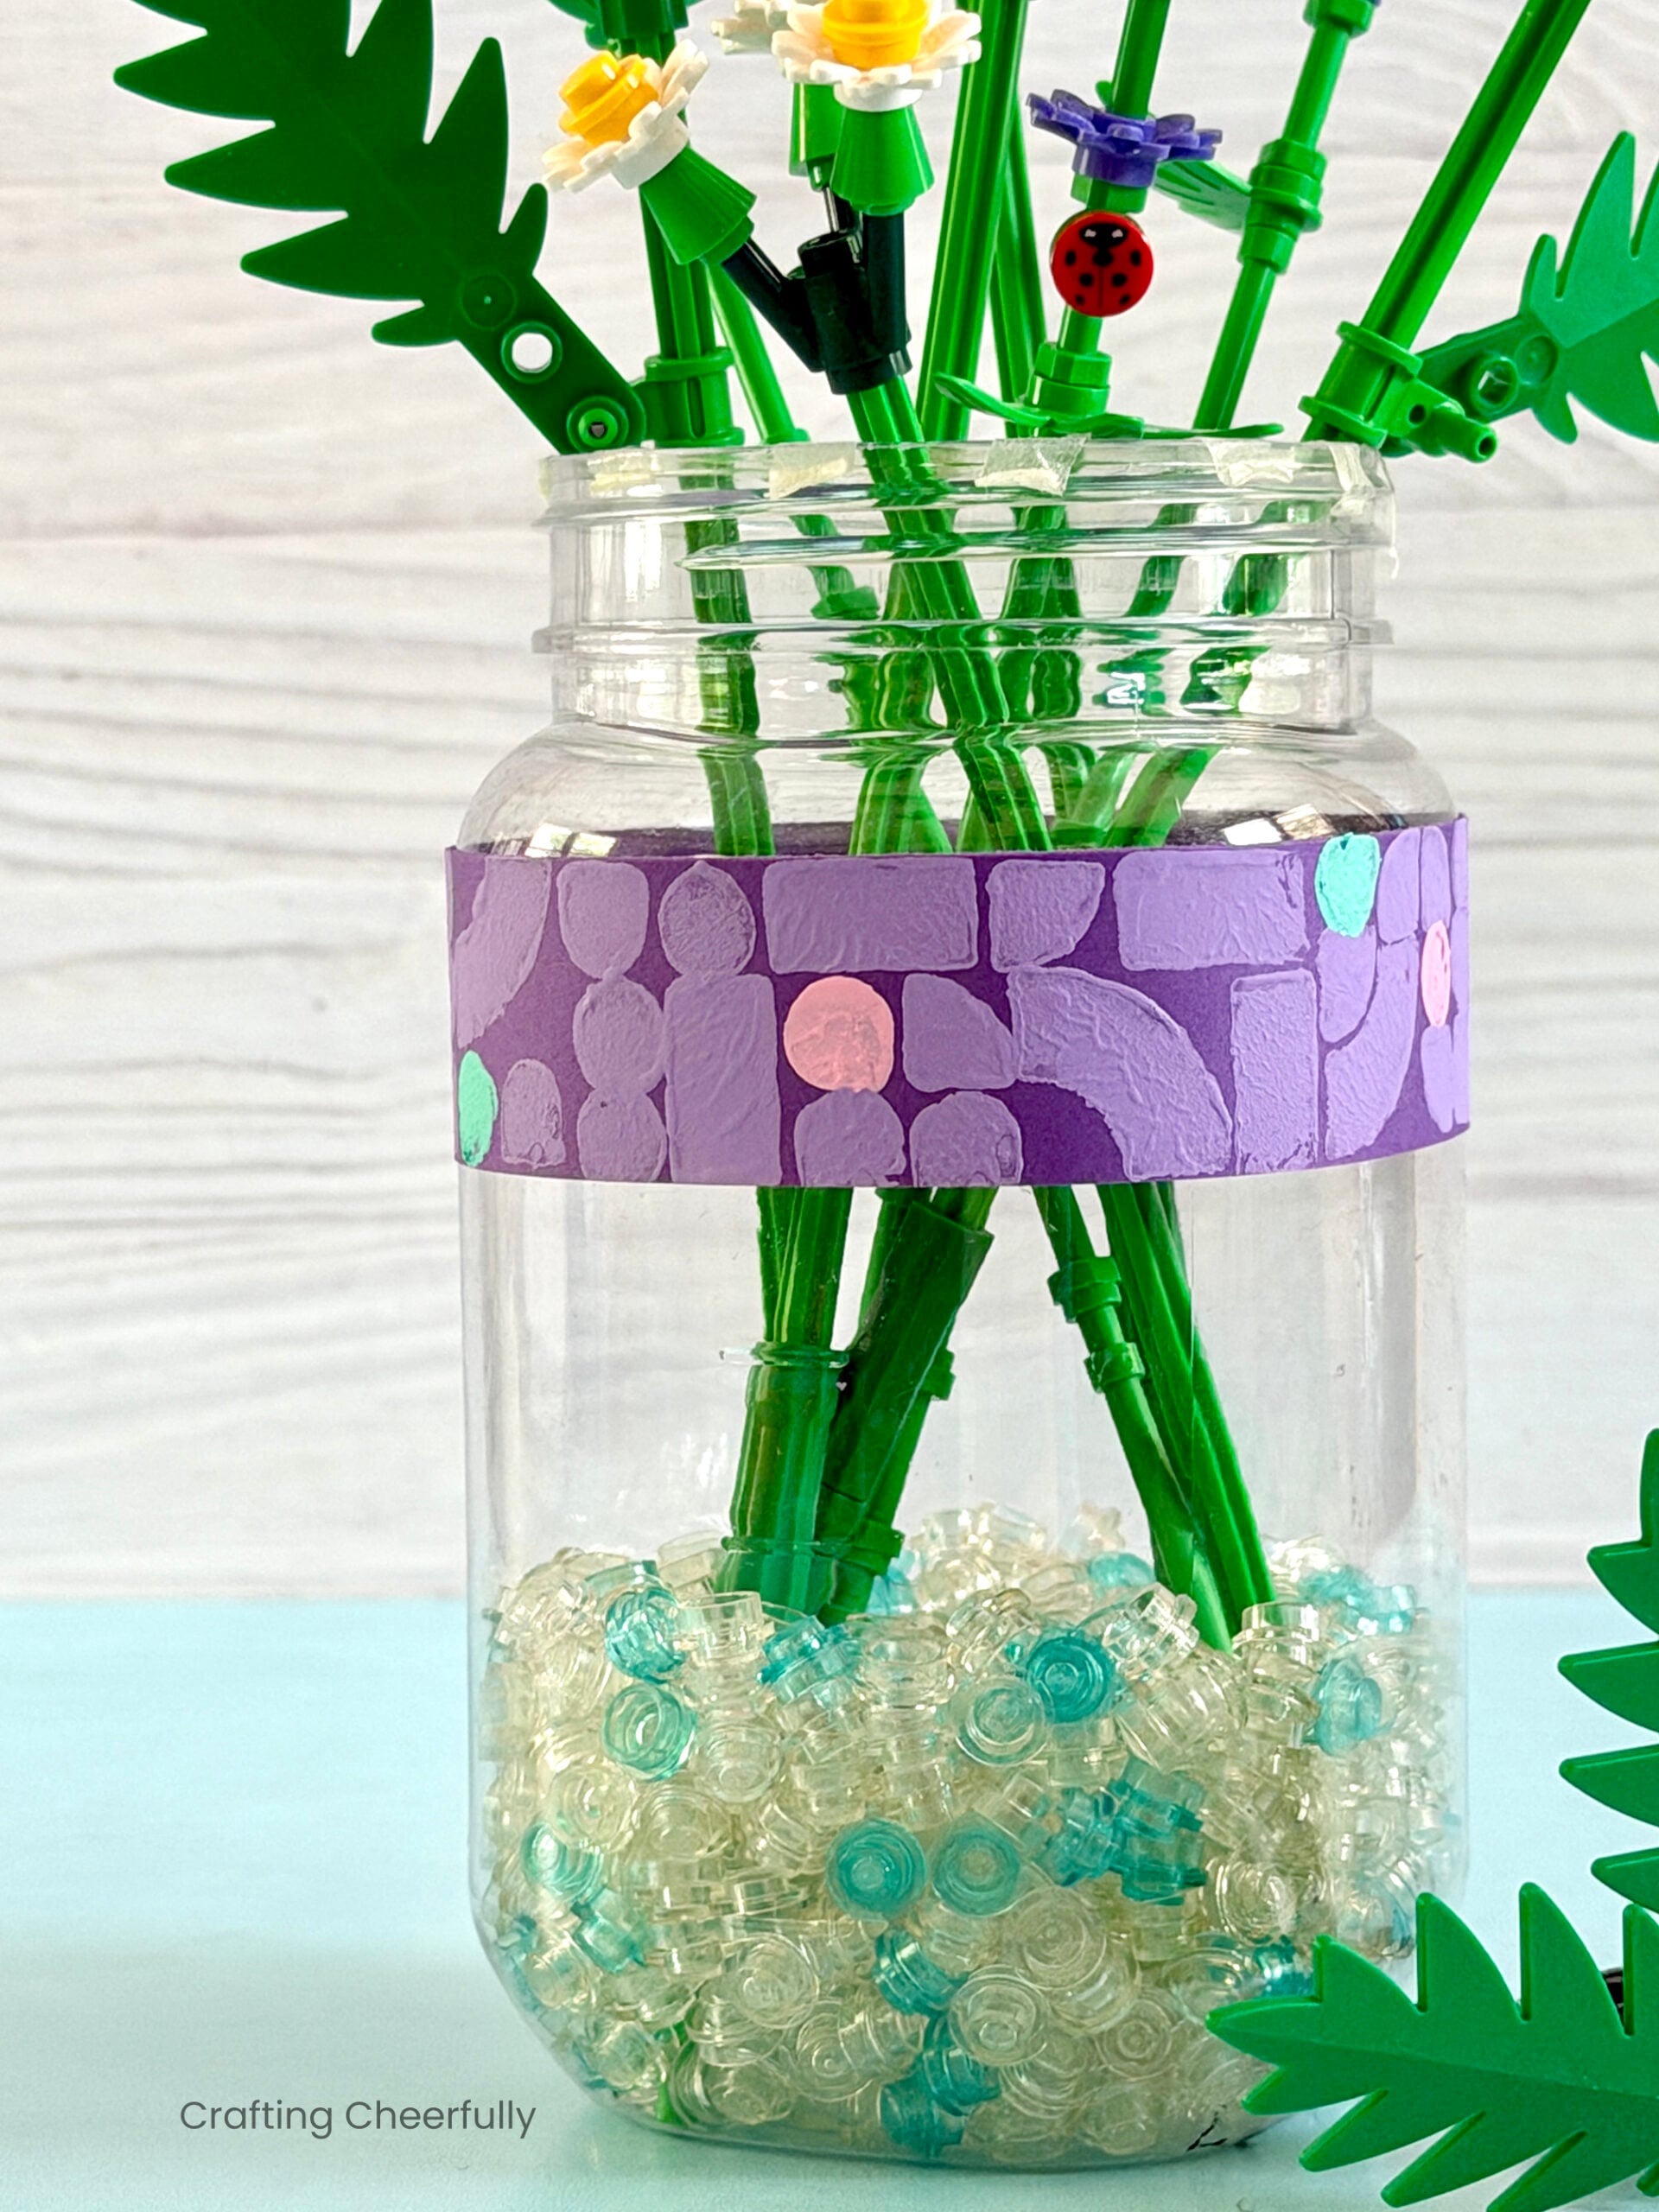
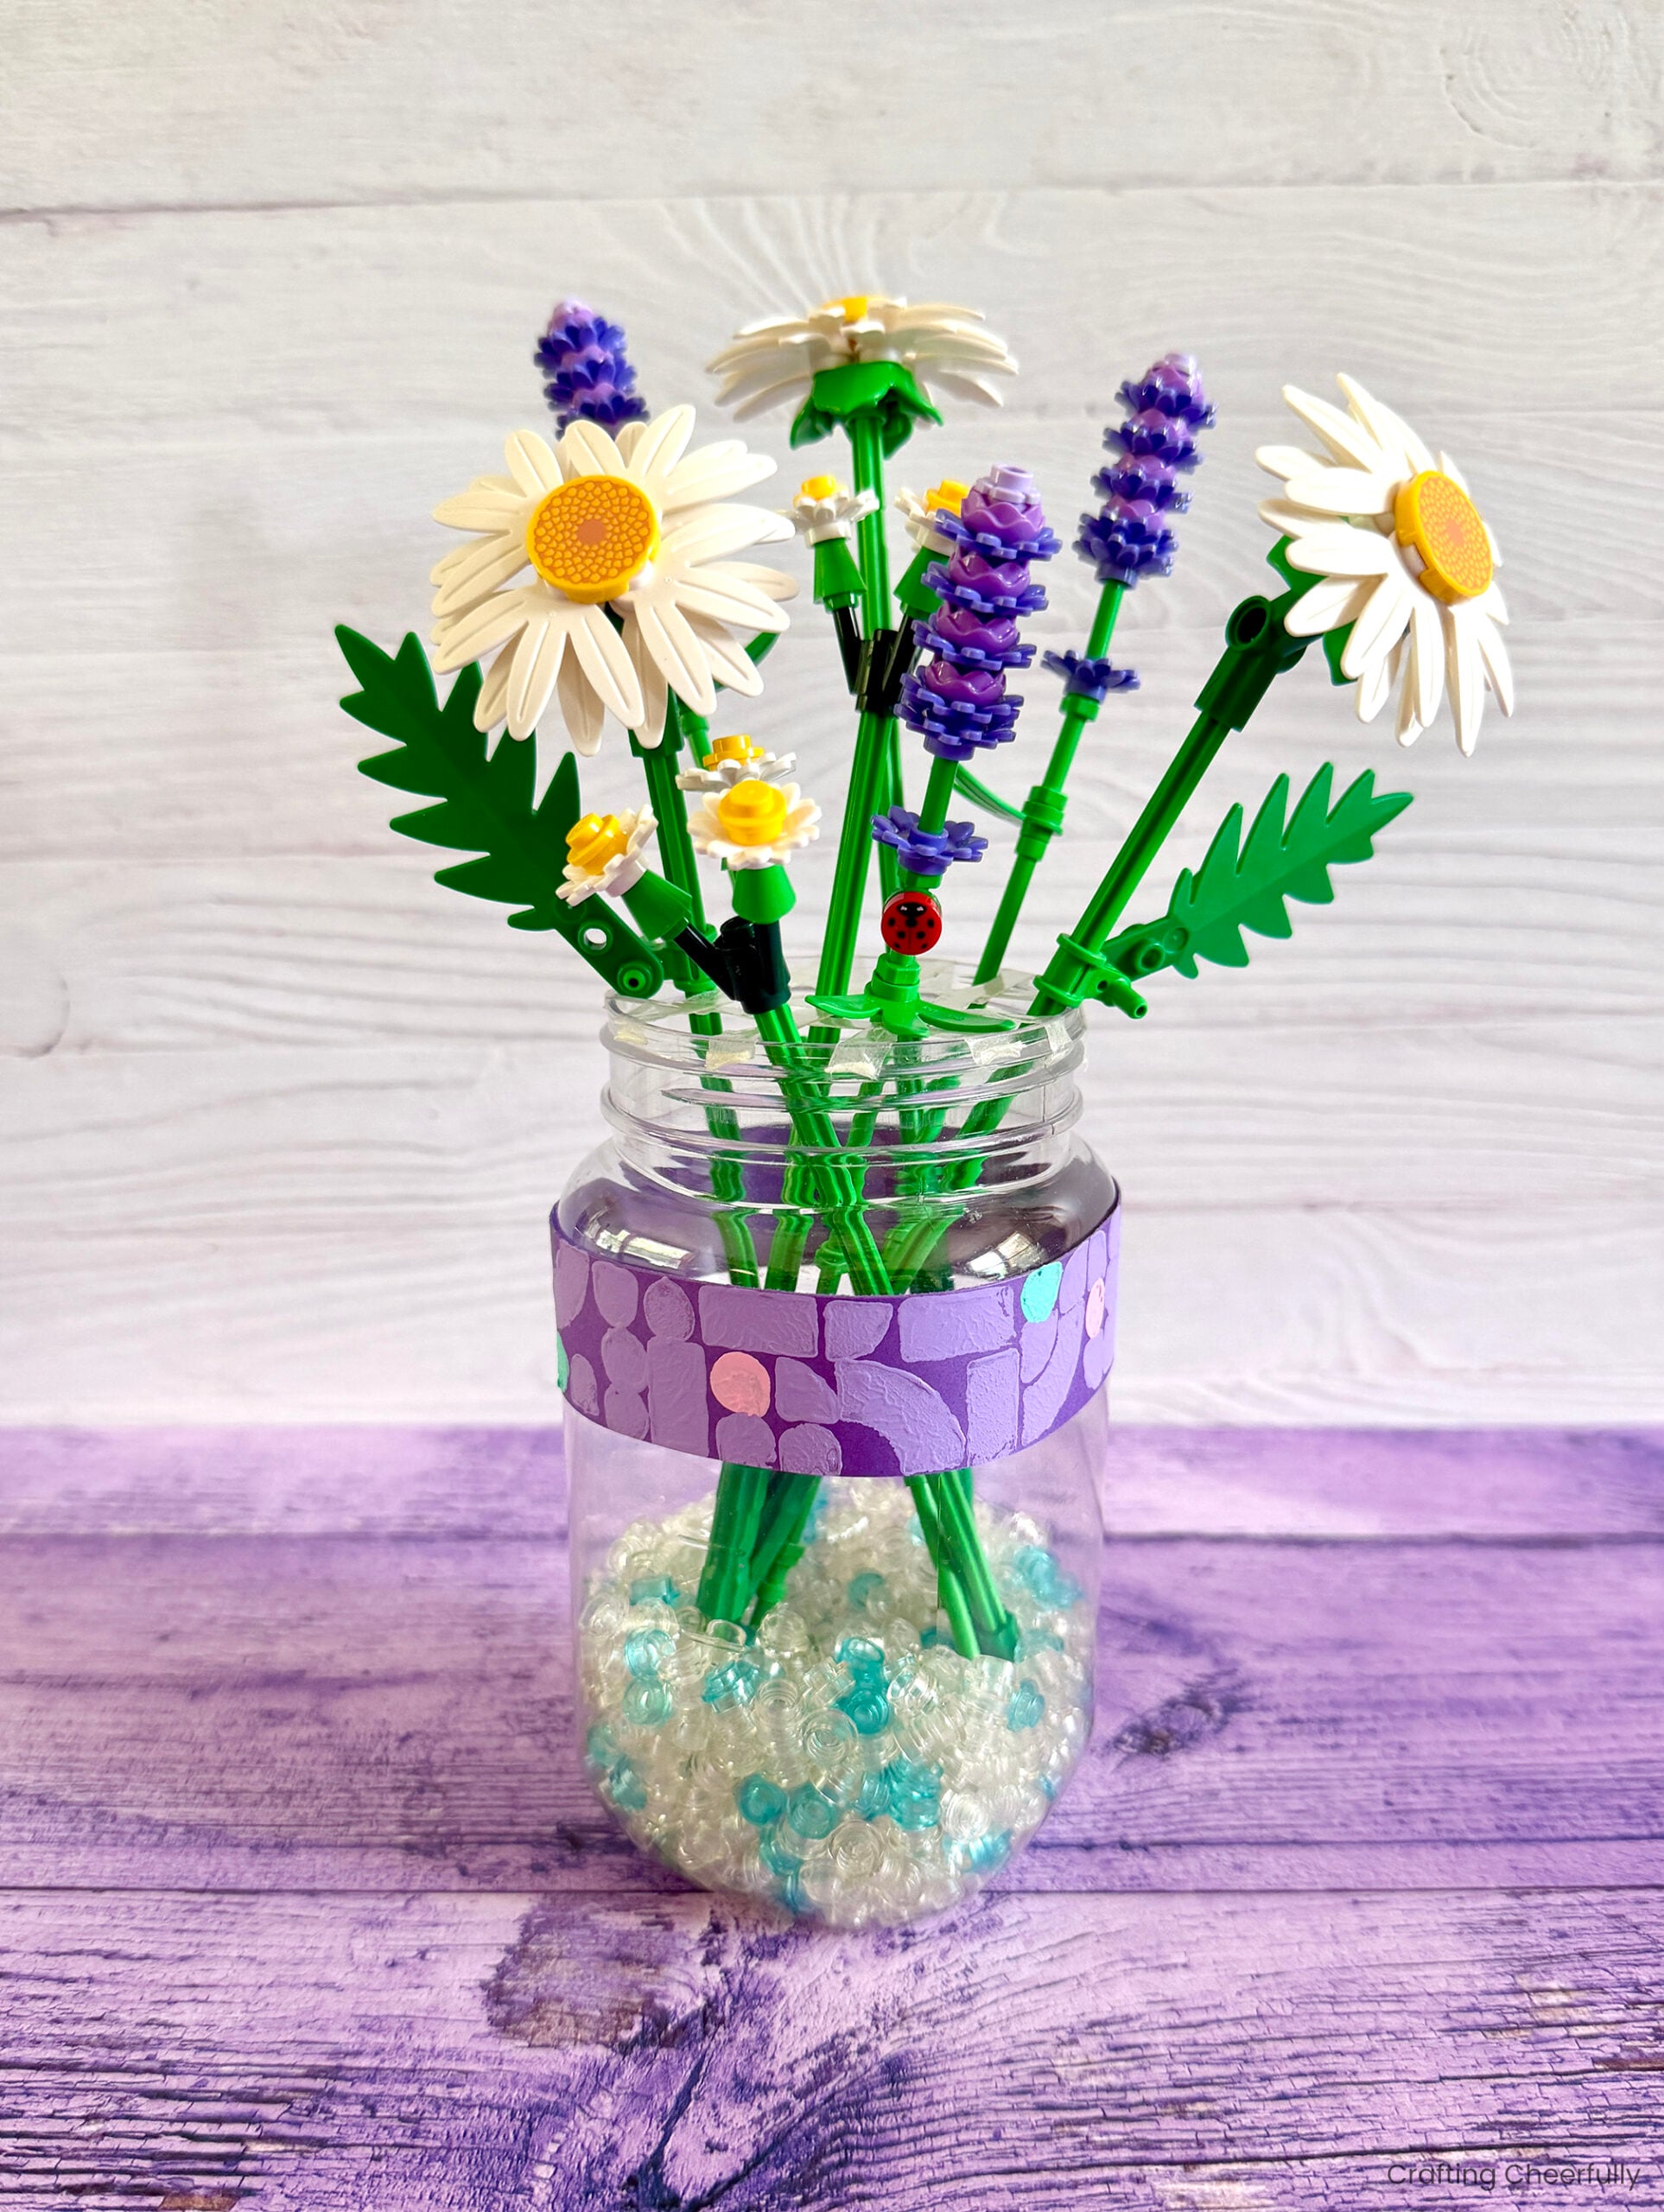
Hello Crafty Friends! Today I’m sharing a fun way to decorate and display your LEGO botanicals. We love when the sets include a LEGO-built vase, but sometimes they just come as stems, like these cute daisies did. Using a little bit of paint, cardstock and some LEGO pieces from our stash, we created a cute stamped-vase that echoes the geometric design on the box the flowers came in.
This is not a sponsored post – my family just really loves the LEGO botanicals collection. We have so much fun building them together and they are now displayed throughout our house adding fun pops of color.
For this cute little daisy set, I found a plastic mason jar that was the right size and decorated it with some LEGO-stamping. Below is the quick tutorial if you’d like to give it a try!
DIY Stamped LEGO Botanical Vase
Supplies Needed
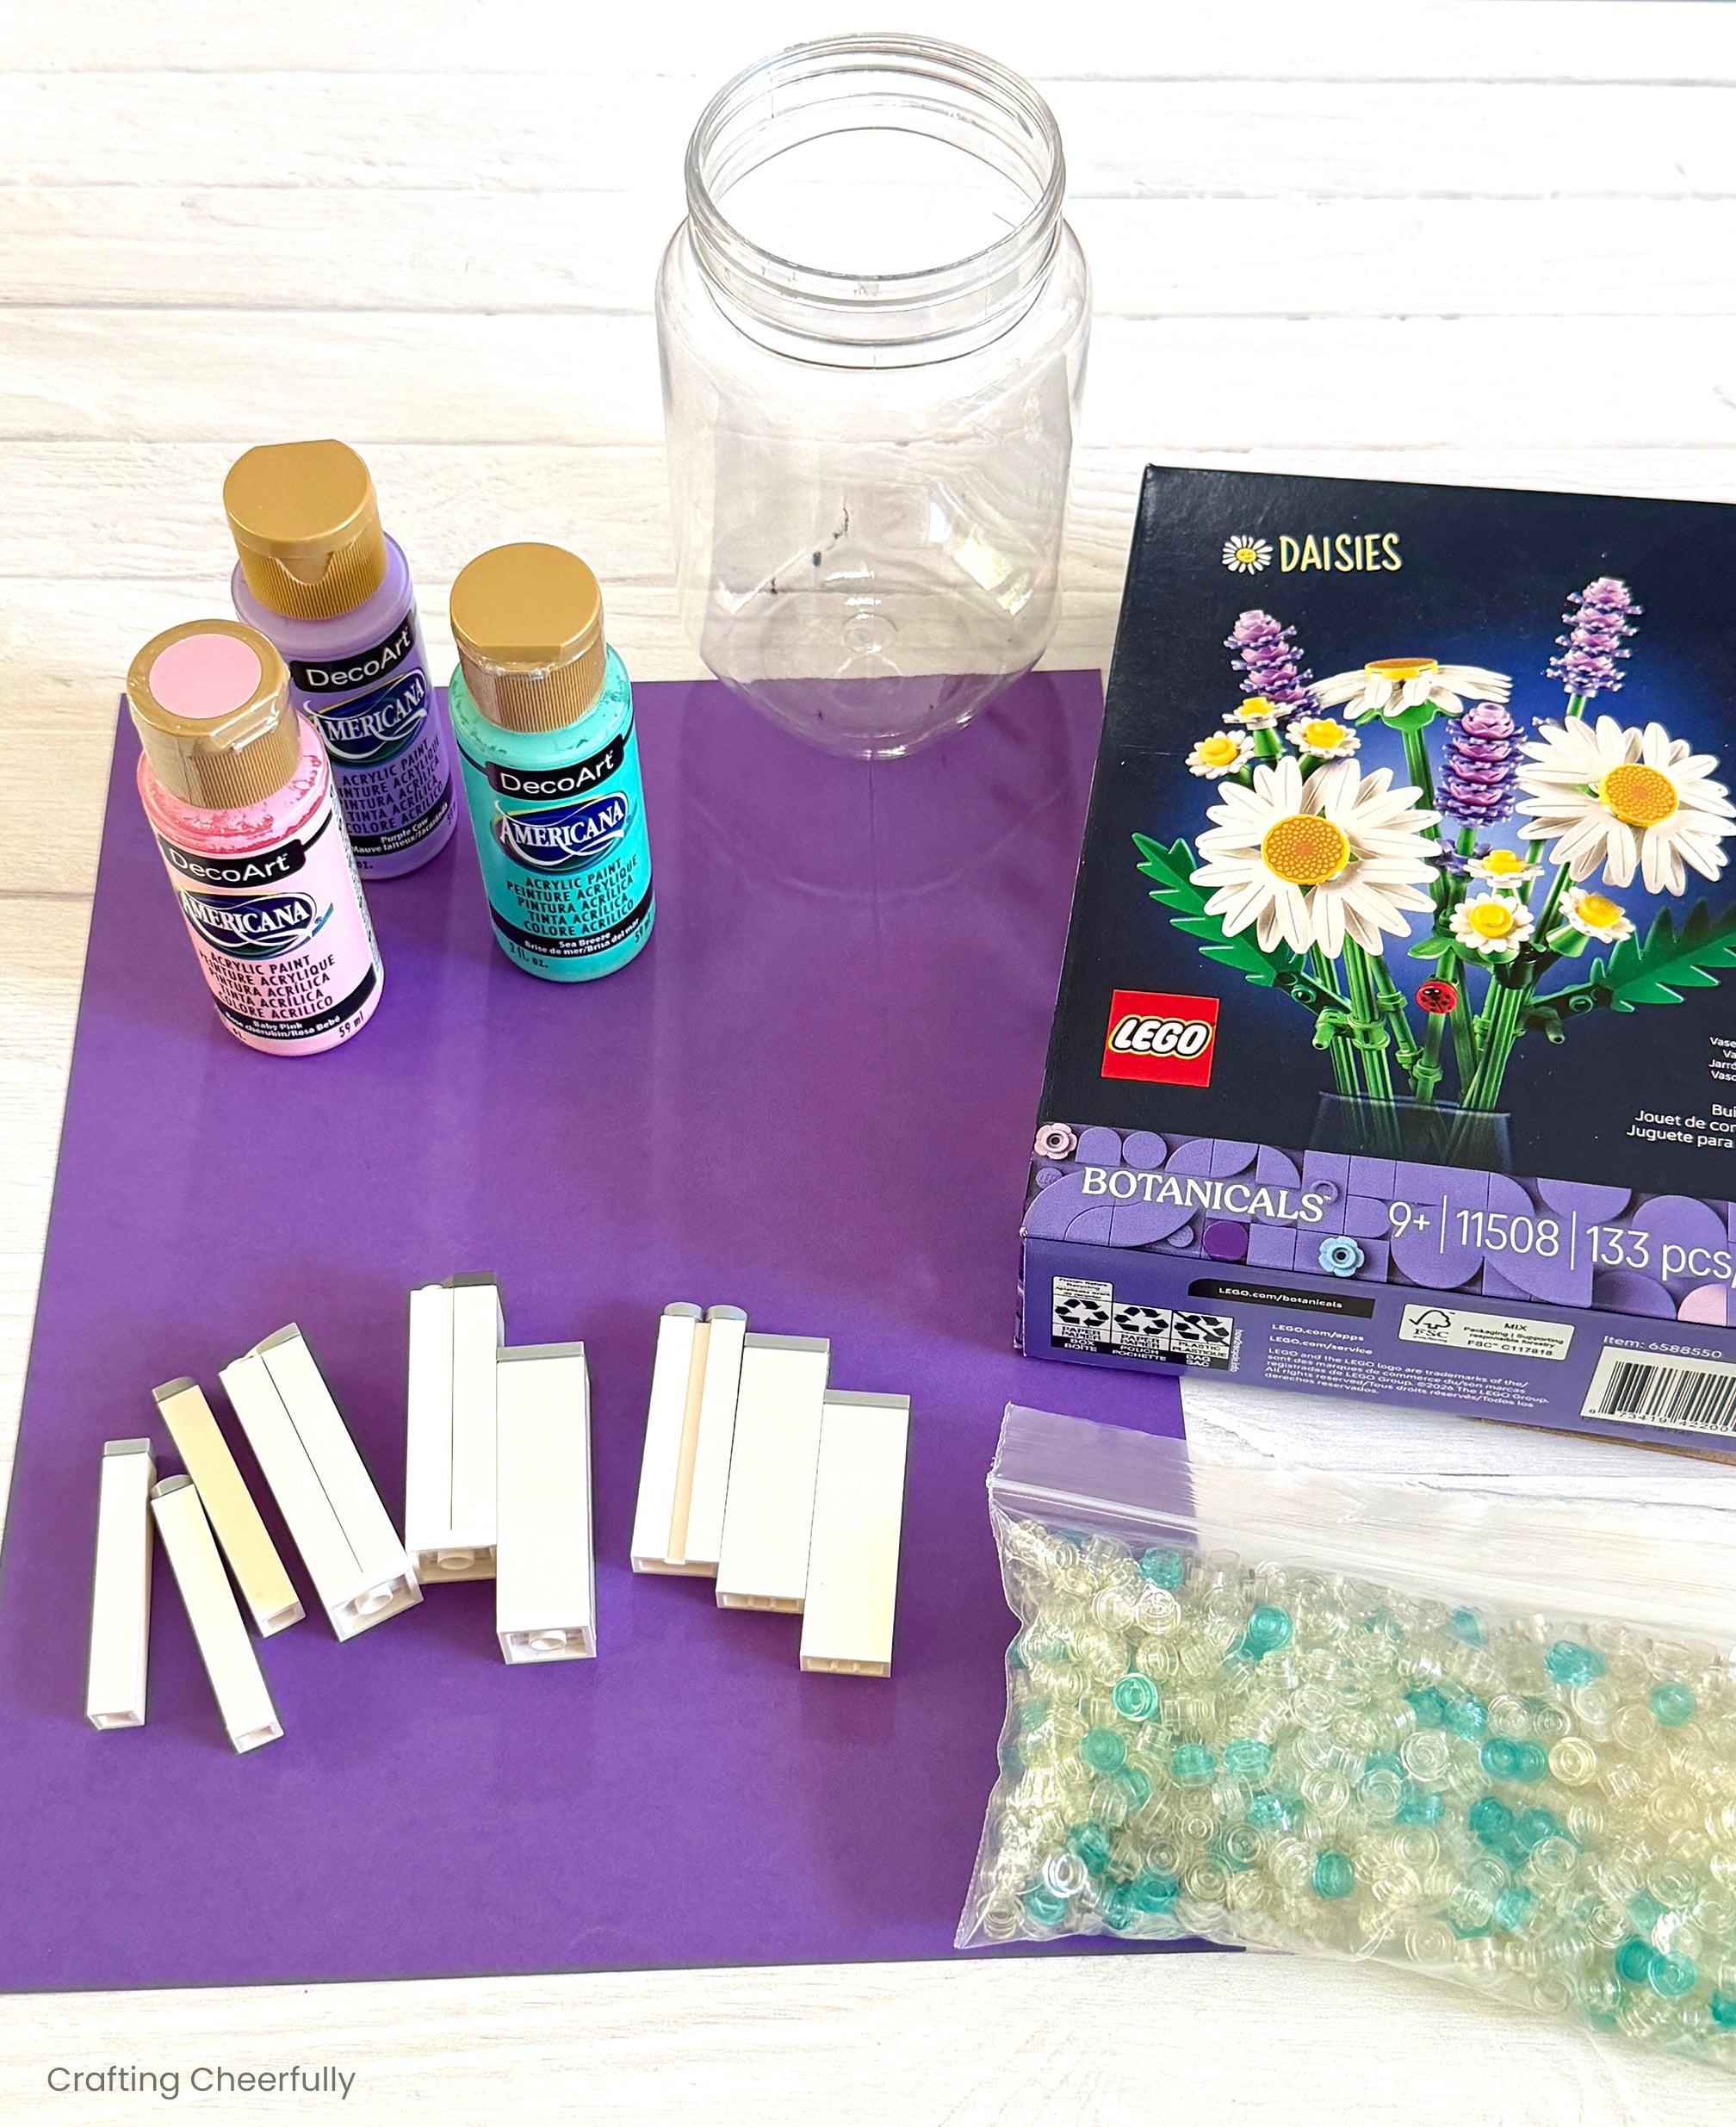
- Mason Jar – I used a plastic one I had purchased from Joann Fabric before it closed
- Acrylic Paint – I used DecoArt Americana in Baby Pink, Purple Cow, Sea Breeze.
- Purple Cardstock – I used a sheet from my Astrobrites Colored Paper Stack
- LEGO bricks for stamping. A list of the pieces I used is below but feel free to use whatever pieces you have.
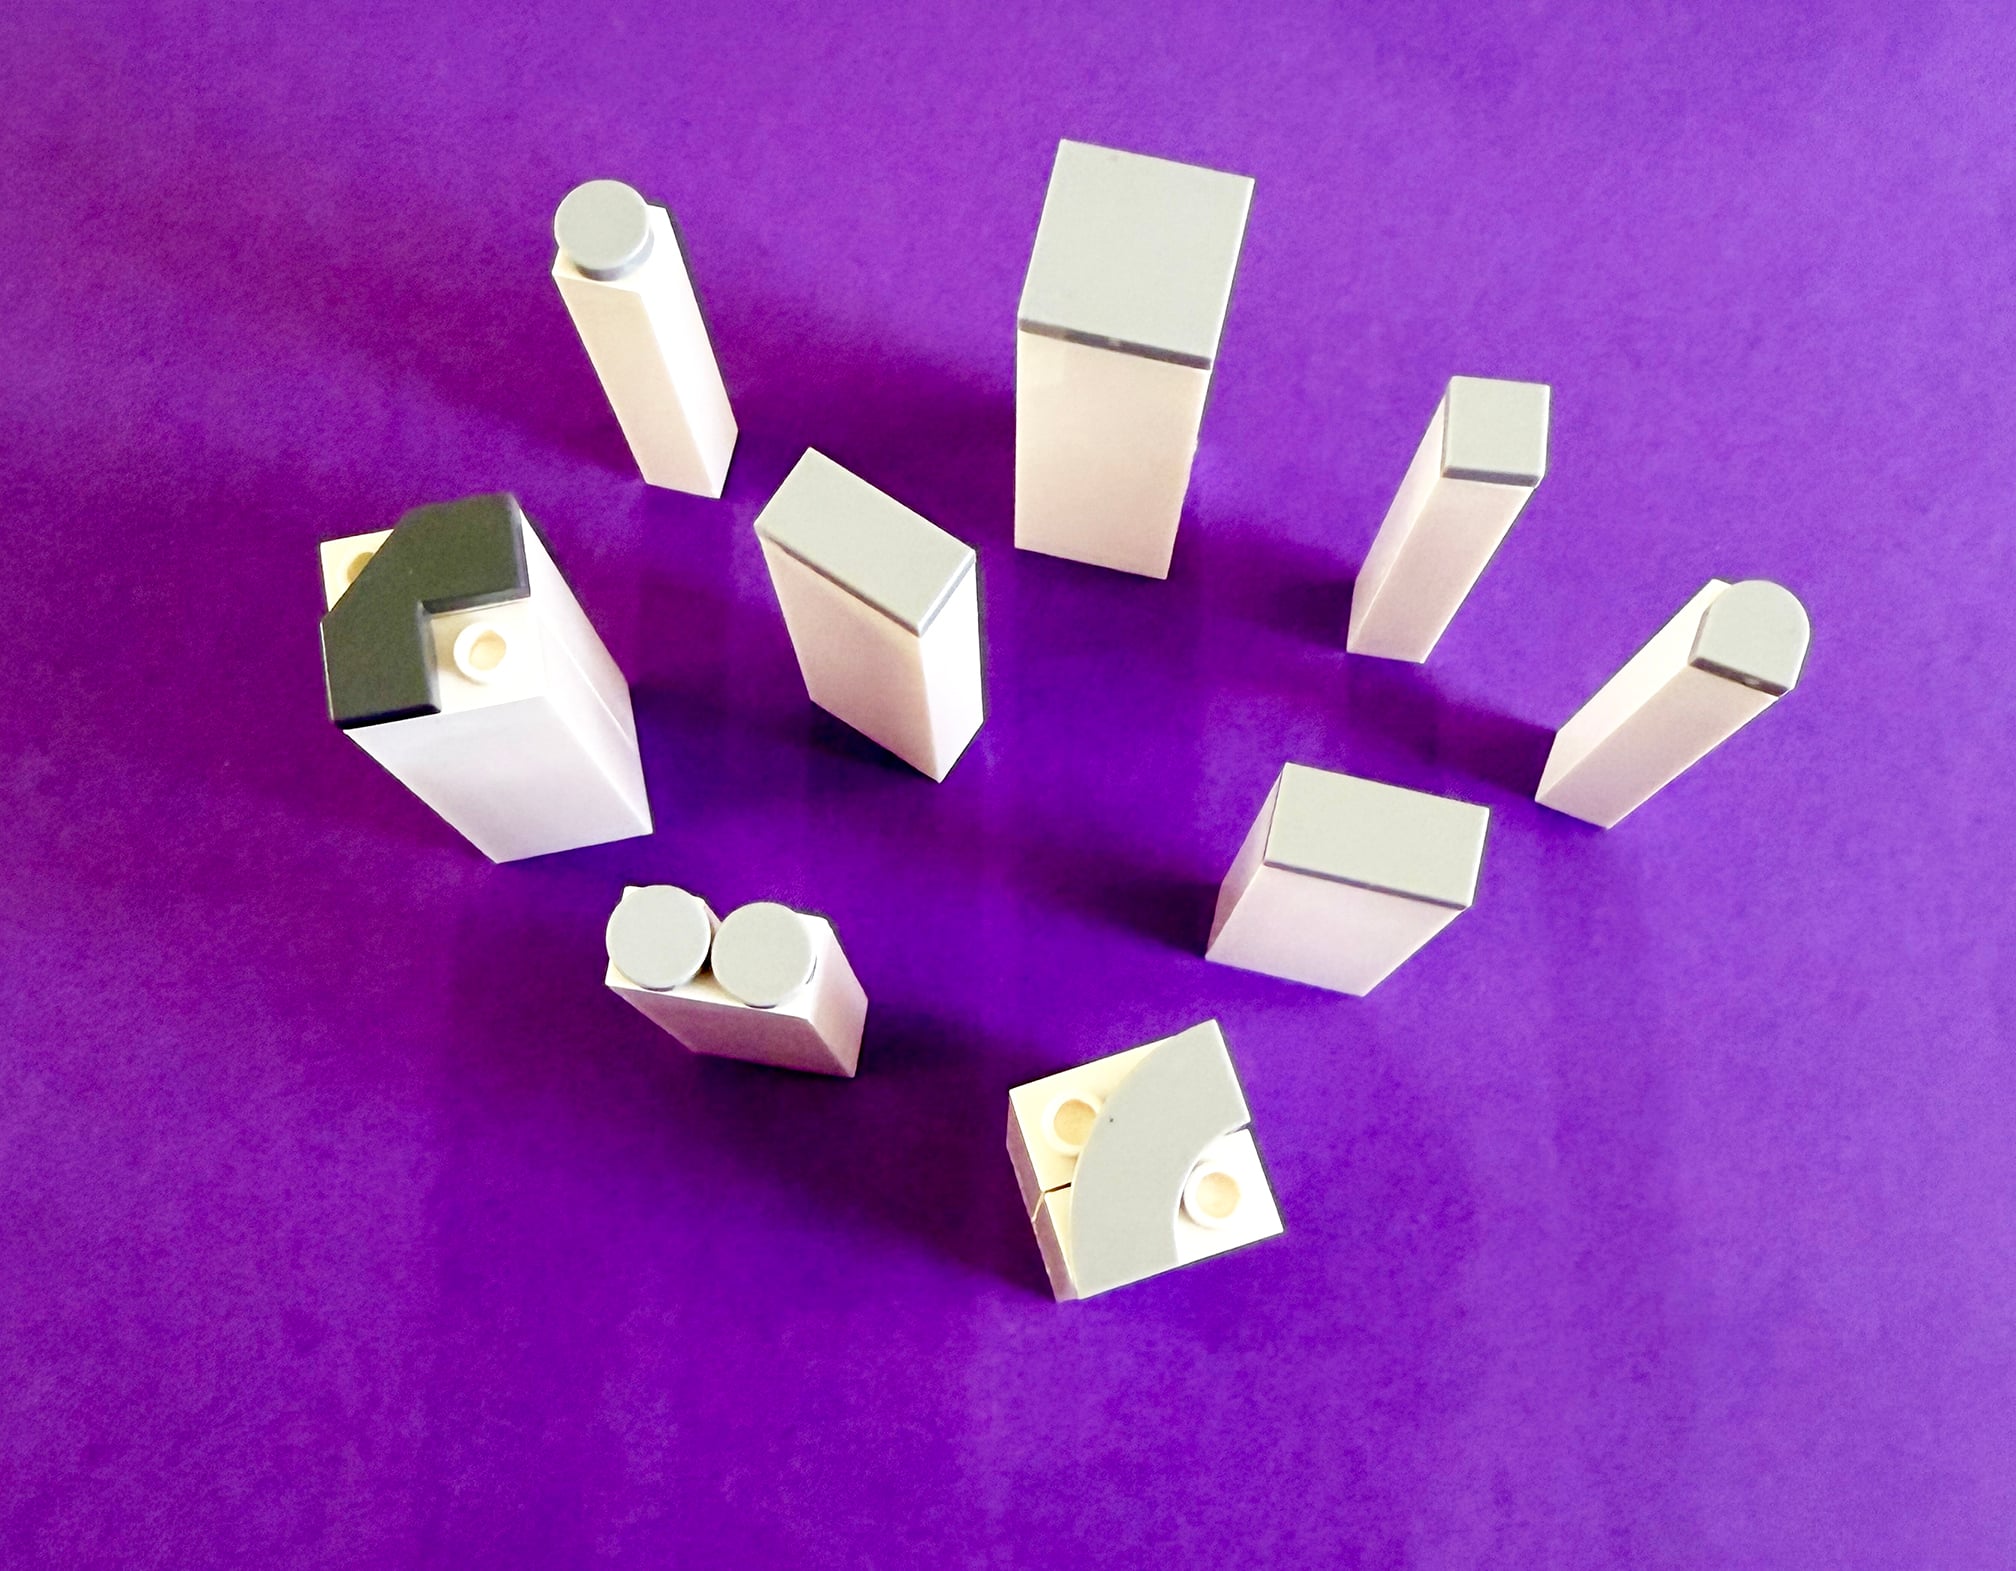
- Smooth tiles like 1×1 square (#3070a), 1×1 round (#98138), 1×1 half oval (#24246), 1×2 (#3069), 2×2 (#3068) and a 2×2 corner with cutouts (#27263)
- Tall pillar/column pieces for holding – 1x2x5 (#2454) and 1x1x5 (#2453)
- Vase Filler – 1×1 round plates (#6141/30057). I purchased 600 pieces total – 500 in transparent clear and 100 in transparent blue.
- 1/4 Scor Tape
- Daisies LEGO Botanical Set
DIY LEGO-Stamped Vase
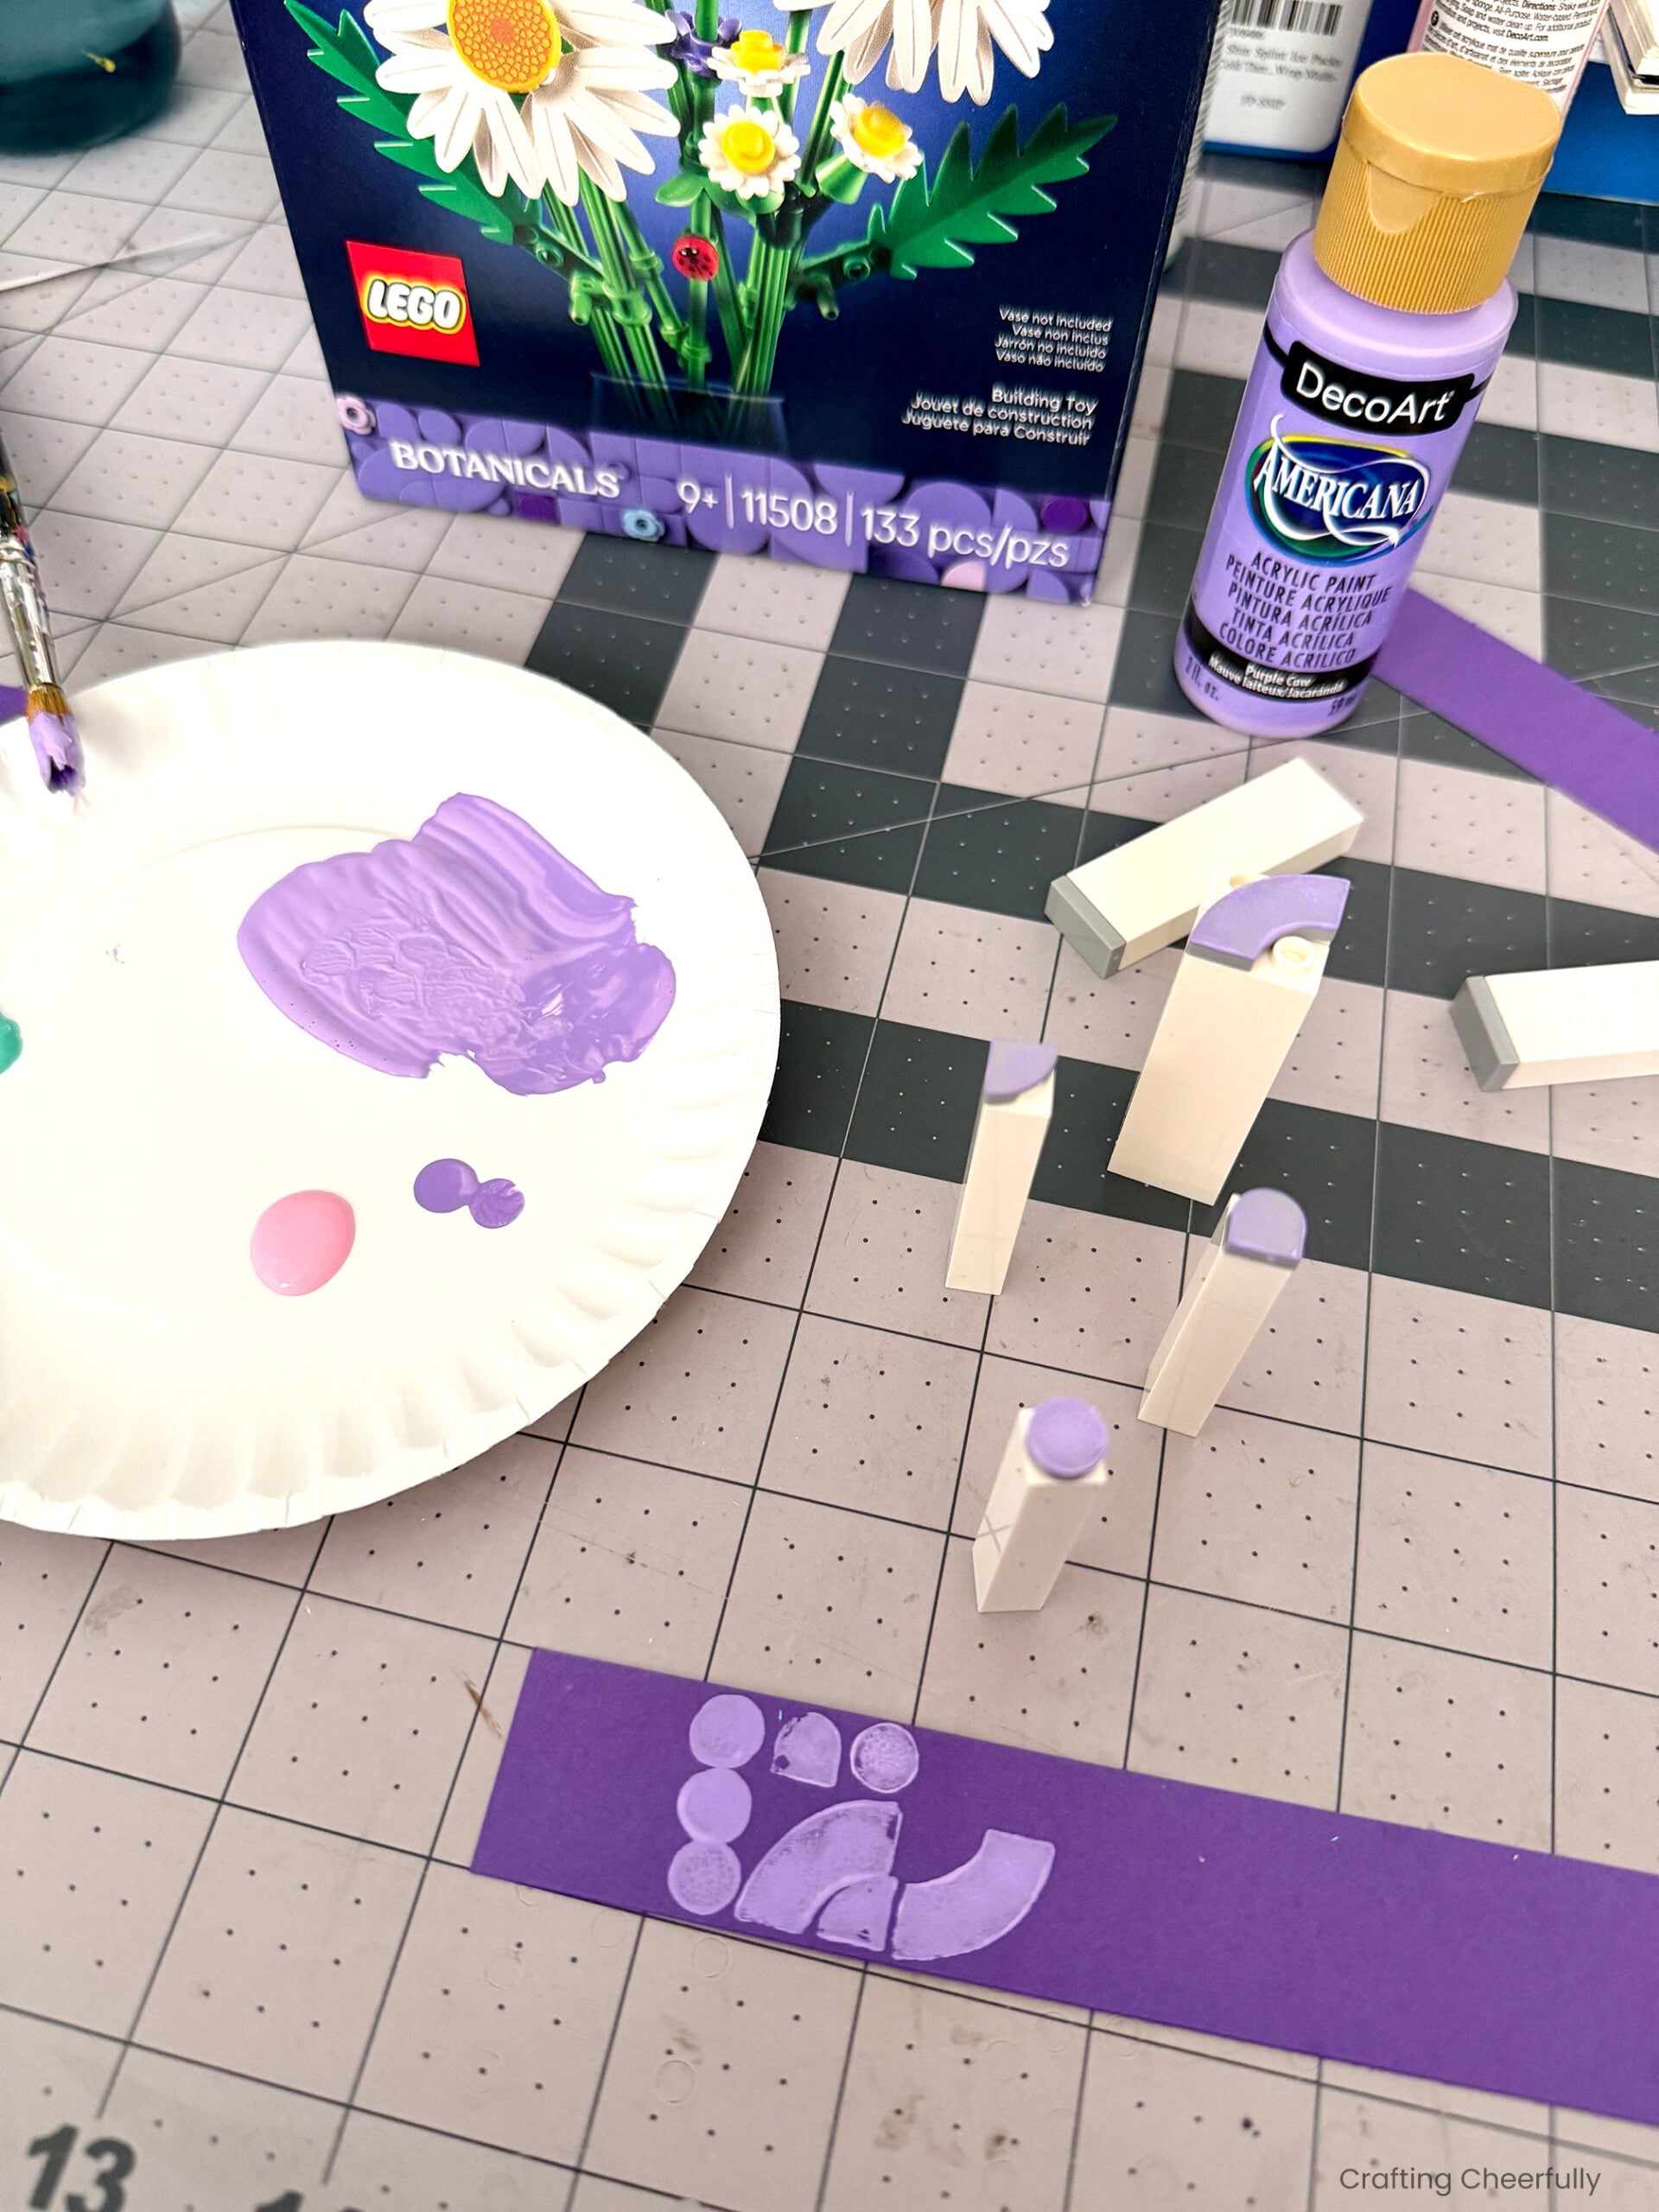
Step One: Create your LEGO stamps. We searched through our stash and found smooth tiles in different shapes and sizes. We attached these to long pillar pieces so we had something to hold while stamping.
Step Two: Cut a strip of cardstock that measure 1″ tall.
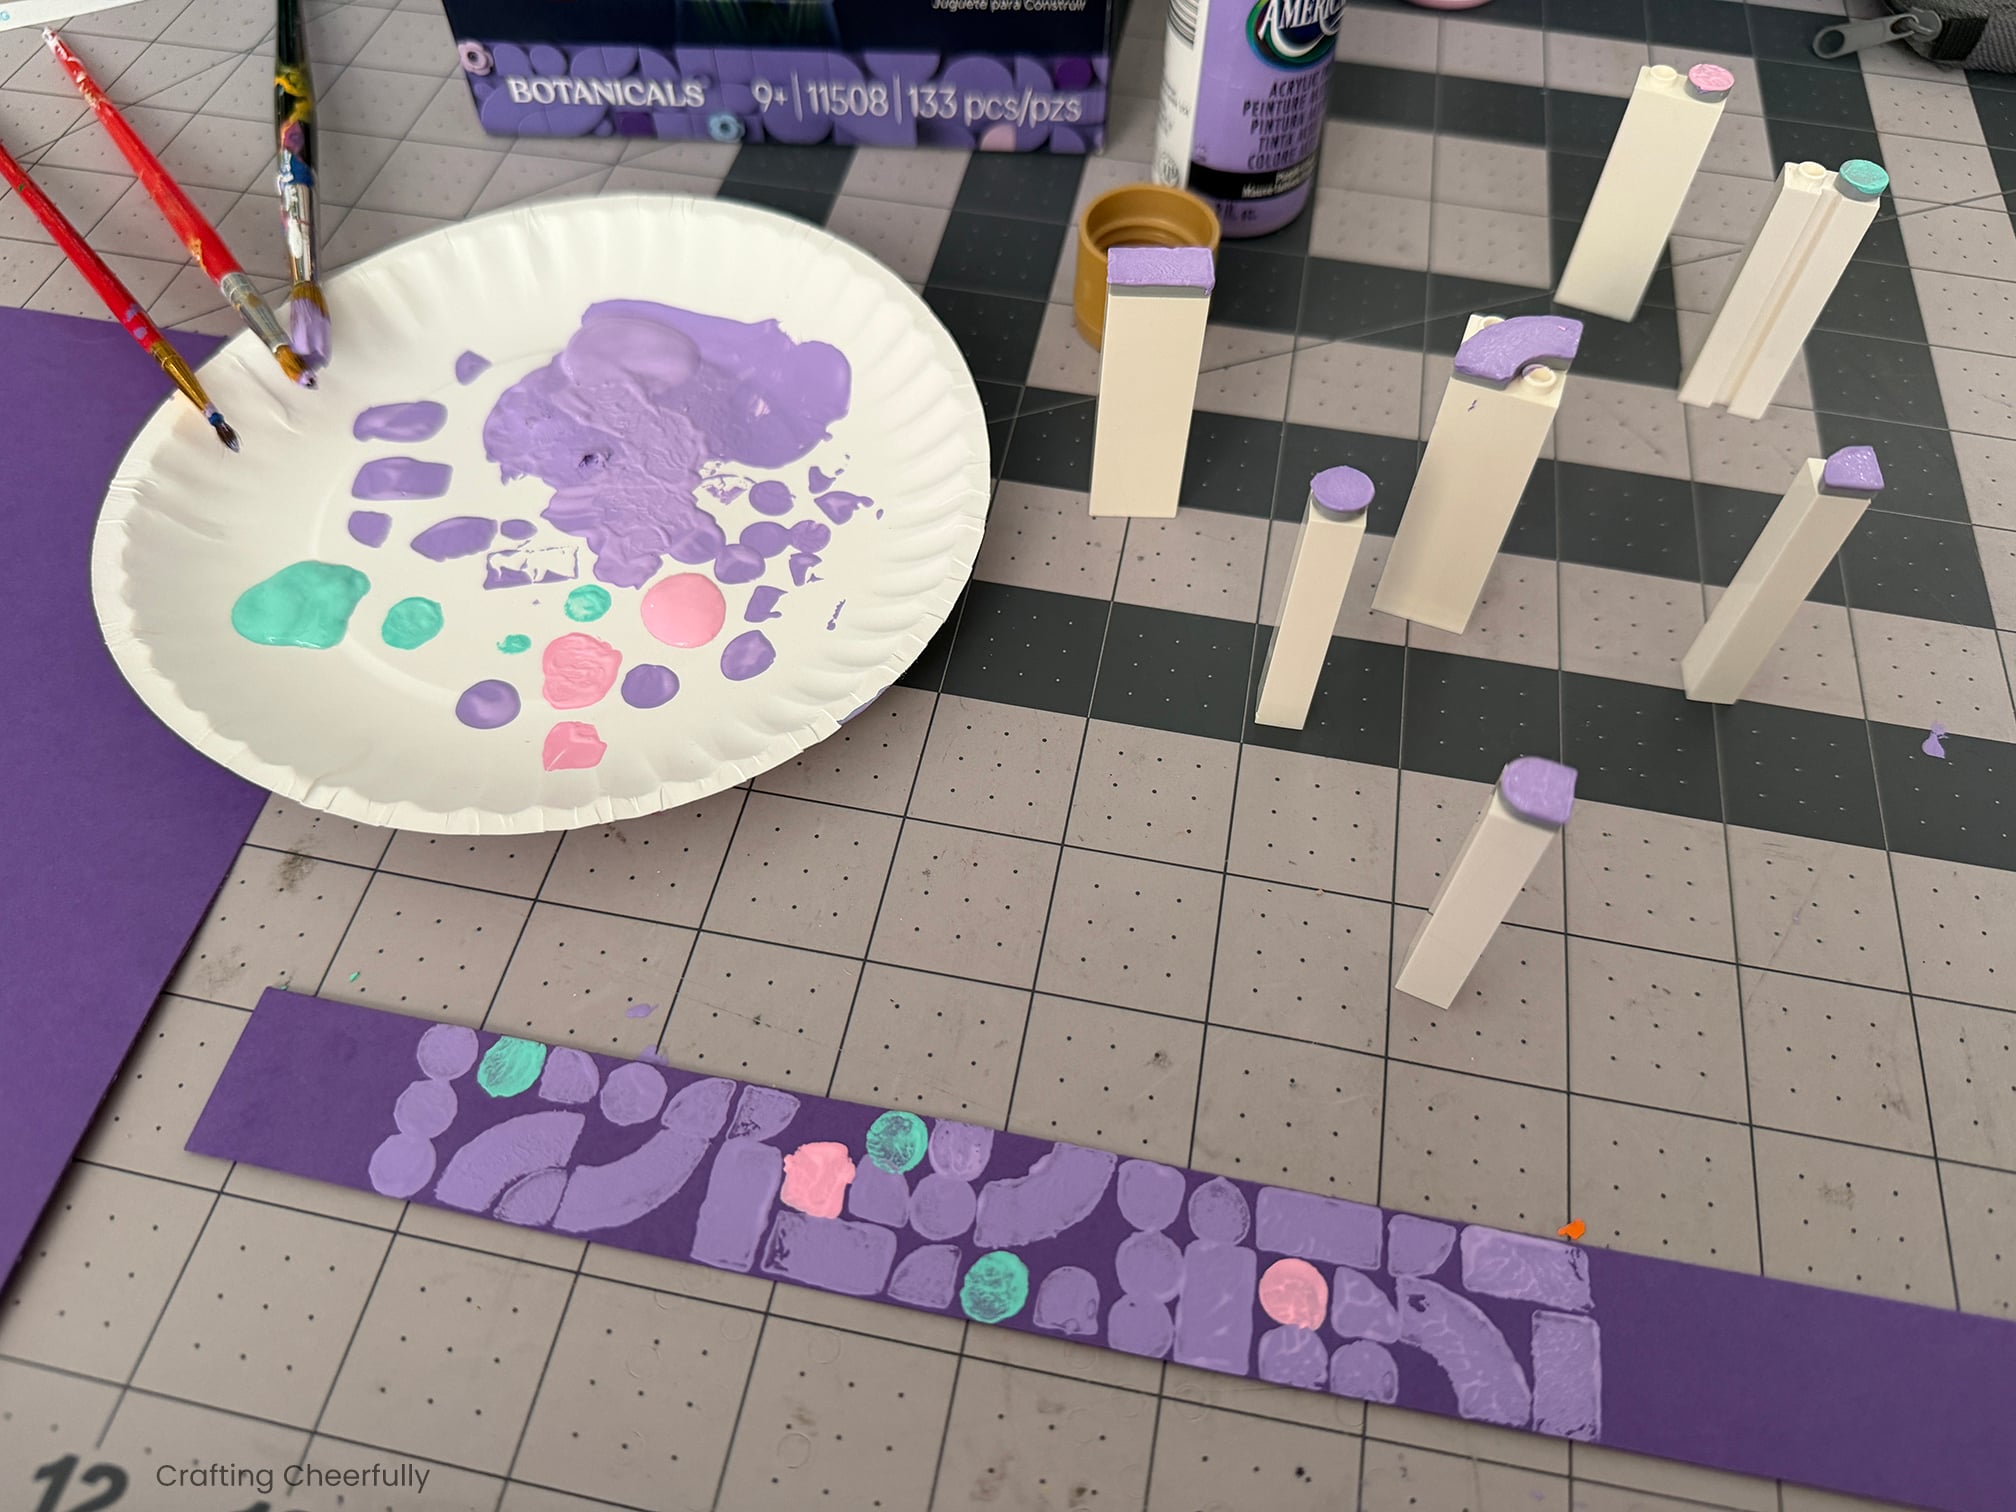
Step Three: Start stamping! Use the LEGO stamps to create a geometric pattern on your strip of paper. I looked at the design on the bottom of the LEGO Botanicals box for inspiration.
Don’t stress too much about making each stamp come out perfectly. Mine bled a little and were far from perfect. But honestly, it adds to the homemade look. You can use a scrap of paper to dab a bit of the paint off before stamping your real strip of paper, but I found more paint on the stamp worked better. You can play around and see what works best for you.
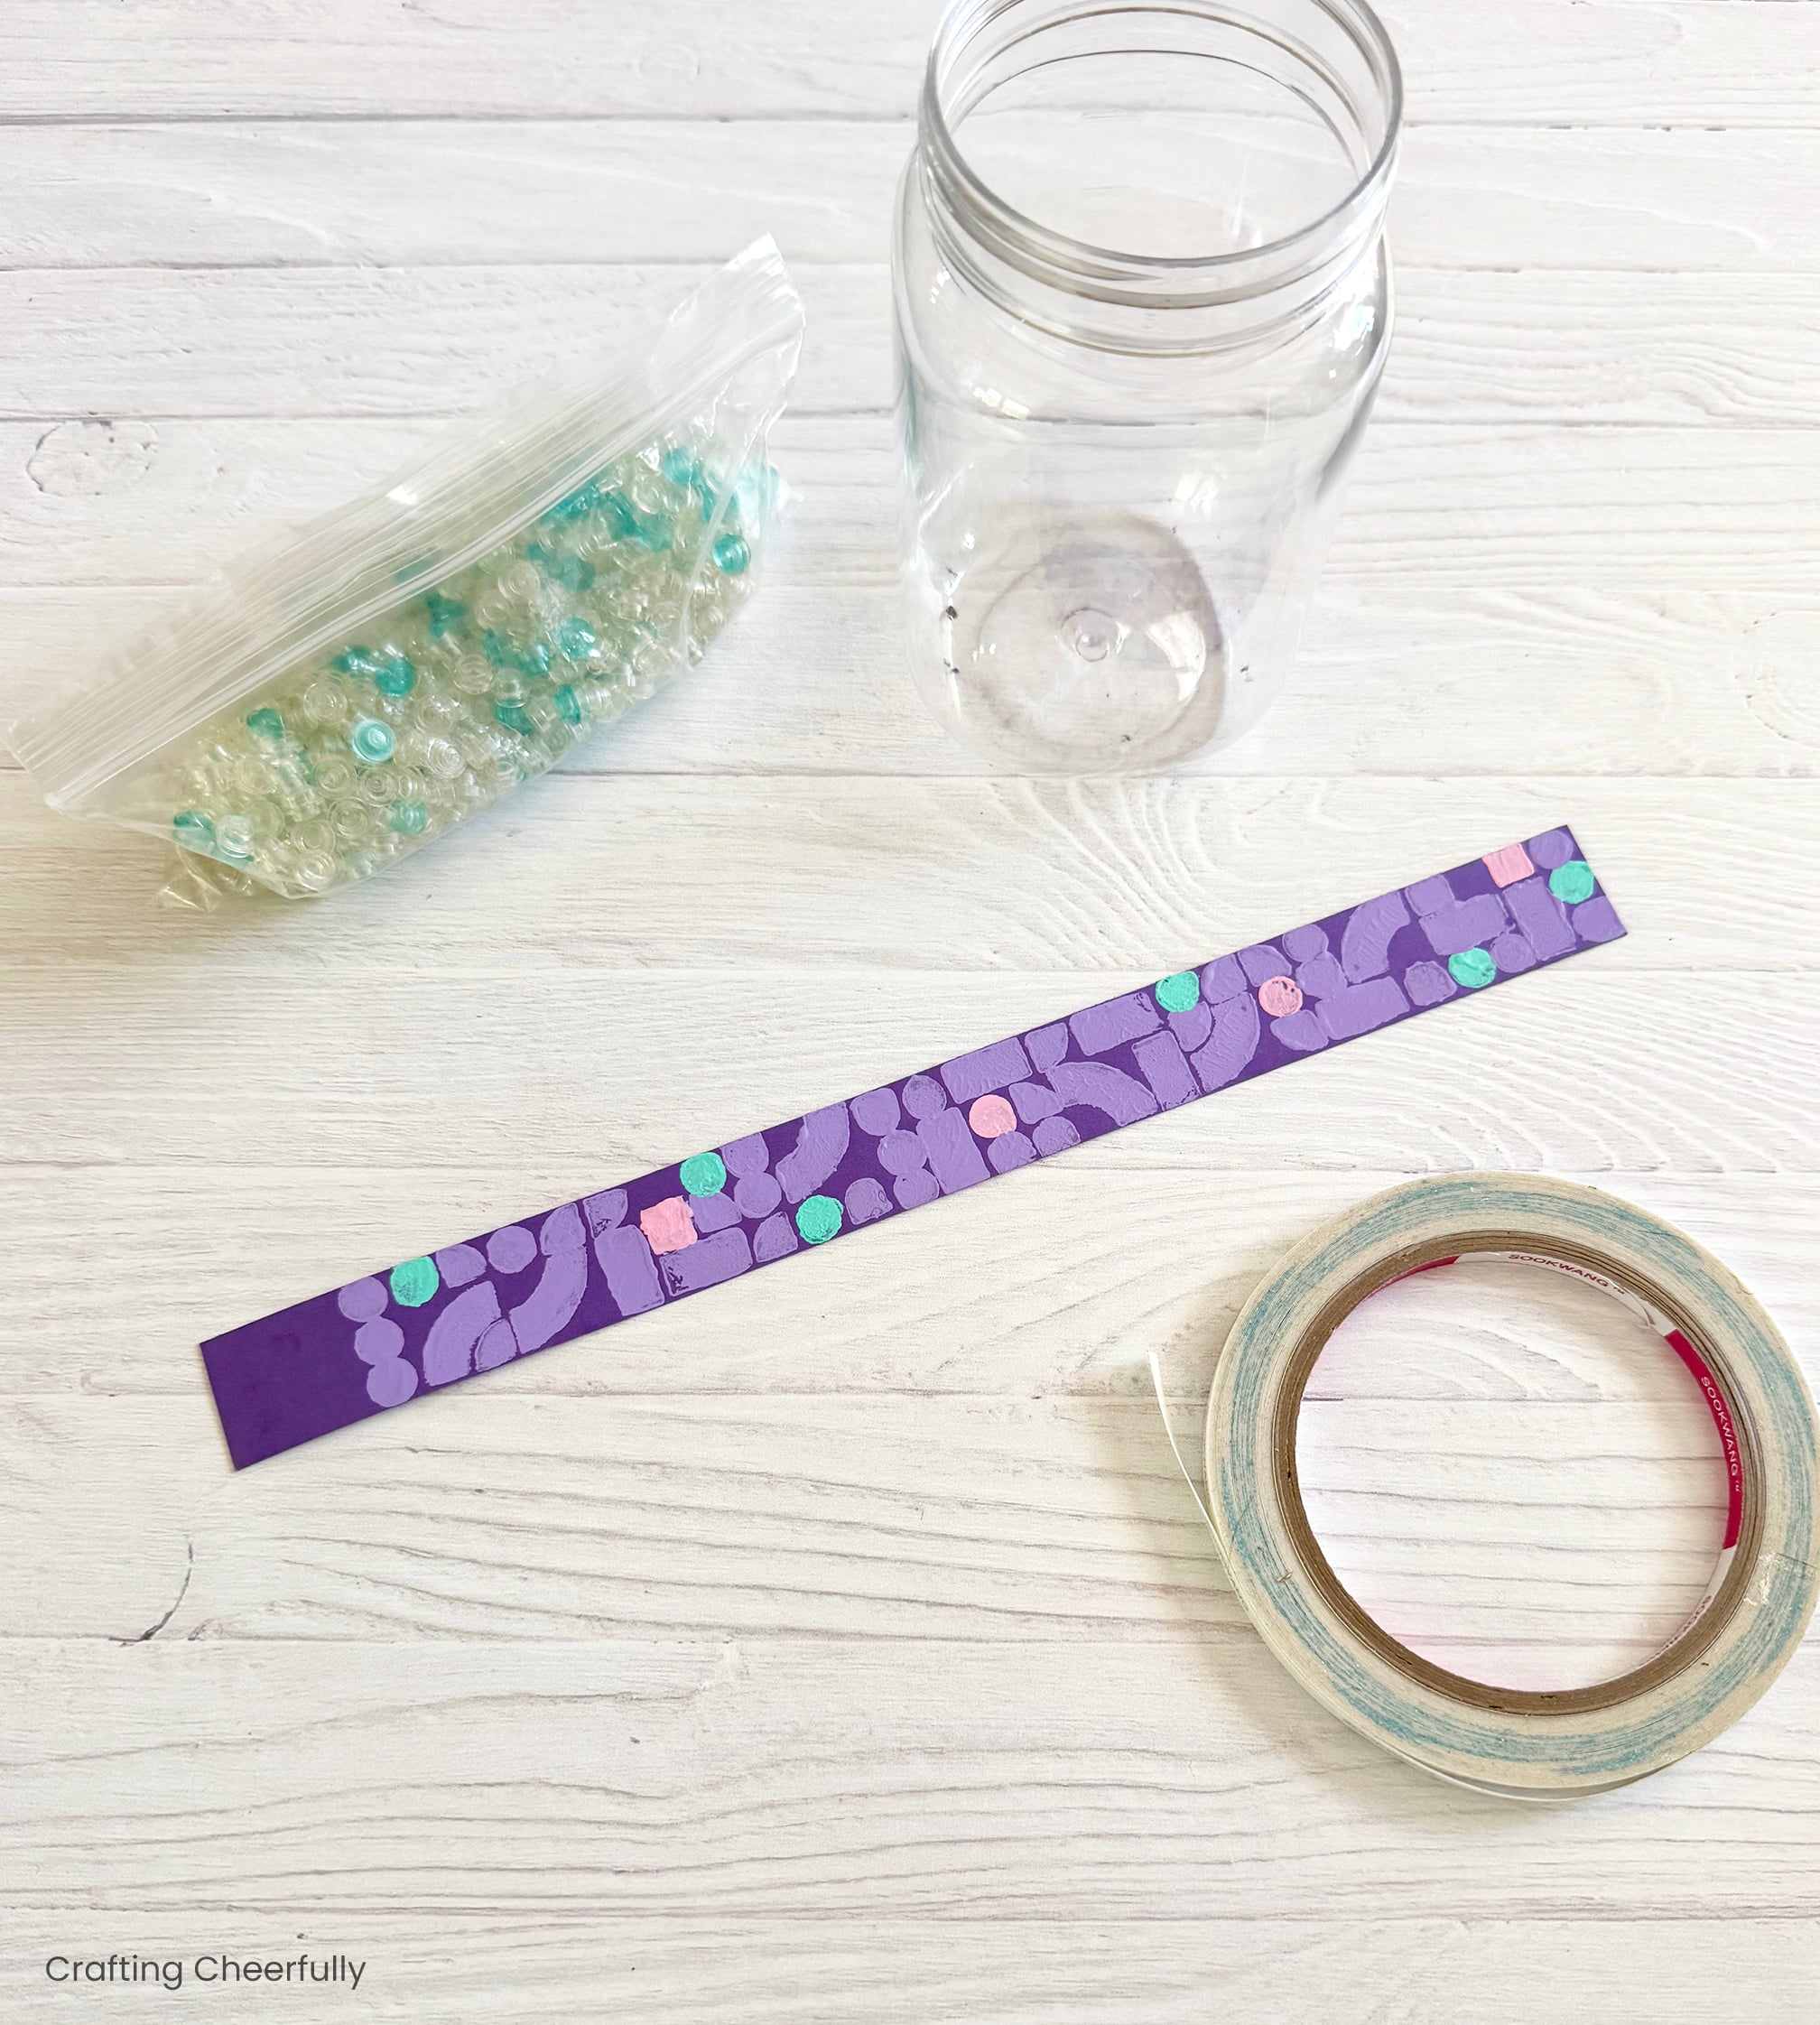
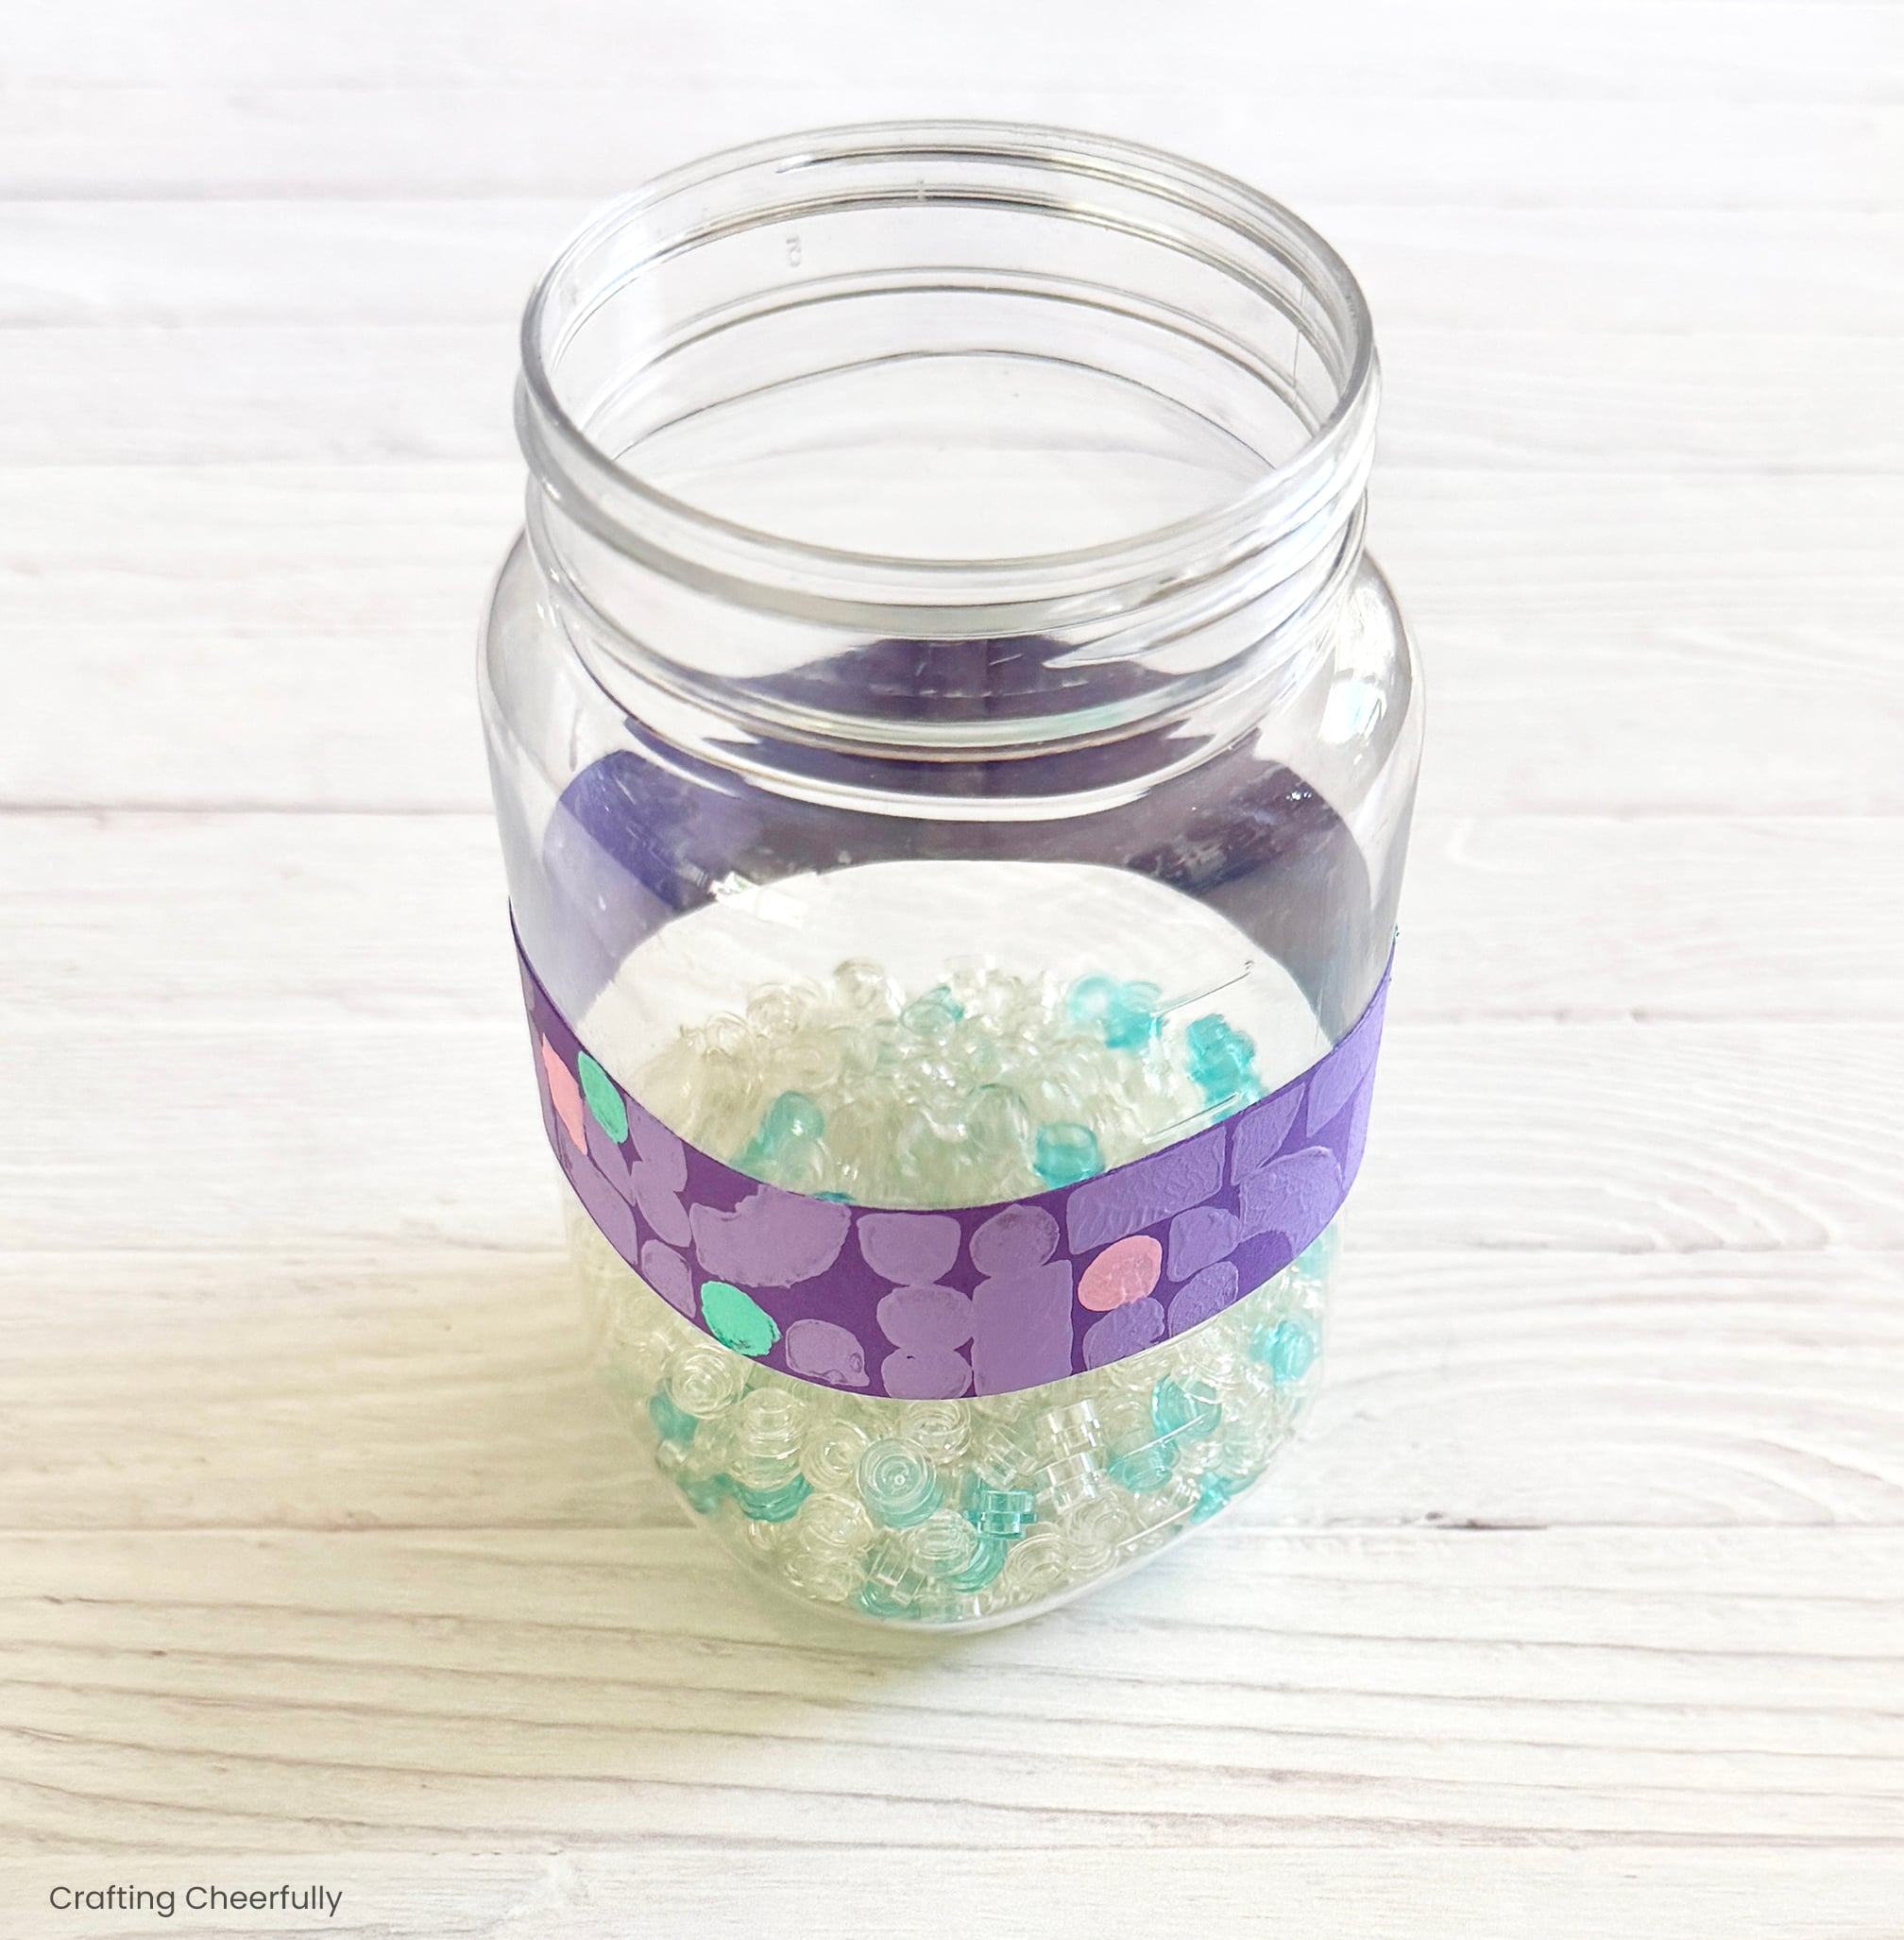
Step Four: Wrap the vase with the strip of paper. Wait until the strip of paper has dried, then use double-sided tape or glue to attach the strip of paper to the vase or jar.
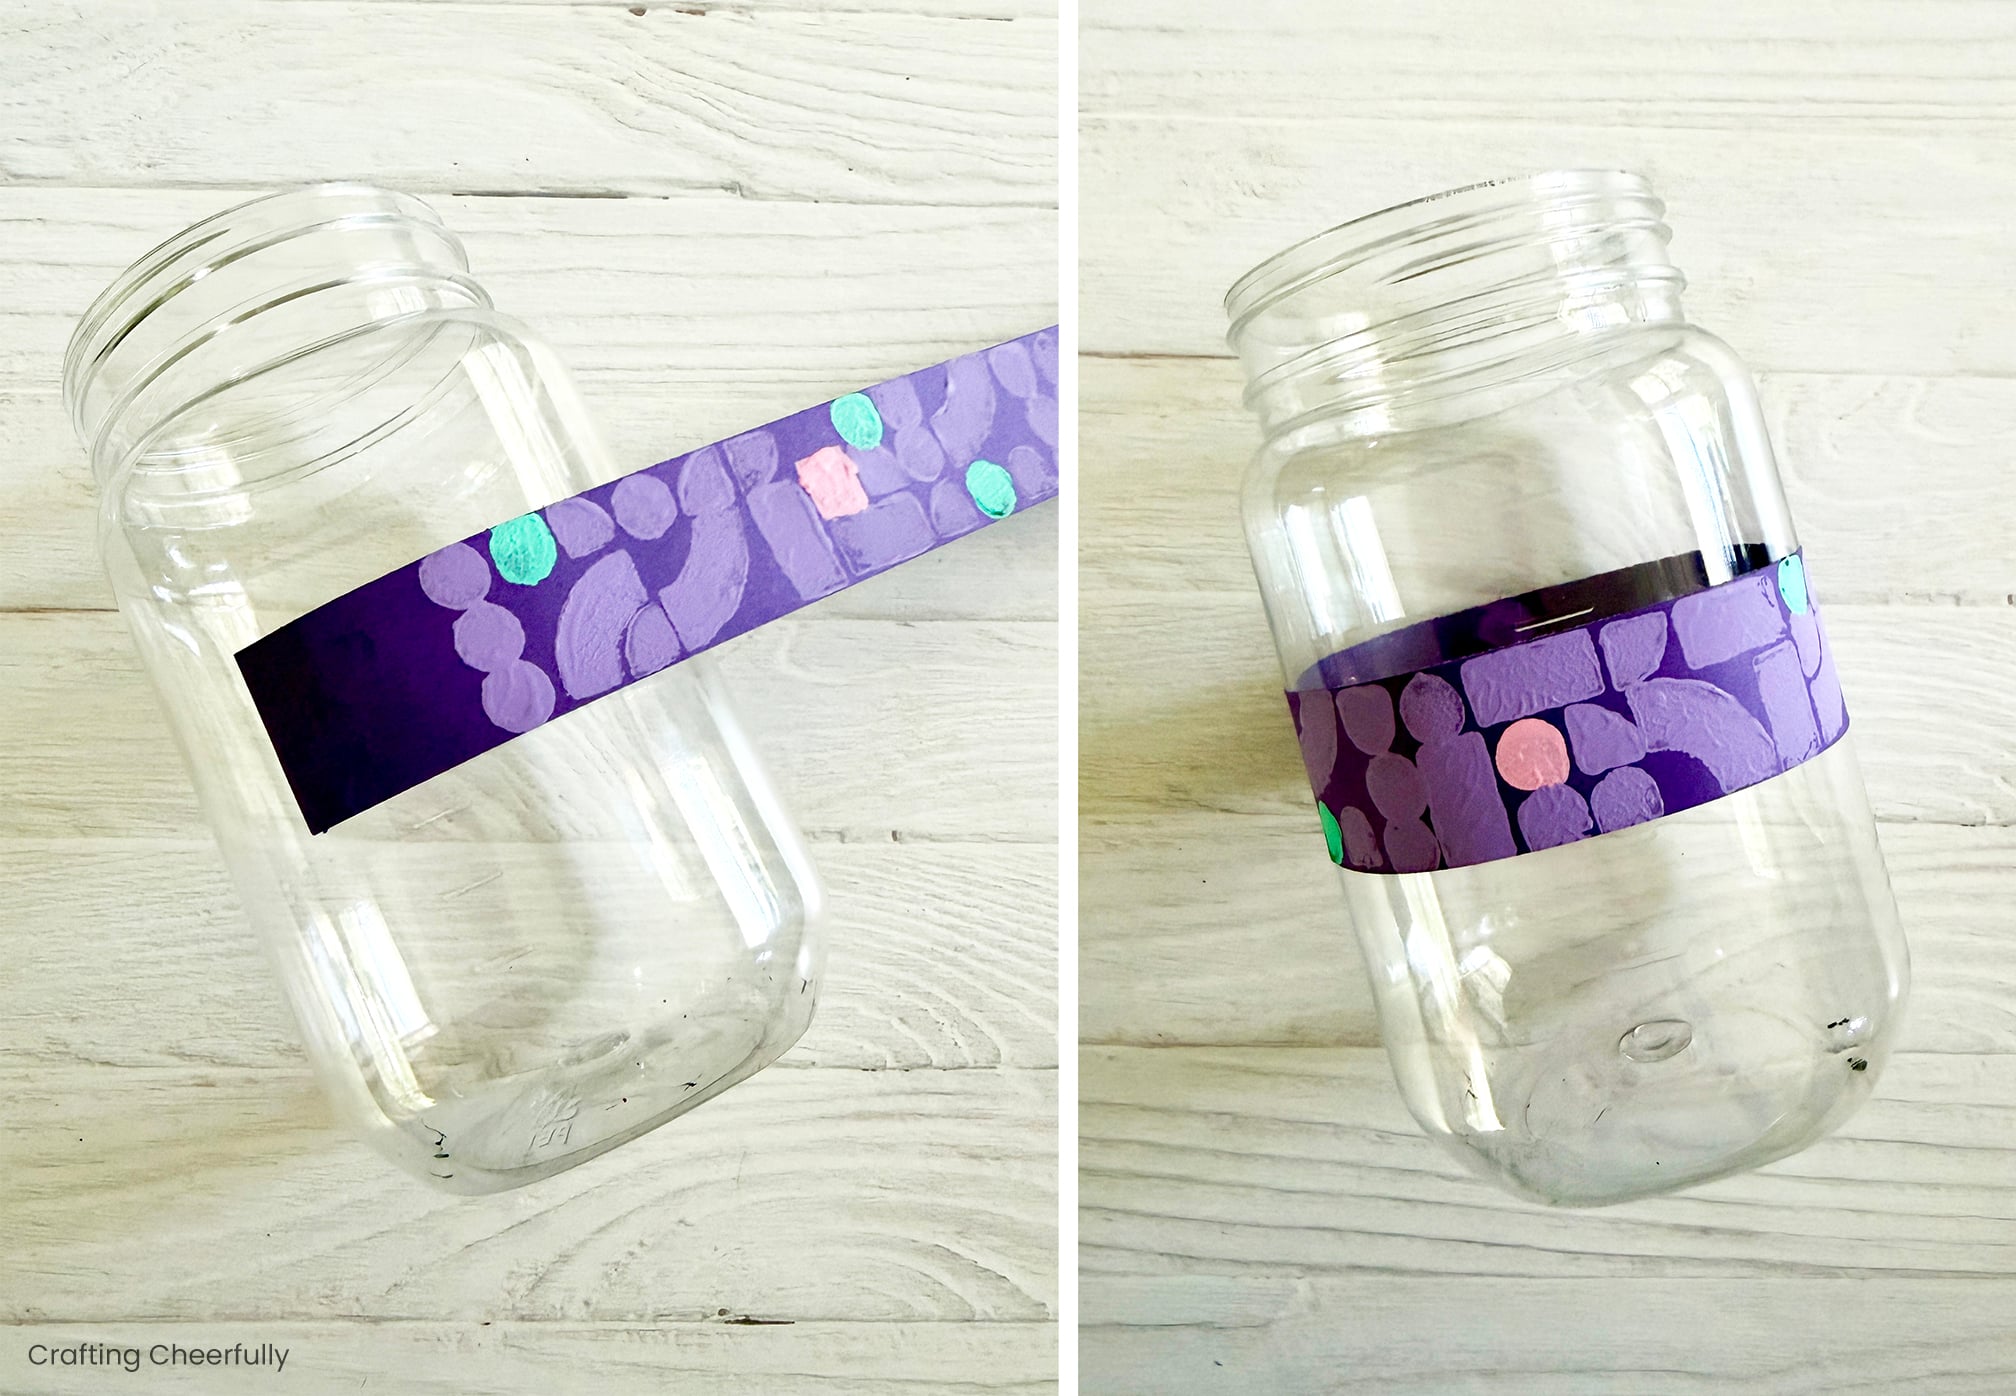
I originally positioned our stamped strip of paper towards the middle of the jar but later thought it looked better moved up closer to the top.
Step Five: Fill the base with vase filler. This is optional but gives the jar a fun look. I chose to use clear and blue pieces but think it may have looked better with one or the other. I used 1×1 round plates (#6141/30057) and purchased 600 pieces total – 500 in transparent clear and 100 in transparent blue. 600 pieces did not go very far!
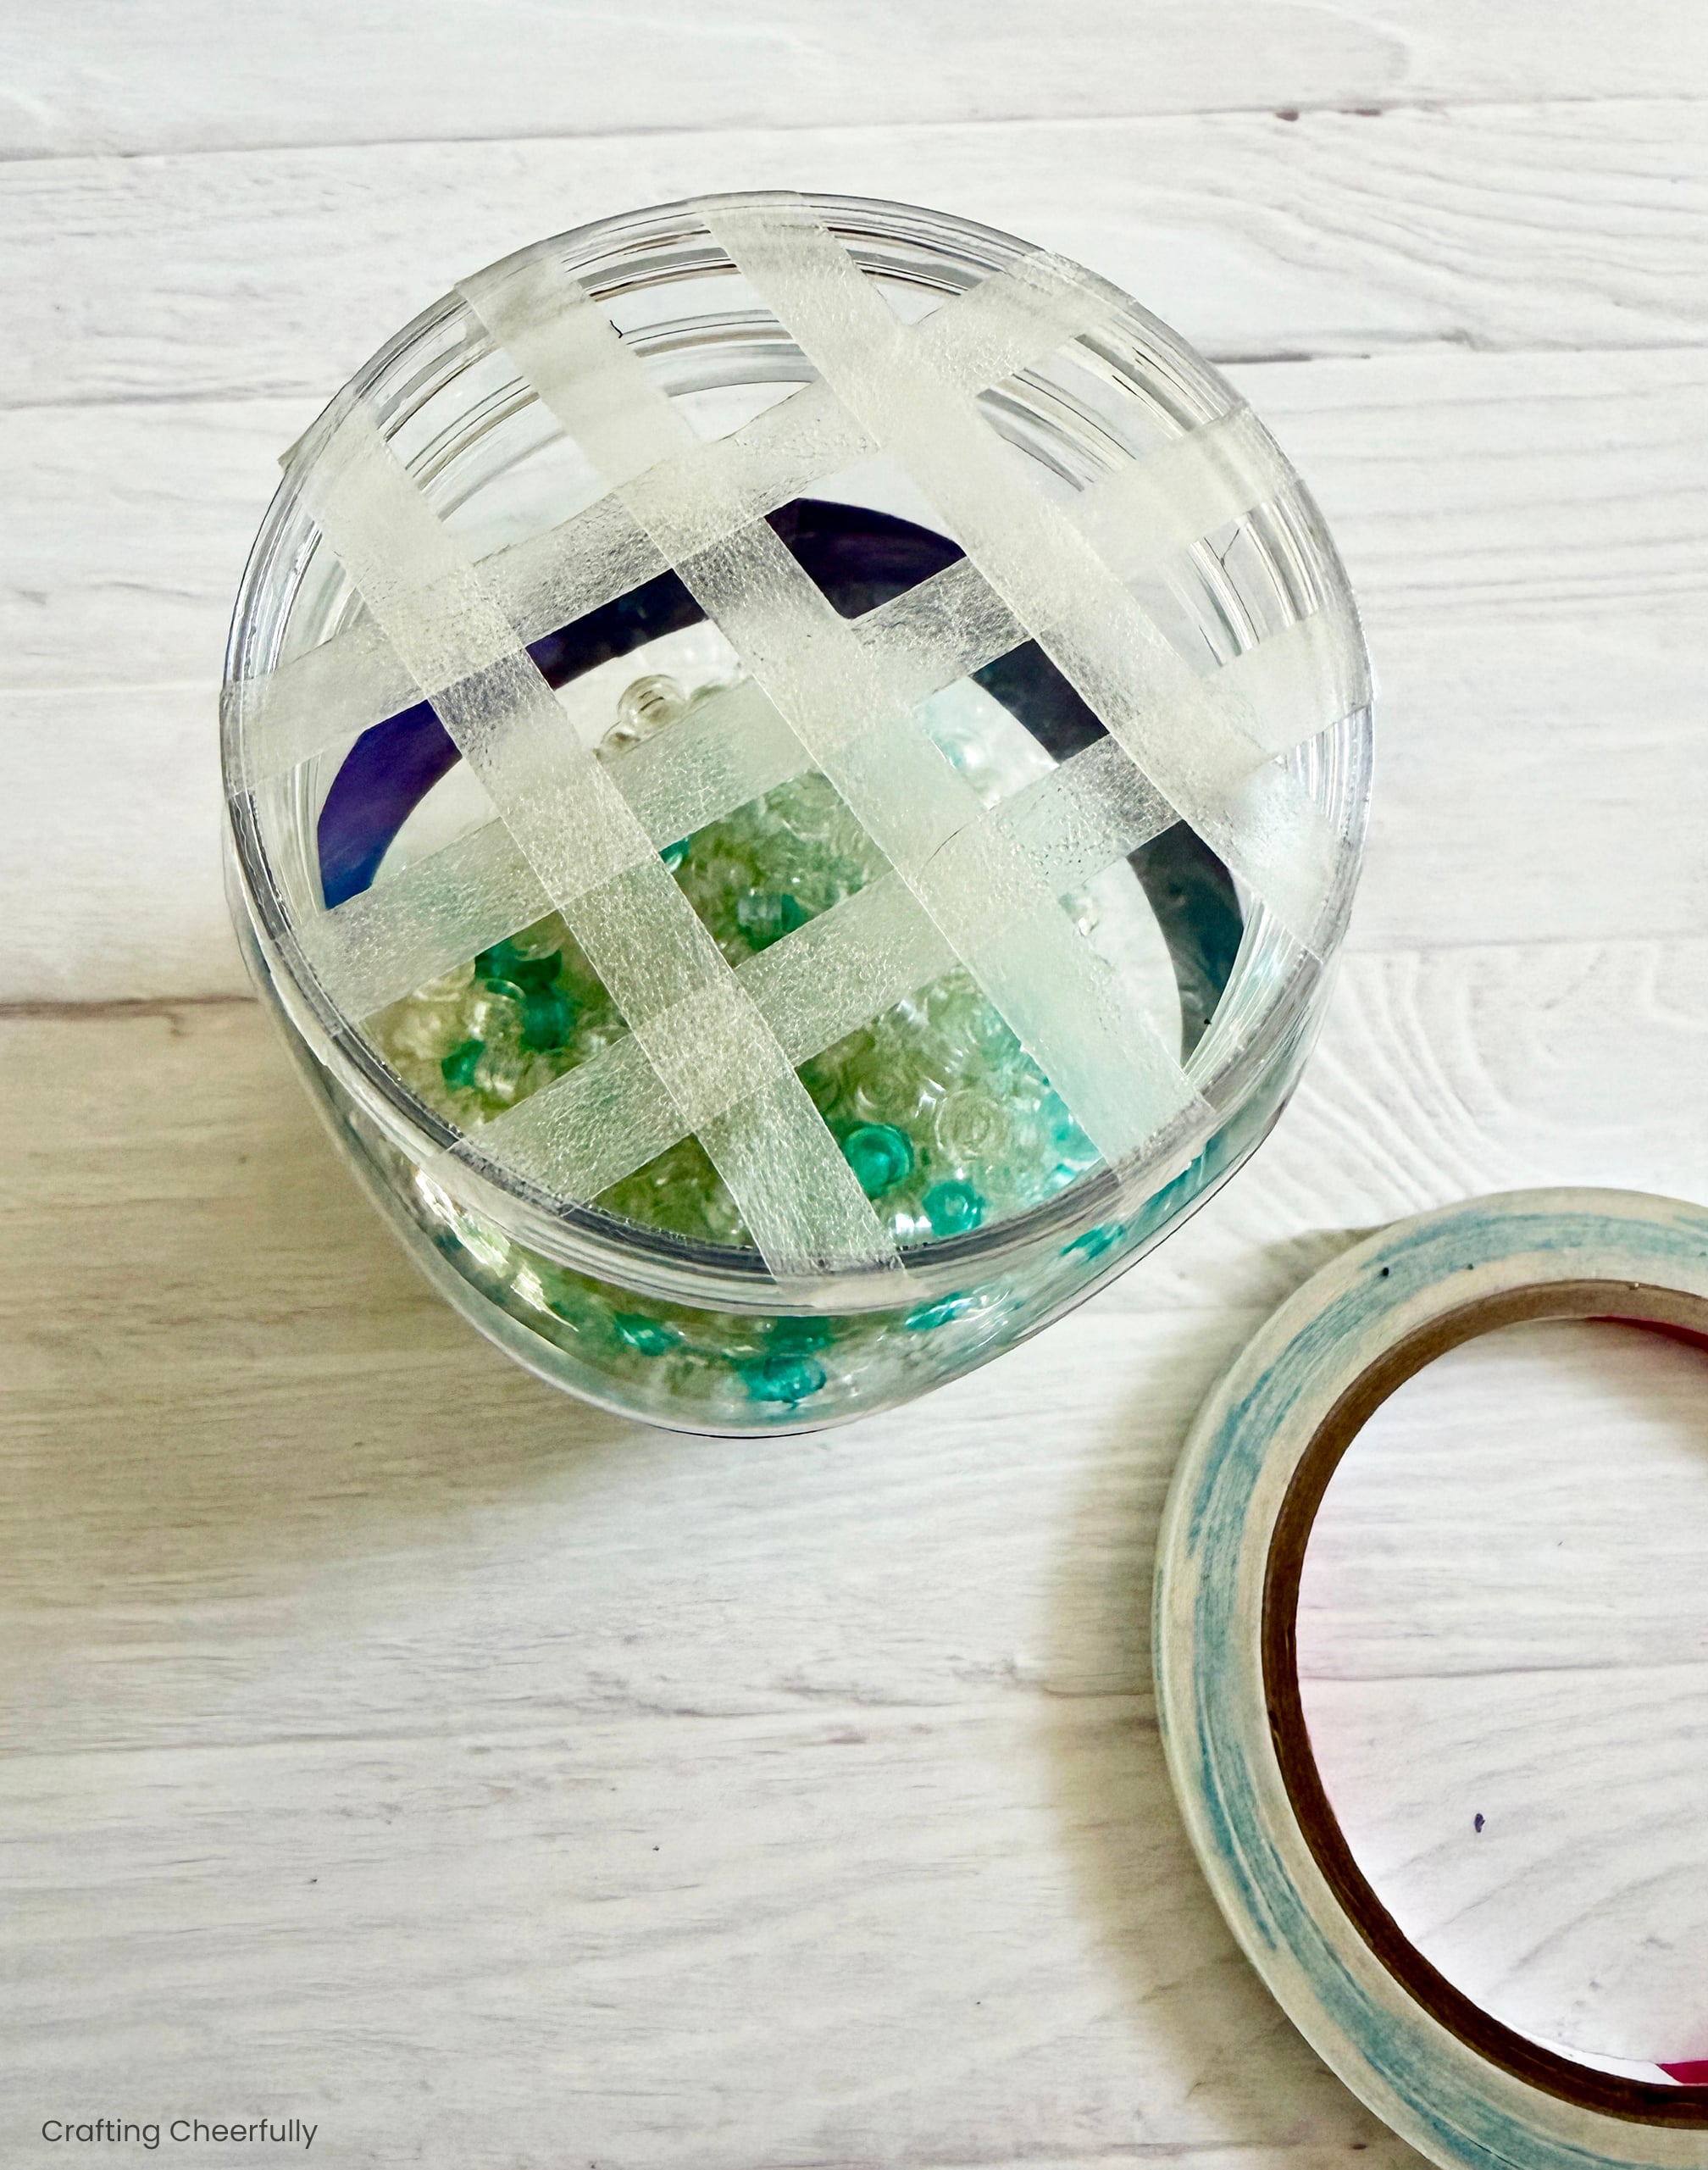
Step Five: Fill your vase with LEGO flowers! To help the stems stand up where you want them, add a grid of tape across the top. I used my 1/4″ double-sided Scor-Tape, but you could also cut regular Scotch tape into thin strips. This tip really helps when it comes to arranging the flowers. It also helps keep them in place as you move the vase around.
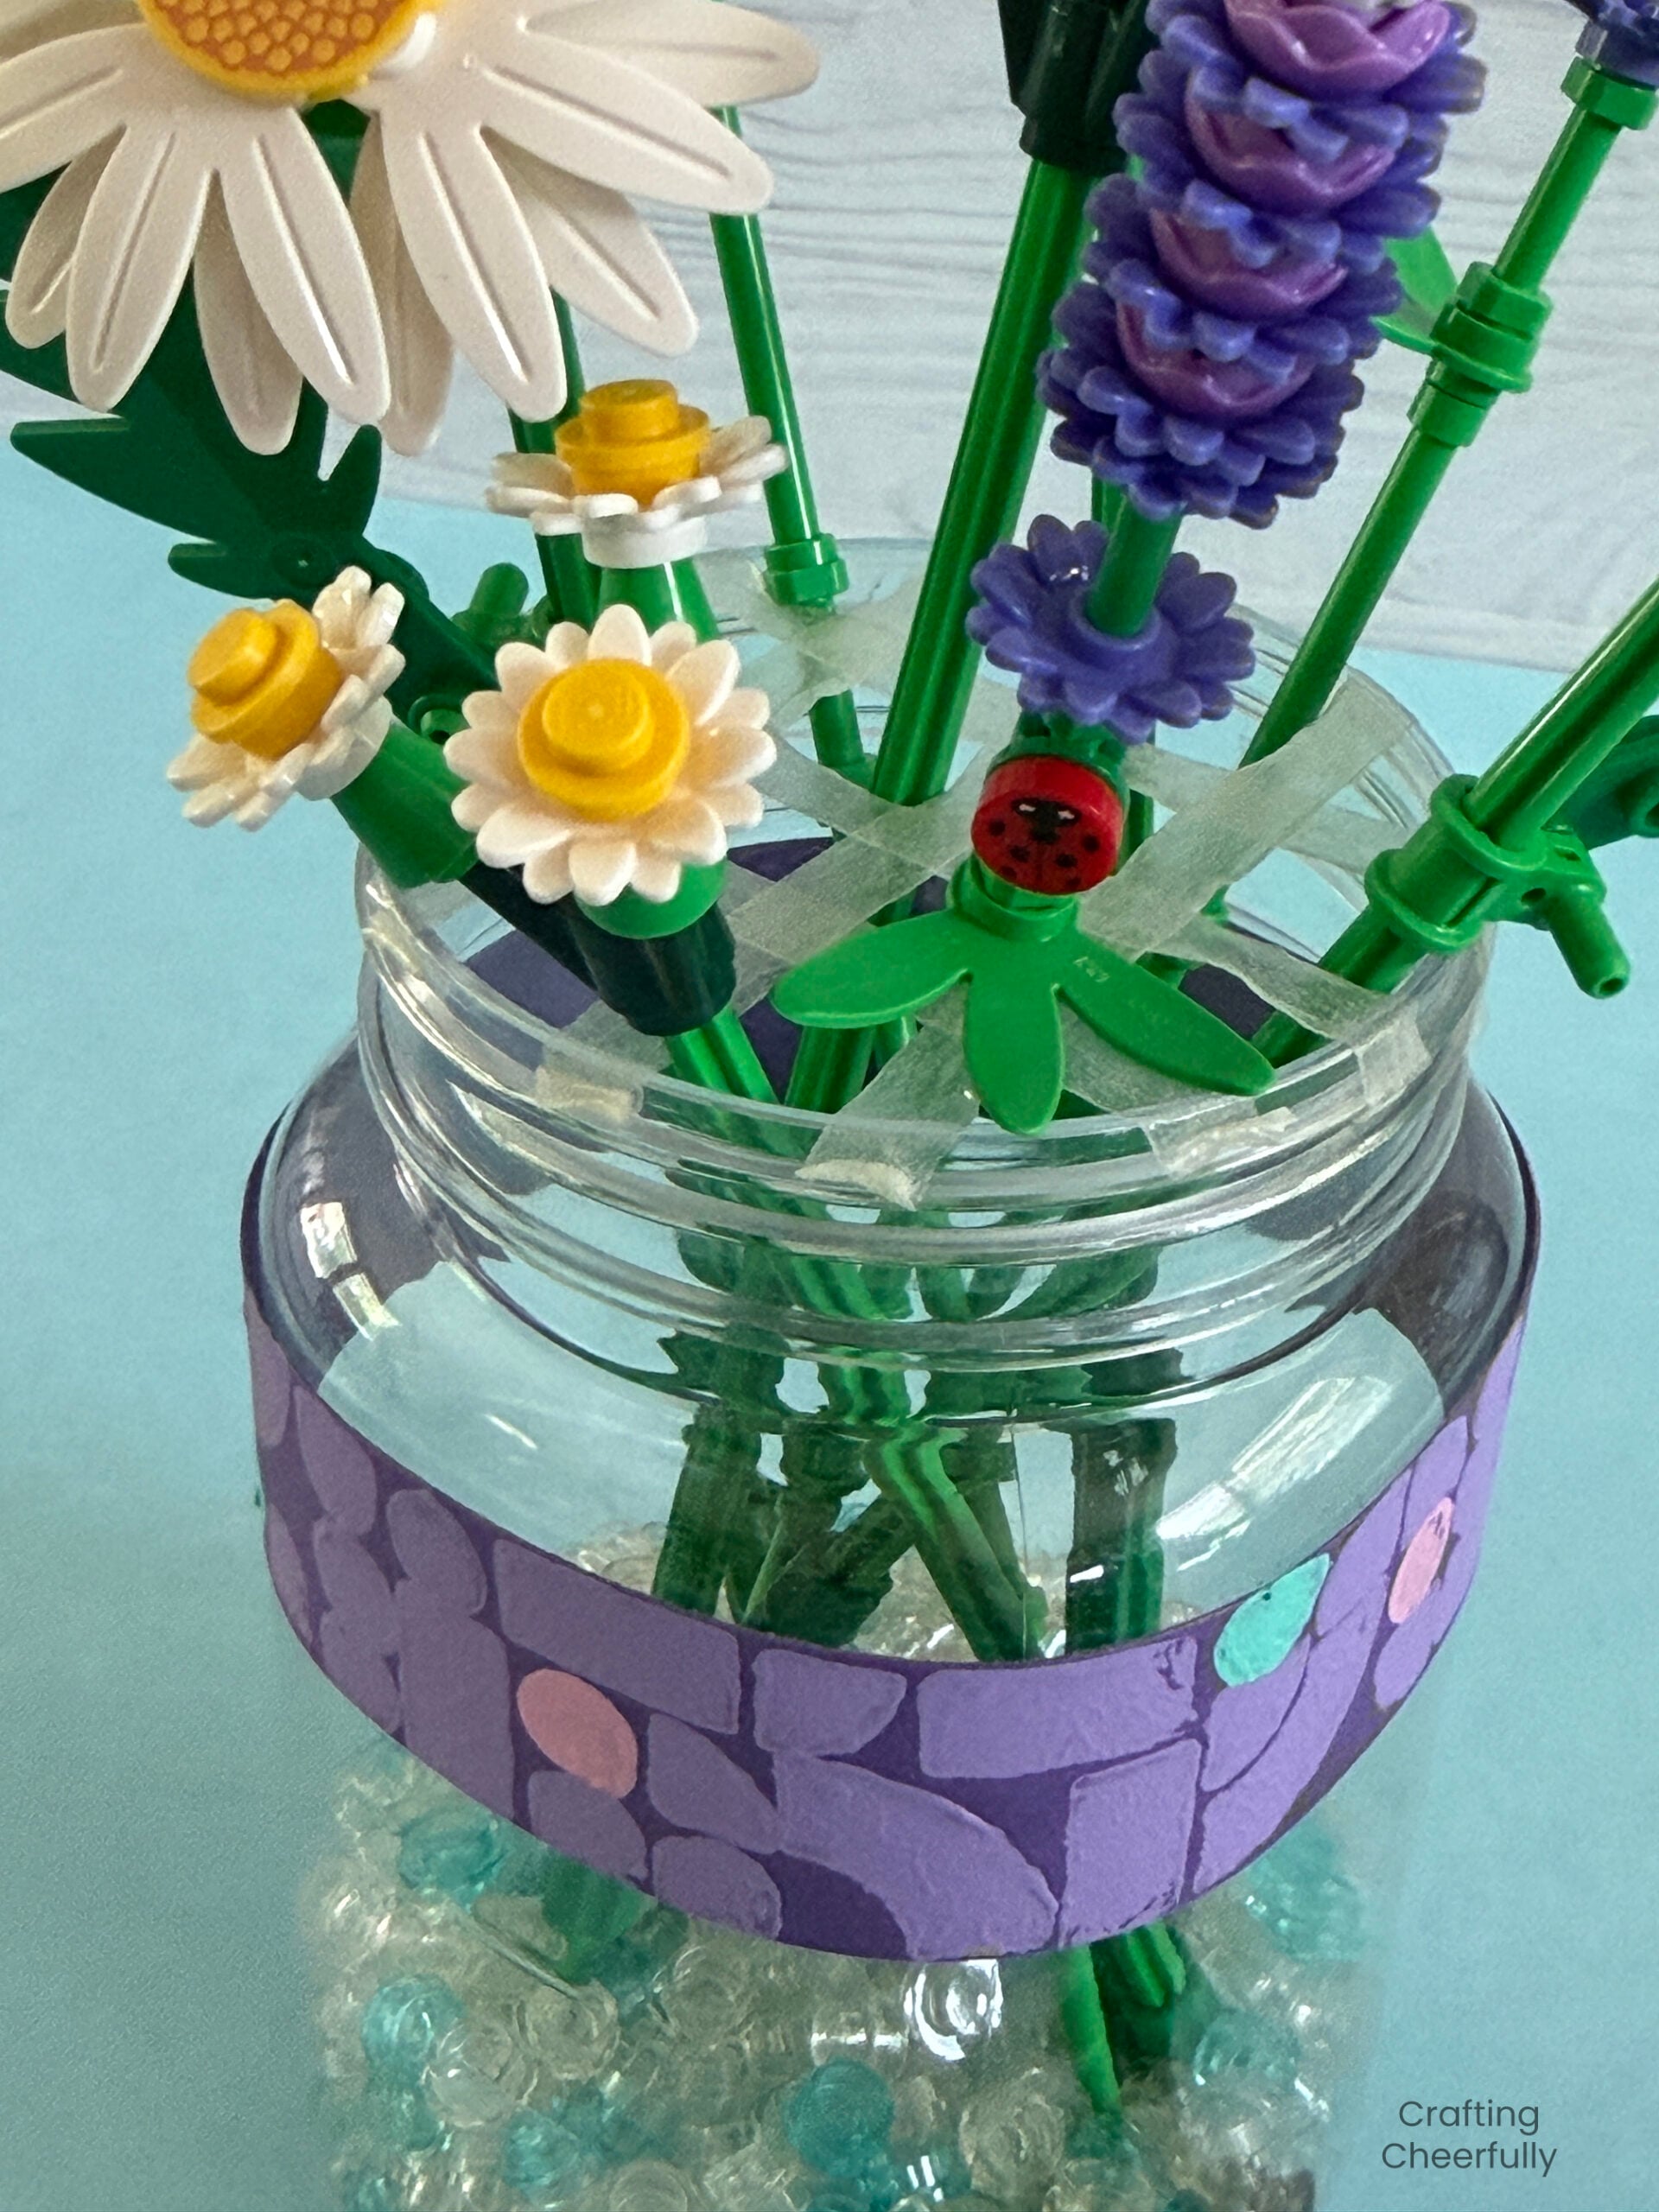
The vase is finished and ready to be displayed and enjoyed!
I hope you enjoyed this quick tutorial! If you are looking for other LEGO-themed crafts, check out my DIY LEGO Tutorials craft page!


