DIY Hungry Caterpillar Marker Holder
Create the cutest marker holder for your kids with this Hungry Caterpillar craft! Made with cardboard tubes and patterned tissue paper.
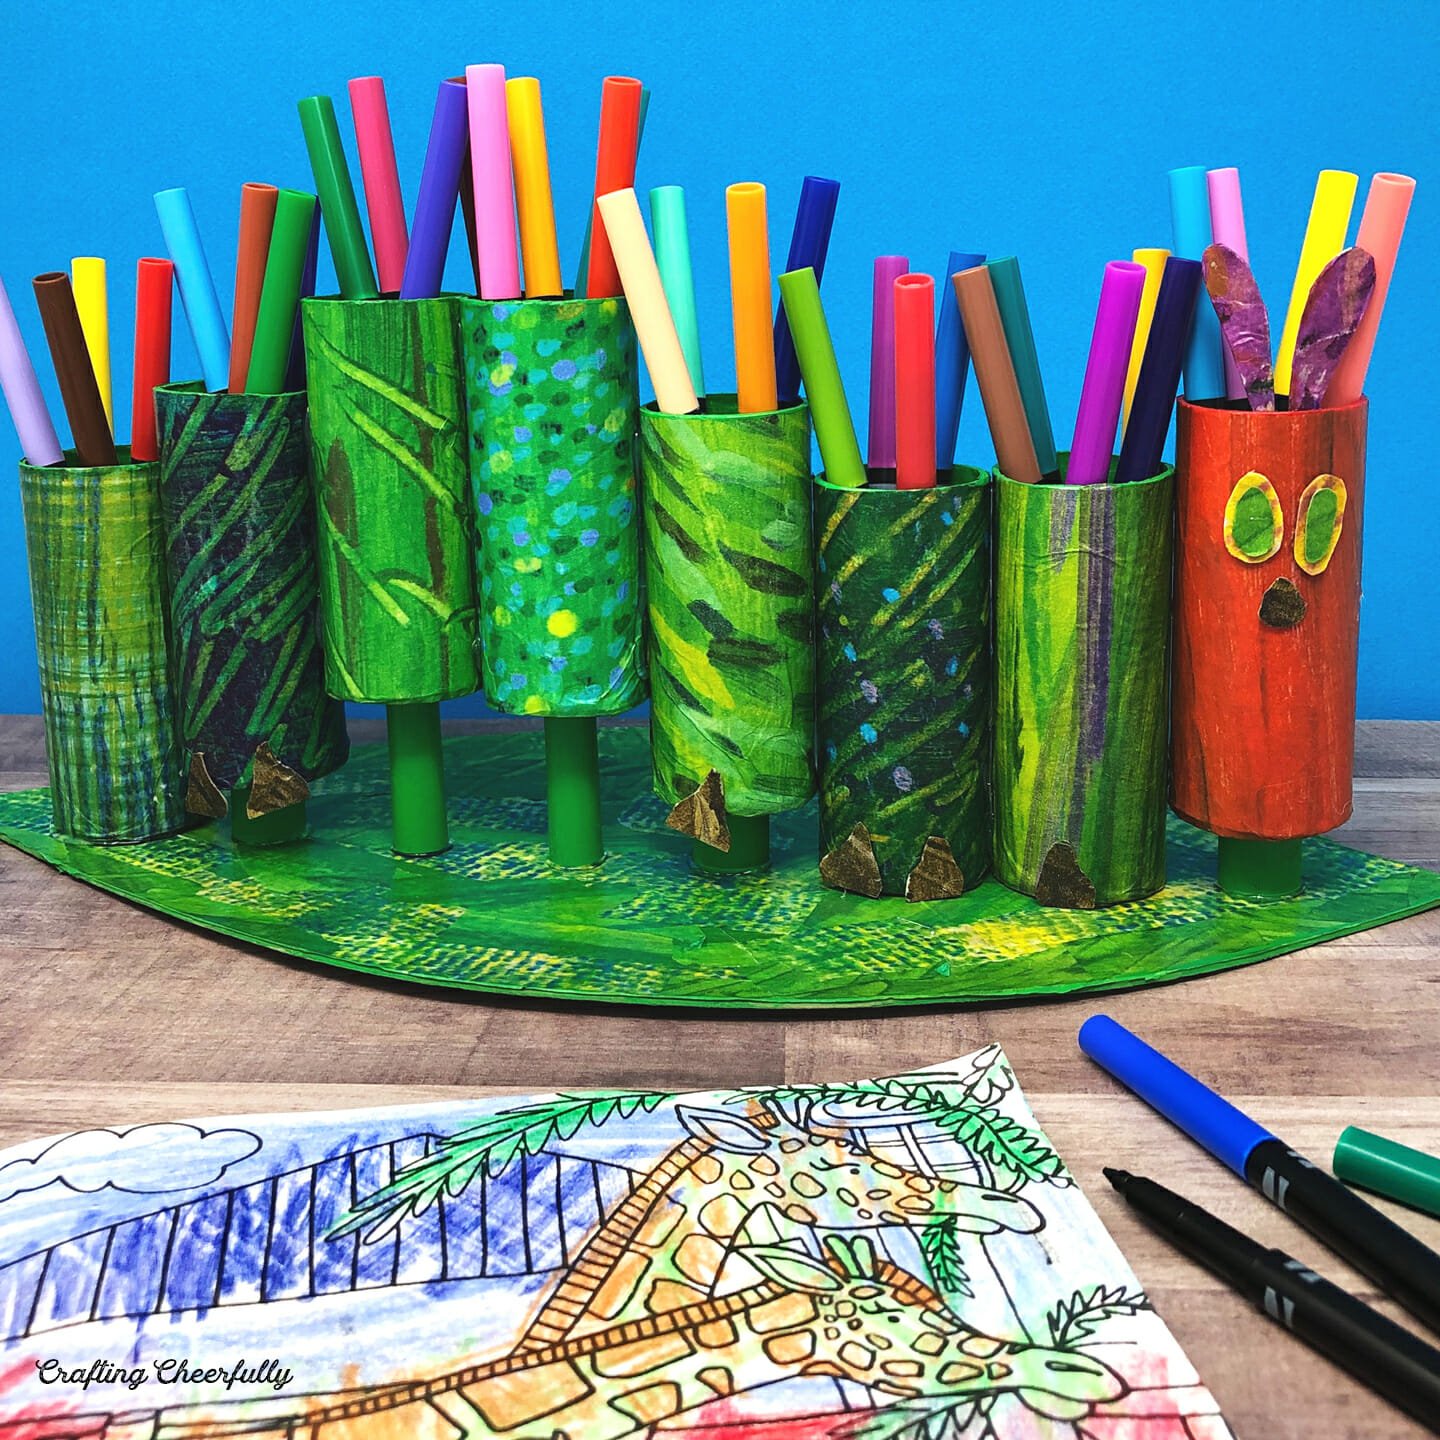
Hello Crafty Friends! In our house we love the Hungry Caterpillar and spring seems like the perfect time for Hungry Caterpillar crafts! Today I’m sharing this fun Hungry Caterpillar marker holder. It can be made from recycled materials and is a fun art project to do with your kids or for your kids. This looks so cute in my kids’ crafting area and is sturdy enough they can move it to wherever they are coloring.
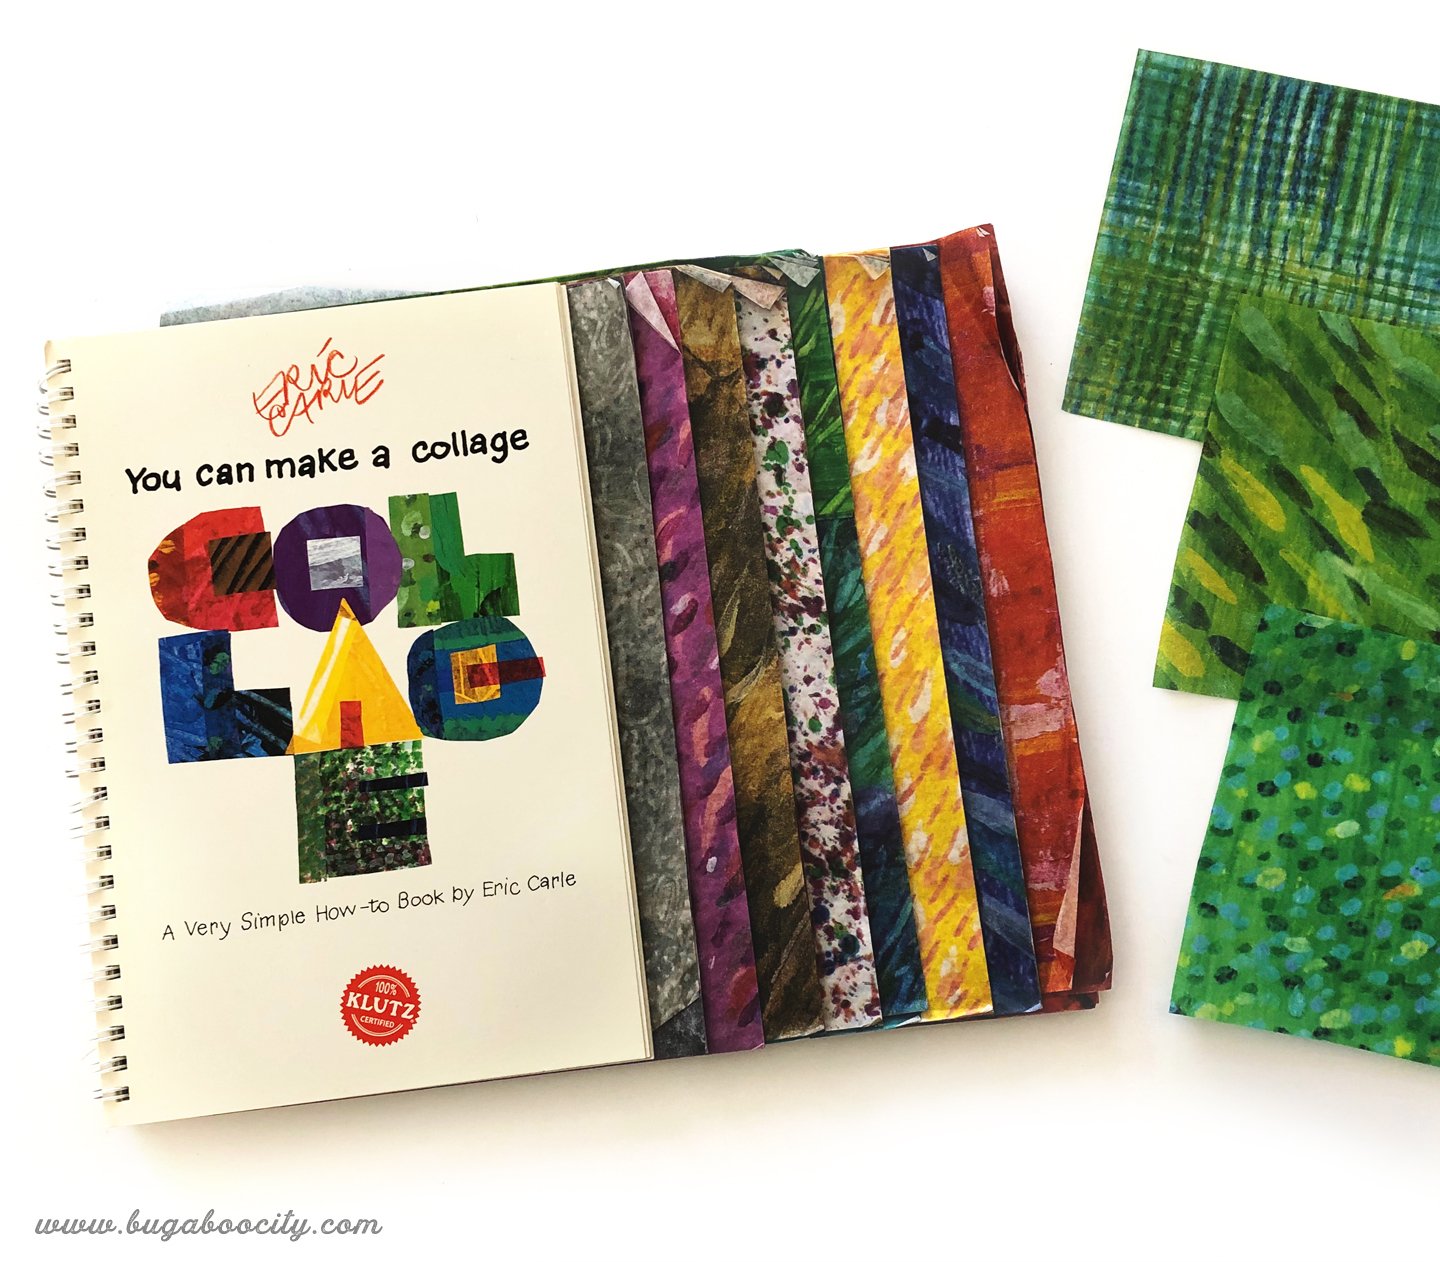
The star of this craft is definitely the patterned tissue paper! I used tissue paper from my Eric Carle collage book. When I was a kid, I received this book as a gift and just recently finished using it up – 20 years later! I found another copy of the book on Ebay that still had all of the tissue paper.
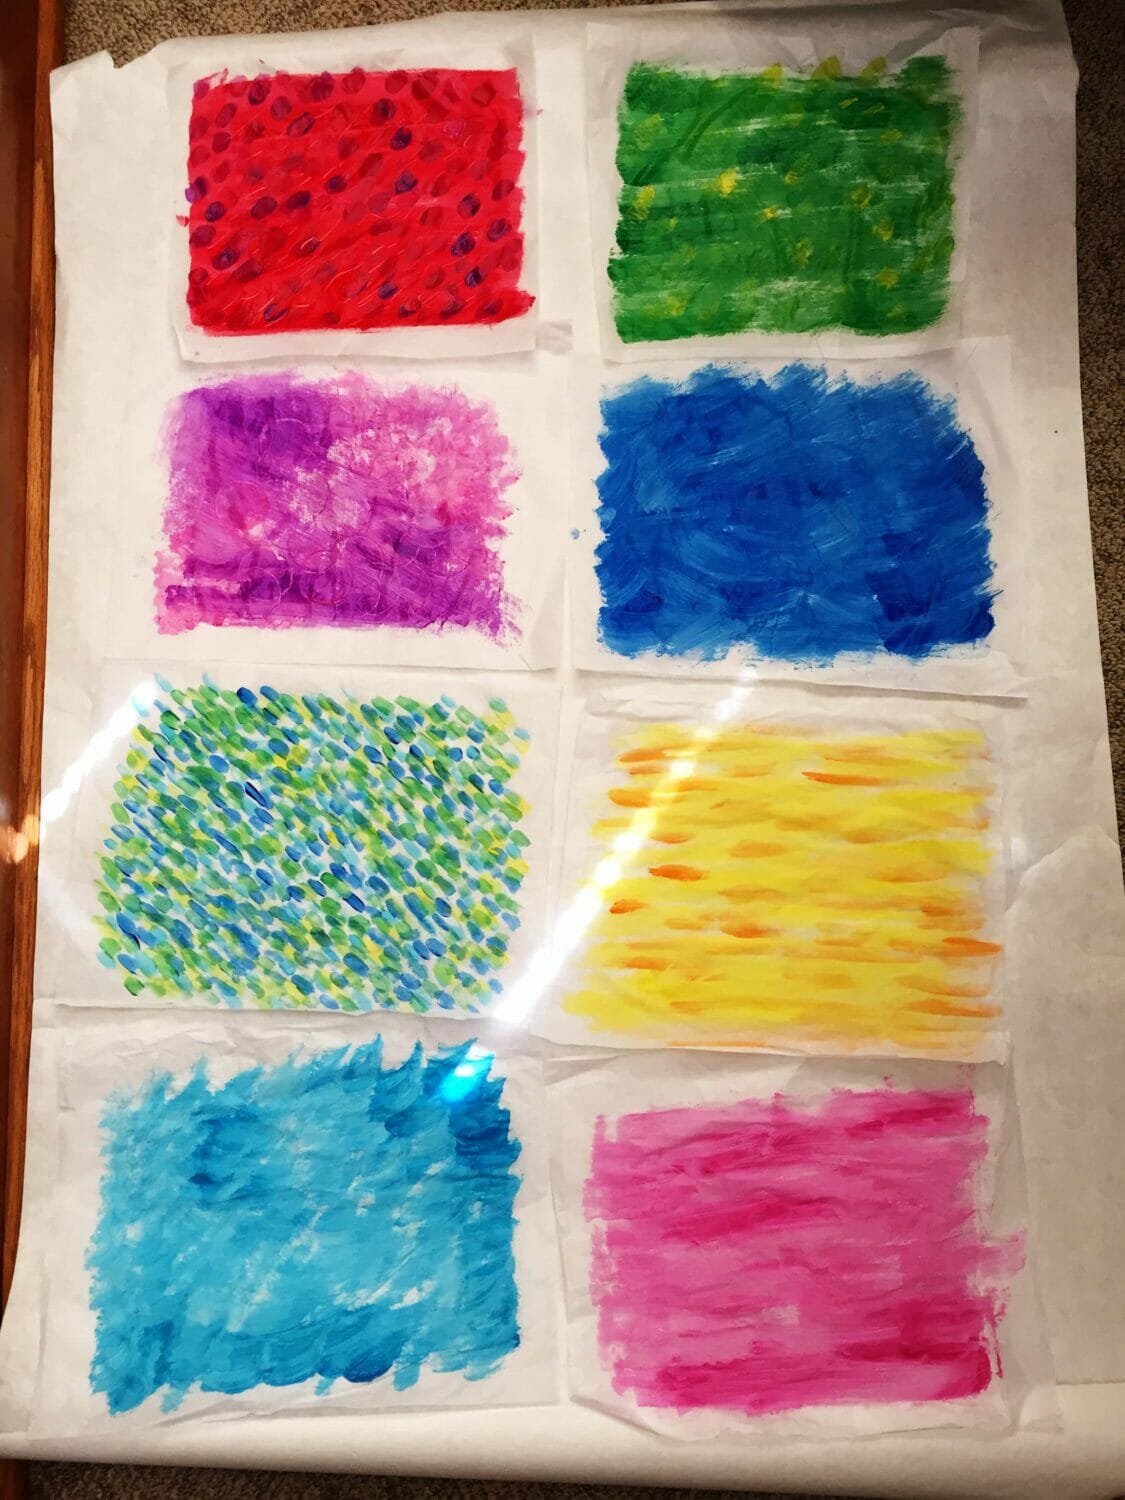
You can find copies of this book on Amazon, Etsy and Ebay, but you can also make your own tissue paper in the style of Eric Carle. Check out the Eric Carle-inspired Easter Eggs I created. My son, a toddler at the time, helped me paint the tissue paper. It was such a fun project and a great way to spend a crafty afternoon with my son.
This is the book I found on Ebay – the same book I used when I was a kid. It comes with plenty of beautiful green papers.
Below you can see some of the hand painted tissue paper we created a few years ago for our Eric Carle Easter eggs.
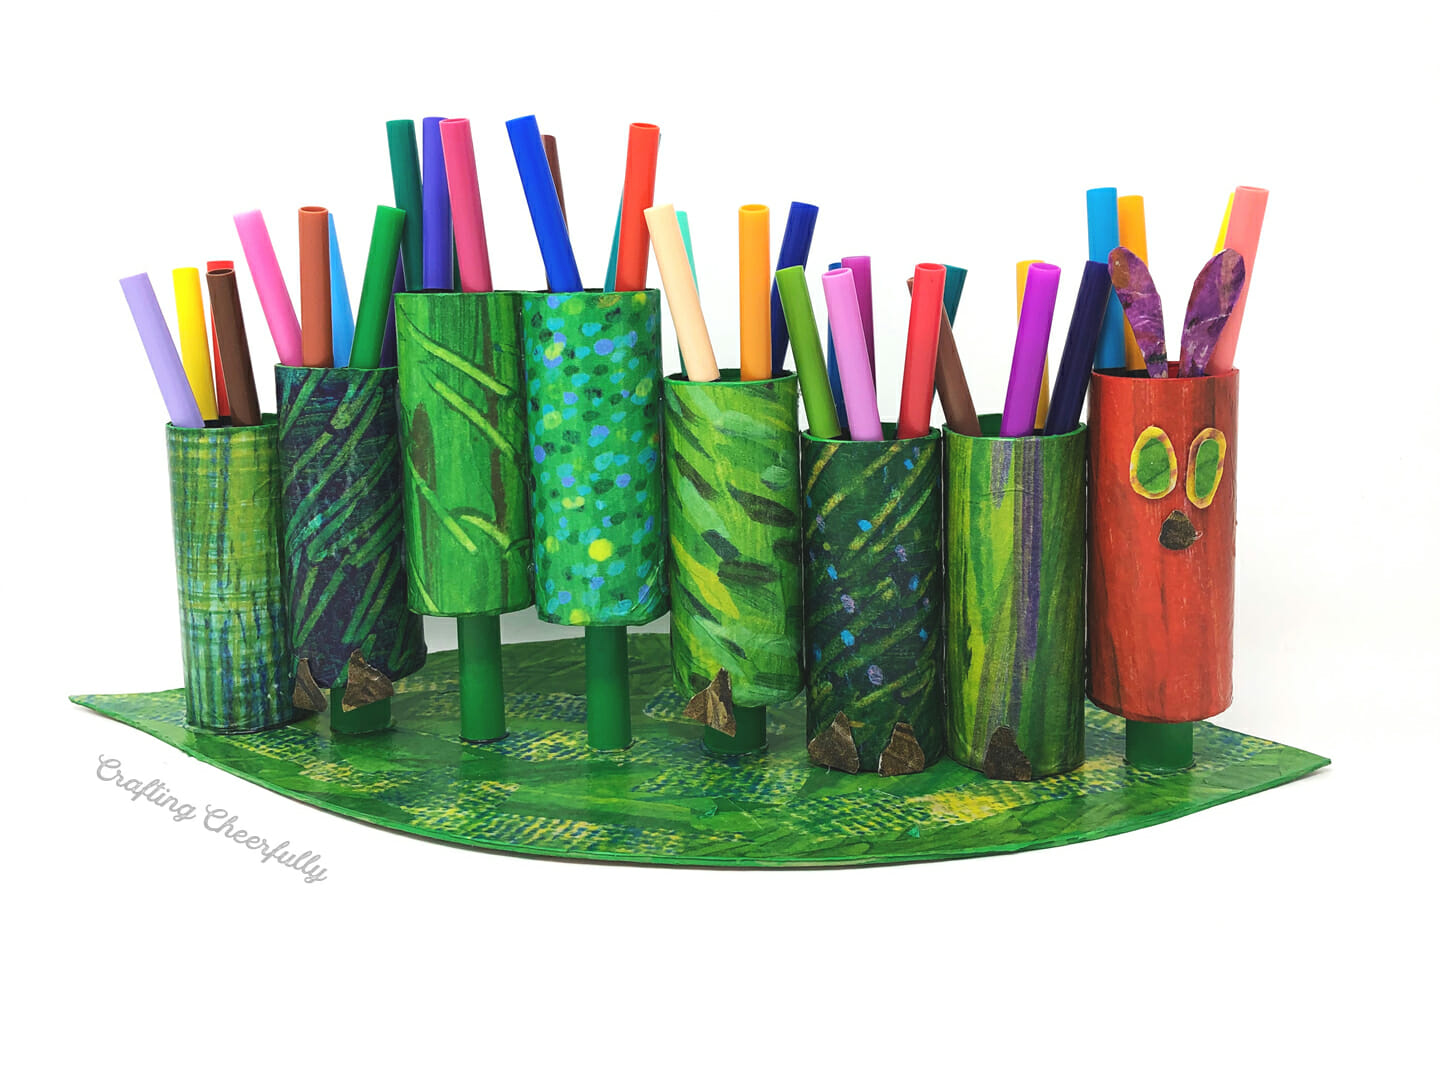
Whether you purchase your patterned tissue paper or make your own, you use it to create this super fun marker holder. Check out the tutorial below to see how I put together my Hungry Caterpillar!
Supplies Needed
- Card board tubes
- You will need eight 4″ tubes.
- The sturdier the better!
- I used three 12″ Cricut Vinyl tubes cut into thirds
- These cardboard tubes on Amazon would also work cut in half!
- Craft knife, ruler and self healing cutting mat
- Patterned tissue paper
- Make your own or use purchased tissue paper
- I used tissue paper from the book, You Can Make a Collage: A Very Simple How-To Book (Klutz)
- Mod Podge
- Chipboard – one 12″ x 12″ for the leaf and scraps for other small pieces.
- Green and red acrylic paint
- Hot glue
- Scissors
- Risers for the tubes
- I used 2 marker caps from dried-up markers painted green – if they are already green, that’s even better!
- I also used 3 glue stick caps from used-up glue sticks painted green.
Step by Step Tutorial
Step One: The caterpillar is formed using eight tubes that are each 4″ tall. I cut three of my 12″ Cricut Vinyl tubes into three equal pieces. The Vinyl tubes are really thick and sturdy and aren’t easily bent. Mark the tube with pencil and then carefully cut it using a craft knife. I ended up with nine 4″ tubes but only used eight for this project.


Step Two: Trace around the eight tubes to create the bottom of each tube. Cut each circle out and then hot glue them to the ends of the tubes.
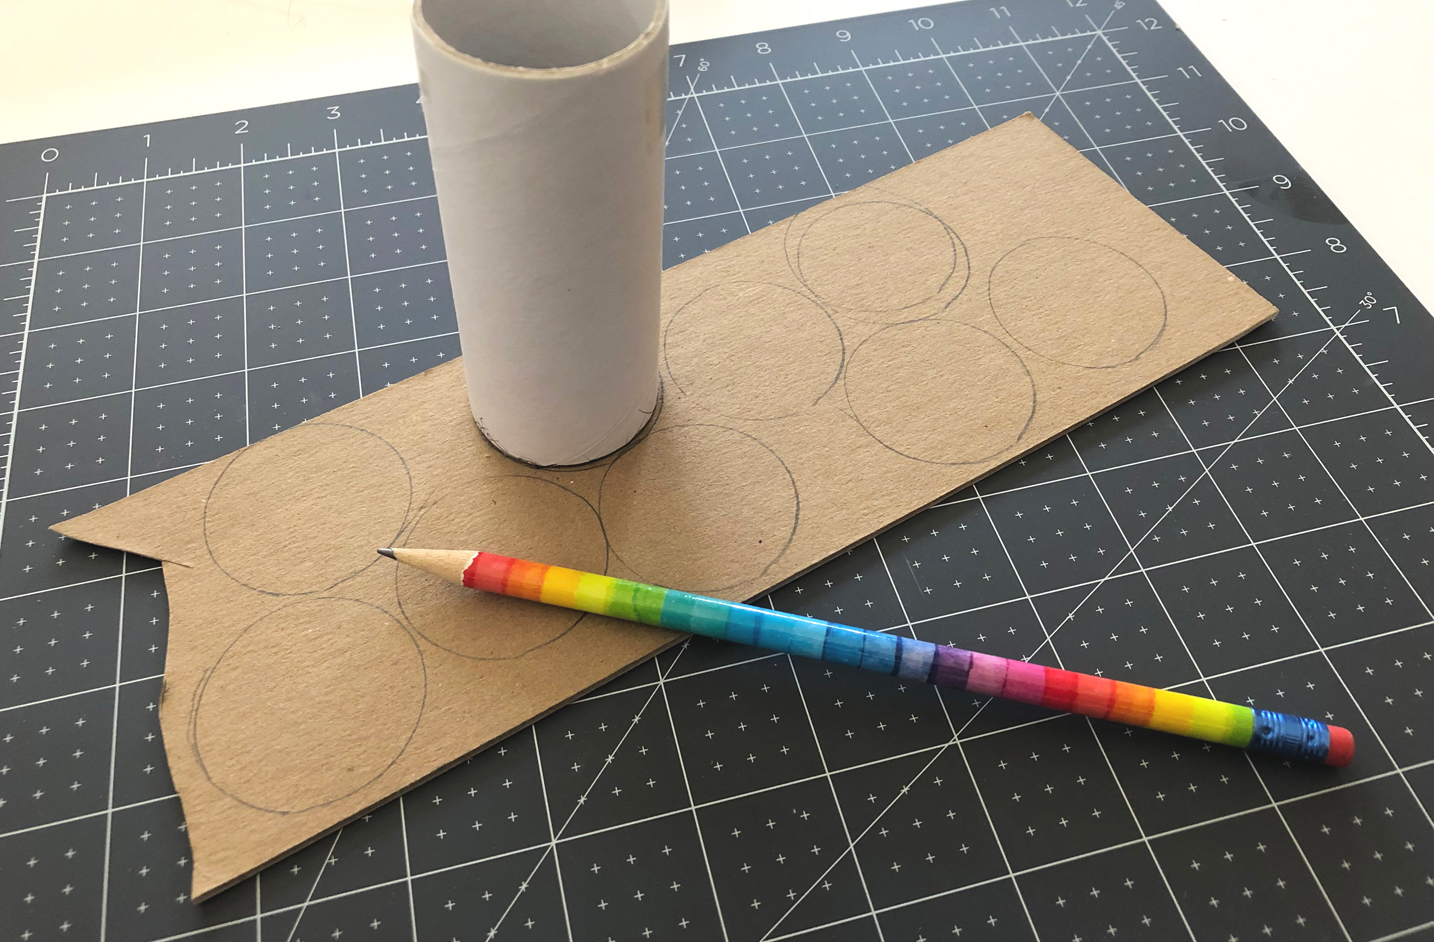
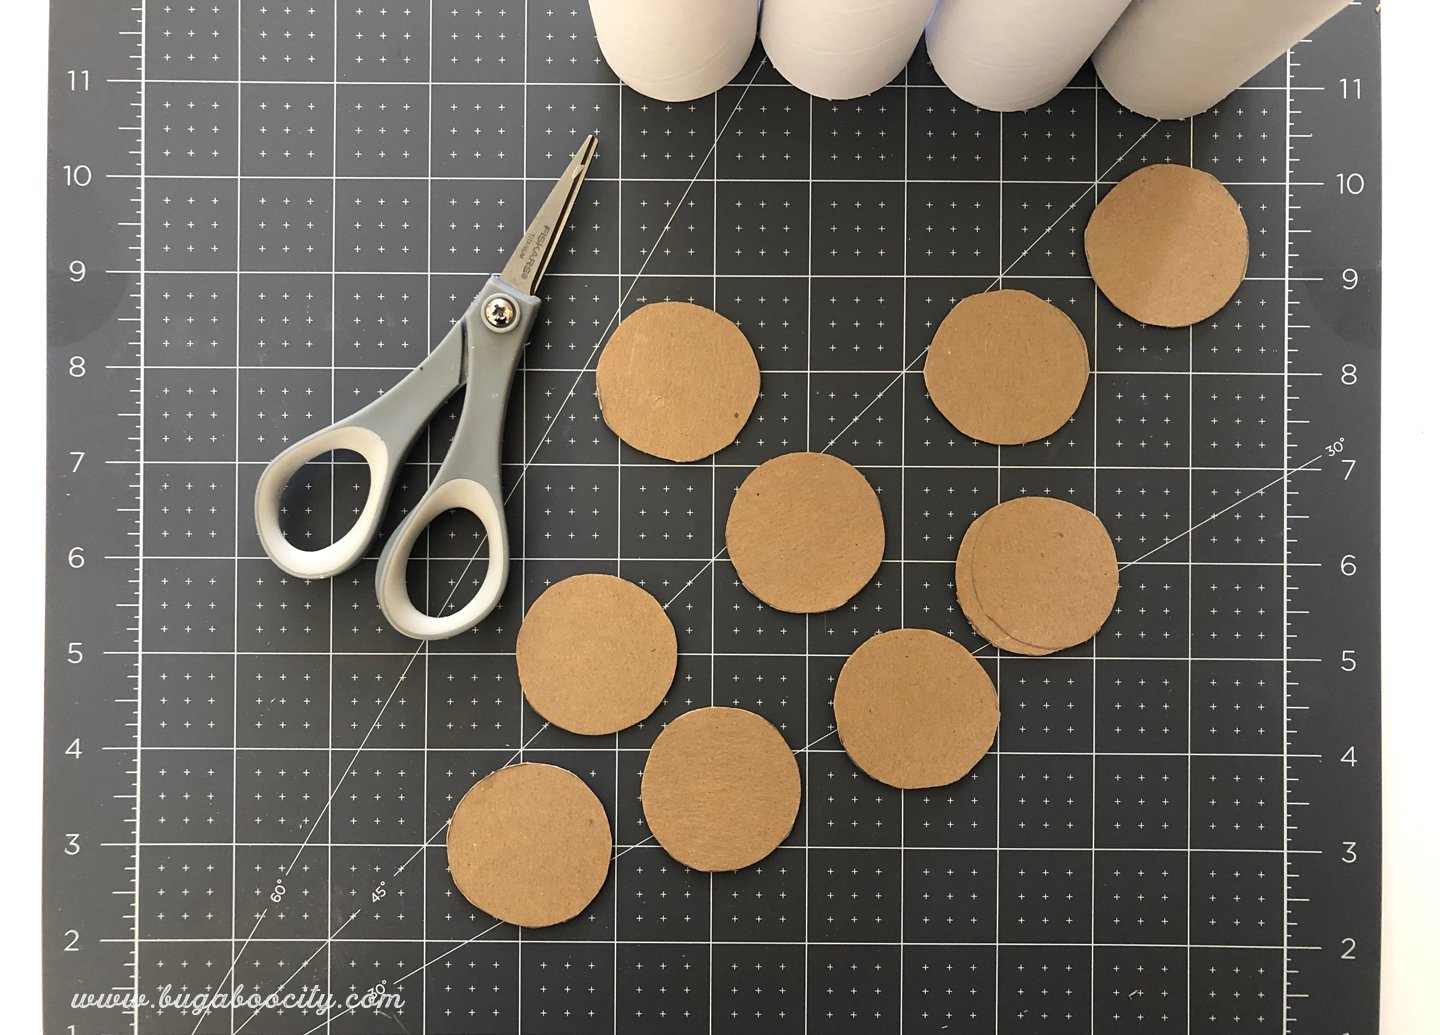
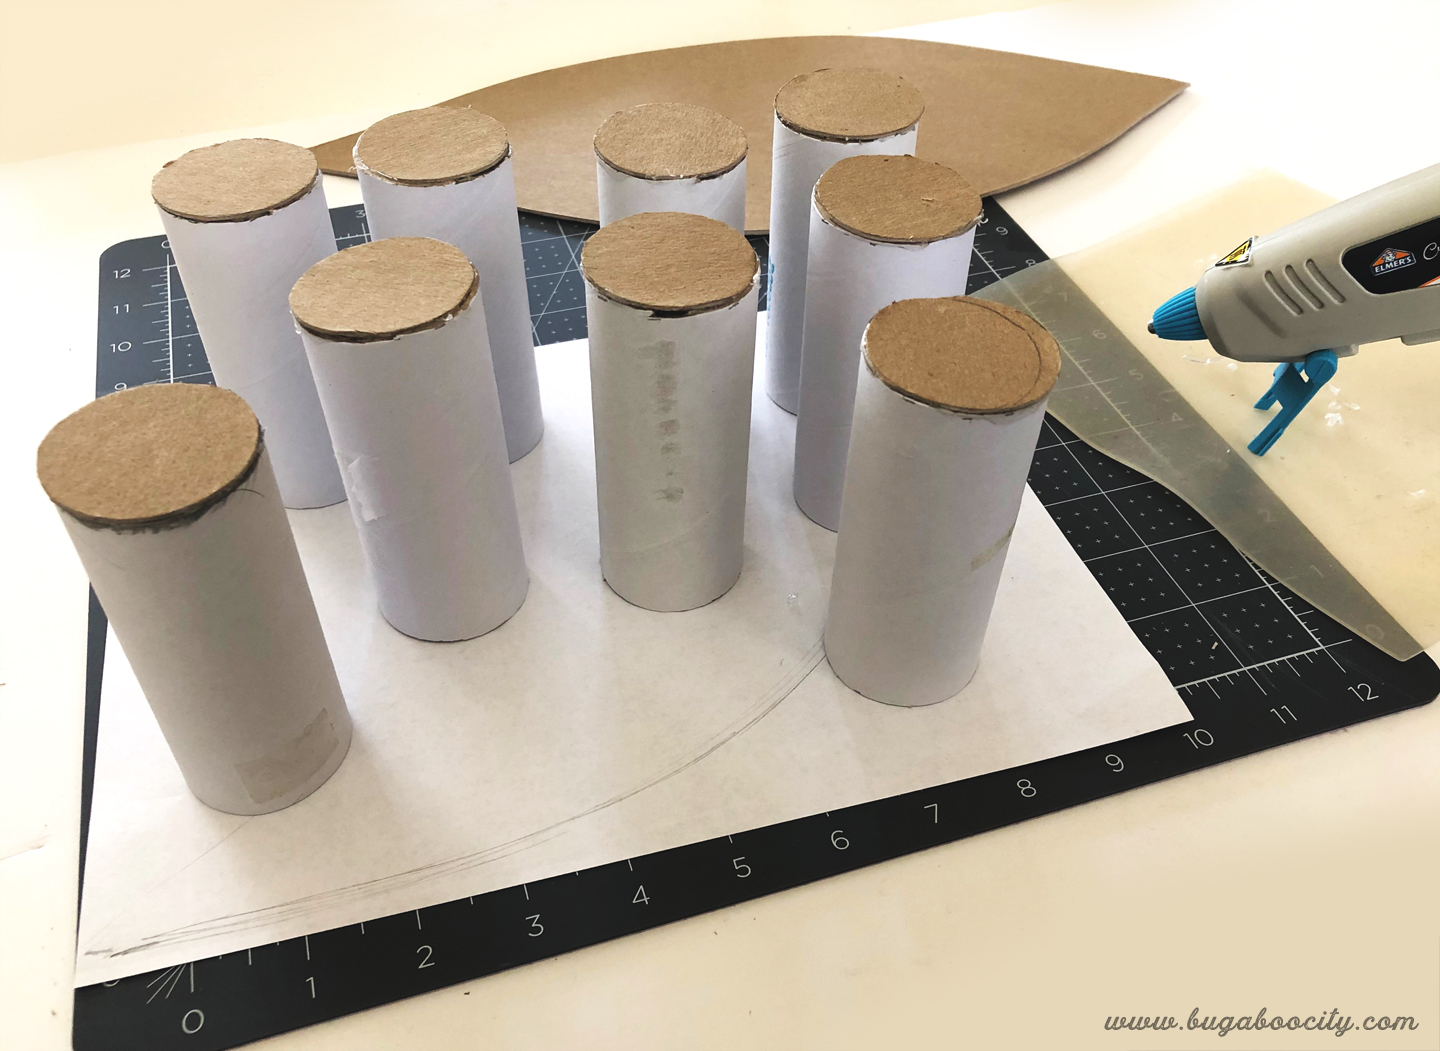
Step Three: Draw a leaf shape on the 12″ x 12″ piece of chipboard. Try to make the leaf the full length of the chipboard diagonally. Cut the leaf shape out.
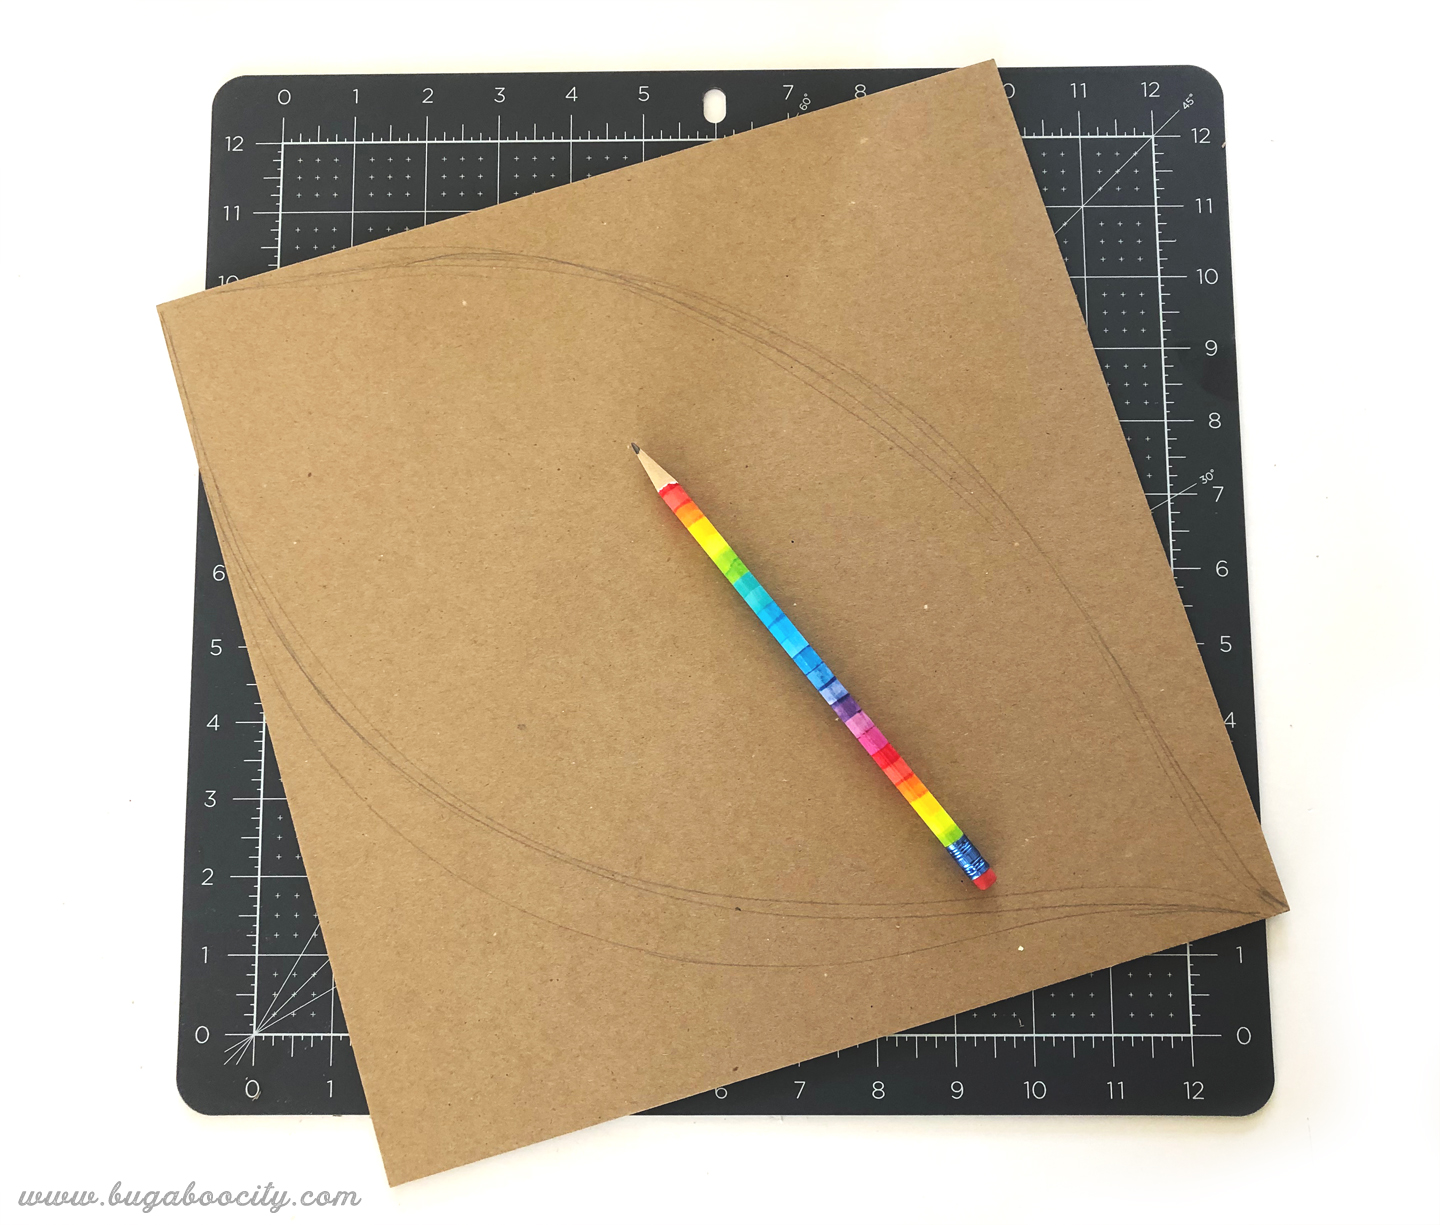
My leaf fit 8 tubes on it.

Step Four: Cover the tubes in patterned tissue paper. You can create your own Eric-Carle inspired tissue paper – read how in this post on our Eric Carle Easter eggs. If you don’t want to make your own tissue, grab this out-of-print Eric Carle collage book on Ebay, Amazon or Etsy.
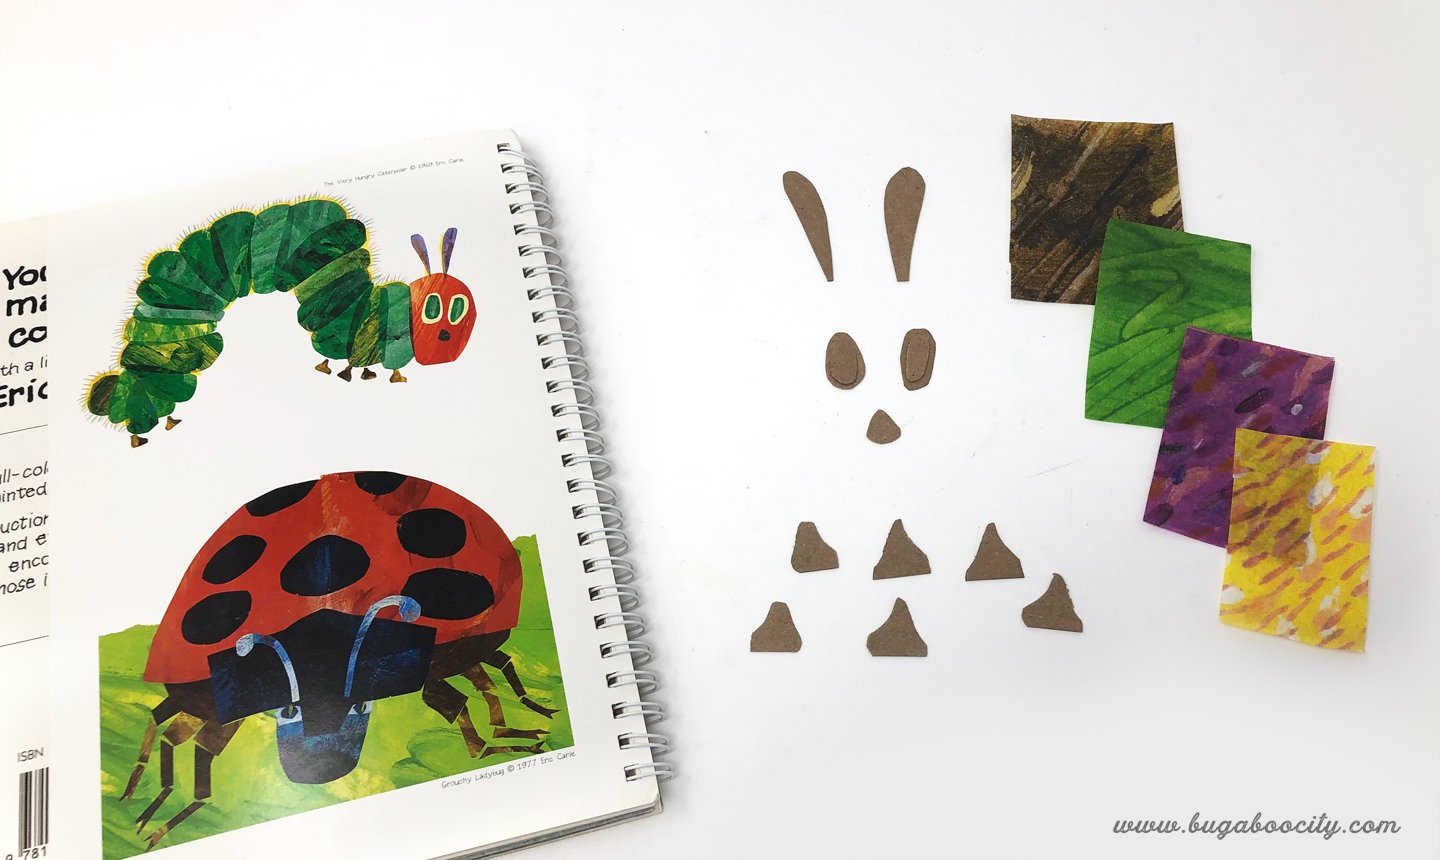
To make the caterpillar, you will need 7 sheets of green tissue paper and 1 sheet of red for the caterpillar. You will also need torn-up pieces of green tissue in different patterns for the leaf. I used small pieces of brown, purple and yellow for the face and feet features of The Very Hungry Caterpillar.

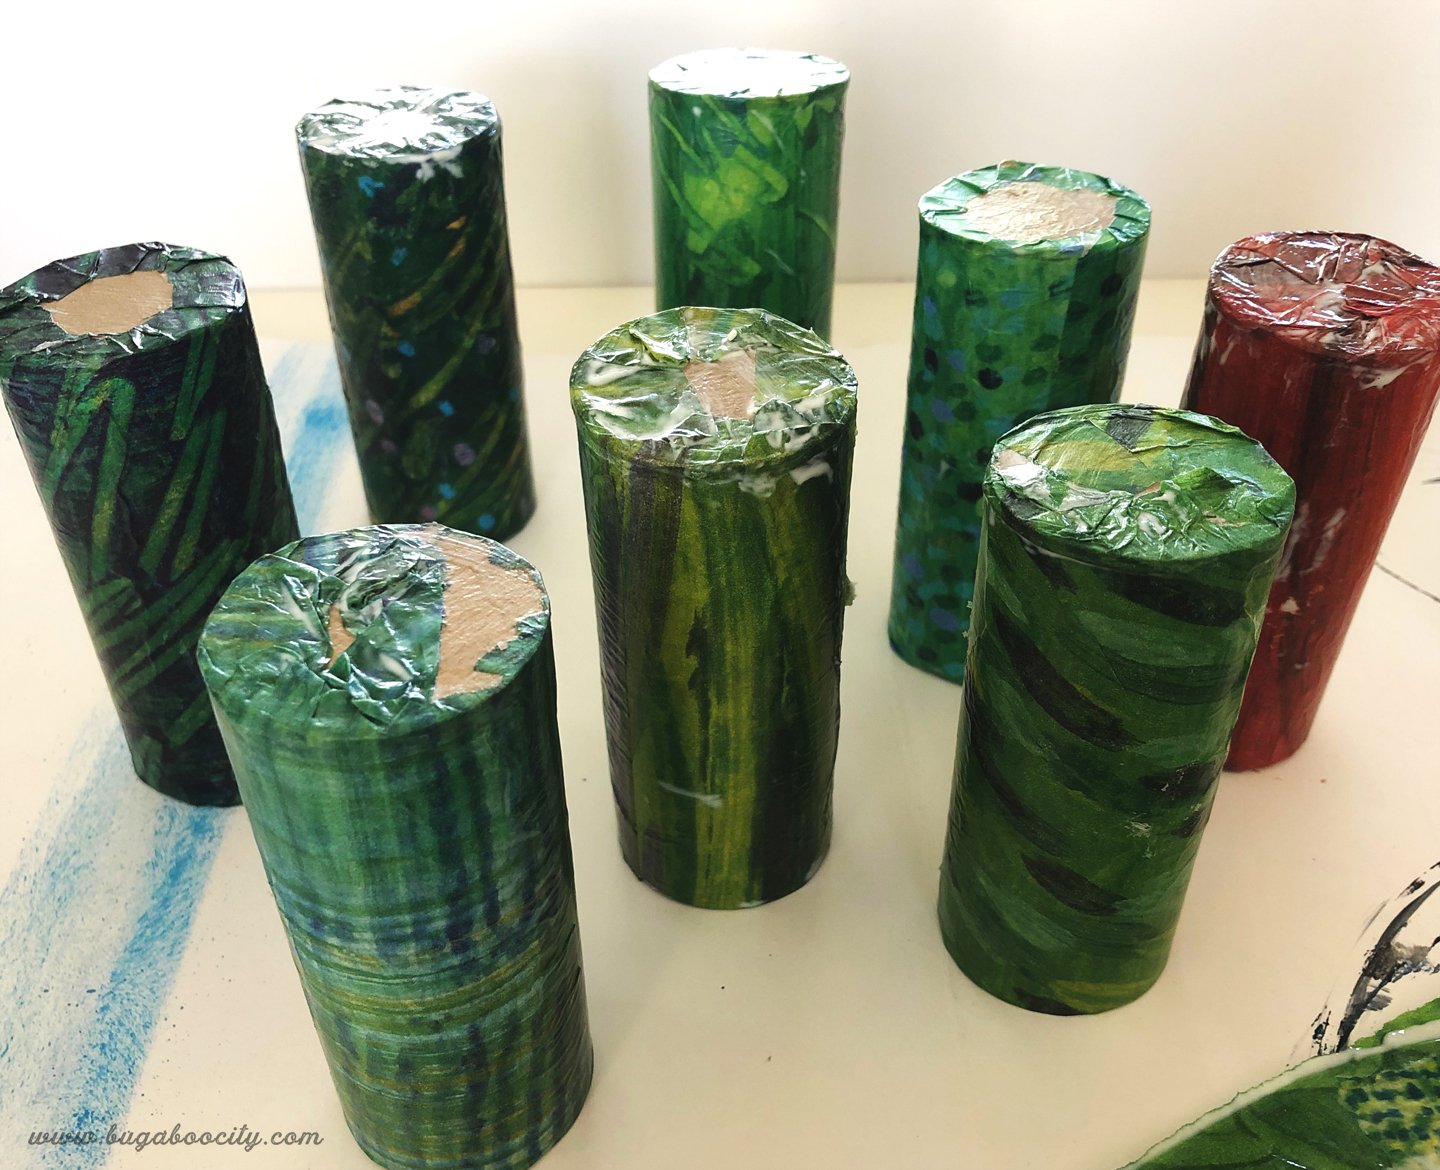
Use Mod Podge to cover each tube, wrapping the tissue to the underside of each tube. I coated each cardboard tube with Mod Podge, then wrapped it in the tissue paper and then went over that with more Mod Podge. Cover 7 tubes in green and 1 tube in red.
Cover one side of the leaf with ripped-up pieces of green tissue paper using the Mod Podge. I placed my tissue going over the edges, and then once it had dried, I just trimmed the excess off with a scissors.
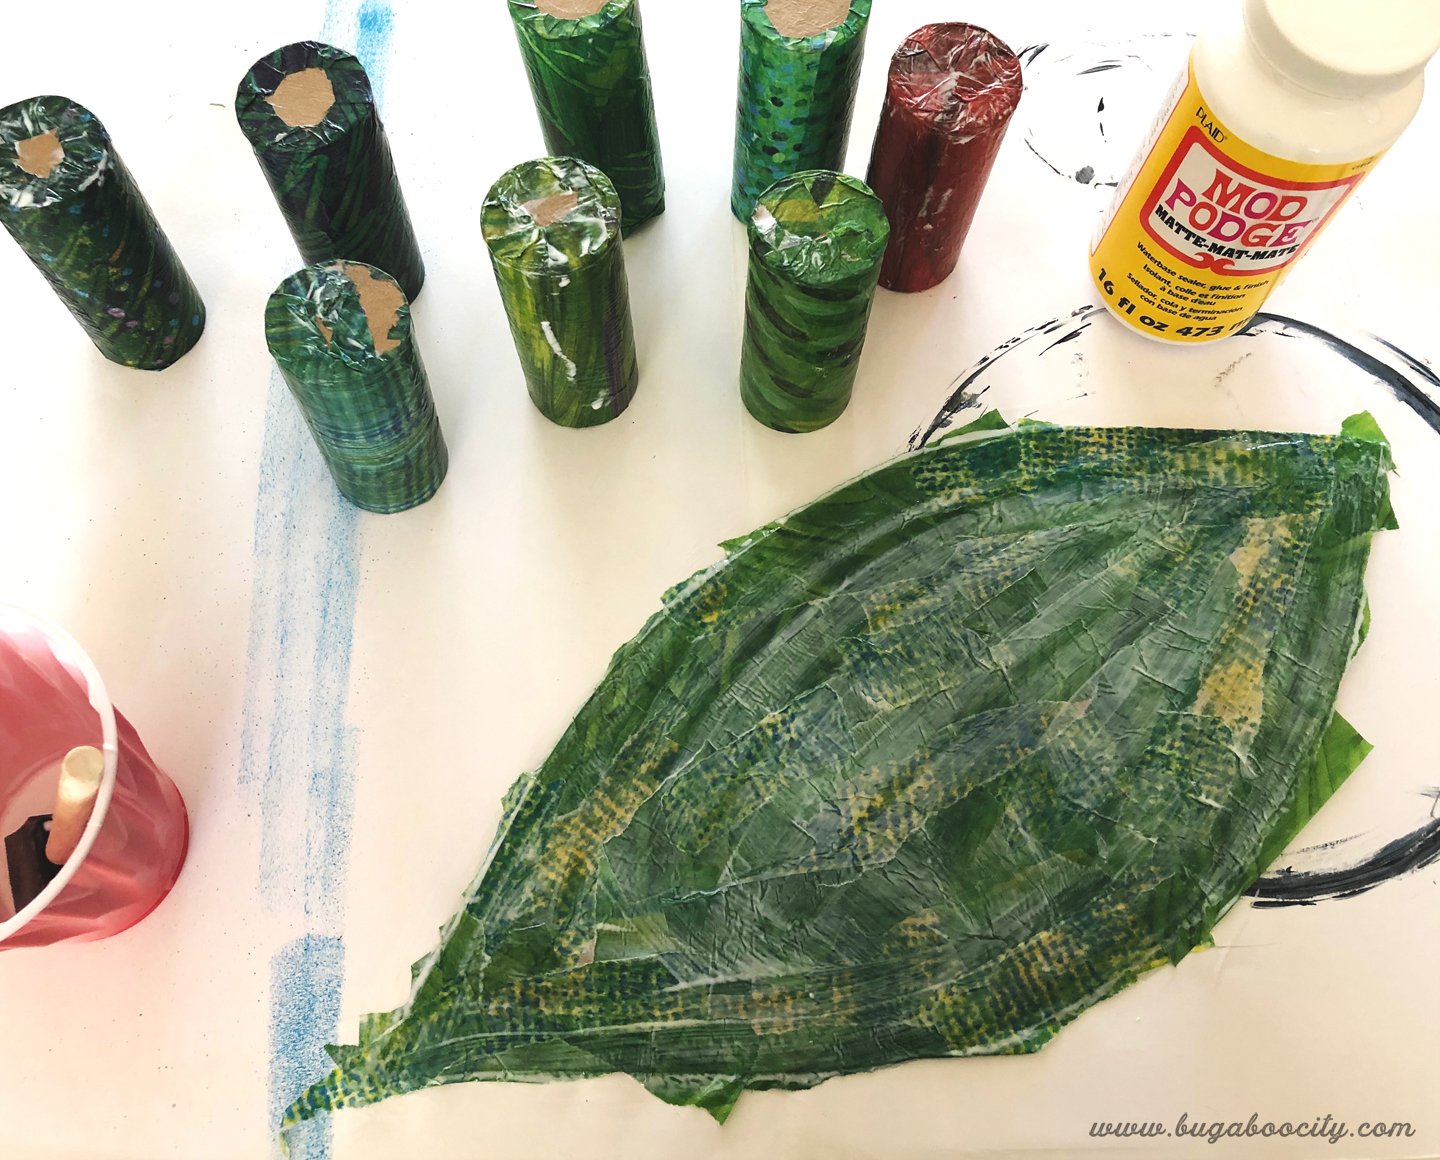
After the tubes have dried, paint the insides with green acrylic paint – red paint for the head of the caterpillar. I didn’t paint the entire inside of the tubes, just the top half.

Also paint the edges of the chipboard leaf green!

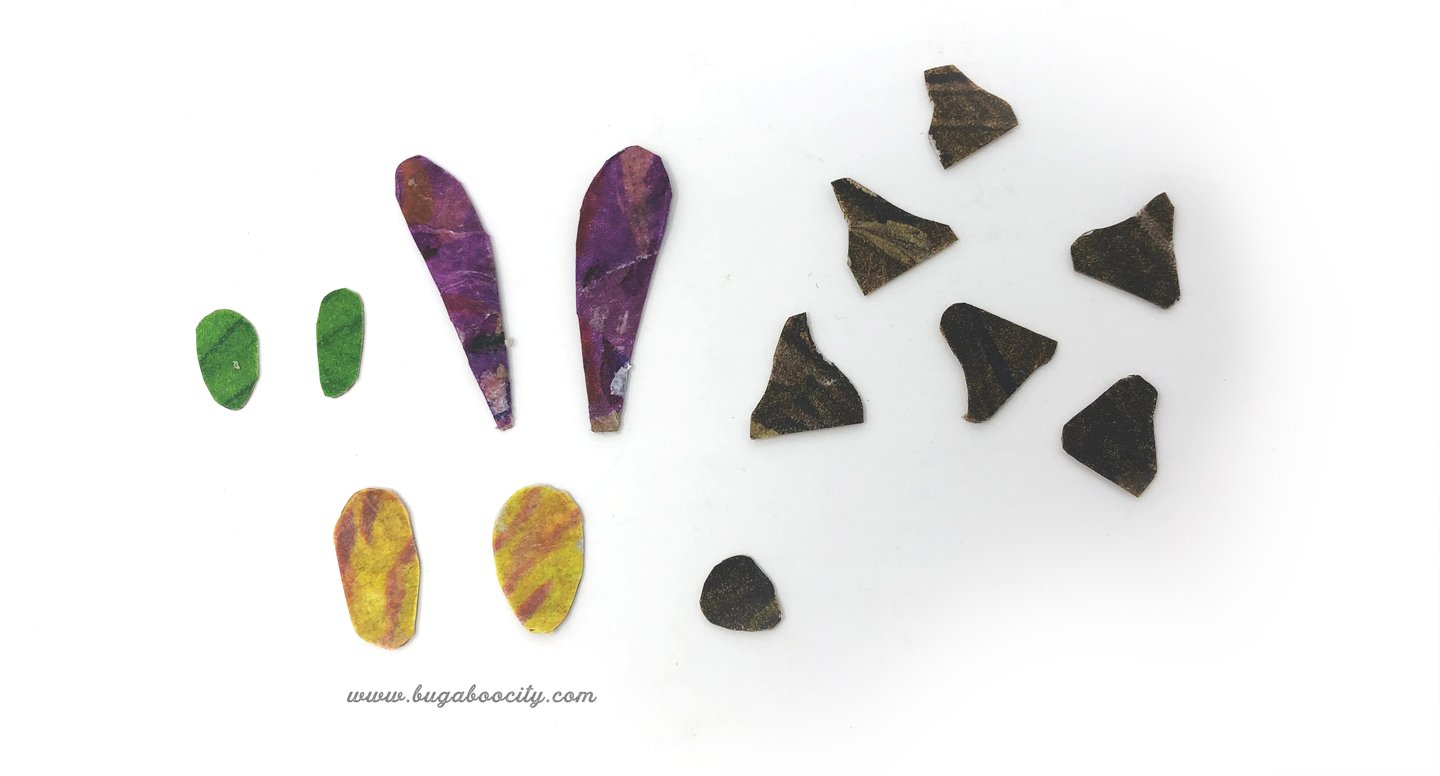
Step Five: Create the tiny features that make The Hungry Caterpillar look like The Hungry Caterpillar! I decided to make these out of chip board. It was a little tricky covering these pieces with tissue paper because they were so small, but I think they turned out. I knew my kids would be using this, so I wanted the antennae and feet to be sturdy!
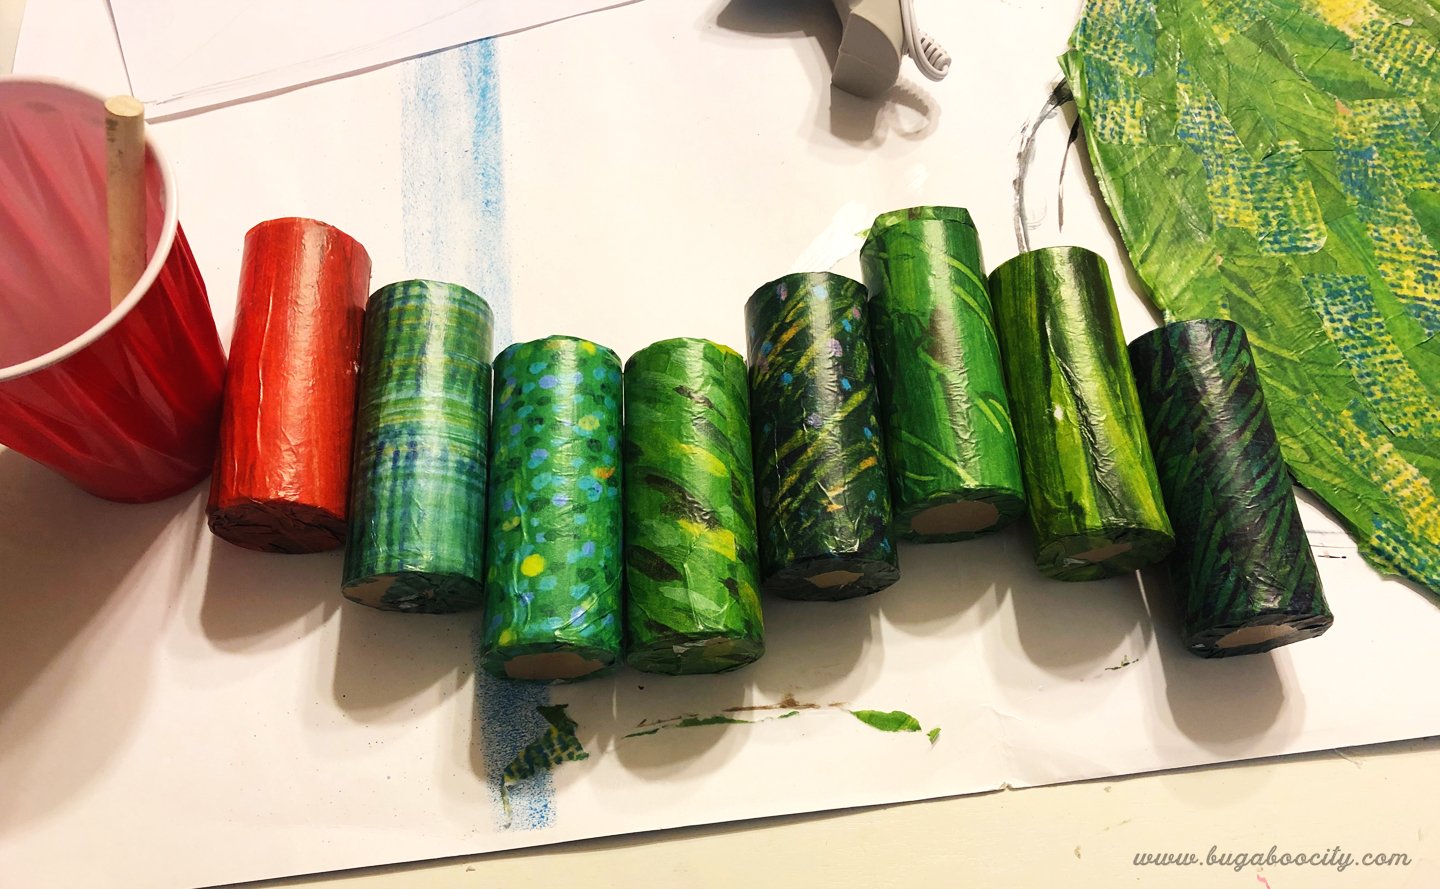
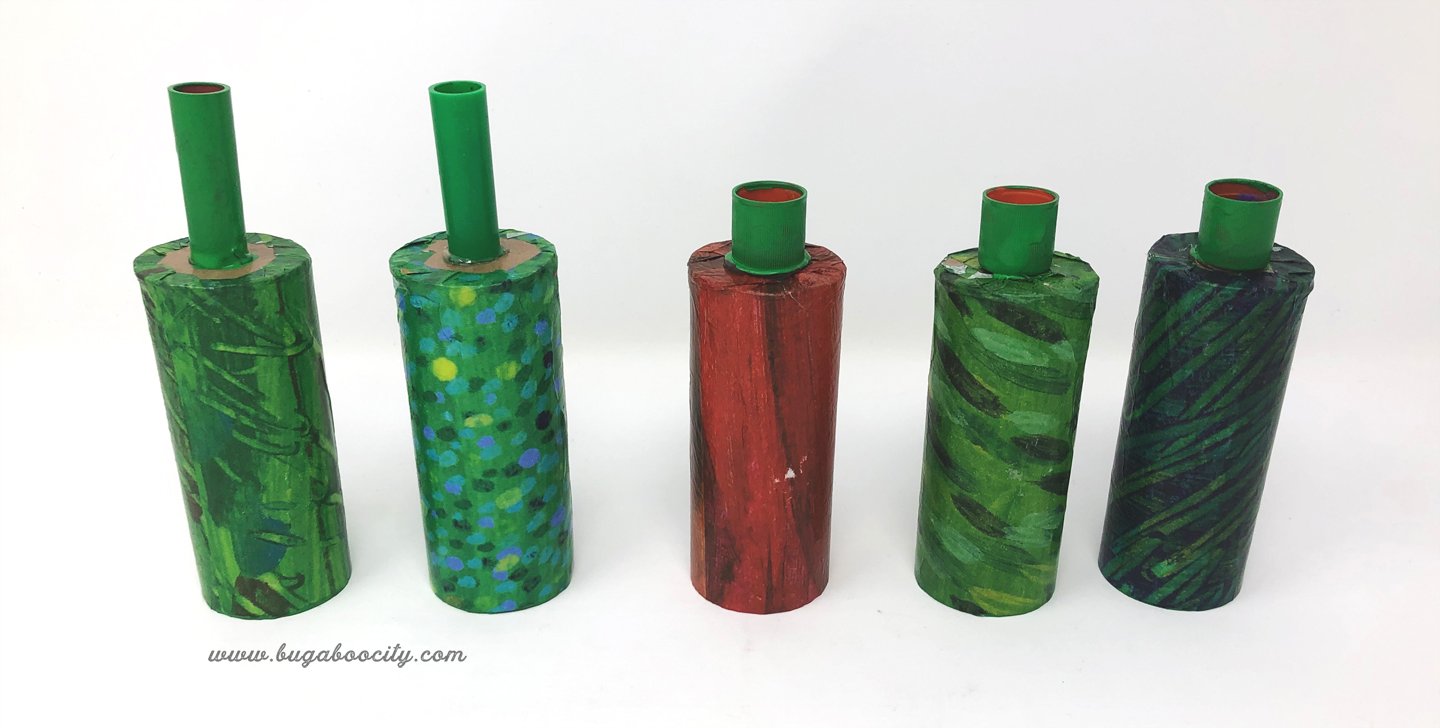
Step Six: Time to assemble the caterpillar! I was initially just going to glue the tubes together at different heights, but at the last minute, I decided to give the raised tubes some support. I found some marker caps from dried-out markers and caps from used glue sticks and painted them all green.
This took two coats of paint. One of my marker caps was already green, which was so much easier than painting it. After the risers were painted, I adhered them to the bottom of the tubes using hot glue. You can see which tubes I used risers on in the picture below.
- If your caterpillar marker holder will get moved around a lot and you want to make it more durable, skip adding the caps underneath the tubes. Your caterpillar will be straight across, but a lot more solid.
Start with the caterpillar head (the red tube) and assemble the caterpillar using hot glue. I used hot glue on the bottom of each tube/riser and also on the sides so the tubes were adhered together as well.


Next, add the small chipboard features with hot glue or strong craft glue.
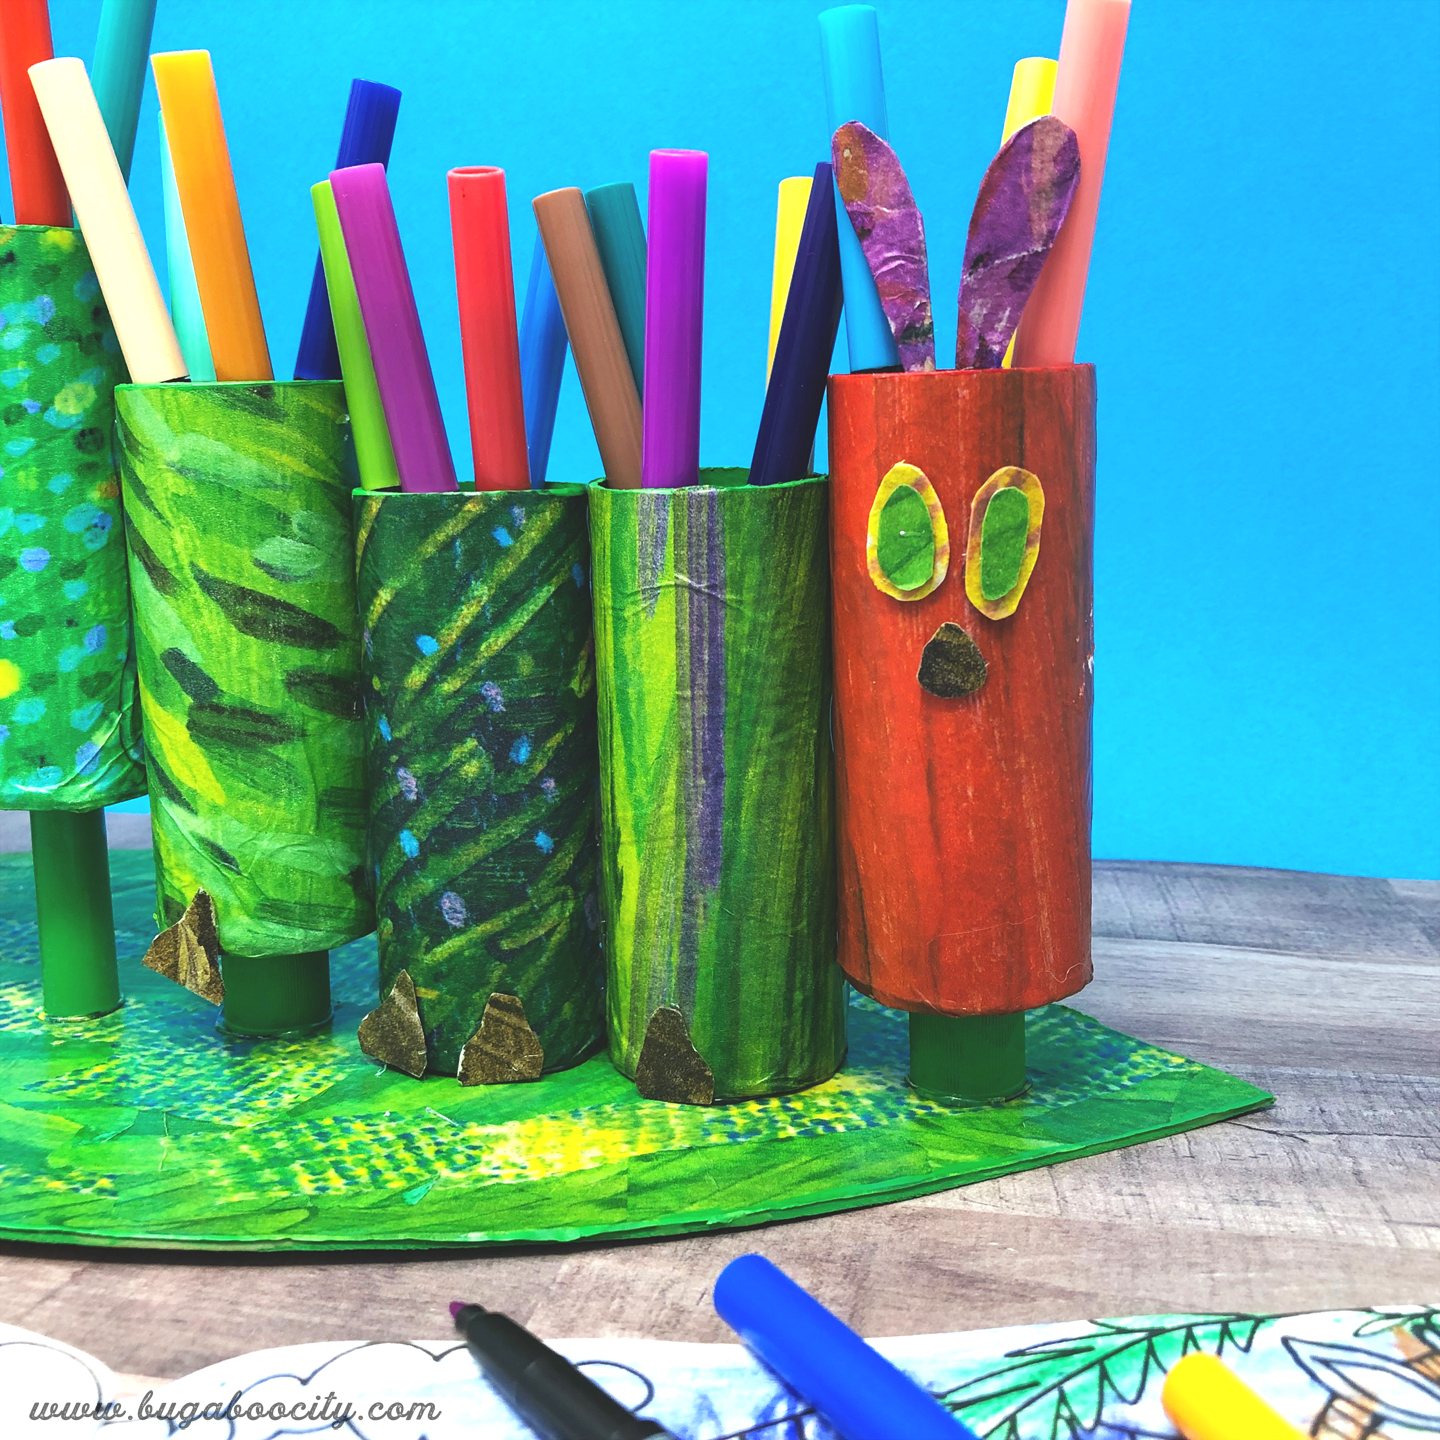
All finished!! I’m pretty sure this is the cutest marker holder I’ve ever seen. The best part is it was made almost entirely of recycled materials. My kids love using this to hold their markers and colored pencils. The chipboard and cardboard tubes I used were really thick and sturdy so this marker holder can be moved around easily.

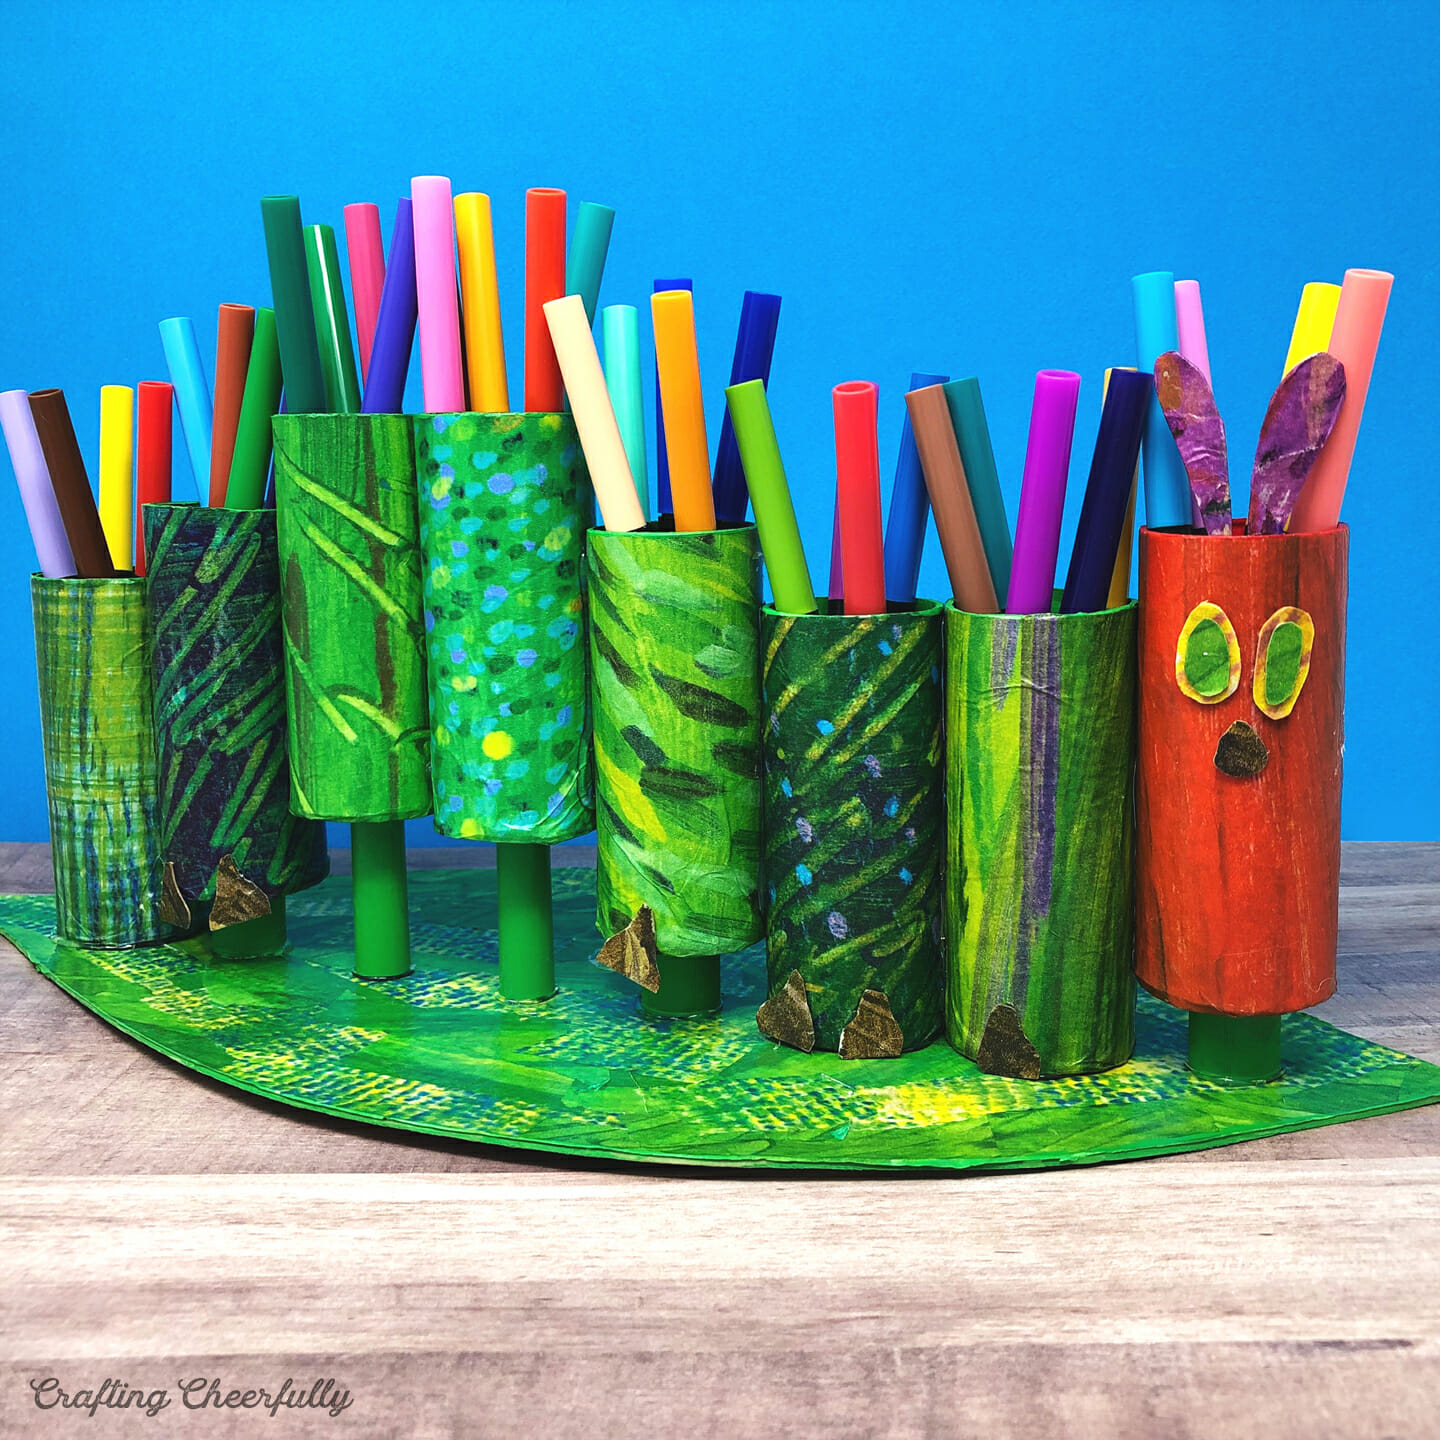
What do you think? Save up your craft tubes and dried-up marker caps and give this craft a try!





One Comment