
DIY Children’s Apron – Free Pattern!
Create the cutest DIY Children’s Apron with this free printable pattern. This is a quick sewing project that makes a great gift! The best part – the apron is reversible! 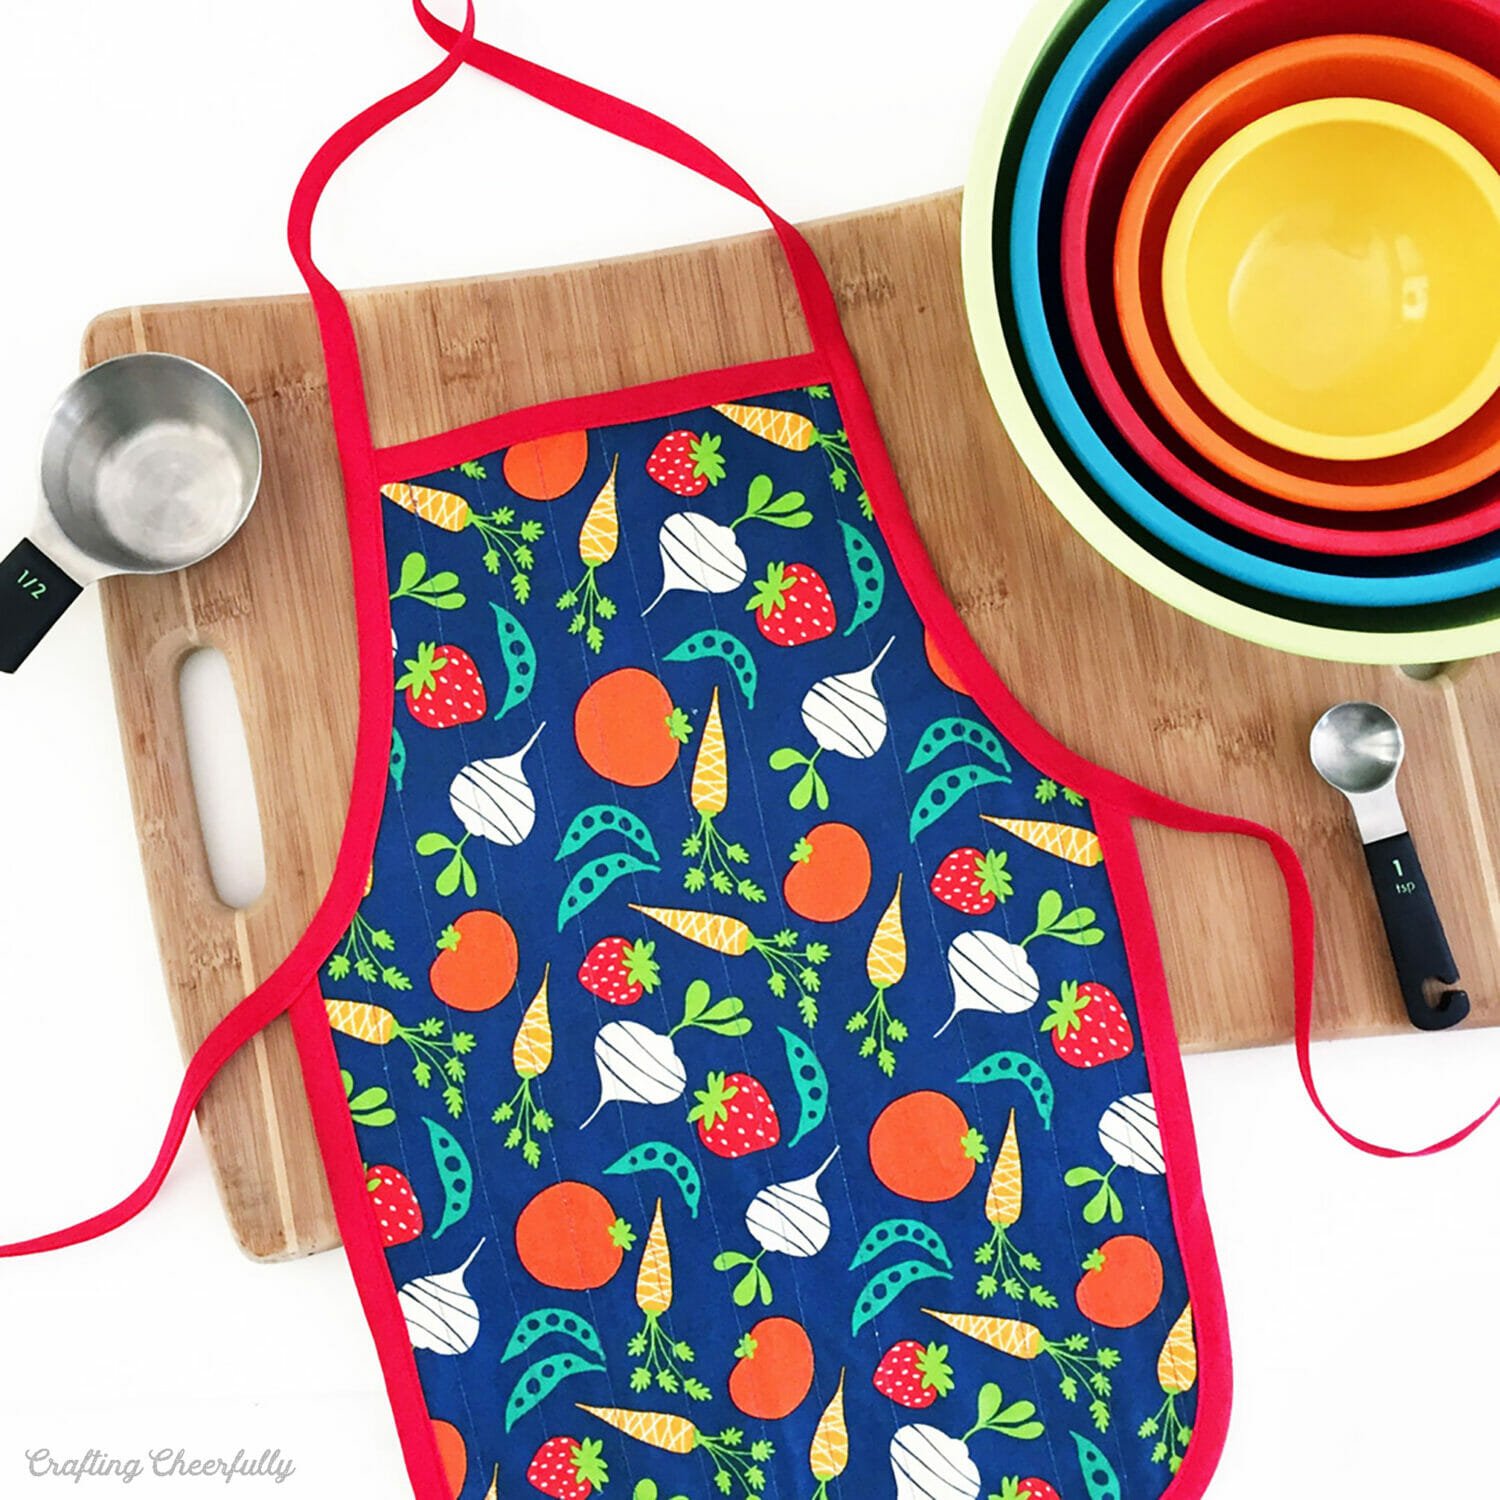
Hello Crafty Friends! Today I am sharing how to make a fun DIY Children’s Apron. My kids are helping more and more in the kitchen and I thought it would be adorable to create aprons for them. I created a simple apron pattern and am excited to share it with you today. Since creating aprons for my own kids, I have used this pattern to make aprons for nieces, nephews and friends. They make the sweetest gifts! This apron is reversible and easy to customize with different fabrics. I found the cutest food-themed fabrics at my local quilting store!
The veggie fabric is Garden Vegetables by David Walker for Free Spirit.

The aprons use two fabrics, one for the front and one for the back and bias tape. You can purchase pre-made bias tape at sewing stores like Joann Fabrics, or create your own. For these two aprons I used pre-made bias tape which made them quicker to make. For my Christmas aprons, I made my own bias tape using red and white striped fabric.

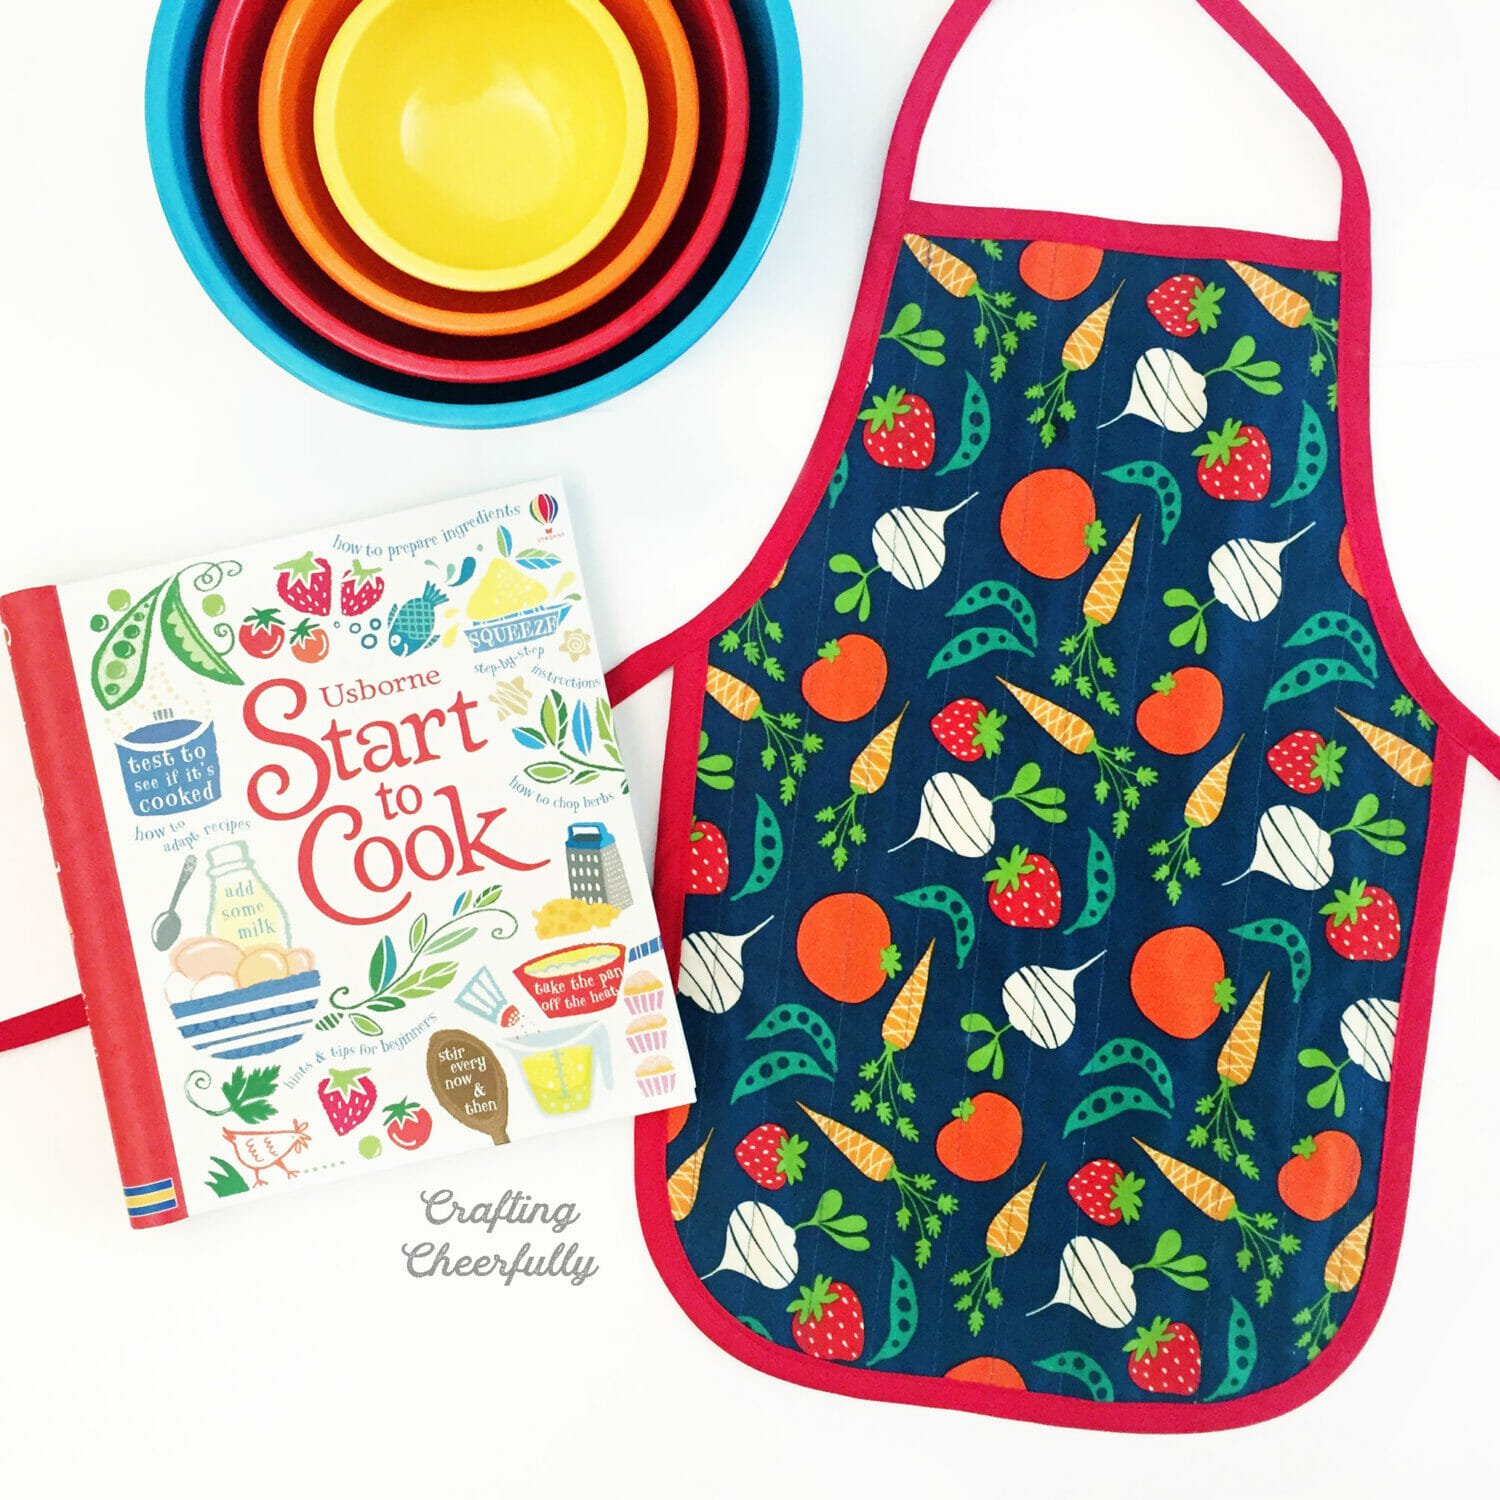
As I mentioned above, I’ve made these aprons several times for my own kids and as gifts. They make a really sweet gift when paired with a children’s cookbook! These aprons are so customizable depending on what fabric you choose to use.

DIY Children’s Apron
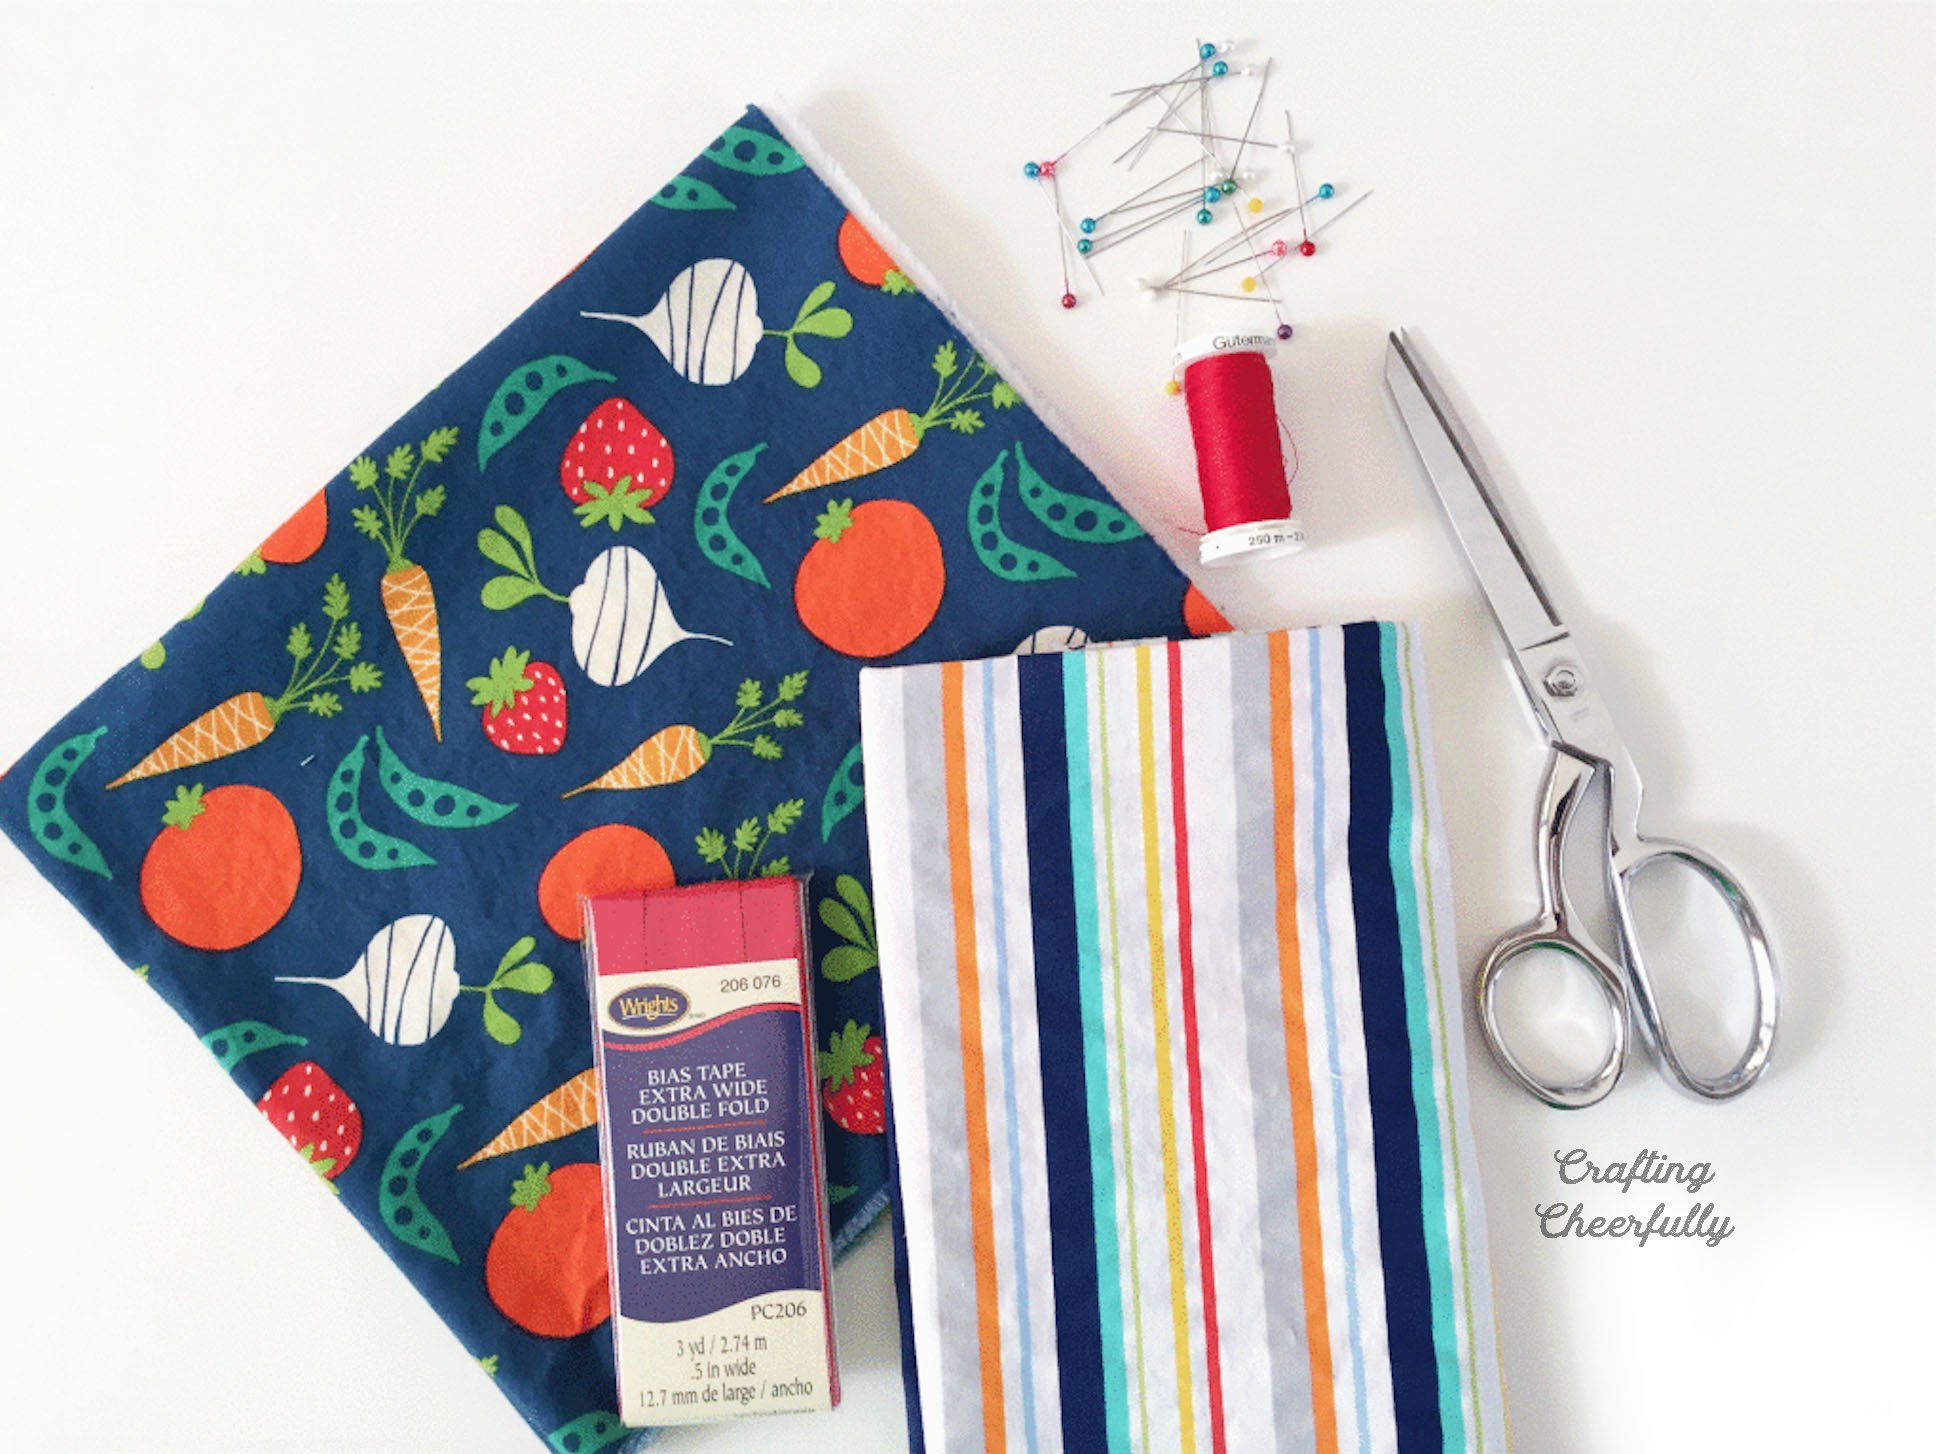
Supplies Needed:
- Free printable apron pattern – Grab the free file by filling out the purple form at the end of this post.
- Fabric for Side One: 1/2 yard (a little over a 1/2 yard depending on the fabric’s pattern)
- Fabric for Side Two: 1/2 yard (a little over a 1/2 yard depending on the fabric’s pattern)
- Finished apron measures about 18.5″ x 12.5″.
- 2 packages of bias tape (extra wide double fold) in a coordinating color
- Matching thread
- Sewing notions: straight pins, fabric scissors, ruler
*NOTE: This pattern is for making a little kids apron. It will fit kids ages 3-7 depending on the size of the child. The pattern can easily be made larger. At the end of this post I show how to add width and height to the pattern to fit any size child! Check it out :)
Step by Step Sewing Tutorial
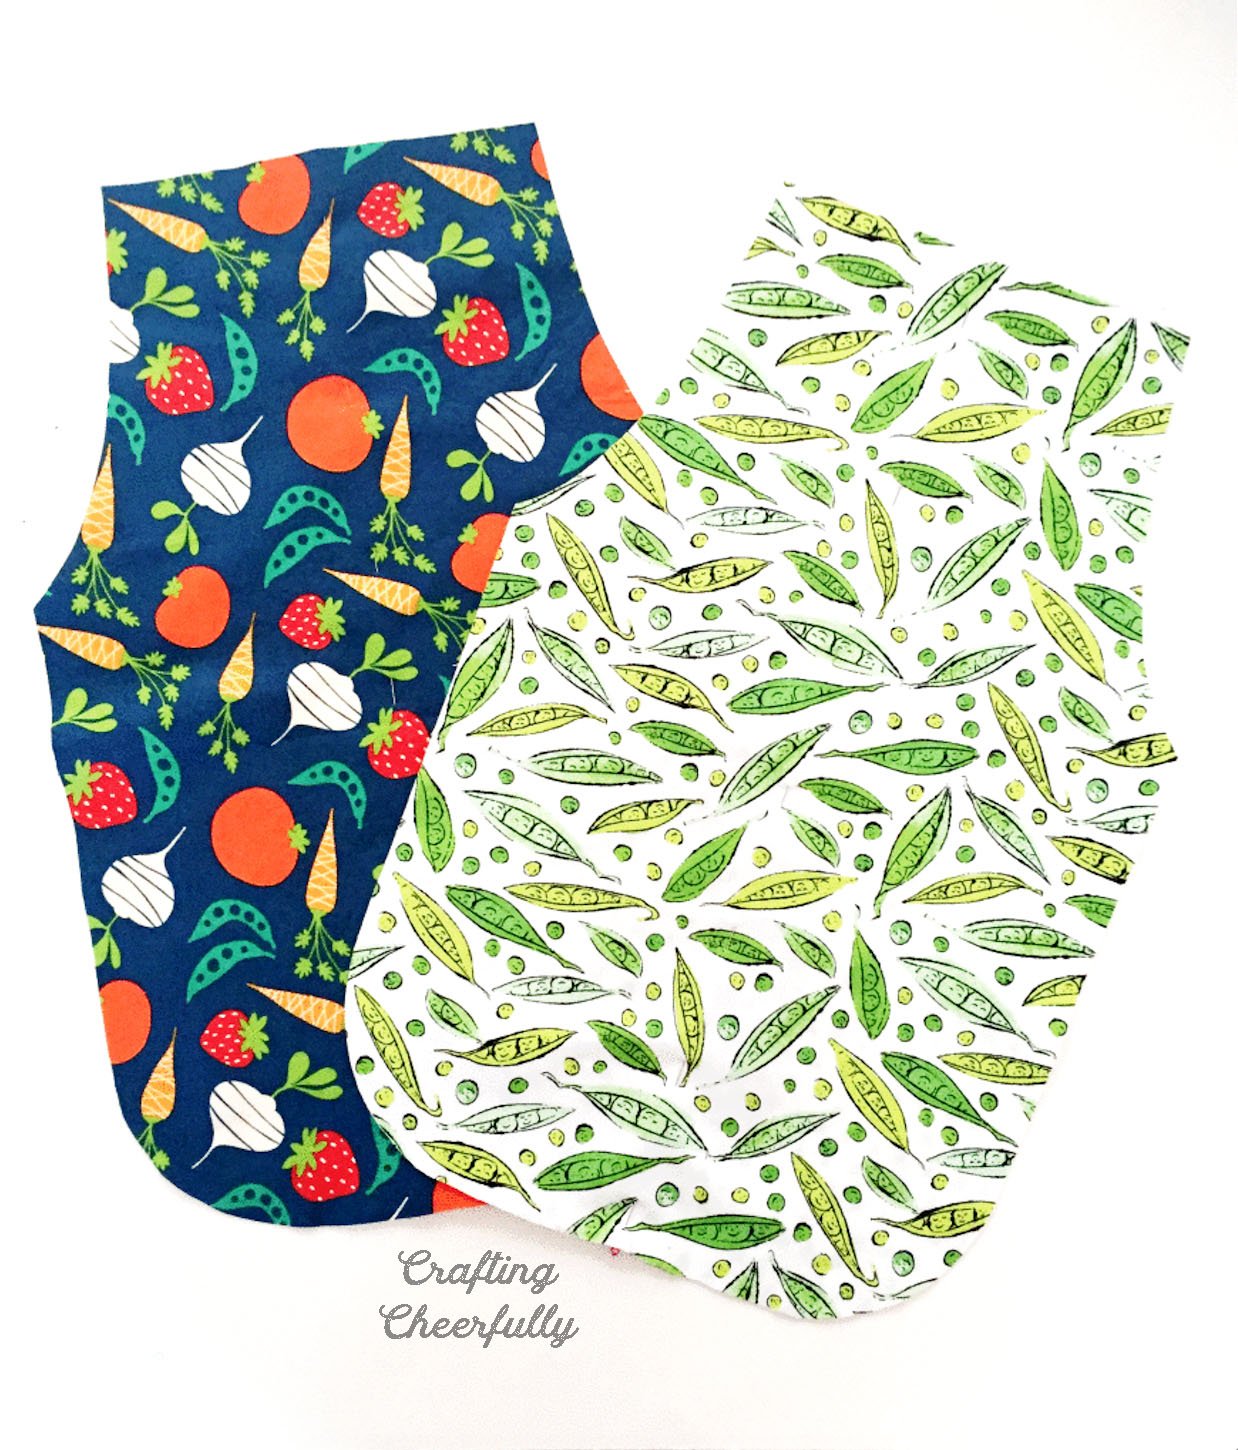
Step One: Use the free printable pattern and cut out the fabric.
Use the free printable pattern to cut two apron pieces. The apron is reversible so choose two fun, coordinating fabrics.
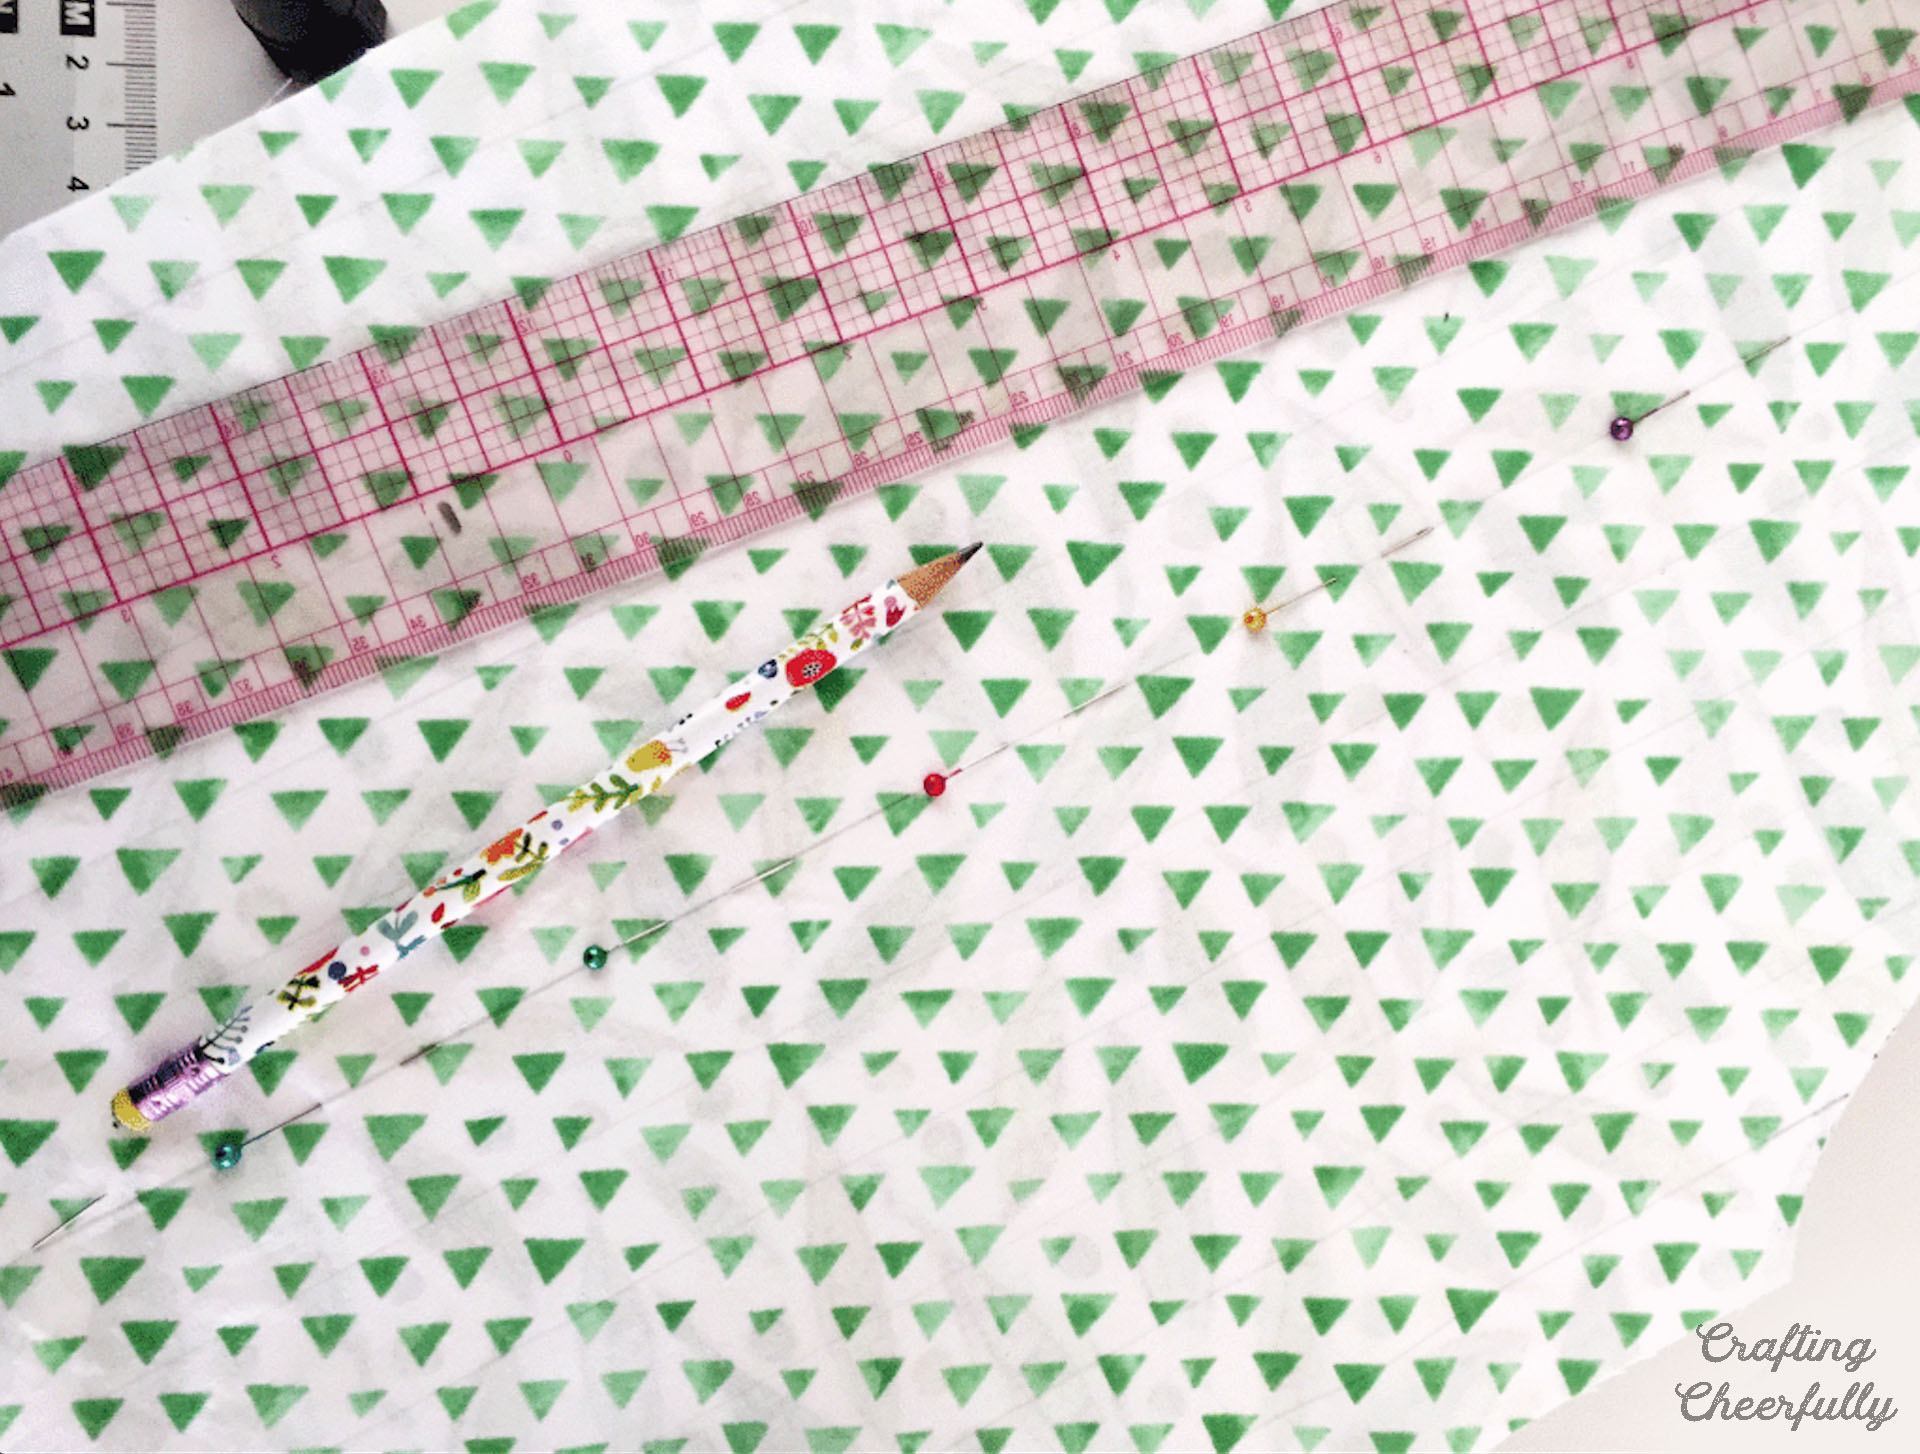
Step Two: Quilt the two layers of fabric.
I quilted the two layers of fabric together with vertical lines spaced 1″ apart. The quilting will help keep the apron looking nice after being washed. I lightly drew stitching lines with pencil on the back side of the apron. I used a thread color that would blend in and started with the center line and worked my way out smoothing the fabric as I went. Press apron.

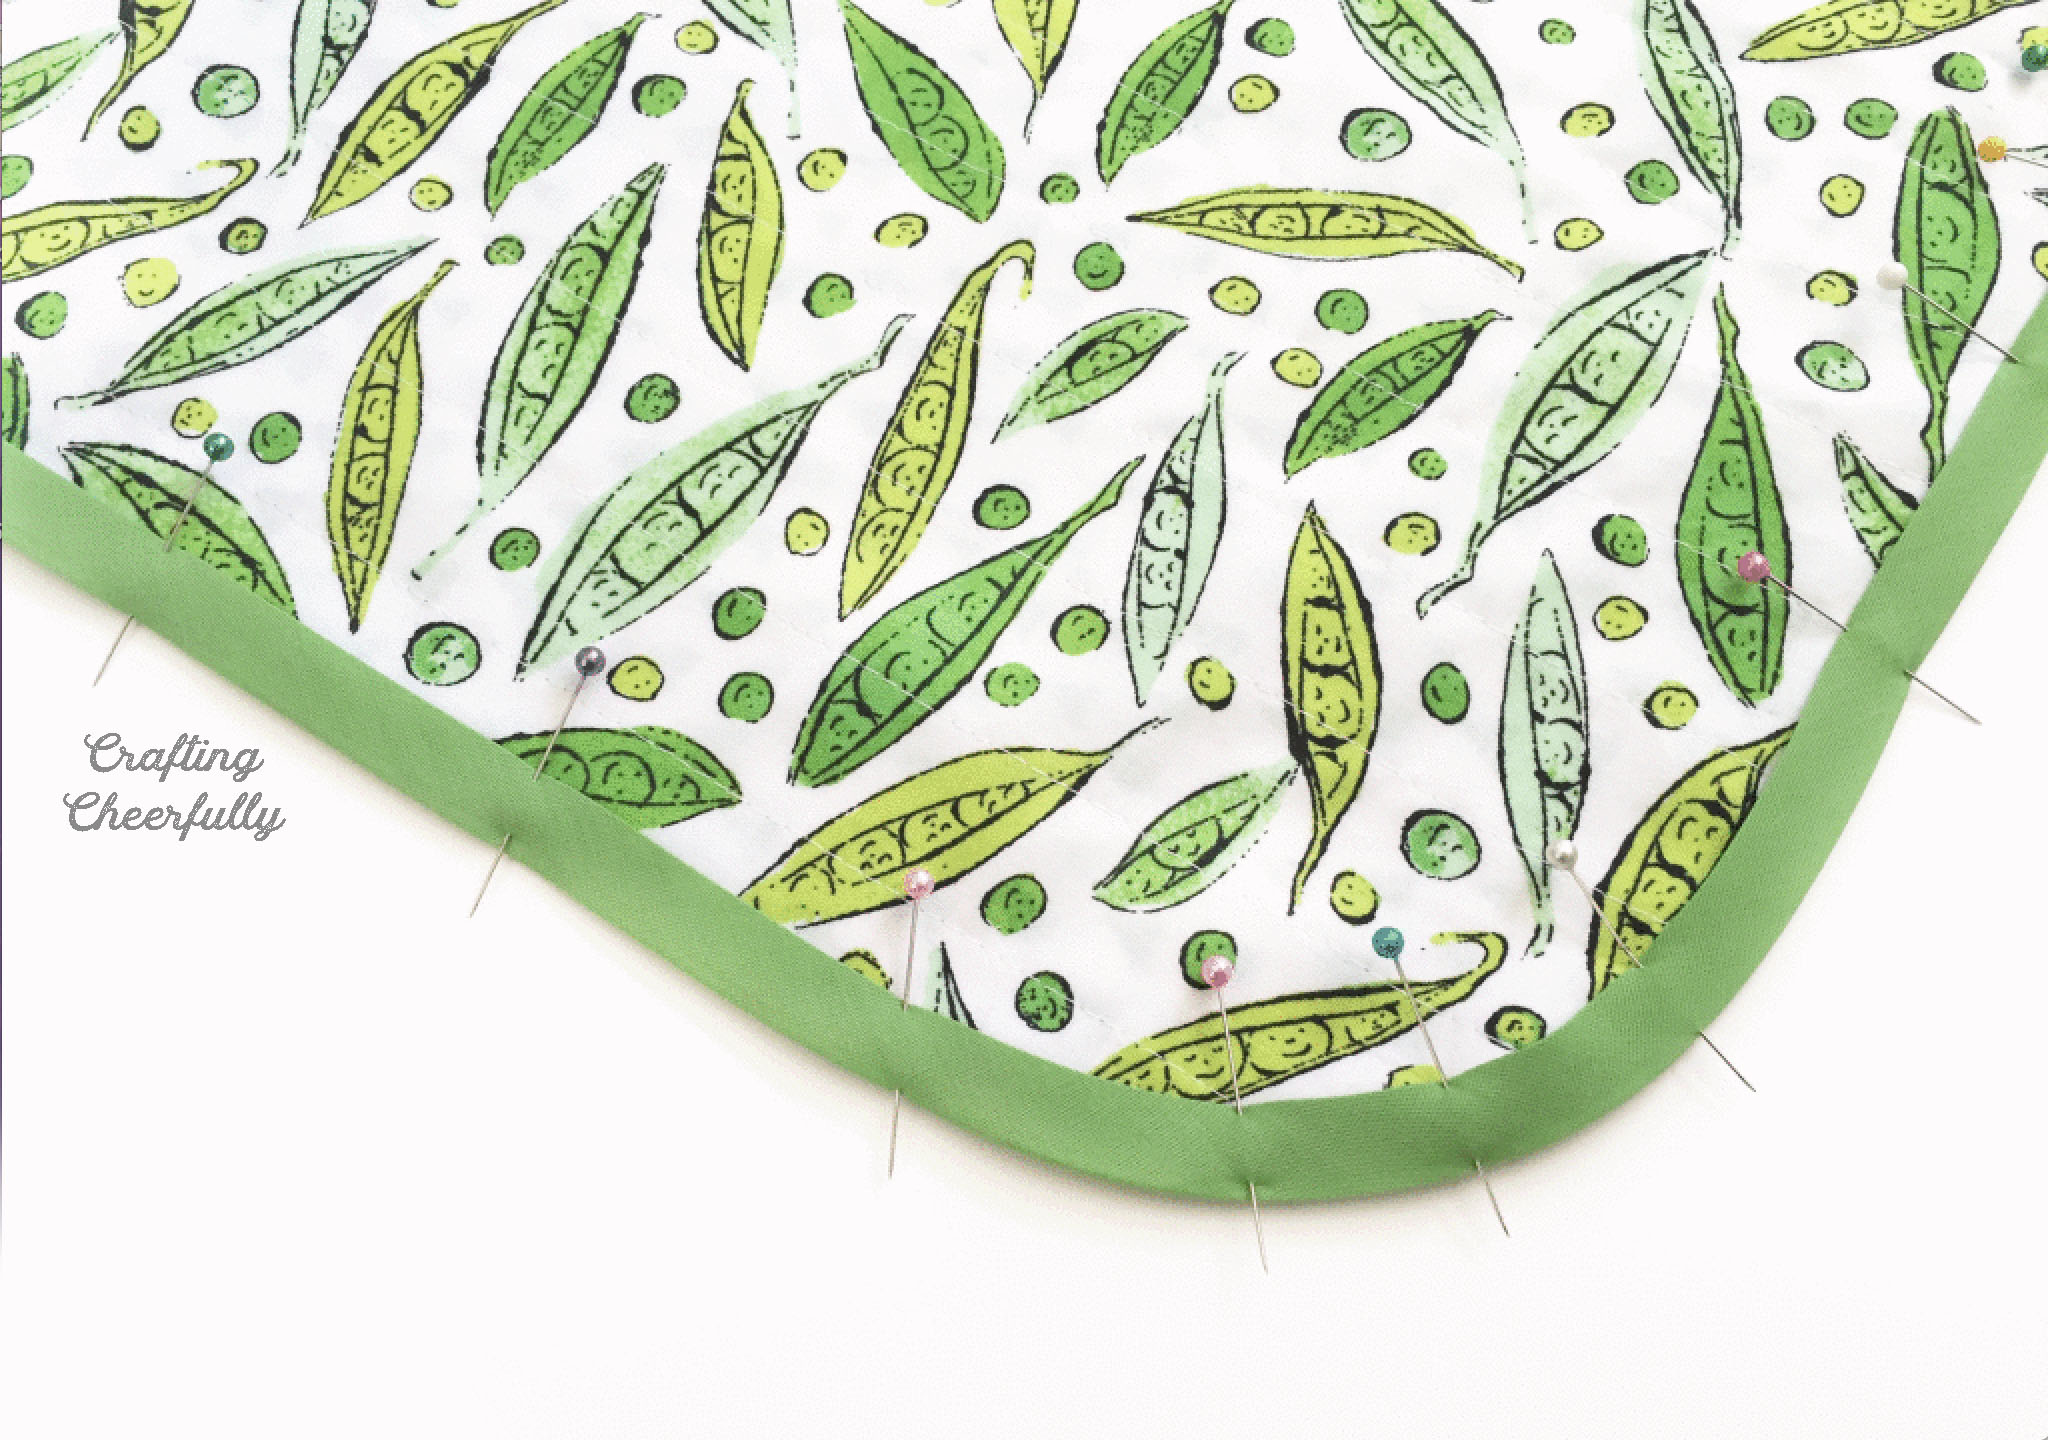
Step Three: Add the bias binding.
After the apron is quilted, the last step is adding the bias binding. I started with the lower half of the apron and the top edge. I sandwiched the two layers of the apron in-between the bias tape and pinned it in place. You can use your iron to help shape the bias tape into a curve when rounding the bottom corners of the apron. Stitch with matching thread. *If you’d like to make your own bias tape, please check out my Christmas apron tutorial.


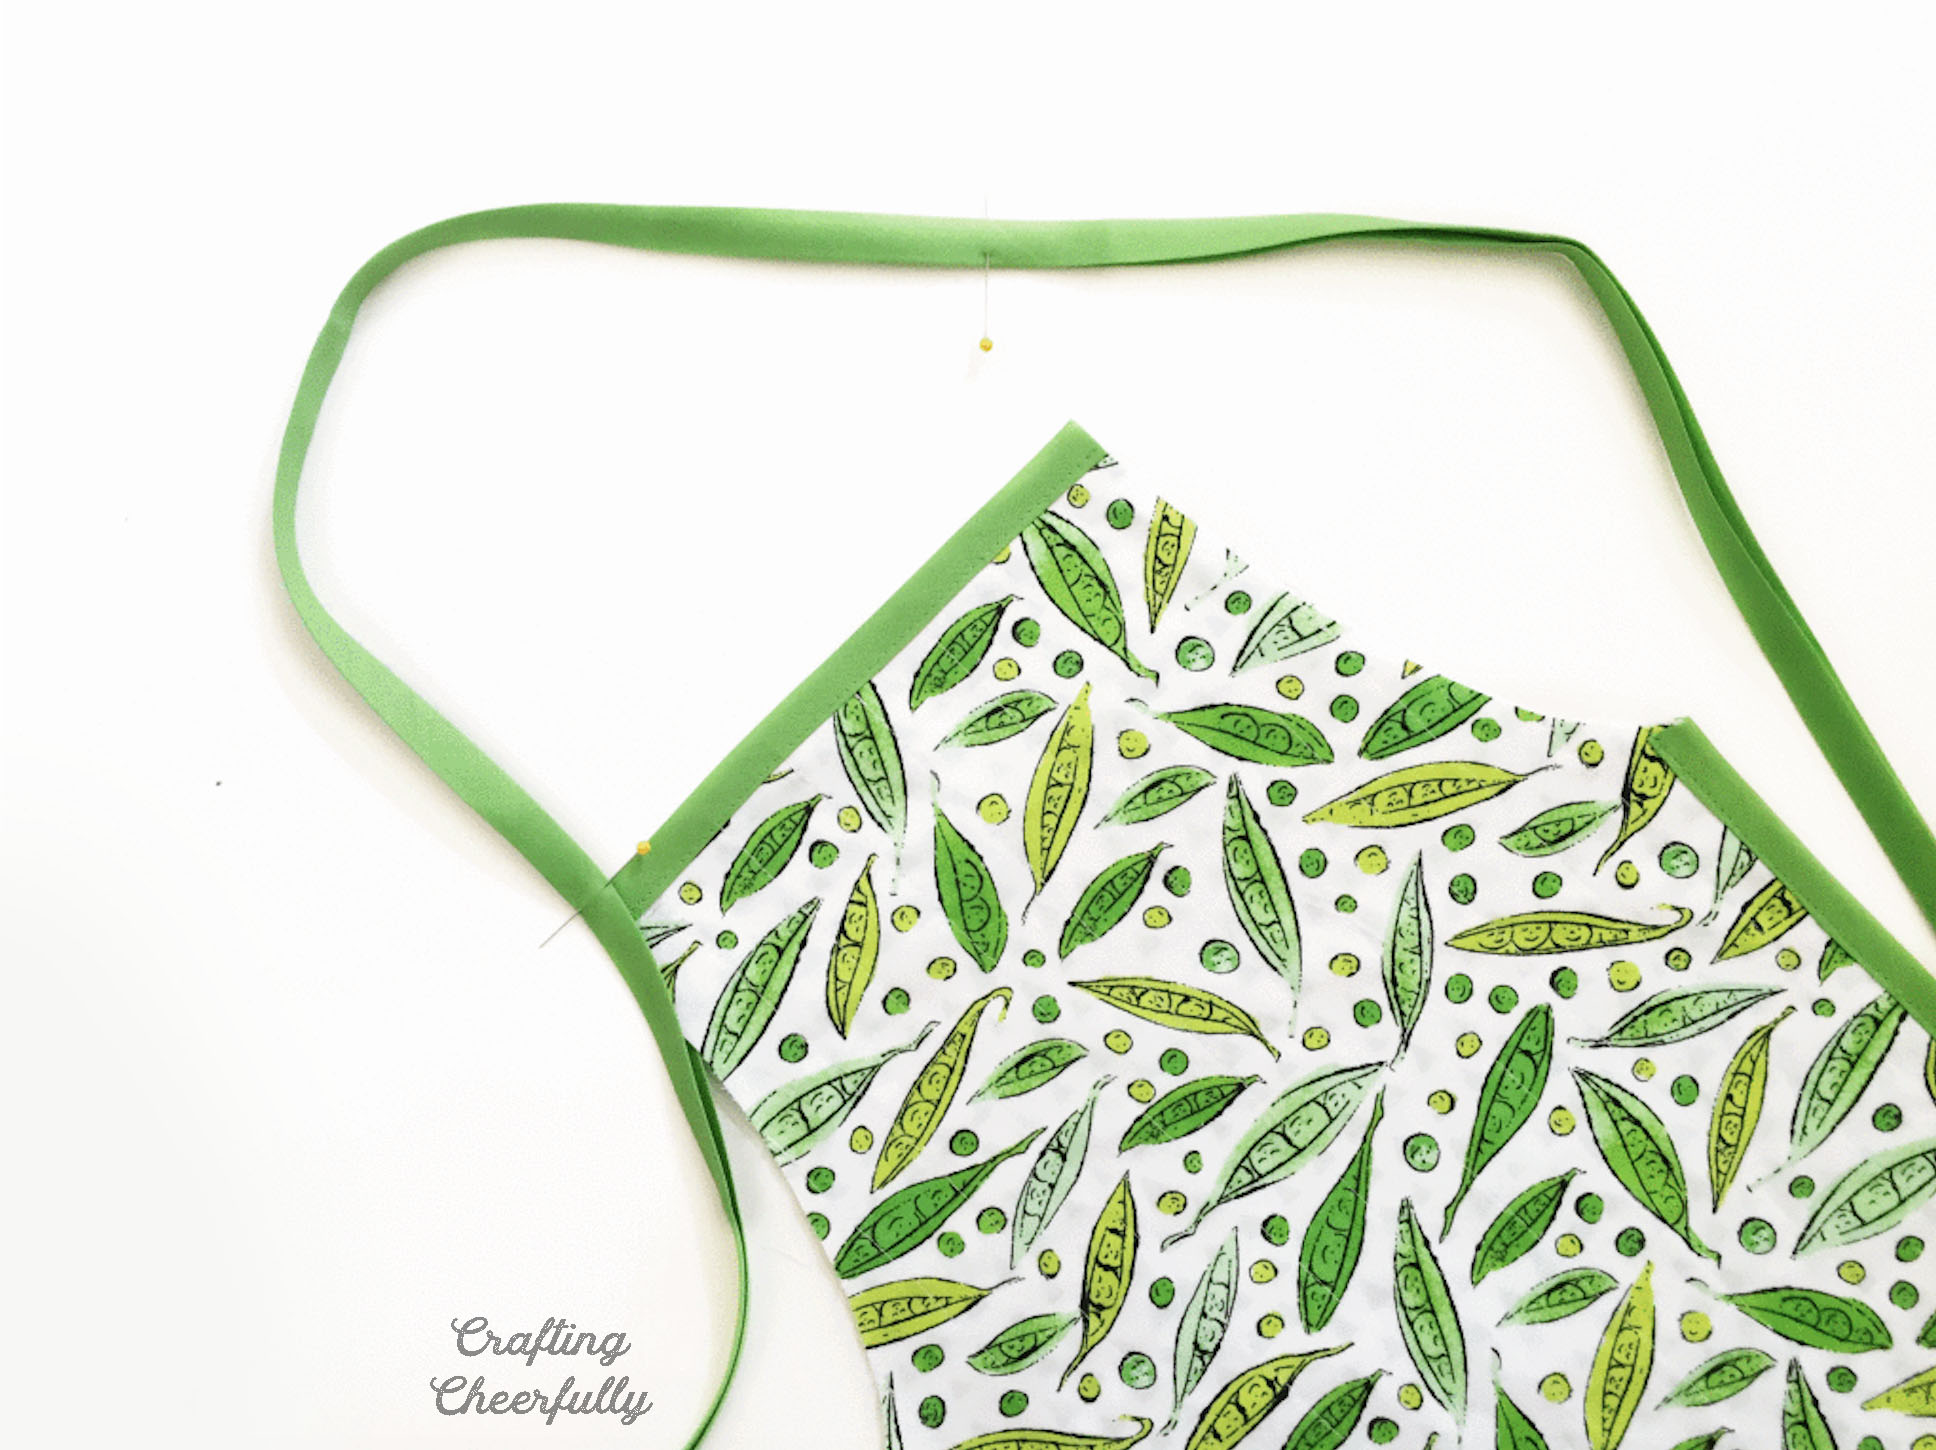
The next piece of bias tape I attached was 85″ long. Pin the bias tape, as shown in the picture below, so 19″ is left for the neck hole. It helped to find the halfway point of my 85″ long piece and then start pinning the bias tape to the top of the apron 9.5″ from that halfway point.

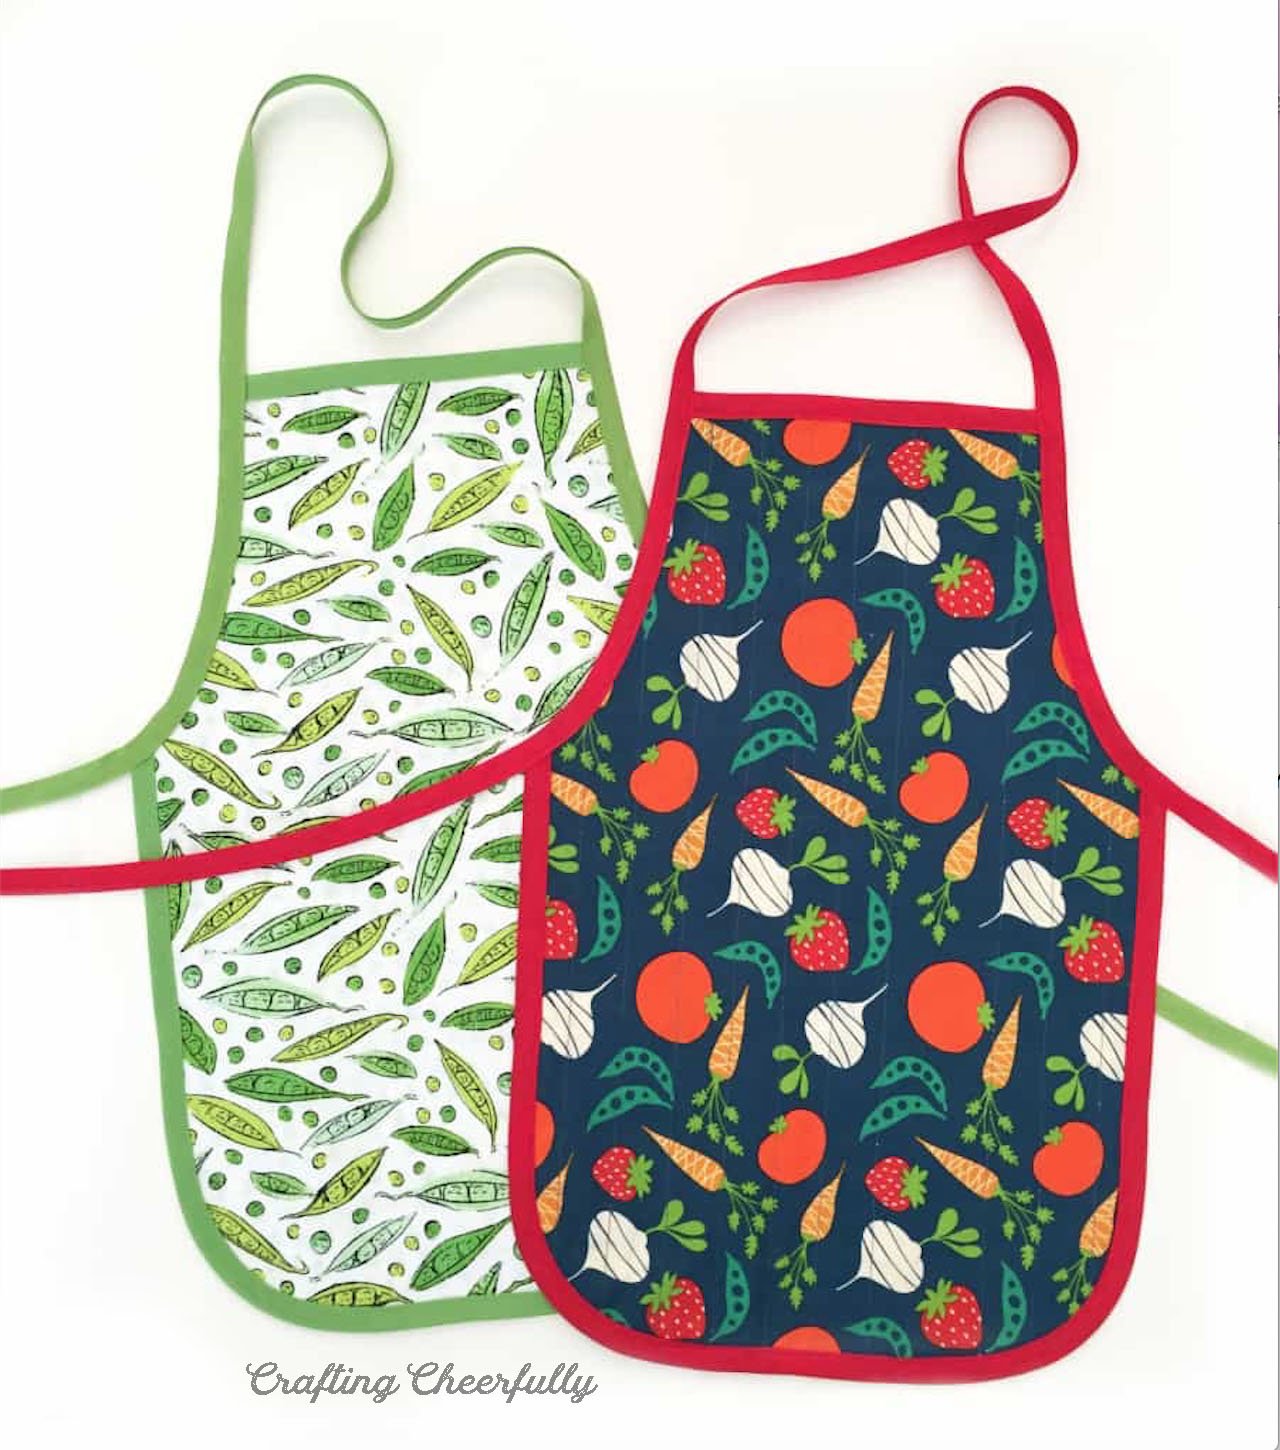
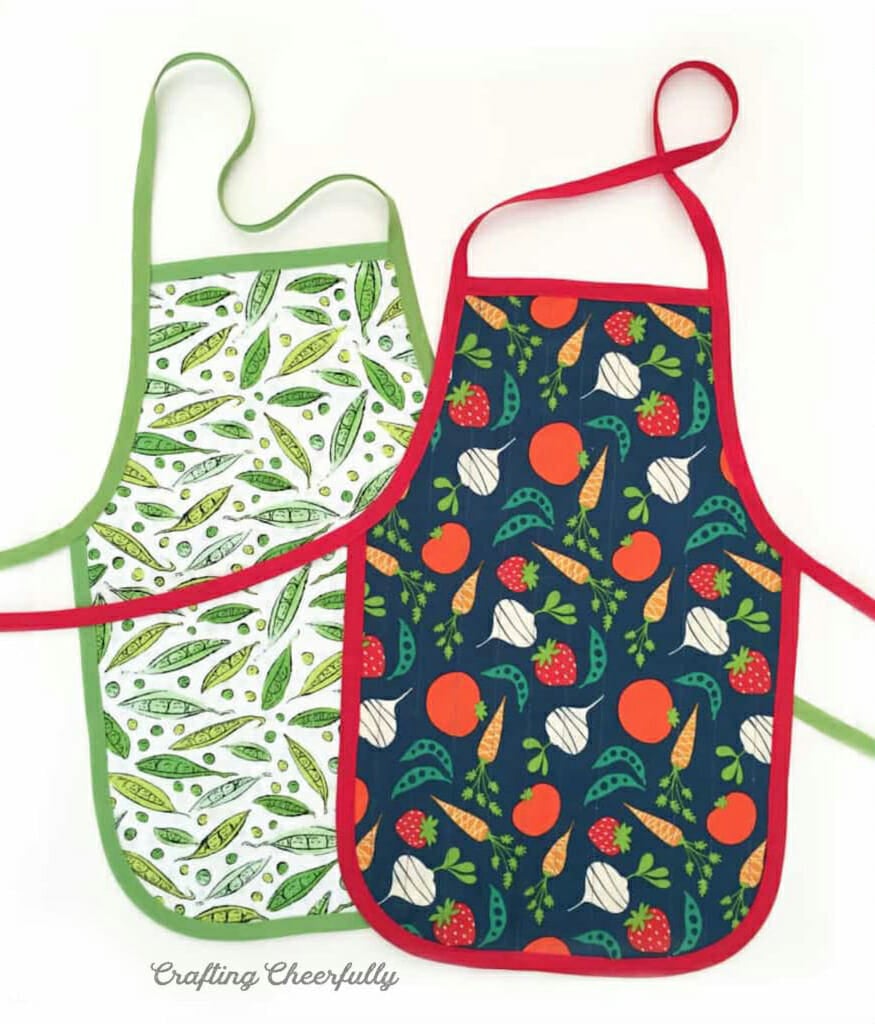
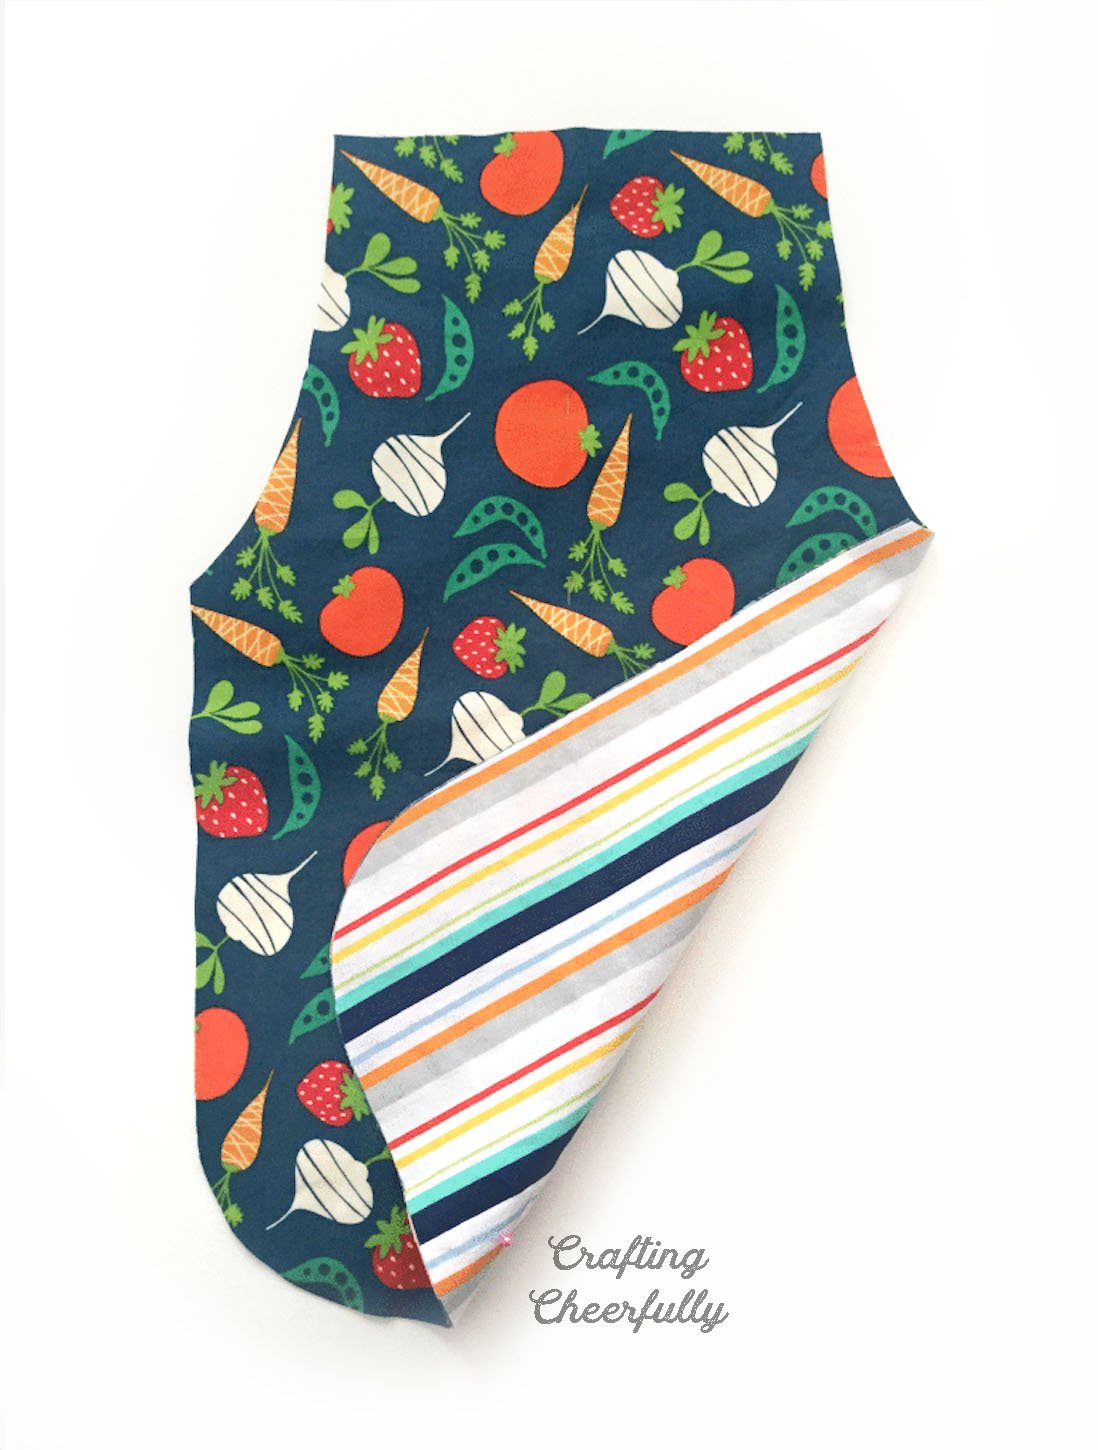
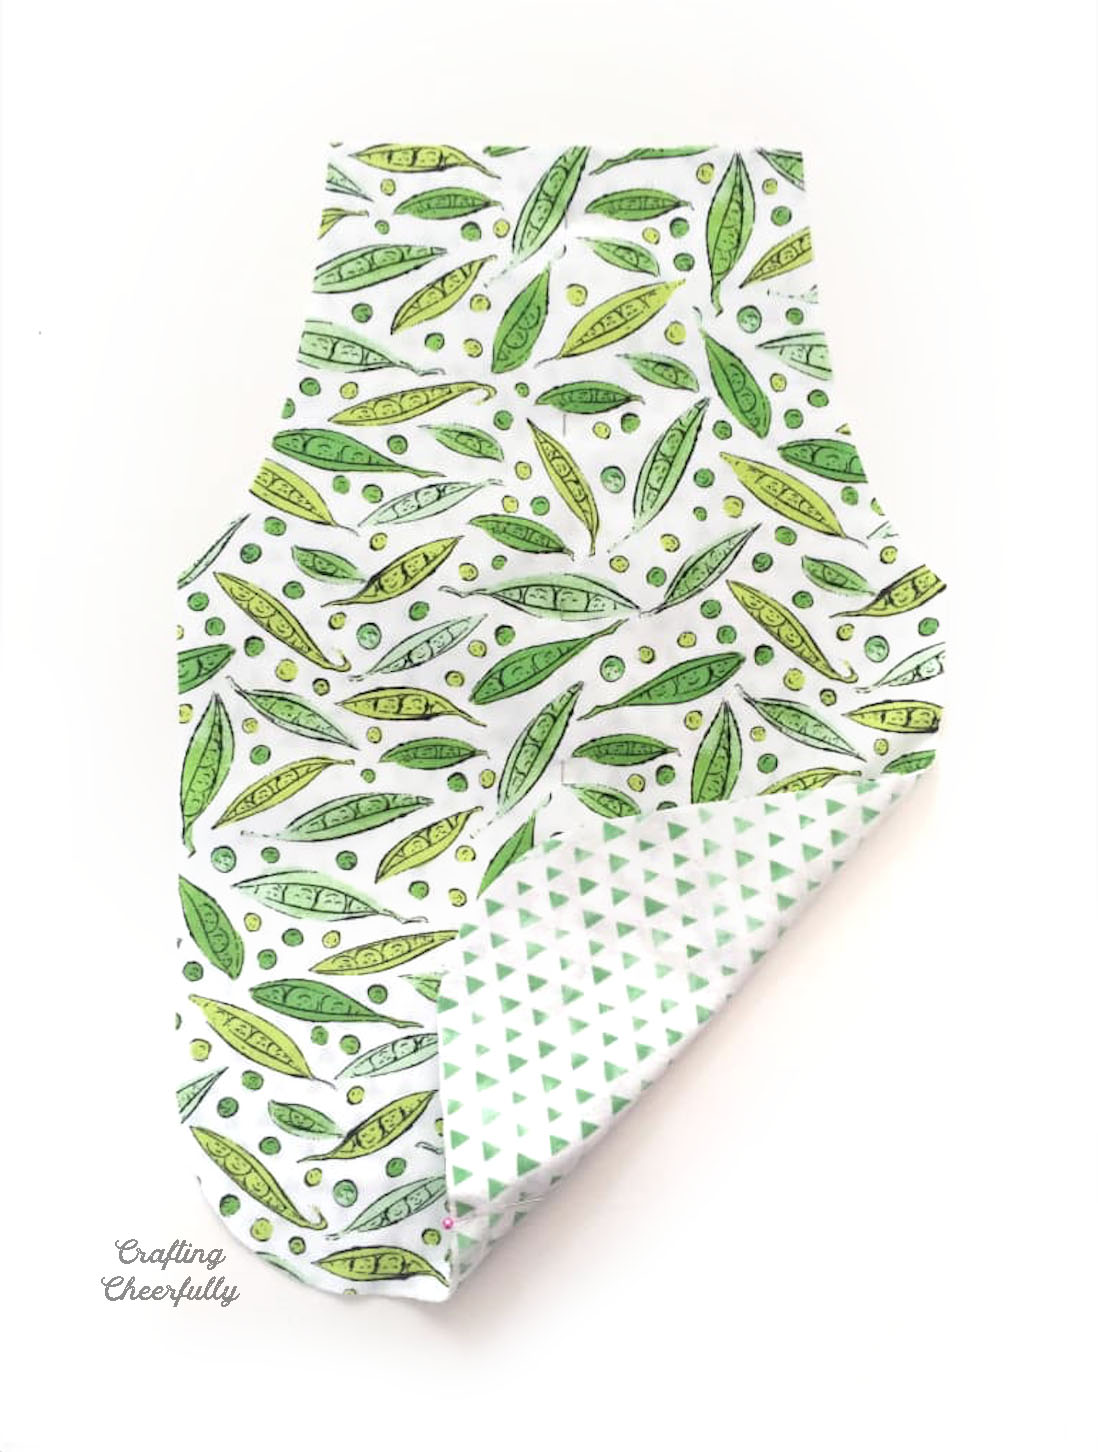
The apron is finished! I love how they turned out and how cute the aprons look from either side! If the neck opening is too long for your child, you can tie it in a knot to make it smaller.
How to Alter the Apron Pattern
This apron pattern is intended for little kids and should fit most children between the ages of 3-7. If you’d like to make the apron longer or wider you can easily alter the pattern!
Below are some of the aprons I have made by altering my little kids pattern. The Daniel Tiger apron is the size of my Little Kid’s apron pattern.


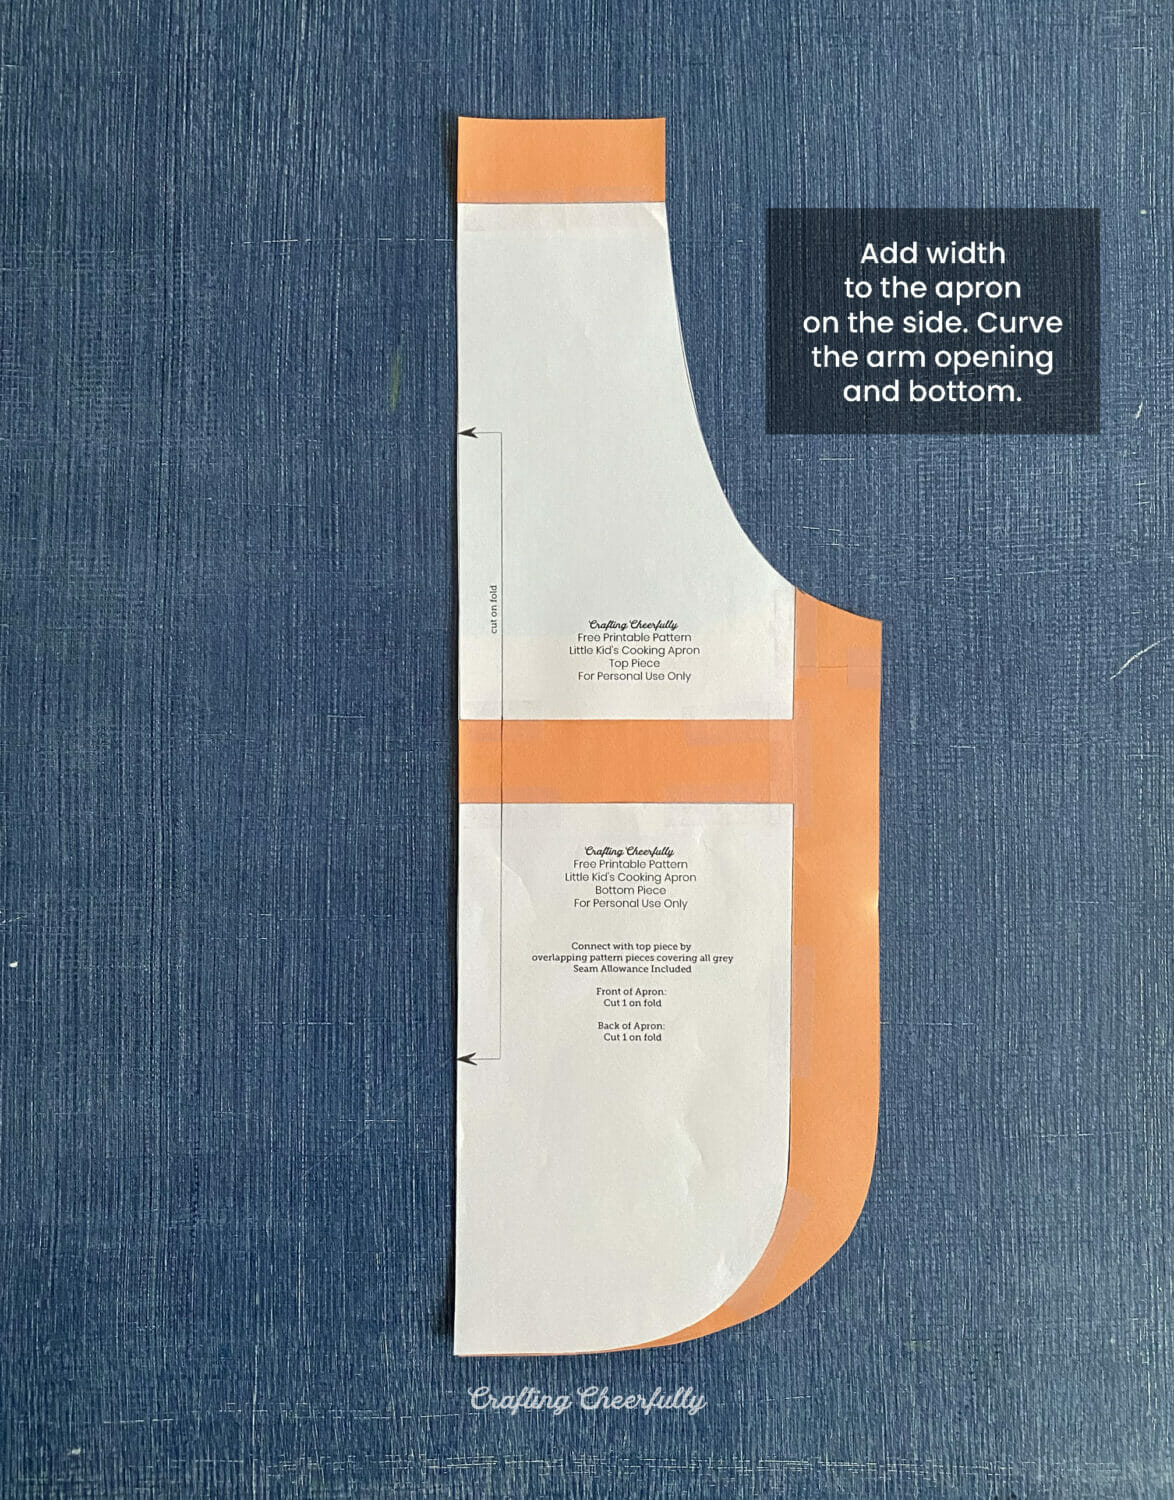
To enlarge the pattern, adding both length and width, start by grabbing construction or printer paper, a pencil, tape and a ruler. I enlarged this apron pattern to fit a child between the ages of 8-12. First to lengthen the apron, I added 1.5″ to the top of the apron and 1.5″ to the middle.
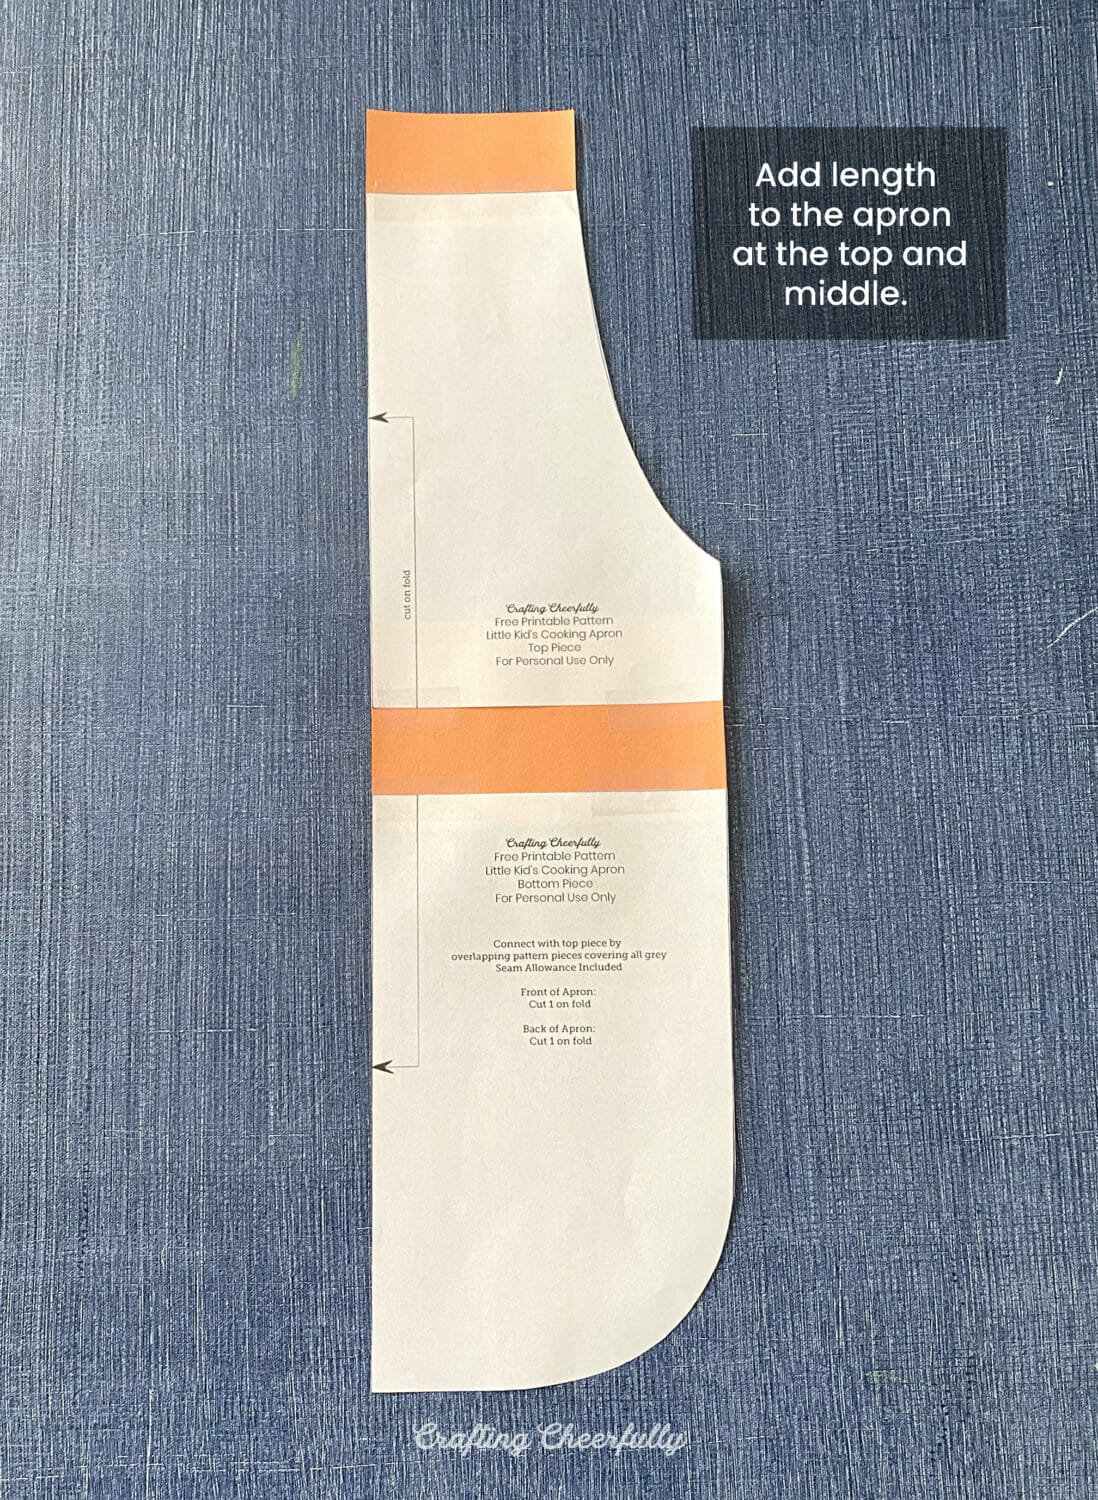
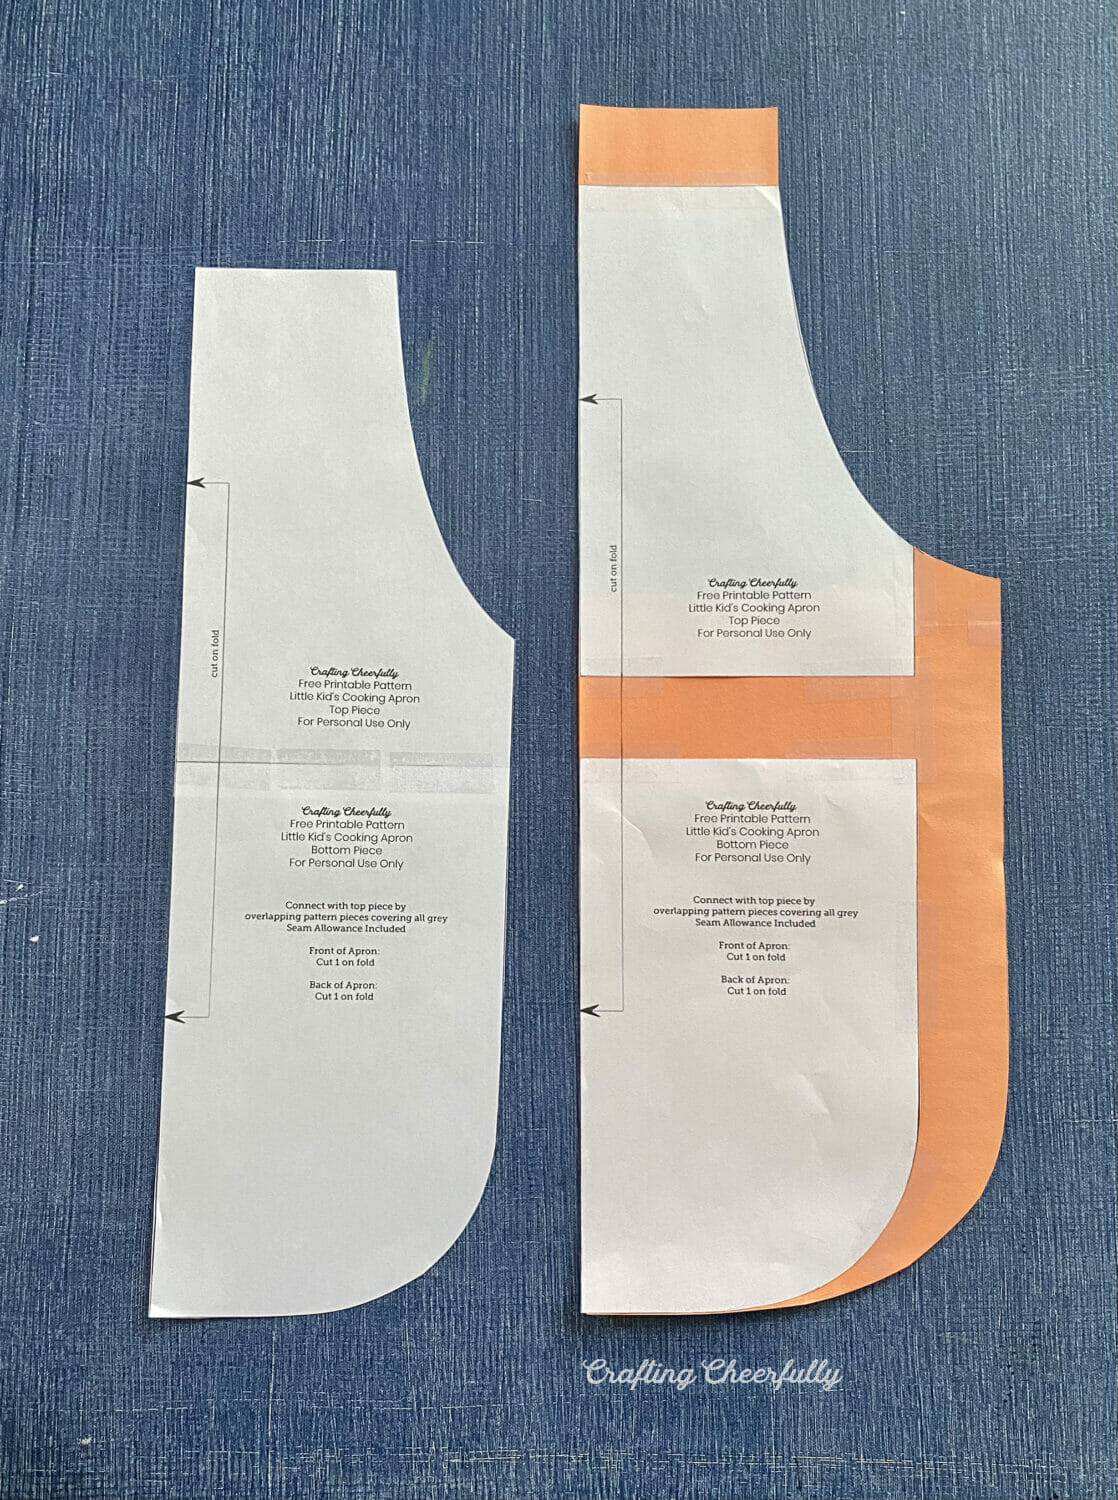
Next to add width, I added 1.5″ to the side of the apron. Curve the bottom and arm opening.
The new apron pattern is ready! Use it the same way by cutting on a fold.

Get the Free Little Kids Apron Pattern!
Fill out the purple form below with your first name and email address! The free file will be sent straight to your inbox! If you have already filled out the form below, don’t worry – you won’t be added to my list twice! This freebie is for personal use only. I hope you enjoy crafting something special. Please let me know if you have any questions :)


I downloaded the pattern but don’t see the instructions to print? Am I missing something?
Hi! Thank you for the message! All of my free files include the pattern, printable or template to create the craft project and you’ll find the step-by-step picture tutorials available to view on my website. Thank you! :)
Those are perfect prints for kids aprons! I love the fruit and veggie prints!!!
Thank you! I was so excited when I found them!
So cute!! I’ve got a Craft Gossip post scheduled for tomorrow afternoon that features your kid’s apron pattern: http://sewing.craftgossip.com/?p=89494 –Anne
Thank you for the feature! That’s wonderful :)