Dr. Seuss Fabric Wall Art
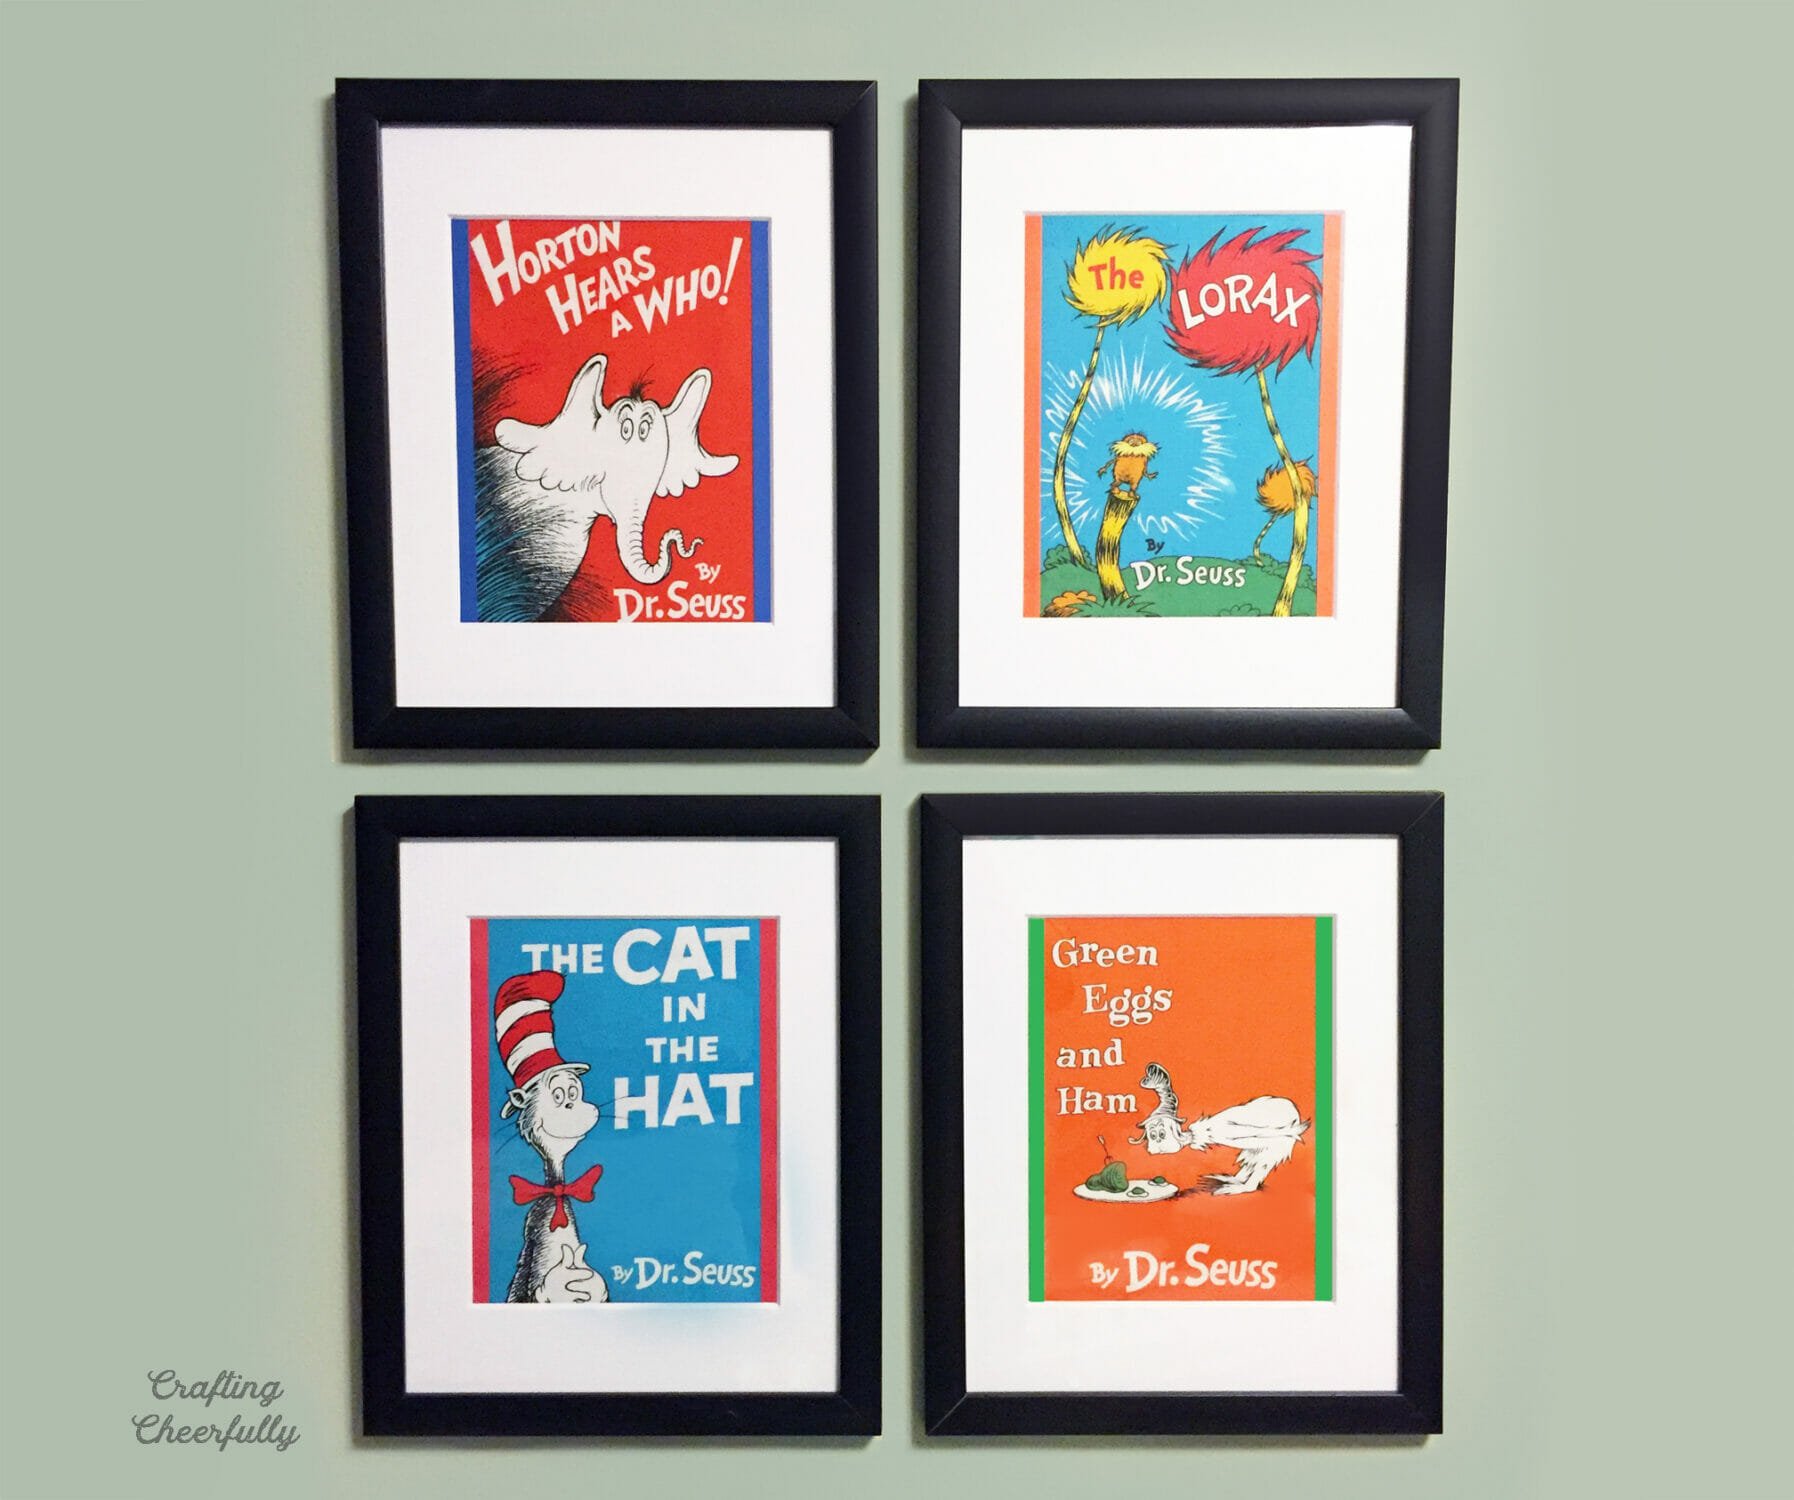
Create easy and fun Dr. Seuss Fabric Wall Art using fabric panels!
Hello Crafty Friends! Today I’m sharing a fun new DIY for creating easy Dr. Seuss wall art. A few months ago, I found this great Dr. Seuss fabric panel at my local quilt store and wanted to do something fun with it. The panel featured some of Dr. Seuss’s most popular book titles. While we chose to use a panel with Dr. Seuss artwork on it, you could follow this same tutorial and use a different fabric design. The process will still be the same. I love that we can easily switch this out with different artwork as my son gets older.

Supplies Needed:
- Dr. Seuss fabric (I found mine at a quilt store and it’s also available on Etsy here)
- Four 11″x14″ black frames – and four white matte boards for 11″x14″ frames with an 8″x10″ opening
- Cardstock in four coordinating colors
- Tape, scissors, ruler


Step 1: Cut and iron the fabric you want to feature.
Choose the Dr. Seuss books you want to feature from the fabric. Cut them out carefully after giving the fabric a good press.

Step 2: Cut strips of paper to help make the matte boards fit.
The books on the Dr. Seuss fabric are smaller than the 8″x10″ openings in the matte board. To resolve this, I added strips of colored paper on the sides of each matte board to make the opening fit the books.
For each picture, cut two 2″ wide strips of cardstock from a coordinating color. The strips of paper will be visible through the opening of the frame. You will see a 3/8″ strip of colored paper along each side.
Mark 3/8″ for each side on the back of the matte board. The photos below show where to do your markings. You will be able to easily line up your paper this way so an even 3/8″ shows.


Tape or glue the paper strips in place. Tape will allow you to more easily remove things later on if you ever want to switch out the artwork.
Step Three: Adhere the fabric panel to the matte board.
Adhere the fabric panel to the back of the matte board using tape or glue. Pop them into the frames and the project is finished!

I love how these turned out and how easy they were to put together!


