DIY Children’s Holiday Apron
Grab this free pattern to create a fun DIY Children’s Holiday Apron! Perfect for baking cookies, decorating gingerbread houses and other holiday festivities!
My son has been looking forward to baking Christmas cookies for weeks now! He loves helping me in the kitchen and is super excited for holiday baking. I love his enthusiasm so I decided to make a special holiday apron for him and his sister!
I used the same pattern I used to make their cooking aprons. The apron is so quick to make and a great project for a beginner sewer. I complicated things a little bit by making my own bias tape, but you can always purchase pre-made bias tape to make the project even quicker!
The tutorial is below, along with the free pattern. Aprons make great gifts for kids, especially paired with a cookbook or baking set! I’ll be back later this week with a no-sew spin on this project! :) *Update: Here is the link for my no-sew Gingerbread Apron!

DIY Children’s Holiday Apron
Supplies Needed:
- Free pattern – Grab the free file by filling out the purple form at the end of this post!
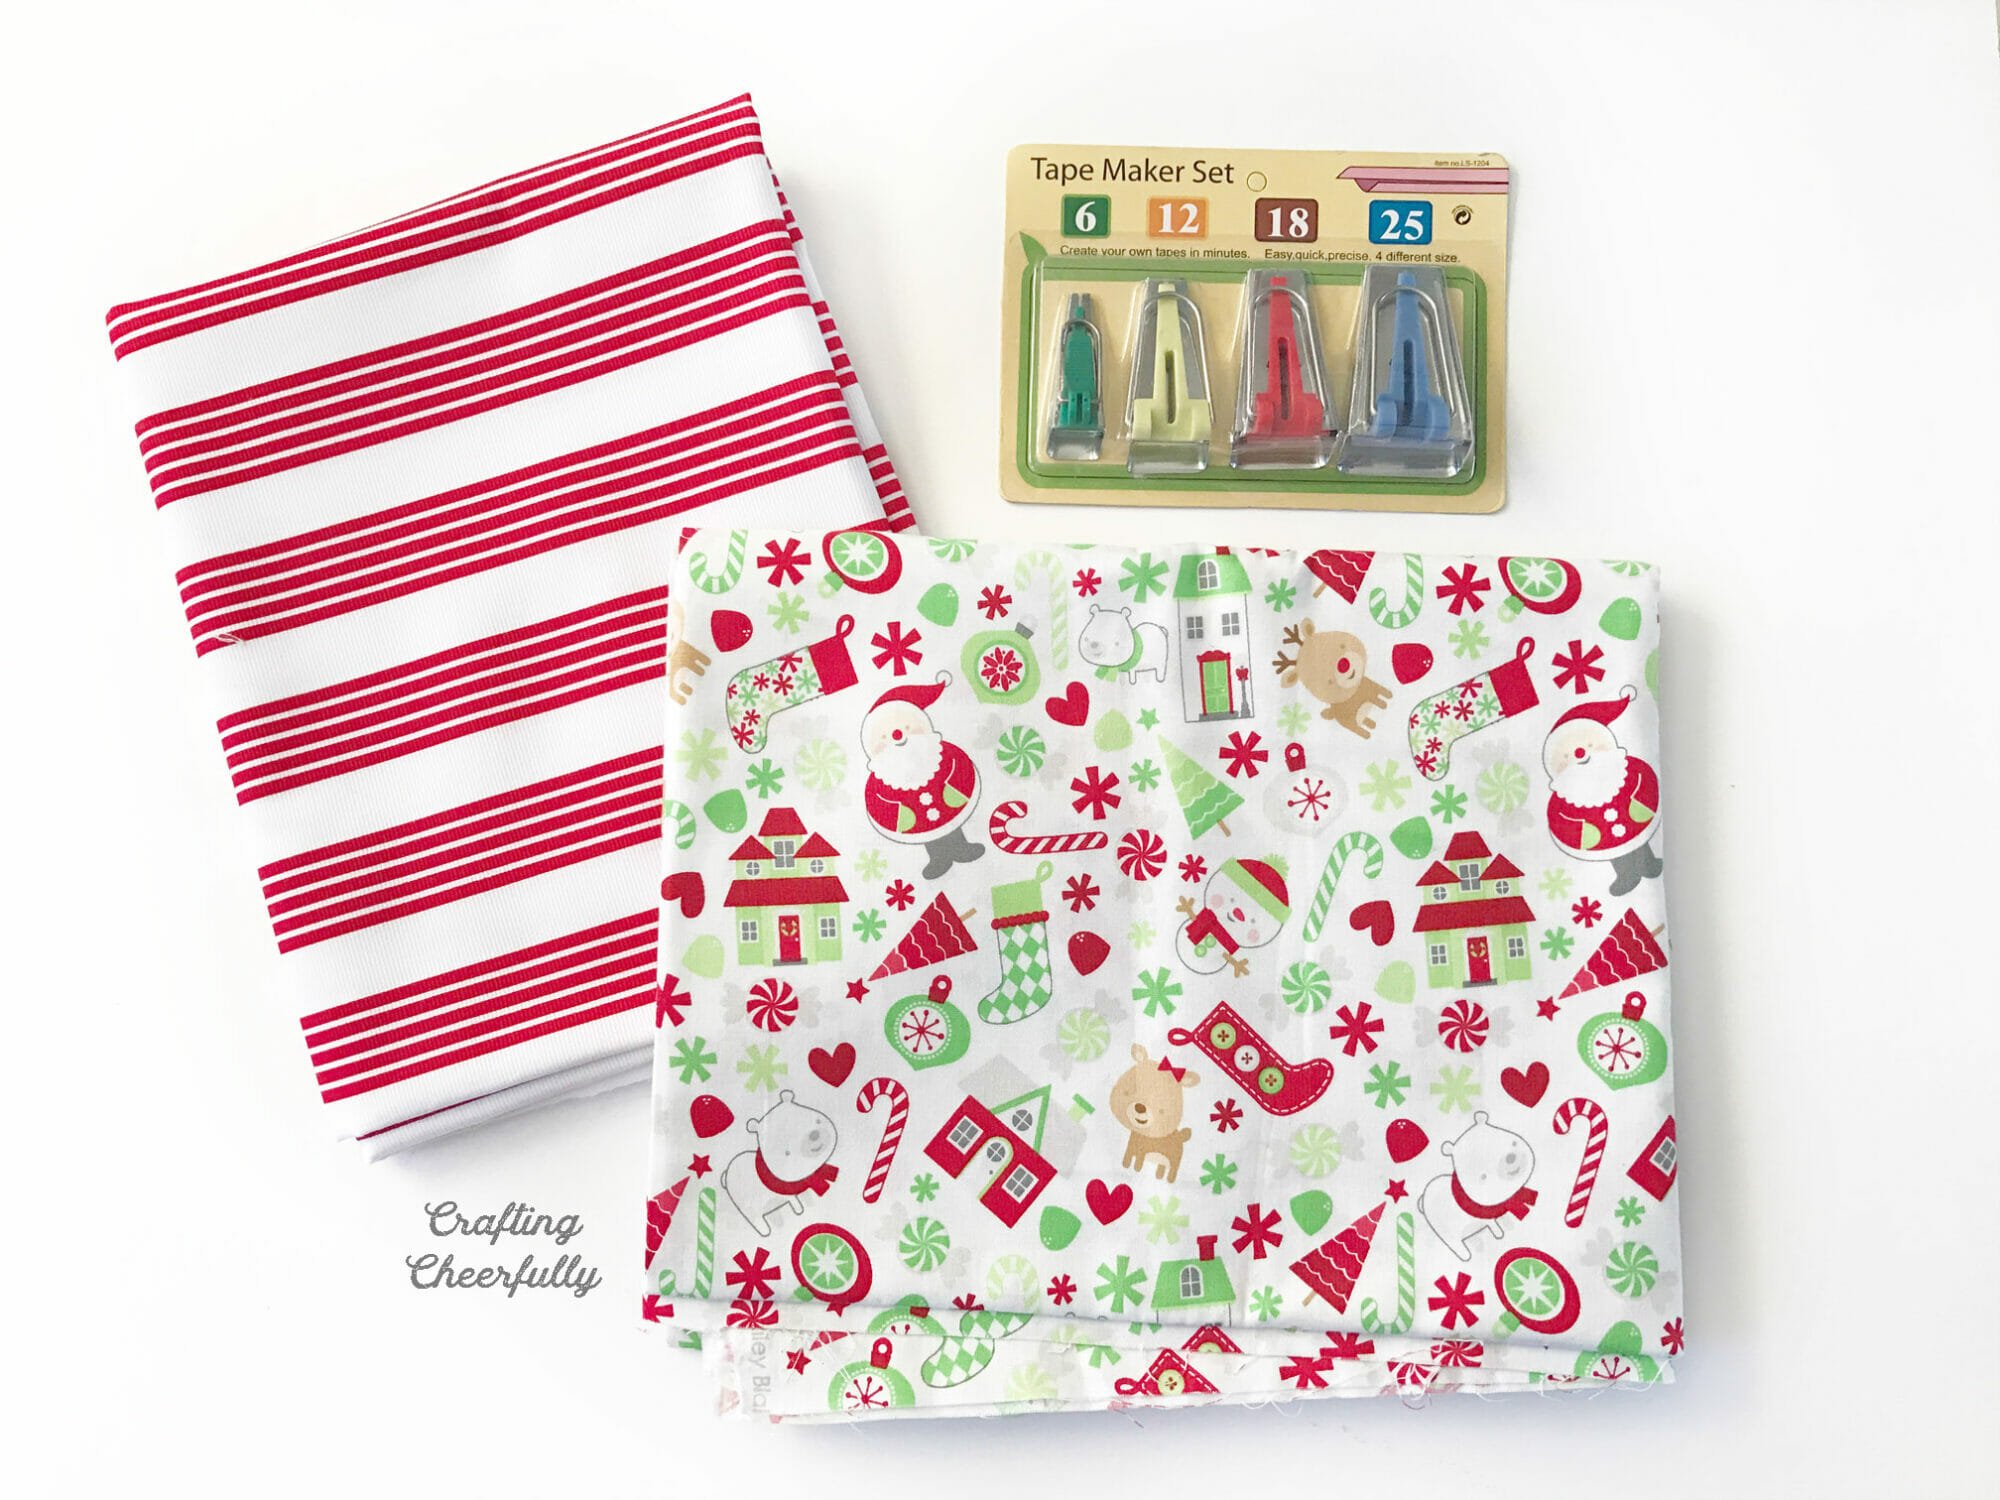
- Fabric for Side One: 1/2 yard (a little over depending on the pattern)
- Fabric for Side Two: 1/2 yard (a little over depending on the pattern)
- 2 packages of bias tape (extra wide double fold) in a coordinating color *OR* fabric to create your own bias tape
- Bias tape maker size 25 if creating your own bias tape
- Matching thread
- Sewing notions: pins, scissors, pencil and ruler
Please Note: This pattern is best for little kids around 3-6 years old and may be too small for bigger kids. You’ll find directions for altering the pattern to make it longer or wider towards the bottom of this post: DIY Children’s Apron.
How to Make a Children’s Christmas Apron
Step One: Cut out the fabric.
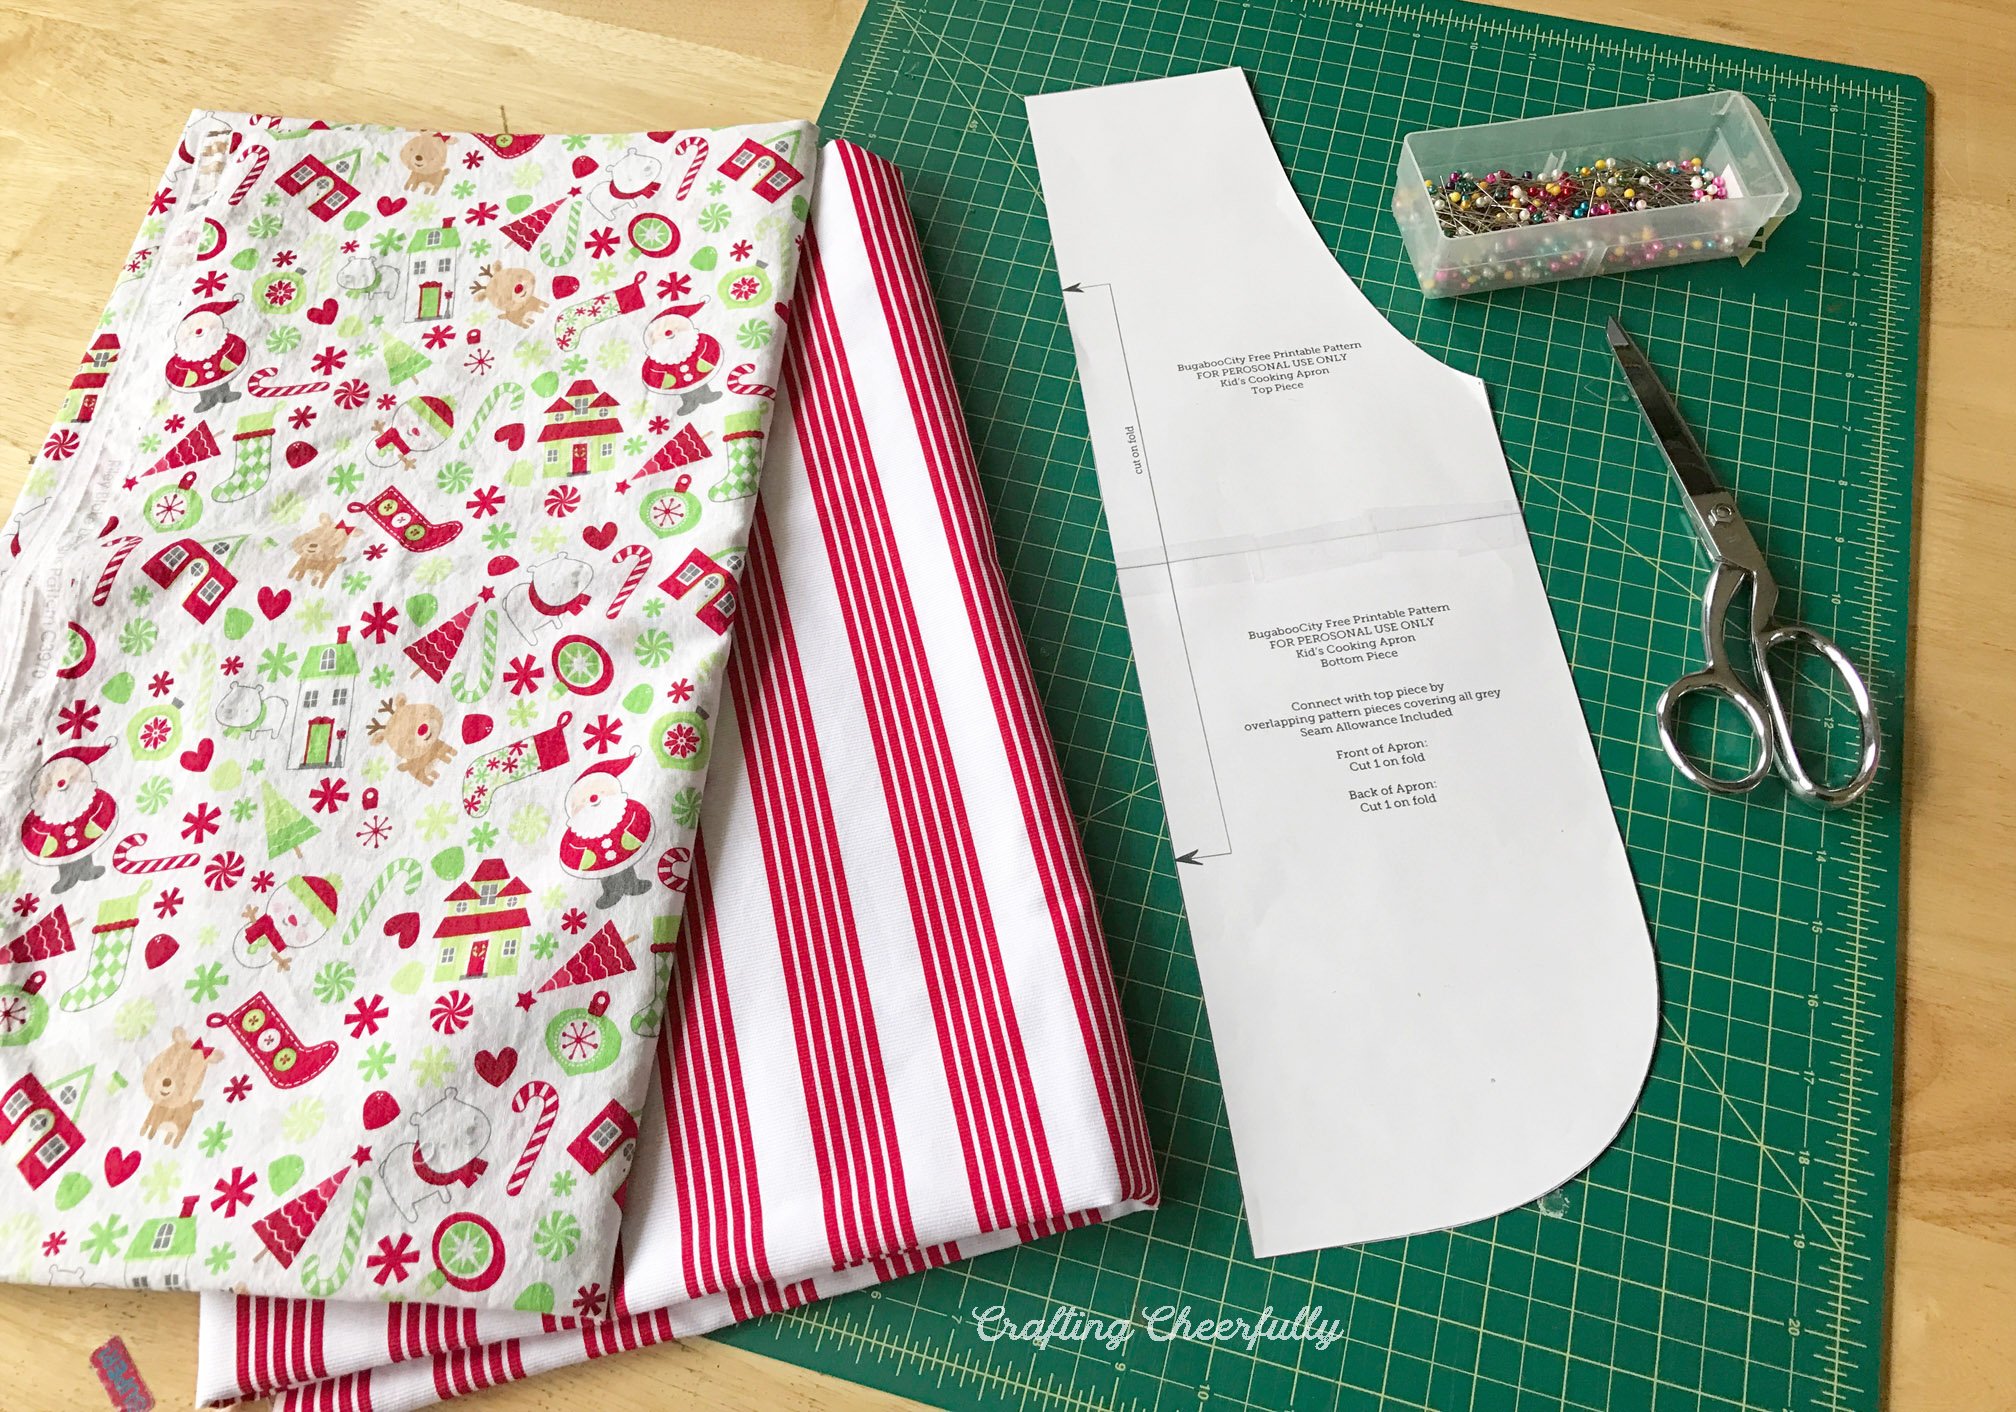
Download and print the free apron pattern then cut out the pieces and attach together to form the pattern. Use the pattern to cut both sides of the apron, since this is a reversible apron.

Step Two: Quilt the layers of the apron.
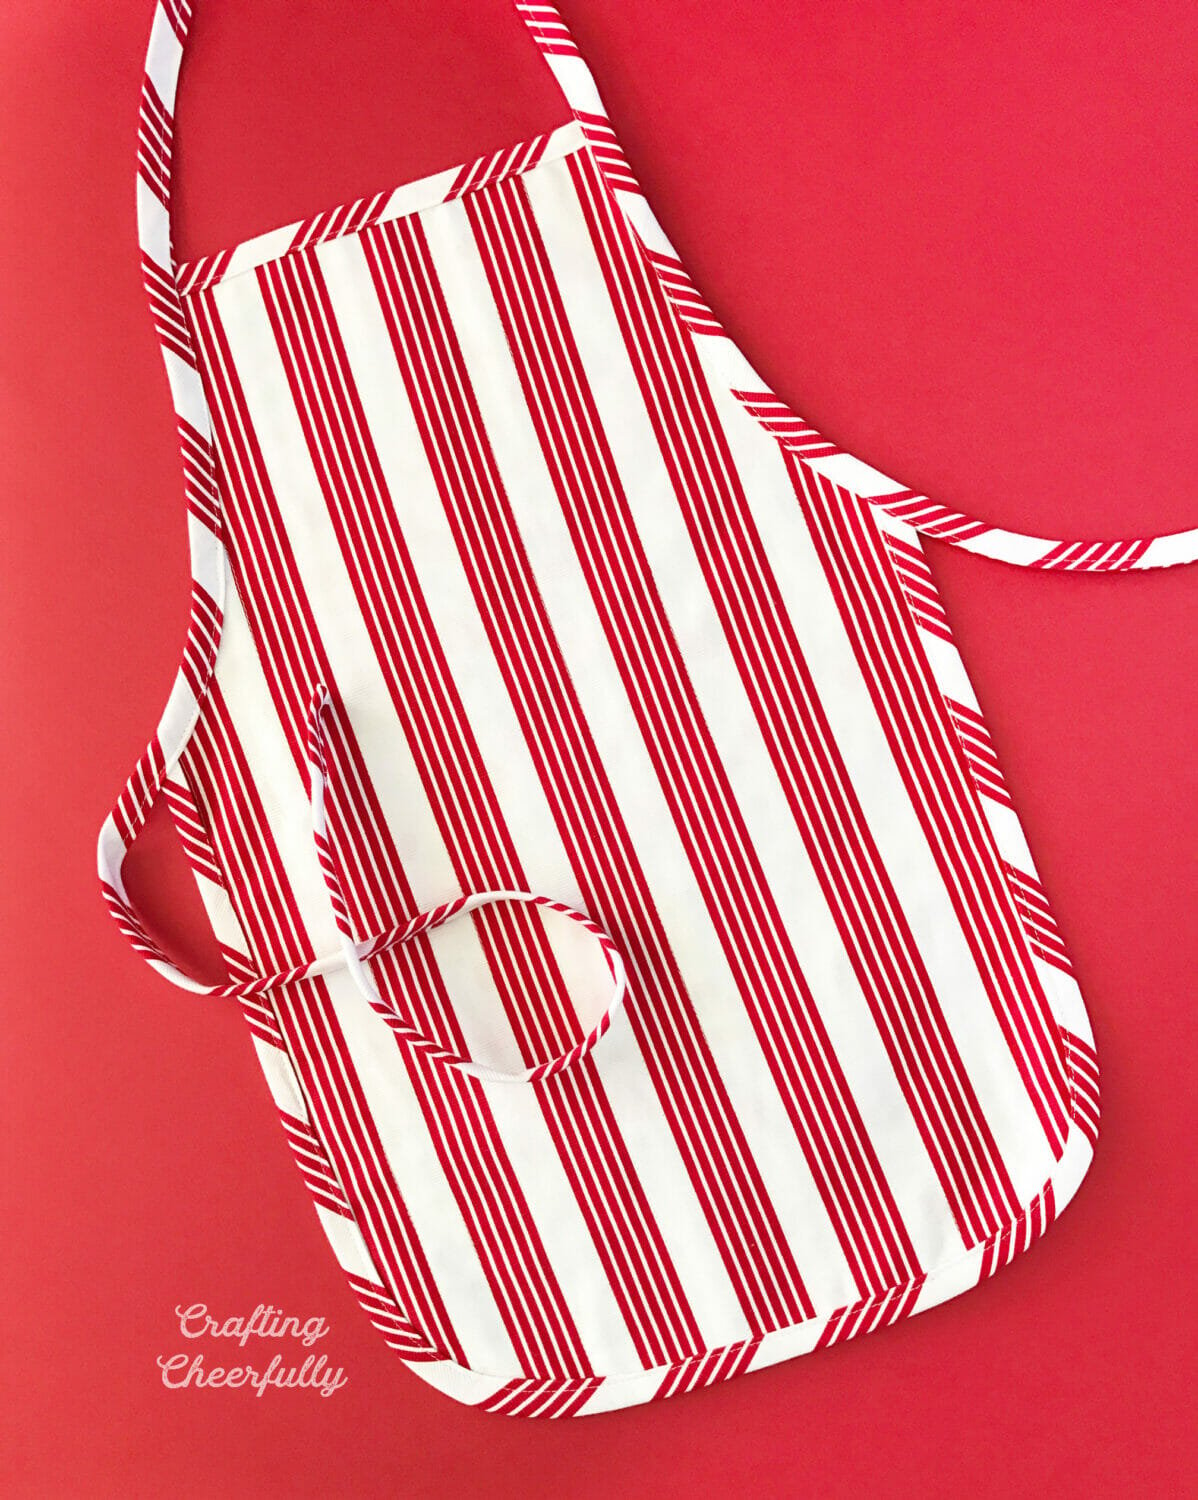
Quilt the two layers of fabric together with vertical lines spaced 1″ apart. I followed the vertical lines on my red and white striped fabric. But when I use fabric that doesn’t have vertical lines, I lightly draw the lines with pencil on one piece of fabric.
Use a thread color that blends in with your fabric since it will be seen on both sides. Sometimes this means I have a different bobbin color than my thread color. Start with the center line and work your way out smoothing the fabric as you go. Press the pieces when you are done stitching.

Step Three: Create the bias binding (if making it by hand).
After the apron is quilted, the last step is adding the bias binding. You can use prepackaged extra wide double fold bias tape, or create your own! I decided to make my own using the red and white striped fabric. It looks like a candy cane!
Making bias tape is not difficult but it does take time. Using a bias maker tool will help make it easier. There is a great tutorial for making your own bias tape over at Make It & Love It! It is really easy but takes time. I could have also used prepackages bias tape in a green or red color.


Step Four: Add the bias binding to the apron.
Once you have your bias tape made or purchased, you are ready to bind the apron! Start with the lower half of the apron and the top edge. I sandwiched the two layers of the apron in between the bias tape and pinned it in place. You can use your iron to help shape the bias tape into a curve when rounding the bottom corners of the apron. Stitch with matching thread.

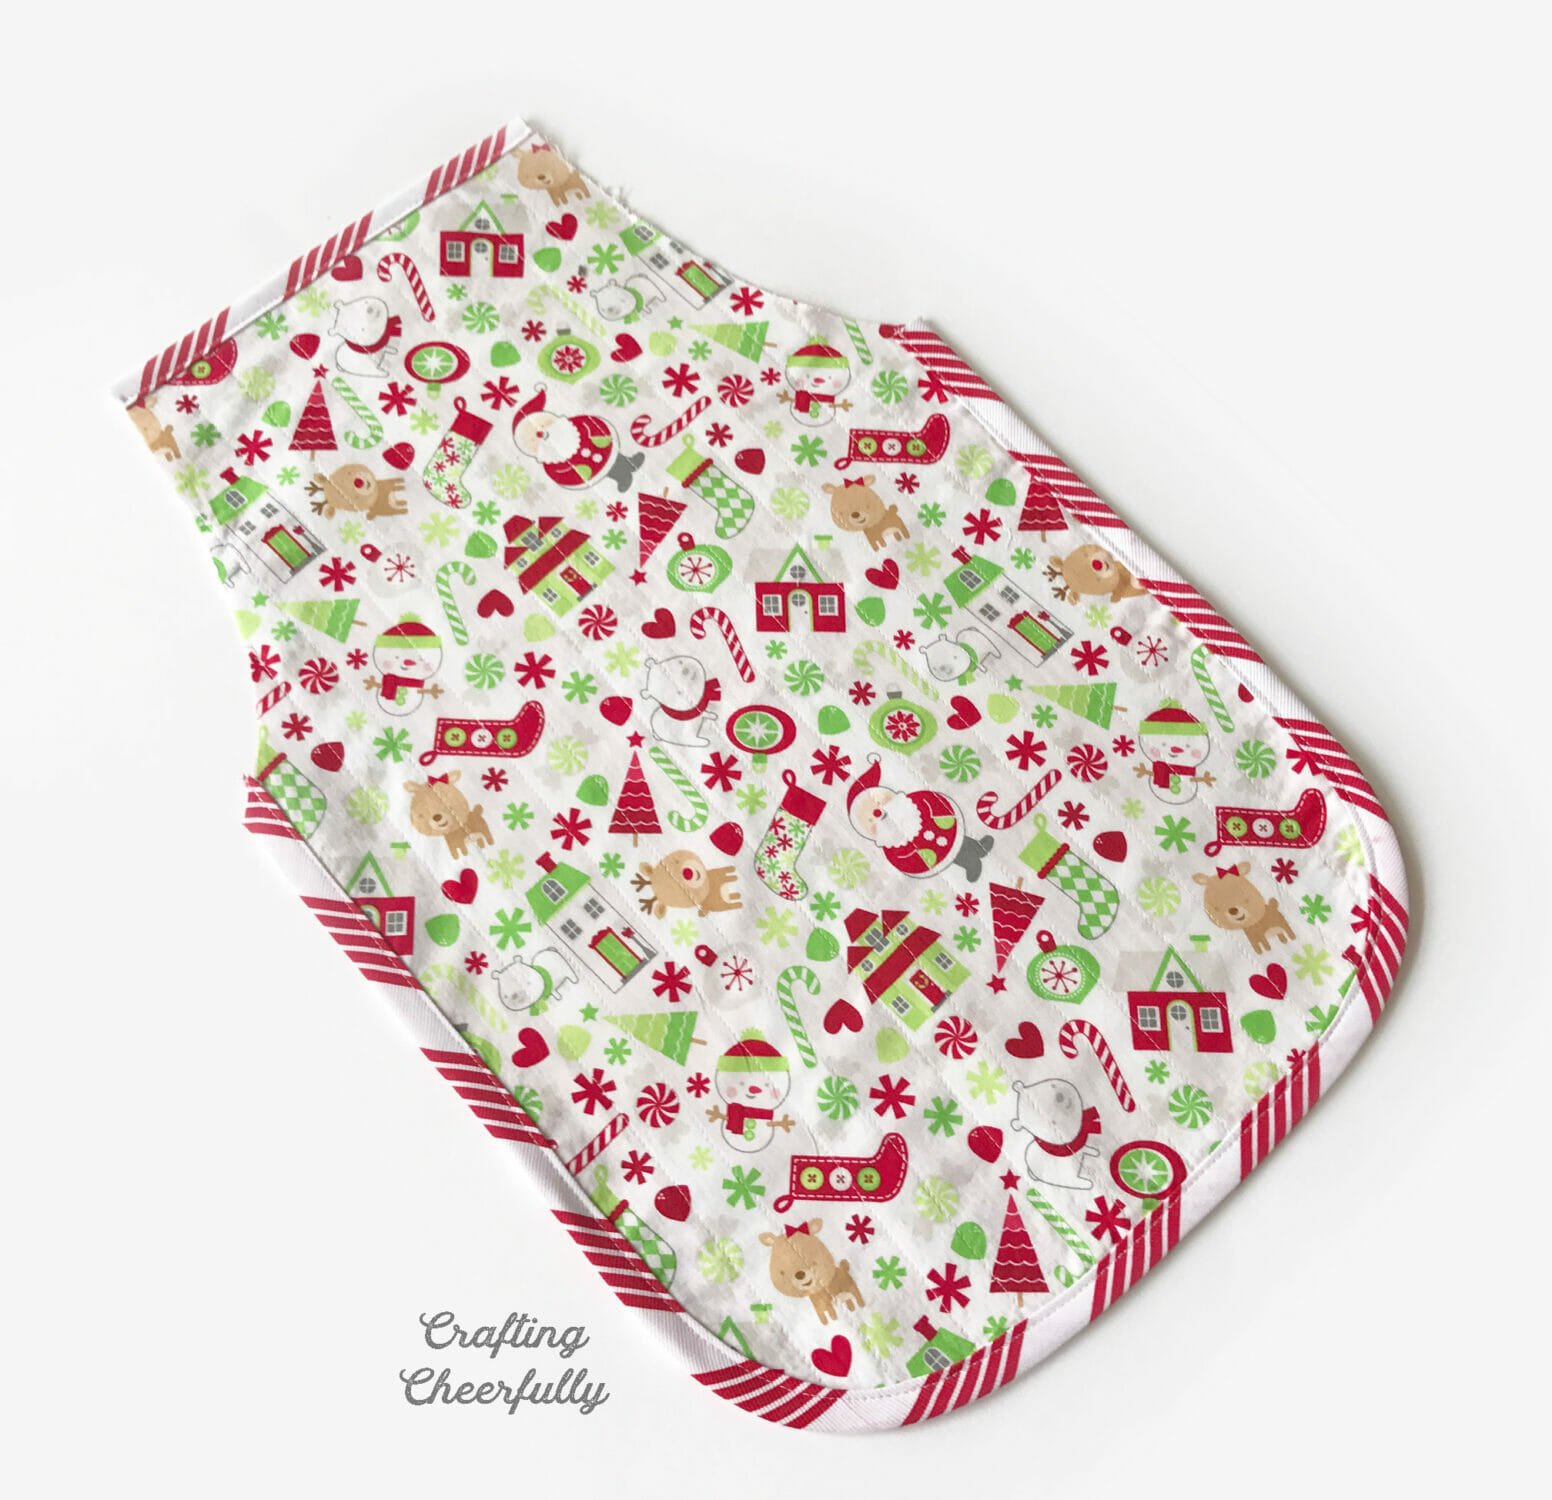
The next piece of bias tape I attached was 85″ long. Pin the bias tape, as shown in the picture below, so 19″ is left for the neck hole. It helped to find the halfway point of my 85″ long piece and then start pinning the bias tape to the top of the apron 9.5″ from that halfway point.
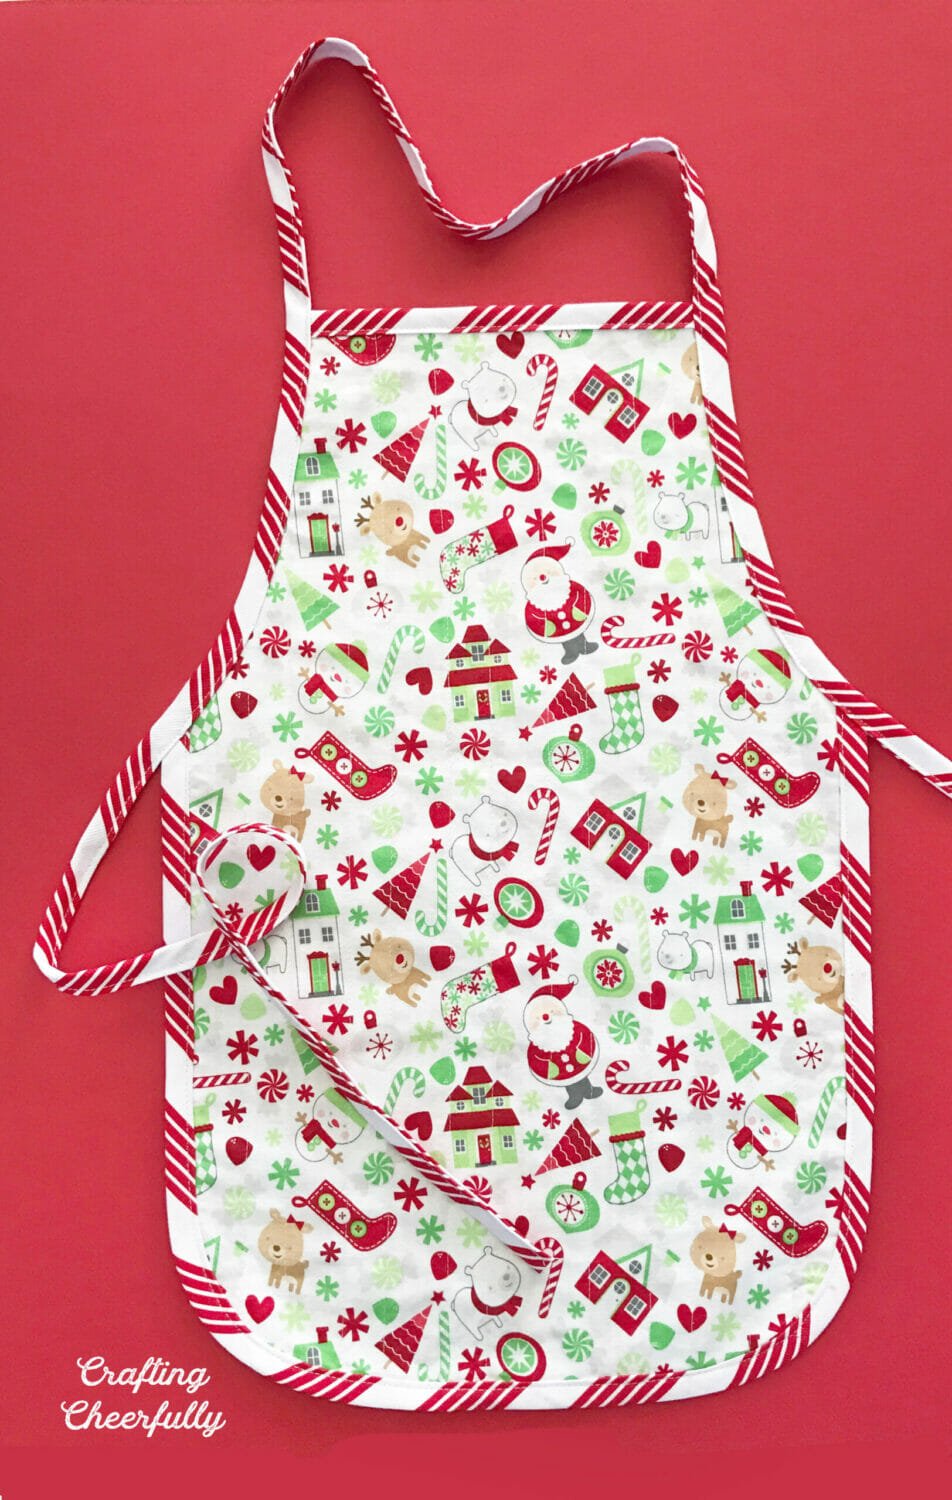
The apron is finished! I love how my two aprons turned out and how cute they look from either side! If the neck opening is too long for your child, you can tie it in a knot to make it smaller.


We are all set to start making and decorating holiday treats! I have found a few recipes that I think my son will be able to do almost entirely himself, including these cute Rudolph Noses from Chelsea’s Messy Apron (scroll down to the second recipe in the post).

Get the Free Holiday Apron Pattern!
Fill out the purple form below with your first name and email address! The free file will be sent straight to your inbox! If you have already filled out the form below, don’t worry – you won’t be added to my list twice! This freebie is for personal use only. I hope you enjoy crafting something special. Please let me know if you have any questions :)


3 Comments