DIY Santa Cookie Plate
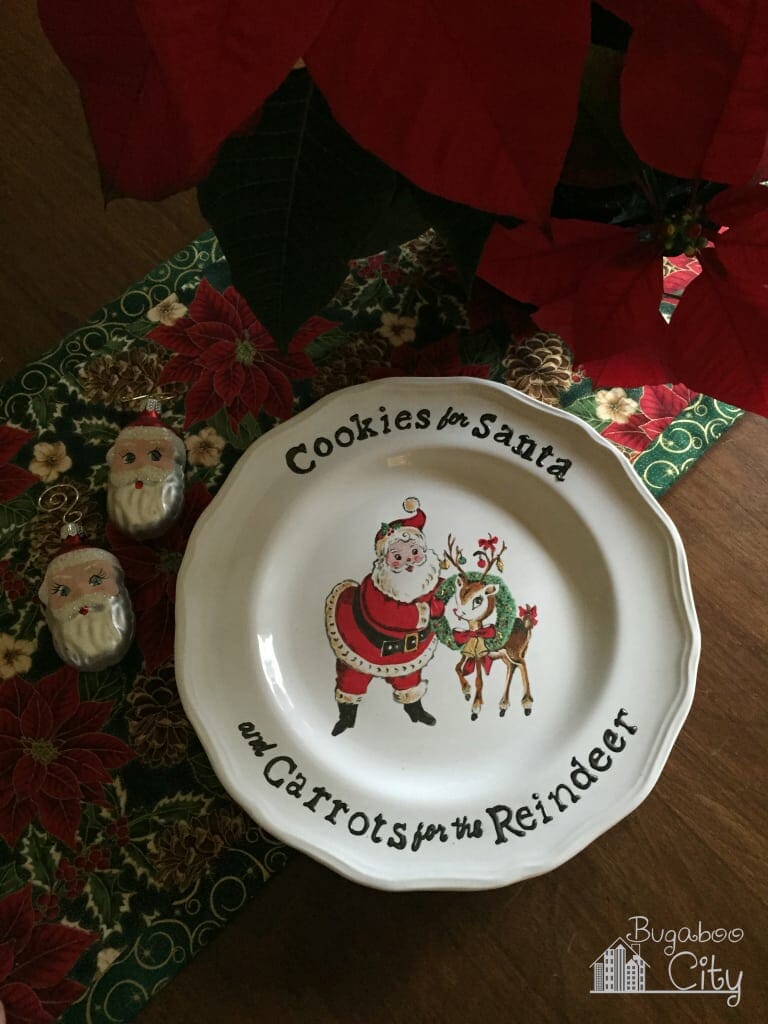
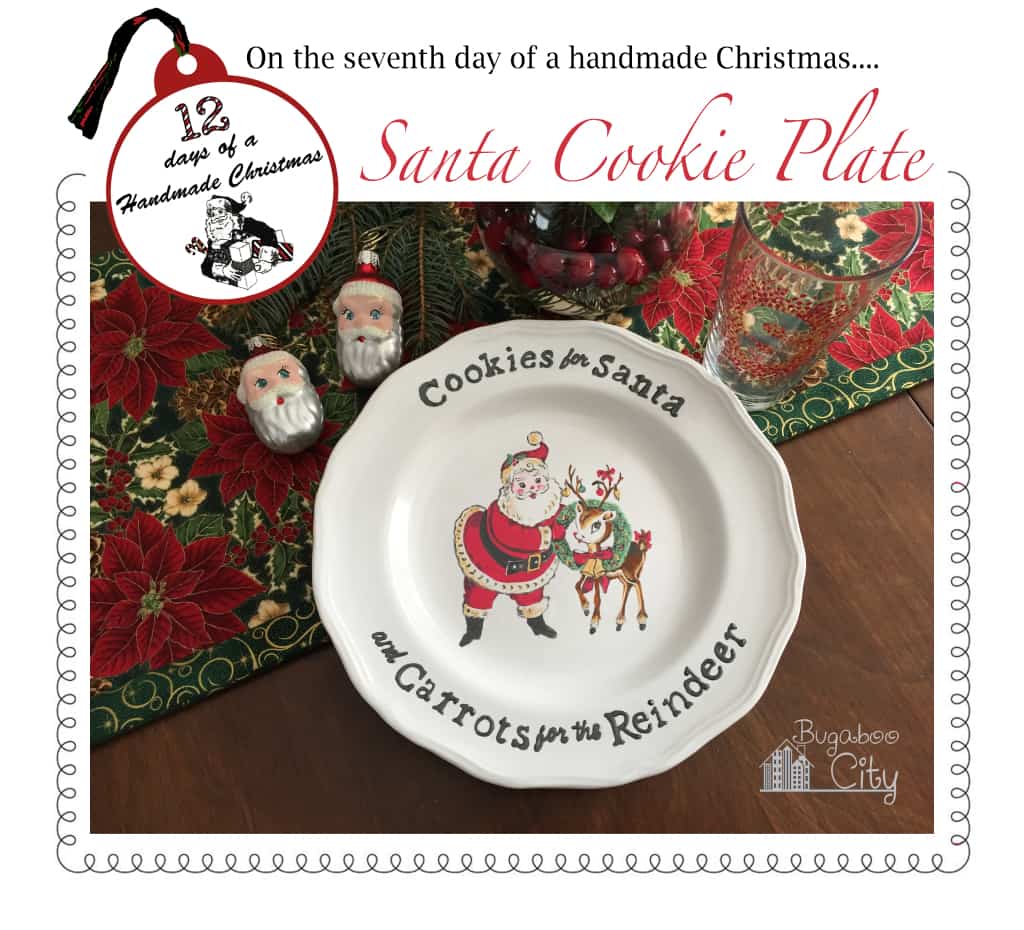 Good morning!! I’m very excited to share with you day 7 of “12 Days of a Handmade Christmas”. I am obsessed with how my Santa Cookie Plates turned out! This was one of those craft projects that actually turned out like what was in my head….not something that always happens!
I’ve wanted to make my own santa cookie plate for awhile but hadn’t decided the best way to go about it. Then I stumbled upon Cathe’s blog at justsomethingimade.com and her tutorial on making a handmade santa plate, it was just what I needed to get my butt in gear and make my own santa cookie plate!
Supplies Needed:
- White plate (I got mine at Target on sale for $3 – they are normally $4.99)
- Paper, pencil, and pen for transferring
- Vintage Christmas card for image inspiration!
- Glass paint. I used Martha Stewart’s Glass Paint and it worked really well and came in lots of great colors. I bought mine from Michael’s Craft Store.
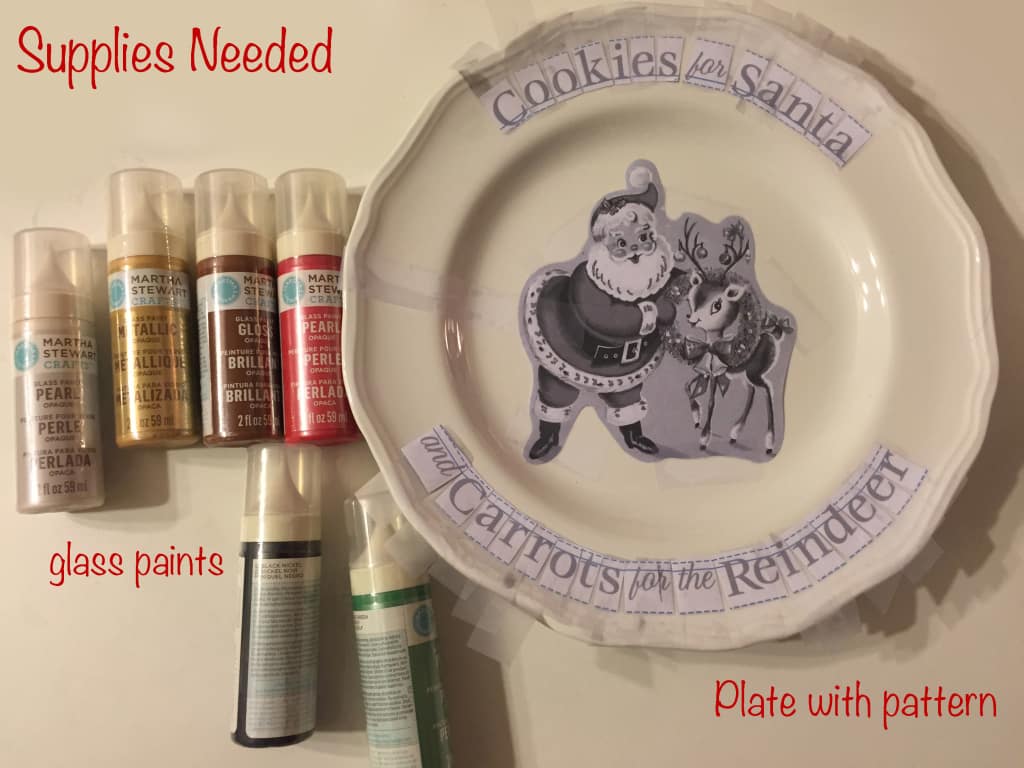
Step 1: Create your pattern and transfer it onto your plate. I used Cathe’s tutorial for this part as well as her wonderful template for the text. Her way of transferring the text is genius and worked really well! I used this same process of transfer for my center image. I chose my center image from a vintage Christmas card I have always loved. Check out my Pinterest gallery, Vintage Santas, for lots of fun vintage Santa pictures!
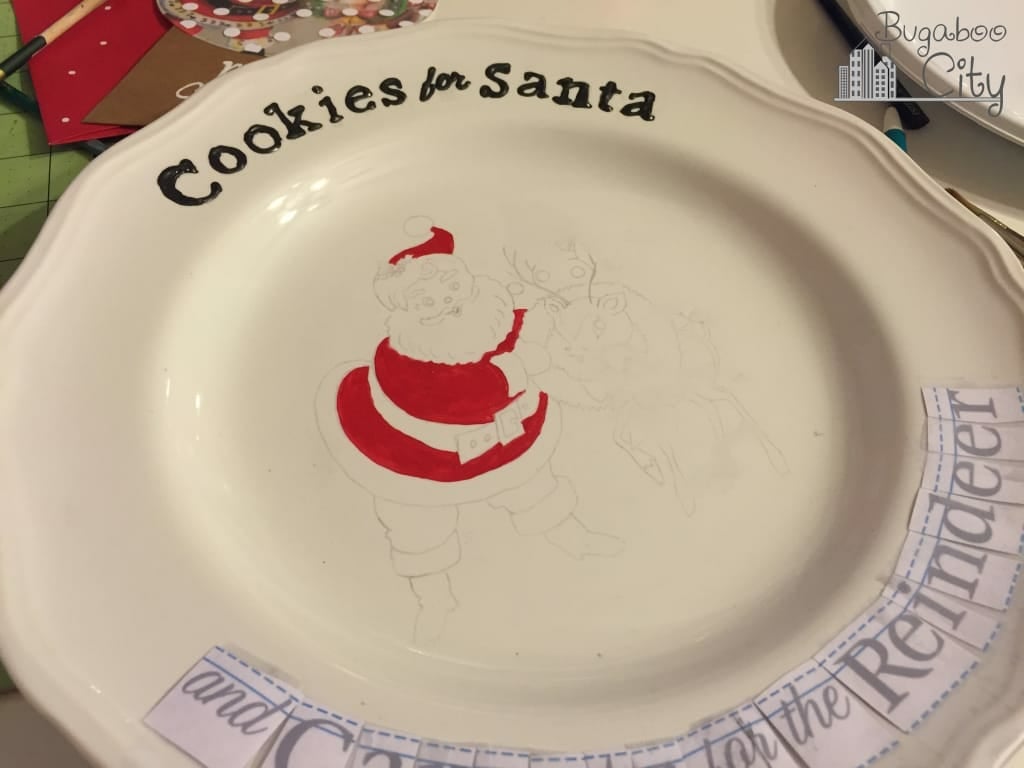
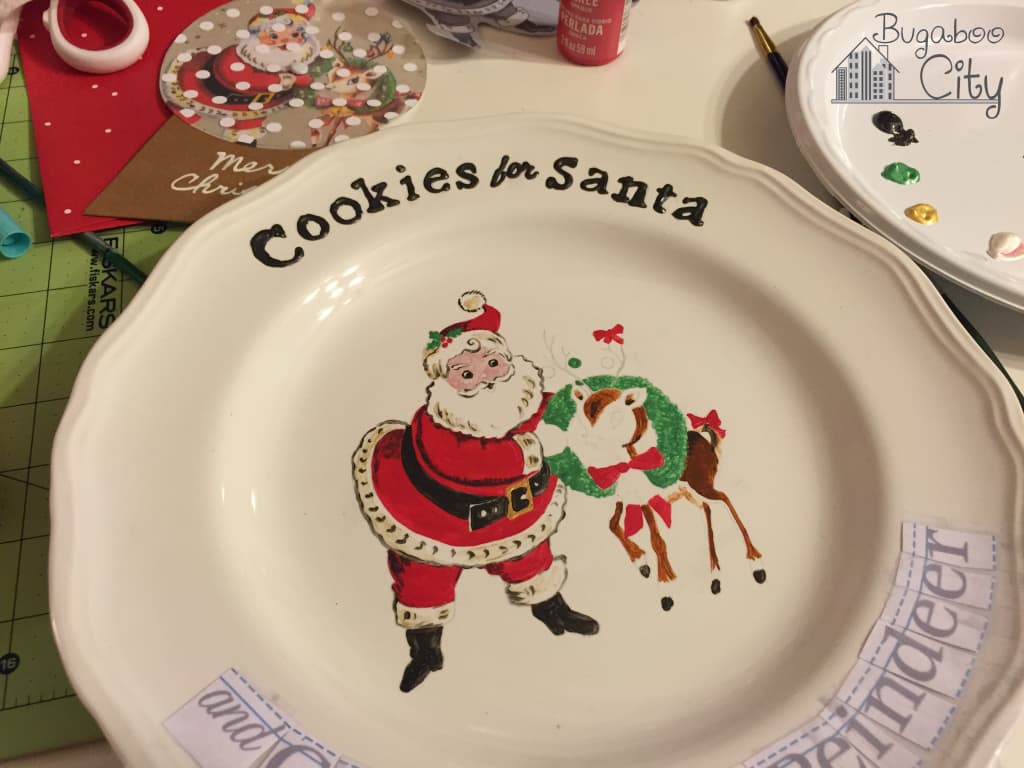
Step 2: Paint your plate! Rather than using porcelain or glass pens I opted to use Martha Stewart’s Glass Paints. I liked that they had a tip I could use for tracing the text but I could also take off the tip and use them like normal paints for my center image. I was surprised at how nicely the paints blended and the fine lines I was able to get with them.
Remember to work your way down the plate and leave the paper patterns on for as long as possible to prevent smearing. I accidentally smeared most of Rudolph’s body and had to make it up a bit!
Step 3: Let your plate cure! I decided to let my plates cure on their own rather than bake them. The Martha Stewart paints need 21 days to cure. Since I made these before Thanksgiving this seemed like the way to go. Follow the instructions for whatever paints you use.
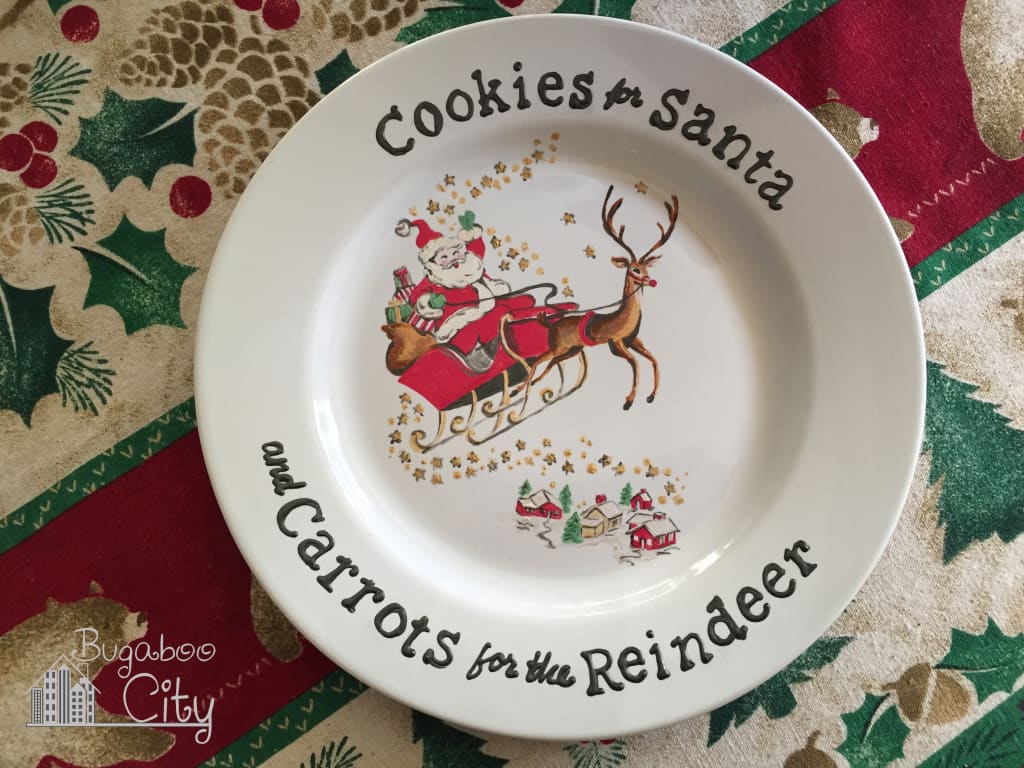
I loved the way my plate turned out so much that I went ahead and made two more to give as Christmas gifts! These were also based off of vintage Christmas cards. I barely used any of my paints with the one plate, so I was glad to have an excuse to use more of my new paints!
Here are some photos of my other two plates!
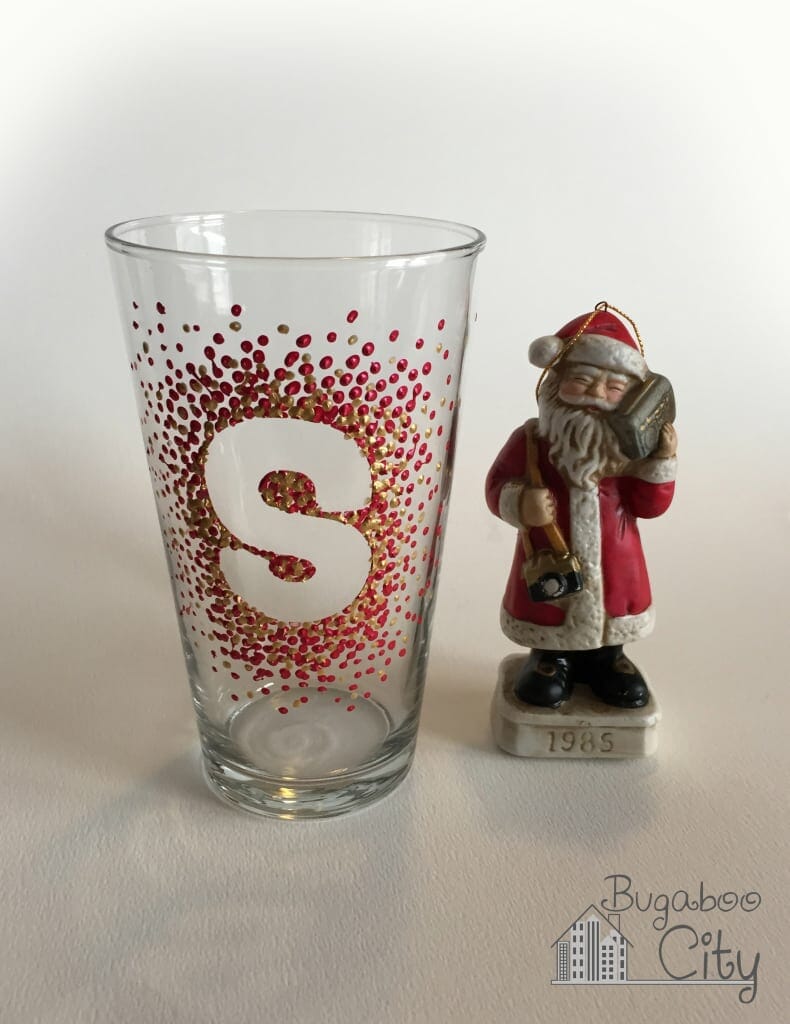
I made a glass for milk to go with my santa plate by using the red and gold glass paints. I placed a letter “S” sticker in the center of a plain glass and then used the paints with the tips on to dot all around the sticker. Once I removed the sticker, I had a nice “S” for Santa left on the glass!
I’m looking forward to putting our plate and glass out for Santa Clause (and his reindeer) on Christmas Eve! Do you put out cookies and carrots? It’s such a fun tradition!






I just LOVE that you took this project to a whole new level with the adorable Santa image! Kudos and thank you for sharing my tutorial. Merry Christmas Kim!
Thanks Cathe! I was so happy I found your tutorial – the transferring method worked so well! Merry Christmas!