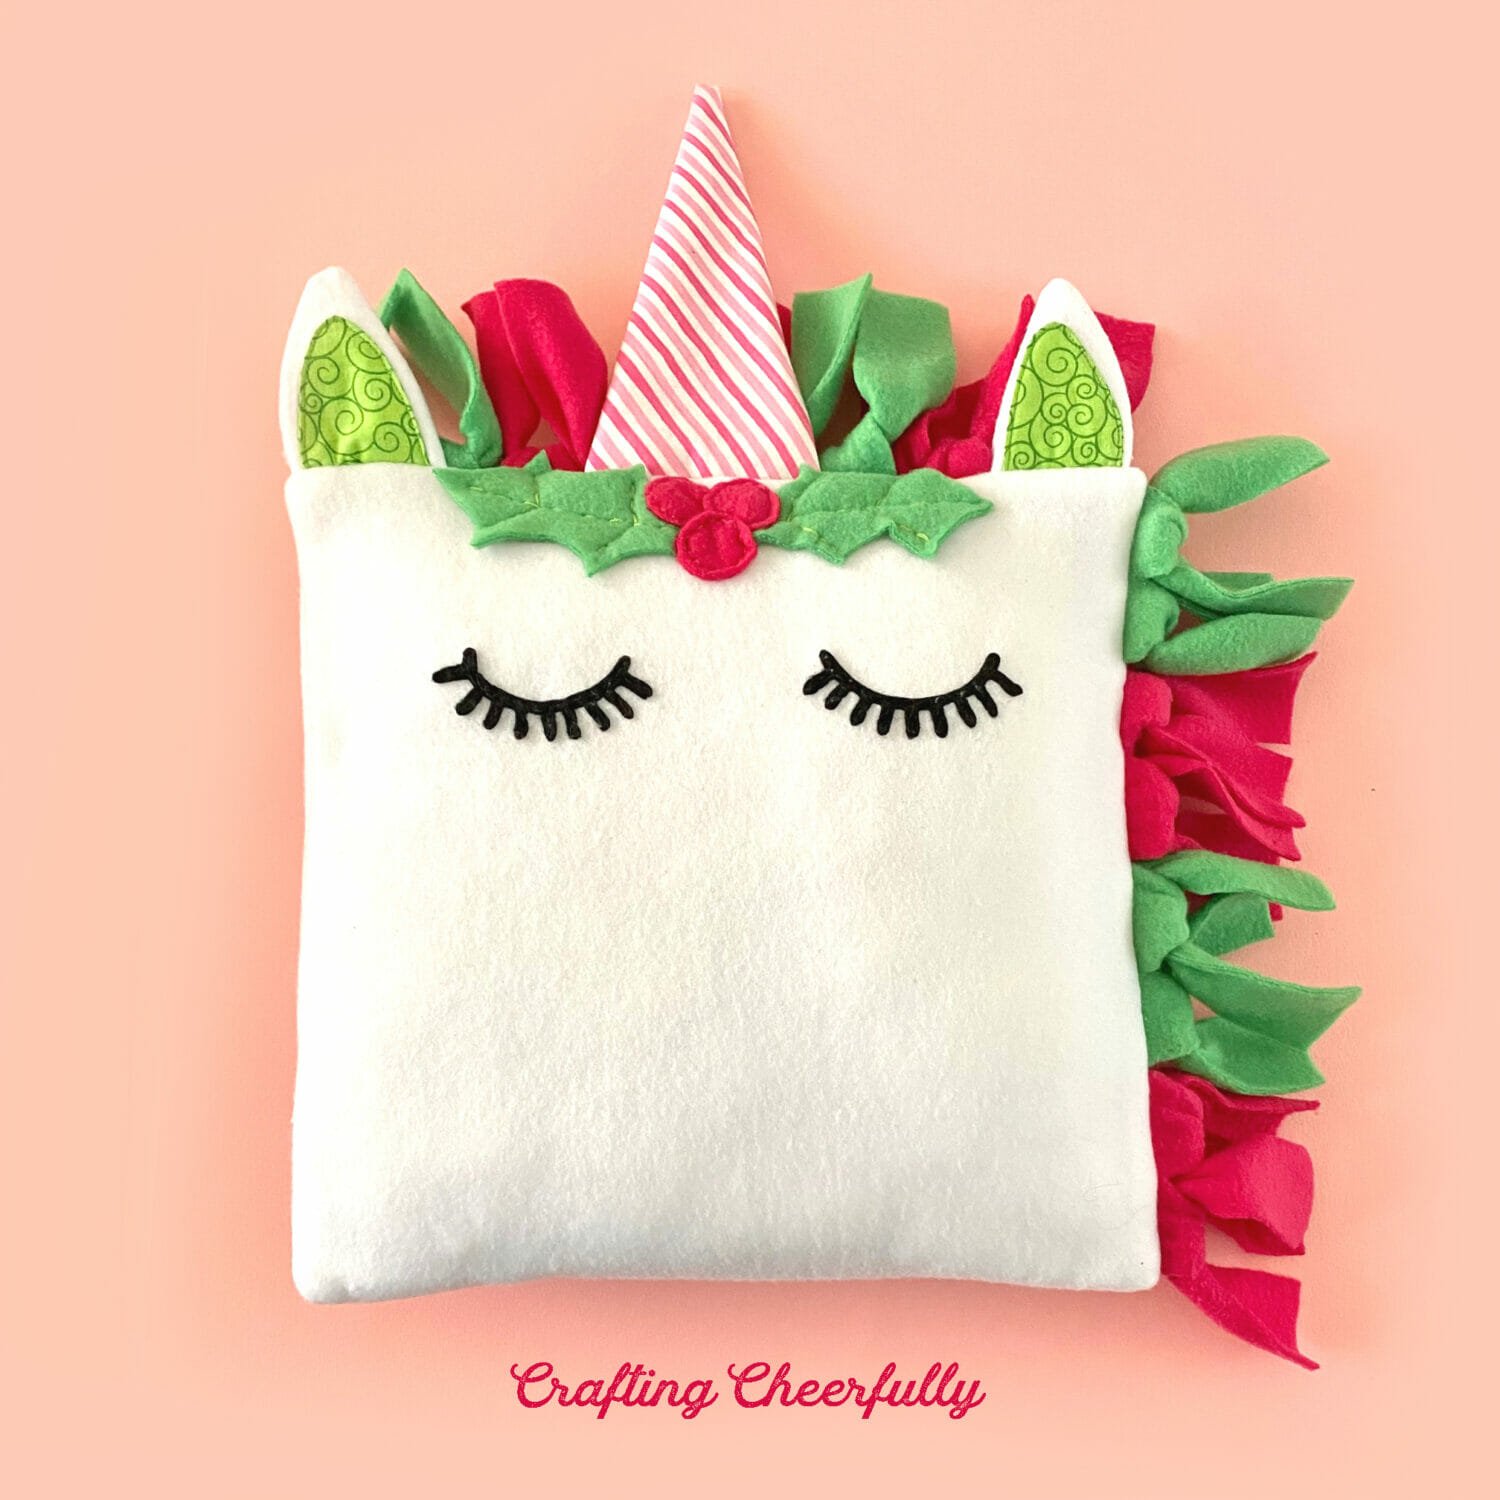
DIY Holiday Unicorn Pillow – Free Sewing Pattern!
Create a sweet holiday unicorn pillow using cozy fleece! A fun sewing project and a great gift. Free sewing pattern and picture tutorial.

It’s Day 3 of my 12 Days of Holiday Crafts series and today I am super excited to share this sweet holiday unicorn pillow! Several years ago I created a rainbow fleece unicorn pillow for my daughter. Years later it is still one of her favorite pillows AND one of my most popular tutorials. I have loved seeing all of the unicorn pillows made with my pattern including lots of kids sewing for the first time!

This year I thought I would make another one but with a fun holiday twist! So here it is, my Christmas unicorn pillow! The pillow is assembled the exact same way but instead of rainbow colors I used pinks and greens. The biggest change is where there used to be cute fleece flowers there is now cute fleece holly!


I’m offering the free pattern below which includes the holly. I hope you enjoy creating this pillow and if you do I would love to see! Please tag me @craftingcheerfully or use the hashtags #craftingcheerfully, #craftingcheerfullyunicorn so I can see.
DIY Holiday Unicorn Pillow
Supplies Needed:
- Free printable pattern – Grab the free file by filling out the purple form at the end of this post.
- White Fleece – about 1/2 yard
- (1) 13″ x 13″ piece
- (2) 9″ x 13″ pieces
- Extra piece for ears and horn
- Pink and Green Fleece
- Pink cotton fabric for unicorn horn (I used pink and white striped quilter’s cotton)
- Green cotton fabric for inner ears (I used swirly green quilter’s cotton)
- Black felt for eyes
- Black embroidery floss
- Small piece of fusible interfacing for eyelashes
- 12″ Pillow Form Insert
- Sewing notions –

Step by Step Tutorial:
Step One: Use the free printable pattern to cut the pieces needed for the unicorn pillow.
First, cut the large white fleece pieces needed for the base of the pillow. You will need one 13″ x 13″ piece and two 9″ x 13″ pieces. Use the pattern to cut the ear and horn pieces from white fleece and quilting cotton.

To cut the eyelashes for the front of the pillow, lay a piece of Wonder Under over the printable pattern, with paper side up, and trace the eyelashes with pencil. Cut the eyelashes out of the Wonder Under, leaving a bubble all the way around them. Iron them onto a piece of black felt.


After the felt has cooled, cut the eyelash shapes out along the pencil line with a small, sharp scissors. Peel off the paper side of the Wonder Under and iron the eyelashes onto the front of the pillow. I used a ruler to make sure they were centered.

Using black embroidery floss, stitch the eyelashes down with a small running stitch.

Step Two: Create the unicorn horn and ears.
To create the ears, you will need four outer ear pieces cut from white fleece and 4 inner ear pieces cut from green fabric. For the horn, you will need one piece cut from white fleece and one cut from pink striped fabric. The pattern notes which pieces need seam allowance added to them.
Unicorn Horn
To make the unicorn horn, place the fleece horn piece onto the wrong side of the pink striped piece. Wrap the pink striped fabric around the fleece, pining in place, and then machine stitch down.

Fold the horn so the opening is at the back and hand stitch closed along the back seam and the bottom.

Unicorn Ears
Next, make the unicorn ears! Stitch 2 inner ear pieces together, right sides facing each other. Turn inside out and then stitch onto the front of one of the outer ear pieces.

Once both inner ear pieces have been added to outer ear pieces, you can stitch the outer ear pieces together – right sides facing each other. Turn the ear pieces right side out and they are ready to be attached to the pillow!
Pin the ears and horn to the front of the unicorn pillow. The ears should be positioned 1/2″ in from each side, since the pillow will be stitched together using a 1/2″ seam allowance. The horn should be centered and pinned with right sides together. (You will see the back seam of the horn facing up. My picture below shows a different horn I was testing out that I did not use.)

Step Three: Create the unicorn’s mane!
The mane is created with different colors of fleece. I chose to use 2 different colors – pink and green. If you use 2 colors like I did, you should cut 8 pieces from each color that measure about 3″ x 5″.

After pinning the ears and horn into place, you can arrange the mane pieces. Start pinning your first color of fleece along the top of the pillow after the ear and stopping 1/2″ away from the other side. You are pinning two pieces of each color at the same time. Continue pinning fleece pieces down the side, again stopping 1/2″ from the bottom.

I threw a couple extra pins in to make sure the points of the ears wouldn’t get caught as I stitched the pillow closed.

Step Four: Sew the pillow together!
Arrange the back pillow pieces of white fleece on top of everything, right sides together. You now have a fleece sandwich with white showing on both sides and the colorful mane, horn and ear pieces inside.

Stitch around the entire pillow using a 1/2″ seam allowance. I was worried it may be too thick, since I was sewing through four layers (five layers in a couple places) of fleece, but I didn’t have any problems. My machine is a workhorse though, Bernina 1001. If you have problems sewing through four layers, I’d recommend trying to sew through the three layers first without the pillow backs. This may help flatten things and then you could sew the pillow backs on. You could also sew around the pillow by hand with thick thread and a tight backstitch.
Once the pillow has been stitched together, clip the corners and turn inside out!


Now all the mane pieces, ear pieces and horn should be sticking out!

Step Five: Tie the unicorn mane.
The next step is to tie the mane. Cut the mane sections into thinner strips. I chose to cut my mane sections in half but on my last pillow I cut them into thirds – so either would work! When you cut the strips, make sure you are cutting through both layers of each color so the strips will be the same size. Cut to about 1/8″ away from the pillow. Tie the strips together in double knots and the mane is finished!


Step Six: Add the holly to the front of the unicorn.
The last step is to add the cute holly to the front of the unicorn. I think this added so much and really finished off the pillow! * Note: You can do this step before sewing the pillow closed if that is easier.
Use the pattern to cut the holly and berries from green and pink fleece. Start by stitching the holly on using green embroidery floss. I chose a lighter and brighter green so the stitching would show up and used a small running stitch. If you wait to sew the holly on like I did, you can slip a piece of cardboard into the pillow to keep you from sewing through the back layers of the pillow.


Next, add the pink berries using pink embroidery floss.

Pop a 12″ x 12″ pillow form into the pillowcase and the DIY Holiday Unicorn Pillow is finished! I really love how soft and cuddly this pillow is and how festive and cute it turned out! My daughter LOVES her current unicorn pillow and was over the moon when she saw this new holiday version being made.
I hope you enjoyed this fun Christmas unicorn pillow tutorial! Have a wonderful week and check back tomorrow for my next craft in my 12 Days of Holiday Crafts series!
Rainbow Fleece Pillow – Free Pattern

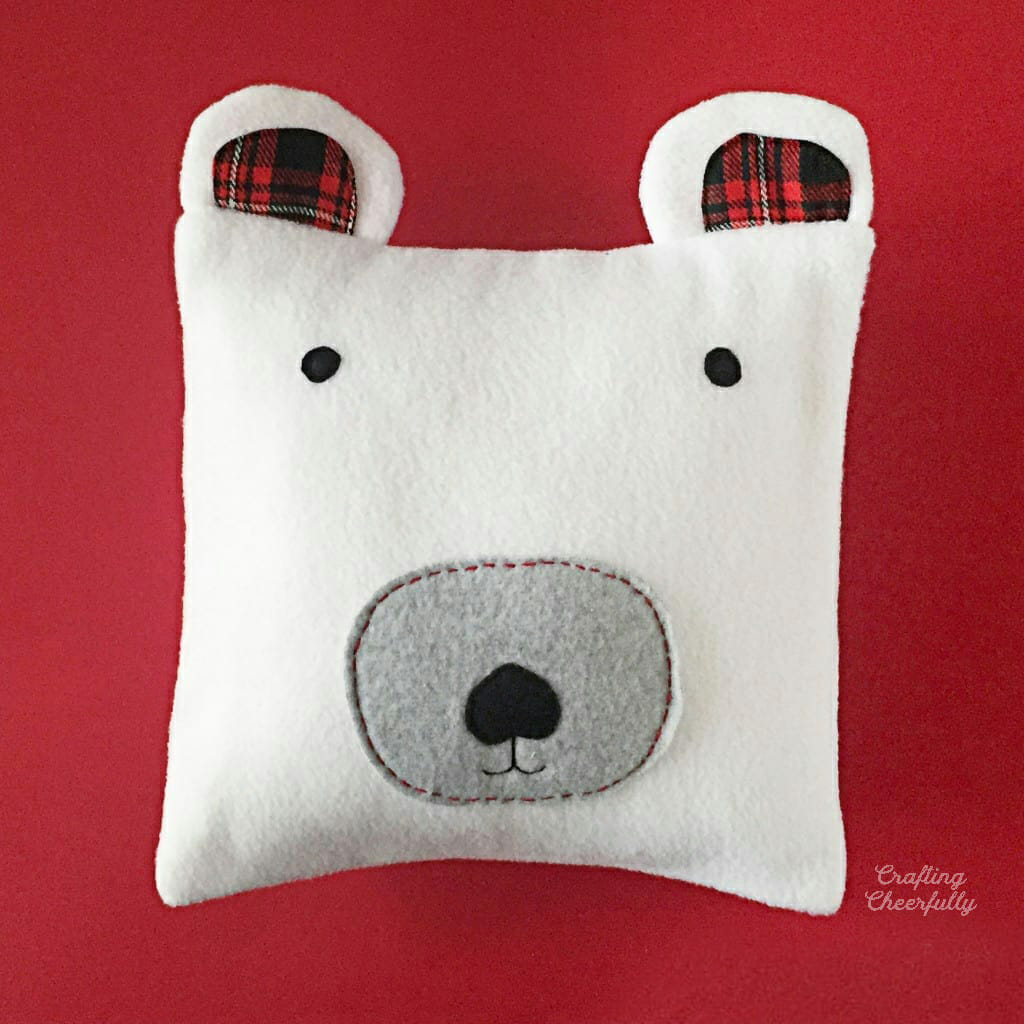
Polar Bear Fleece Pillow – Free Pattern!

Get the Free Holiday Unicorn Pillow Pattern!
Fill out the purple form below with your first name and email address! The free file will be sent straight to your inbox! If you have already filled out the form below, don’t worry – you won’t be added to my list twice! This freebie is for personal use only. I hope you enjoy crafting something special. Please let me know if you have any questions :)