
DIY Holiday Photo Cards – 2 Free Printable Designs!
Learn how to make your own holiday photo cards with these fun free printables! Two hand-drawn designs are ready to have your photo added!

*This post and the printable files have been updated.
Hello Crafty Friends! Today is the first day of my series “12 Days of Holiday Crafts” and I’m excited to share these handmade photo cards for Christmas! As we near the holiday season it is definitely time to start thinking about holiday cards! Did you know you can create your own photo cards?
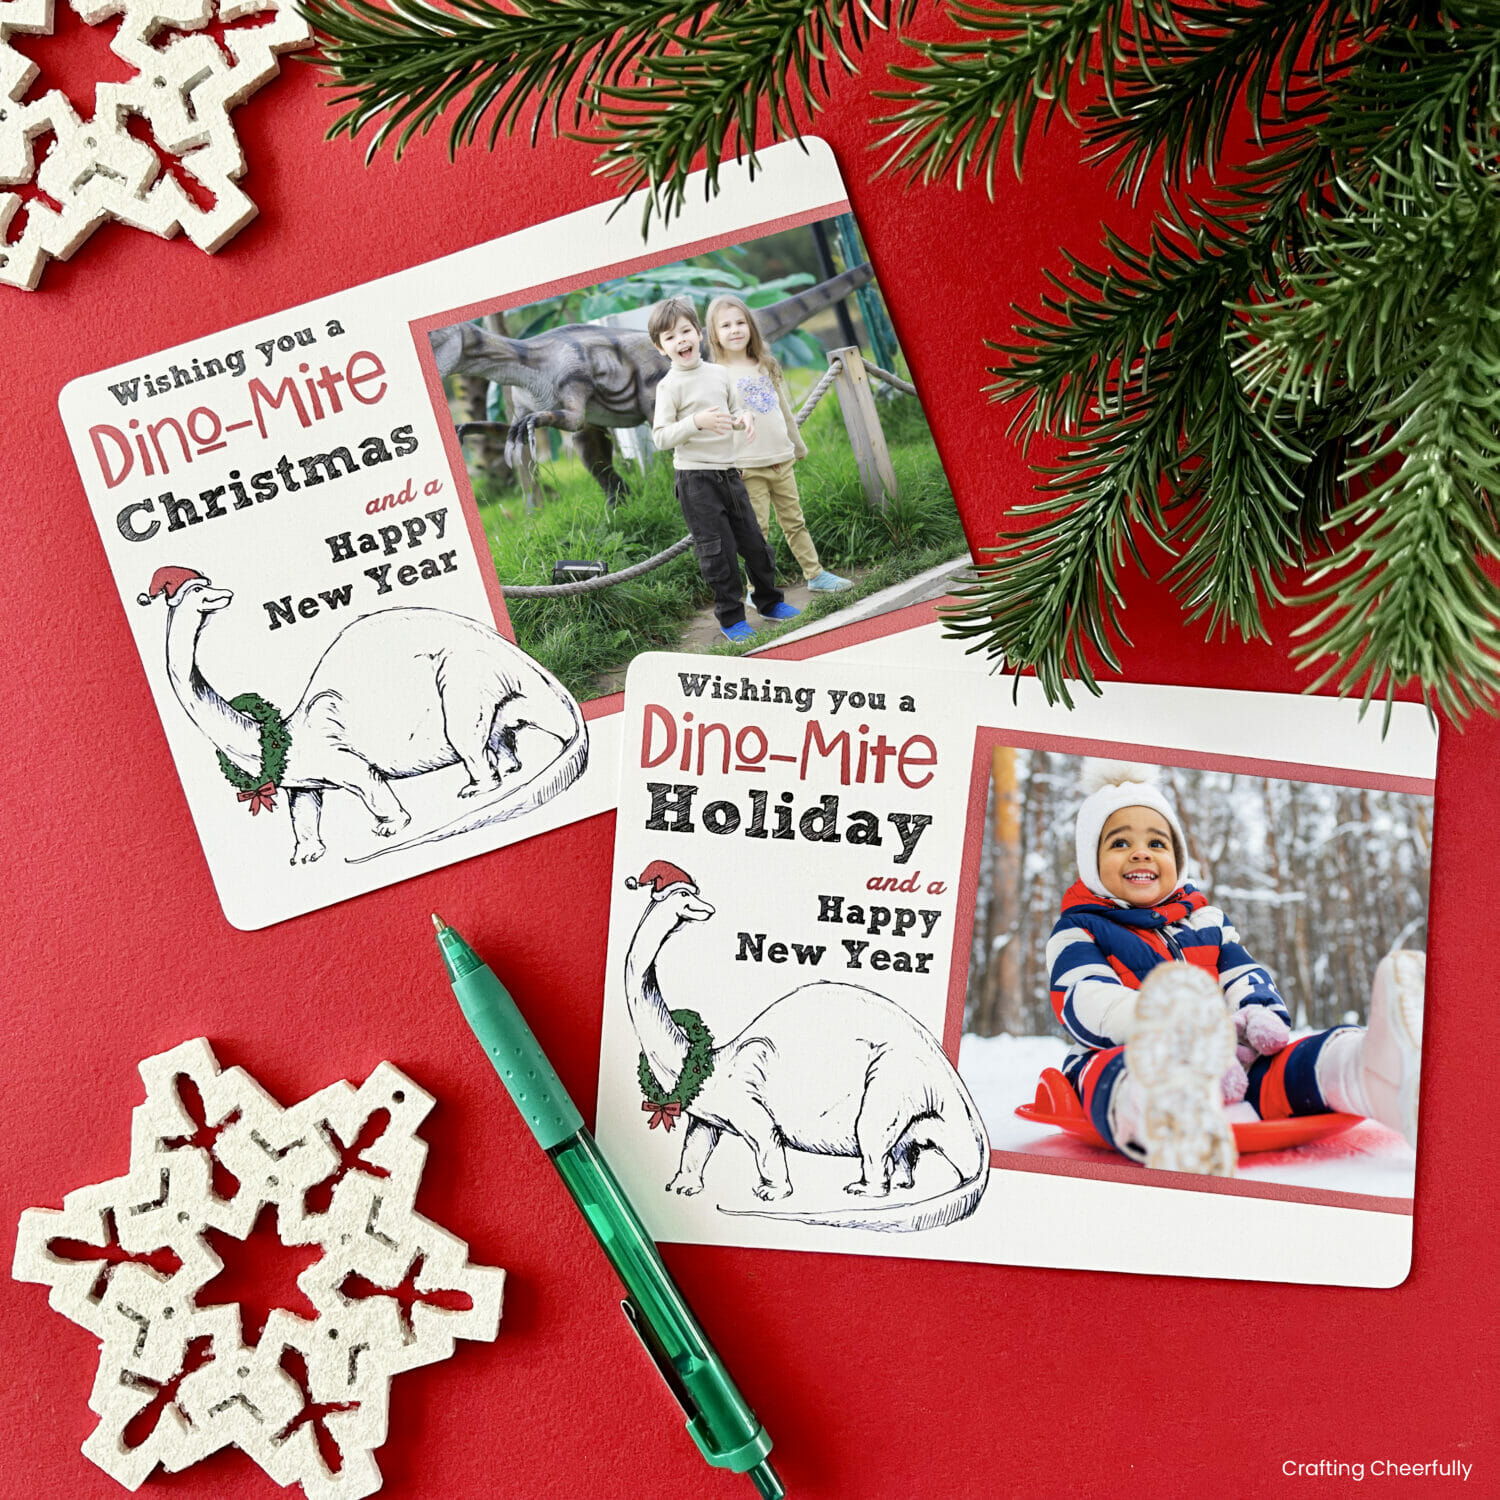
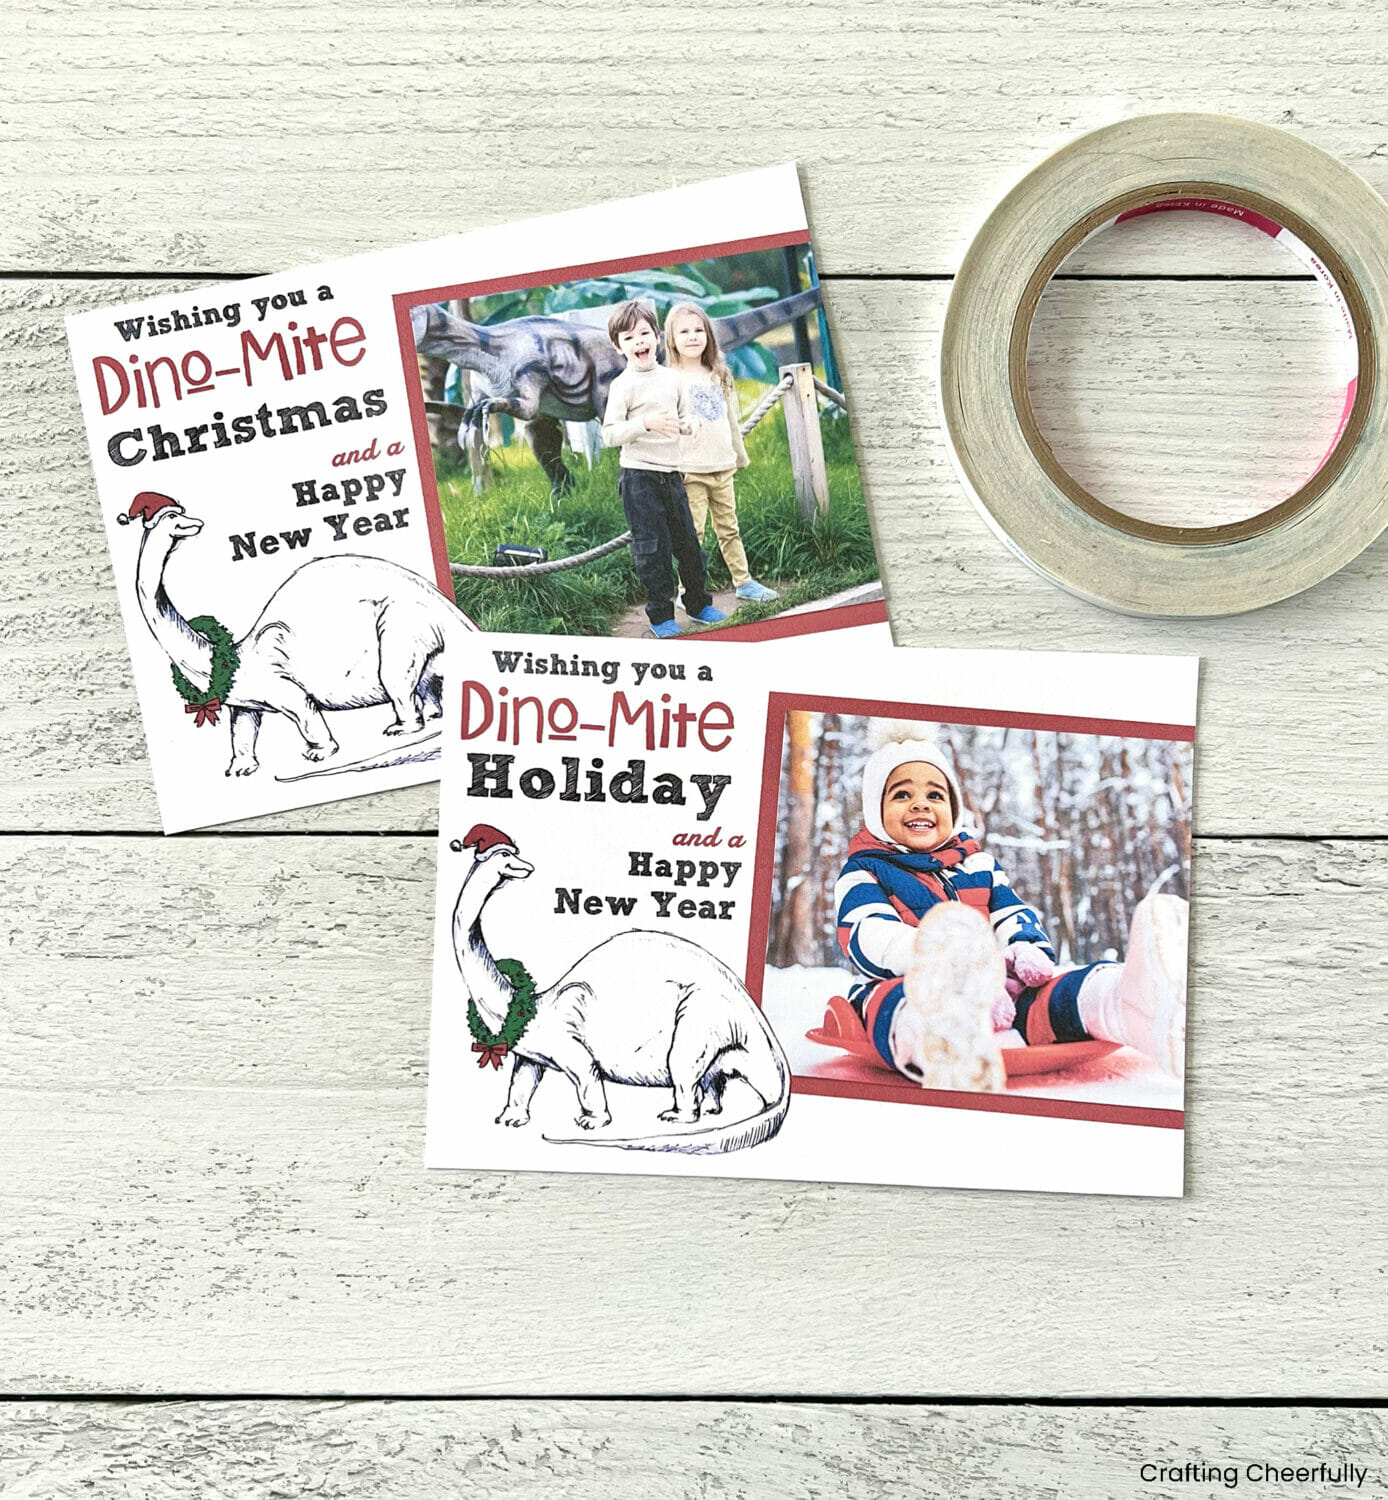
I’ve created two printable designs that can be used to create your own cards. One is a traditional design with a festive wreath and a holiday greeting at the top. The other, my favorite, features a dinosaur in a Santa hat wishing you a dino-mite Christmas and a Happy New Year! Both designs come with a holiday and Christmas greeting.

For our holiday cards this year, we decided to use a family photo taken at our local zoo’s dinosaur exhibit. Our whole family is sitting on top of a Tyrannosaurus Rex. My kids love it! I decided to create a cute card to match the theme and drew a dinosaur wearing a Santa Claus hat. I made over 40 of these cards and really enjoyed making them.
Below is the tutorial for creating your own photo cards, plus you can download my two designs for free by filling out the purple form at the end of this post.
How to Make Your Own Holiday Photo Cards
Supplies Needed for DIY Holiday Photo Cards:
Some of the supplies pictured in this tutorial are no longer available for purchase so I have updated them with other options I also have used and like!
- Free printable cards – Grab the free files by filling out the purple form at the end of this post.
- Photos
- White cardstock – I used 110lb white index paper but use whatever works best with your printer or have them printed at your local print shop.
- Paper trimmer
- Double-sided tape, tape runner or glue stick
- Corner Cutter
- A7 envelopes
- Ruler
- Scissors
The Dinosaur Christmas Card
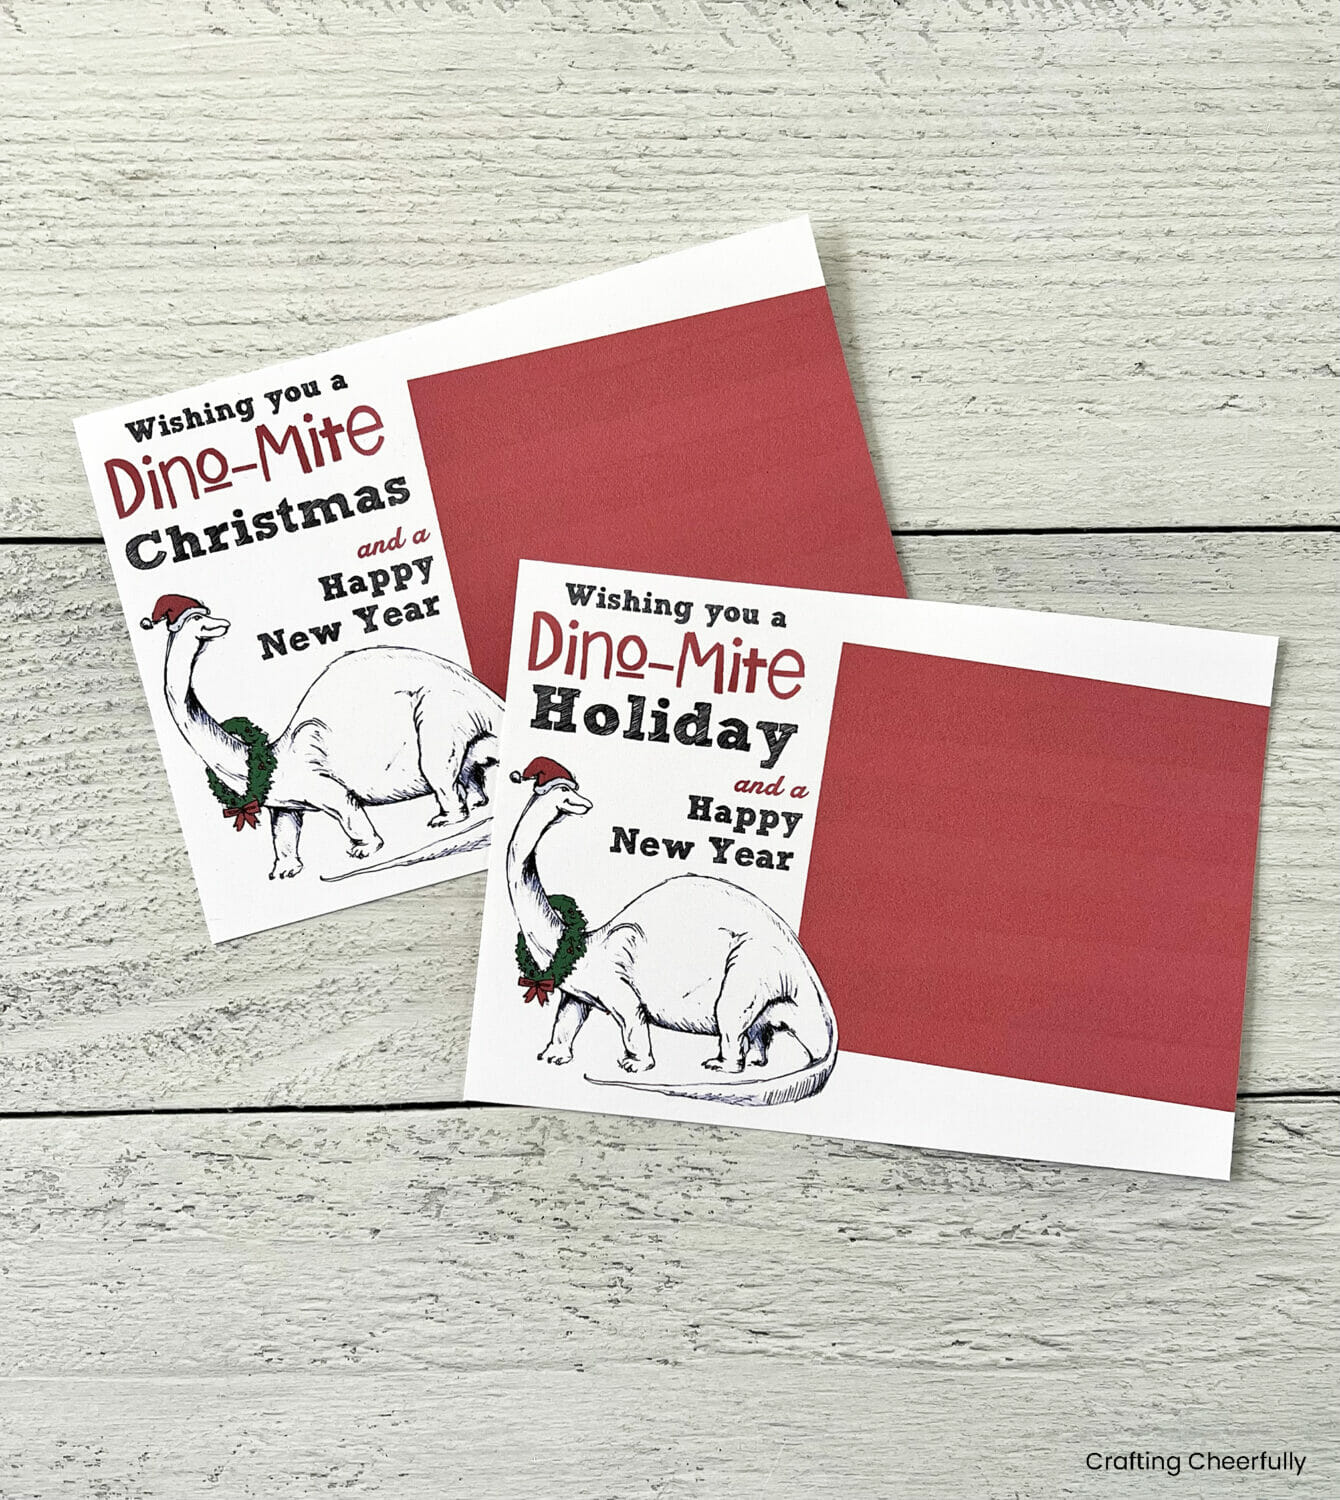
Step One: Download and print the dinosaur cards, then cut them out. I used a paper trimmer which will help make cutting your cards out go quickly and the edges will be nice and straight.

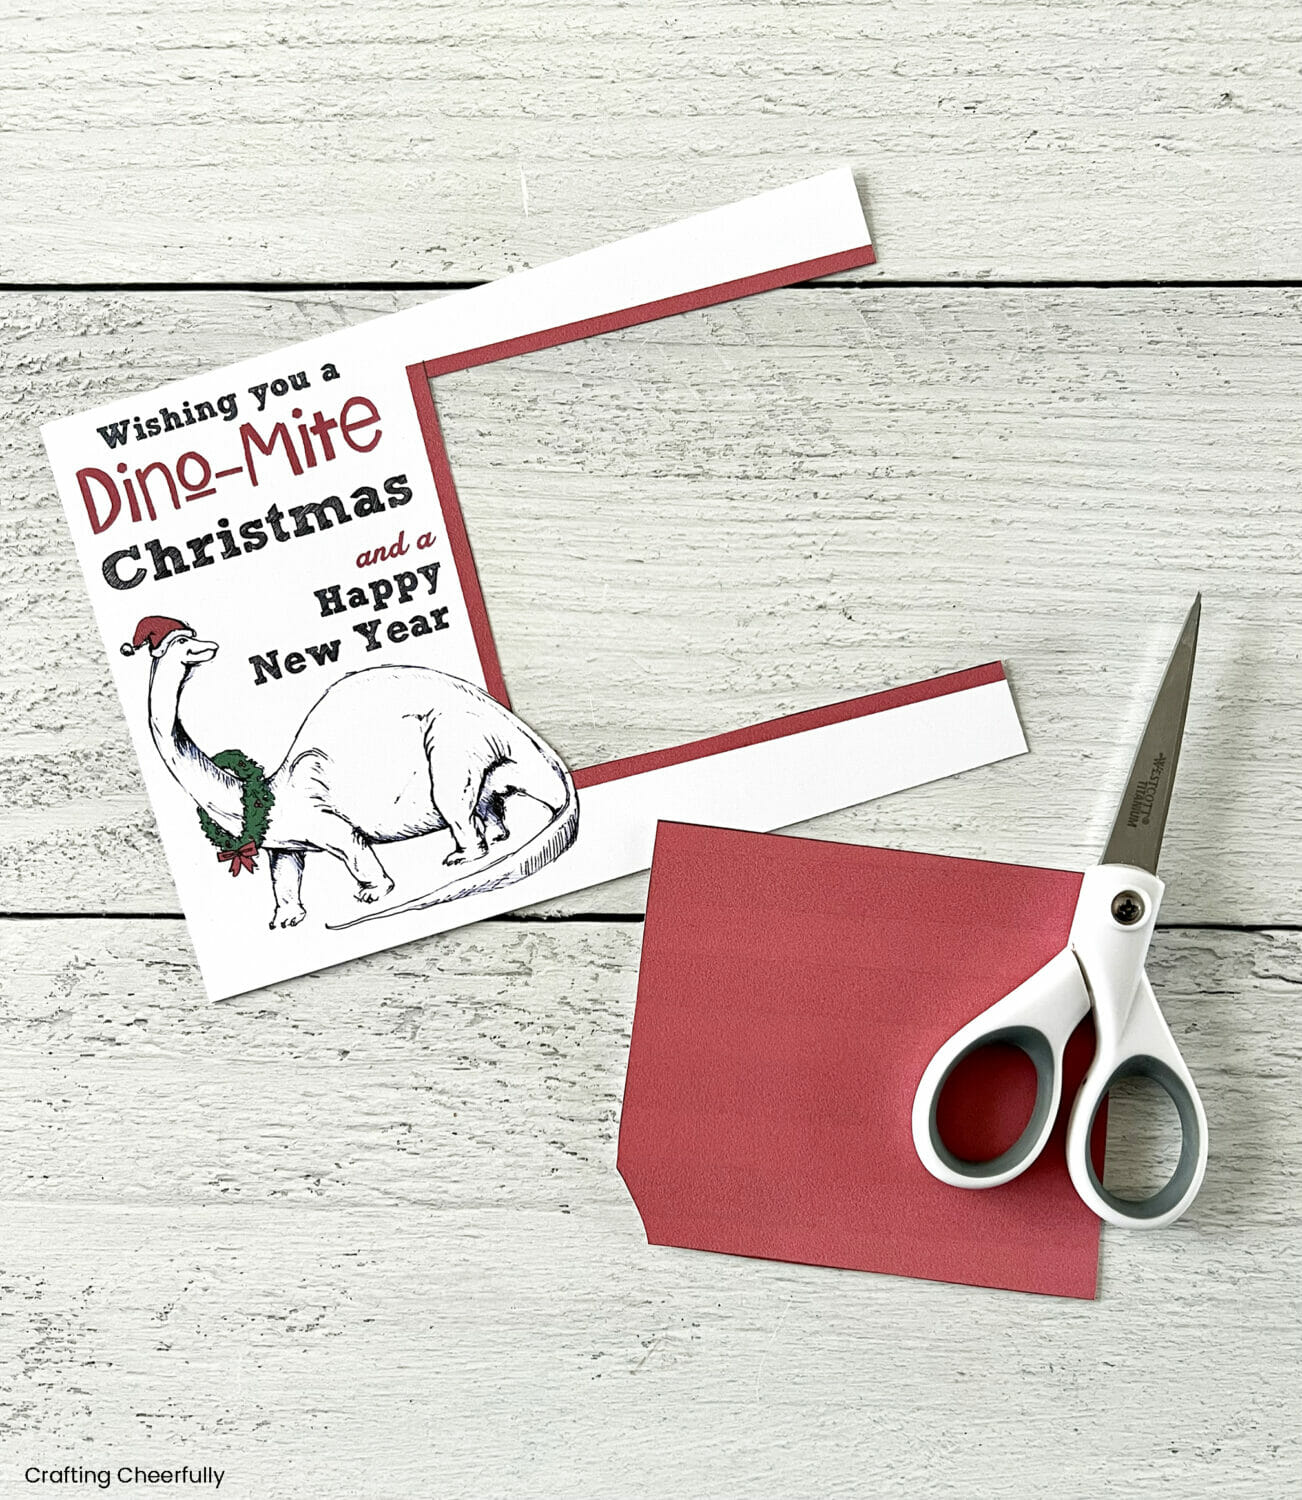
Step Two: Create a guide for cutting your photos. I used one of the printable cards to create a guide to help make cutting my photos easier. Use a ruler to mark 1/4″ on all three sides of the red photo frame. Then cut out the center, leaving the 1/4″ red frame.

Now you can use this template to cut out your photos. Lay the template over your photo, deciding on the best placement. Mark the photo using a pen or pencil and cut it out. Repeat for each photo, or use the first photo you cut as a guide for cutting the rest. This is what I did – I was able to lay my first photo over the next and cut it down to size.
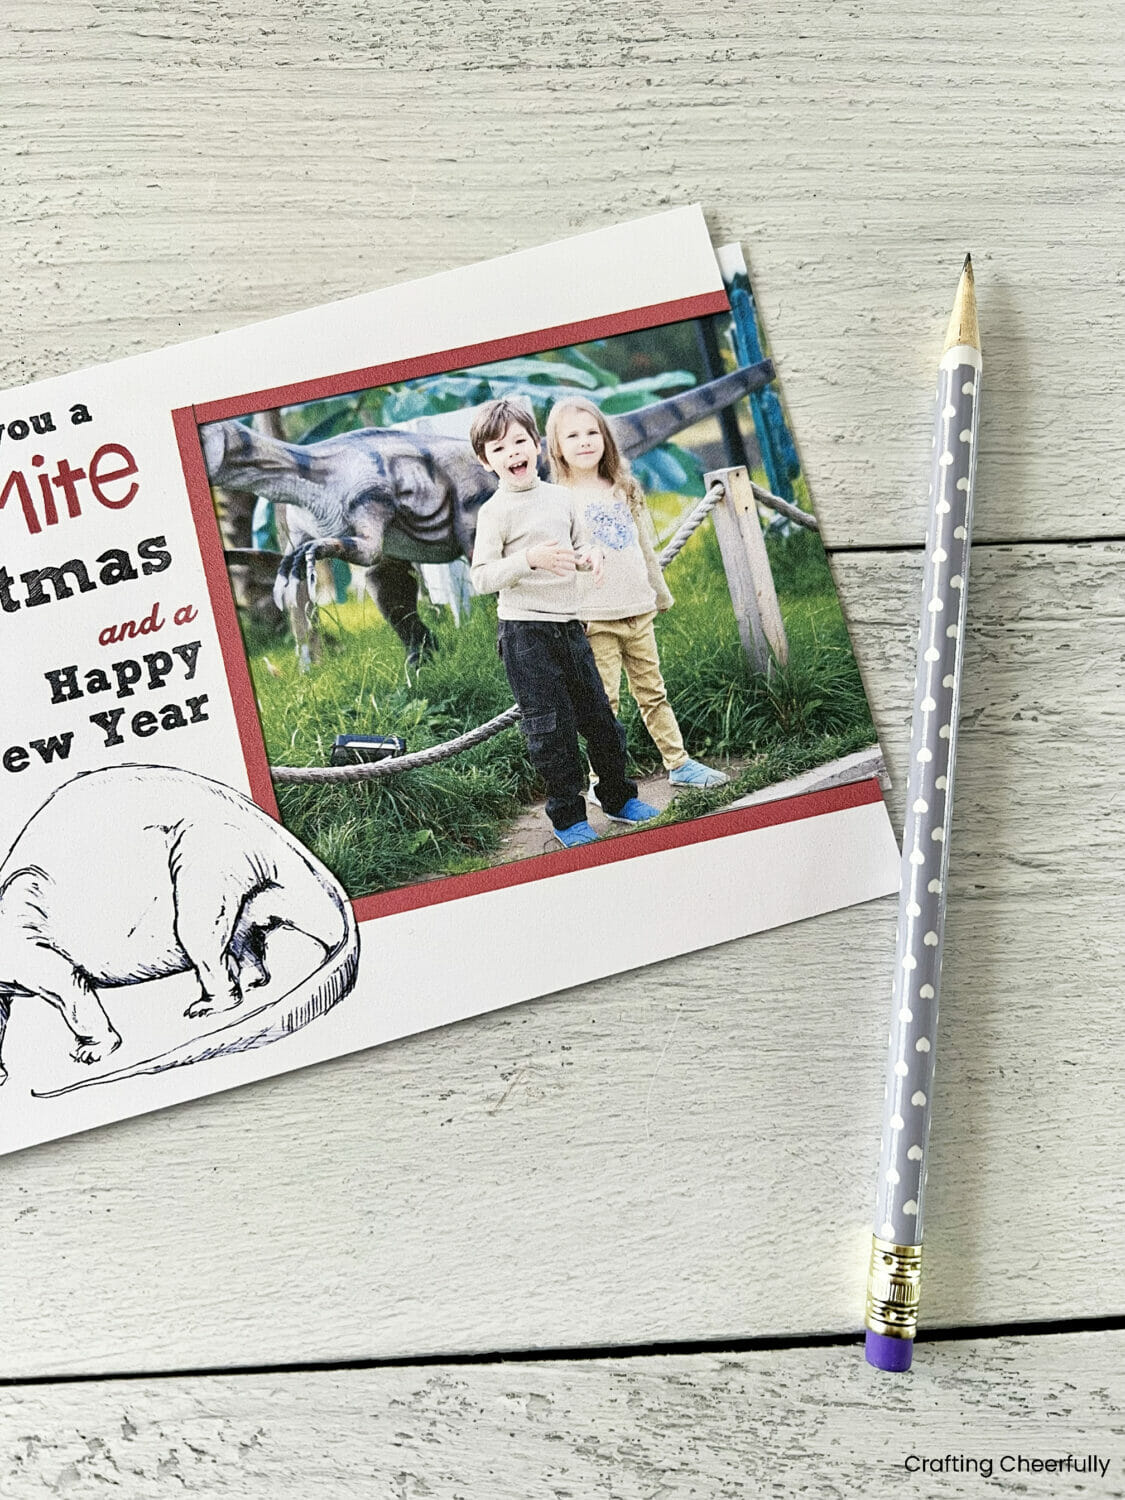

Step Three: Adhere your photo to the card. Use adhesive like double-sided tape or a tape runner to adhere the photo to the card.
Step Four: Round the corners of the card. Finally, use a corner punch to round the corners of your card. This step is optional, but it ads a really nice touch to handmade cards.
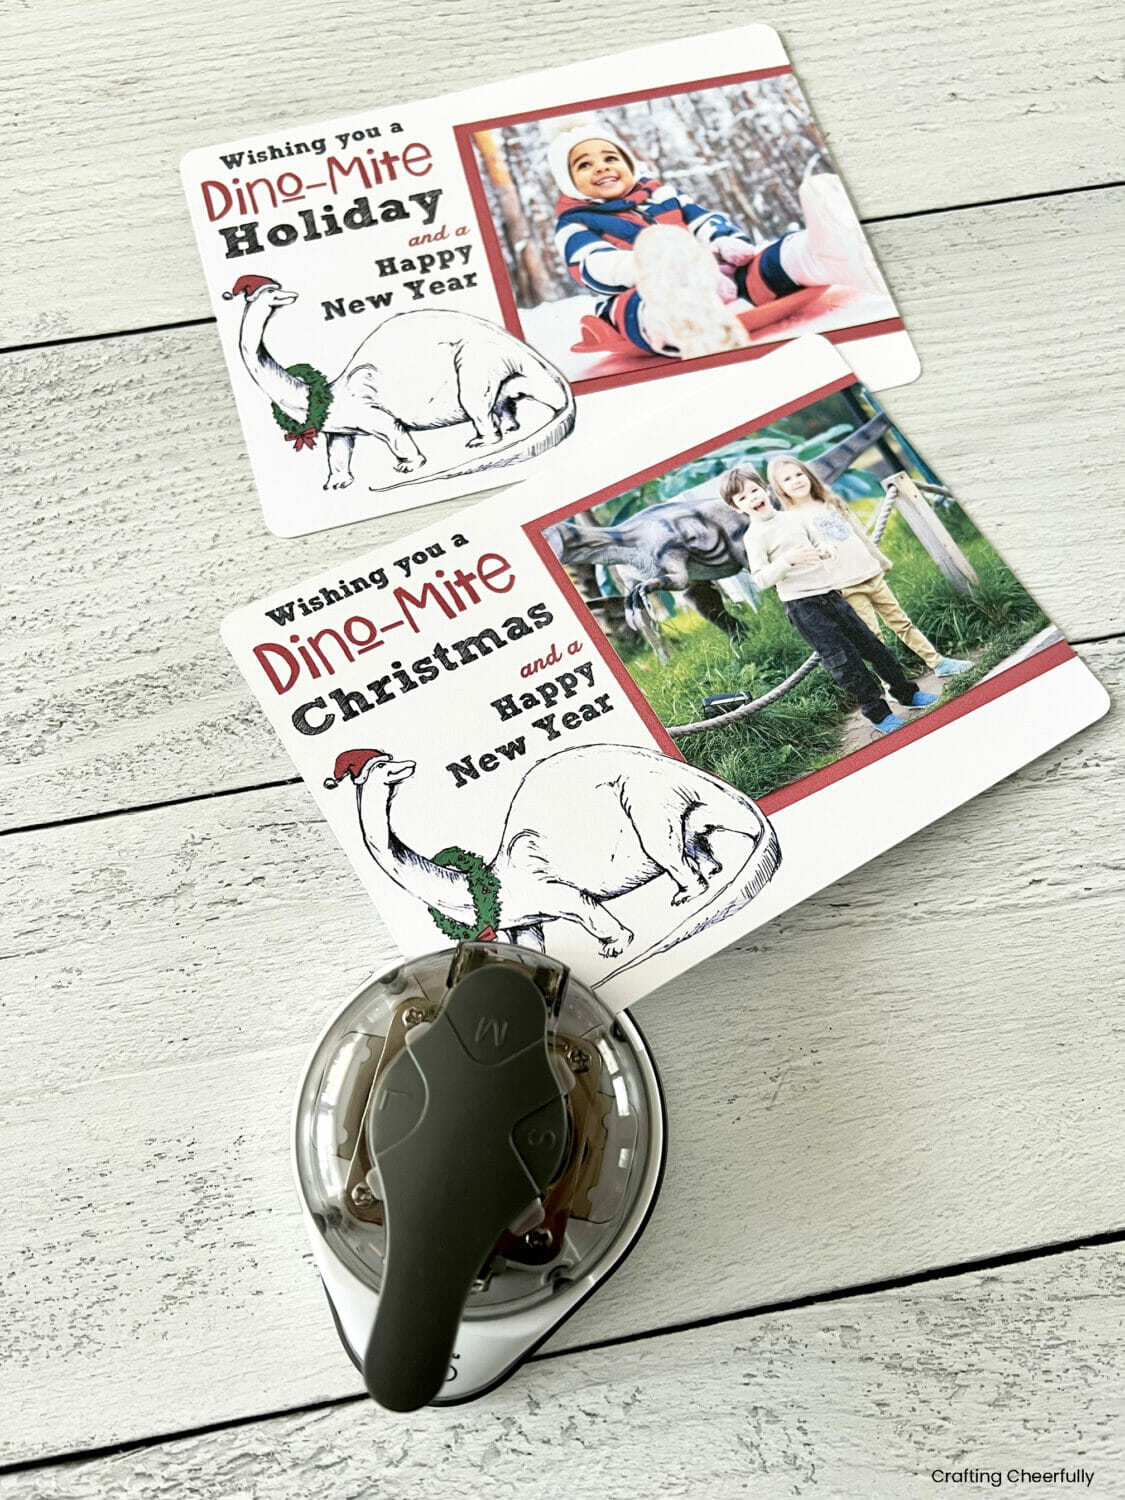
The cards are complete! There is a little spot underneath the photo where you could add the year and your family’s name or hand write a holiday message on the back.
Handmade Wreath Photo Card
Step One: Download and print the wreath cards, then cut them out. I used a paper trimmer which will help make cutting your cards out go quickly and the edges will be nice and straight.
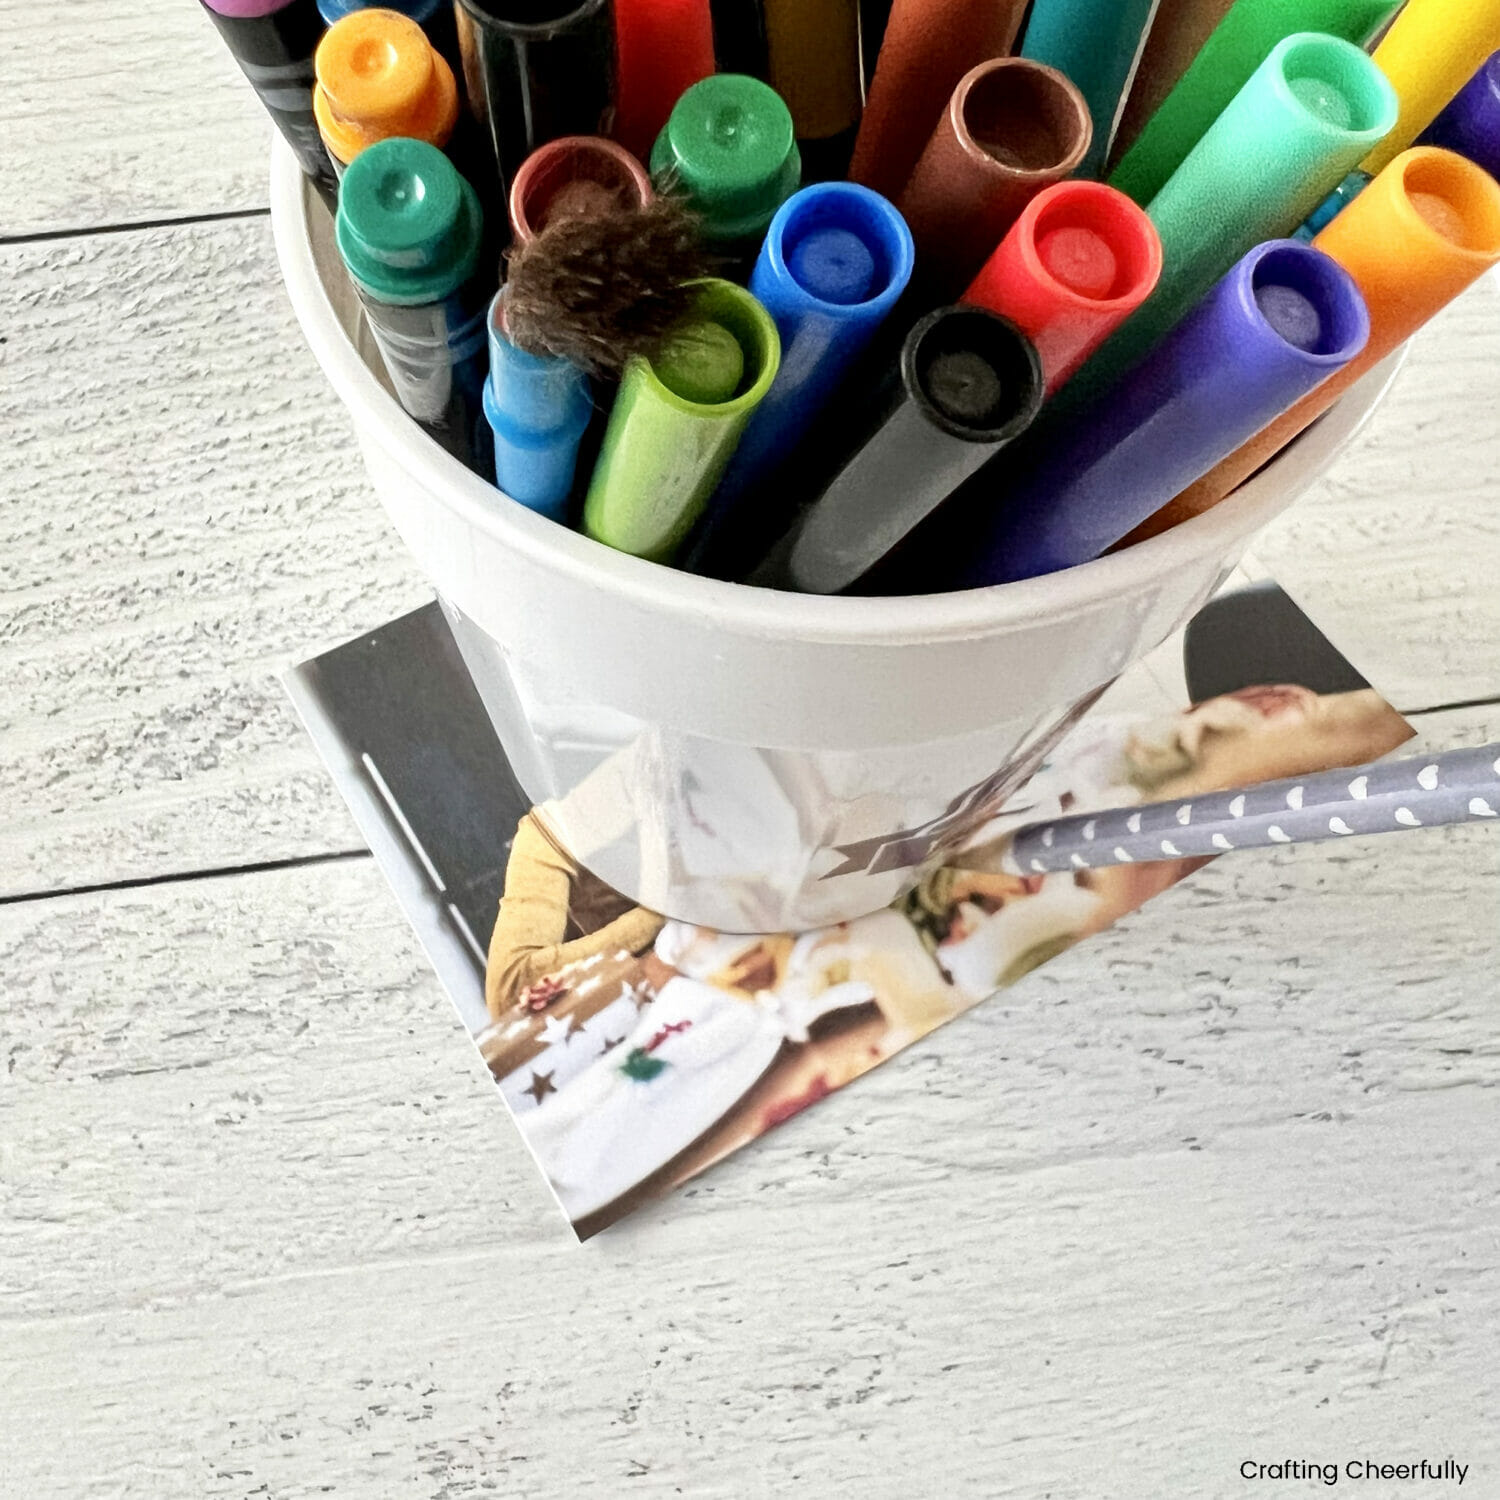
Step Two: Cut out the round photo for inside the wreath. Use a circle cutter or trace a round class or cup to cut out a round circle. I traced the bottom of my marker cup using a pencil and then cut out the circle.
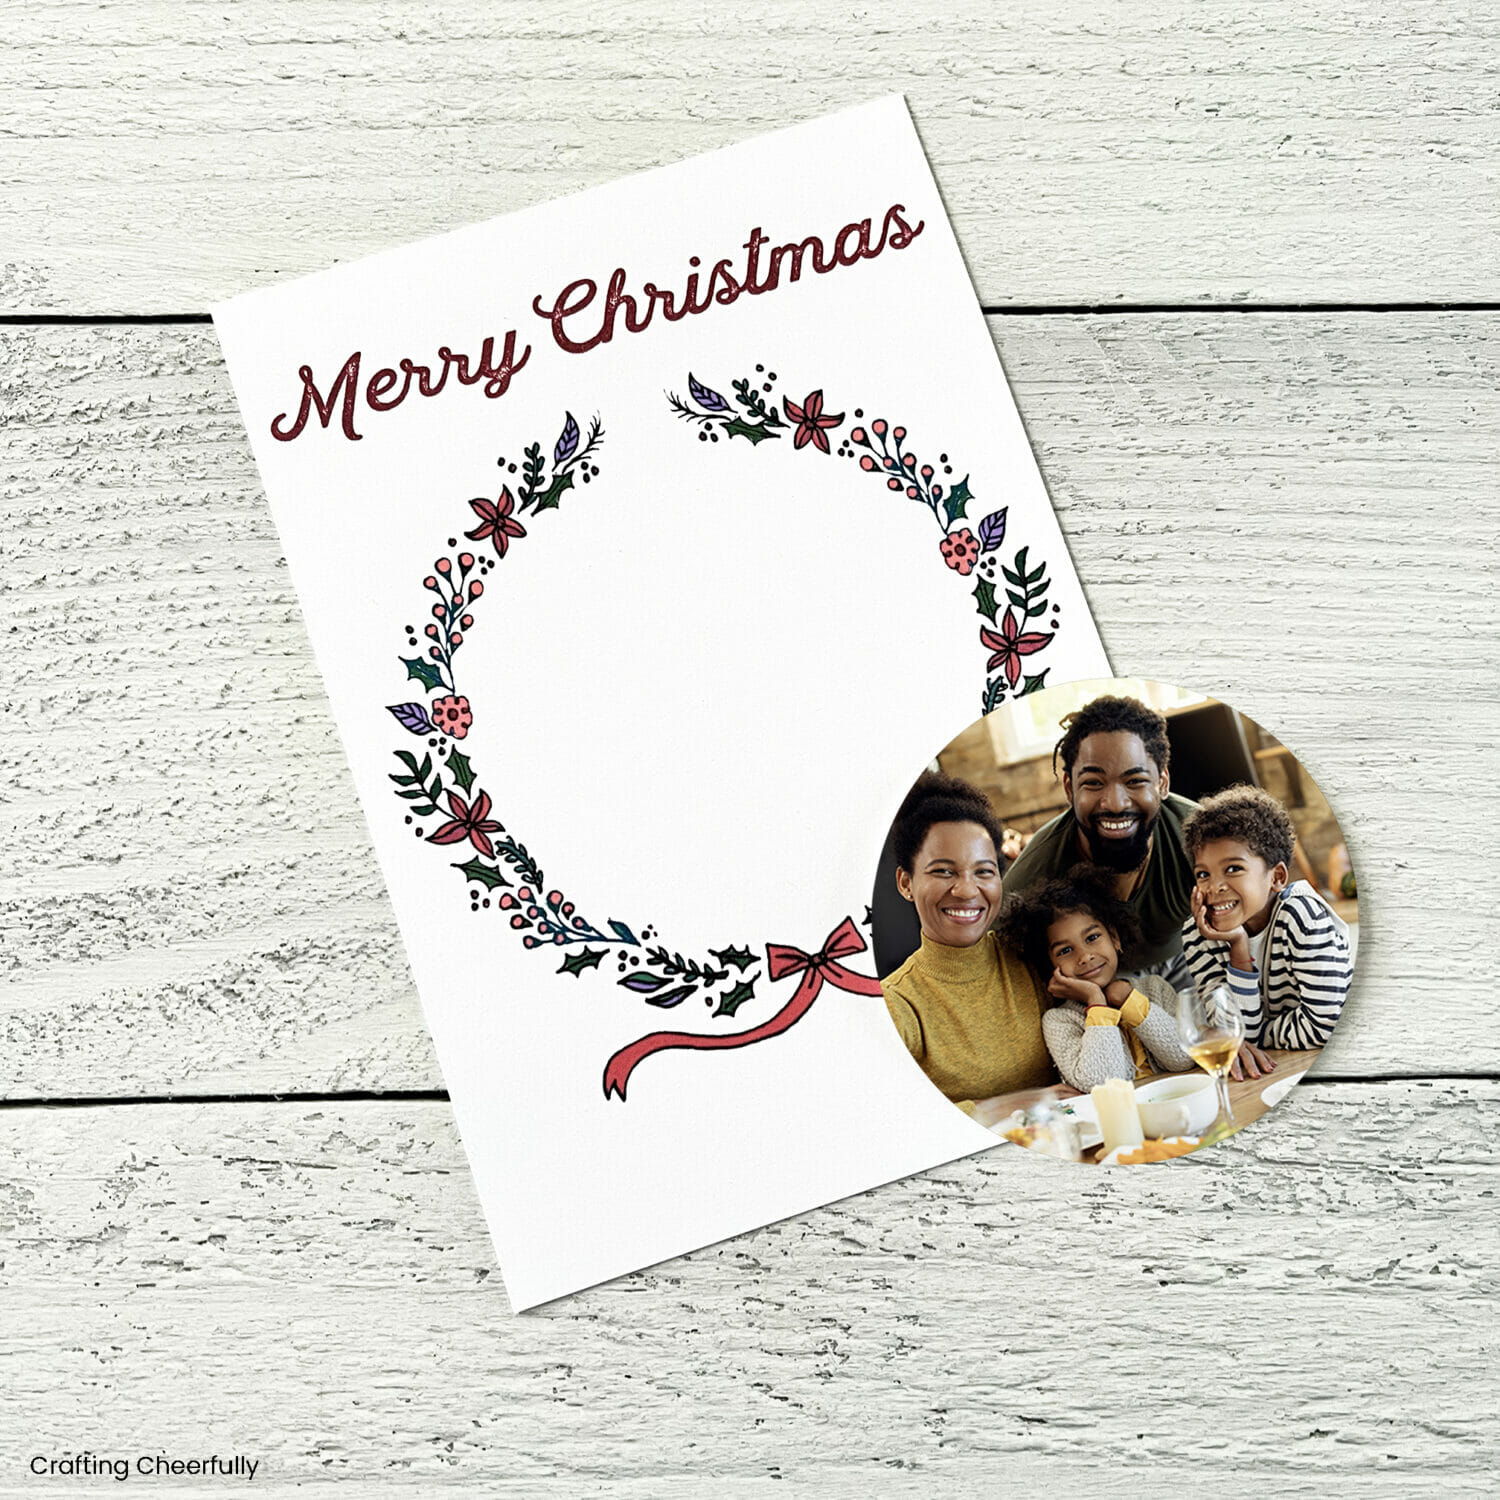
Step Three: Adhere the round photo inside the drawn wreath and the card is finished! There is space underneath the wreath to add the year and a holiday greeting or you can add a hand written message on the back.

I love how these cards turned out! They were a fun DIY and I love sending handmade cards when I can. It definitely takes time which can be tricky to have during the holiday season. The printables really help the project go a little quicker! Two Christmas movies later and my cards were all set to go :)
What do you think? Do you make your own Holiday cards? Be sure to check out some of my other handmade cards – I have lots of other free printables, patterns and cut files to help you make some truly unique handmade cards!
More Handmade Holiday Card Projects
- Color Your Own Holiday Photo Cards
- Weasley Jumper Harry Potter Holiday Cards
- Polar Bear Holiday Photo Cards
- Christmas Cottage Pull Card
- Embroidered Wreath Holiday Card

Get the Free Holiday Photo Cards!
Fill out the purple form below with your first name and email address! The free file will be sent straight to your inbox! If you have already filled out the form below, don’t worry – you won’t be added to my list twice! This freebie is for personal use only. I hope you enjoy crafting something special. Please let me know if you have any questions :)


One Comment