Salt Dough Ornament and Gift Box: A Gift from your Toddler!
Little ones can help create these adorable salt dough ornaments plus a keepsake box to gift them in!
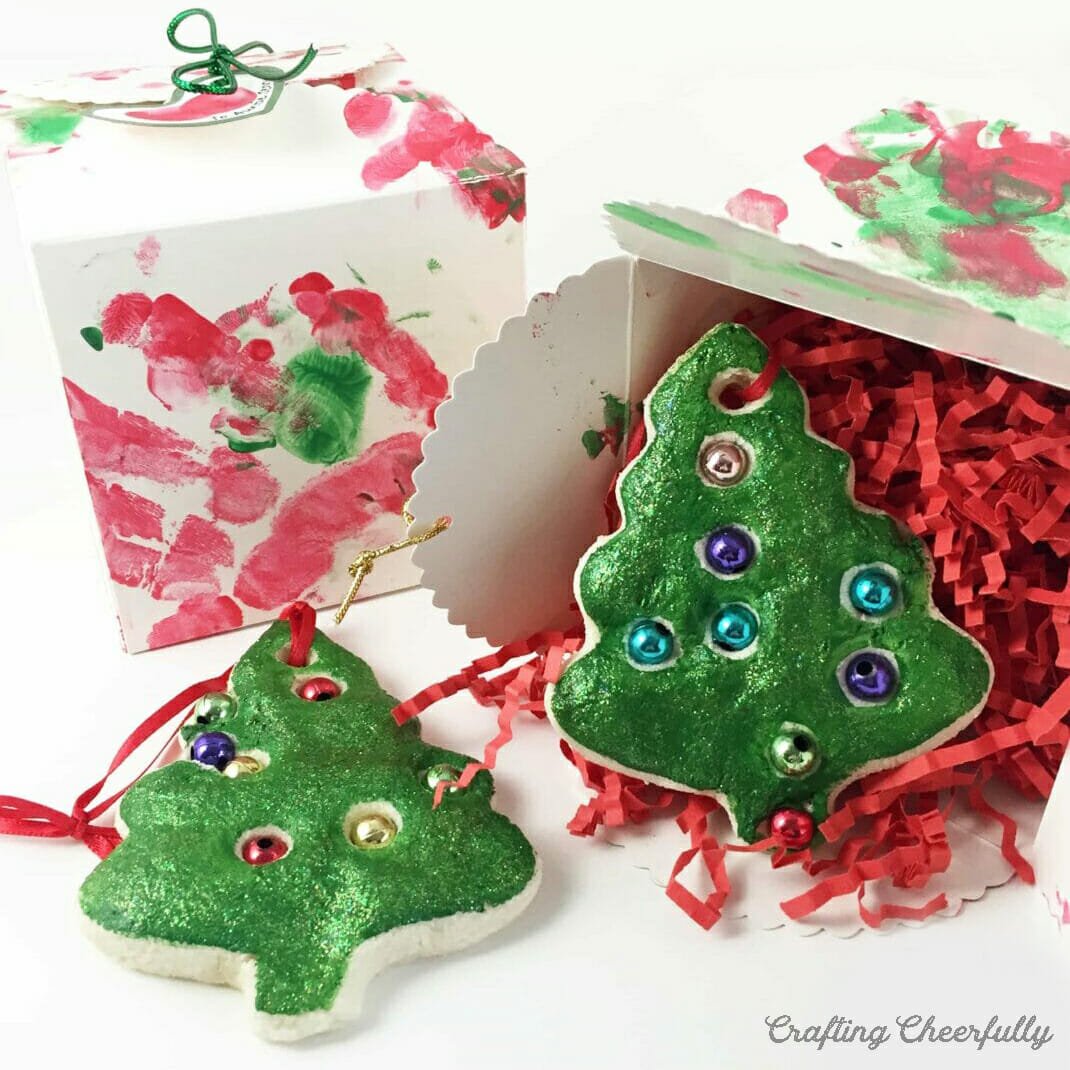
Hello! Today I’m sharing a cute ornament craft your little ones can make for Christmas – a salt dough ornament and gift box! These make the most adorable gifts to give to family members and friends. Make sure to keep one for your tree with the date on the back – it is sure to be a keepsake ornament kids will love hanging on the tree each year.
For Christmas this year, I wanted to make a cute gift my toddler could give to our close family and friends. I decided to give salt dough ornaments a try and love how they turned out. Salt dough is inexpensive to make and easy to work with. While these ornaments require adult help, there is a lot for littles ones to do! You can make these any shape you want using any cookie cutter. I chose a Christmas tree because my son could decorate it which would give him another thing to help with!
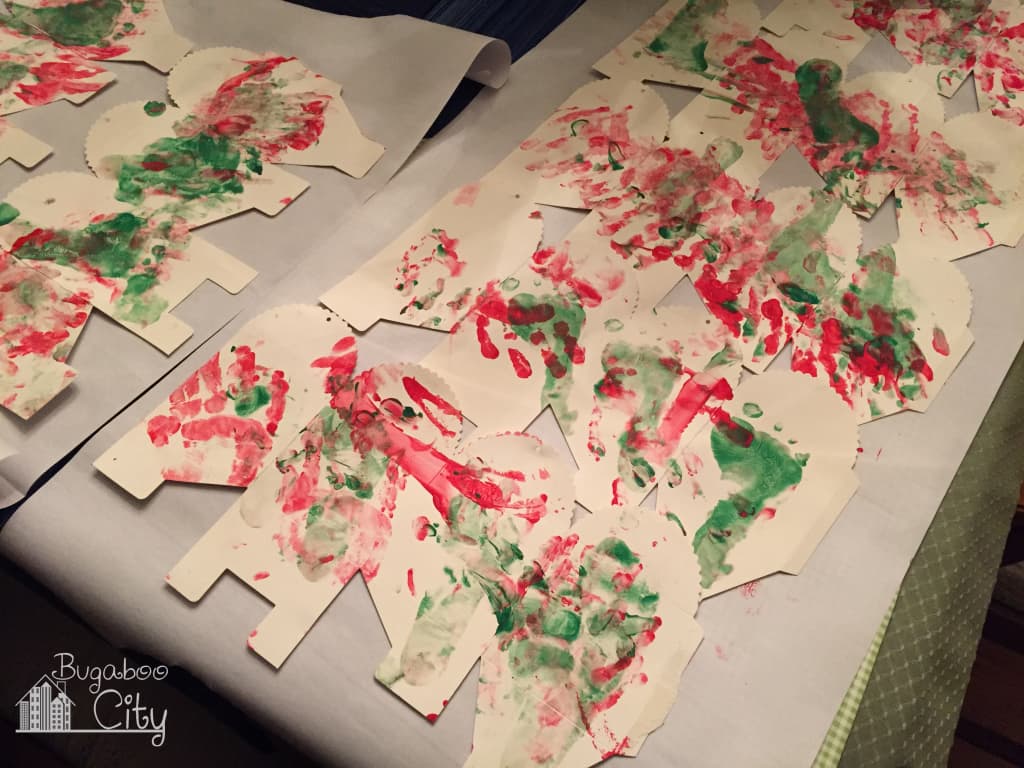
The ornaments are a wonderful keepsake but I think the box is just as much fun! I found the white boxes in the Target Dollar Spot and broke out the finger paint so my son could help make them extra special. I think the boxes really make the gift and add look so fun under the tree!
Below is the tutorial for how to make both the salt dough Christmas ornament and the painted boxes!
Toddler-Made Ornament Gift: Salt Dough Ornament and Gift Box
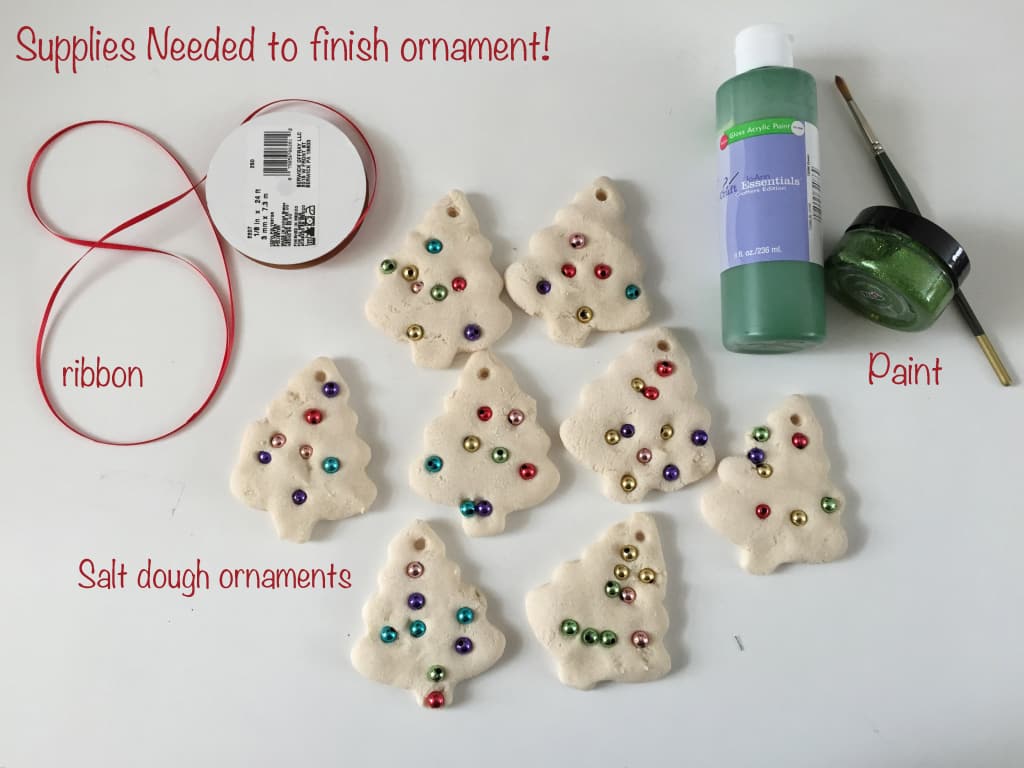
Supplies Needed for the Ornament
- Salt dough ingredients: salt, flour and water
- Christmas Tree Cookie Cutter
- Straw
- Glass beads
- Green paint and paint brush
- Red ribbon
Supplies Needed for the Painted Gift Boxes
- Gift box
- Red and green paint – we love using this Crayola Washable Kids Paint.
- White card stock
- Green ribbon
- Thin black pen
- Hole punch
Step One: Make the ornaments. Make your salt dough following the recipe below. Mix dry ingredients together, then slowly add water and mix it all together. If your child is old enough, they can help mix or pour ingredients!
- 1 cup flour
- 1 cup salt
- 1/2 cup water
Roll out the dough (or flatten it with your hands). Use the tree cookie cutter to cut out tree shapes, then poke a hole in the top of the tree using a straw. Your little one can help press the cookie cutters into the dough and help poke the hole in the top of each tree. Help guide them where to poke the hole, so it isn’t too close to the edges.
Step 2: Decorate the ornaments! The fun part! I poured the beads out on a plate so my little one could grab them easily. Since he is just a year and a half old, I had to take some safety precautions to do this craft with him. I had him sit in his high chair where I could keep a close eye on him. I also let him keep his binky in since this gives me a heads up if he is about to try putting something into his mouth! I also recommend sitting with your child the entire time they are adding the beads to the salt dough ornaments. This is a good one-on-one craft where you can give your full attention to your little one!
He loved the project and loved pushing the beads into the dough. I really loved watching to see which beads he would choose and where he would place them! We also worked on our colors and counting!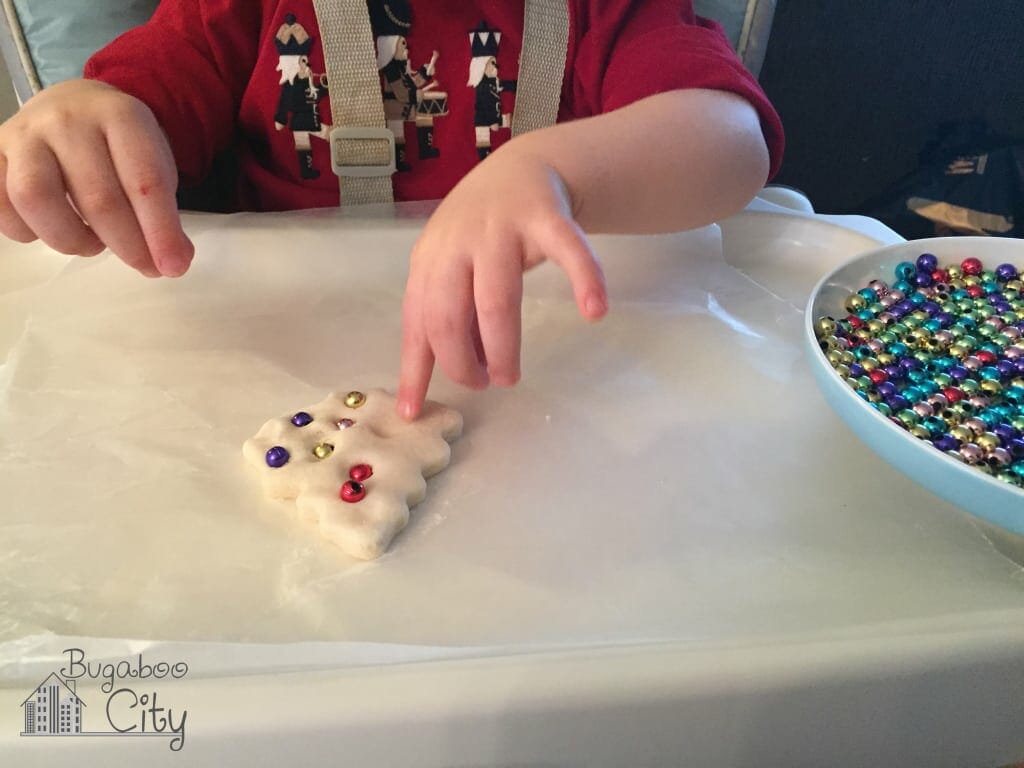
Step 3: Bake the ornaments! Once the ornaments were decorated with beads, we baked them at 200 degrees for 3 hours. I kept checking them to make sure the beads didn’t melt but they didn’t! Once they are finished if there are any loose beads you could glue them down, we didn’t have any problems with this, but that would be a great way to fix that if it happens for you.
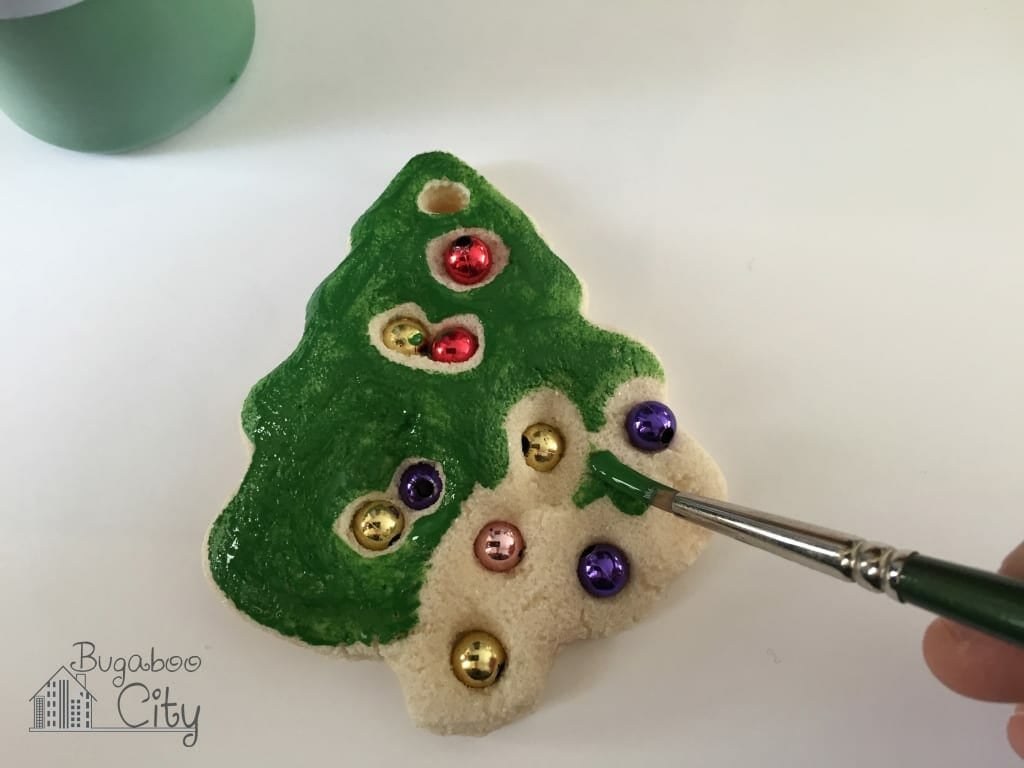
Step 4: Paint and finish the ornaments. If your little one is olde enough, let them paint the ornaments green with kid-safe paint. I decided to paint ours myself with green acrylic paint and green glitter paint. Once the paint was dry, I cut a red ribbon and used it to create an ornament loop for hanging. Don’t forget to write your child’s name and the year on the back of the ornament!
Step 5: Create the gift box! I lucked out and found white gift boxes at target, two for $1, in their $1 section. I opened up the boxes so they would lay flat and we let my little one go to town decorating them with red and green fingerpaint. At first he was just poking at them with his finger but he eventually dove right in. We let him put his hands and feet in the paint and then slap or step on the boxes – he really got into this! We laid down butcher paper on the kitchen floor so the paint would be contained.
Step 6: Assemble the boxes and make gift tags. Once the boxes are dry, re-assemble them. You can add a cute little gift tag to the boxes by having your little one make a heart with their fingerprints! Cut out the tag in the shape of a heart and punch a small hole in the top. Add the recipient’s name under the fingerprint heart. I used red gift bag filler (also from Target’s $1 section) to fill the boxes and create a nice cushion for the ornament.
Aren’t these too cute!! This was such a fun project to do with my little one and they will make the sweetest Christmas gifts :)


Looking for more fun ideas for ornaments kids can help make?? Check out these other fun project ideas!
Recycled Play-Doh Lid Ornaments
Children’s Art Keepsake Ornament






The gift boxes are a great idea! Did you find these in the party section of Target or up front where they have all the dollar items?
Hi! Thank you! I found them in the dollar section around the Holidays – I’m hoping they have them again or something similar this year! They came in packages of two!