
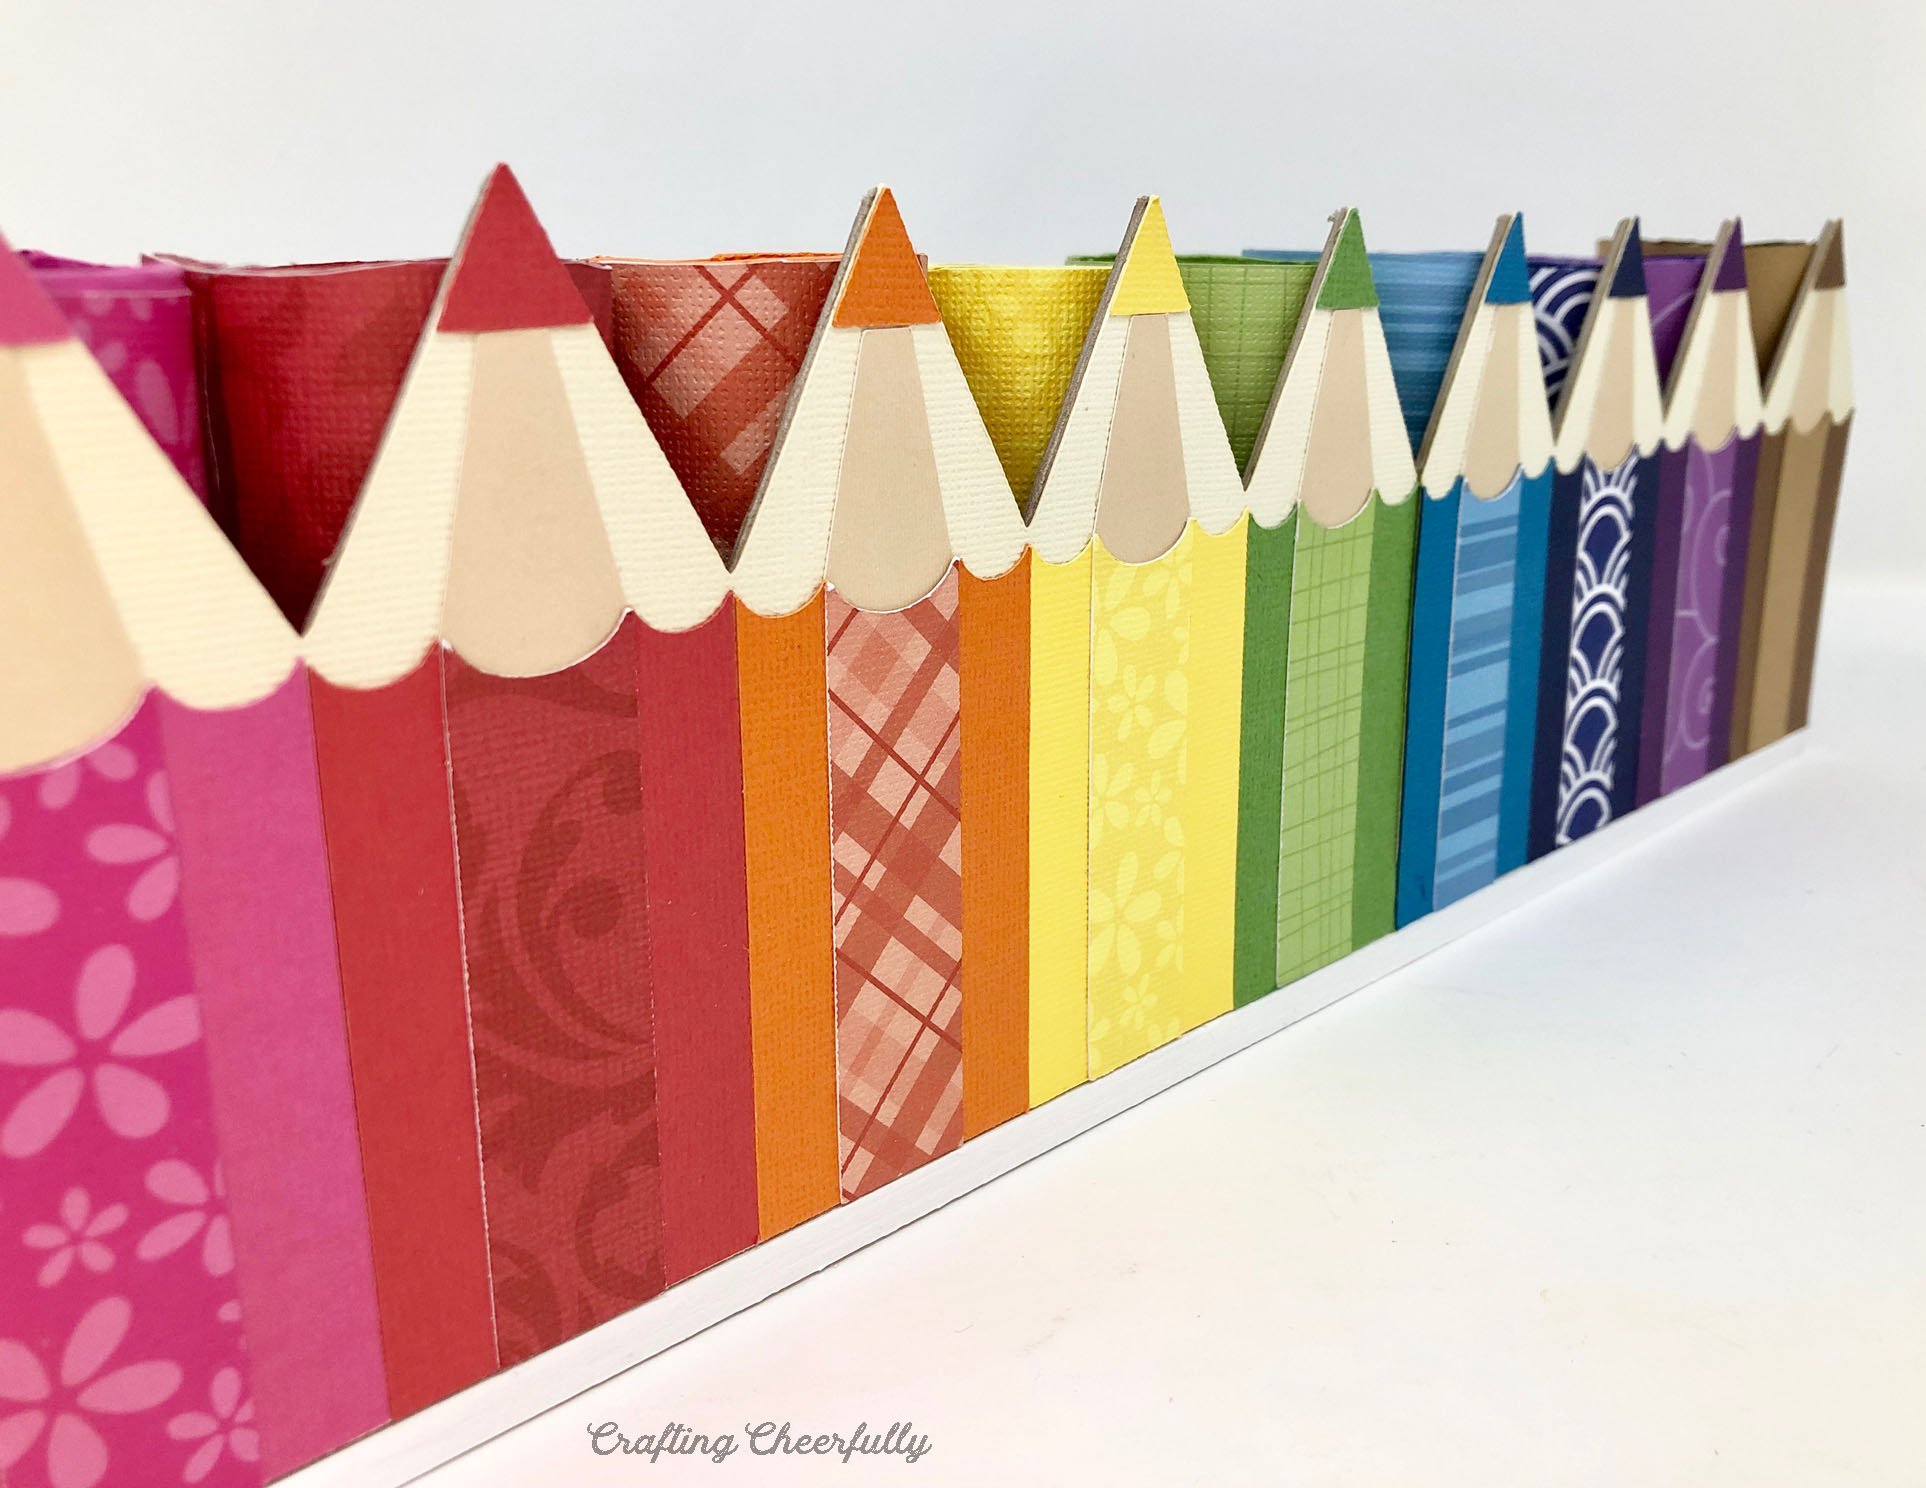
Colorful DIY Pencil Holder
Create a fun and unique DIY pencil holder for your desk or craft area! This desk organizer uses scrapbook paper, chipboard and recycled cardboard tubes.

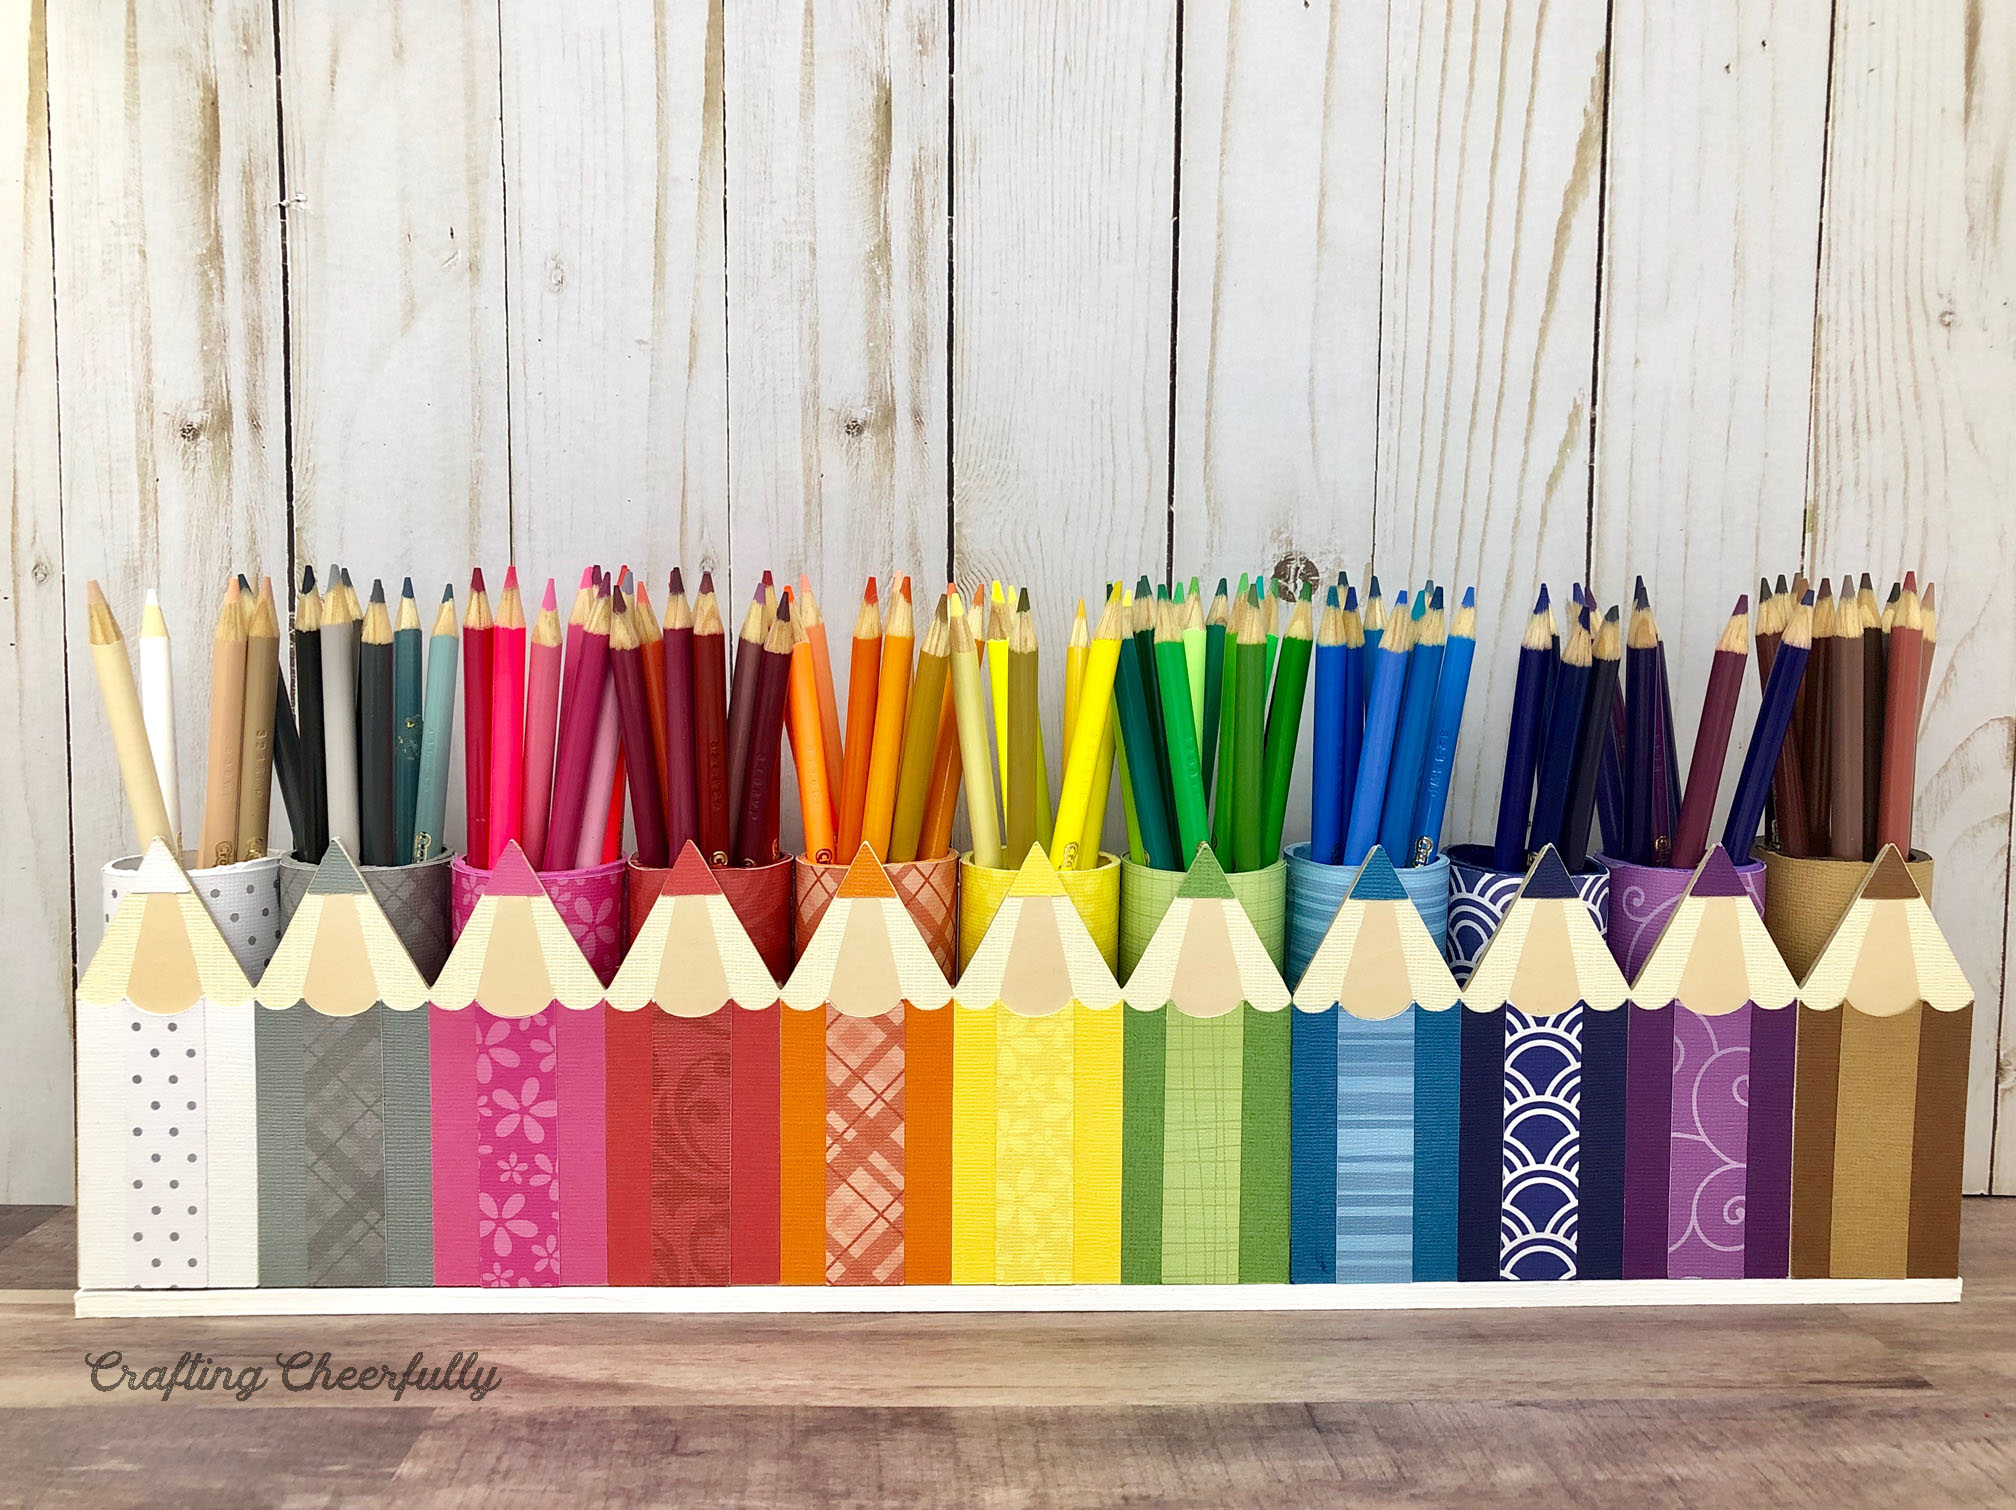
Hello Crafty Friends! Today I’m excited to share the tutorial for creating this bright and colorful DIY pencil holder! It’s perfect for organizing your desk or craft table. It can be used to hold colored pencils grouped by color, or use it hold a mix of supplies like pens, markers, pencils, paint brushes and more.
Earlier this summer I created a Hungry Caterpillar marker holder for my kids. They have loved using it and I decided I wanted something similar for my desk! I designed a cut file just for this pencil holder and created it using scrapbook paper, chipboard and old Cricut Vinyl tubes. The Cricut Vinyl tubes are perfect for upcycled projects because they are thick and sturdy.
All of the colored scrapbook paper I used is from Core’dinations. It was the fun paper to use for this project since I wanted used both a solid and patterned sheet of paper for each colored pencil. I found the paper in the open stock paper section at JoAnn Fabrics during one of their paper sales.

Below are the instructions for creating and assembling this DIY Pencil Holder. The tubes are all set on a piece of wood making the entire thing really sturdy and easy to move around. You will find the SVG cut file and PDF pattern in my Etsy shop!
*Update: I made this pencil holder three years ago and still use it! It normally sits on my desk and I love the pop of color it brings to my work space. The holder is easy to move when I need my desk for sewing and has held up really well the past few years. It is one of my favorite handmade items in my craft area!
How to Make a Colorful DIY Pencil Holder
Supplies Needed
- SVG Cut File and PDF Pattern
- Cutting Machine
- Wooden board – I bought a 2″ x 36″ board from JoAnn’s and cut it down to 2″ x 18.25″.
- (11) 4″ tall cardboard tubes. I used four Cricut Vinyl Tubes that I cut in thirds. You can also purchase cardboard tubes.
- Chipboard
- Scrapbook paper: One solid and one patterned in 11 colors (white, gray, pink, red, orange, yellow, green, blue, indigo, violet, brown)
- Acrylic paint in all 11 colors
- Adhesive – I used 1/4″ Scor-Tape, Super Glue and hot glue
- Craft knife and self-healing mat
- Pencil and ruler
- Paper trimmer and/or scissors
- I filled my pencil holder with Crayola Colored Pencils
Step by Step Tutorial
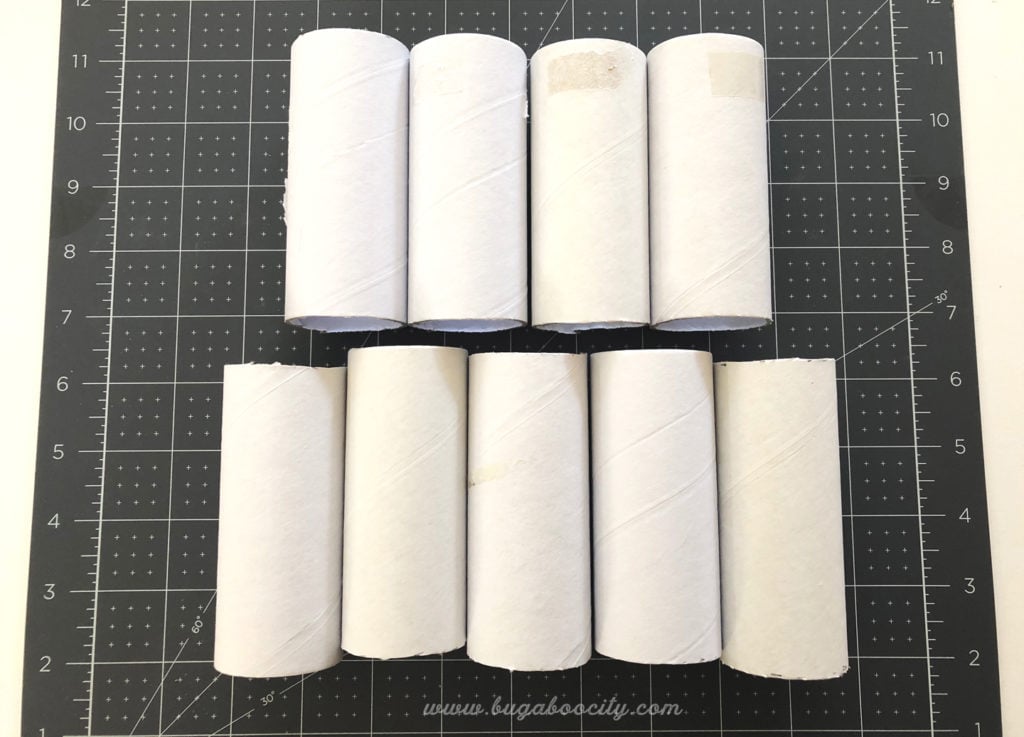
Step One: Cut the cardboard tubes so you have 11 cardboard tubes that are each 4″ tall. I used four cardboard tubes from used Cricut Vinyl rolls. I love using these because they are really thick and sturdy. I marked my tubes with pencil and then carefully cut them into thirds using a craft knife.

Step Two: Paint the top and inside of each tube with paint. Try using a shade of paint that matches the cardstock you will be wrapping each tube with.
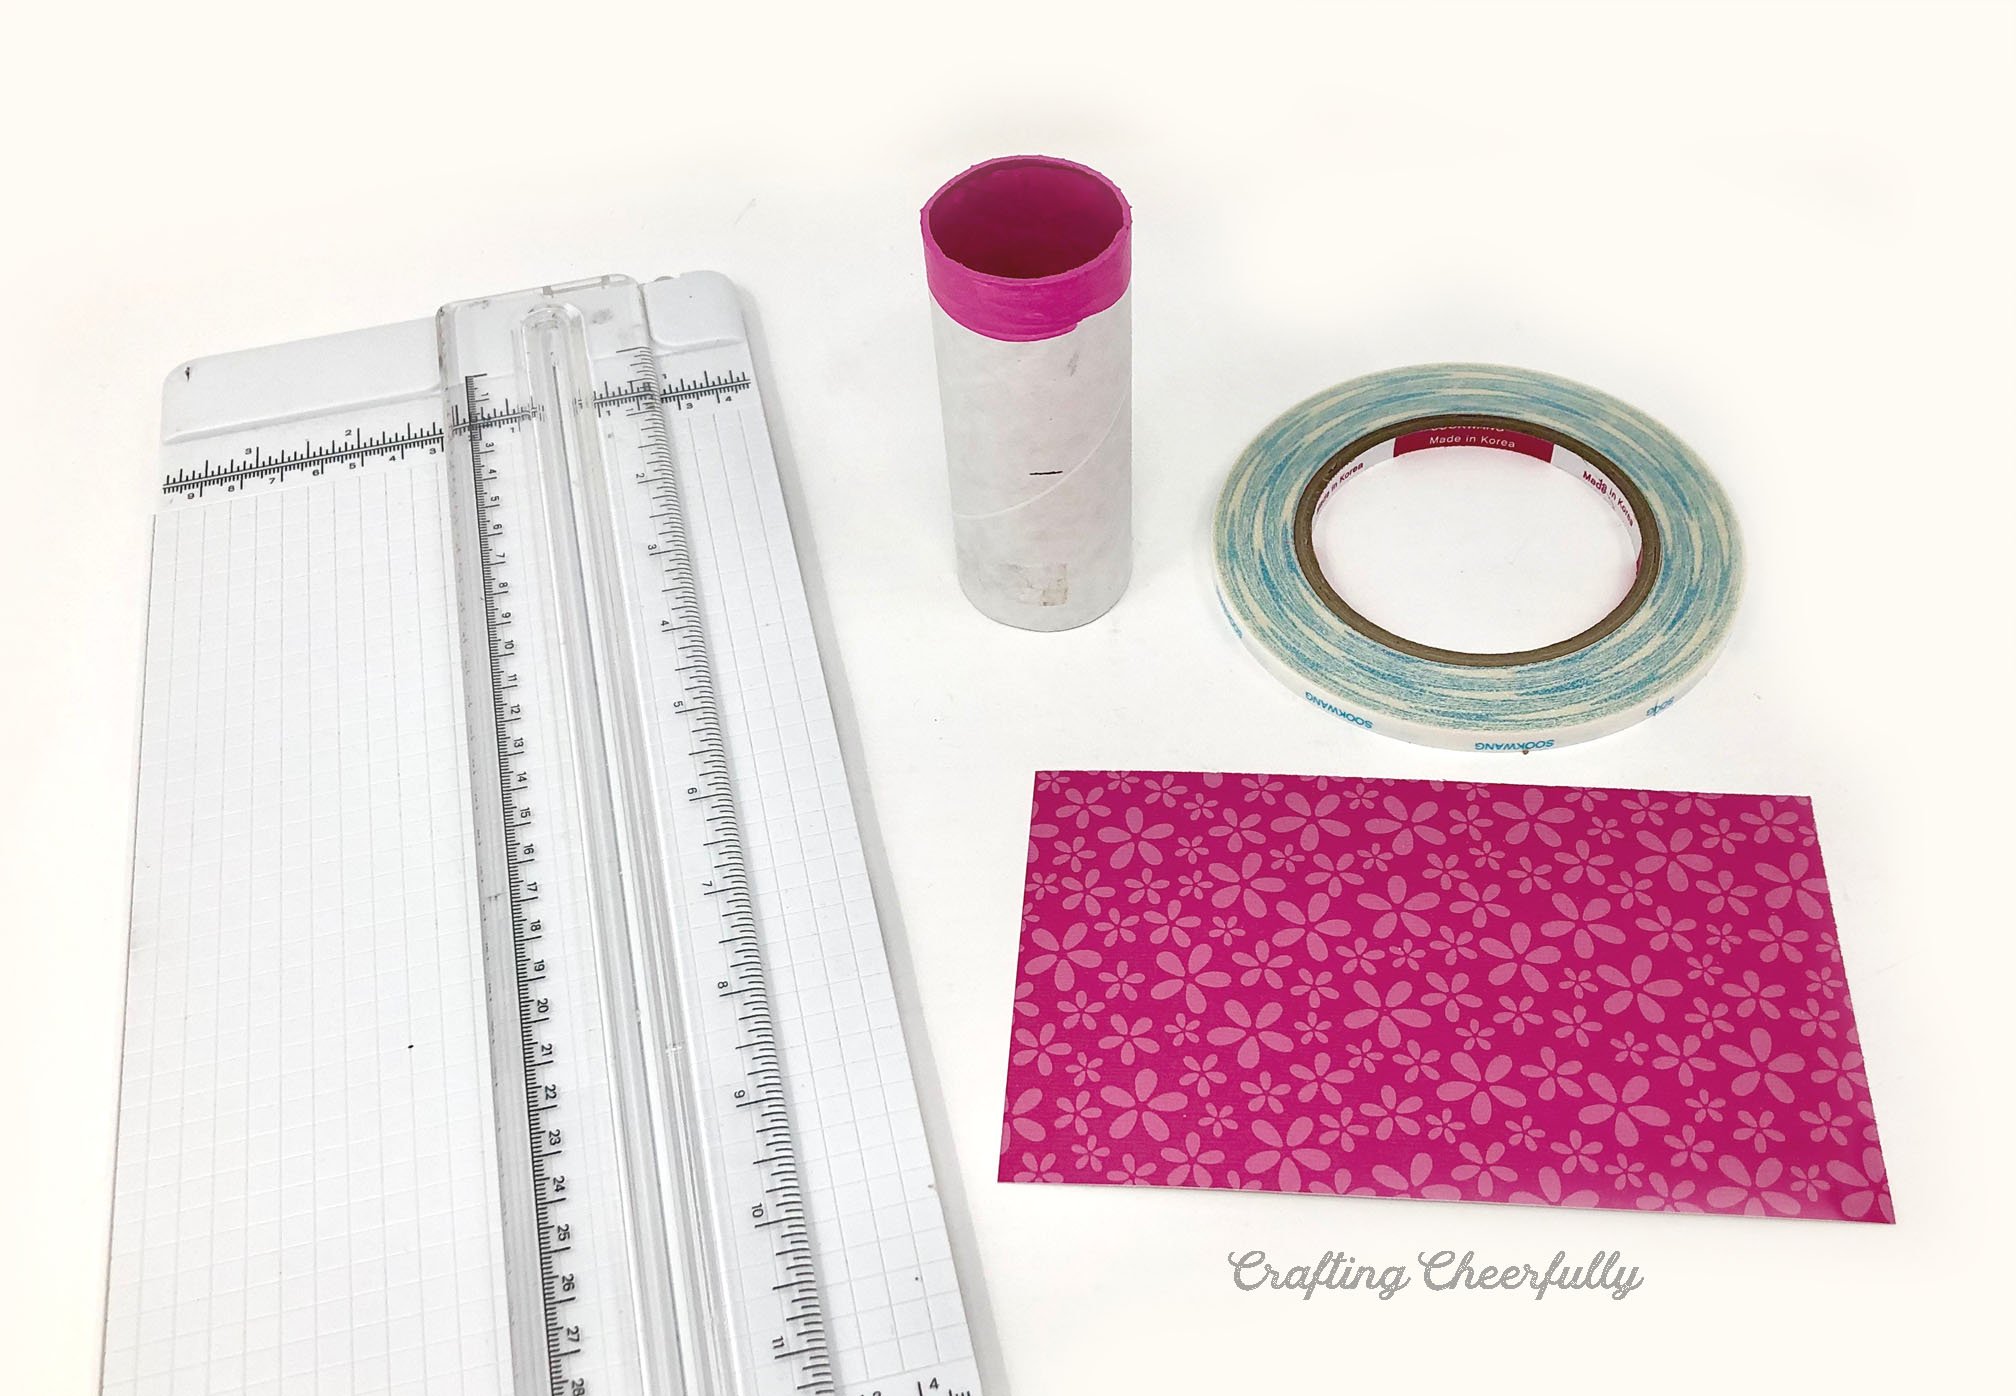
 Step Three: Wrap the tubes in paper. Once dry, wrap each tube in the patterned piece of paper for each color. I used Scor-Tape to adhere the paper to the tube, but you could also use glue. Trim any paper that hangs over the tube.


Below you can see all of my tubes painted and wrapped!

Step Four: Cut the pencil pieces and glue them together. Use the SVG cut file to cut the pieces for the colored pencils. The listing includes a guide for setting up the file in Cricut Design Space.
Glue the light tan paper to the large chip board pieces.
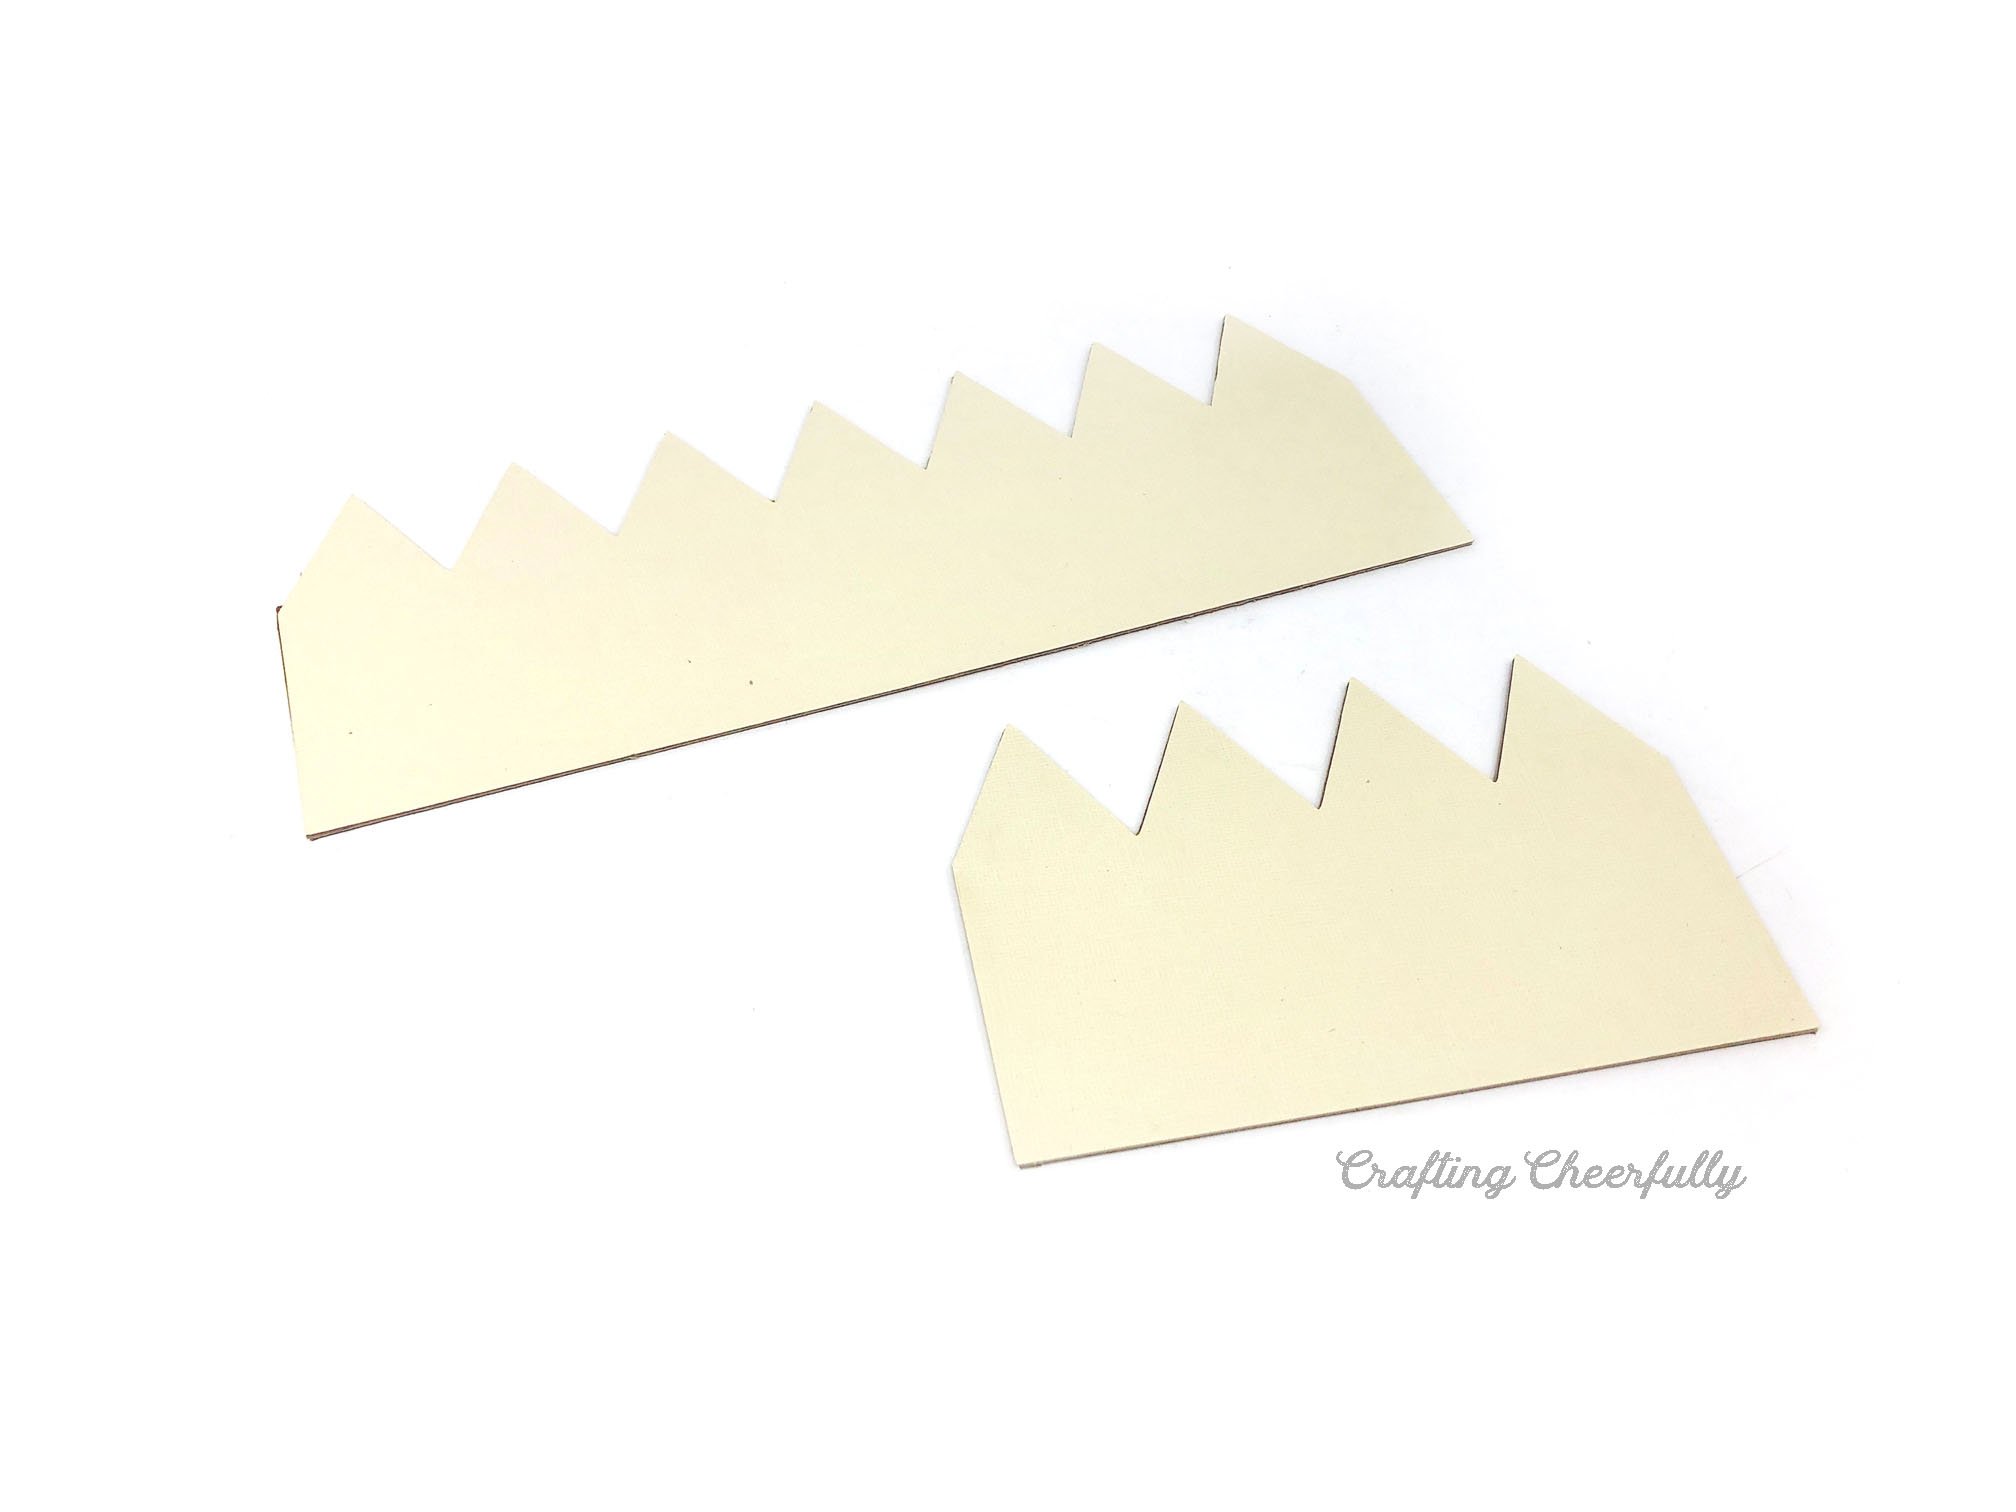

Cut and adhere the rest of the pieces to create the 11 colored pencils. The colored piece of paper should layer over the small dark tan piece of paper.

Step Five: Paint the wooden board white and mark where each tube will go. I used a large piece of wood from Joann Fabrics that originally measured 2″ x 36″. I cut it down to 18.25″ long. Lay the colored pencil pieces next to the wooden board and mark each pencil. Label the sections with the color. This will be a guide for where to glue the tubes so that the tubes line up with the pencils.

Step Six: Attach the tubes to the board. Use hot glue to attach the tubes. You may need to push on the tubes a little so they are more like ovals to fit in the space marked. I started in the middle with the yellow tube using hot glue around the bottom of the tube. For the next tube, I put hot glue on the side and bottom so the tubes are all attached to each other and to the board.
Tips
- Mark the wooden base with letters for each color so you are sure to glue the tubes in the right order.
- Position your tubes so they are sitting against the back edge of the board, so you have space in front of them to attach the colored pencils.
- Place tubes so the seams of the paper are hidden by the next tube. The two tubes on the ends – white and brown, should have their paper seams facing inward so they aren’t visible.


Step Seven: Glue the colored pencils in place. I used Gorilla Glue for this step and put glue along the bottom of my colored pencils and also a strip of glue on the front of each tube.
*If you there isn’t room on your board for the colored pencils to sit you could always glue them to the front of the board.

The pencil holder is complete and ready to be filled! I sorted my pack of 100 Crayola Colored Pencils by color putting the white, tan and peach colors in the white container and the black and gray colors in the gray container. The pencil holder is super sturdy and I can move it around which is really handy.


I hope you’ve enjoyed this tutorial! If you’d like to view similar crafts, visit my DIY Desk Organizers Page for more ideas.


![]()


That is the cutest idea for any craftroom, classroom or even where a child does his/her homework. Thank you for sharing.
Yes it can be used so many different places! Thank you for visiting my blog! :)