ABC Baby Block Vase with Free SVG Cut File
Create a sweet and memorable ABC Baby Block Vase. This beautiful vase makes a terrific centerpiece for a baby shower or a thoughtful gift for new parents.
Hello Crafty Friends! Today I’m excited to share a sweet ABC baby block vase with you. It was a fun DIY that is perfect for baby showers, gifts to expecting or new parents, and for nursery decor. When my daughter was born I received a beautiful flower arrangement that came in a square vase. It was all white but had the letters A, B, C and D on each side. It was so sweet I recreated it to gift to a friend.
This ABC baby block vase is easy to make using a cutting machine and pastel colored vinyl. I filled my vase with baby-neutral yellow and white flowers. If you know the gender of the baby you can fill it with pink or blue flowers or fill it with a little plant! Fake flowers aren’t a bad idea either – then the new parent can keep it in the baby’s room and not worry about sunlight, watering or the flowers wilting. Below is the tutorial for creating your own baby block vase.

ABC Baby Block Vase
Supplies Needed
- Free SVG Cut File – Grab the free file by filling out the purple form at the bottom of this post.
- Square vase – my vase was about 4″ x 4″
- Cricut Vinyl in Pastel – I used the light pink, yellow, blue and green colors from a vinyl sampler pack
- Cricut Transfer Tape – I accidentally used Cricut Stencil Material for this tutorial and realized it after taking pictures – oops! Transfer Tape will have a grid and be clear not blue.
- Cricut cutting machine – I used my Cricut Explore
- Cutting Mat and Cricut tools for weeding
Step by Step Tutorial
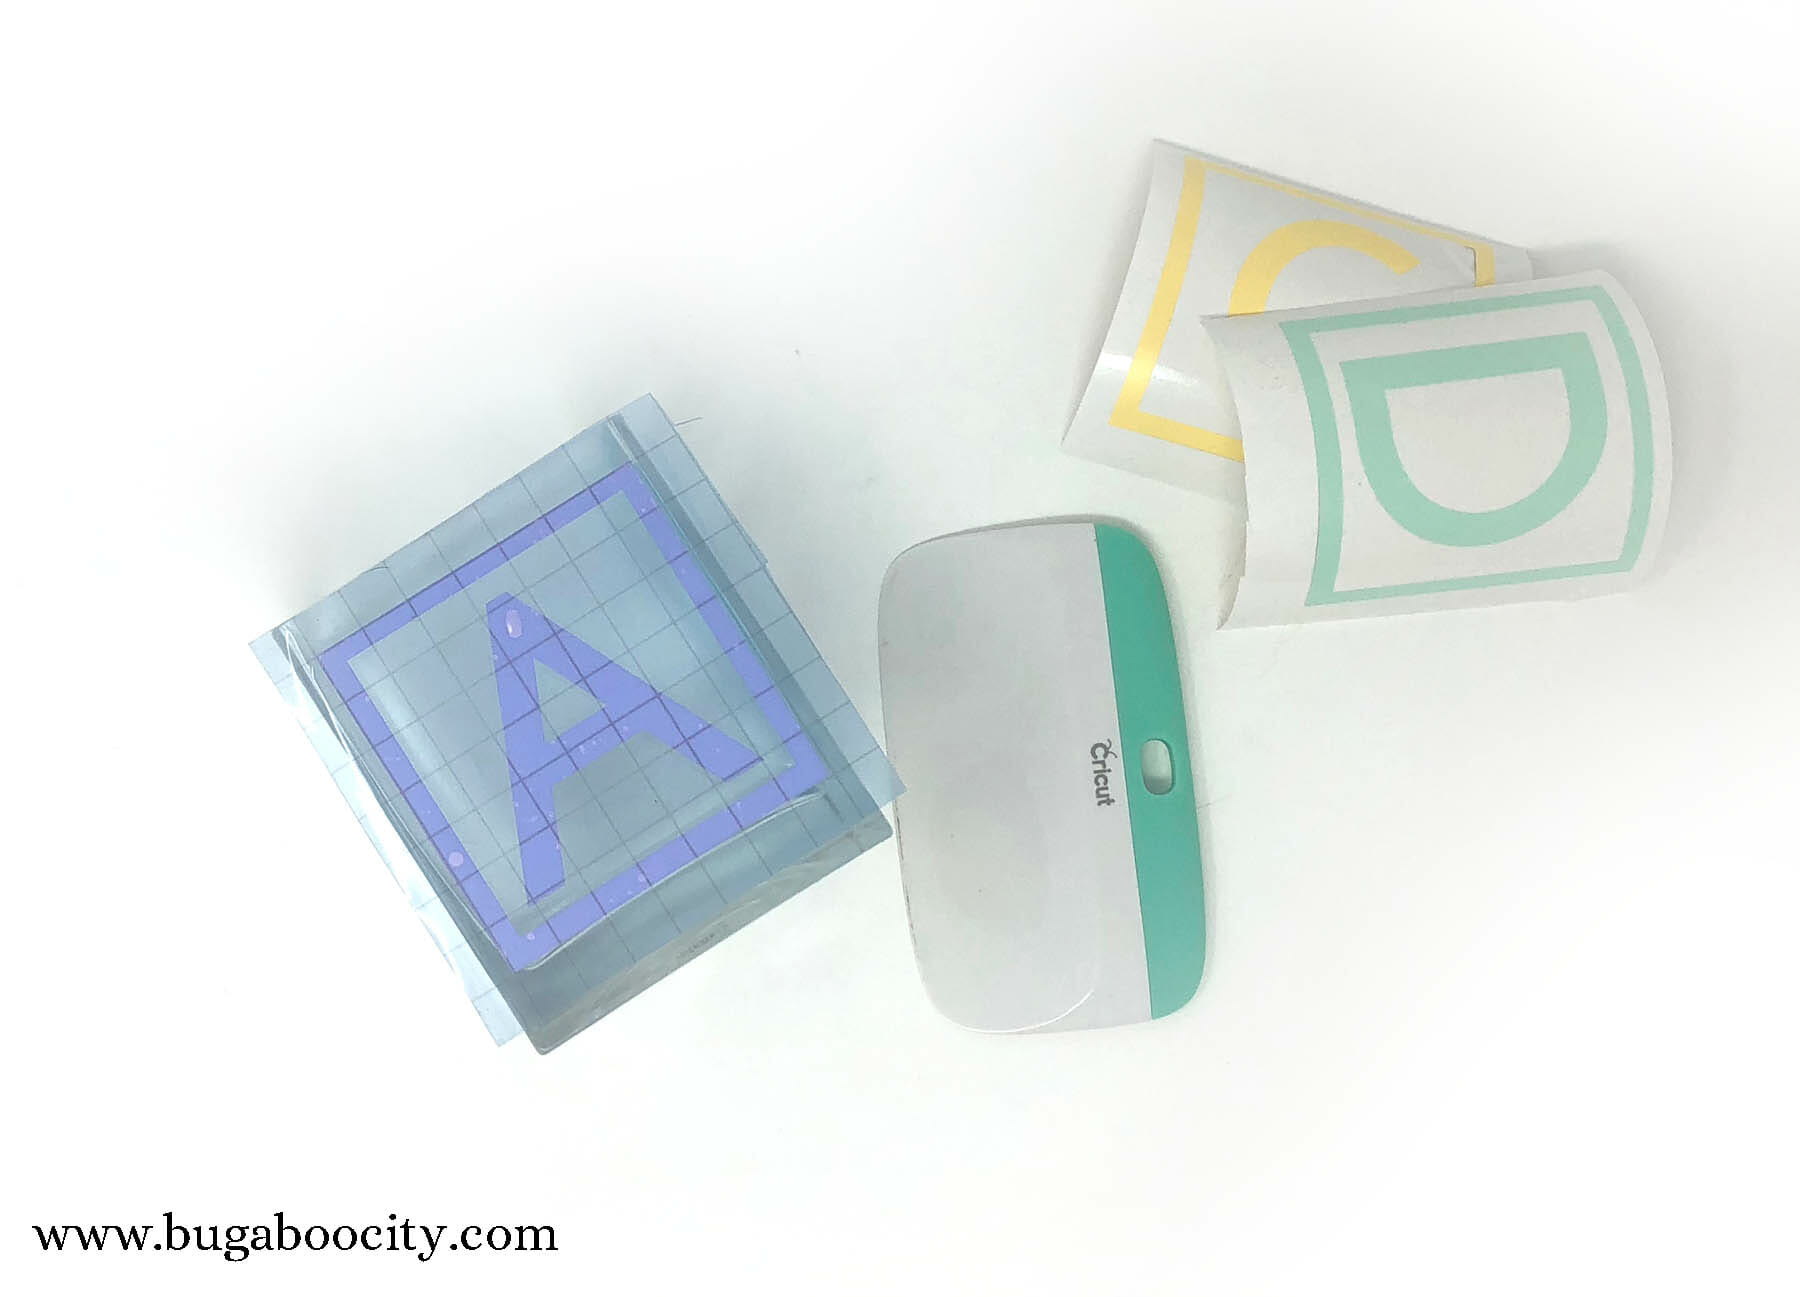
Step One: Cut the vinyl. Use the free SVG file to cut the four sides of the vase from pastel-colored vinyl. I chose to make a pink A, blue B, yellow C and green D. This way my cooler colors were opposite each other on the vase, same with the warmer colors. You definitely don’t have to use pastel colors – this vase would look great in bold primary colors or even in all pinks or all blues.
Instructions for Cricut Design Space
Open a new project and upload the image. Insert the image into your project, select the entire group and hit “Ungroup”. Next, select the border and letter for each color and attach them one by one. Change the colors if you’d like, using the color picker on the top left. If you need to change the size of the blocks, be sure to highlight all of them before adjusting the size. The image is now ready to cut.

Step Two: Once the vinyl is cut, it is time to apply it to the vase. Use Cricut Transfer Tape to transfer the vinyl to the vase. (I accidentally used Cricut Stencil Material, oops!, which is why mine is blue). The Transfer Tape has a grid too but it is clear. Start with a letter and line it up with the edges of the vase using the stencil material. I made sure to line up my Stencil Material the same way for each side of the vase.
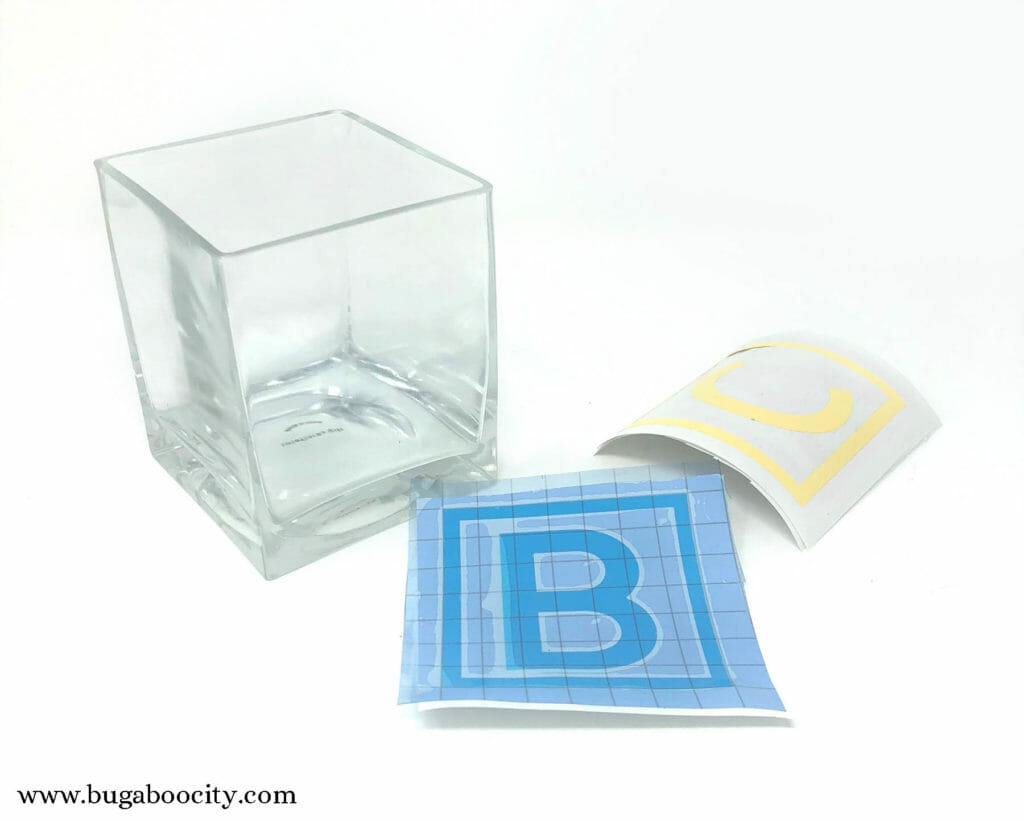

You could use painters tape to mark a height on each side of the vase so your letters are all placed evenly. I just eye-balled it and everything lined up well.


That’s all there is to it! The vase is ready to be filled with flowers – fake or real! I like how once the vase is filled, the letters on the sides of the vase show up really well with the dark background of the flower stems behind them.

I love making sweet gifts for baby showers and newborns! Check out a few of my other DIY craft tutorials below :)


Get the Free ABC Baby Shower Vase File!
Fill out the purple form below with your first name and email address! The free file will be sent straight to your inbox! If you have already filled out the form below, don’t worry – you won’t be added to my list twice! This freebie is for personal use only. I hope you enjoy crafting something special. Please let me know if you have any questions :)