DIY Owl Diaper Cake Tutorial
Create the cutest owl diaper cake! This owl diaper cake makes a great gift for any expecting parent and a perfect baby shower surprise!
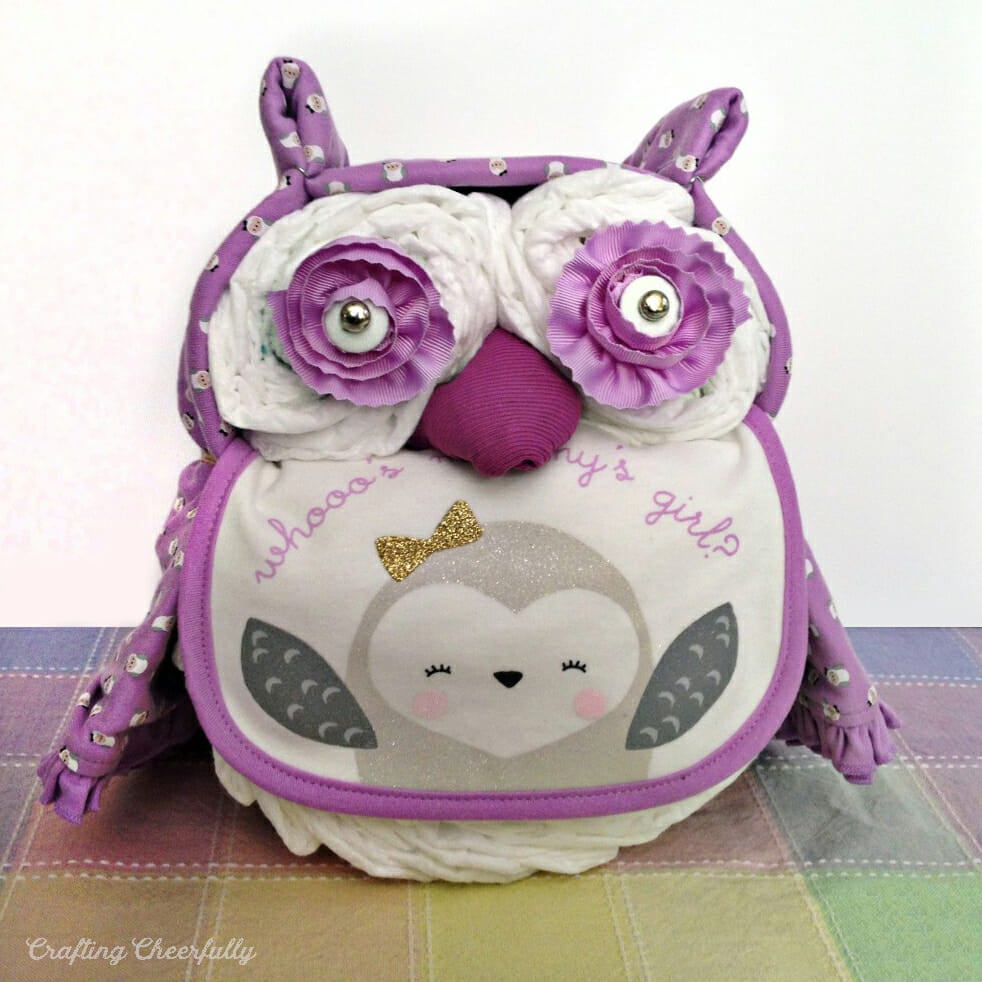
Hello Crafty Friends! Today I’m excited to share this sweet owl diaper cake I recently made a friend for a baby shower. She loves owls so it was pretty much a no-brainer to make my diaper cake owl-inspired! I looked on Pinterest and found some really cute ideas and lots of little owl diaper cakes, all pretty much the same with slight variations! Below is the tutorial for my owl diaper cake :)
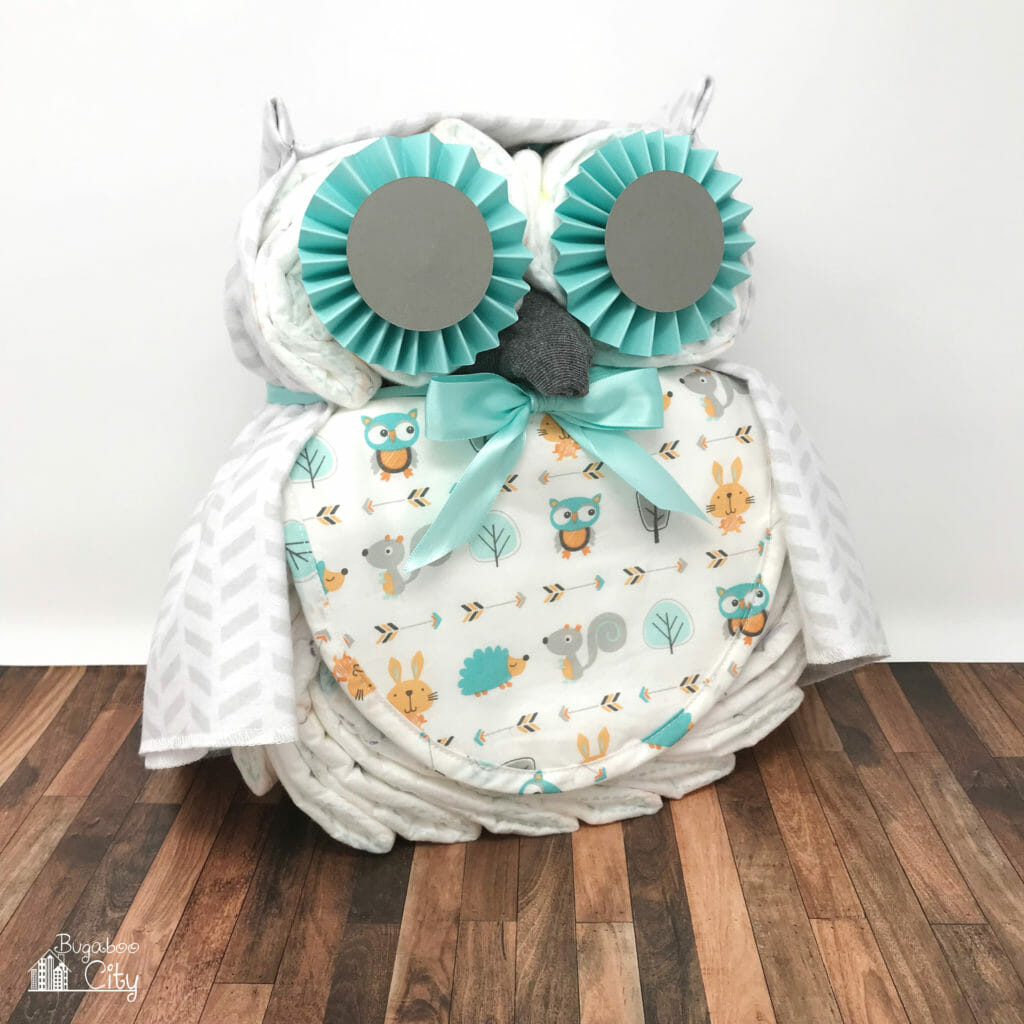
*Updated: I recently made this Owl Diaper Cake again, this time it needed to be gender neutral since the parents were waiting to find out the gender. I followed the tutorial below, but instead of flower clips for eyes I used paper medallions. I also made a bow on the front of the owl under it’s beak. I have some more pictures and notes on this new gender neutral owl diaper cake at the end of this post :)
How to Make an Owl Diaper Cake
Supplies Needed
- Diapers! 30 total, I used size 1
-
Baby Blanket (*updated with new links that hopefully work for you!)
- I have made this owl diaper cake with blankets that measure 28″x 30″, 30″ x 30″ and 28″ x 32″. I would pick a blanket that is in this size range.
- For the purple owl diaper cake I used a Carter’s Just One You receiving blanket that measured 28″ x 32″ with a ruffle on the bottom edge which was very sweet!
- The gender neutral diaper cake used a blanket from a 4-pack of Cloud Island flannel baby blankets from Target (30″ x 30″)
-
Baby bib
- I used a Carters bib from a set found at Target. These bibs on Amazon are the same style in a different pattern.
- The gender neutral diaper cake used a bib from the Trend Lab Forest Babies Bib Set.
- 1 pair of baby socks
- 2 flower hair clips for baby
- Two white shank buttons
- Two metal studs, or anything round to make eyes
- Ribbon
- Rubber bands
- Two cue tips (not pictured)
- Two paper clips (not pictured)
- Hot glue gun
- Scissors
- For paper medallion eyes: paper, and two cue tips.
Step One: Create the owl eyes! For the eyes I used two lavender flower hair clips that came in a set for baby girl. I found it on clearance at BuyBuyBaby for under $2! To make the eye ball, I used two white shank buttons (the ones with the little plastic hole sticking out the back of the button) and found two brass metal pushpins. You could really use anything to make the eyes on the button, even Sharpie! I hot-glued my brass eyes onto the buttons and then loosely sewed the buttons into the center of the flowers. I didn’t want to hot-glue those in because it would make the barrettes un-wearable!
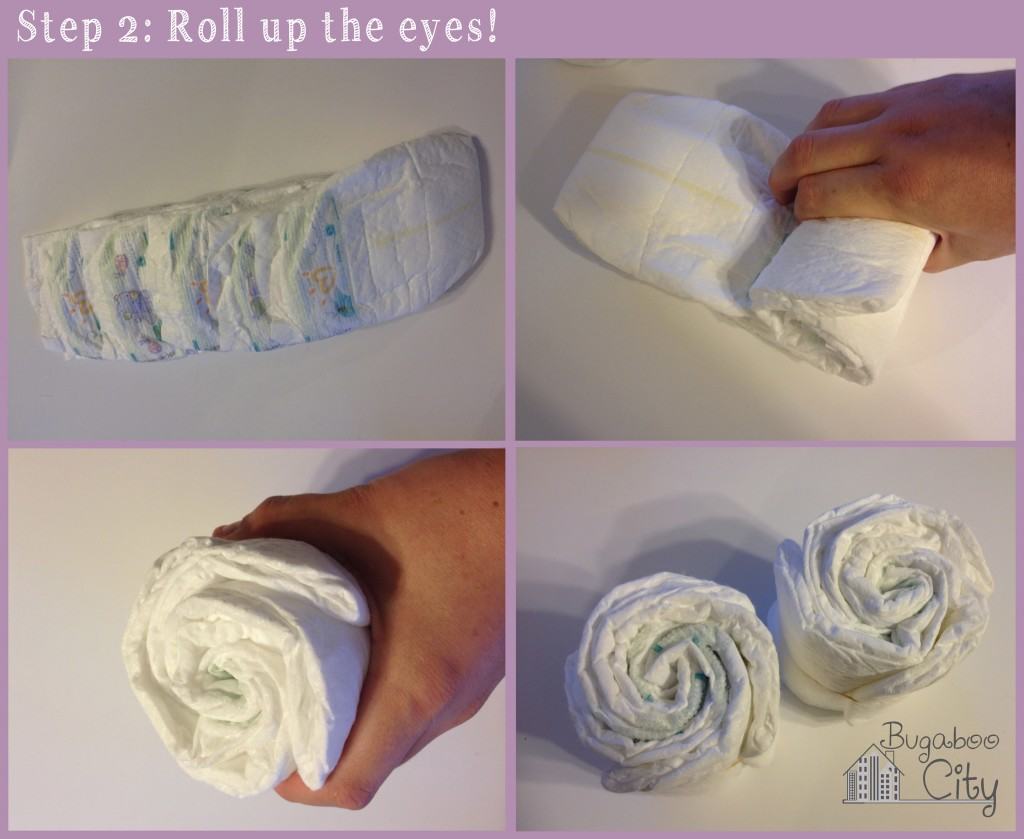
Step Two: Roll the diaper eyes! I used 5 diapers for each diaper eye. I layered them in a row, overlapping each other about halfway. I then rolled them up really tightly and rubber-banded them! Done!
Step 3: Roll the diaper body! For the body I used 20 diapers and a round cake pan to help keep the shape as I overlapped them. After I had all the diapers overlapped in the pan, I went through to try and make them equally spaced. I then started pushing them in to make my spiral as tight as possible. I had to keep re-spacing them as I did this, but eventually, I had a nice tight roll that I rubber-banded.
Step Four: Stack the body! To stack the body, I laid the bib on top of the diaper body and then placed both eyes on top of the bib – so basically, I sandwiched the bib in between the diaper rolls. I wrapped a ribbon as tightly as possible around the whole thing to keep everything in place. I had originally used a pretty lavender ribbon, but it was so sheer so I could see my rubber bands through it. I decided to take a thinner purple ribbon I had and go around the owl again to cover the rubber bands up.
Step Five: Add blanket wings and ears! Next, I stood the owl upright and took the baby blanket (which was adorably covered in little owls) and draped it over the owl. It was a bit too long…so I decided to make the ears out of the blanket instead of the little socks as I had planned. I tied a rubber band around the blanket right underneath the owl’s eyes, lifting up the bib to hide it. Then I squeezed out two little ears, trying to keep the wing length even and the ears as close to the same size as possible. I used two paper clips to hold the ears in place.
Step 6: Add the beak and eyes! Finally, it was time to add the beak and eyes! I folded a pair of purple baby socks into a triangle and stuck it in between the owl’s diaper eyes. To get my owl eyes to attach to the diapers, I had to get a little creative. I used two cue tips and folded them to make a little U. Then I stuck it in the diaper roll and clipped on my barrettes. The cute little owl diaper cake was finished!! Yay!
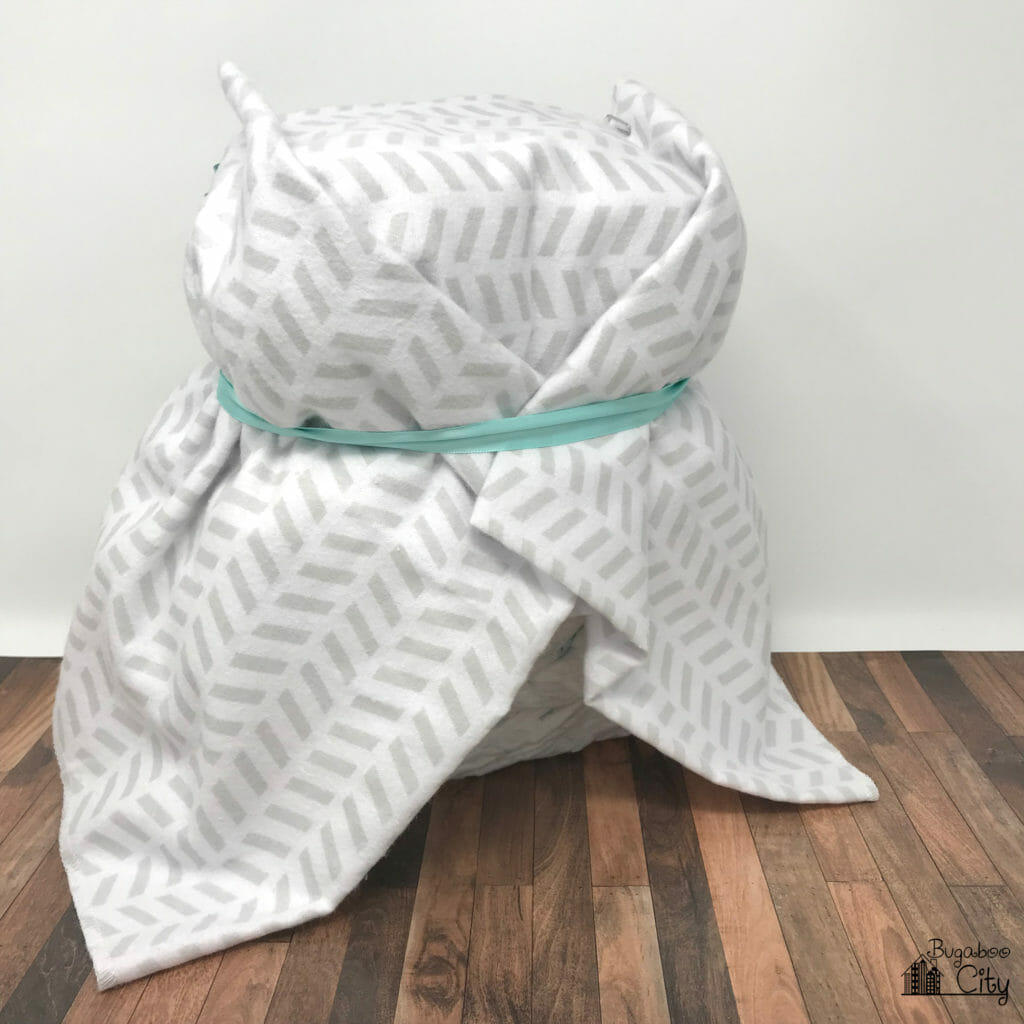
Updated: Here are a few more pictures of the recent gender-neutral owl diaper cake I made. I took some pictures of the side and back so you can se how I handled the blanket since I didn’t get any pictures of this the first time I made this. Instead of tucking the ribbon underneath the bib in the front, I kept it on top and tied it into a cute bow. Also since the bib I was using was a little larger than I’d used before, I used a couple more diapers. For this owl, I used 35 size 1 diapers – I bought one package of Pampers Pure size 1 diapers.

For the eyes, I created two paper medallions and then glued a large grey circle onto each. I go through the steps of creating paper medallions in this tutorial for Medallion Pins. Using hot glue, I attached a cue tip to the back of each medallion and then once dry, I just stuck this into the center of the two small diaper rolls. The cue tips worked well, but I don’t recommend taking them in and out because the more you futz with them the more likely they are to break.


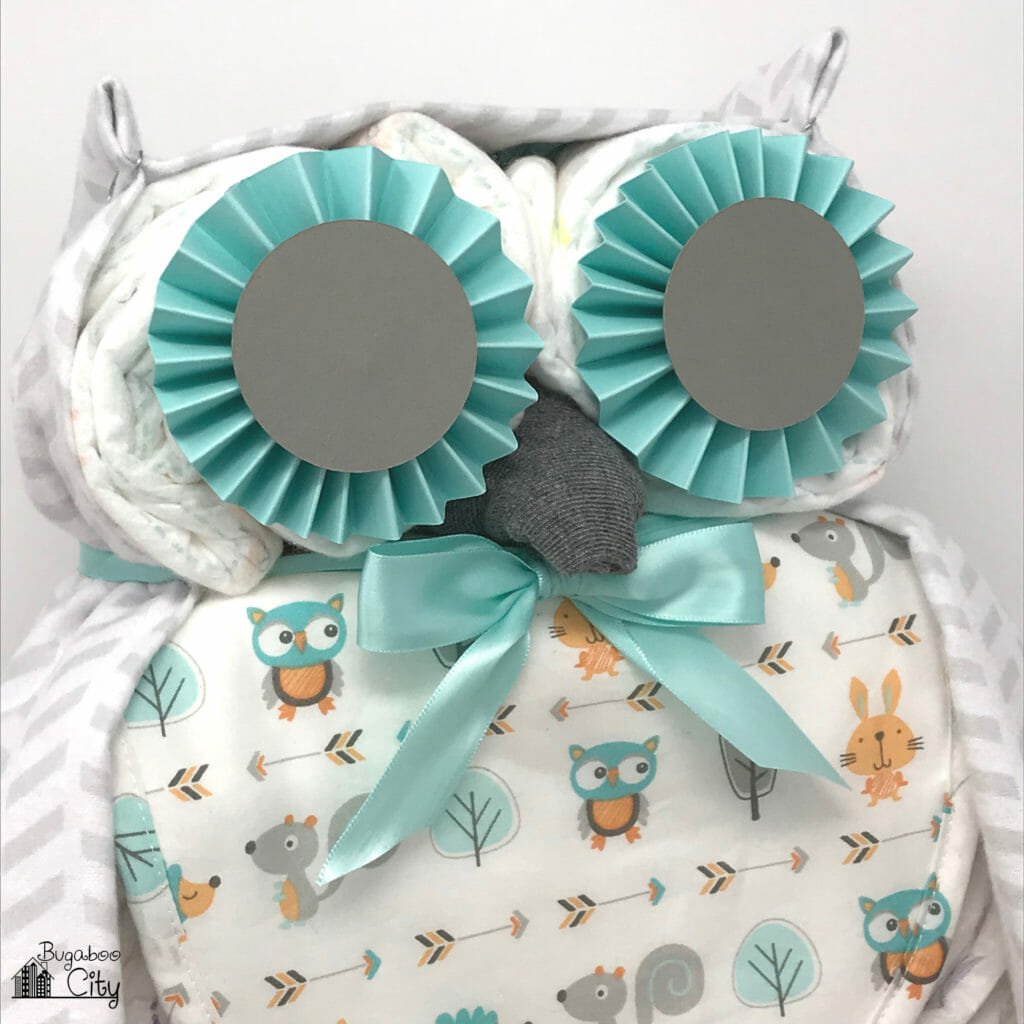
I hope it helps to see a few more pictures of the owl diaper cake. It really does make the sweetest baby shower gift. It’s small enough to fit in a gift bag and looks adorable sitting on a dresser or in the baby’s room before the supplies are needed and it has to be taken apart! :)
To see the great diaper cakes that inspired this one, check out my Pinterest Gallery, Diaper Cakes! Lots are available on Etsy if you would rather purchase one than make it!
I recently made another diaper cake, this time Harry Potter-themed with a Hogwarts Express Diaper Cake! You can also view my other Crafts for Baby for more cute ideas!






Looking forward to making this owl diaper cake for my daughter’s baby shower. Thanks for the easy instructions.
Great tutorial! I’m giving some homemade burp cloths, so hoping to incorporate those into this pretty and unique cake :)
Oh that’s perfect to use homemade burp cloths! Great idea!
SOOOOOO cute! Thank you!
Thank you! :)
Made owl cake today. Directions really easy to follow. Thanks!
Yay! I’m glad the directions were easy to follow, thank you! :)
Thank you for the instructions….I just finished one for my daughters baby shower and it looks amazing.
Yay!! I’m so glad it turned out! Thank you!
I made this owl for my best friends baby shower in pink. Thank you for this tutorial your directions were right on point and easy to follow. The diaper cake came out great!
Yay I’m so glad it turned out so nice! A little pink owl would be adorable! Thank you!
I’ve seen diaper cakes before, but this is the cutest one yet! Thanks for sharing at Merry Monday!
Thank you!! :)
Thank you so much for the great step by step process. I’m looking forward to gifting my cute little owl to my friend this Saturday. Mine kinda looks like ET. Ha!!!
Yay! haha I bet it is the cutest ET Owl Diaper Cake ever!!
Thanks for posting! This is so cute! I haven’t made it yet, but I’m wondering what size blanket works best? The link for target doesn’t work anymore for me to check. Thanks!
Hi! The first time I made this owl diaper cake I used a swaddle blanket from a two-pack from Target, the dimensions for these were 28″ x 32″. I also made one using a receiving blanket from Target and those dimensions were 28″ x 30″. So I think if you use a blanket around this size it will work well! I’ll update the link on the tutorial! Thank you for visiting and have fun making your owl diaper cake!! :)
I am so happy with how my owl turned out. I am one of those Pinterest disaster photo types, usually. Thank you so much for making the tutorial so easy. I think the Q-tips was a truly inspired idea. I had trouble with the beak, of all things.
Yay! I am so happy the tutorial was easy to follow and you made one! If you took a photo, and want to share it, I’d love to see your owl! It’s so nice to know the tutorial is useful :)
Loved it, make a blue owl thank you
I’m glad you like it! It makes such a cute gift!
Love the Owl Diaper Cake — going to try making one for a June baby shower!!