Coloring Kits for Kids – Group Volunteer Activity
Learn how to create fun coloring kits for kids! These are perfect to donate and a great group volunteer activity for all ages.
Hello Crafty Friends! Today I’m sharing something a little different with you – a guide for creating coloring kits for kids! We created these kits this past holiday season to donate to local kids in foster care. This activity makes a great volunteer project or community outreach event where clubs, groups or the whole family can get involved. We’ve done this several times over the years and I thought I would share in case it helps anyone else looking for volunteer project ideas!
This guide includes a shopping list to create 24 coloring kits, tips for assembling them with large groups, and a free printable tag you can add to each bag. These bags are great for boys and girls and would be most appropriate for kids that are preschool and elementary school-aged – though I know some younger middle schoolers who would also enjoy them!
How to Create Coloring Kits as a Community Outreach Project
Planning the Kits
Step One: Ordering the supplies! We spent exactly $250 to make 24 coloring kits. Everything was purchased in one order from Amazon. Prices and item availability will vary when you make your kits but I’ve included shopping links to everything below. You could also order your supplies from local vendors – just keep your eye out for deals on items in bulk.
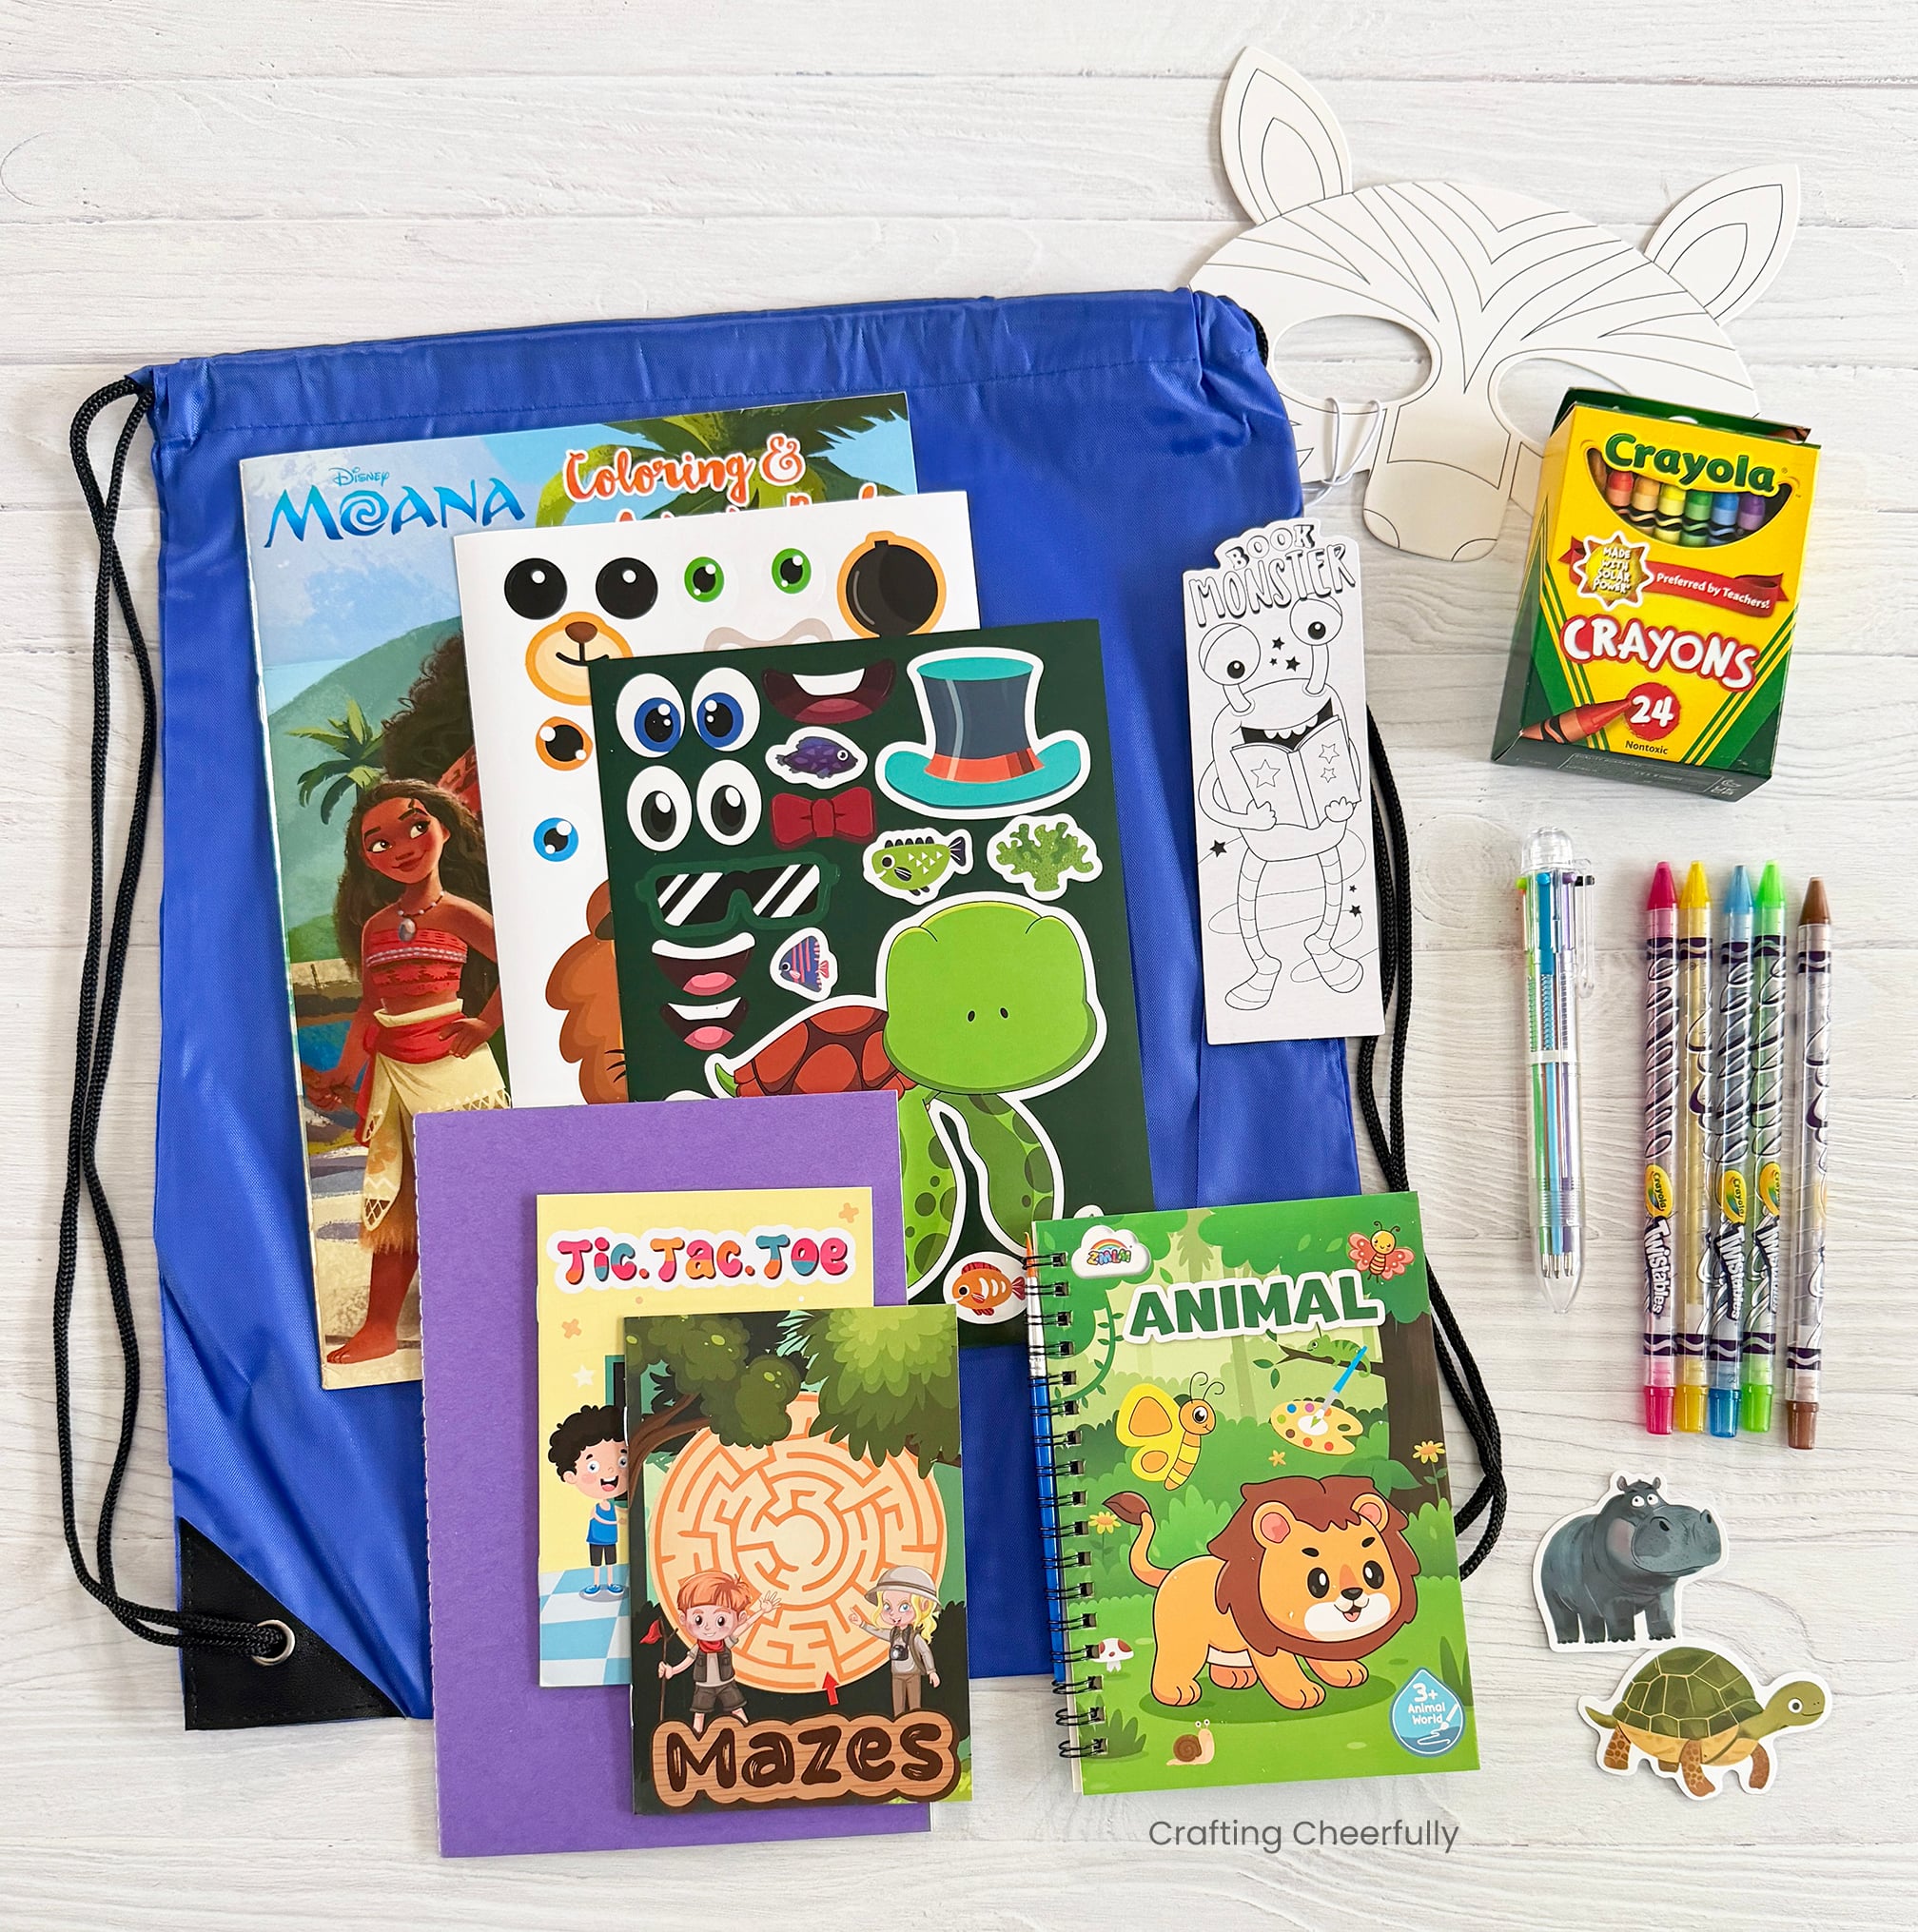
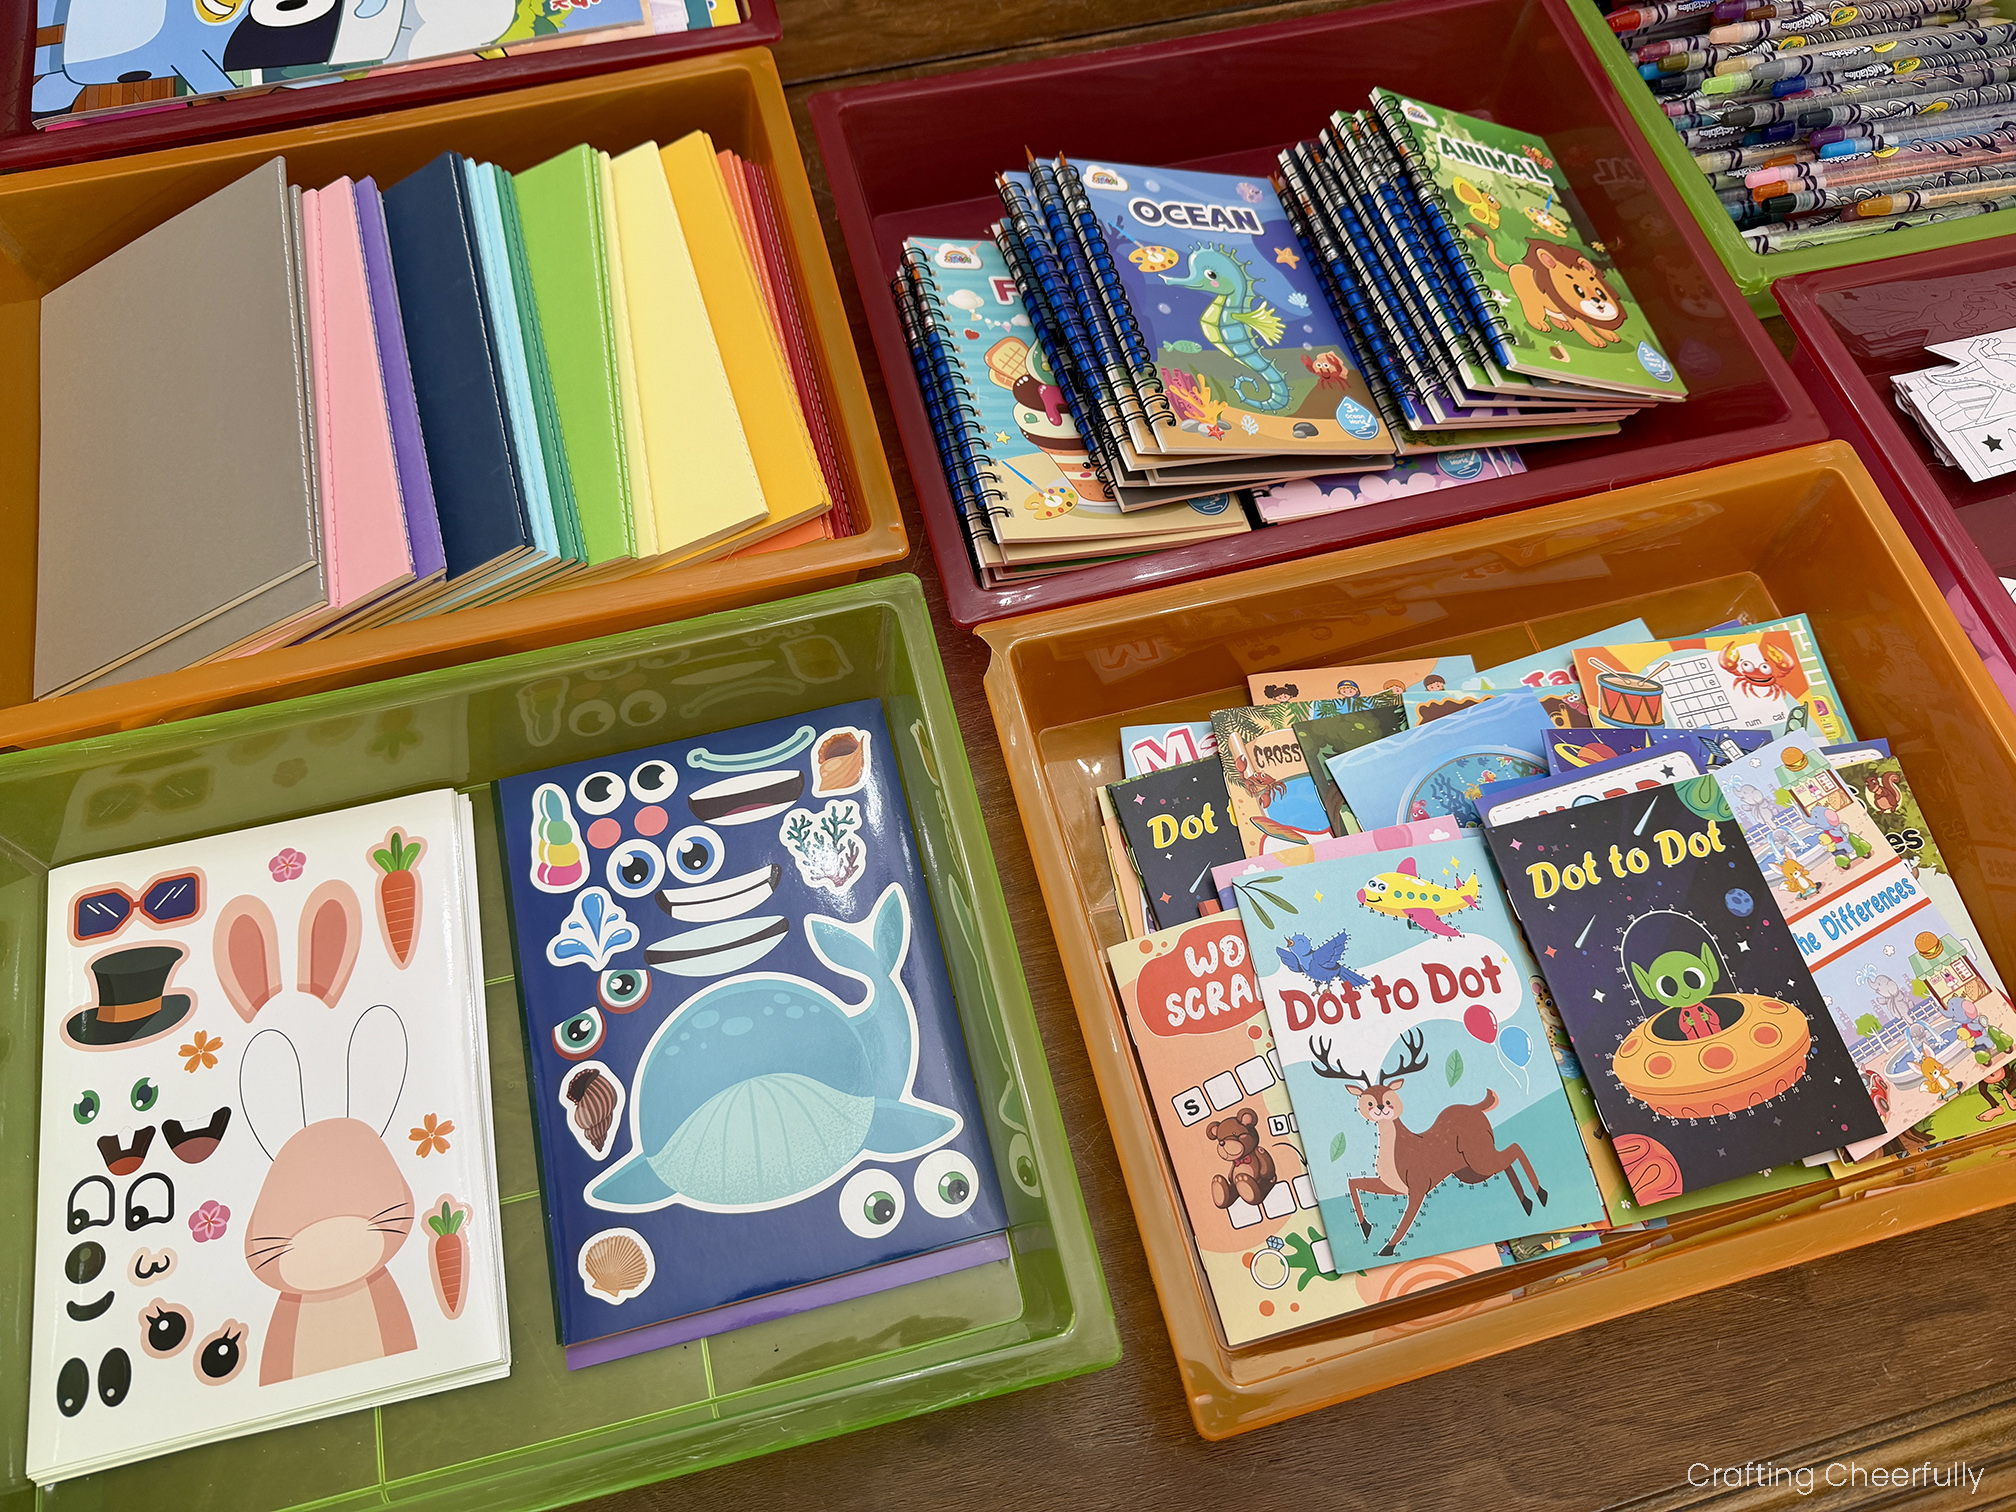
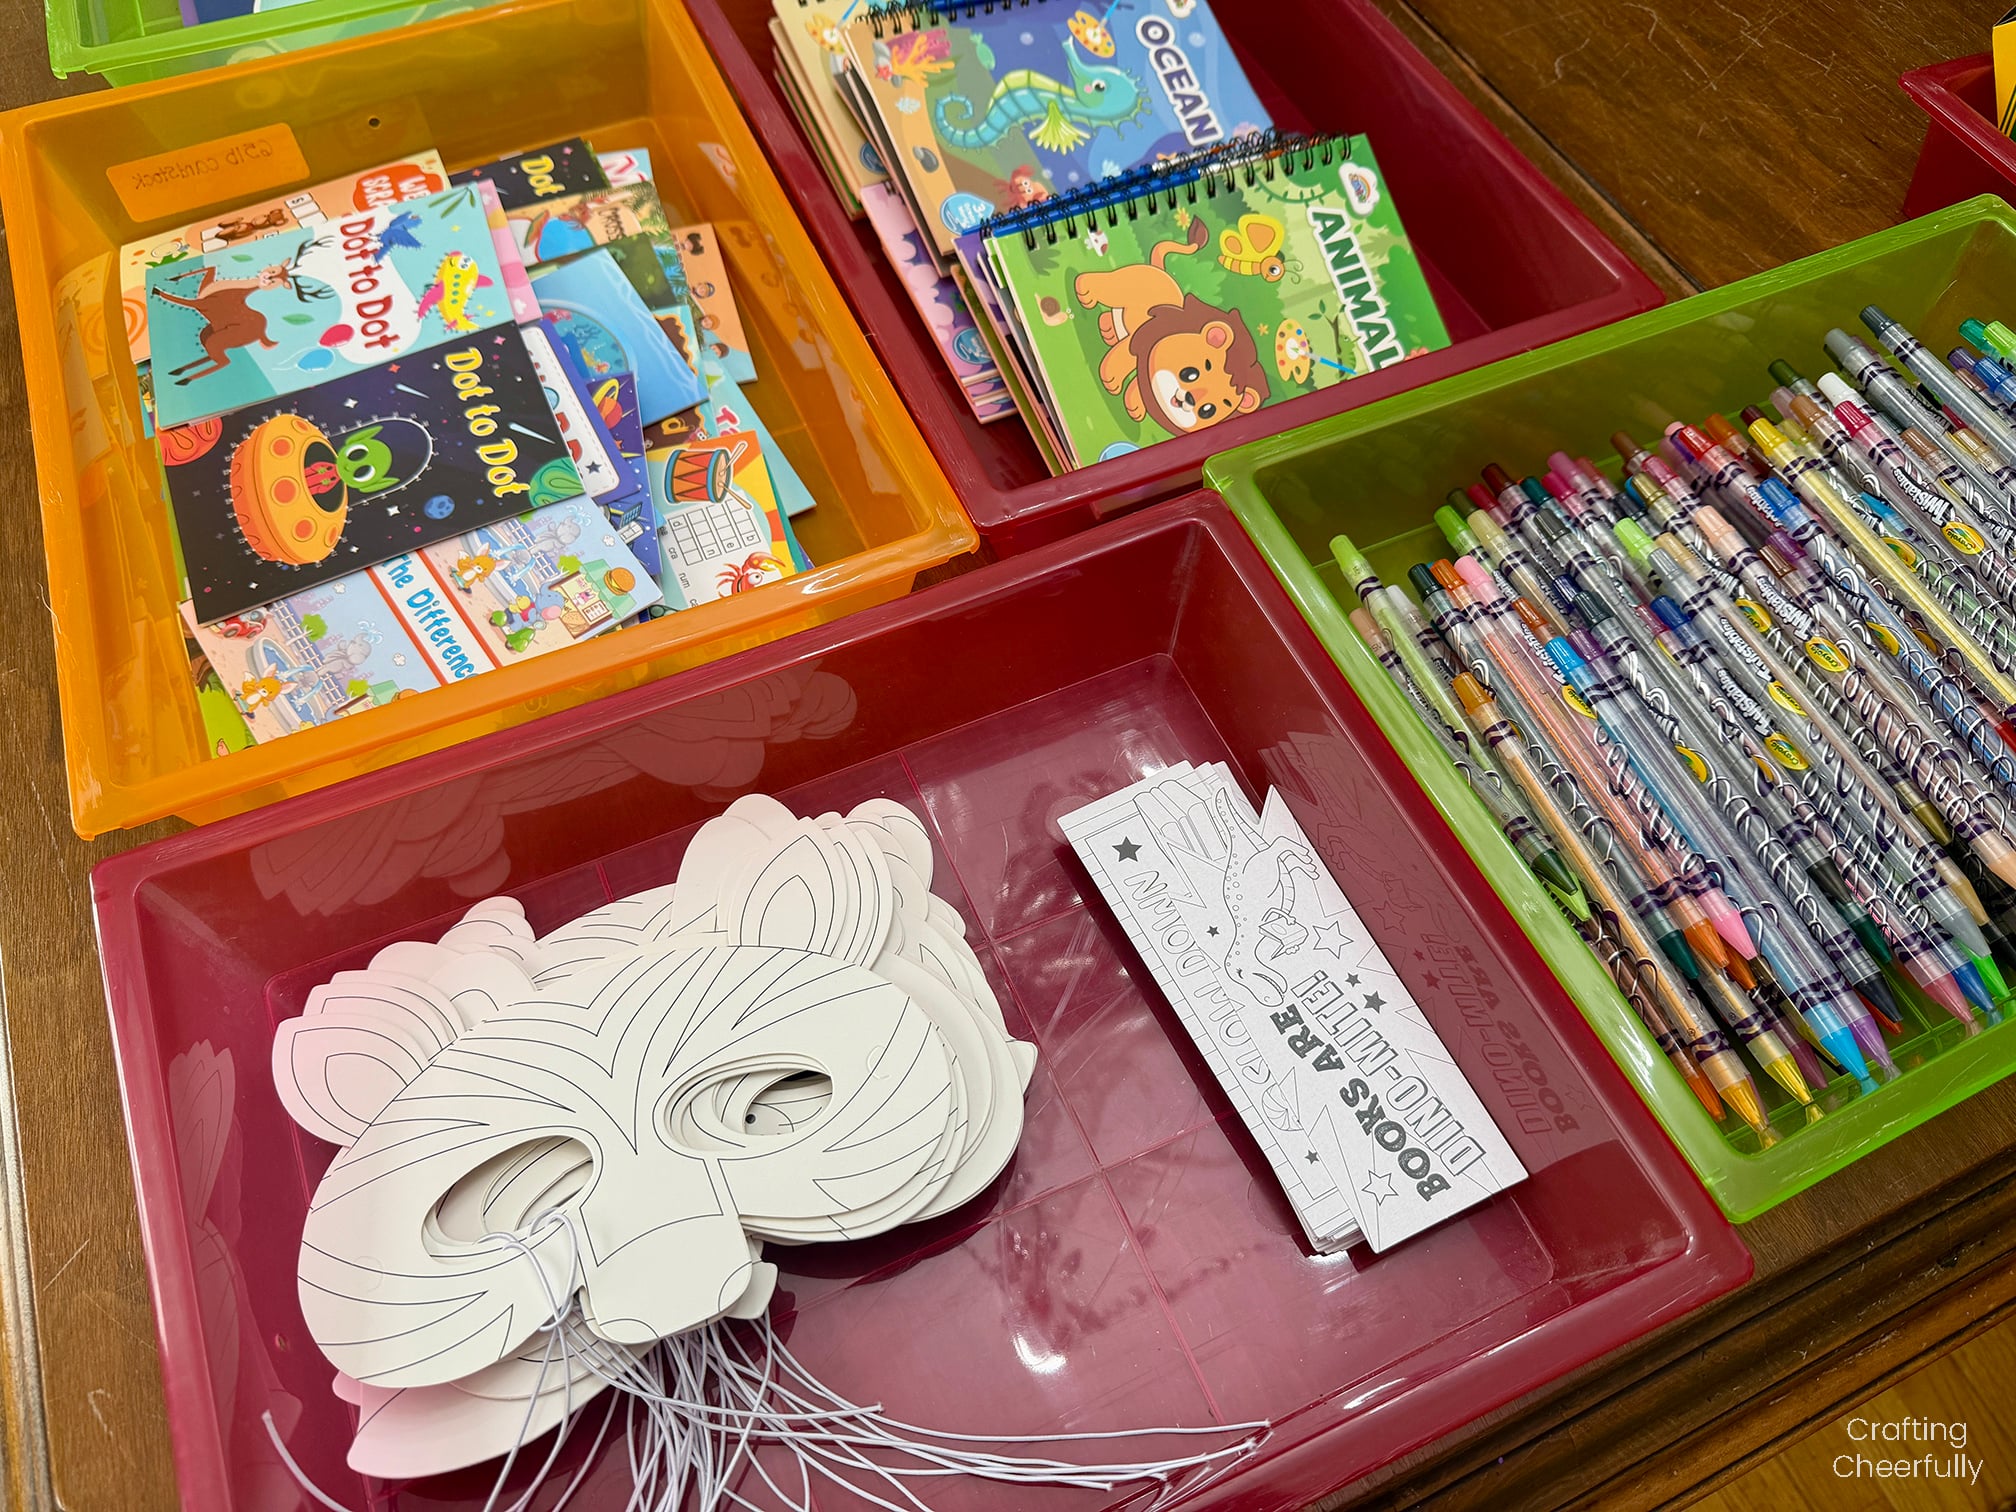
For these kits we chose lots of different coloring tools like crayons, colored pencils, watercolors and a fun pen that can change color. We also chose lots of different things kids can color. Everything from traditional coloring books and blank journals to animal masks and bookmarks. We added a bunch of fun sticker sets they could use in the blank journals as well as mini activity books they could use their colorful pen with.
I was really excited to find Disney-themed coloring books in bulk for a reasonable price. I think kids enjoy seeing recognizable characters! The activity books we chose are generic. If I were to order them again, I would stick to ones that featured animals, as we found the ones that featured kids lacked diversity in skin tones.
Purchasing the Supplies
Purchasing the supplies can be done in several ways. If your organization, like a club or Scout troop, has the funds they can take care of ordering everything. You can also create an Amazon Wishlist and ask participants to purchase something from your list ahead of time. I recommend you set it up so the items others purchase are shipped directly to you in advance so you can be prepared on your event date.
Items in the Coloring Kits
- 24 Drawstring Backpack Bags
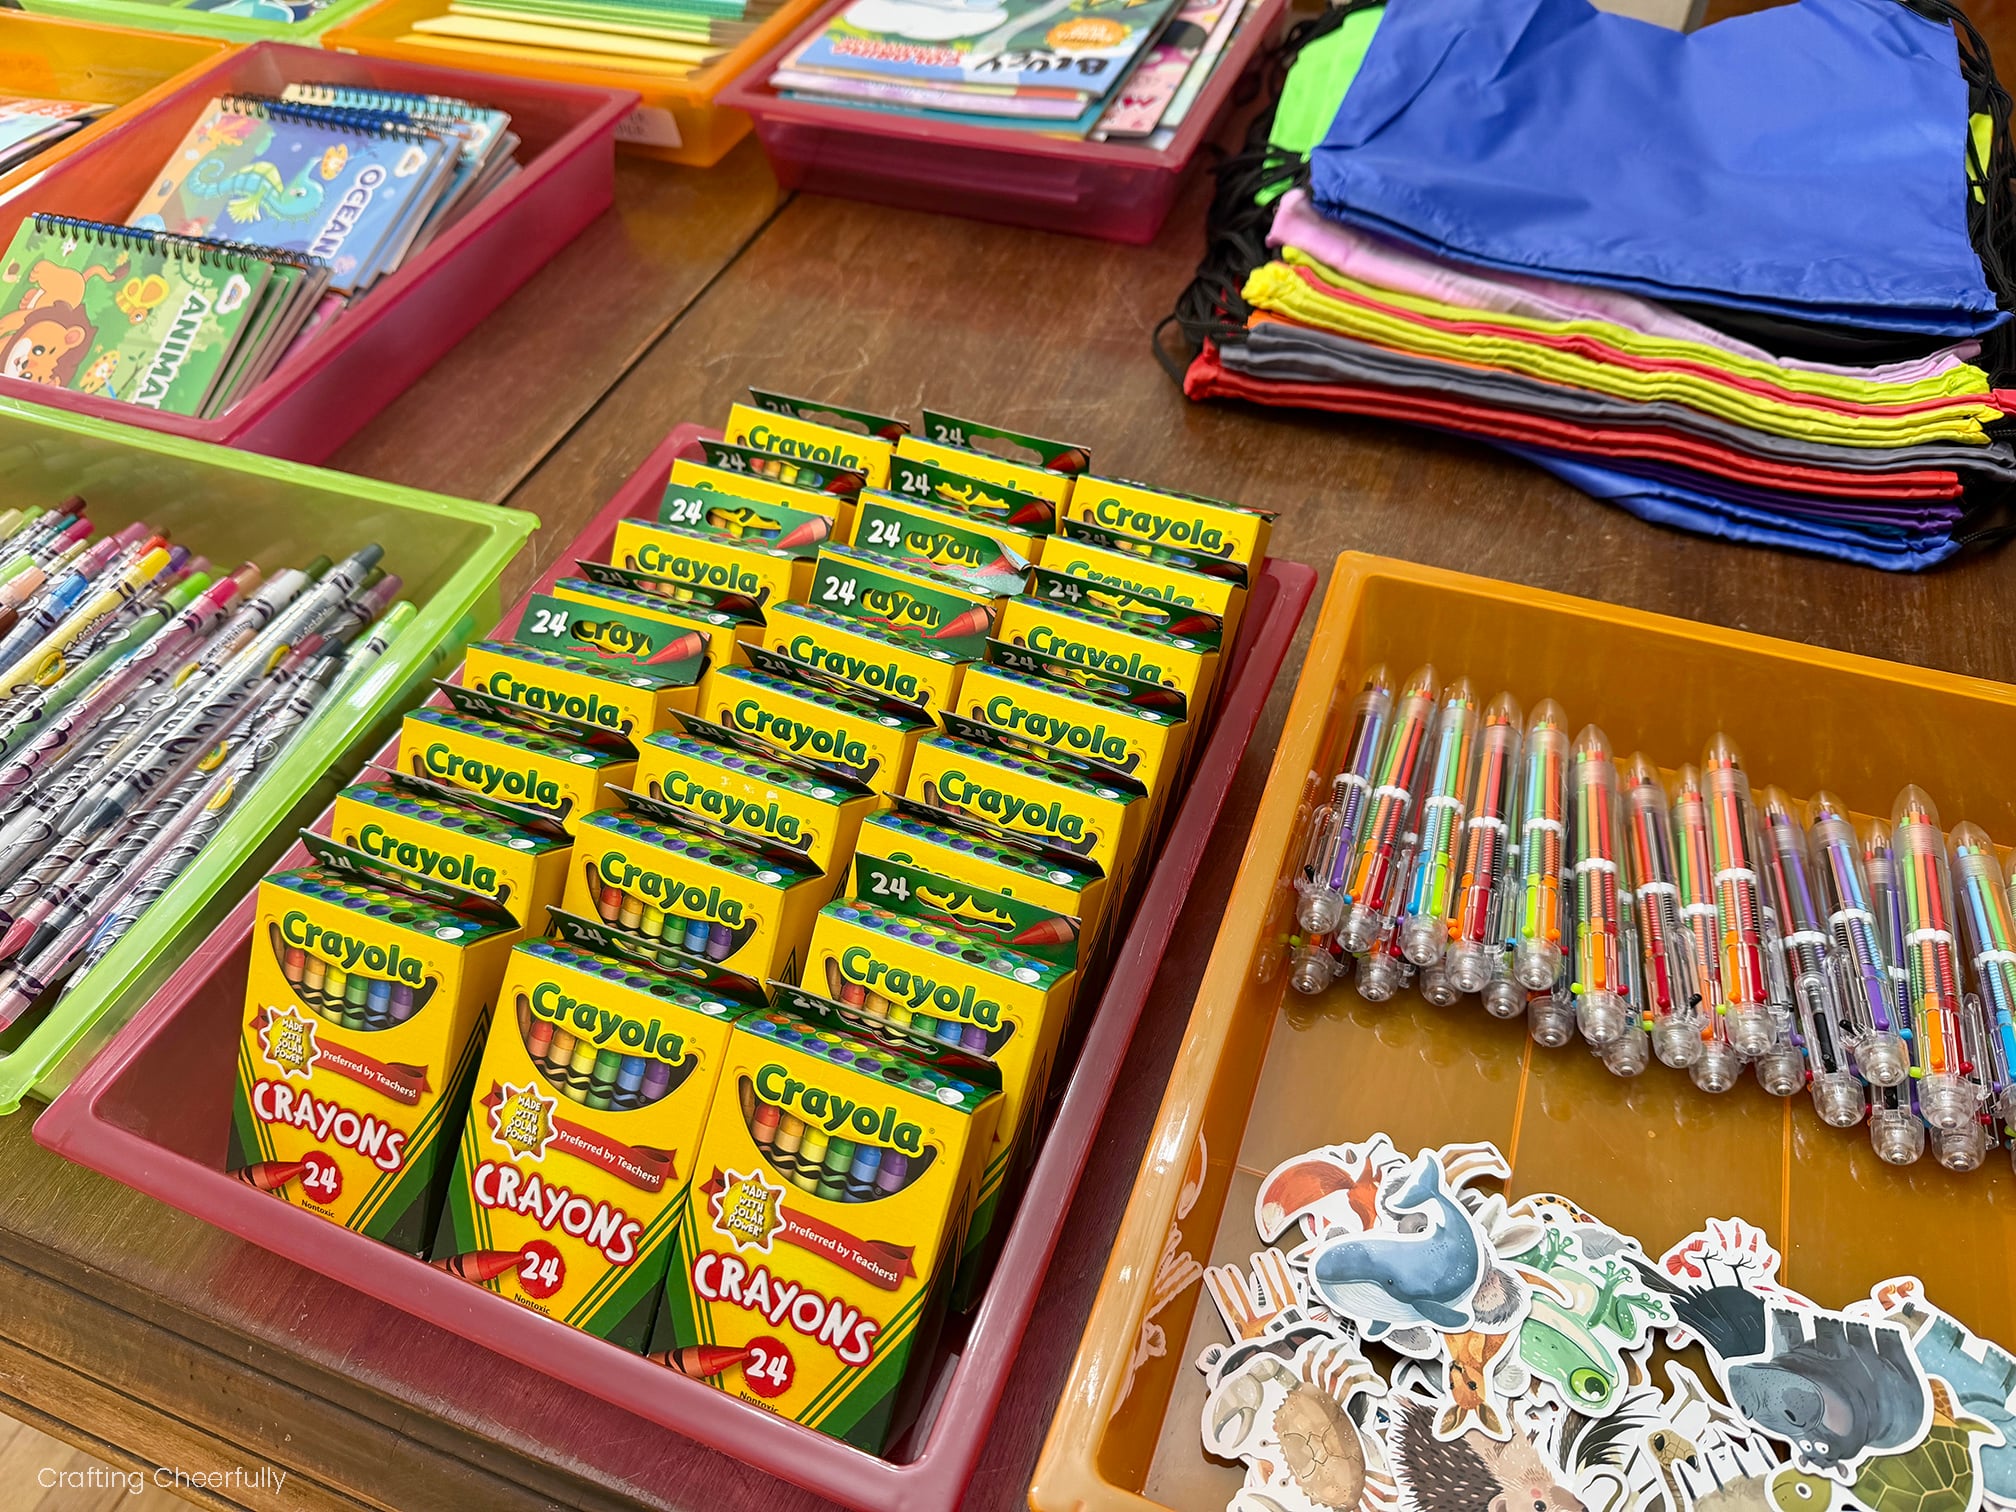
- 24 Boxes of Crayola Crayons (24 pack)
- 24 Disney Coloring Books
- 24 Blank Notebooks
- 24 Make-Your-Own Animal Sticker Sheets
- 24 Make-Your-Own Sea Animal Sticker Sheets
- 24 Mini Activity Books
- 24 Mini Activity Books 2
- 24 Water Coloring Books
- 50 Cute Cartoon Animal Stickers
- 24 Multicolor Ballpoint Pens
- 24 Color-Your-Own Animal Masks
- 24 Color-Your-Own Bookmarks
- 2 Sets of Crayola Twistables (50 pack)
Setting Up for the Kit Making Party
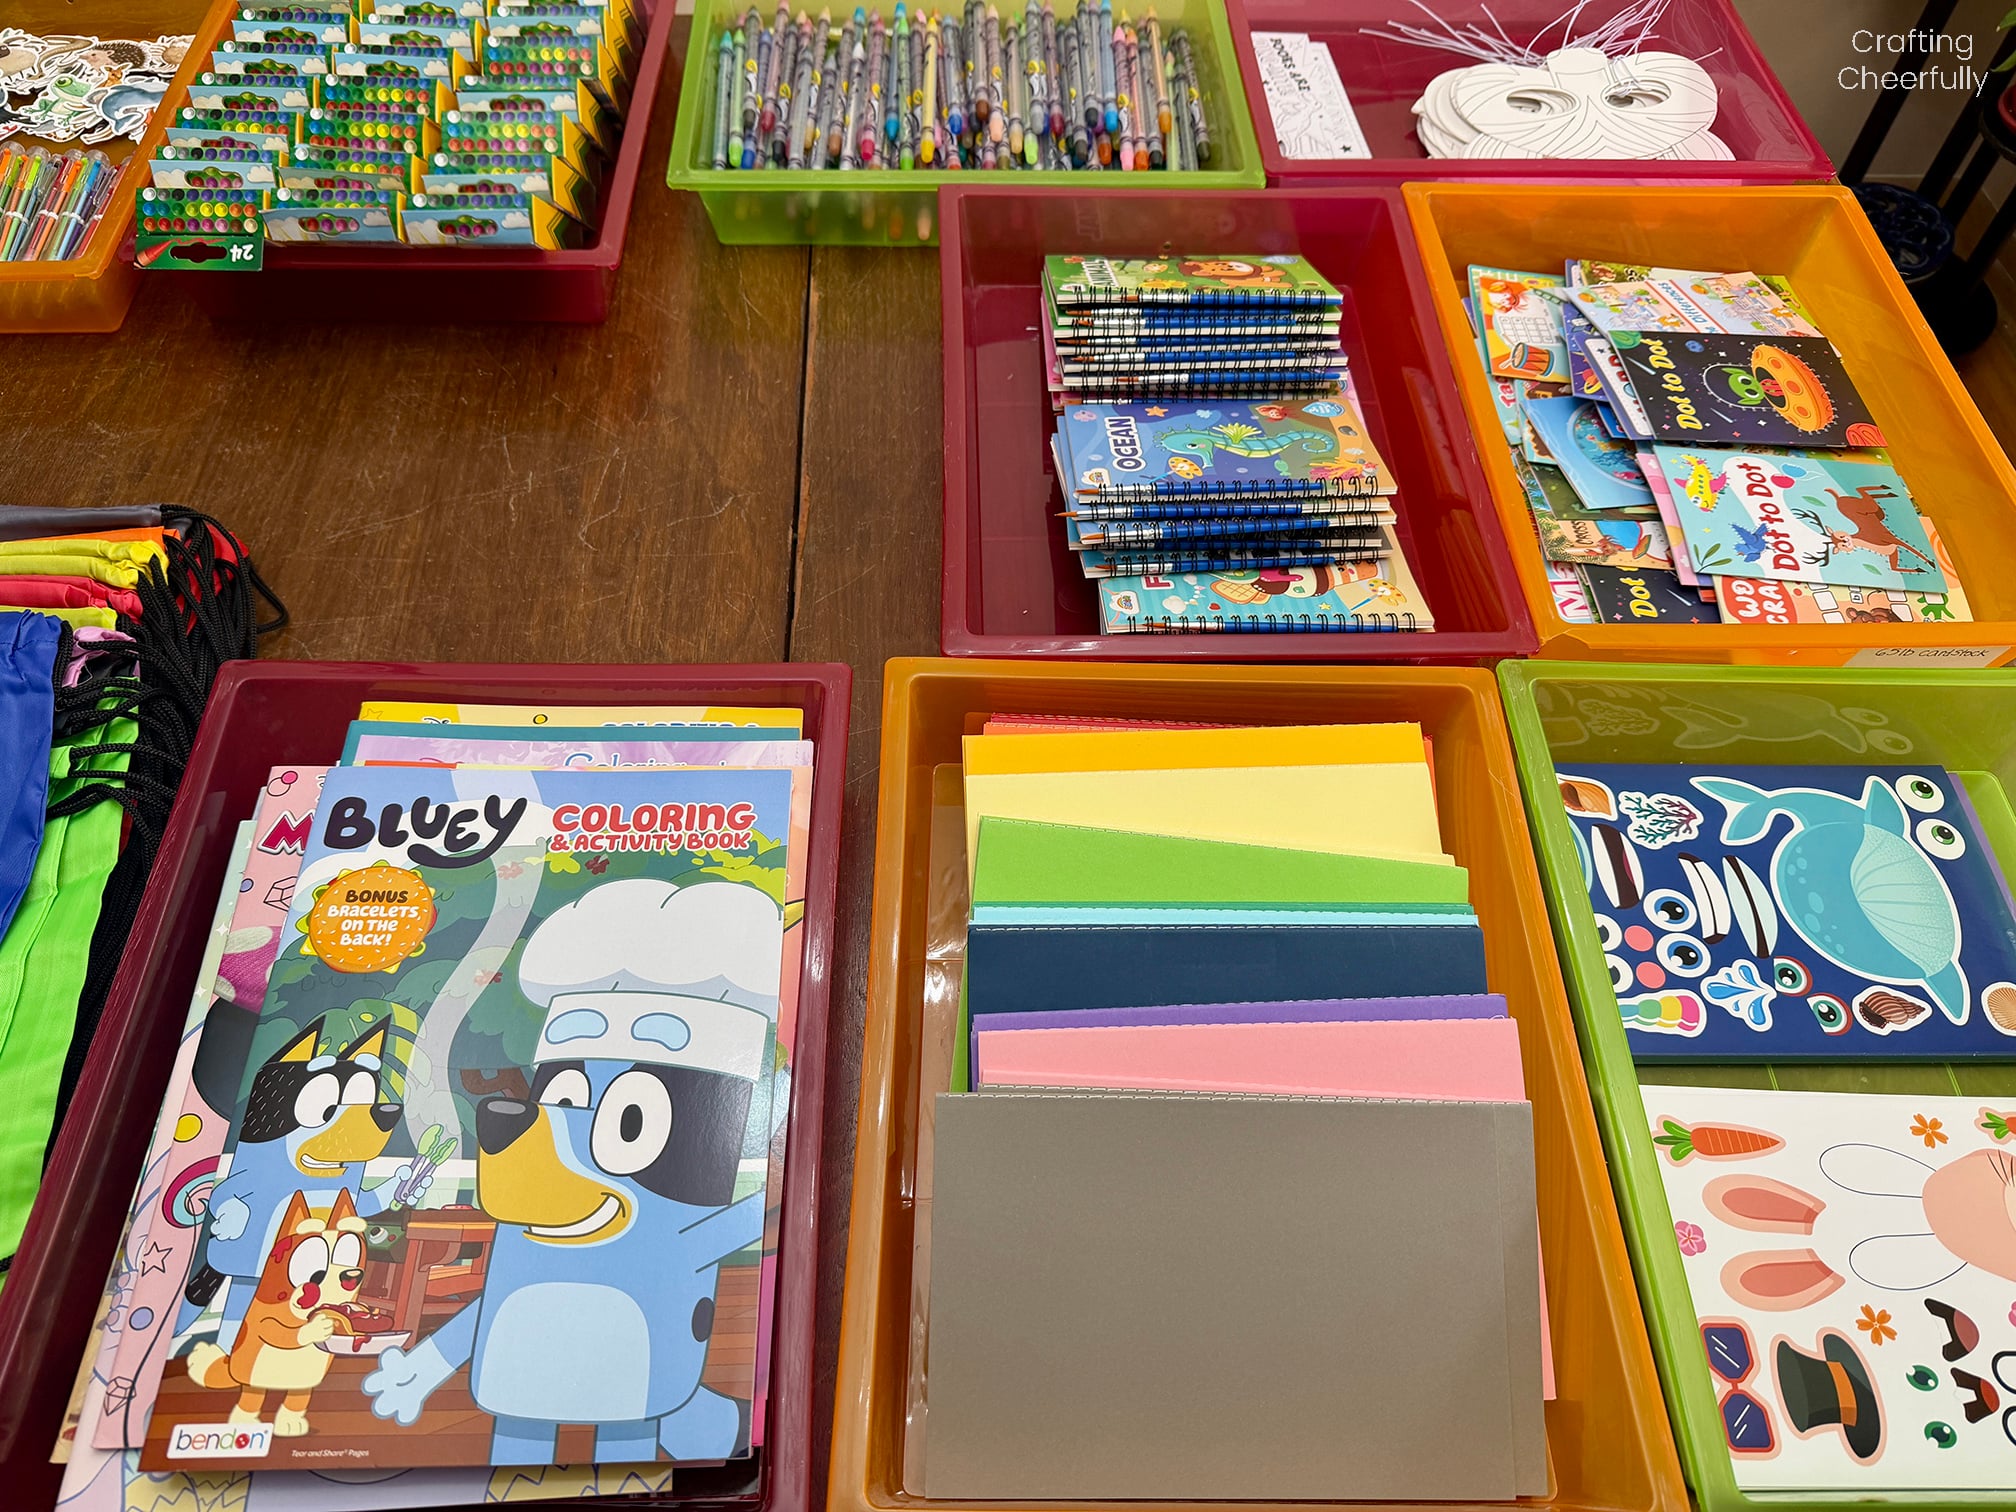
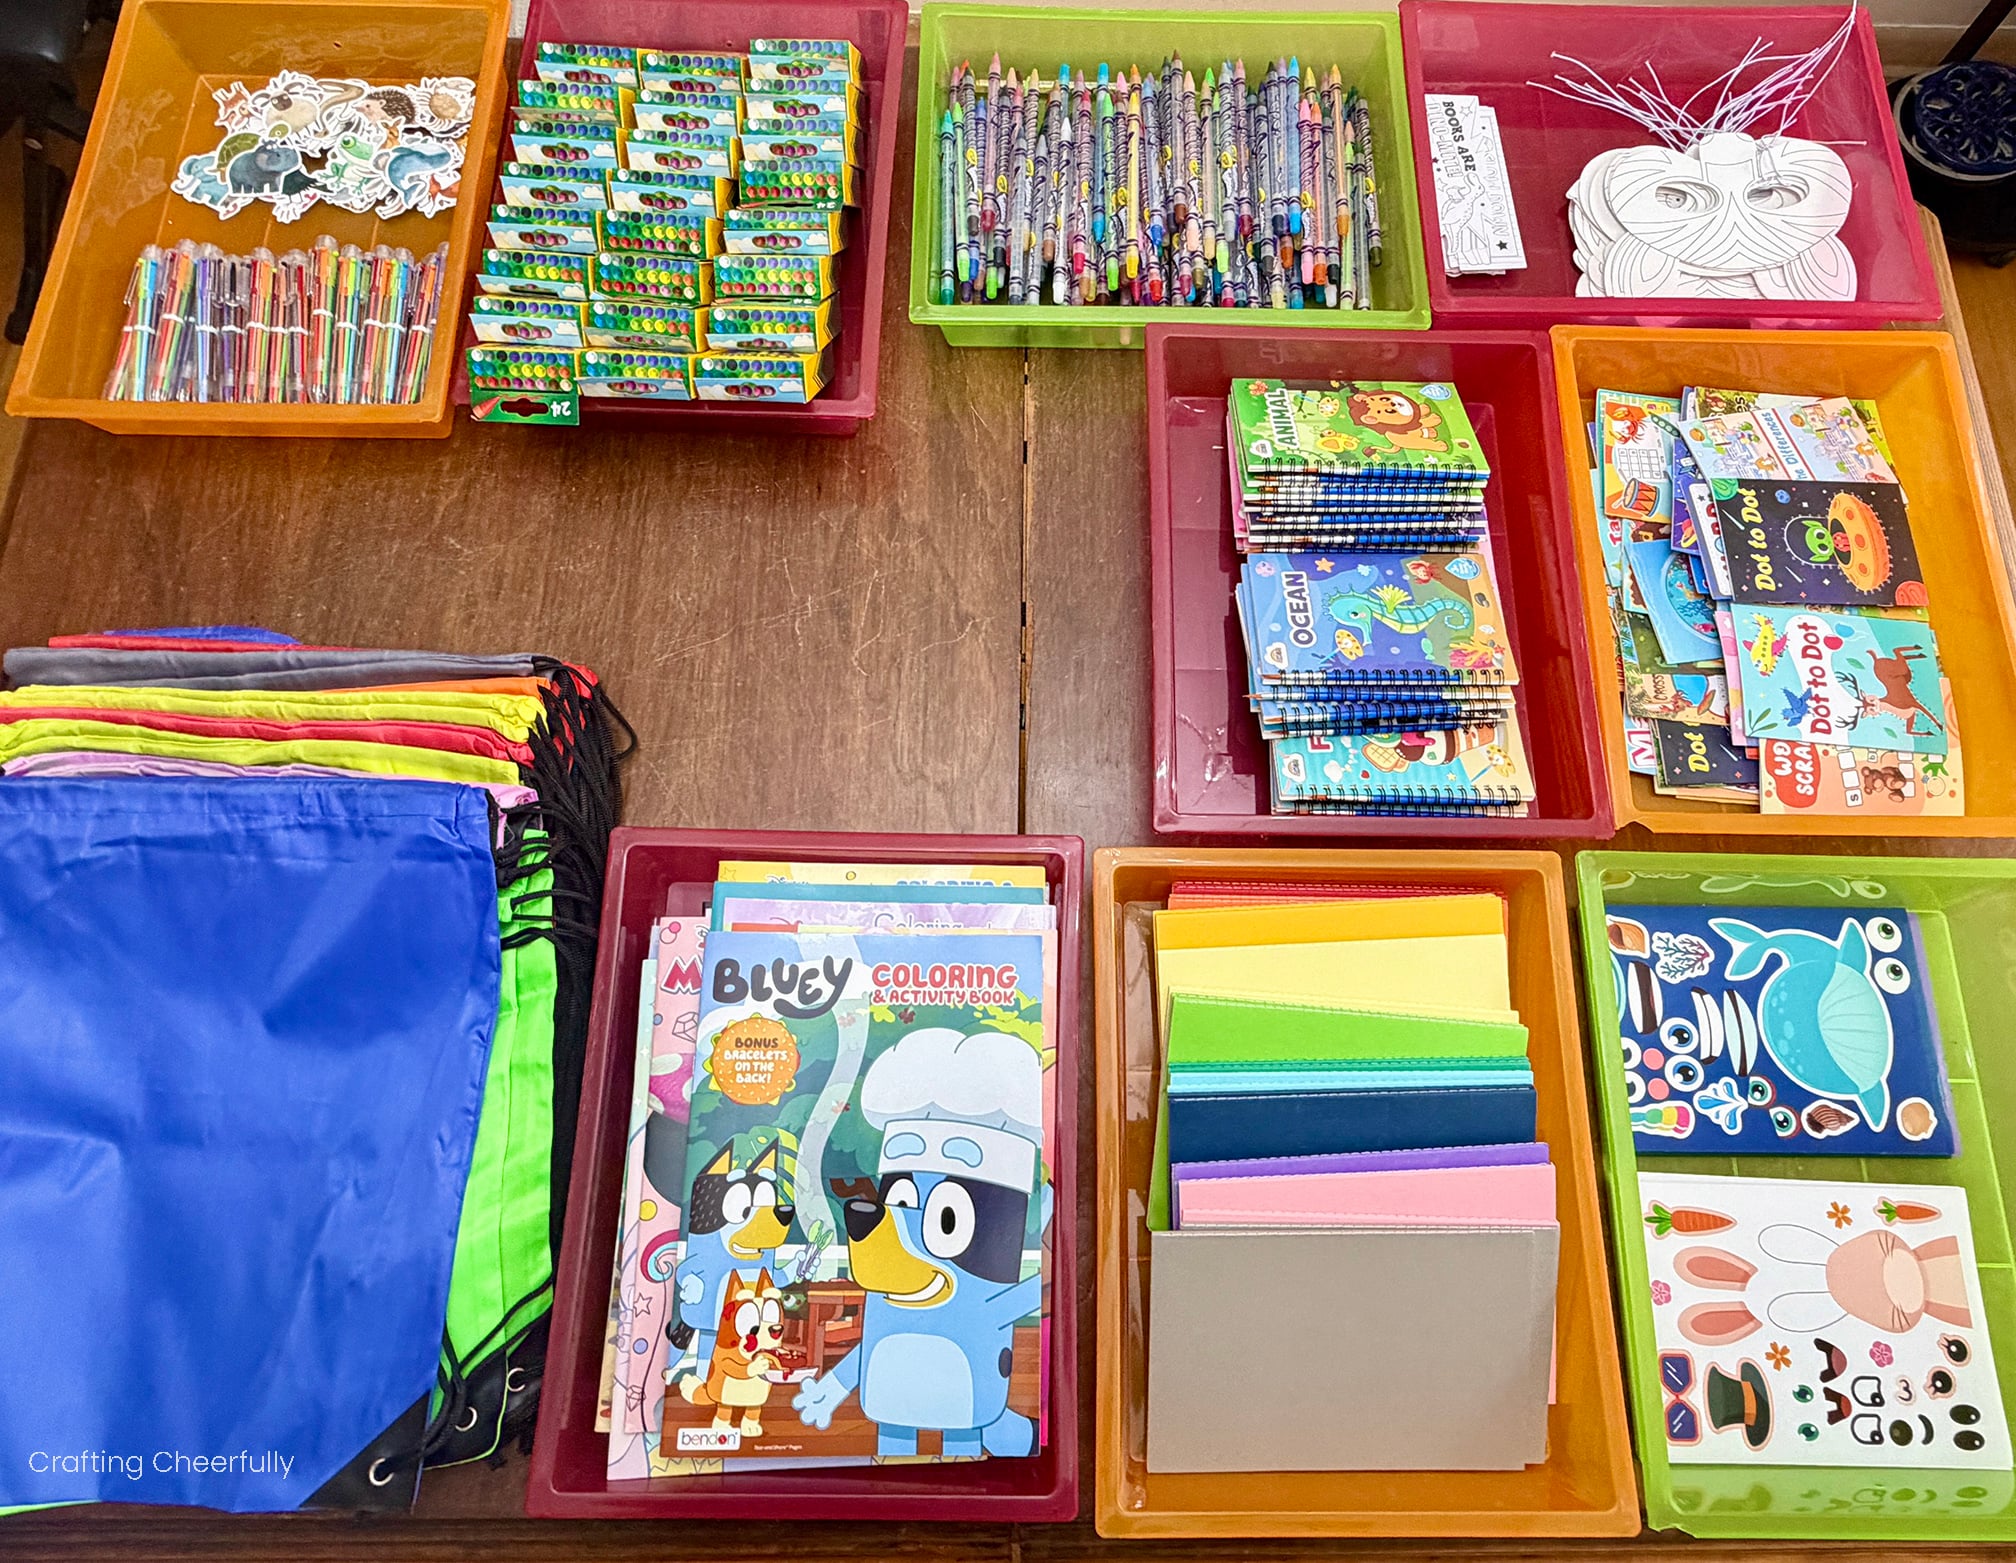
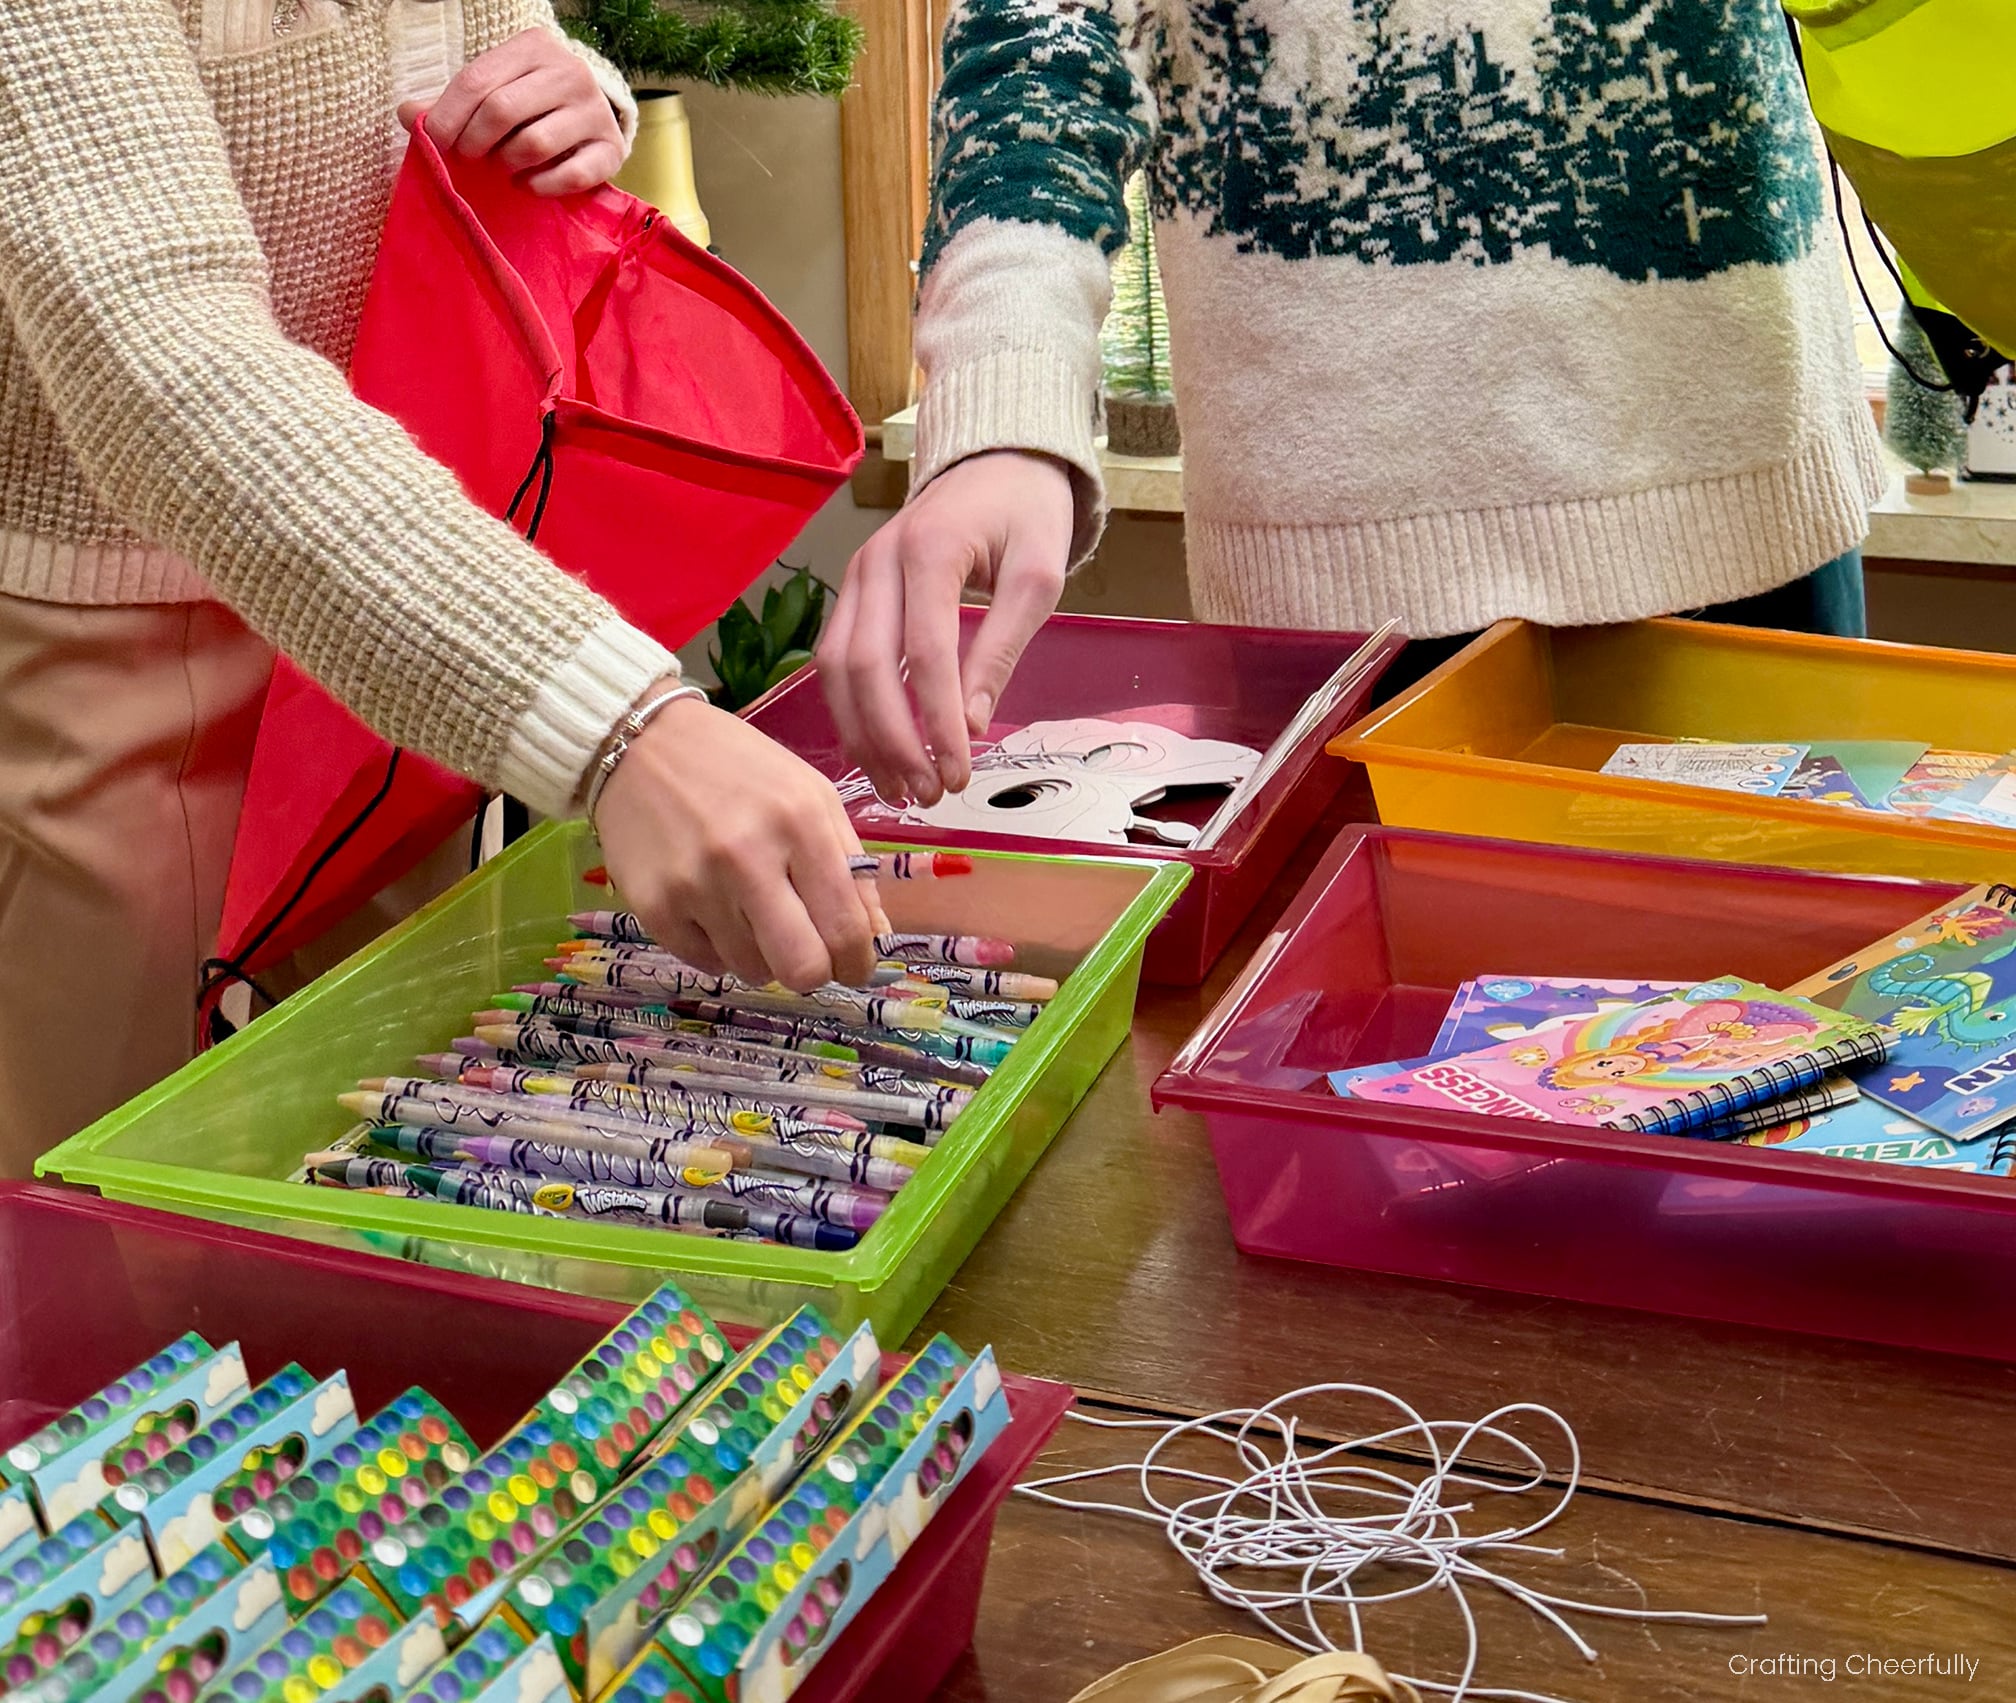
What makes these kits extra fun is the volunteer event. Gather a group of friends, family or a school group together and have everyone help. We like to set everything up in advance in trays to keep things organized. Helpers can grab a bag and walk around the table collecting the items and filling the bags.
Some Tips to Keep in Mind
- Consider the traffic flow. We have done similar outreach events outside at parks and at our local library where we could have several long tables (or picnic tables) arranged in one long row. This was ideal and worked really well. For this project, we assembled them in our dining room and set things up so everyone could walk around the table in a counter-clockwise direction.
- Un-package and assemble everything ahead of time. Some things may require a bit of assembly and that should all be done in advance. We needed to add the paintbrushes to the spiral of each watercolor book and we attached the elastic to each mask before the assembly day. This will also allow you to count everything and make sure you have enough.
- Trays are magic!! We use trays to keep everything organized. We removed the knobs from drawers from an old organizer cart which worked great. We use these for so many different things – including LEGO-building to keep the pieces together. Other options include Plastic Art Trays, Classroom-style baskets, or even sheet pans and bowls you have around your home. Anything you can use to keep items separated will be a very helpful!
- Have everyone watch you go around the table to make one of the kits while you explain what goes into them. This will make sure everyone knows how many of each item to grab. For most items the helpers should only grab one per bag – but there may be some exceptions. In each of our bags we added 4 Crayola Twistables, 2 cartoon sticker sheets and 2 mini activity books. The helpers were instructed to grab 4 Twistables that were different colors and 2 activity books that were not the same. For example, grab one maze book and one dot-to-dot.
- Have designated checkers at the end of the assembly line. They can double-check all items were added and that things are arranged nicely in the bags. This is a great activity to do with kids and school groups, but they will not always put things in the bags as nicely as they could!
Decorating the Bags
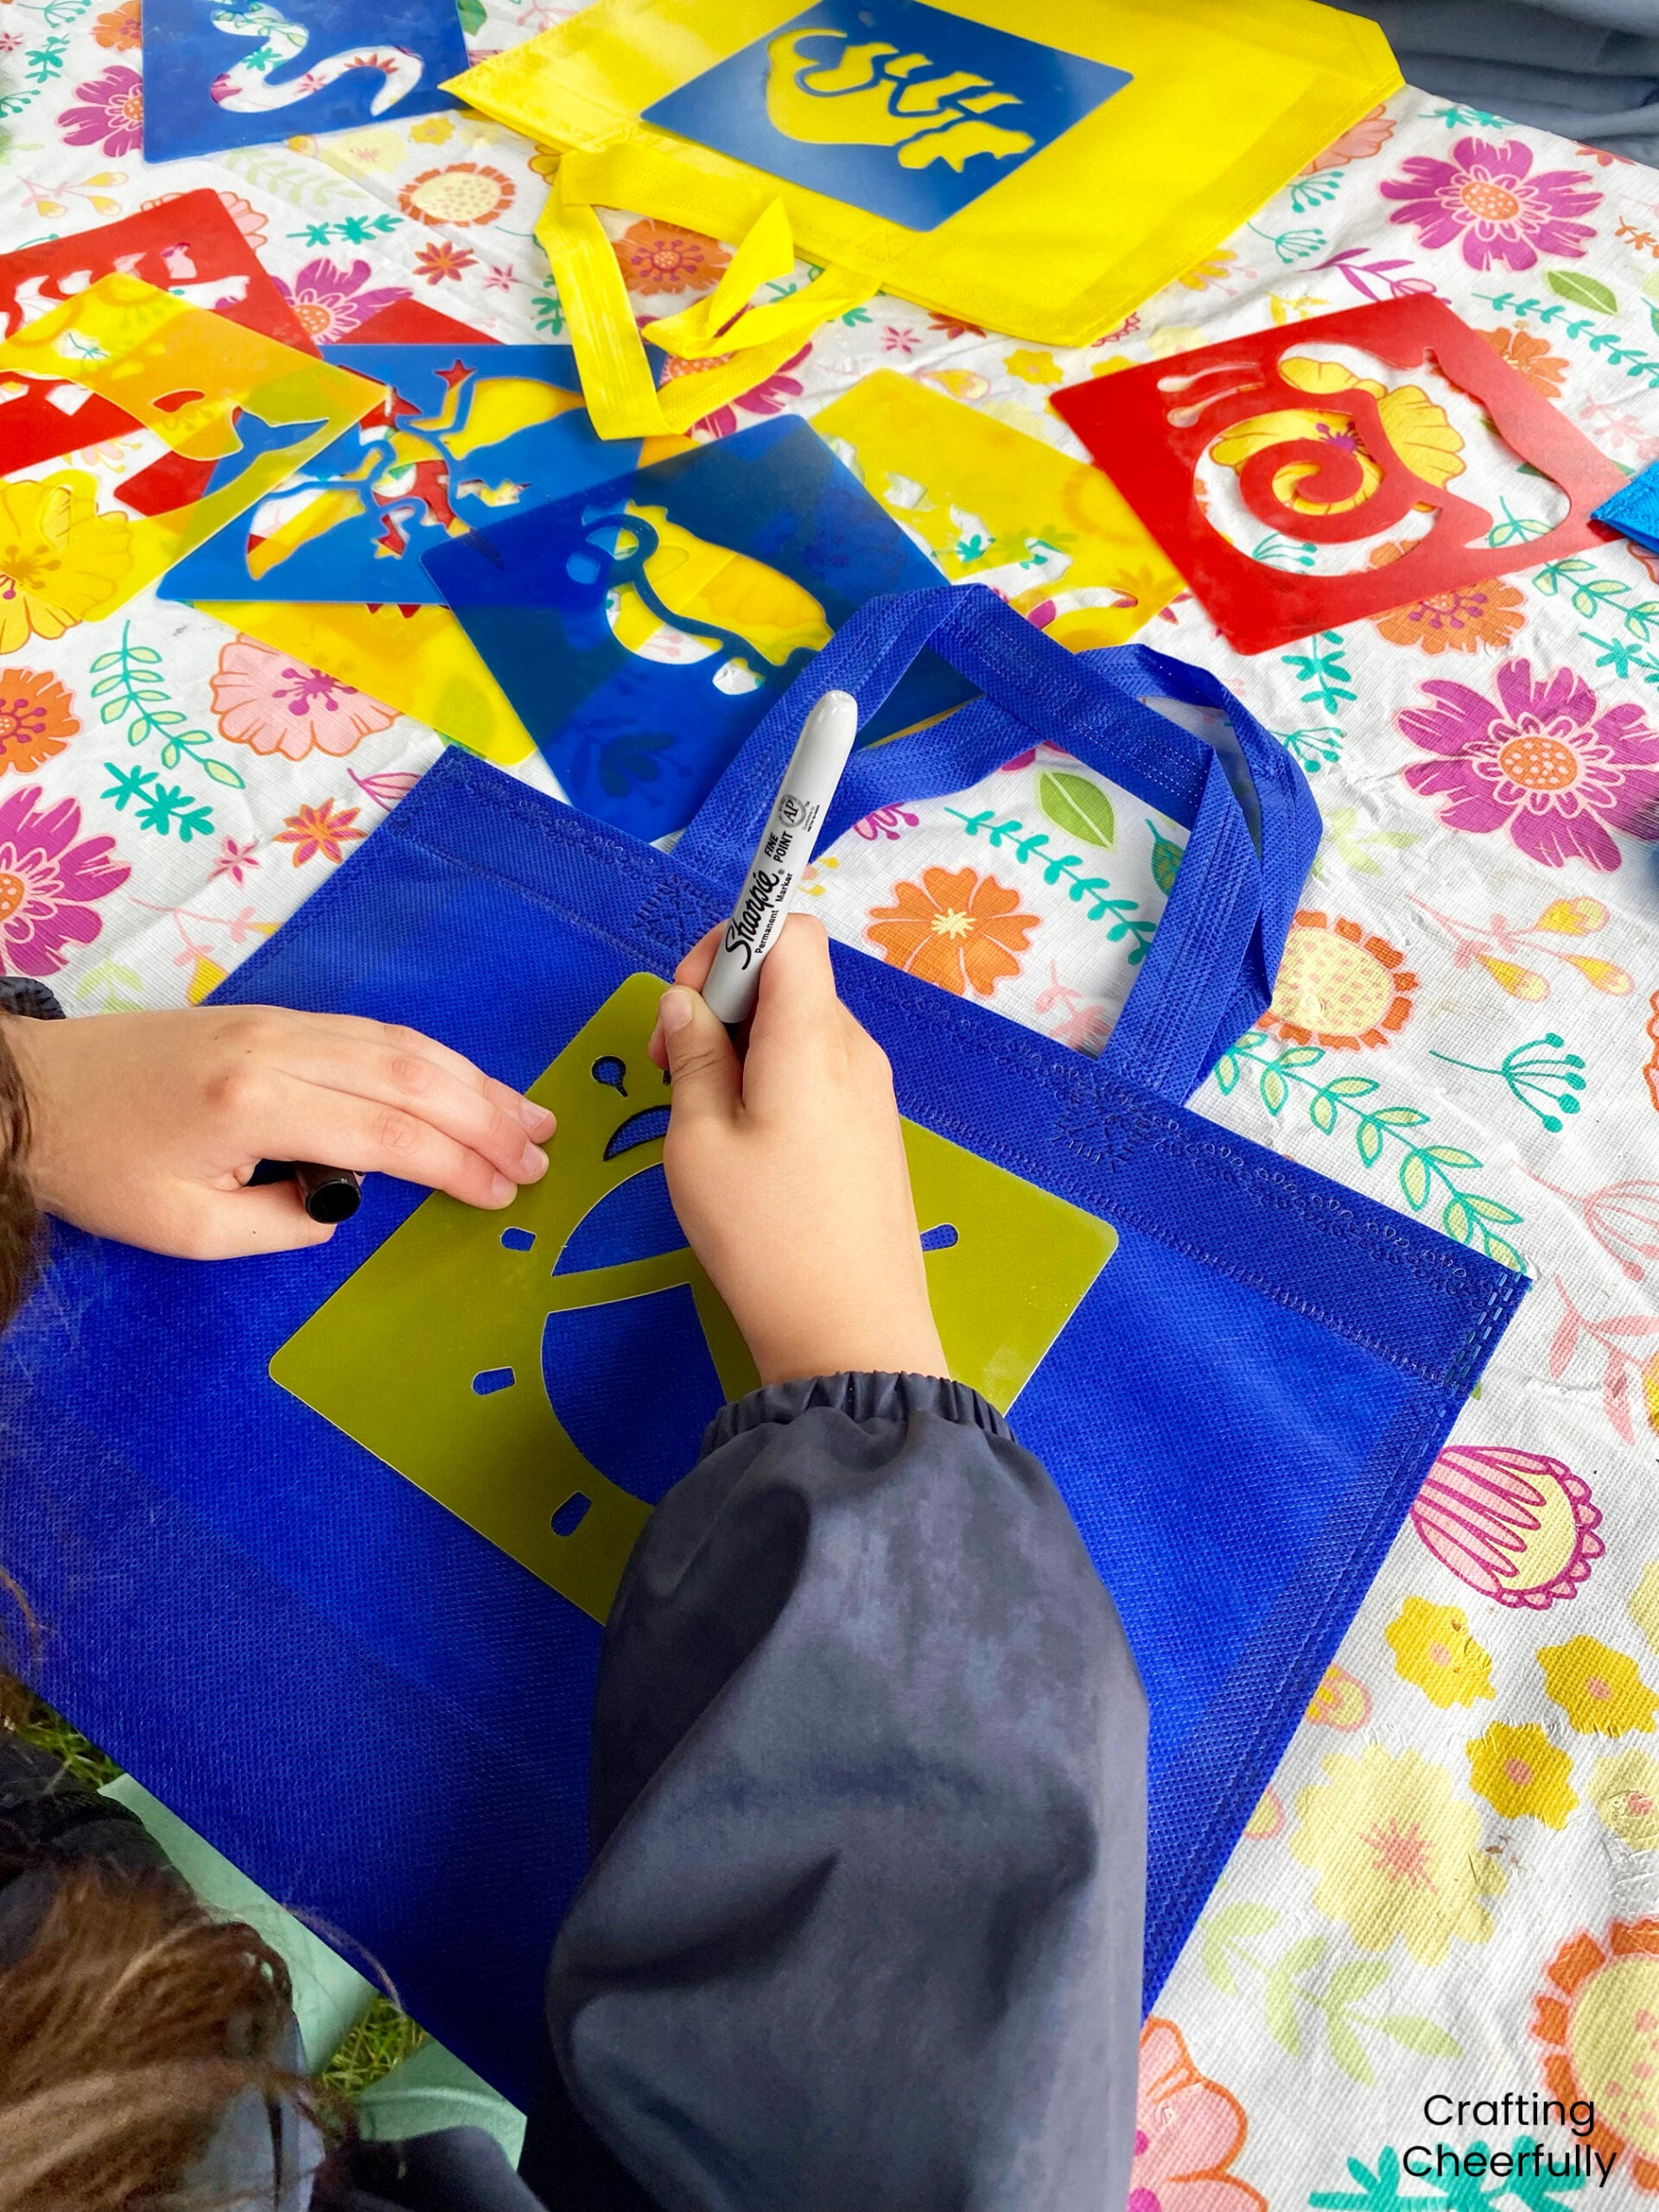
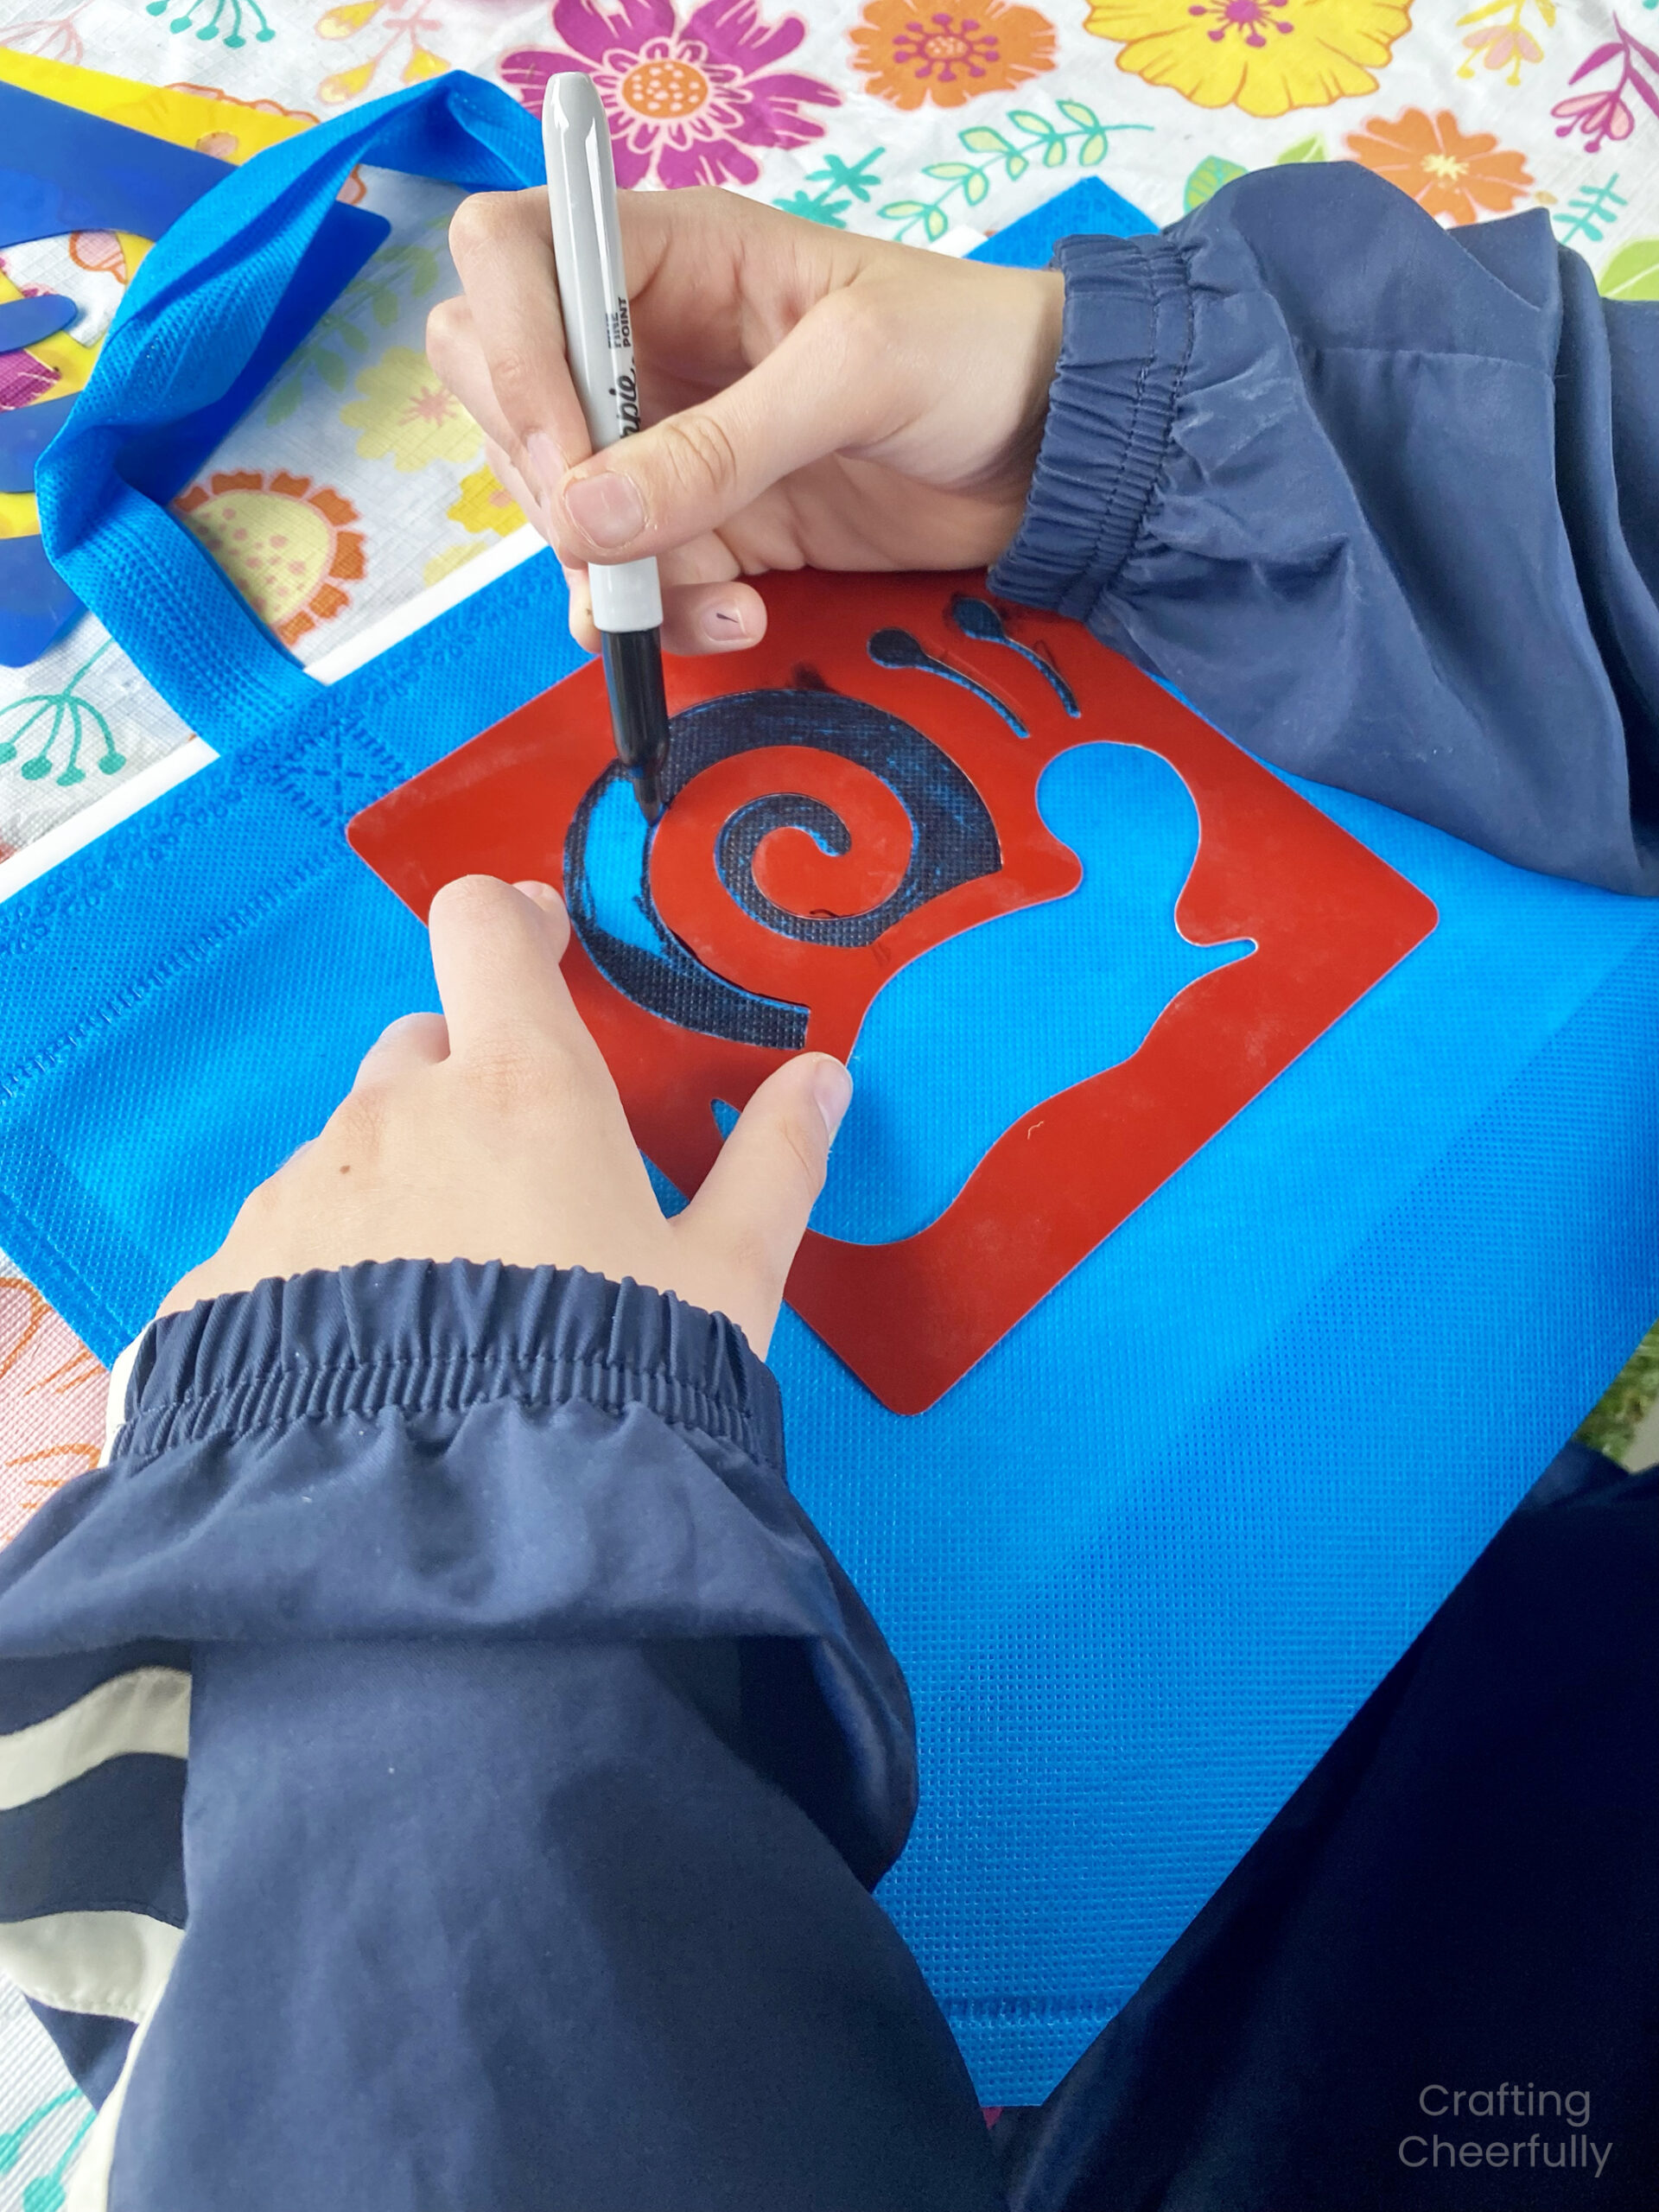
For these coloring kits we chose to use cinch sacks, or drawstrings bags. We thought they would be more likely to be used again by the kids who were receiving them. In the past we have used reusable gift bags. We were then able to decorate them using stencils and Sharpie markers. This gave the helpers at our assembly event a way to personalize the gifts and it can be a fun option if you have the time.
Here are the exact bags we were using below (even though they are currently unavailable) and a link to similar 8″ x 8″ chalk stencils. Something to keep in mind with using Sharpies is being in a well-ventilated area. We decorated these bags outside at a local park’s picnic shelter.
Assembling the Kits
The next step is assembling the kits! Follow the tips from the set-up section of this post, add some background music, and let everyone have fun! This will either go very quickly if you have lots of helping hands and a small amount of bags to make, or it could take a longer time if you have a lot of bags and less helpers. Don’t forget to have someone double-checking the bags as they are finished. They can put the checked bags in a separate location so you know which ones have been checked over and which ones still need to be.
Add a Cute Tag
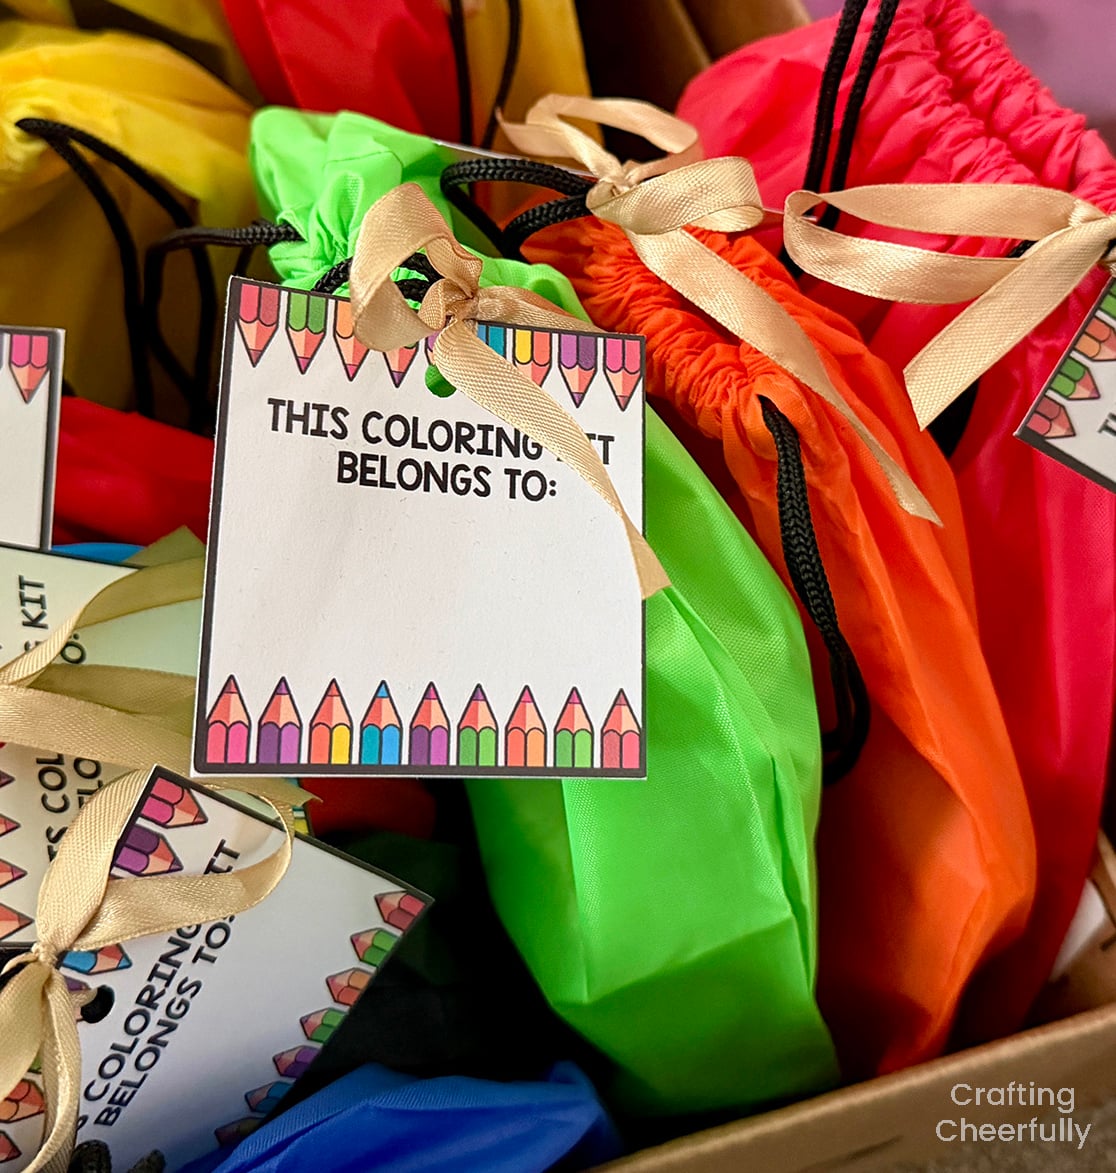
It’s a lot of fun to add a cute tag to the kits to finish them off. For these bags, I made a tag that reads “This coloring kit belongs to” and we attached it to each kit with ribbon I had on hand.
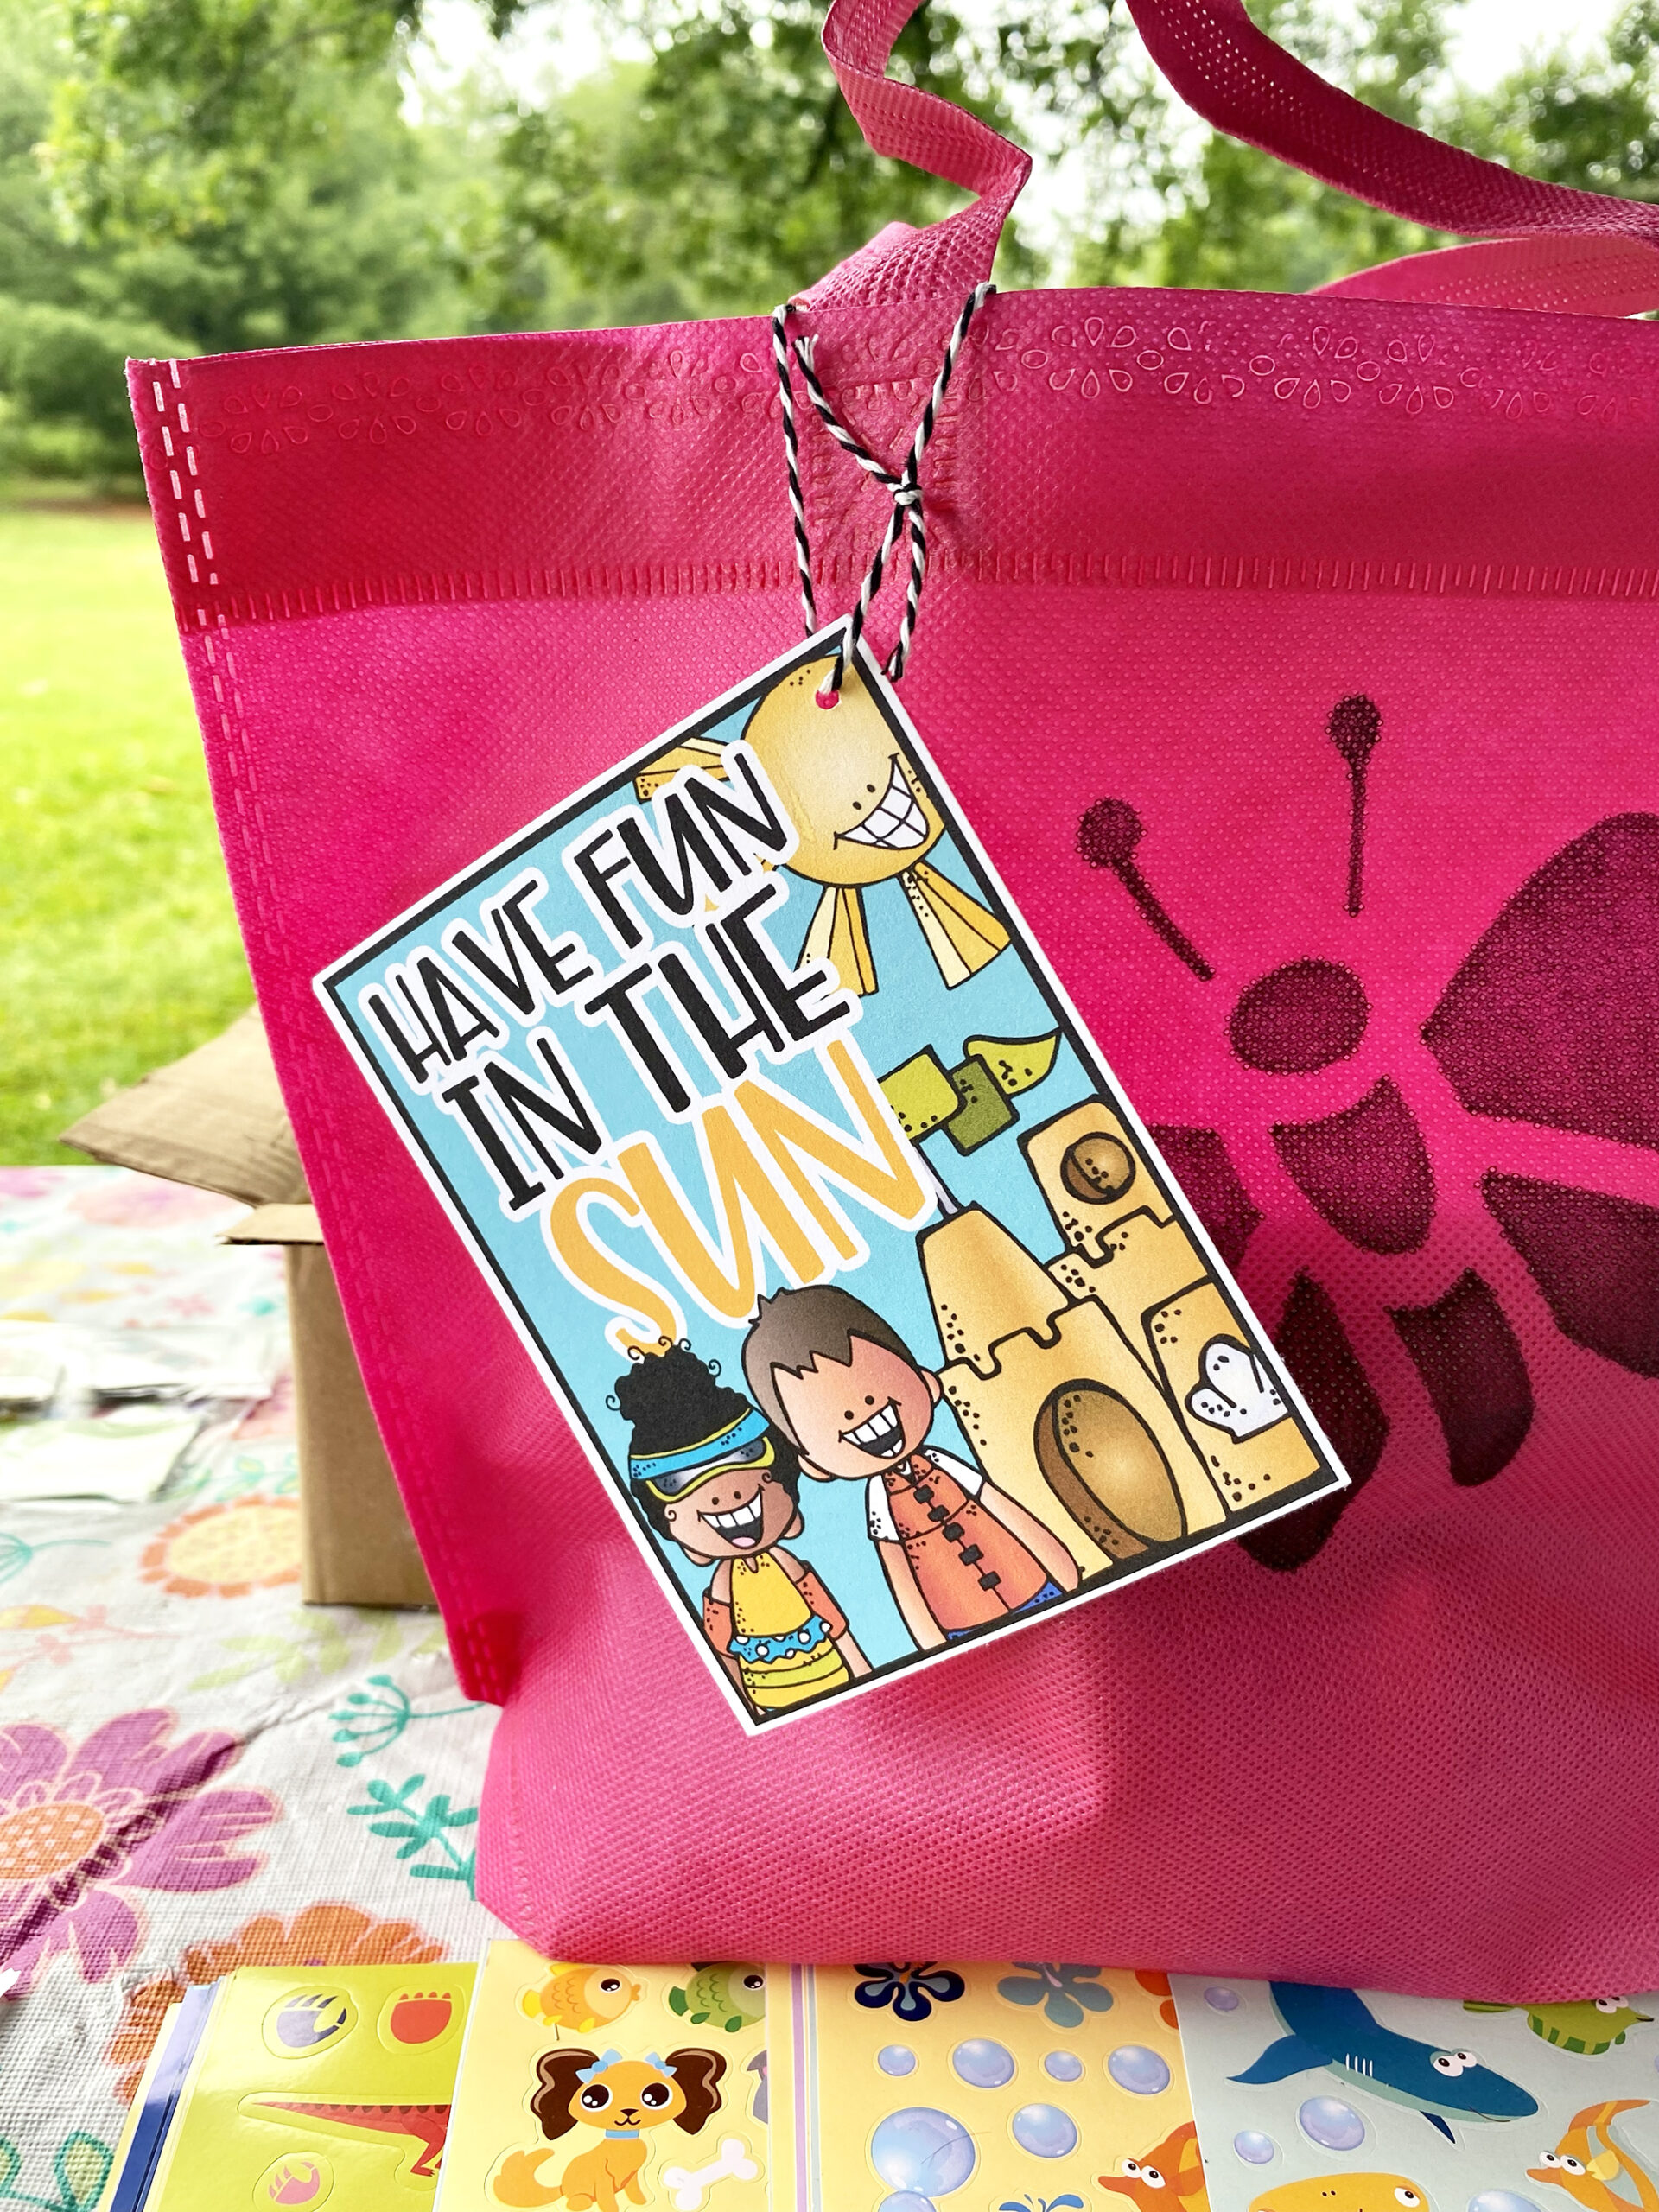
A couple years ago we made summer activity kits for our local Children’s Hospital and we used adorable tags made by Learning in Wonderland.
Deliver the Kits
The final step is to deliver the finished kits! If you’re able to bring along the kids who helped create them it is a really rewarding experience. One of our school clubs donated kits to our local Ronald McDonald House and they gave us a tour. There are so many terrific organizations that could use activity kits like this, it makes a great service project.
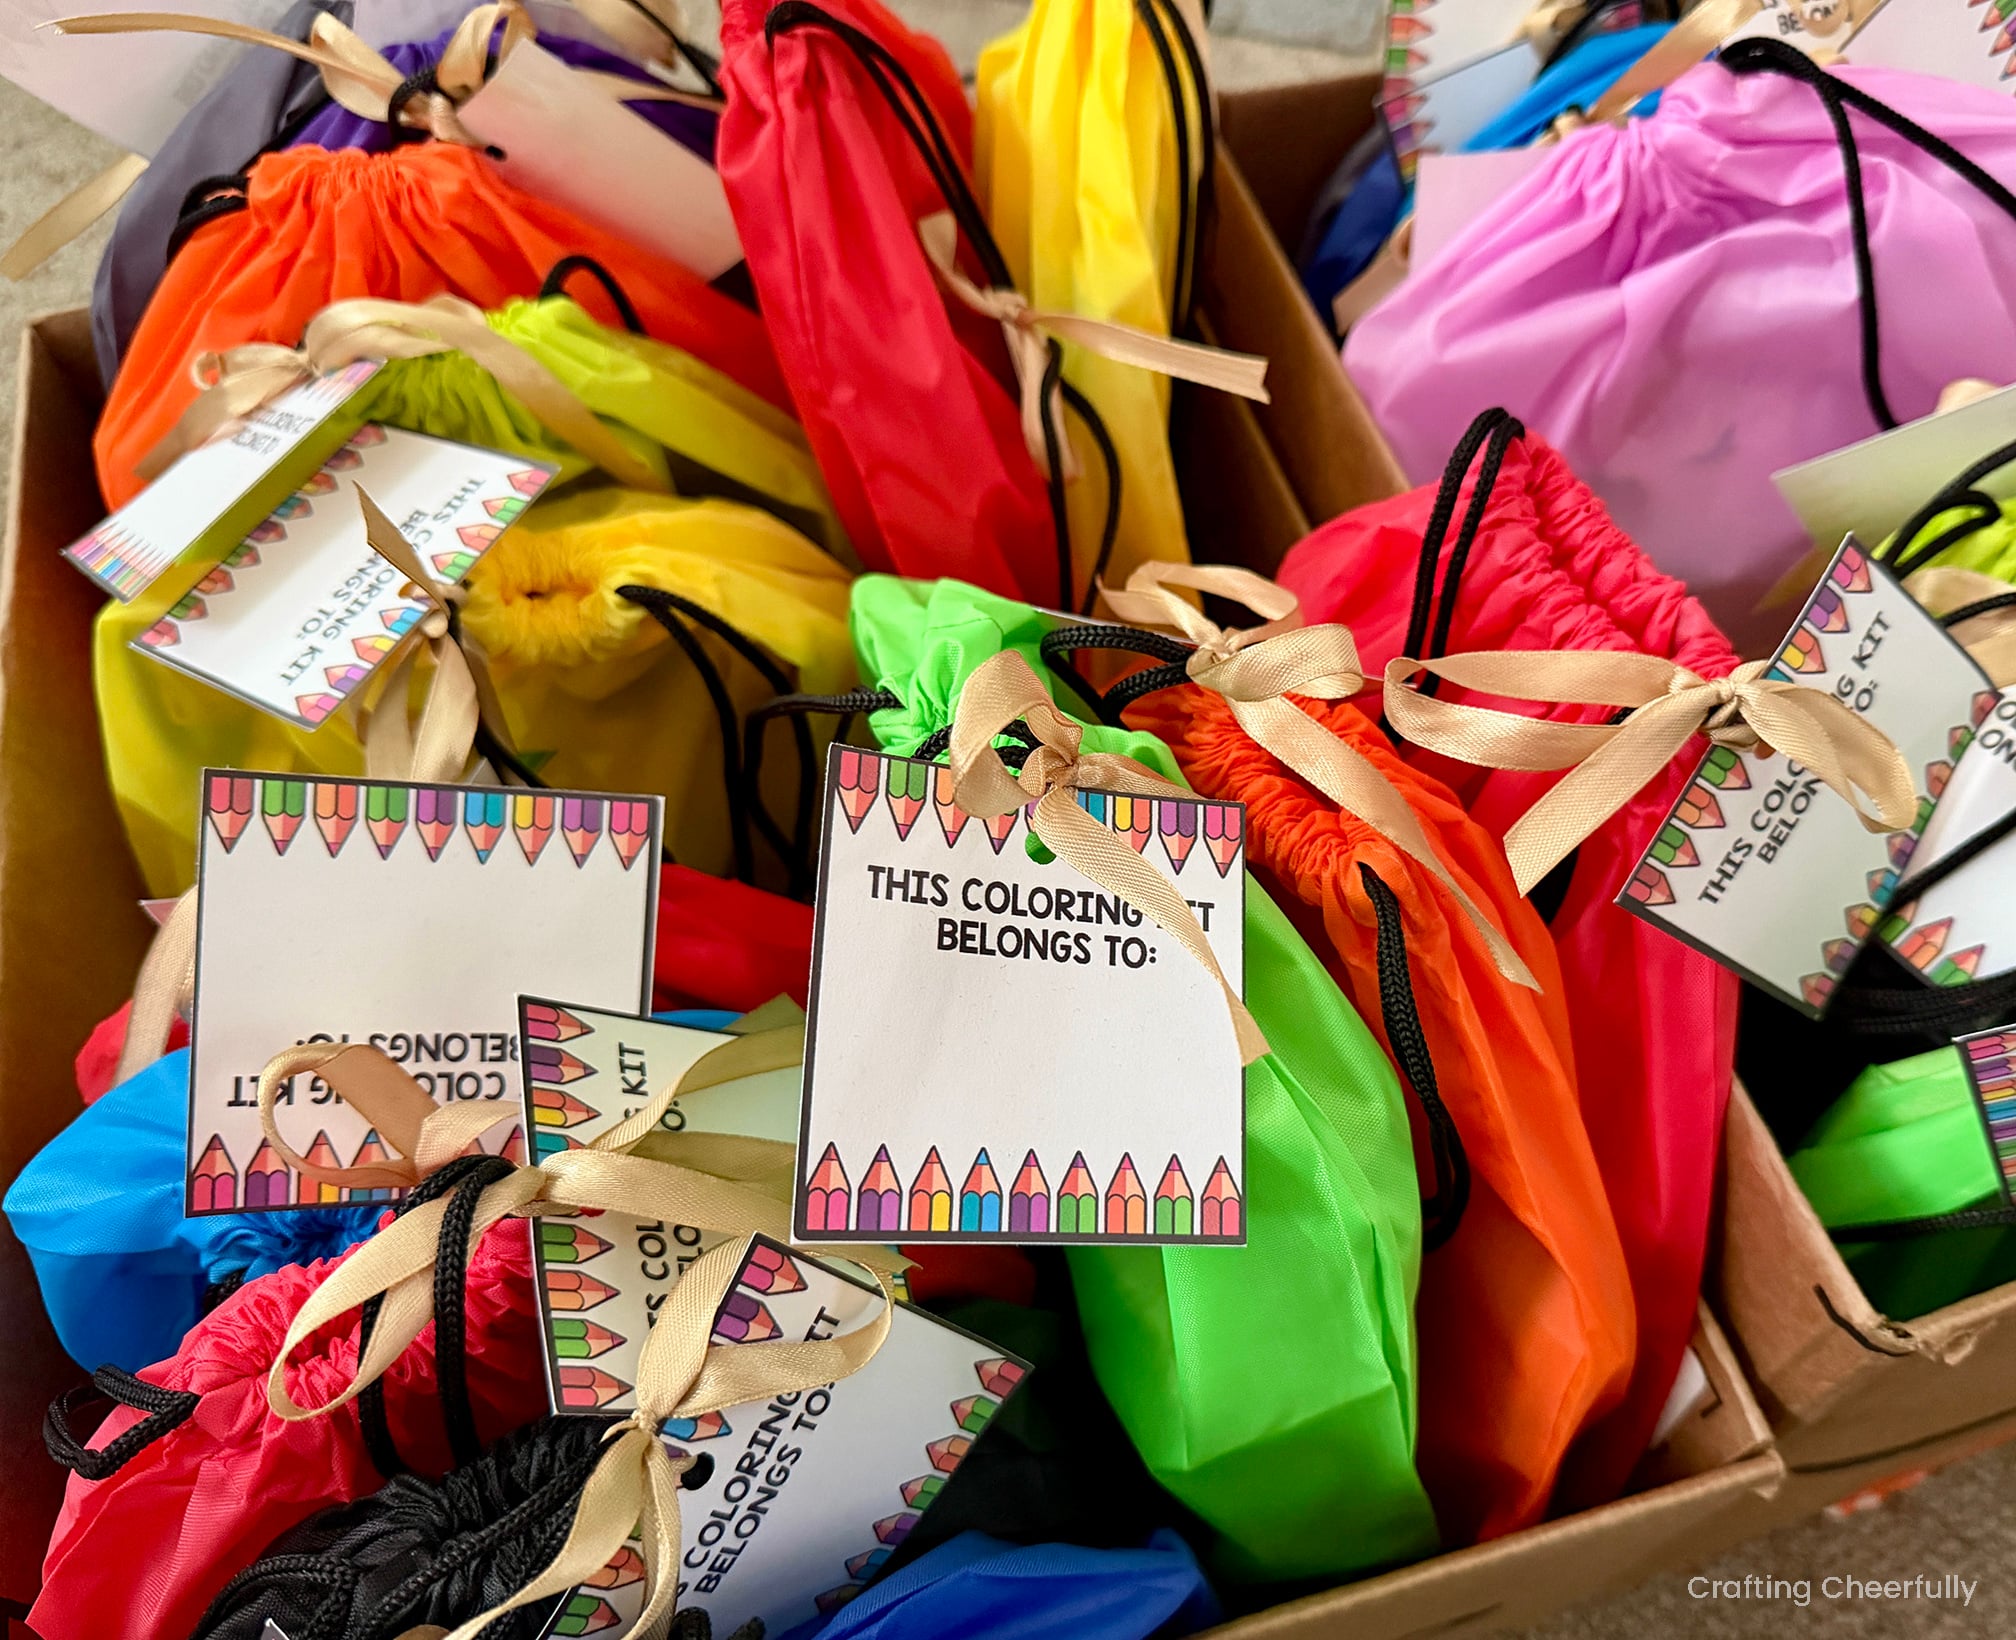
I hope this post was helpful if you are looking to do something similar! You can download the free coloring kit tag by filling out the purple form below.
Get the Free Printable Coloring Kit Tags! :)
Fill out the purple form below with your first name and email address! The free file will be sent straight to your inbox! If you have already filled out the form below, don’t worry – you won’t be added to my list twice! This freebie is for personal use only. I hope you enjoy crafting something special. Please let me know if you have any questions :)