DIY Harry Potter Magnets Using Black Glue
Learn how to create these fun DIY Harry Potter magnets using black glue and watercolor paint! Use the free template to make for all four house shields and other Harry Potter symbols. You’ll also enjoy a round-up of my favorite Harry Potter printable artwork from around the web!
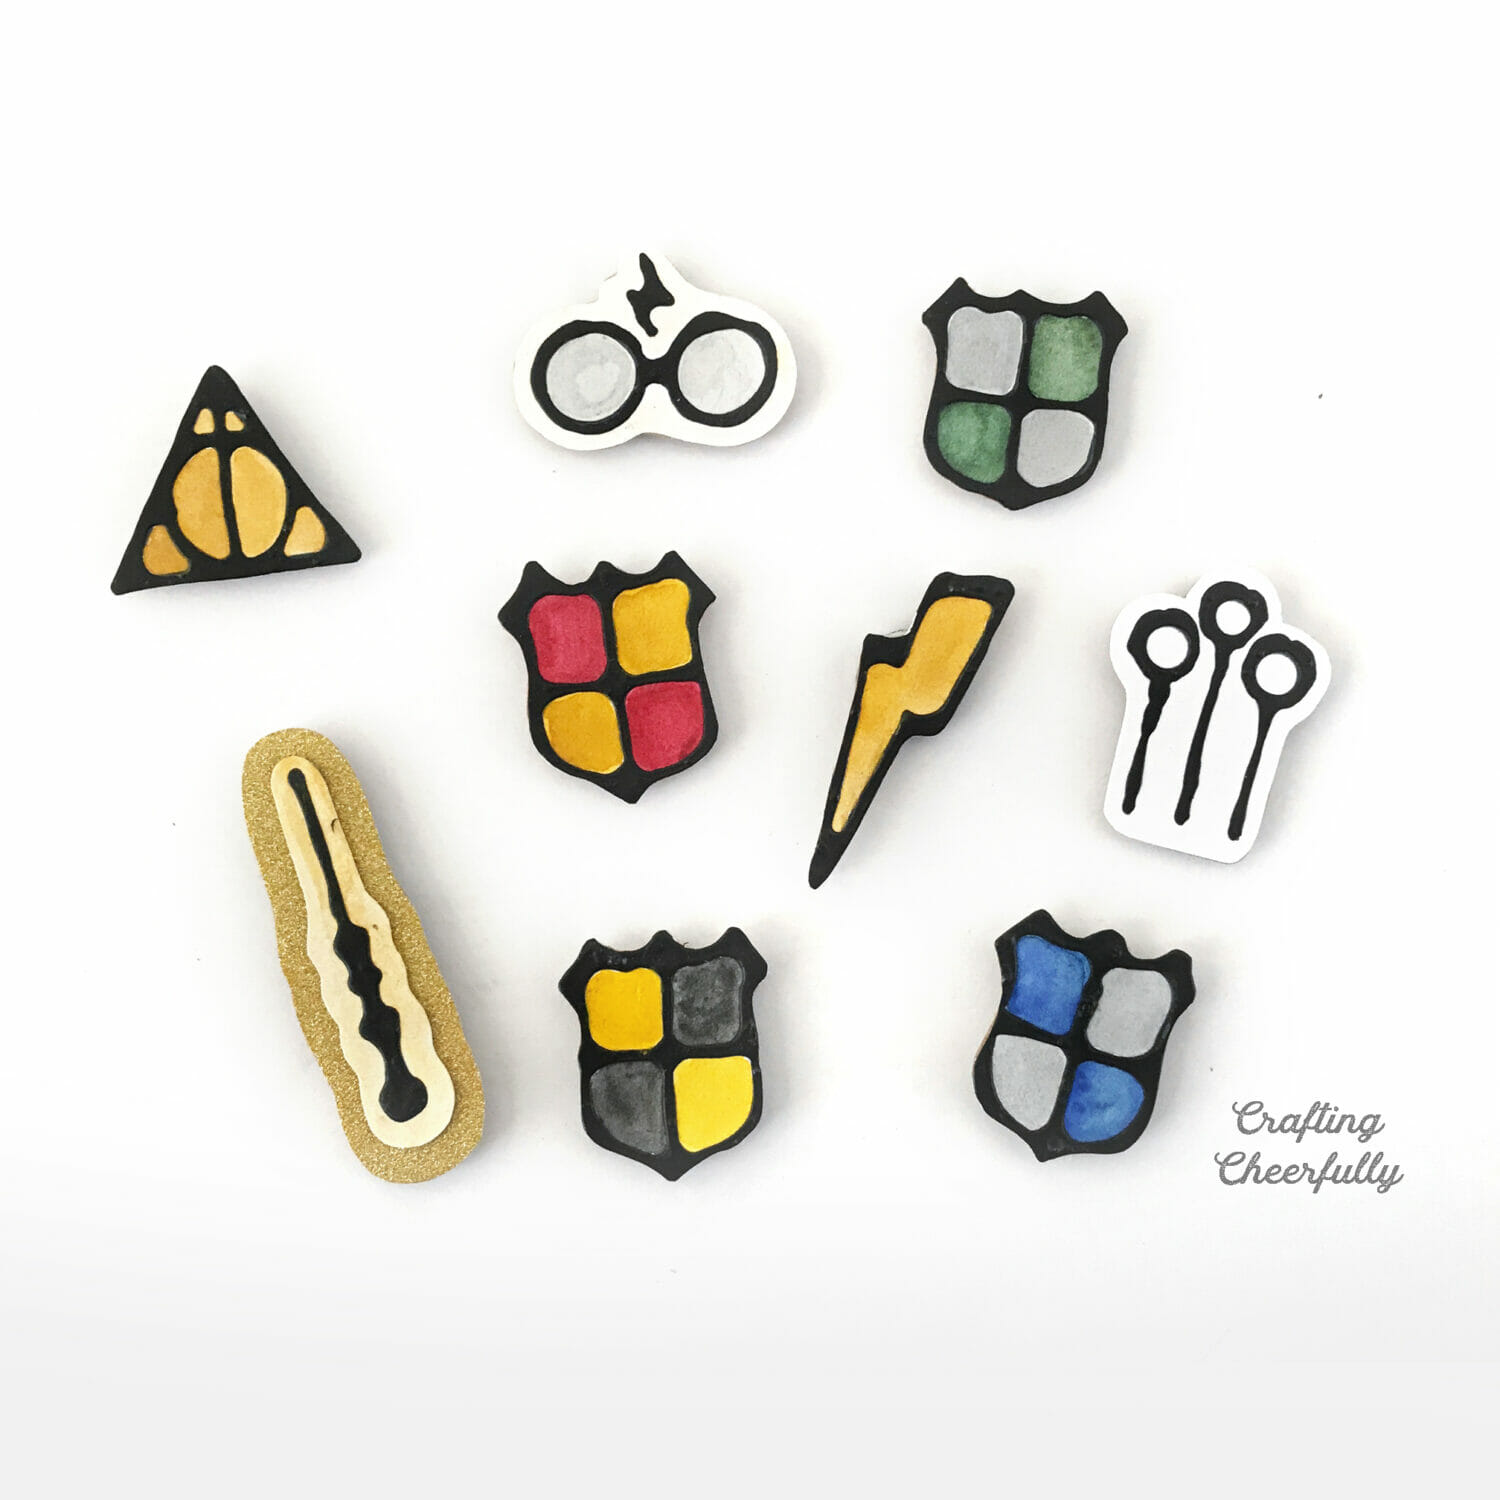
Hello Crafty Friends! I’m back today with one more Harry Potter-themed project to finish off two weeks of awesome HP crafting! Have you seen all of the black glue projects on Pinterest lately? I was so excited to try this technique and what better way than by creating these fun Harry Potter black glue magnets!
You can easily make your own black glue by mixing Elmer’s glue with black acrylic paint. Once your glue is mixed, grab the free printable template at the end of this post and you’re ready to start! The free printable template can be used to make nine different magnets; including the house shields, a wand, quidditch hoops, Harry’s scar, the Deathly Hallows symbol and Harry’s glasses.
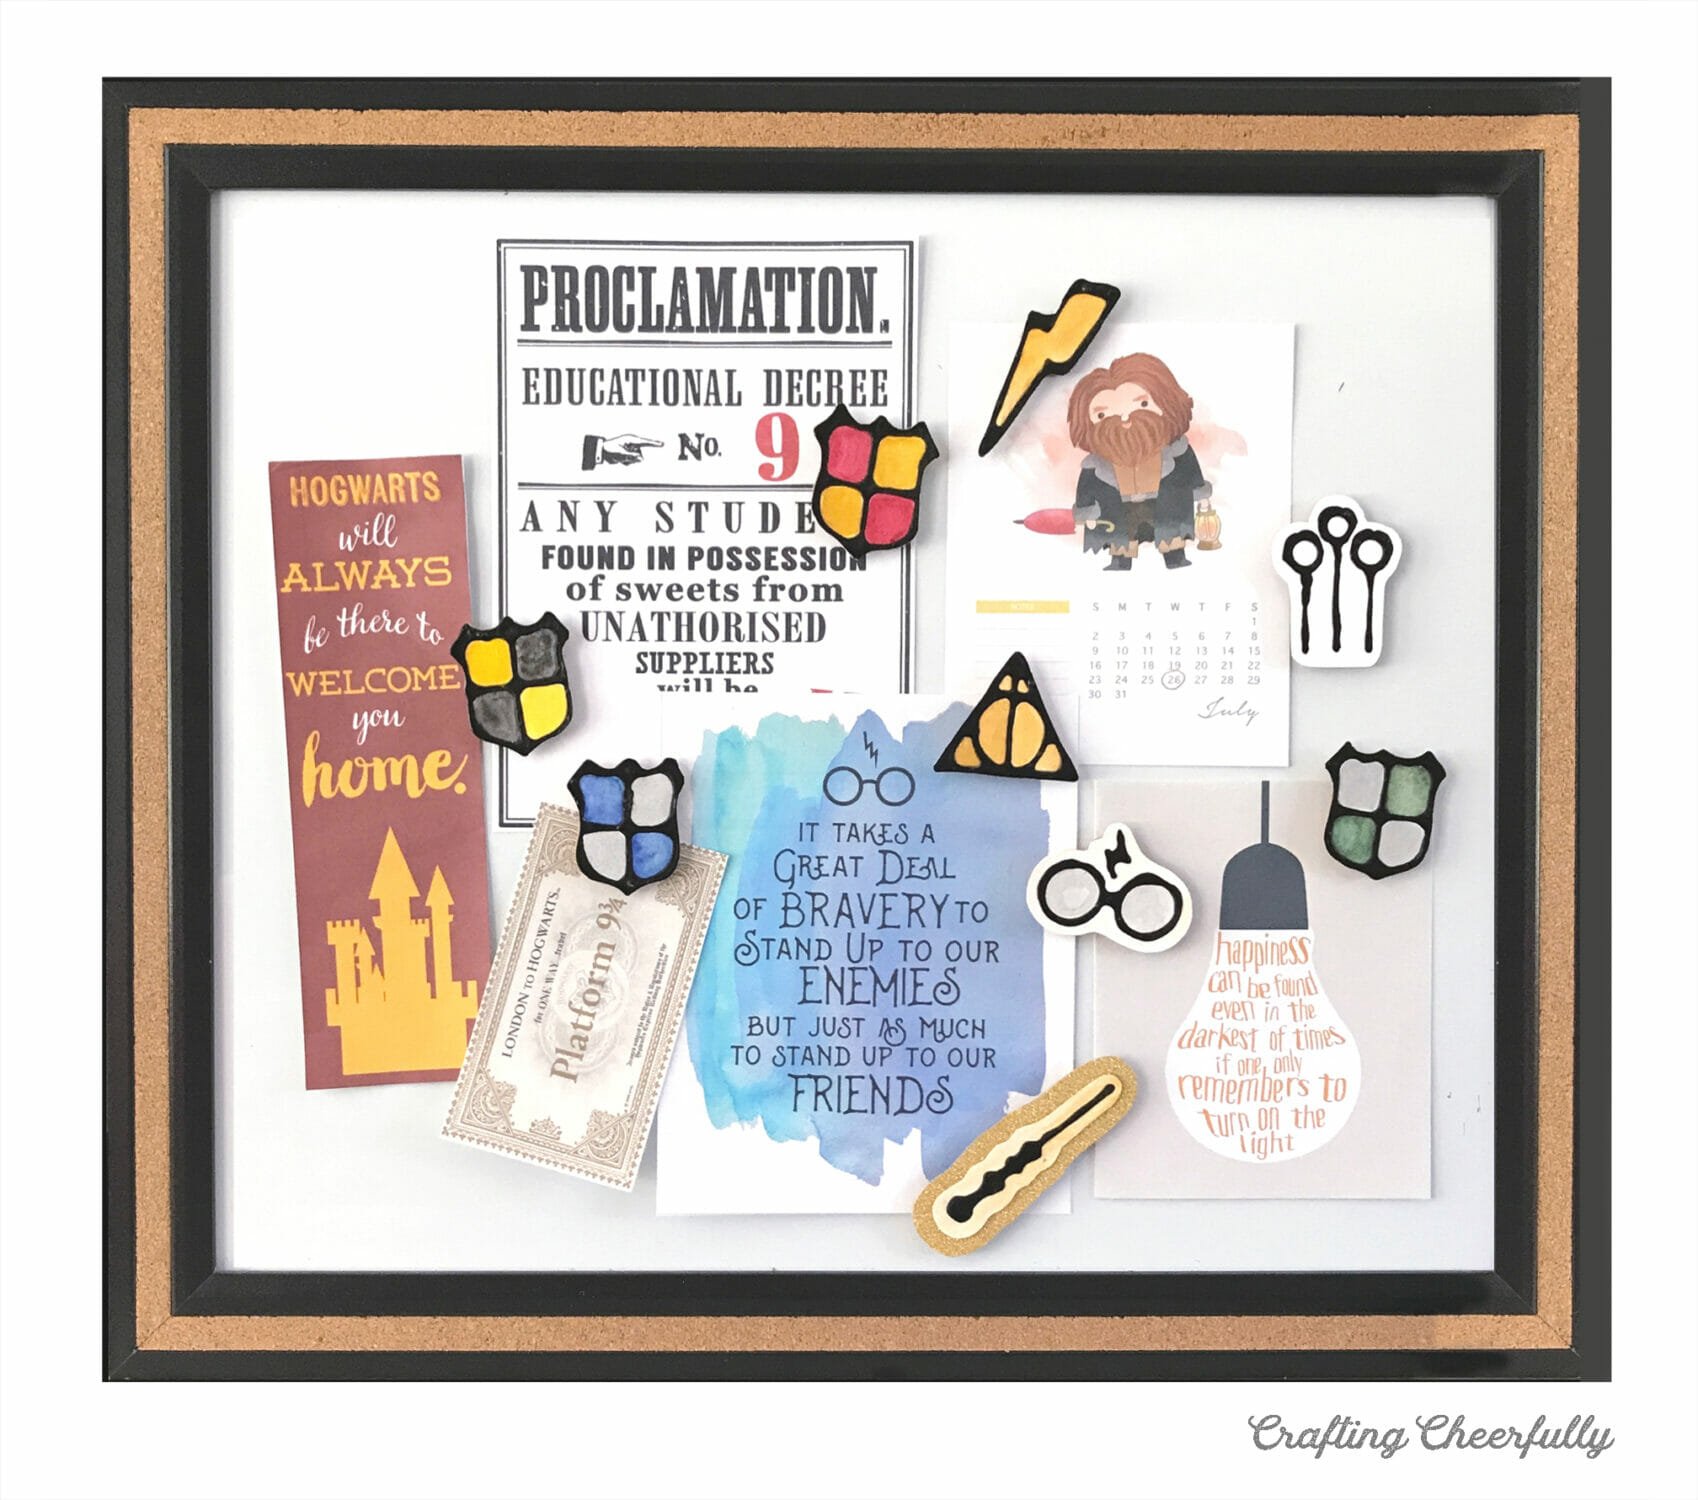
I created this fun dry erase board filled with some of my favorite Harry Potter printables held up with my new Harry Potter magnets! All of the printables are offered for free by some amazing bloggers. You’ll find links to all of them at the end of this post :)
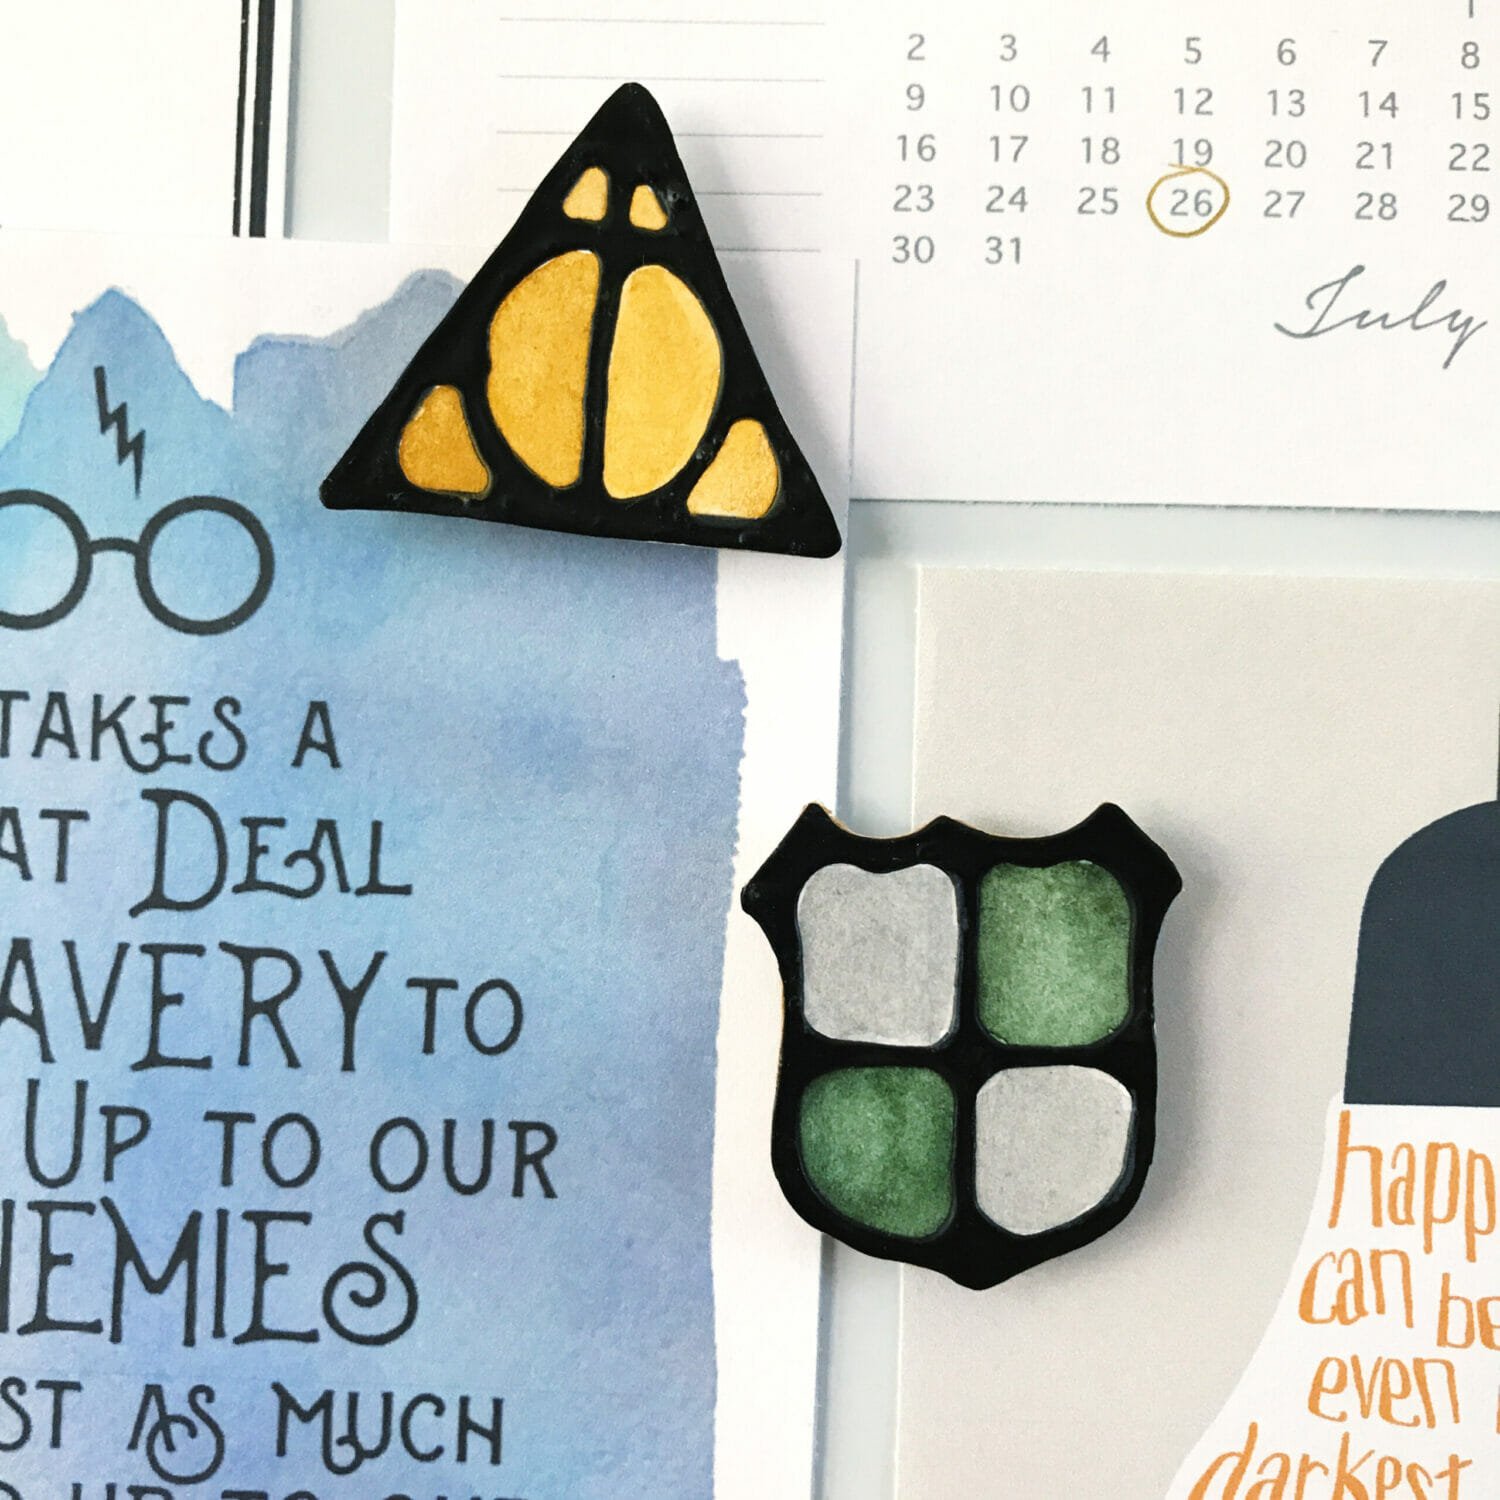
How to Make Harry Potter Magnets
Supplies Needed
- Free template – Grab the free template by filling out the purple form at the end of this post.
- White glue
- Black acrylic paint
- Watercolor paint (you could also try markers or colored pencils)
- White paper to print the template on – I use 110lb white cardstock
- Chipboard
-
Magnets with foam adhesive
Assembly Instructions
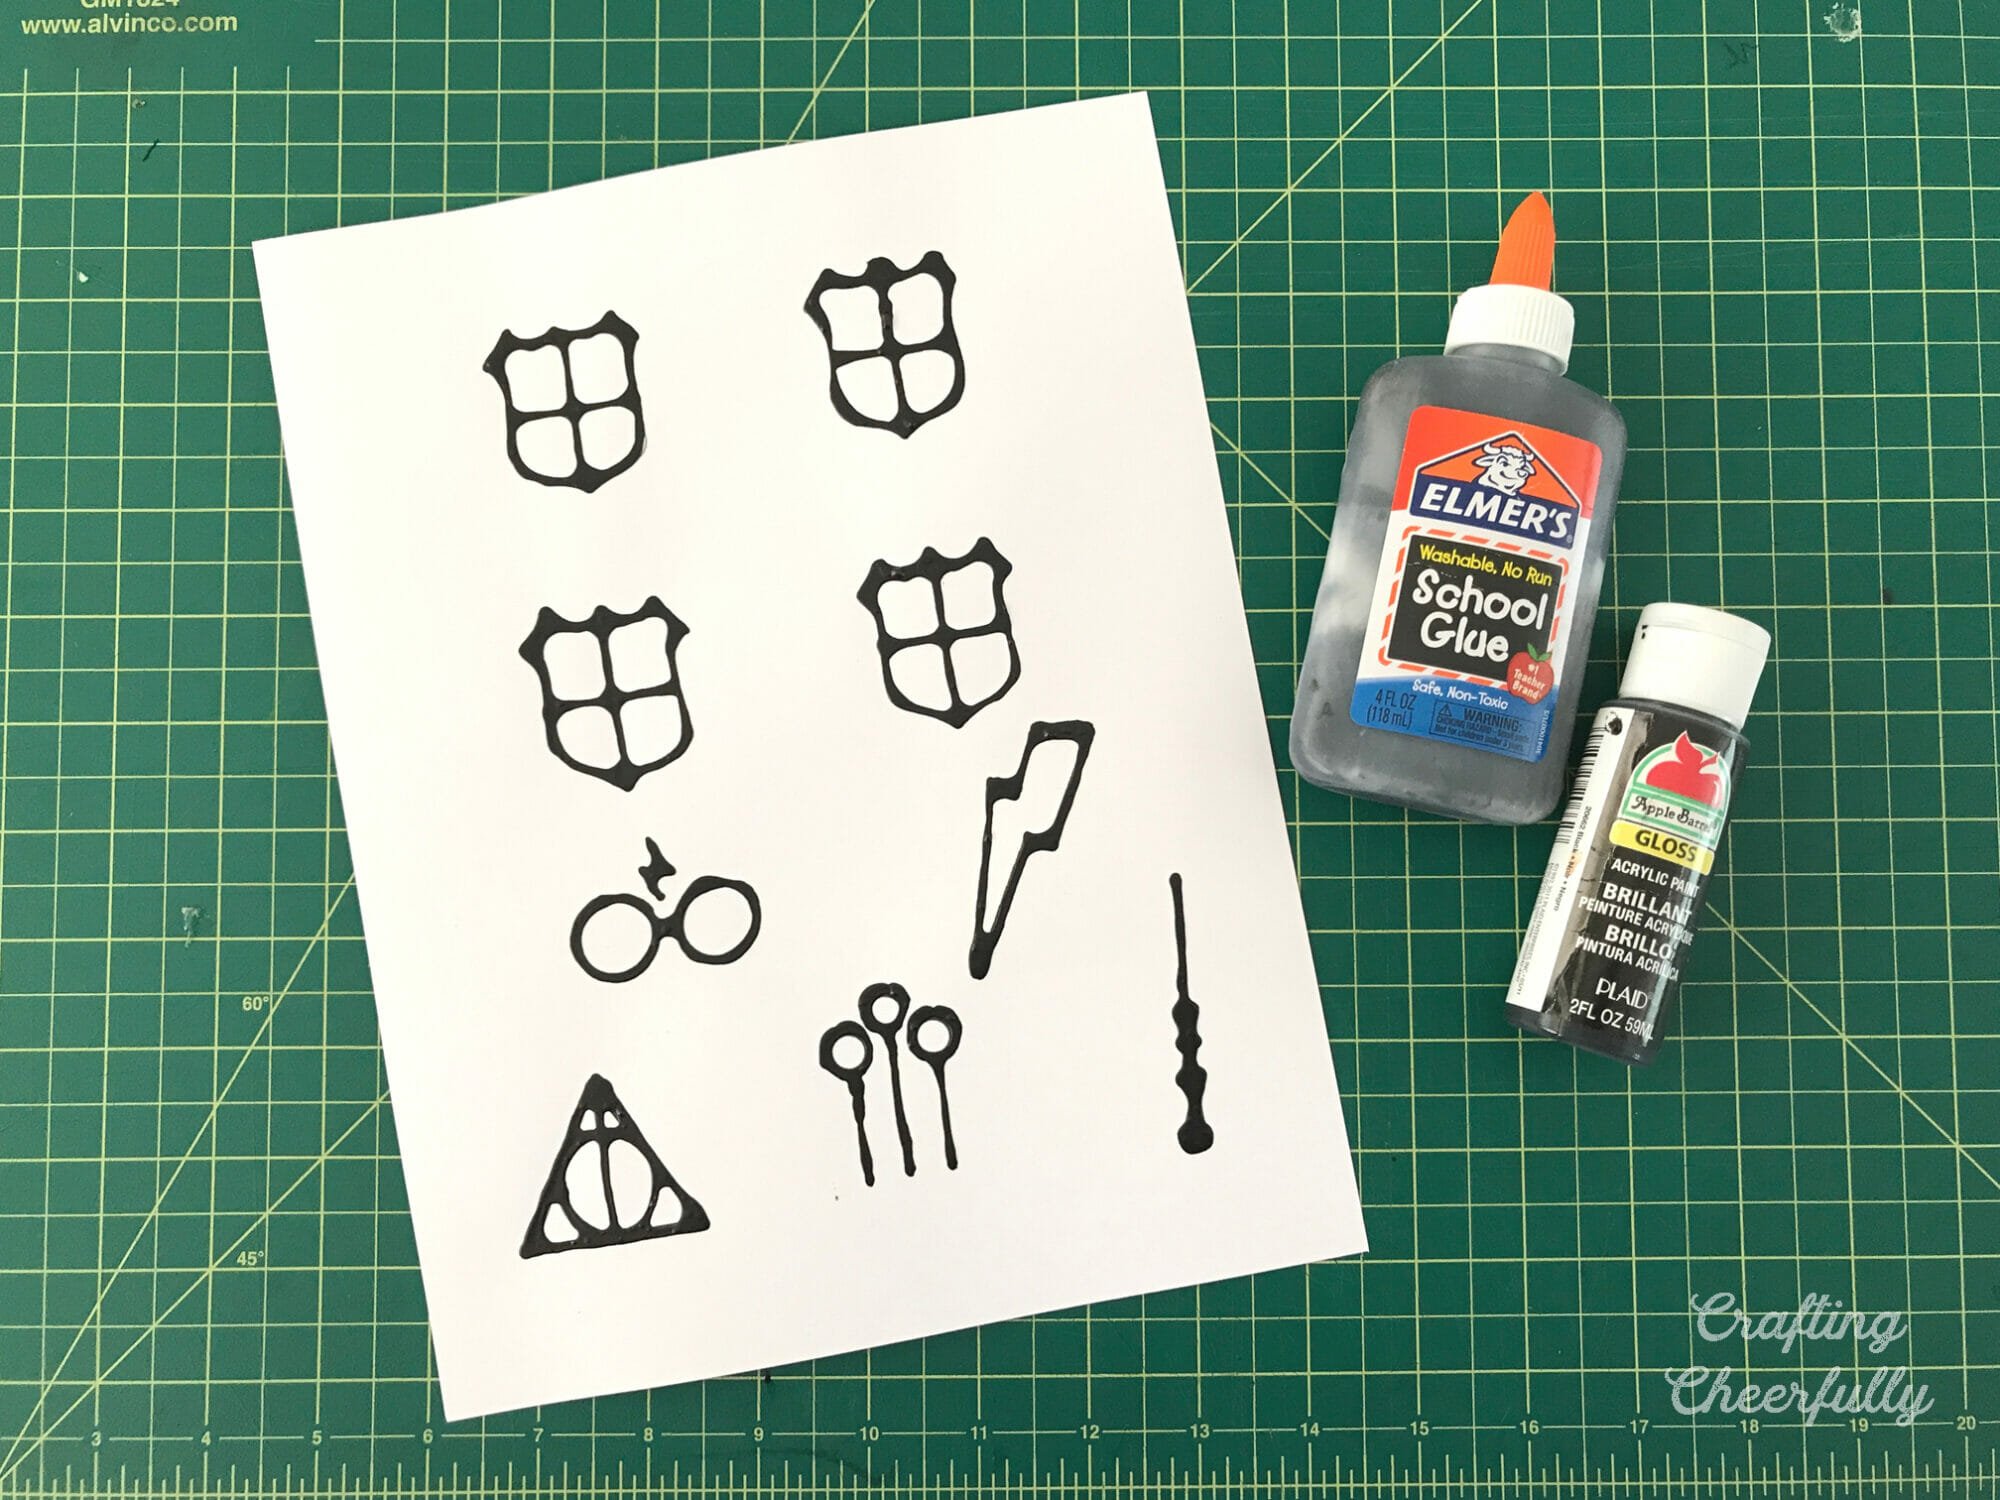
Step One: Outline the magnet designs with black glue.
Print the free template (available at the end of this post) onto white card stock. I use 110lb bright white paper. Print two if you want to have a practice sheet!
Mix up some black glue. I poured a bottle of Elmer’s glue and a couple teaspoons worth of black acrylic paint into a plastic cup and mixed them together. Then I poured the black glue back into the Elmer’s glue bottle.
Once the template is printed, you can trace the Harry Potter shapes with the black glue. It took me a little bit to get the hang of it, so I was glad I printed a practice sheet.
Step Two: Paint the magnets!
Let the black glue dry overnight; then paint with watercolor paint. I thought my paper may curl with the watercolor paint since I wasn’t using watercolor paper, but I didn’t have any problems. You could always flatten the paper in-between books if it does curl.
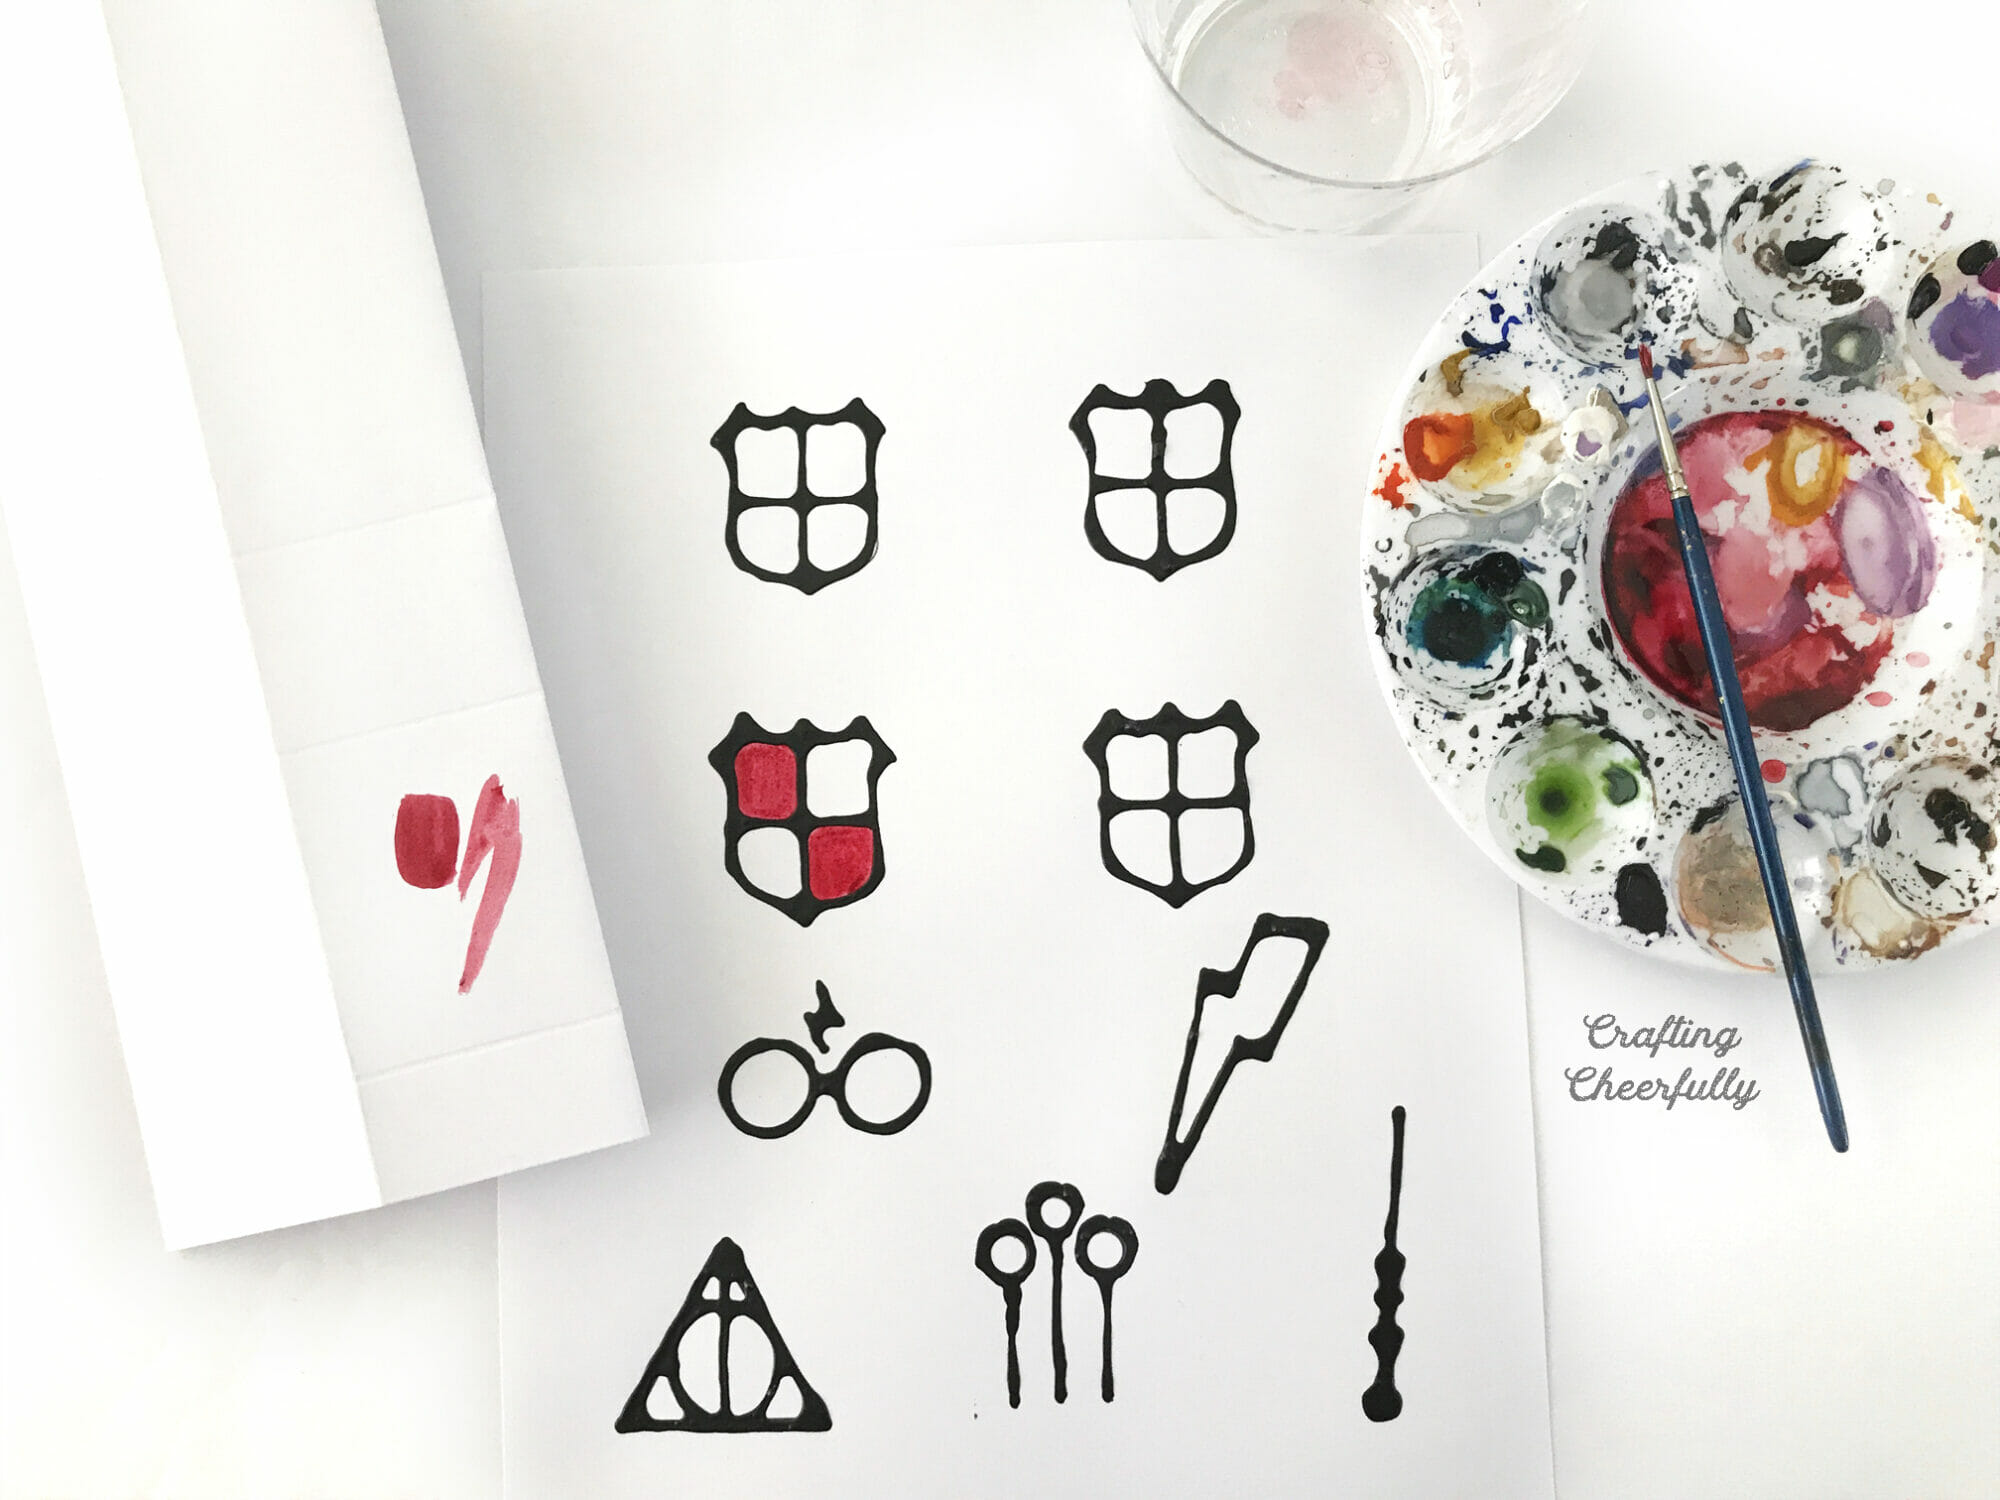
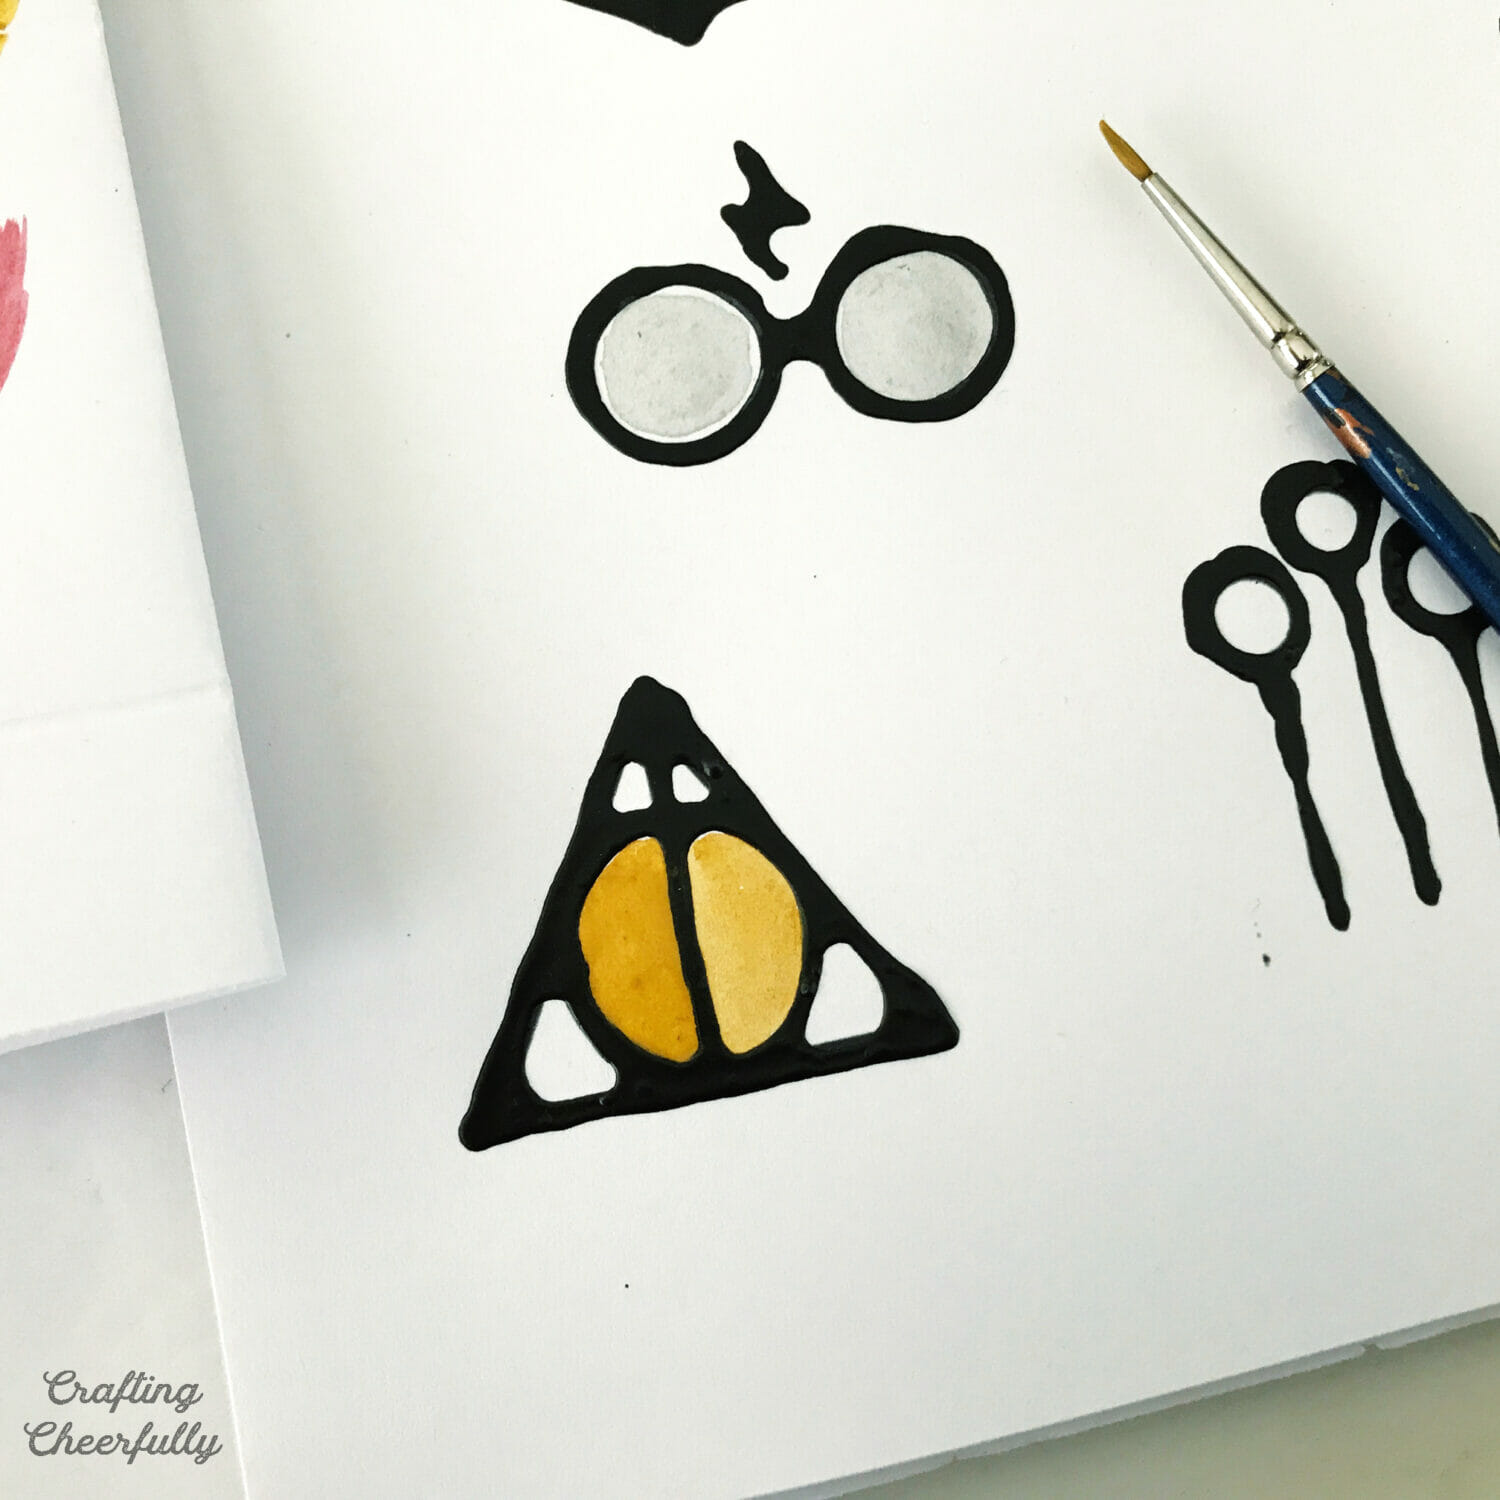
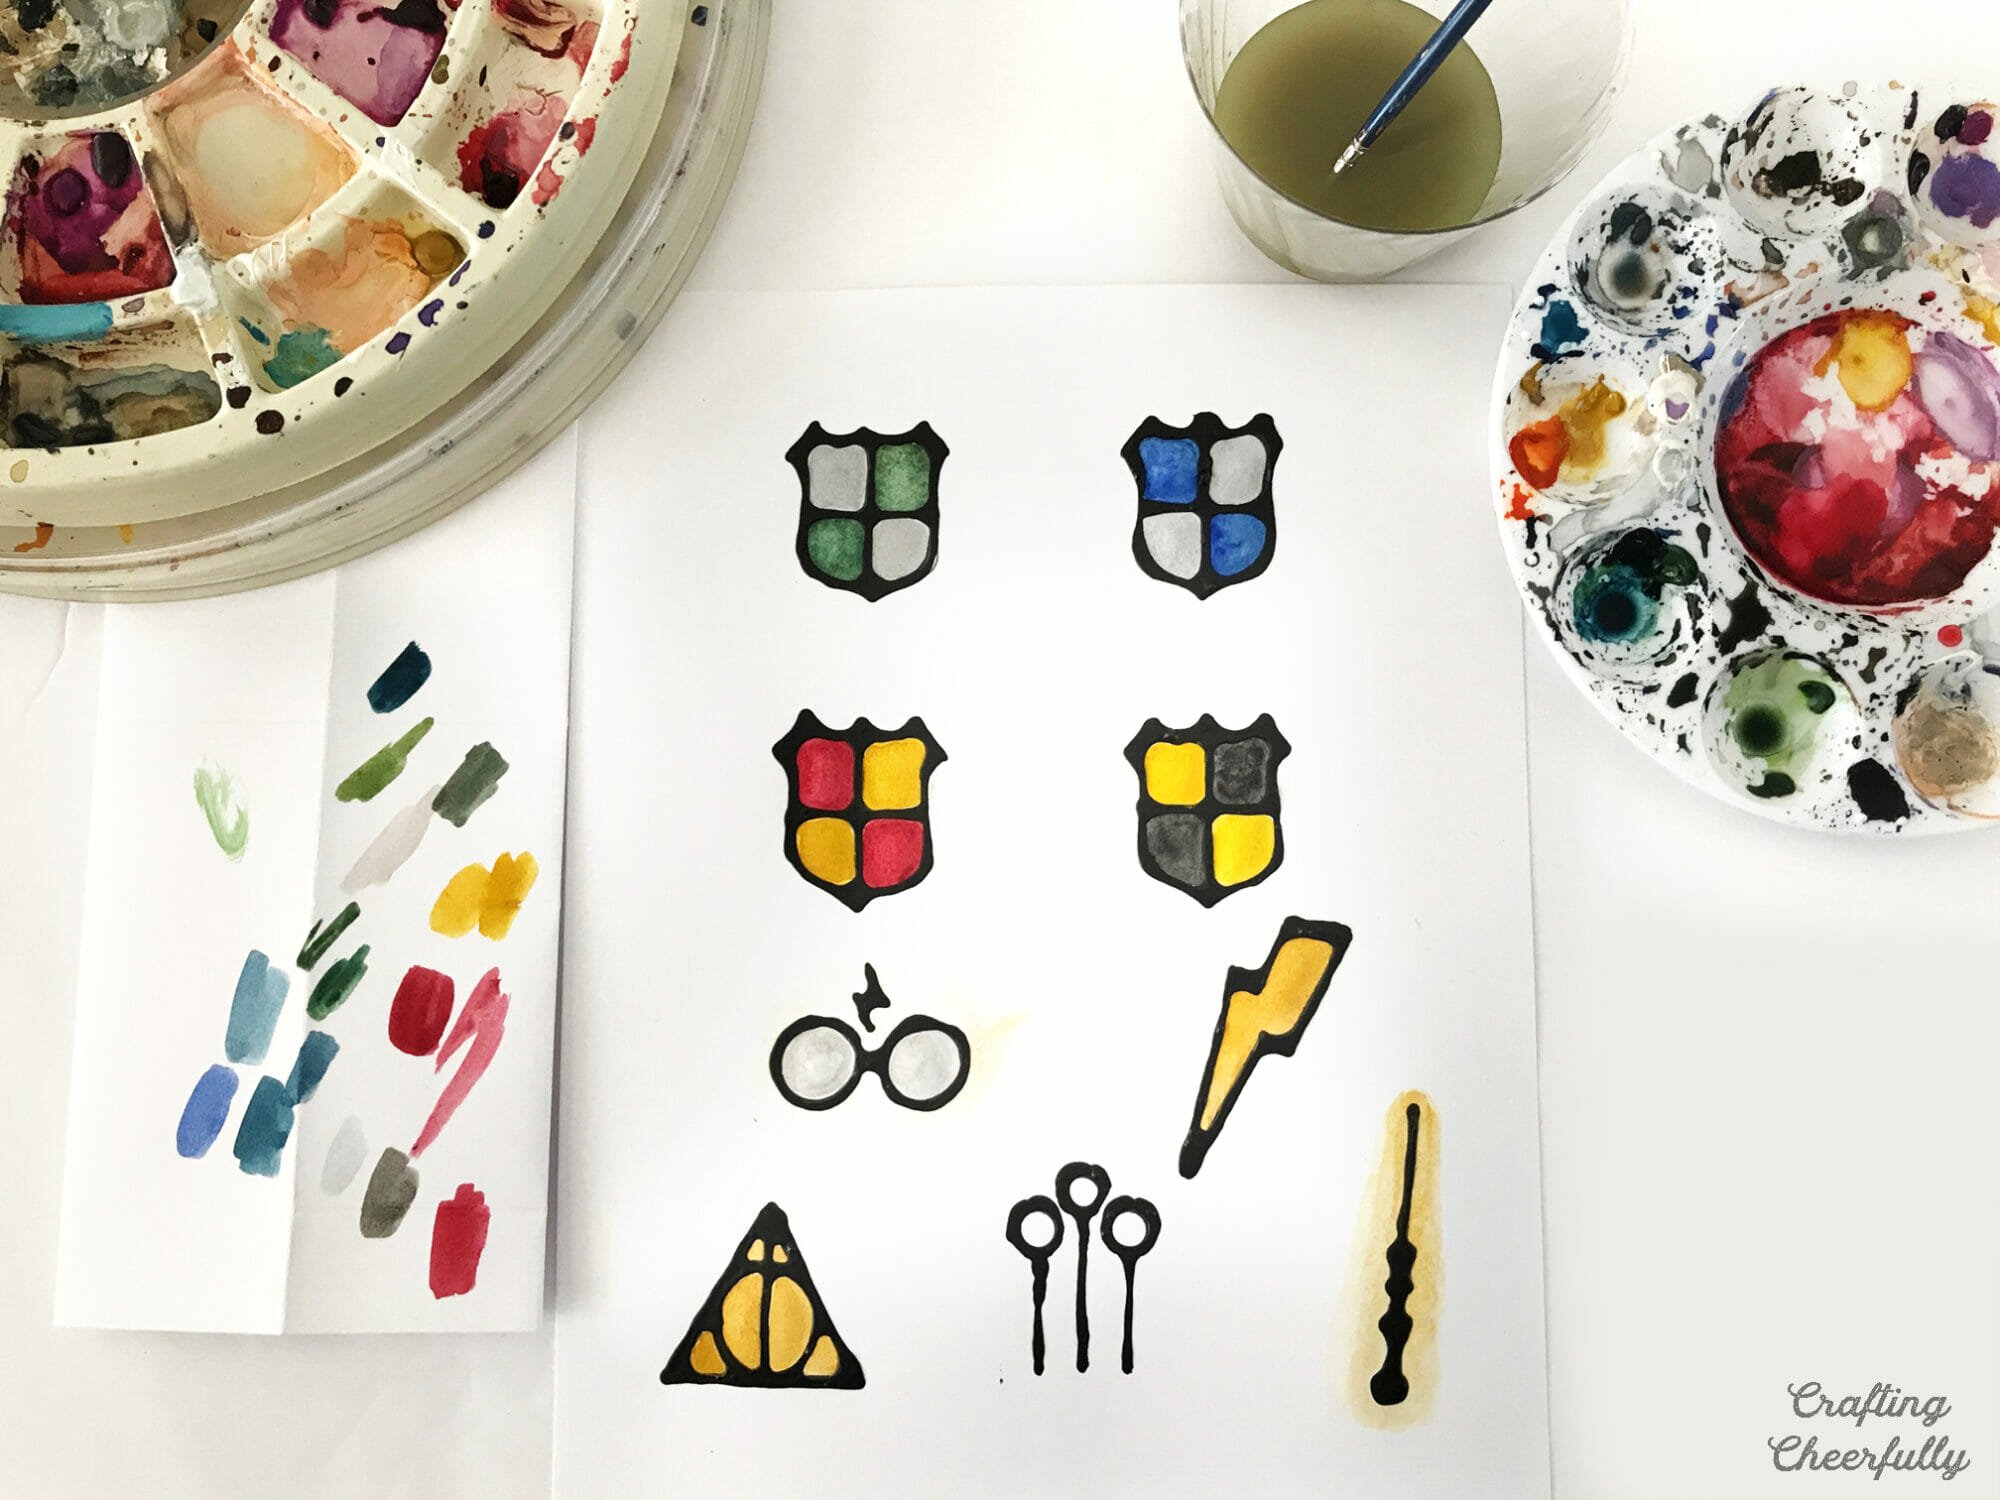
Step Three: Cut out the designs.
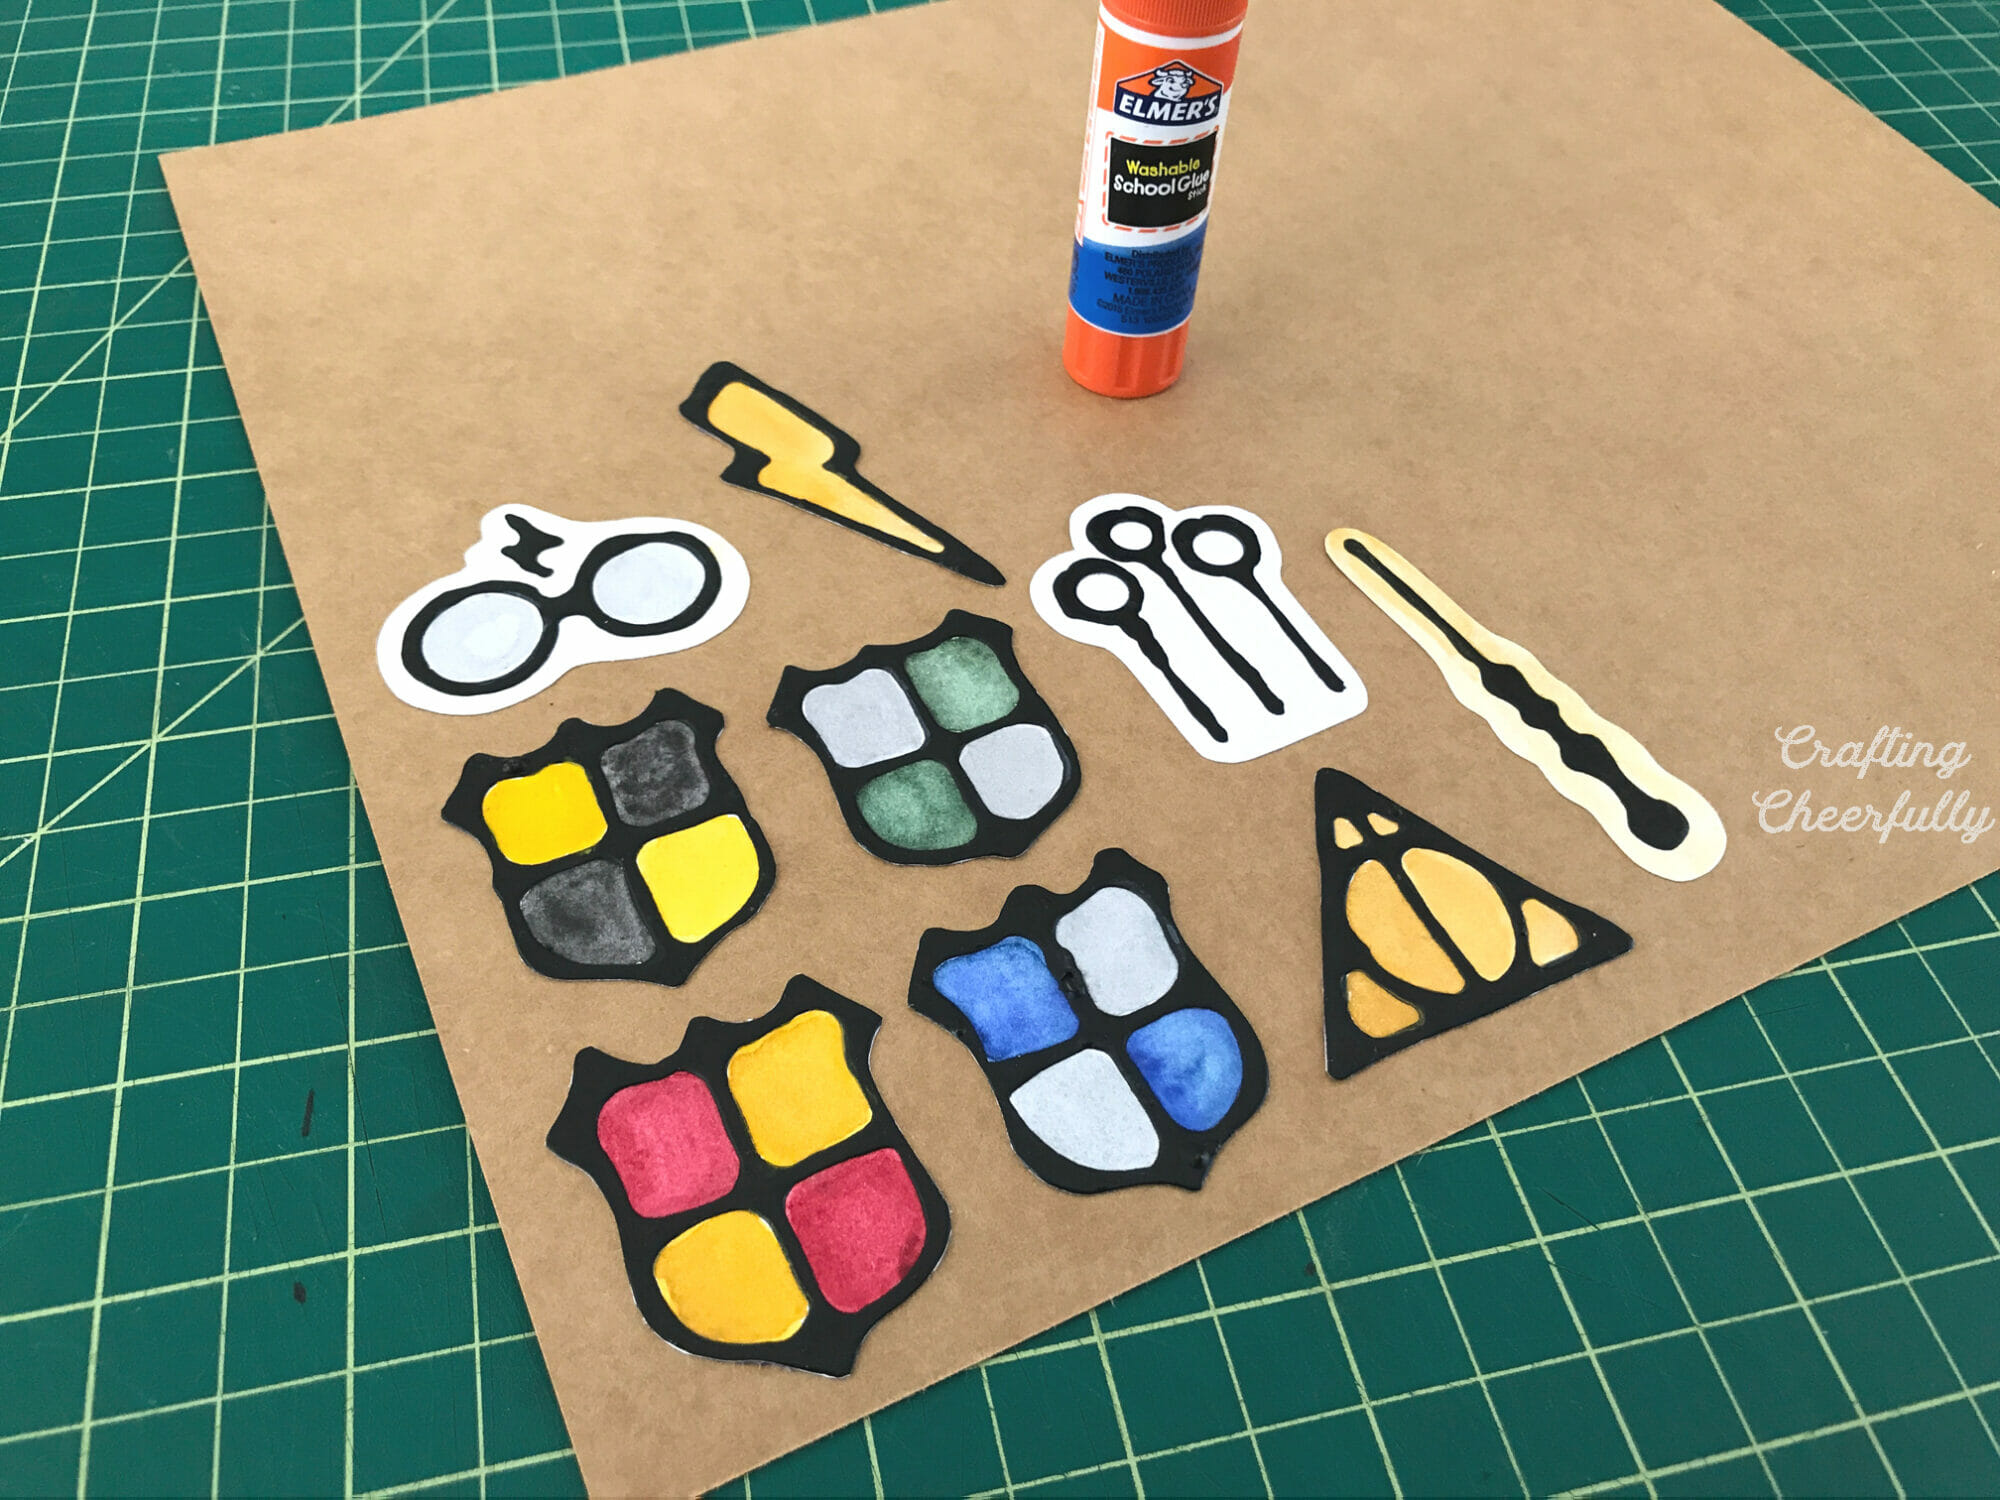
Once the watercolor is completely dry, cut out around the black glue shapes. For the shields, lightning bolt, and Deathly Hallows symbol, I cut as close to the black glue as I could. For the wand, glasses, and quidditch hoops, I drew a shape around them with pencil, and then cut along that line.
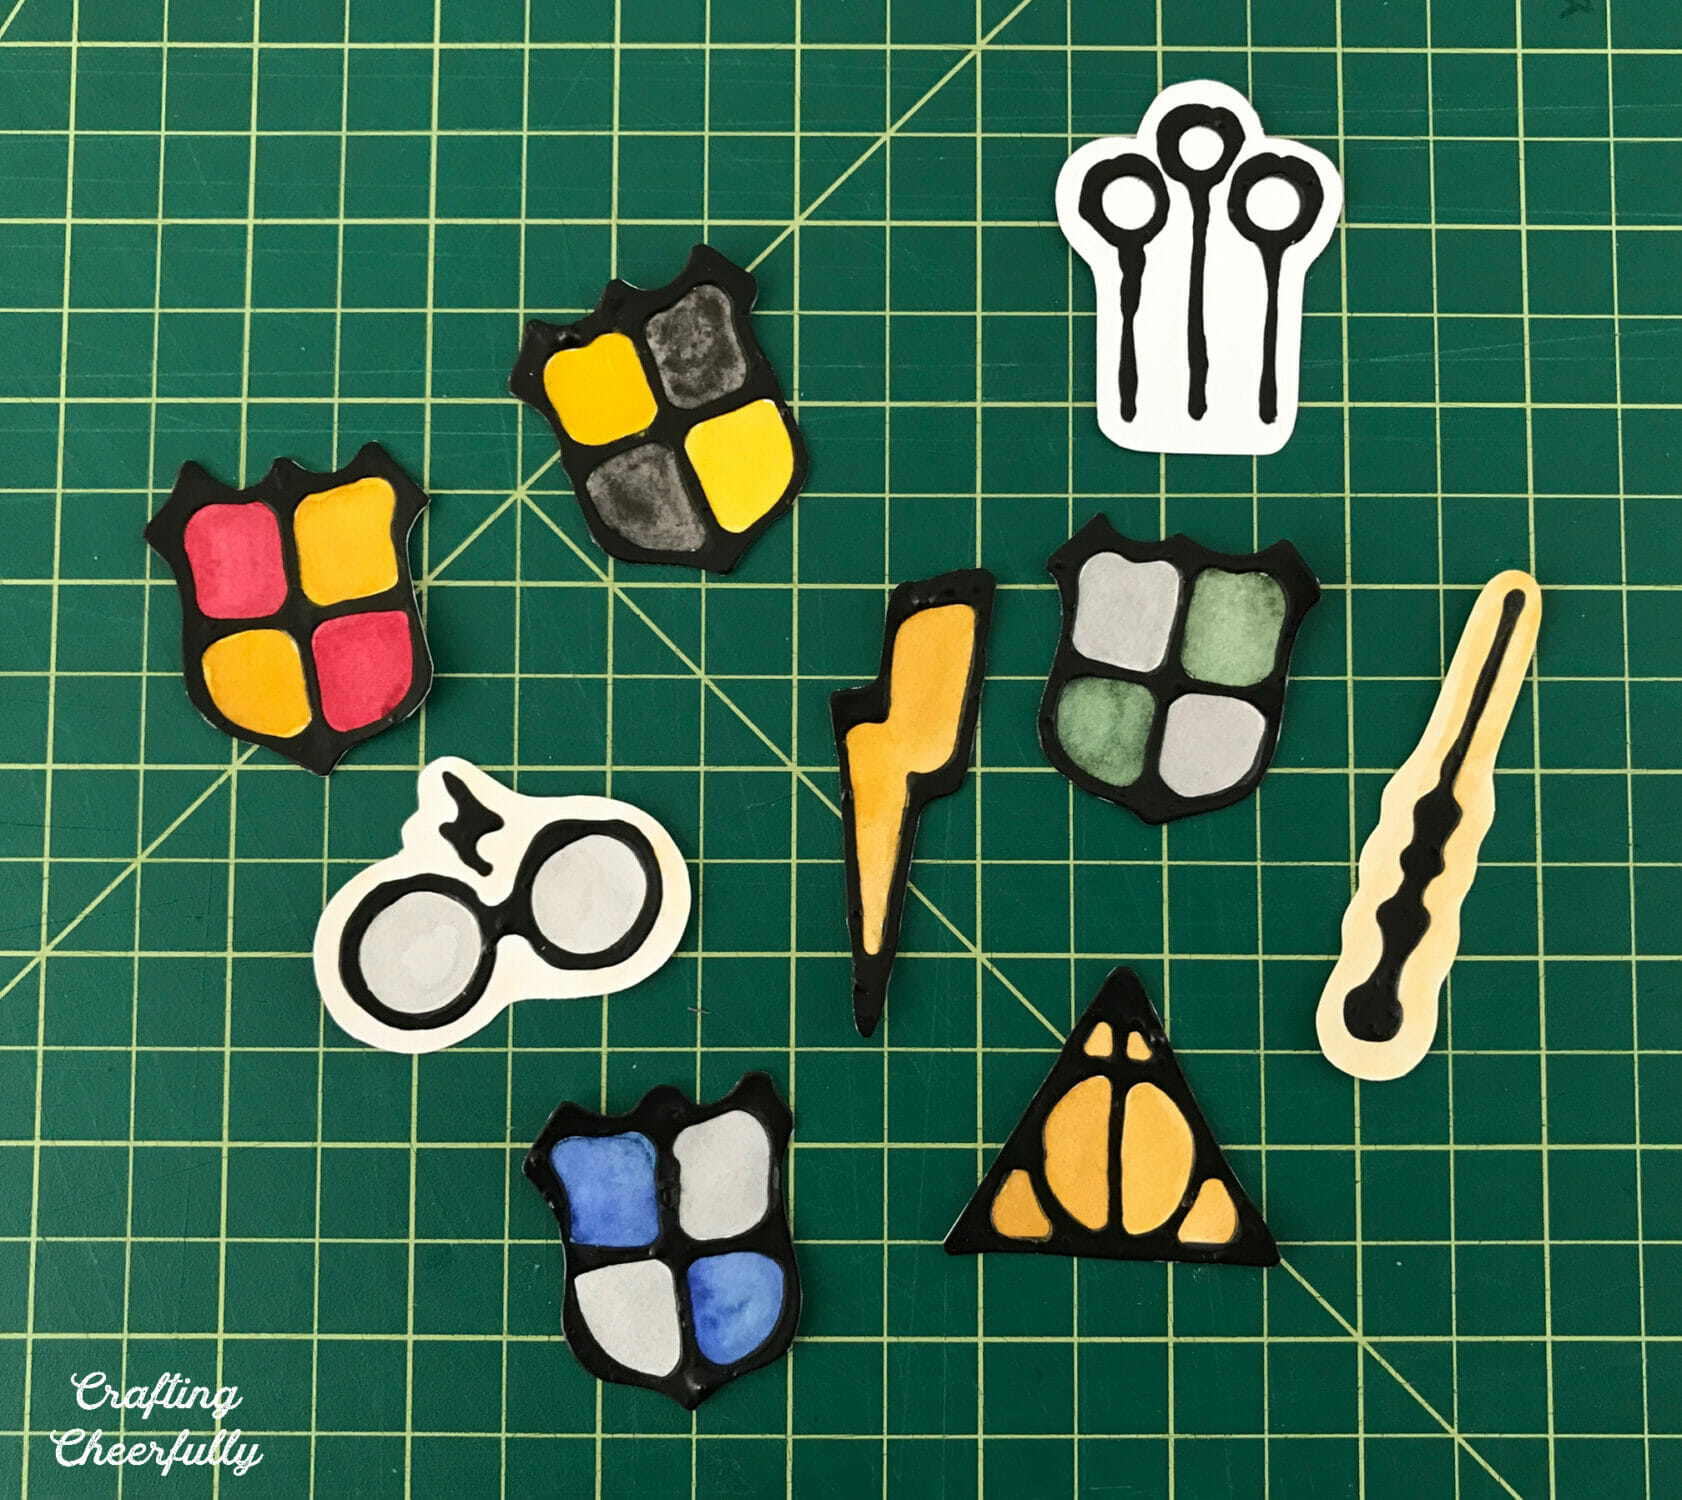
To make the paper designs more durable, back them with chipboard. Using a glue stick, adhere the designs to chip board. Once the glue is dry, cut the designs out of the chip board.
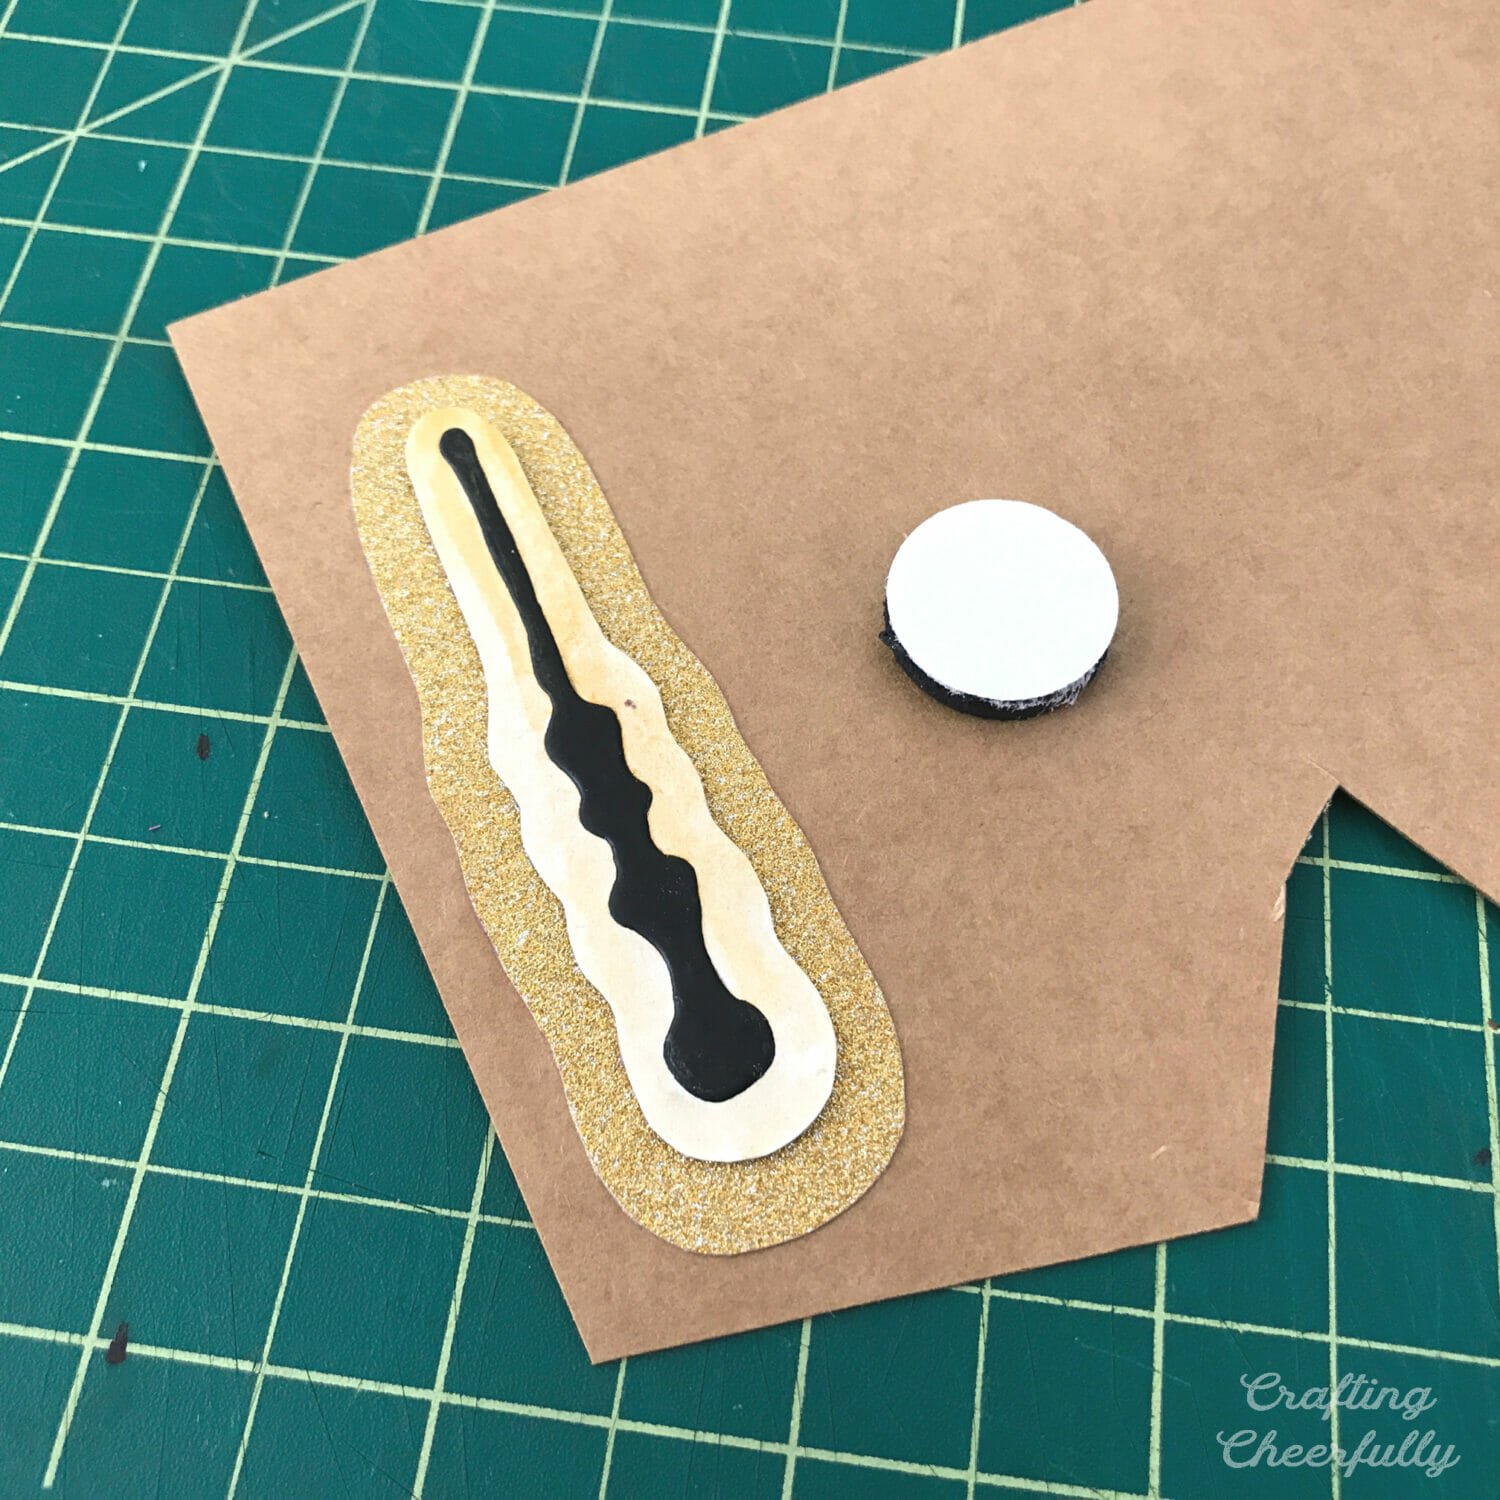
The designs need to be large enough to fit a small magnet on the back of them. I realized the wand wasn’t going to be wide enough, so after gluing and cutting it out of the chipboard, I glued it to a piece of gold glitter paper. I added another layer of chipboard under the gold glitter paper and it was ready to go.
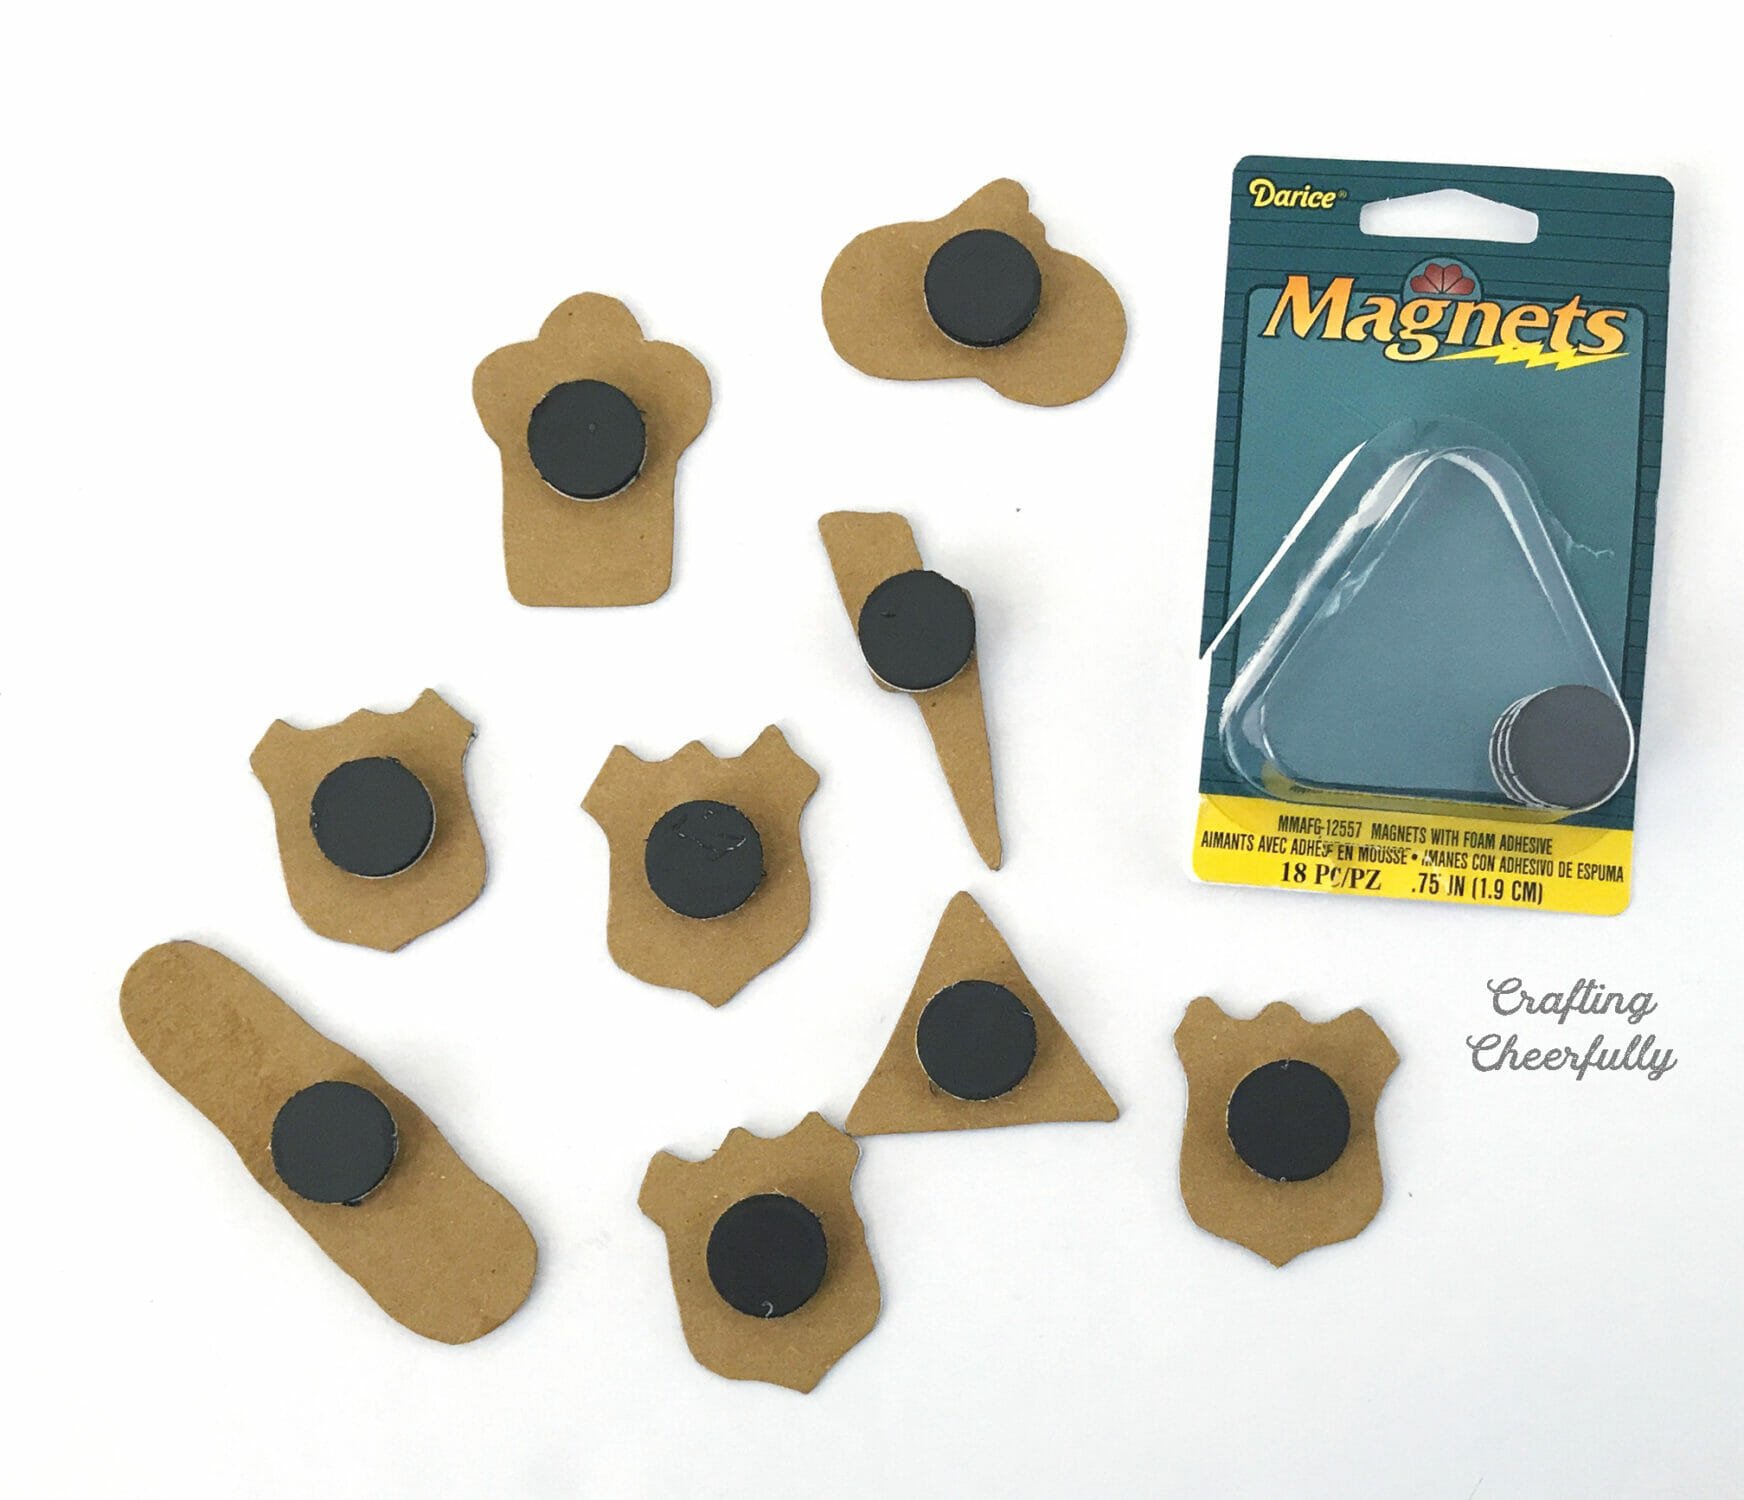
Step Four: Add the magnets.
Adhere the magnets to the back of the designs. The magnets I had came with foam adhesive which made this step super easy!
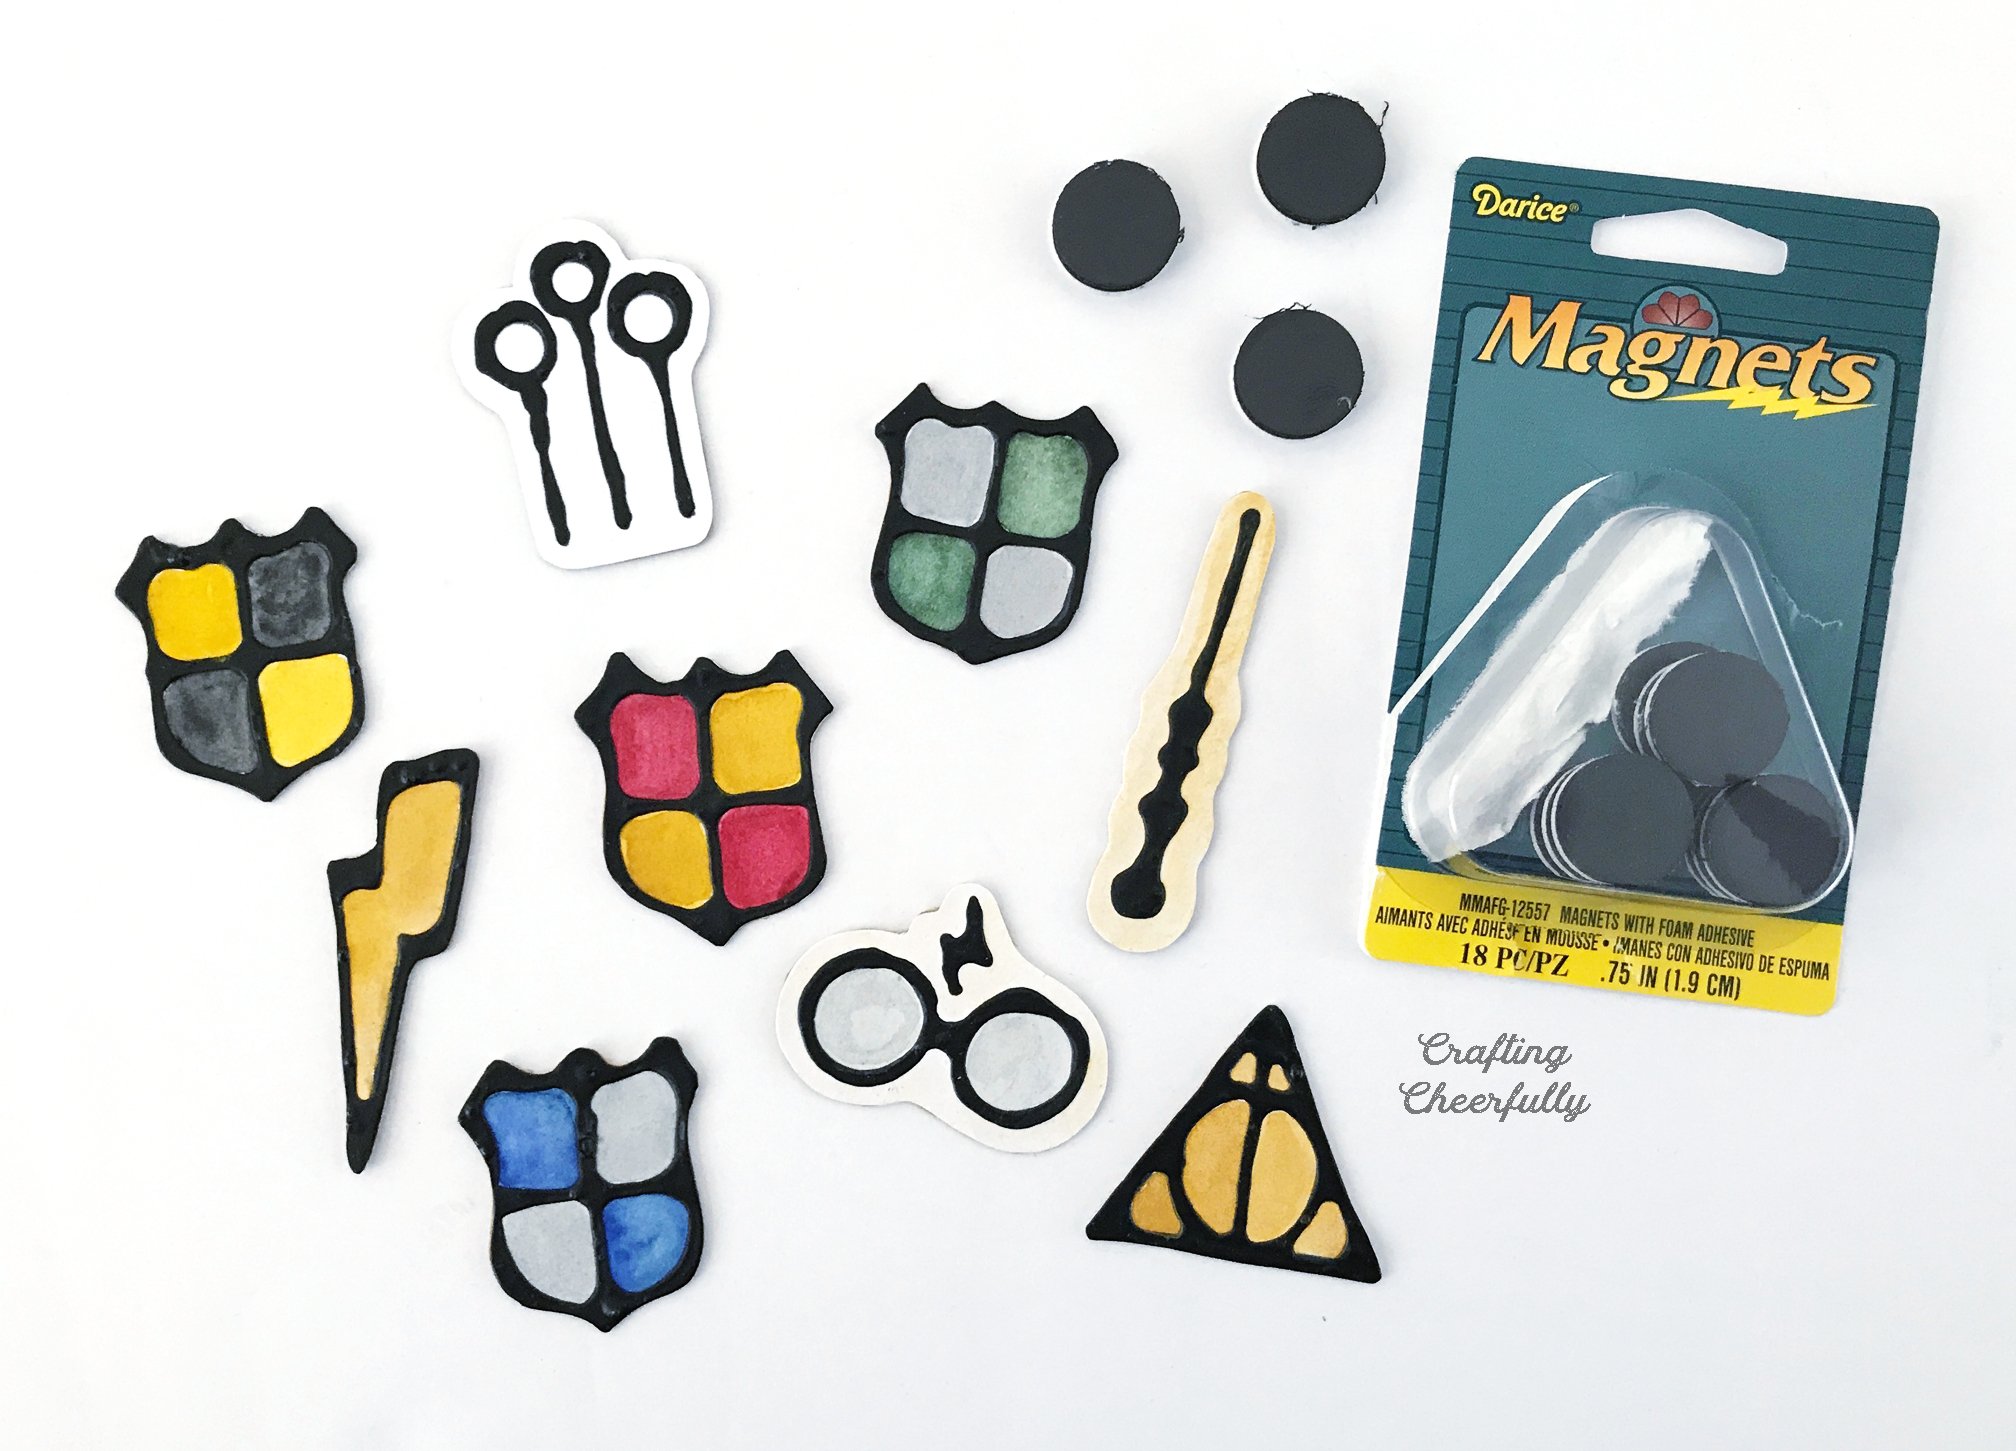
The magnets are finished! I love the way they turned out and can’t wait to try another black glue project! I love the dimension it adds and how it contained the watercolor paint and acted as a resist.
Fun Harry Potter Printable Artwork!
These magnets look awesome on our magnet board and are perfect for holding some of my favorite Harry Potter free printables! Below are the links to these amazing printables so you can grab them too!
- Harry Potter Educational Decrees {free printables} – by Paper Trail Design
- Free Printable 2017 Watercolor Harry Potter Calendar – by the Cottage Market
- Hogwarts Express Ticket – Harry Potter Wiki
- An Awesome & Free Harry Potter Quote Printable That You Need Right Now – Simple Everyday Mom
- Harry Potter Watercolor Quote Printables – How to Nest for Less
- Harry Potter Bookmarks – Bookish Illuminations (site is no longer available)
I hope you have enjoyed all of the Harry Potter-themed crafting I’ve been up to!

Get the Free Harry Potter Magnet Template!
Fill out the purple form below with your first name and email address! The free file will be sent straight to your inbox! If you have already filled out the form below, don’t worry – you won’t be added to my list twice! This freebie is for personal use only. I hope you enjoy crafting something special. Please let me know if you have any questions :)


