DIY Halloween Bucket List Sign
Celebrate the Halloween season by creating a personalized Halloween fall bucket list sign for your family! Use printable cards to add your favorite seasonal activities.

Have you tried a bucket list with your family before? They are a fun way to celebrate a season or holiday, especially if your family has fun activities and traditions they like to do each year. Today I’m excited to share my DIY Halloween Bucket List Sign! It is full of so many great Halloween-themed activities and all of the cards can be customized to fit your unique family :)

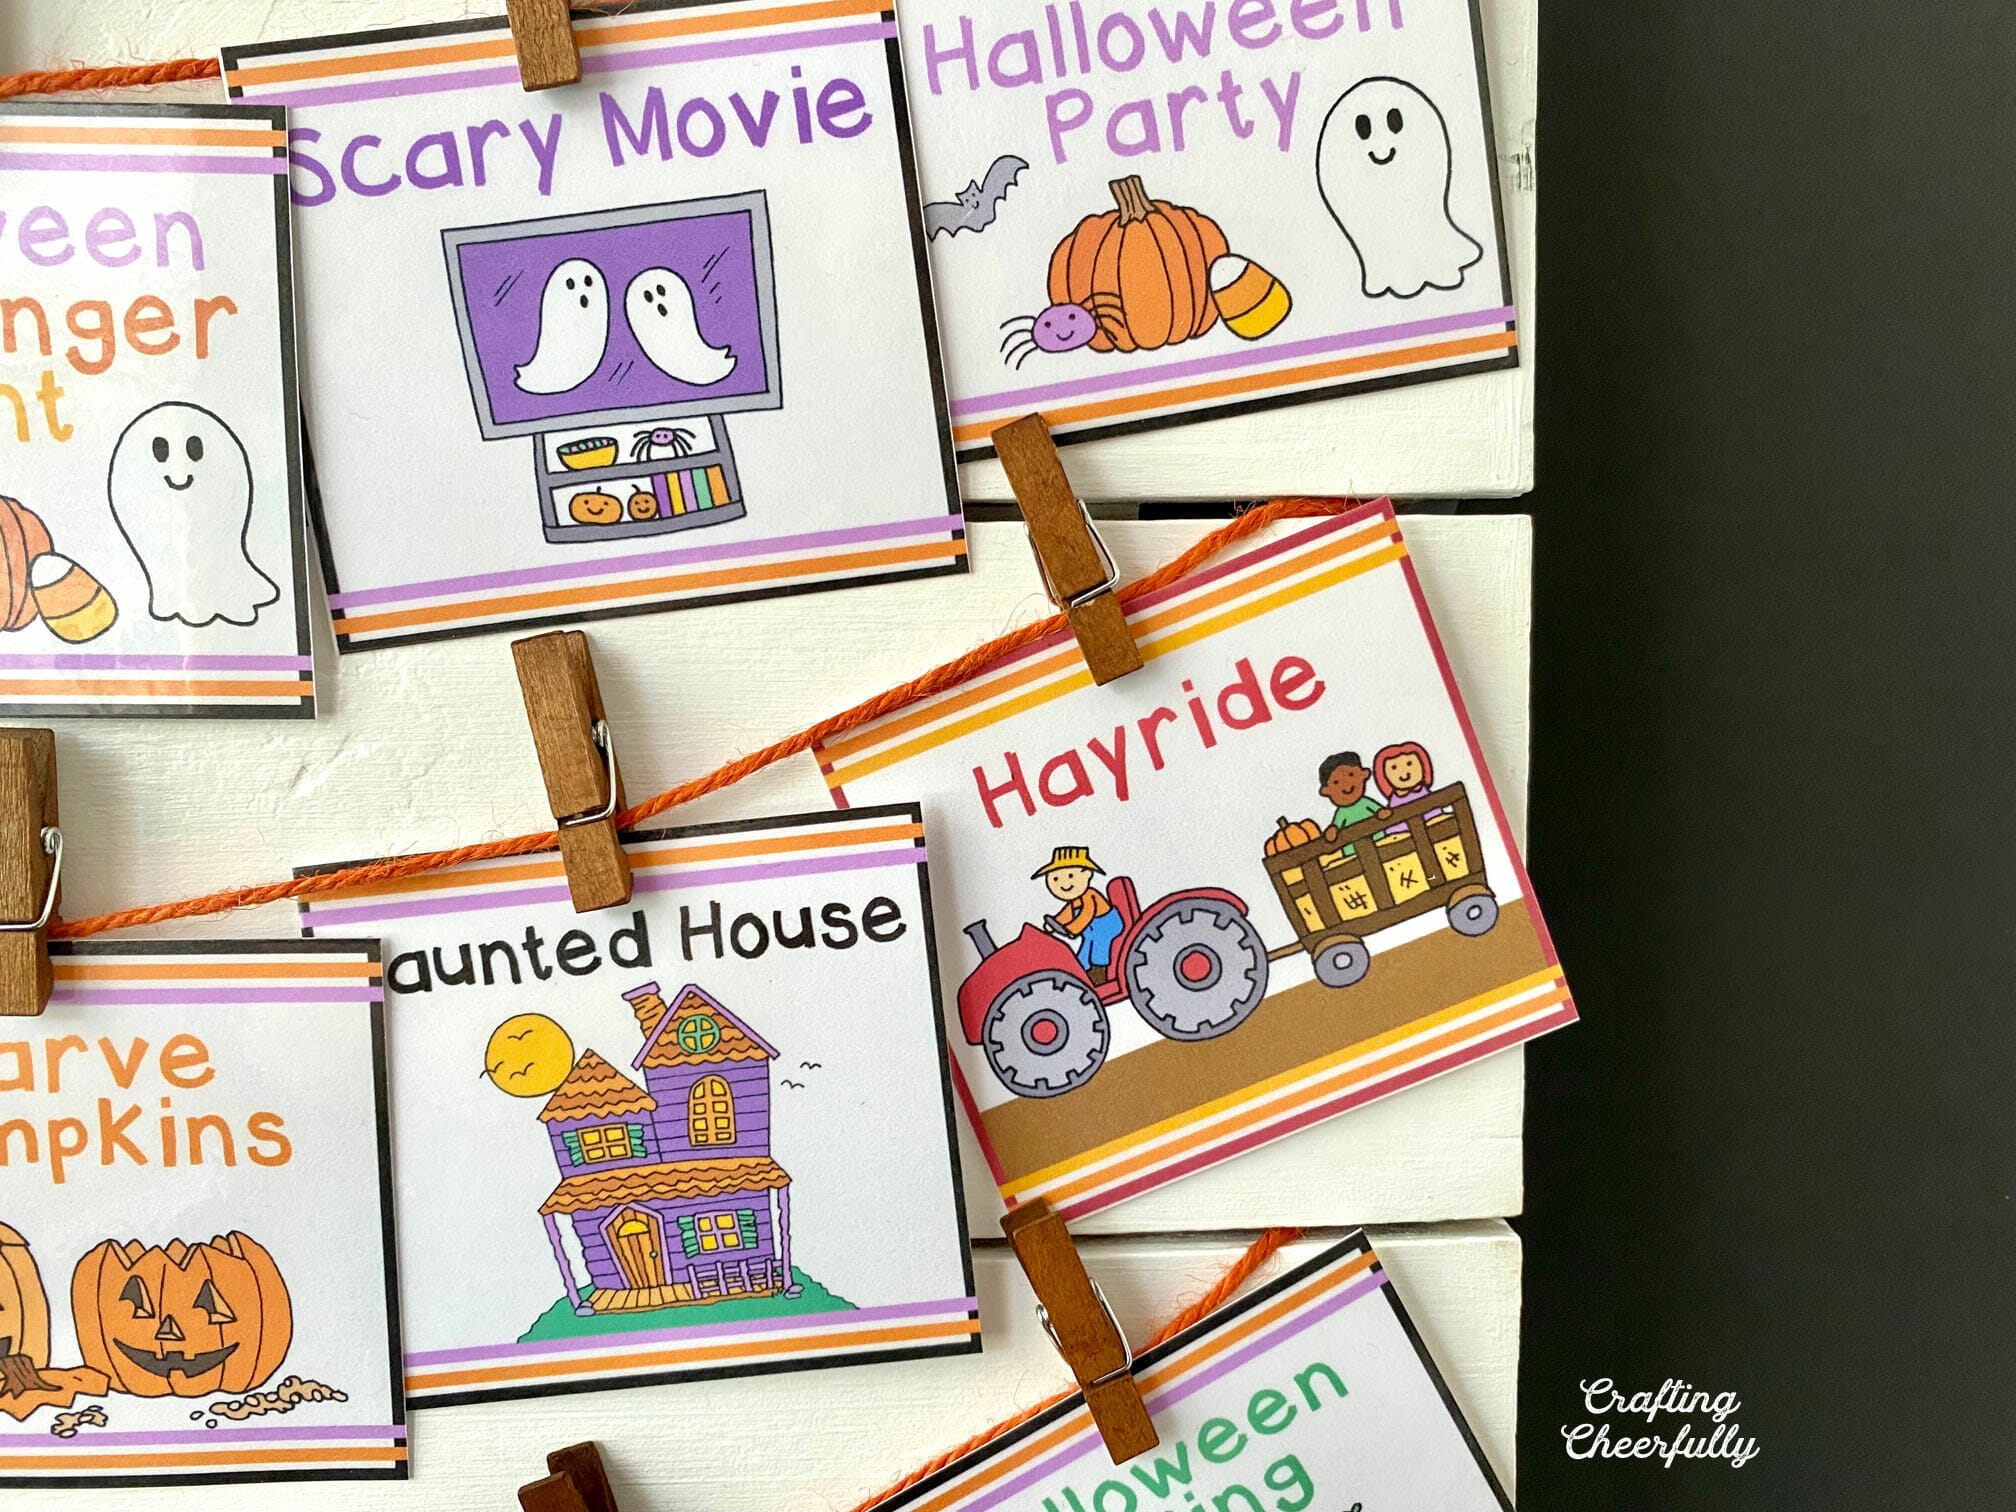
I made this bucket list sign using my Halloween and Fall Calendar Cards. We used them last year in our pocket chart calendar but I realized they would also be perfect for a bucket list!
There are 21 Halloween and 21 Fall cards included so there are lots of activities to choose from. The card set also comes with an editable version, so you can edit the words on the cards. This is perfect for specific events and activities your family participates in each season.

Create your Halloween bucket list board with just the Halloween cards, or mix-and-match and include some of the fall ones too!
Below is the tutorial for creating the Halloween bucket list board. I plan to switch out our Fall bucket list board toward the beginning of October and add any Fall ones we didn’t complete to this Halloween one. We’ll use this same board again for the Christmas season with my Christmas Calendar cards! One board – multiple bucket lists!

Supplies Needed for Halloween Bucket List Sign
- My printable Halloween and Fall Calendar Cards!
- White cardstock to print on – I used Neenah 110lb white paper
- A wooden board
- Twine, yarn, string or ribbon – I used orange twine from Michaels
- Clothespins – I used medium-sized clothespins from Michaels
- Paper trimmer or scissors
- Thermal Laminator and Laminating Pouches – completely optional but great for reusing the cards.


Step One: Start by printing the Halloween and Fall cards on white cardstock. I use 110lb paper but use whatever works with your printer. If you’d like, laminate the cards for extra durability.

Step Two: Cut the cards out using a scissors or paper trimmer.

Step Three: Attach a length of orange twine to your wooden board. Start by just taping the ends to the back of the board, so you can adjust positioning and the length of the twine.


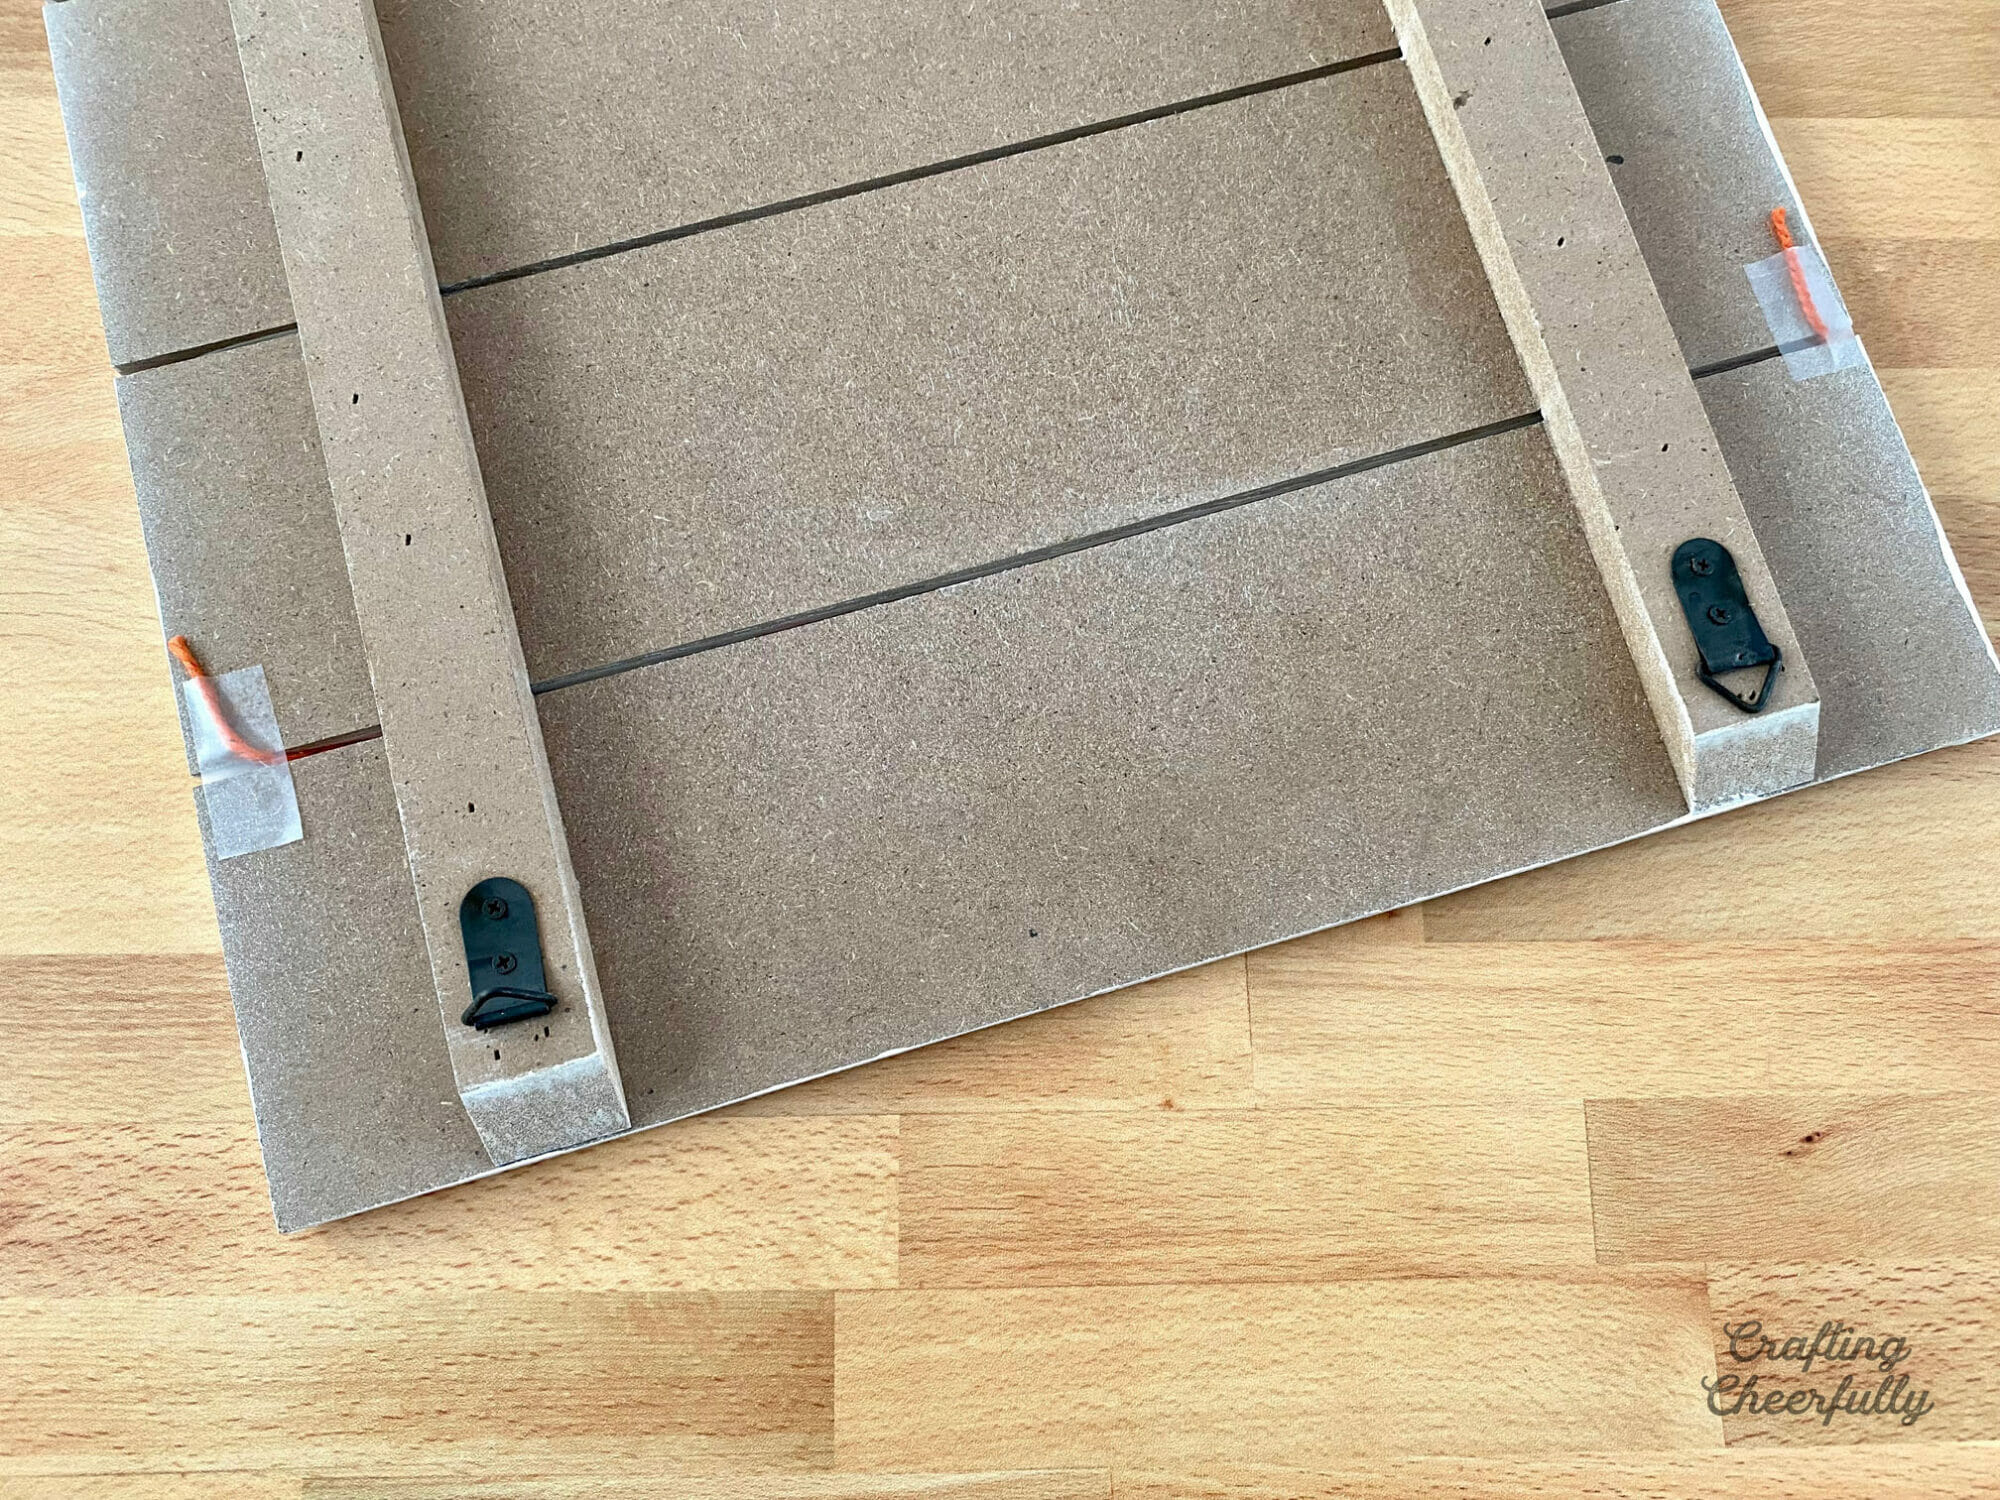
Add the cards to the twine using mini clothespins and then readjust the length of the twine until you are happy with how much the cards swoop. Once all of the twine and cards have been added, you can hot glue the twine in place. I keep mine held with tape, since I plan to reuse this board for each bucket list including Christmas, where I will want to change the color of my twine. I kept the orange twine from my Fall bucket list, so changing it to Halloween was super simple!

Repeat for the other strands of twine you plan on adding to the board. My board fit three strands of twine with five cards on them, so I included 15 bucket list cards.

Step Four: Add the title label to the top of the board. I used tape bubbles on the back so I can replace it easily with Halloween and Christmas bucket list titles. There is an editable version of the labels included so you can personalize your sign. Add your family’s name like “The Smith Family’s Fall Bucket List” or use the names of your children like “Sarah and Todd’s Fall Bucket List”.

The Halloween bucket list sign is finished! I love how it turned out and since I already had the Fall one set up, switching to Halloween was SO simple. I just removed the label at the top and replaced the cards!

One of my favorite parts of this bucket list is how interactive it is. Kids can help unclip or turn over the activities as you finish them. I’m also really happy I can reuse this same board for the my Christmas bucket list sign later this year. I’ll need to switch out my twine, but I’ll save this orange twine with the cards for next year :)
Do you do bucket lists with your family? We have been enjoying our Fall one so we’ll give this Halloween one a try! Even if you don’t get to all of them, it makes a cute decoration for the season!

The Halloween and Fall Activity Cards are available in my Etsy shop. Thank you for supporting my small business :)


