
DIY Snowflake Frame
Create a wintery snowflake frame using snowflake confetti and clear lamination pages! A fun winter and Christmas craft for all ages. Grab the free template to get started!

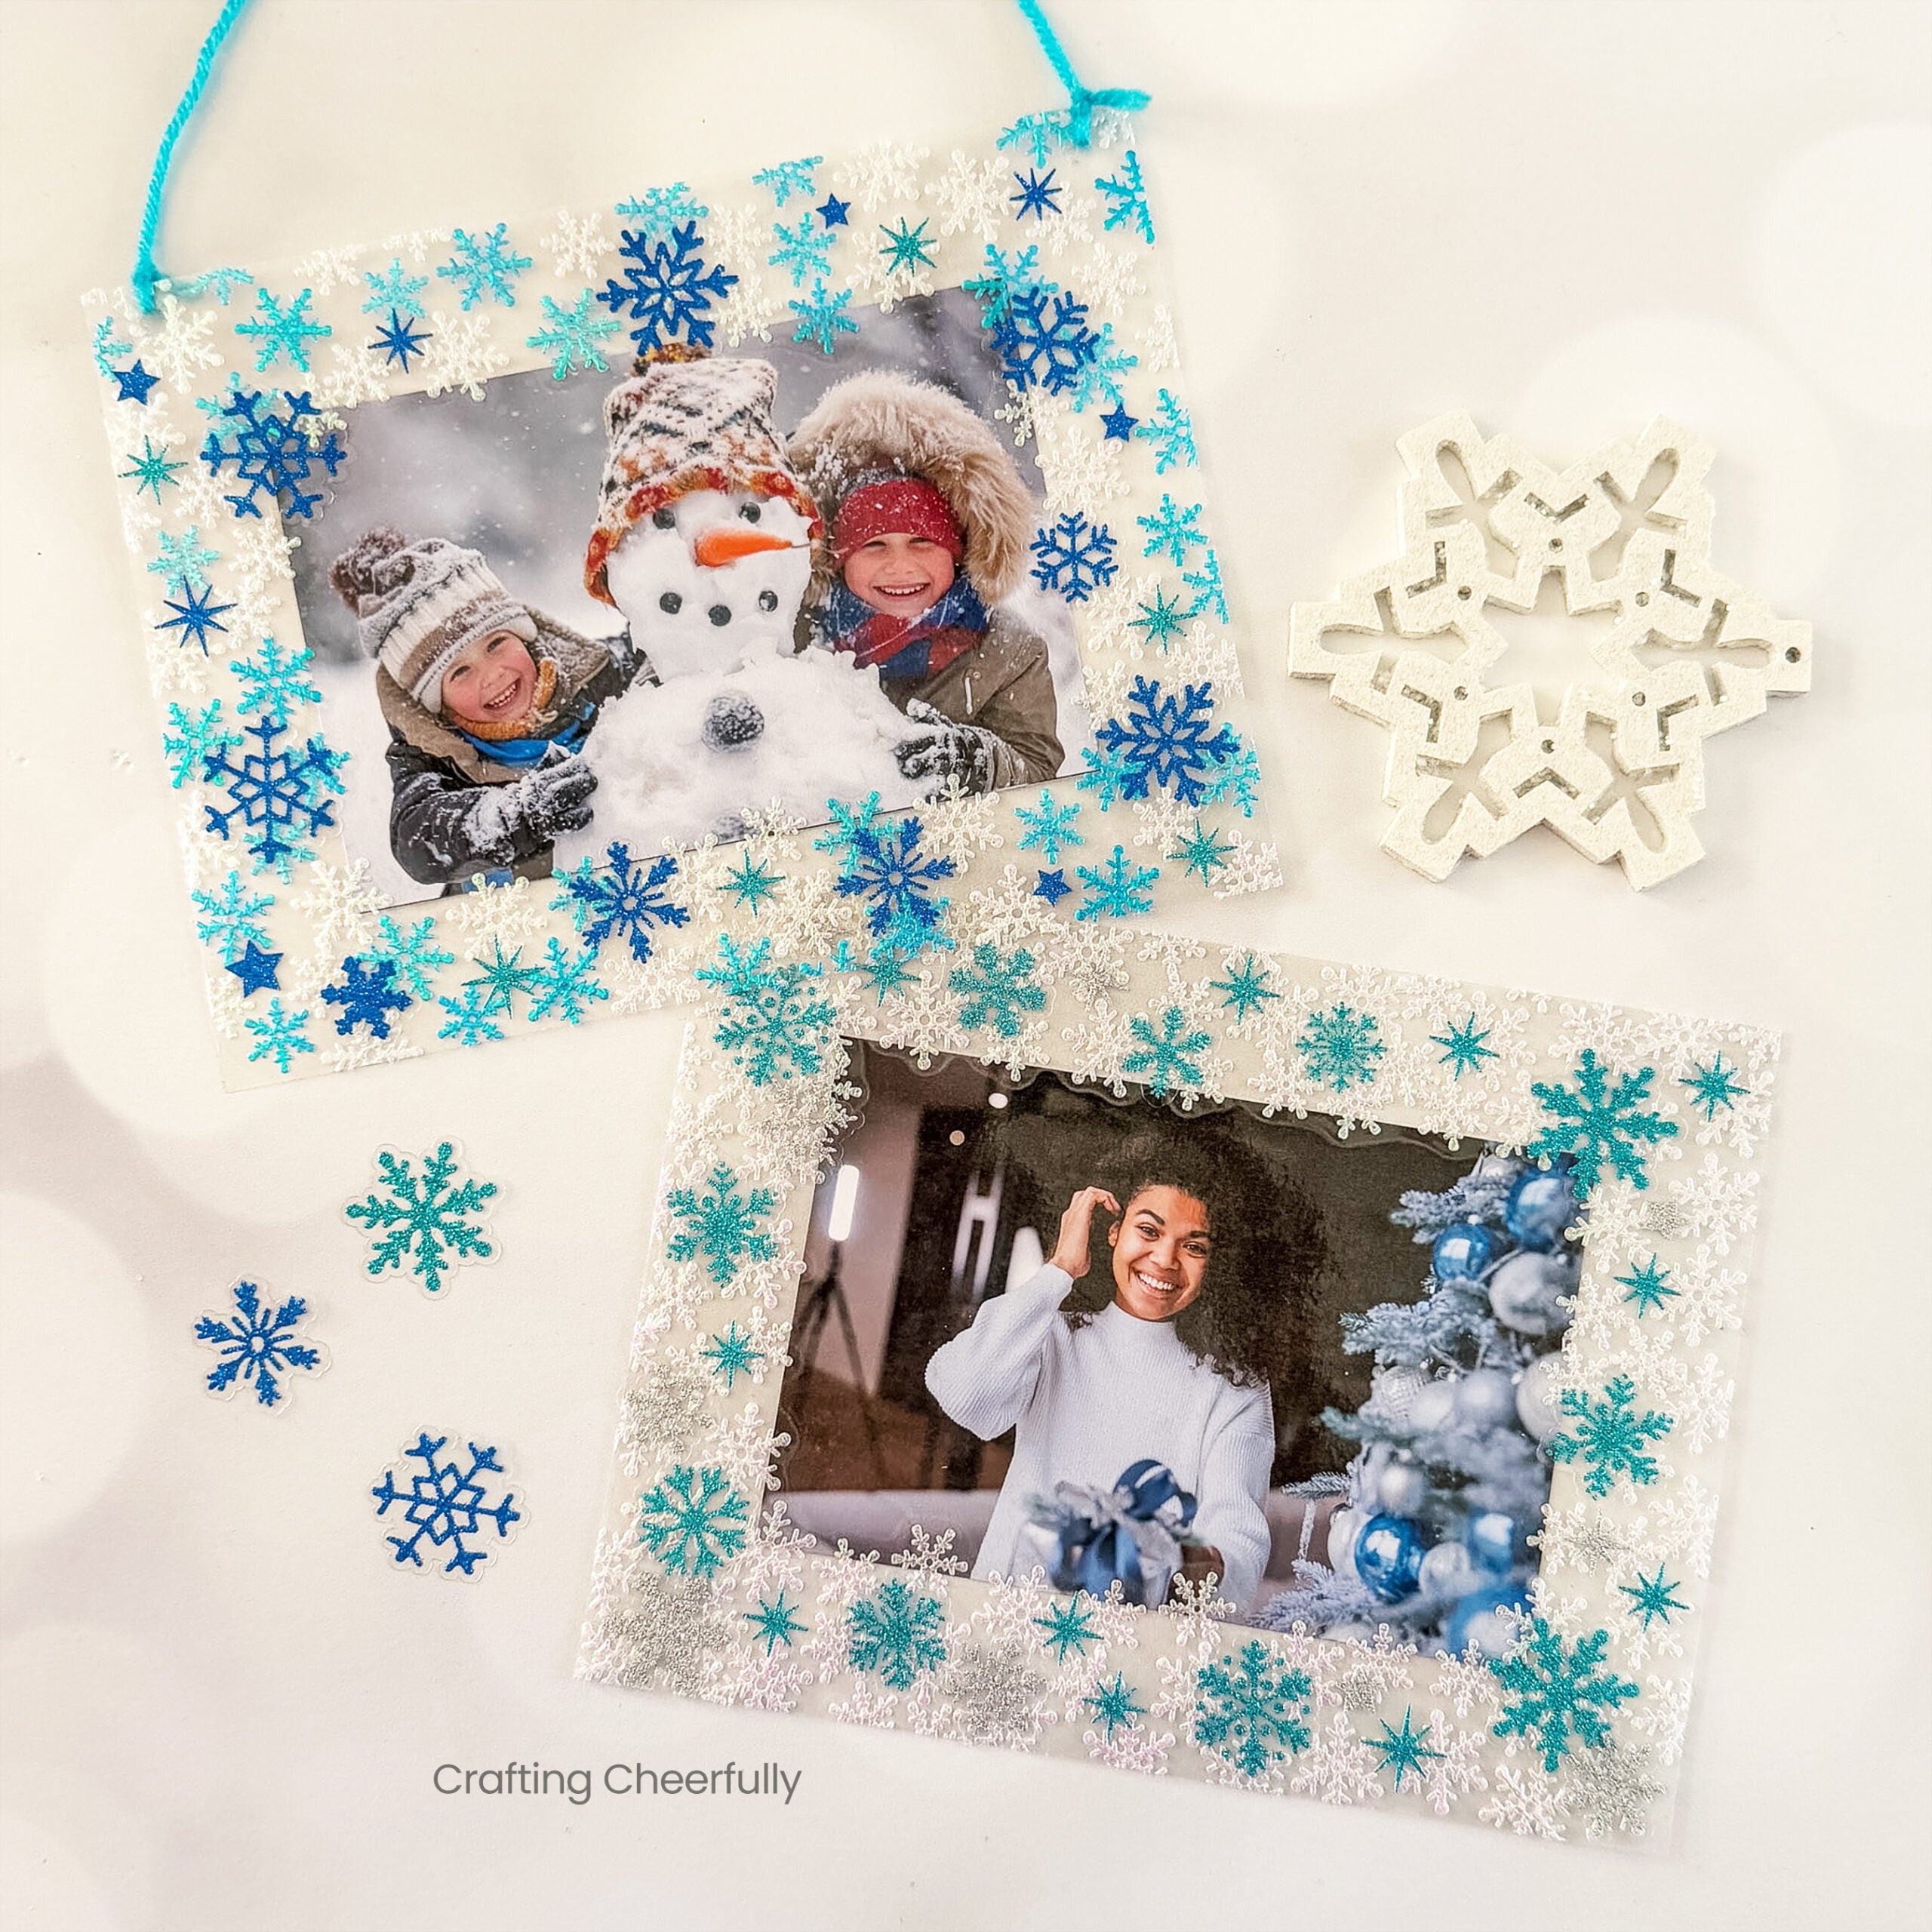
Hello Crafty Friends and welcome to Day 4 of my annual series 12 Days of Holiday Crafts! Today I’m sharing a tutorial for making a DIY snowflake frame! These frames are a simple craft that can be enjoyed by all ages.
I have loved making these frames in other seasons, like my Pressed Flower Frame in spring and my Pressed Leaf Frame in Autumn. This winter version uses snowflake confetti and stickers I found on Amazon. Both items came with enough for an entire class to enjoy making these frames!
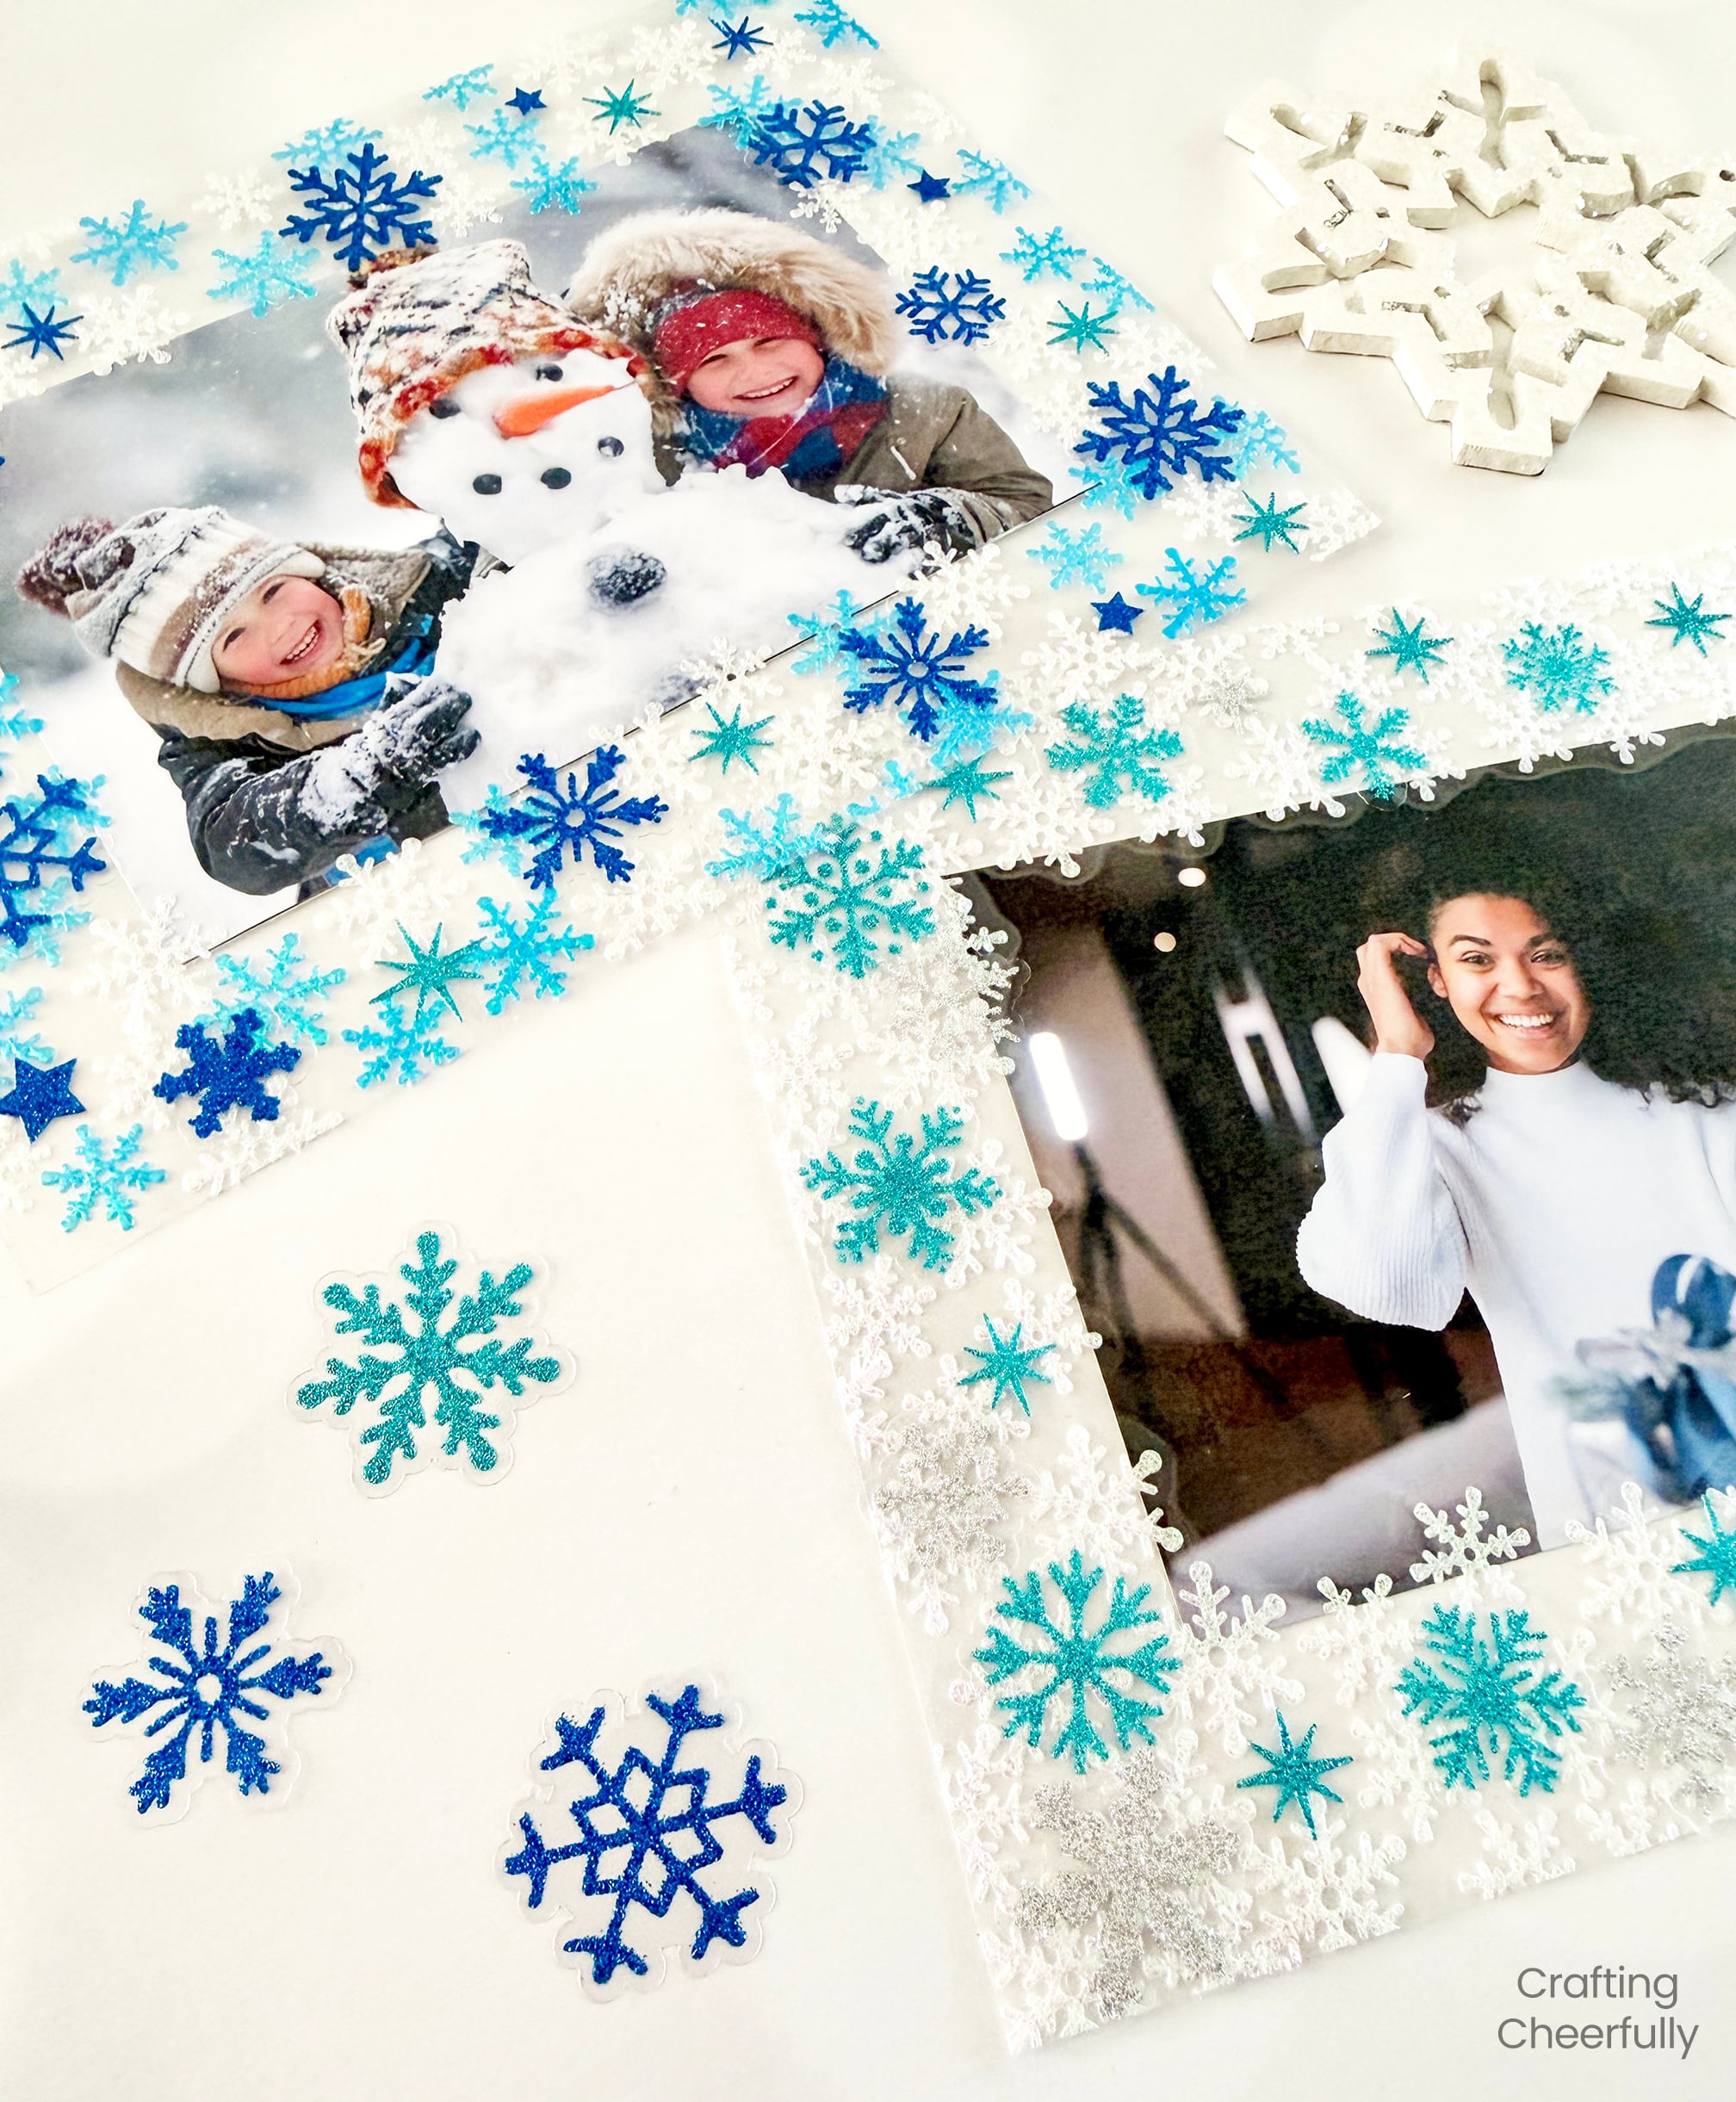
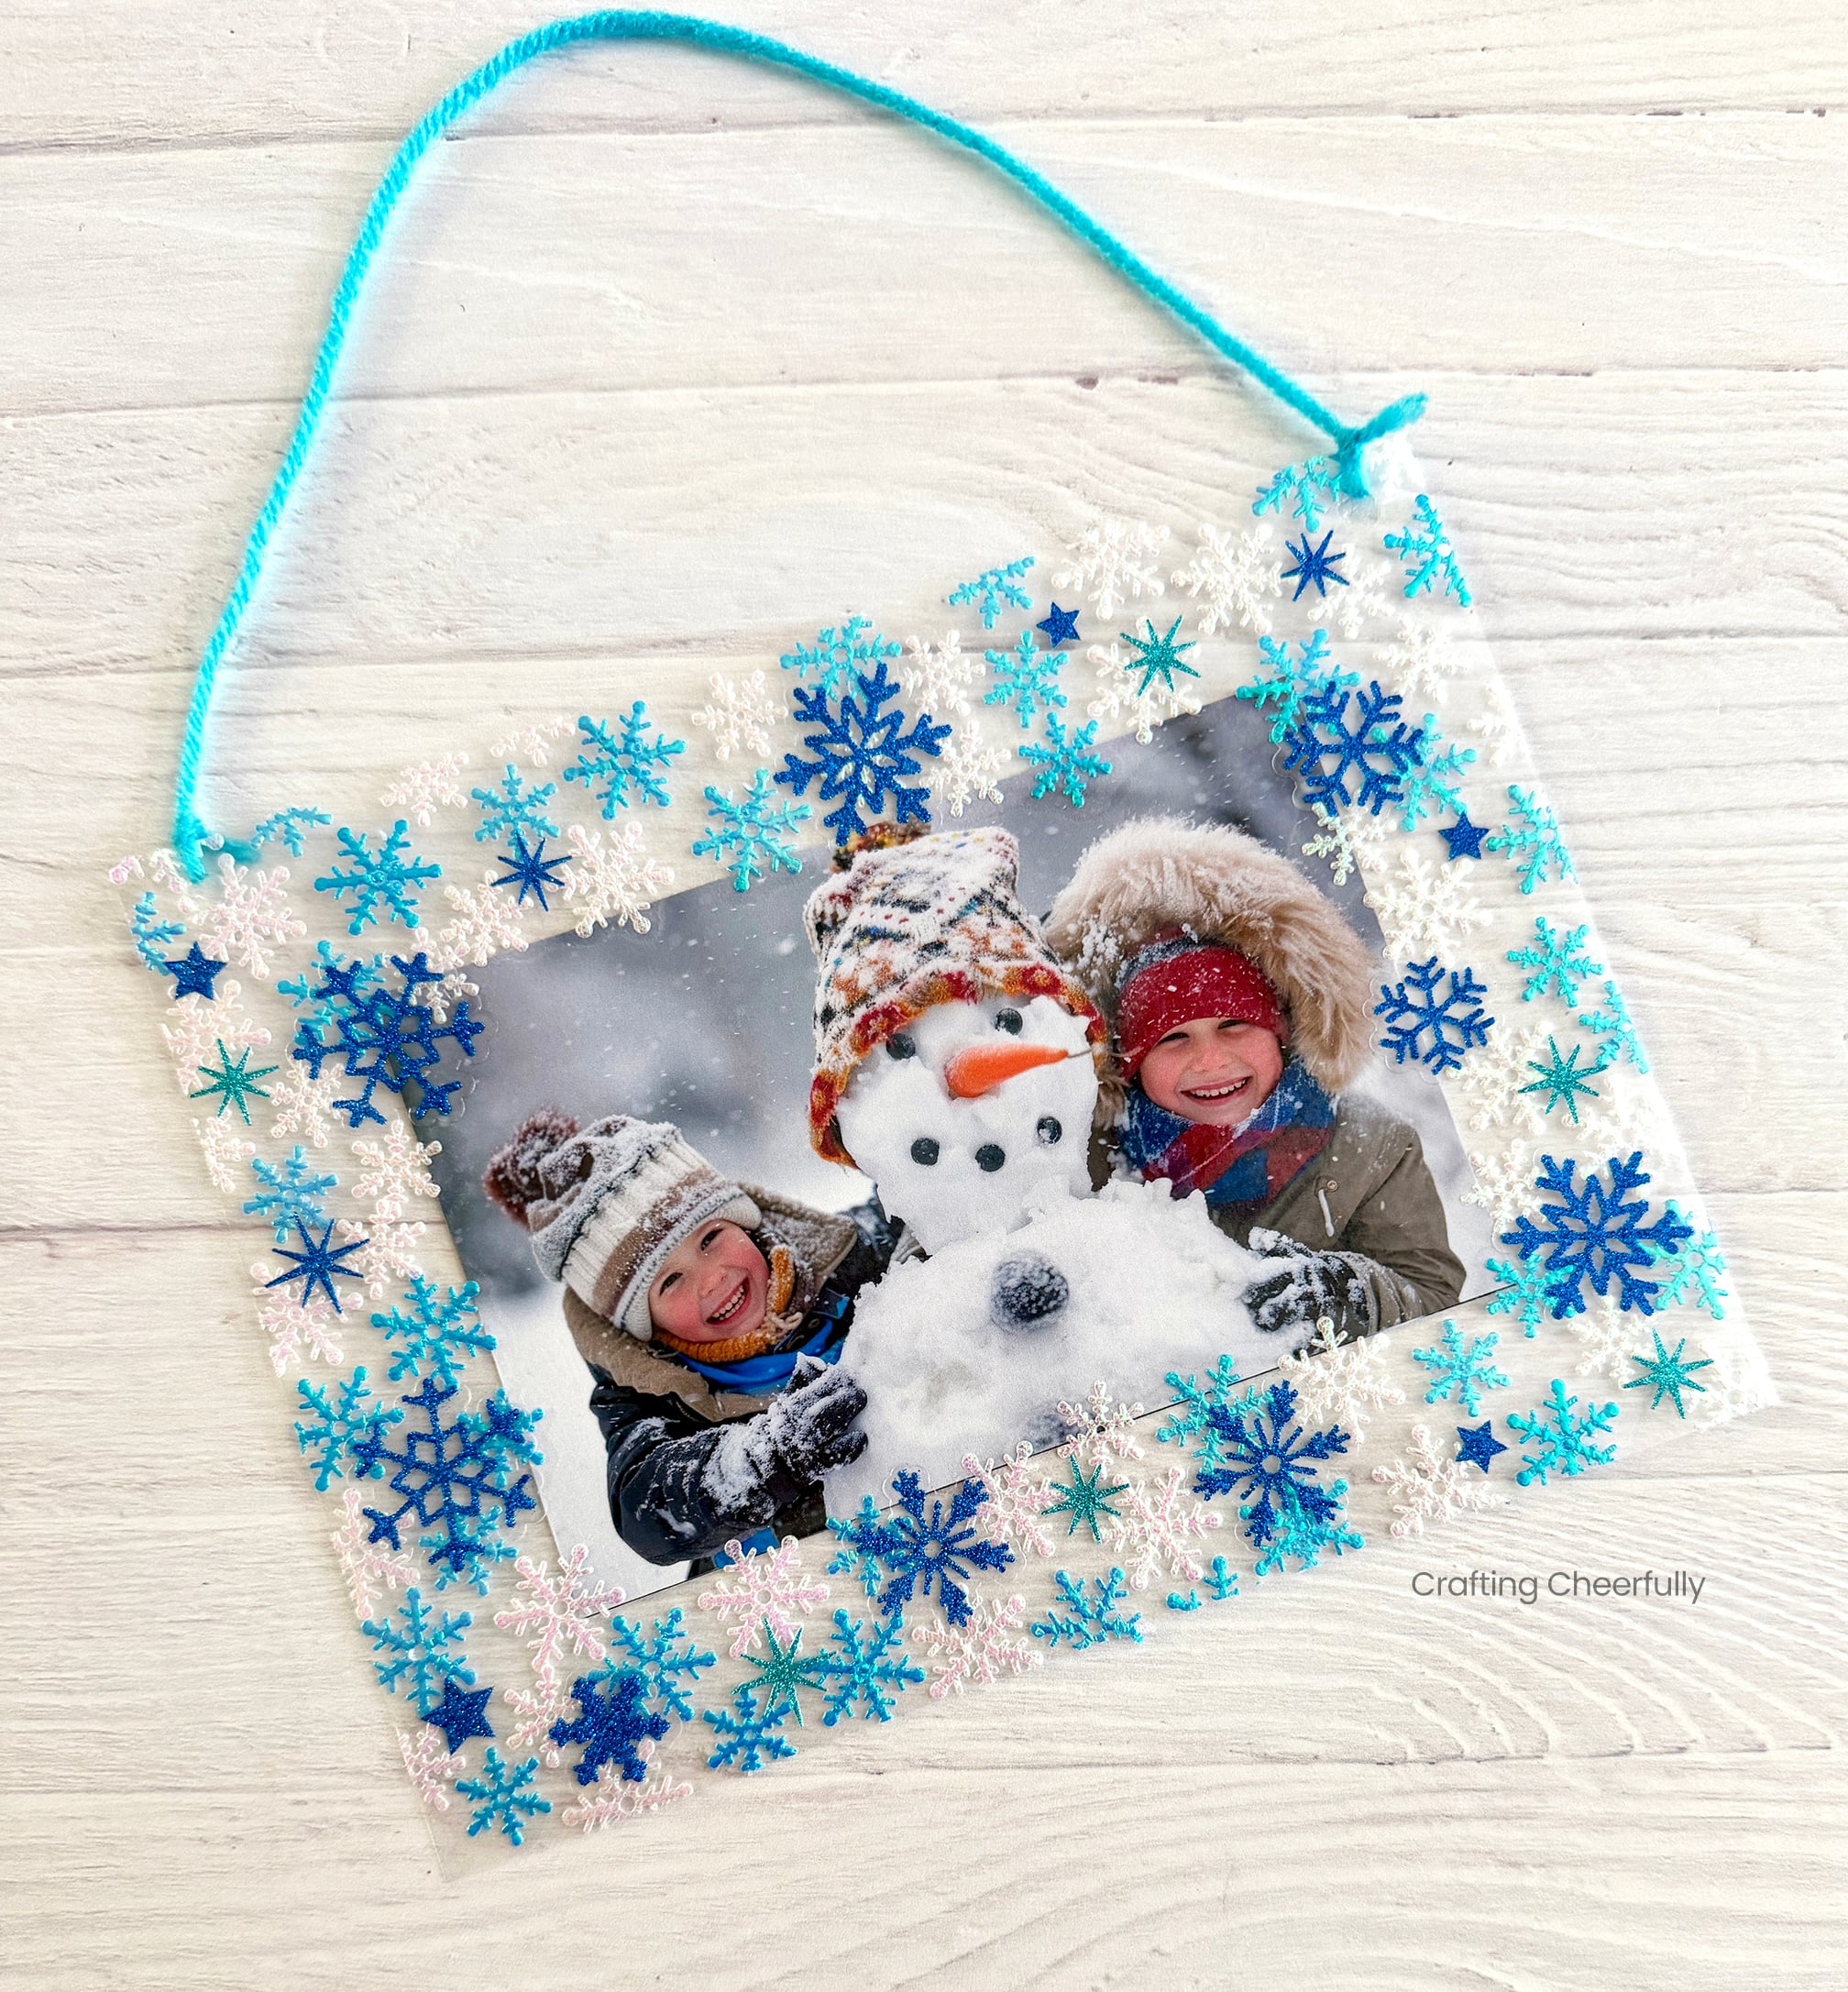
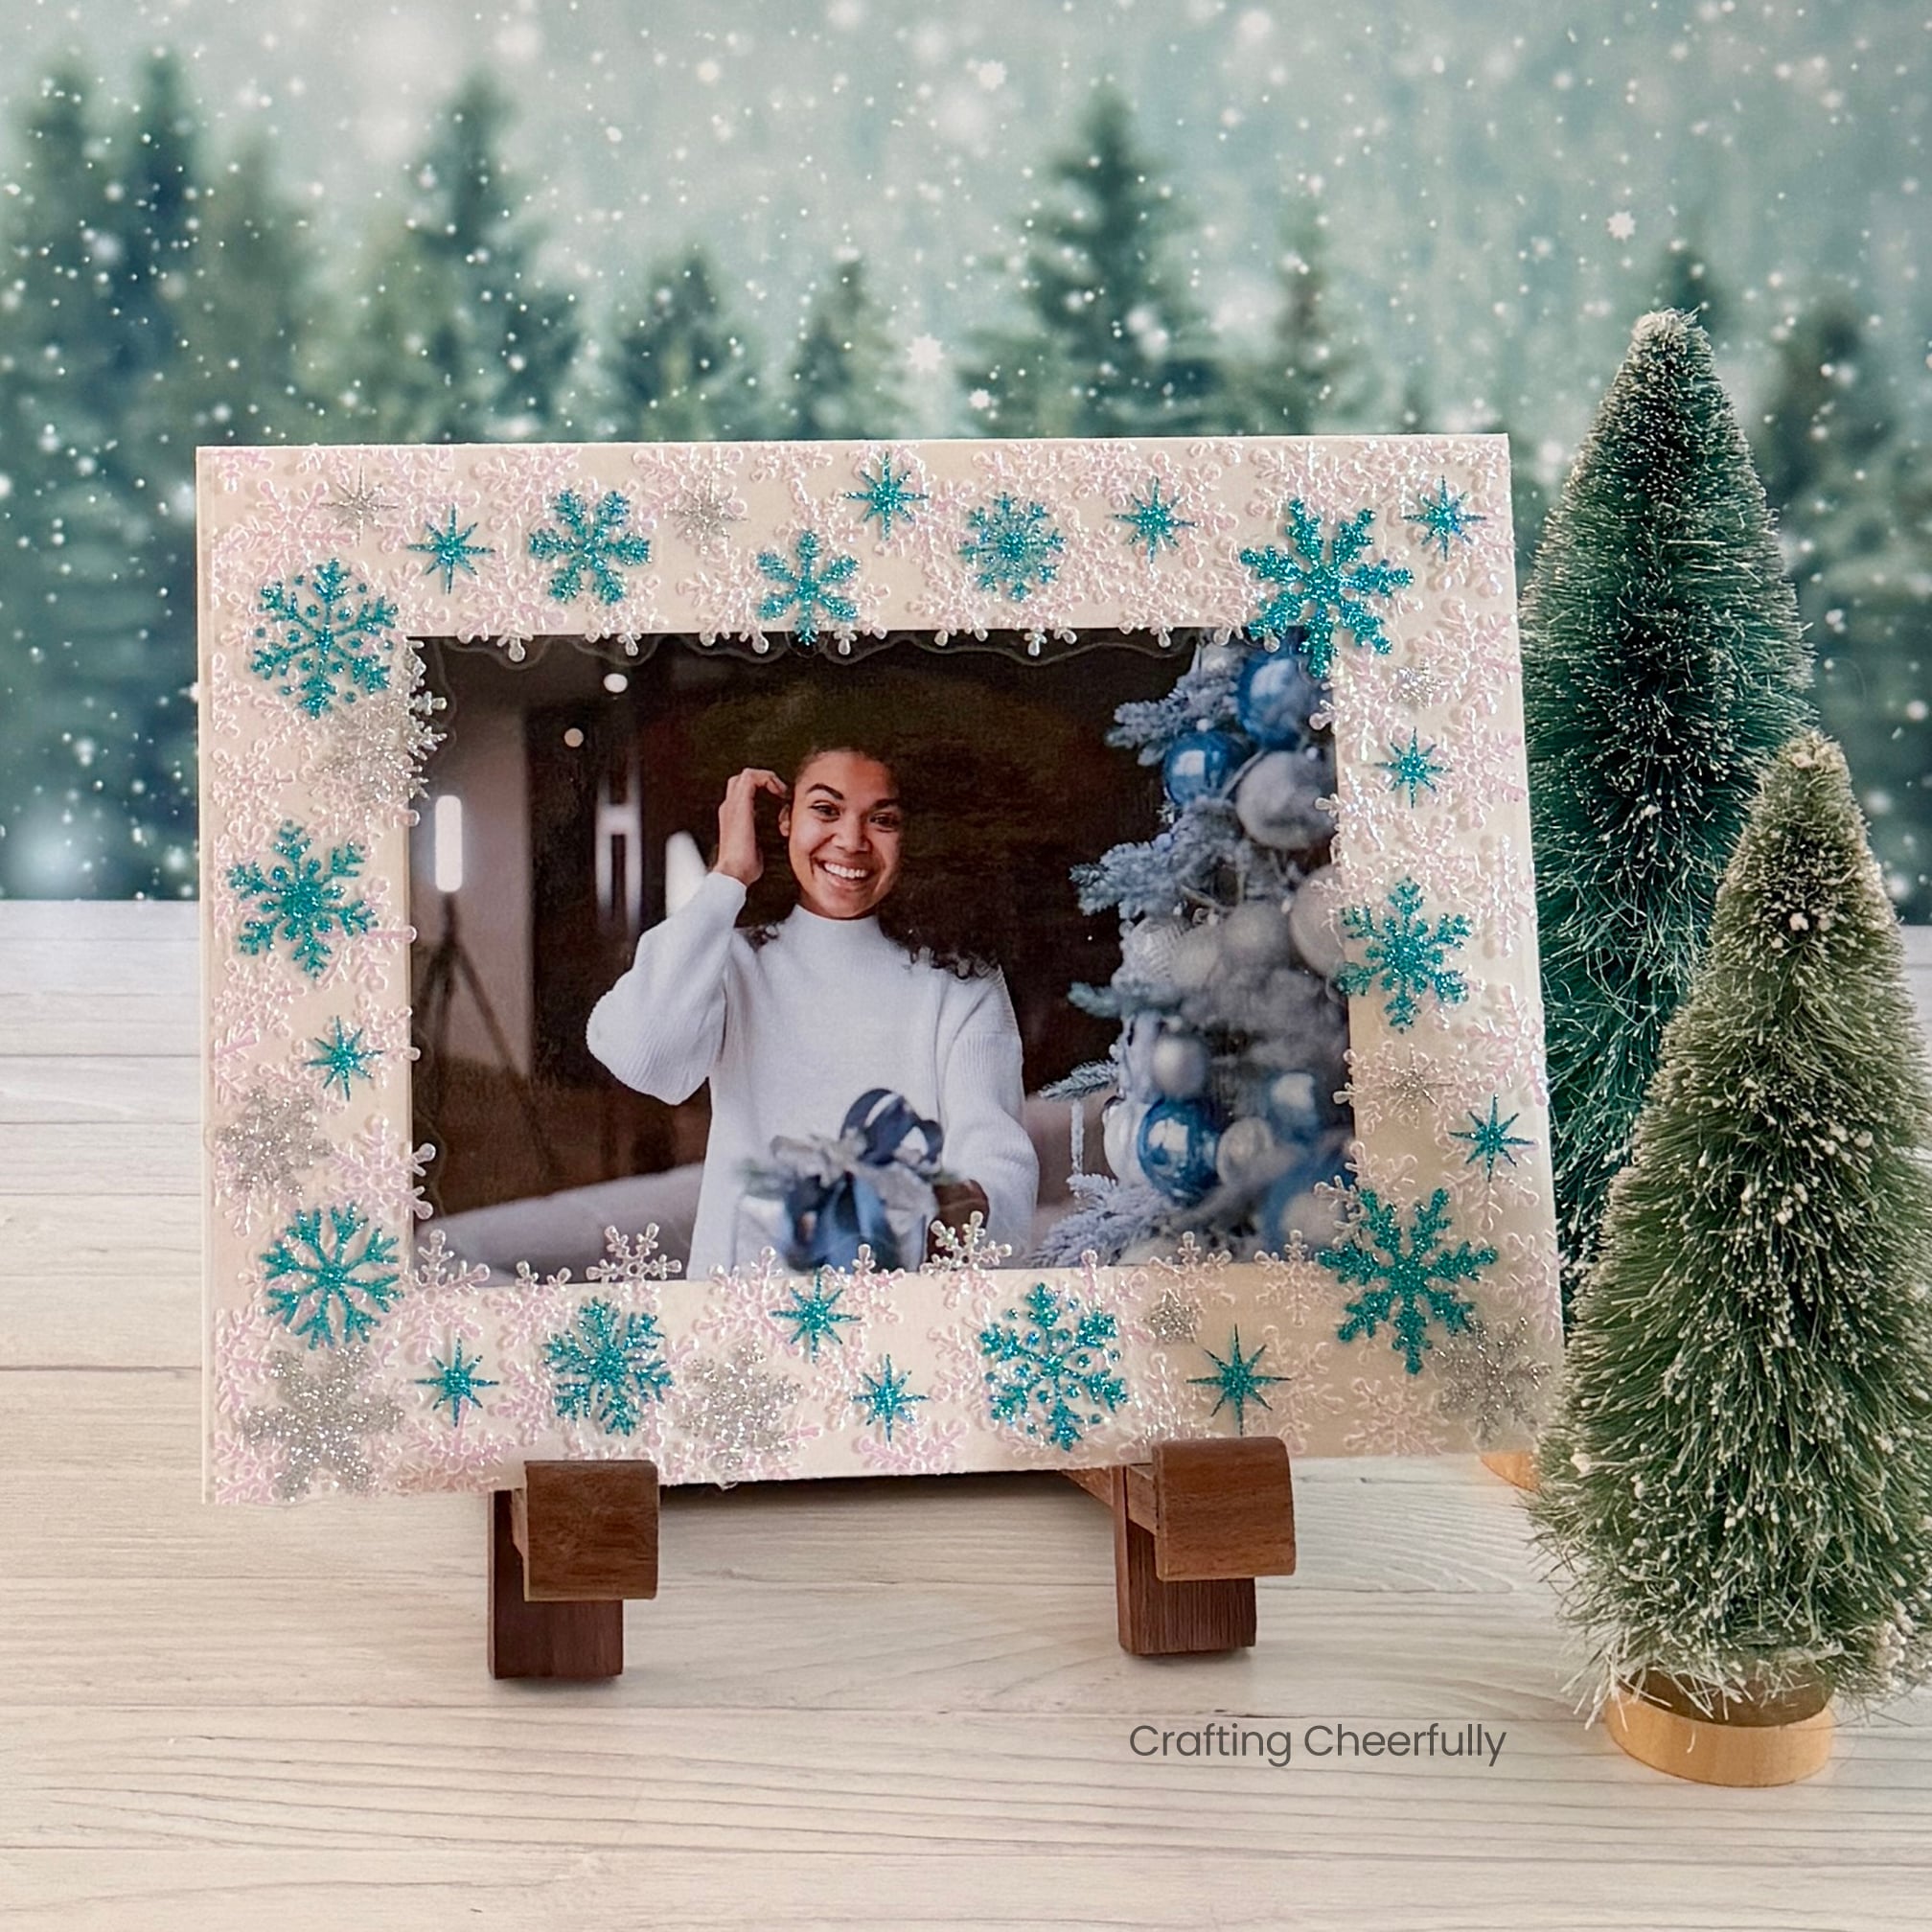
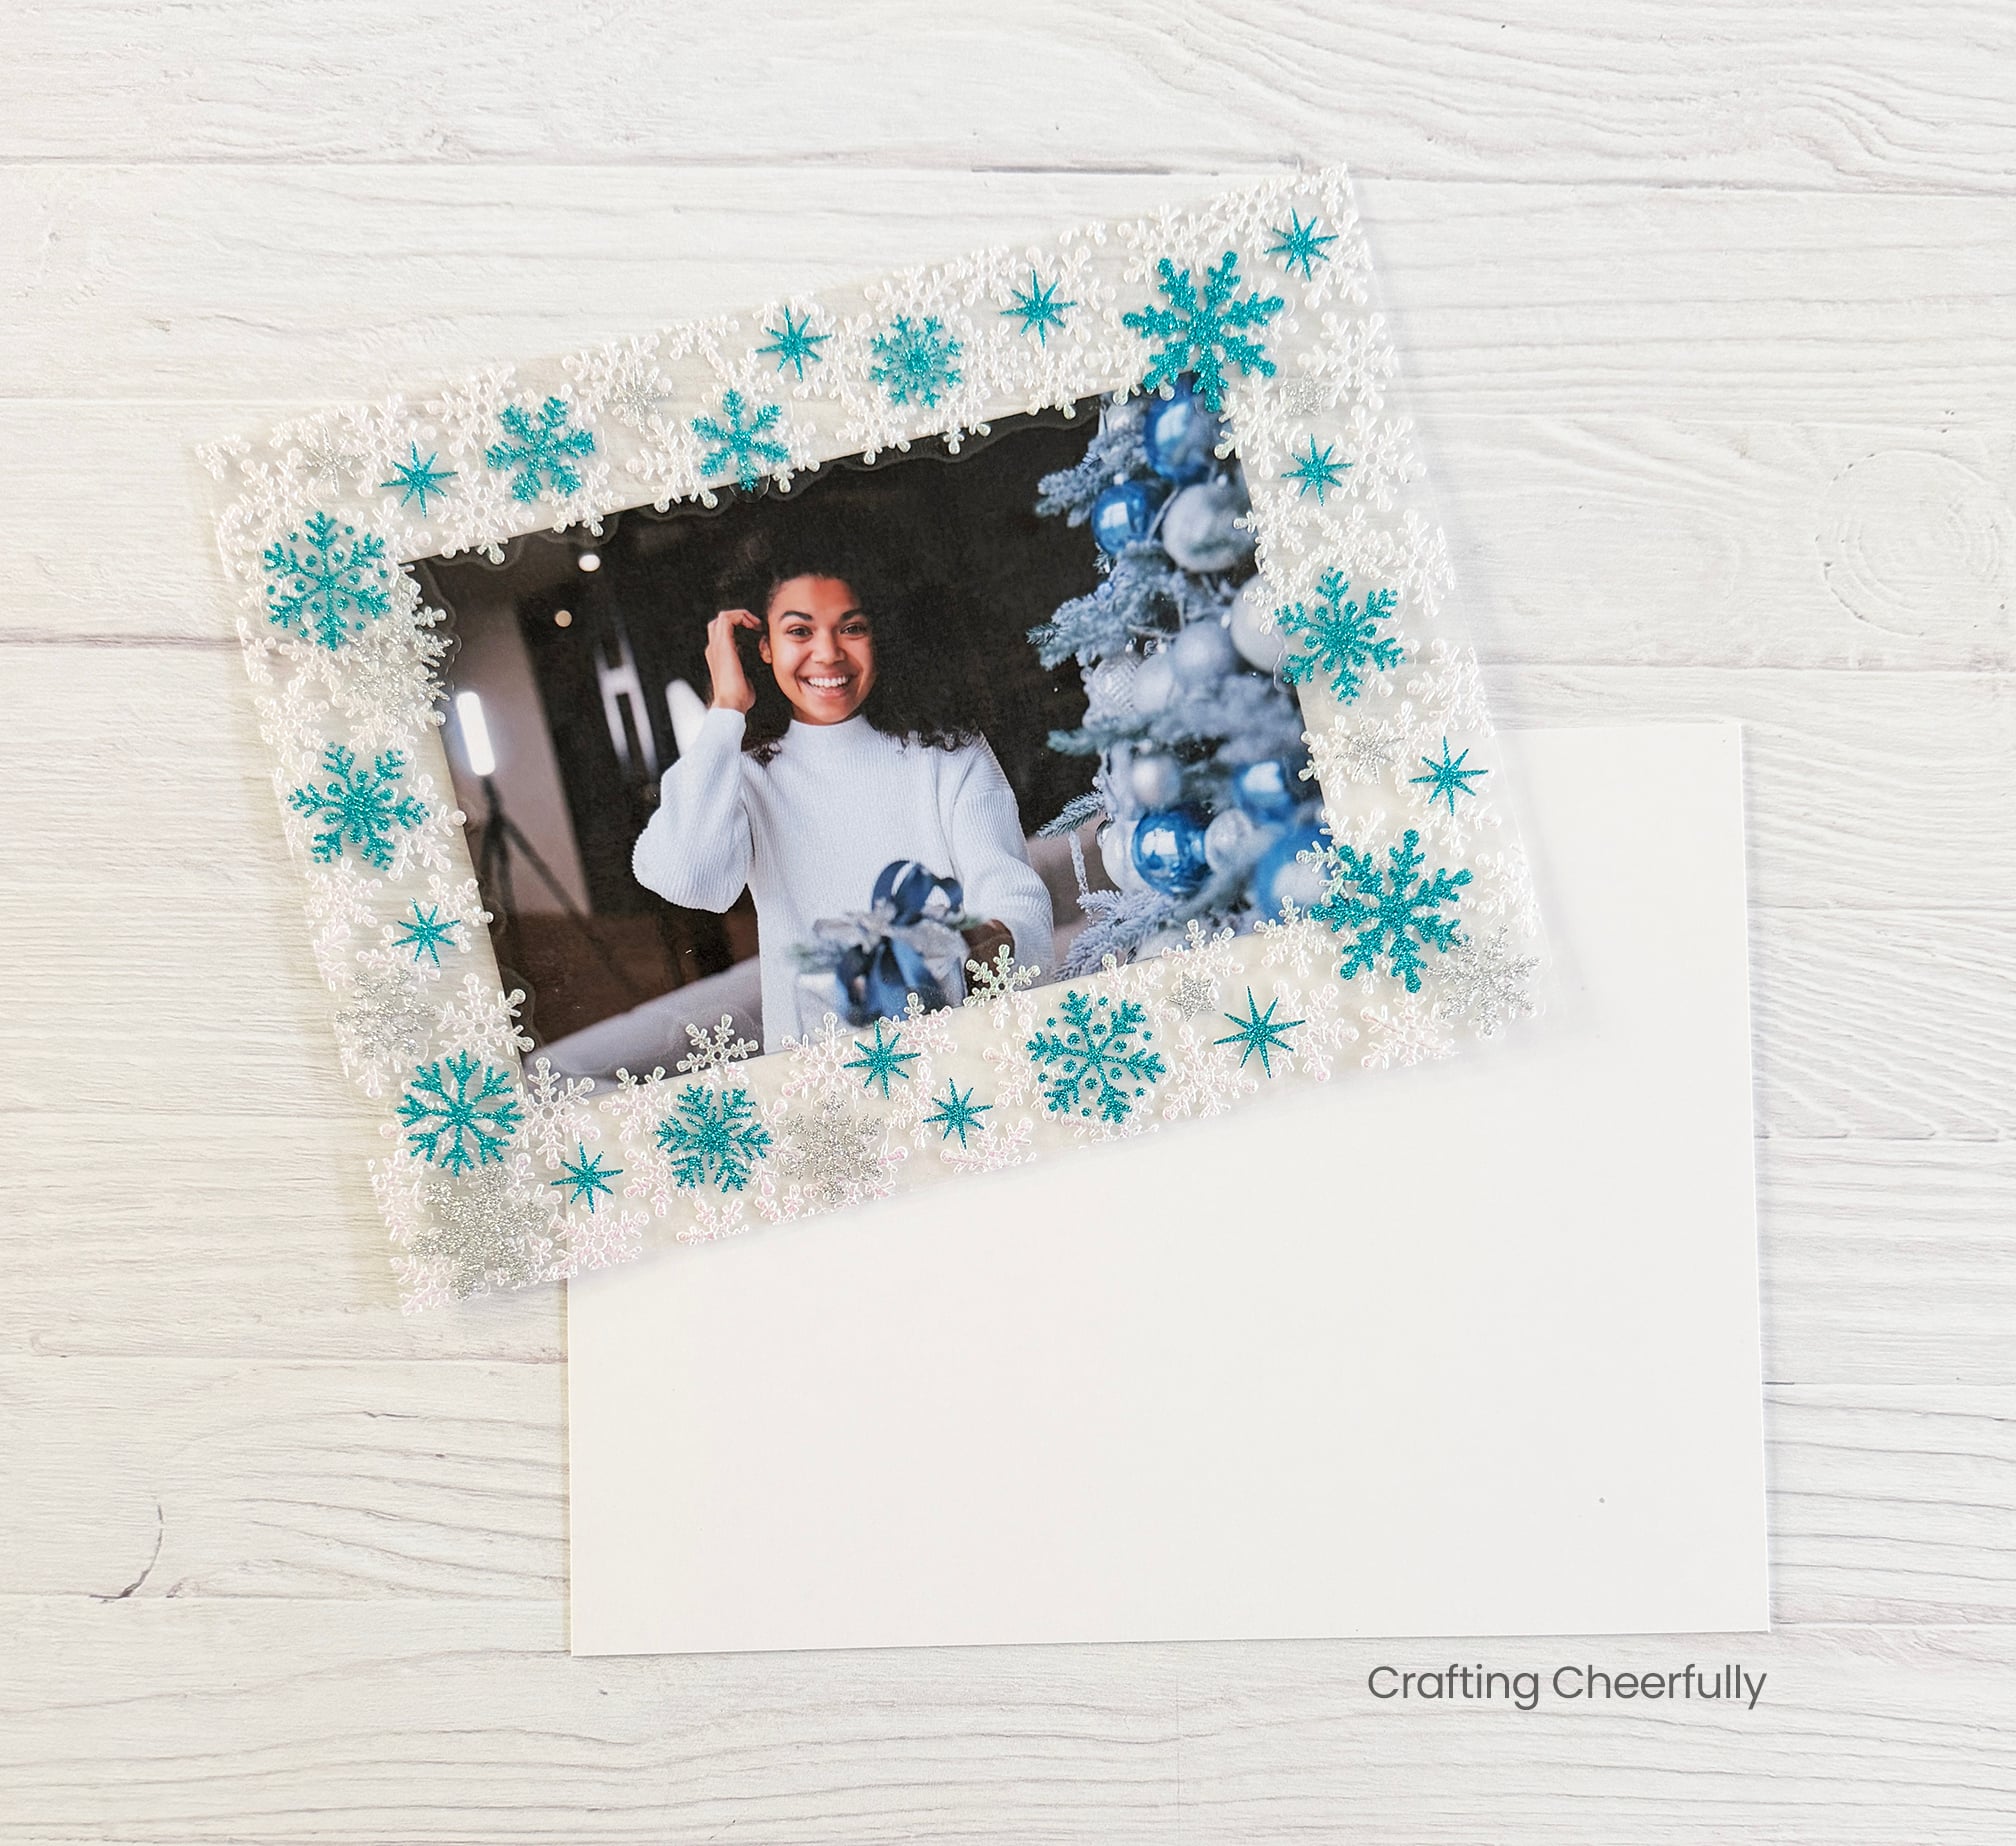
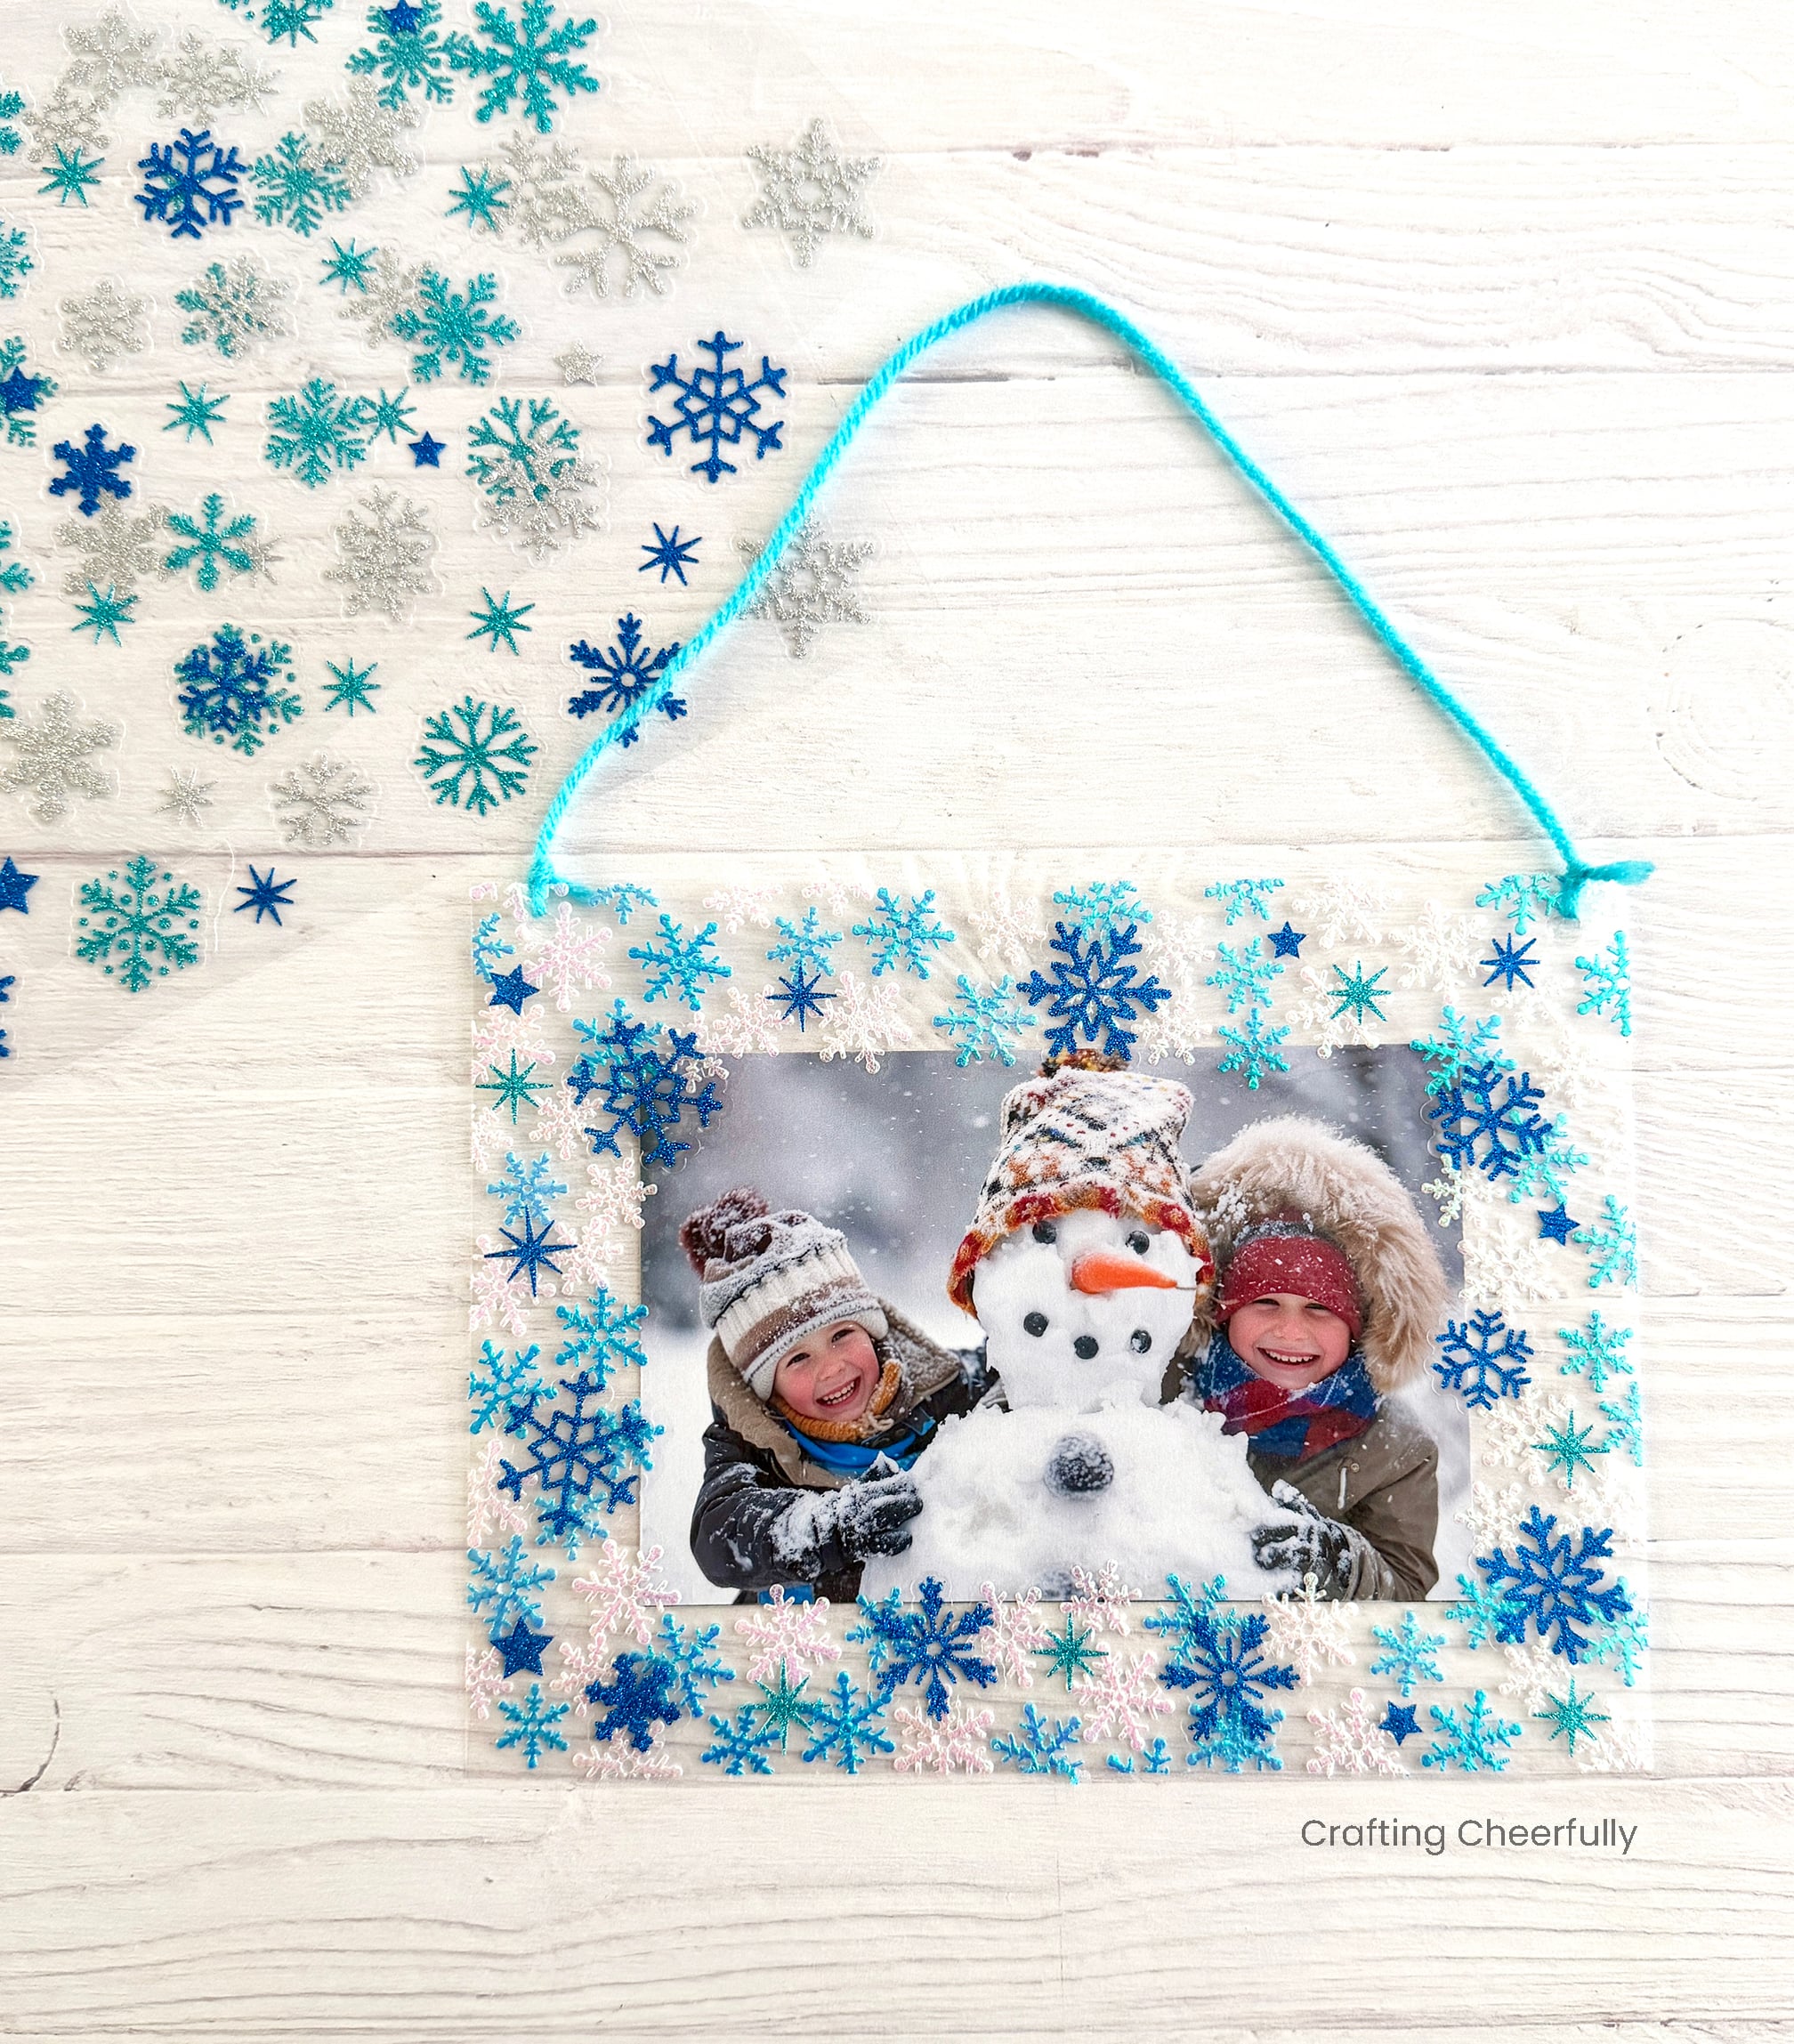
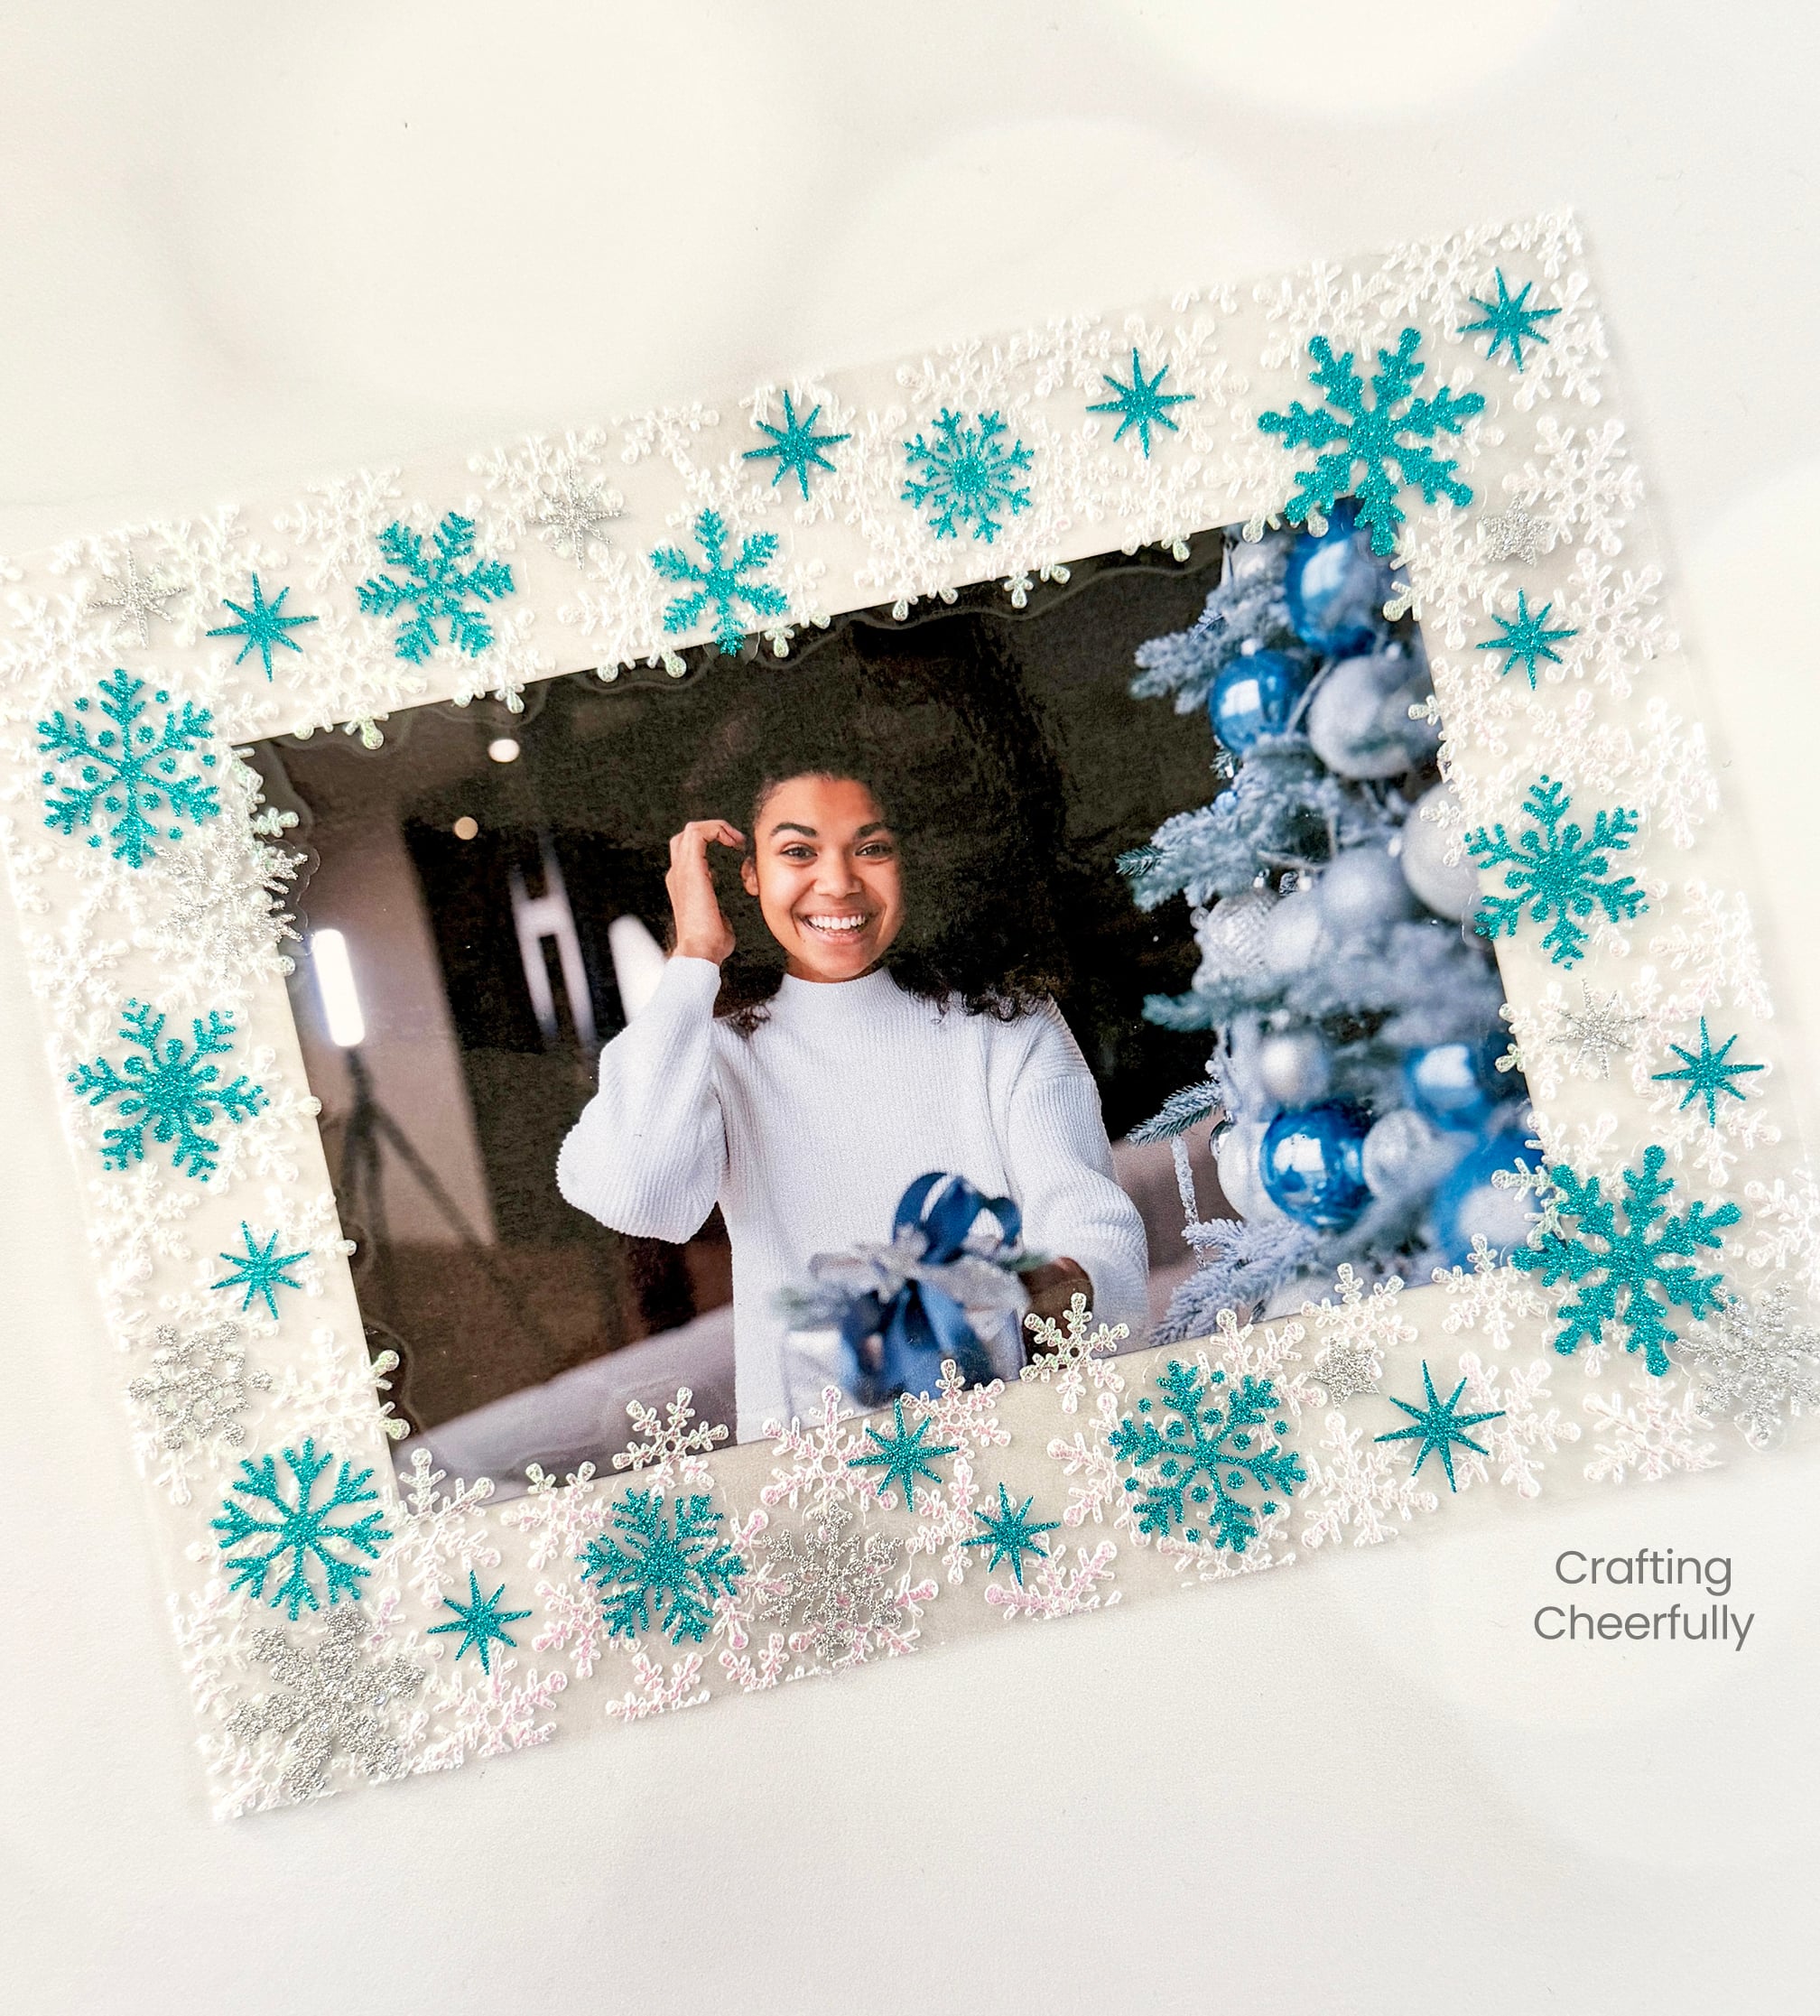
The frames are made with clear lamination sheets which creates a cool effect where the snowflakes seem to be floating around the photo. They can be finished with yarn to create a hanging loop or use a solid piece of white carstock to create a backing and display the frame in an easel.
Below is the tutorial! I hope you enjoy making these snowy frames that are perfect for this holiday season and throughout winter!
How to Make a Snowflake Confetti Frame
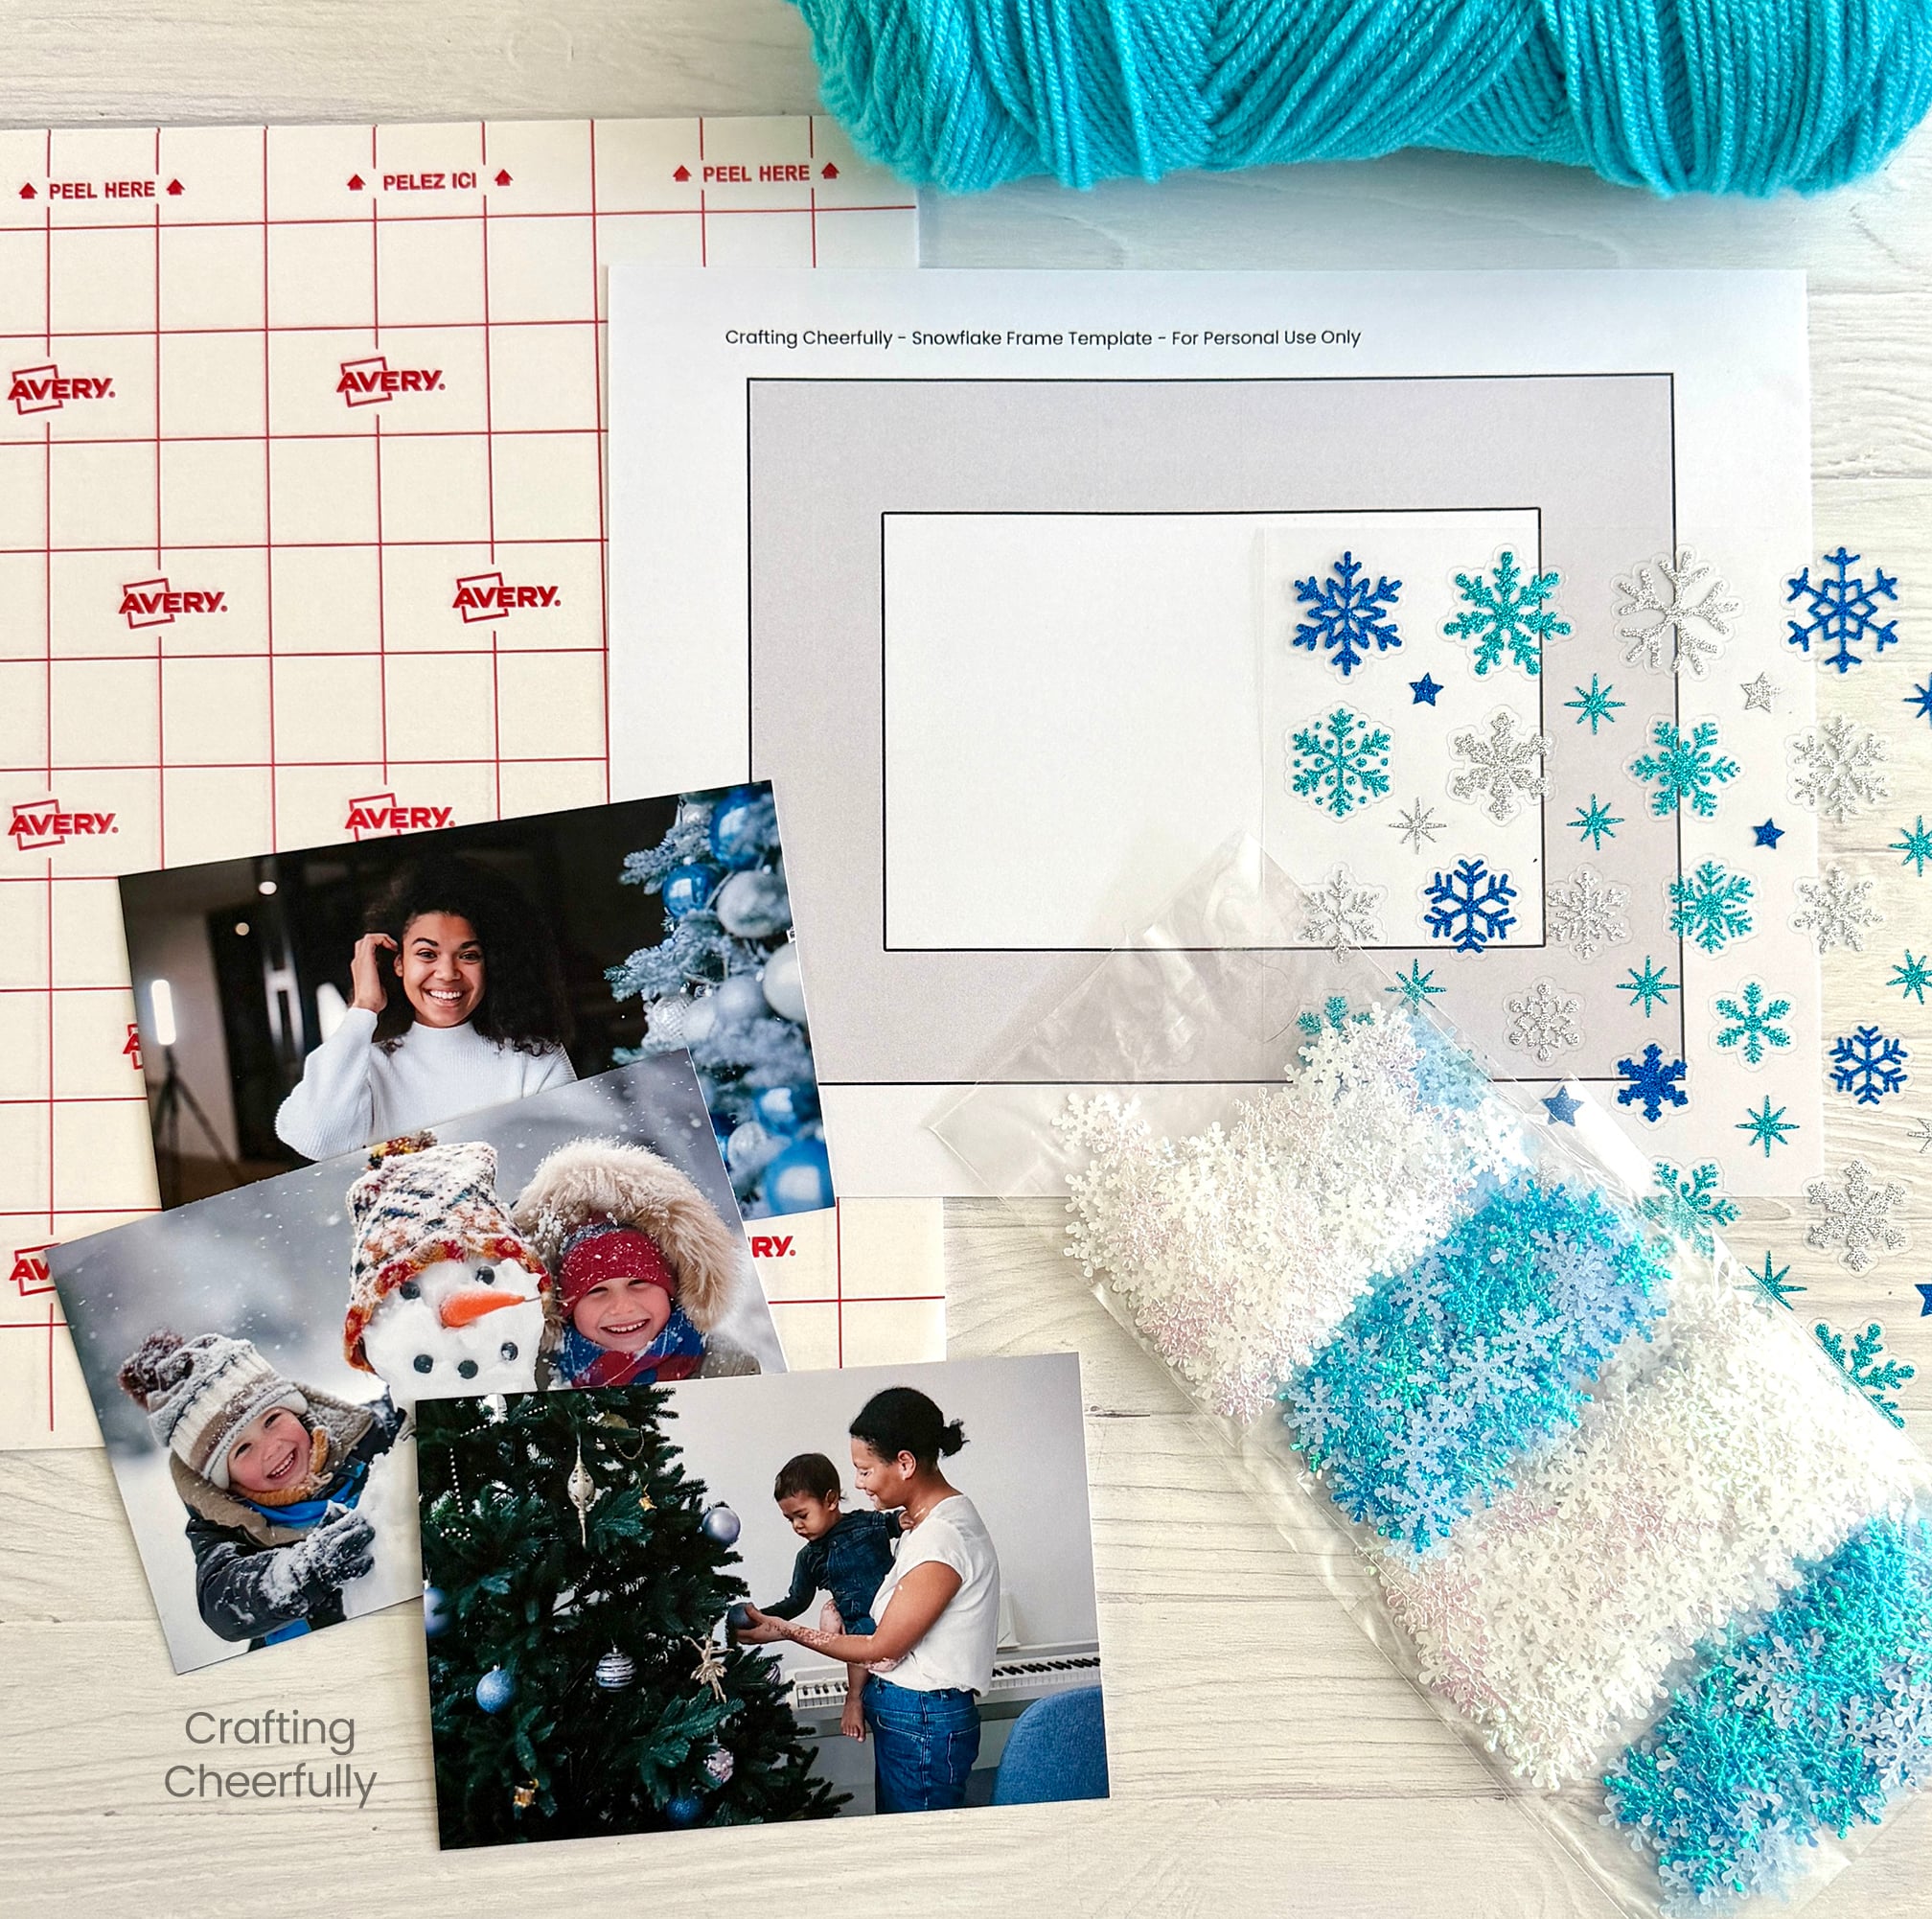
Supplies Needed
- Free printable template – Grab for free by filling out the purple form towards the end of this blog post.
- 4″ x 6″ photo
- Blue and White Iridescent Snowflake Confetti
- Snowflake Glitter Stickers
- Avery Clear 9″ x 12″ Self -Laminating Sheets
- Scissors and paper trimmer
- Clear tape
- Black Sharpie
Preparing the Frame
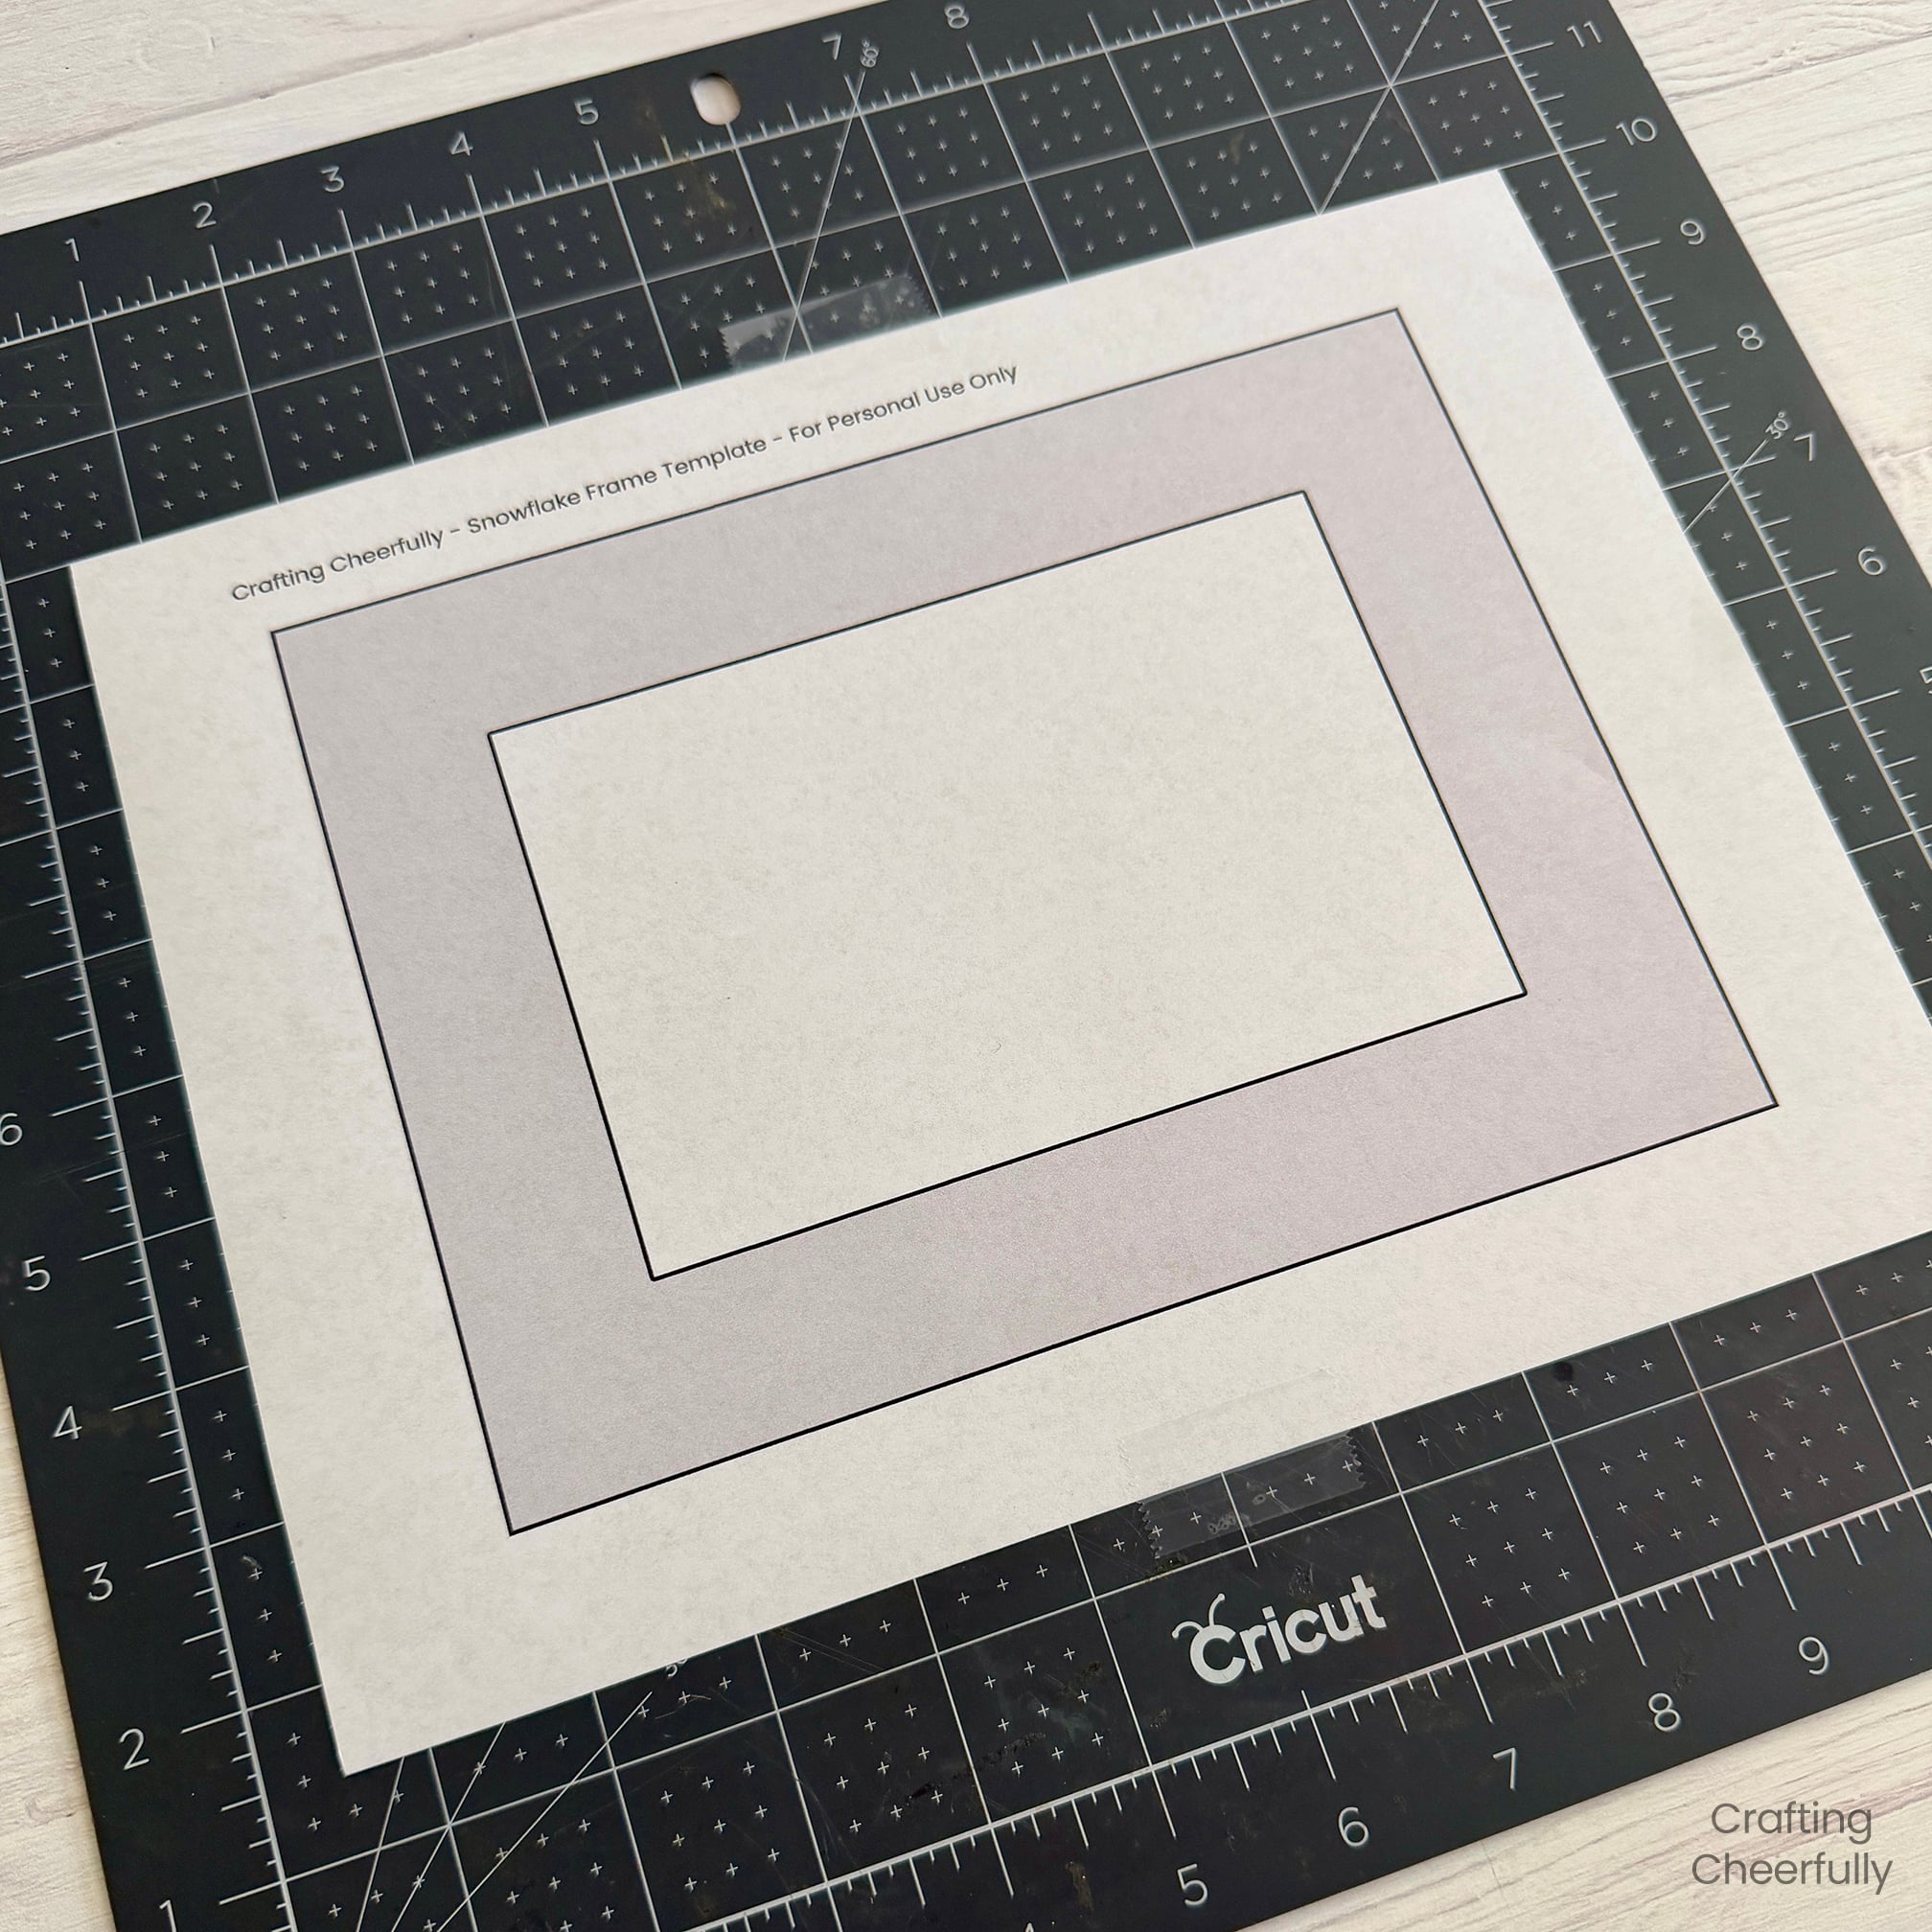
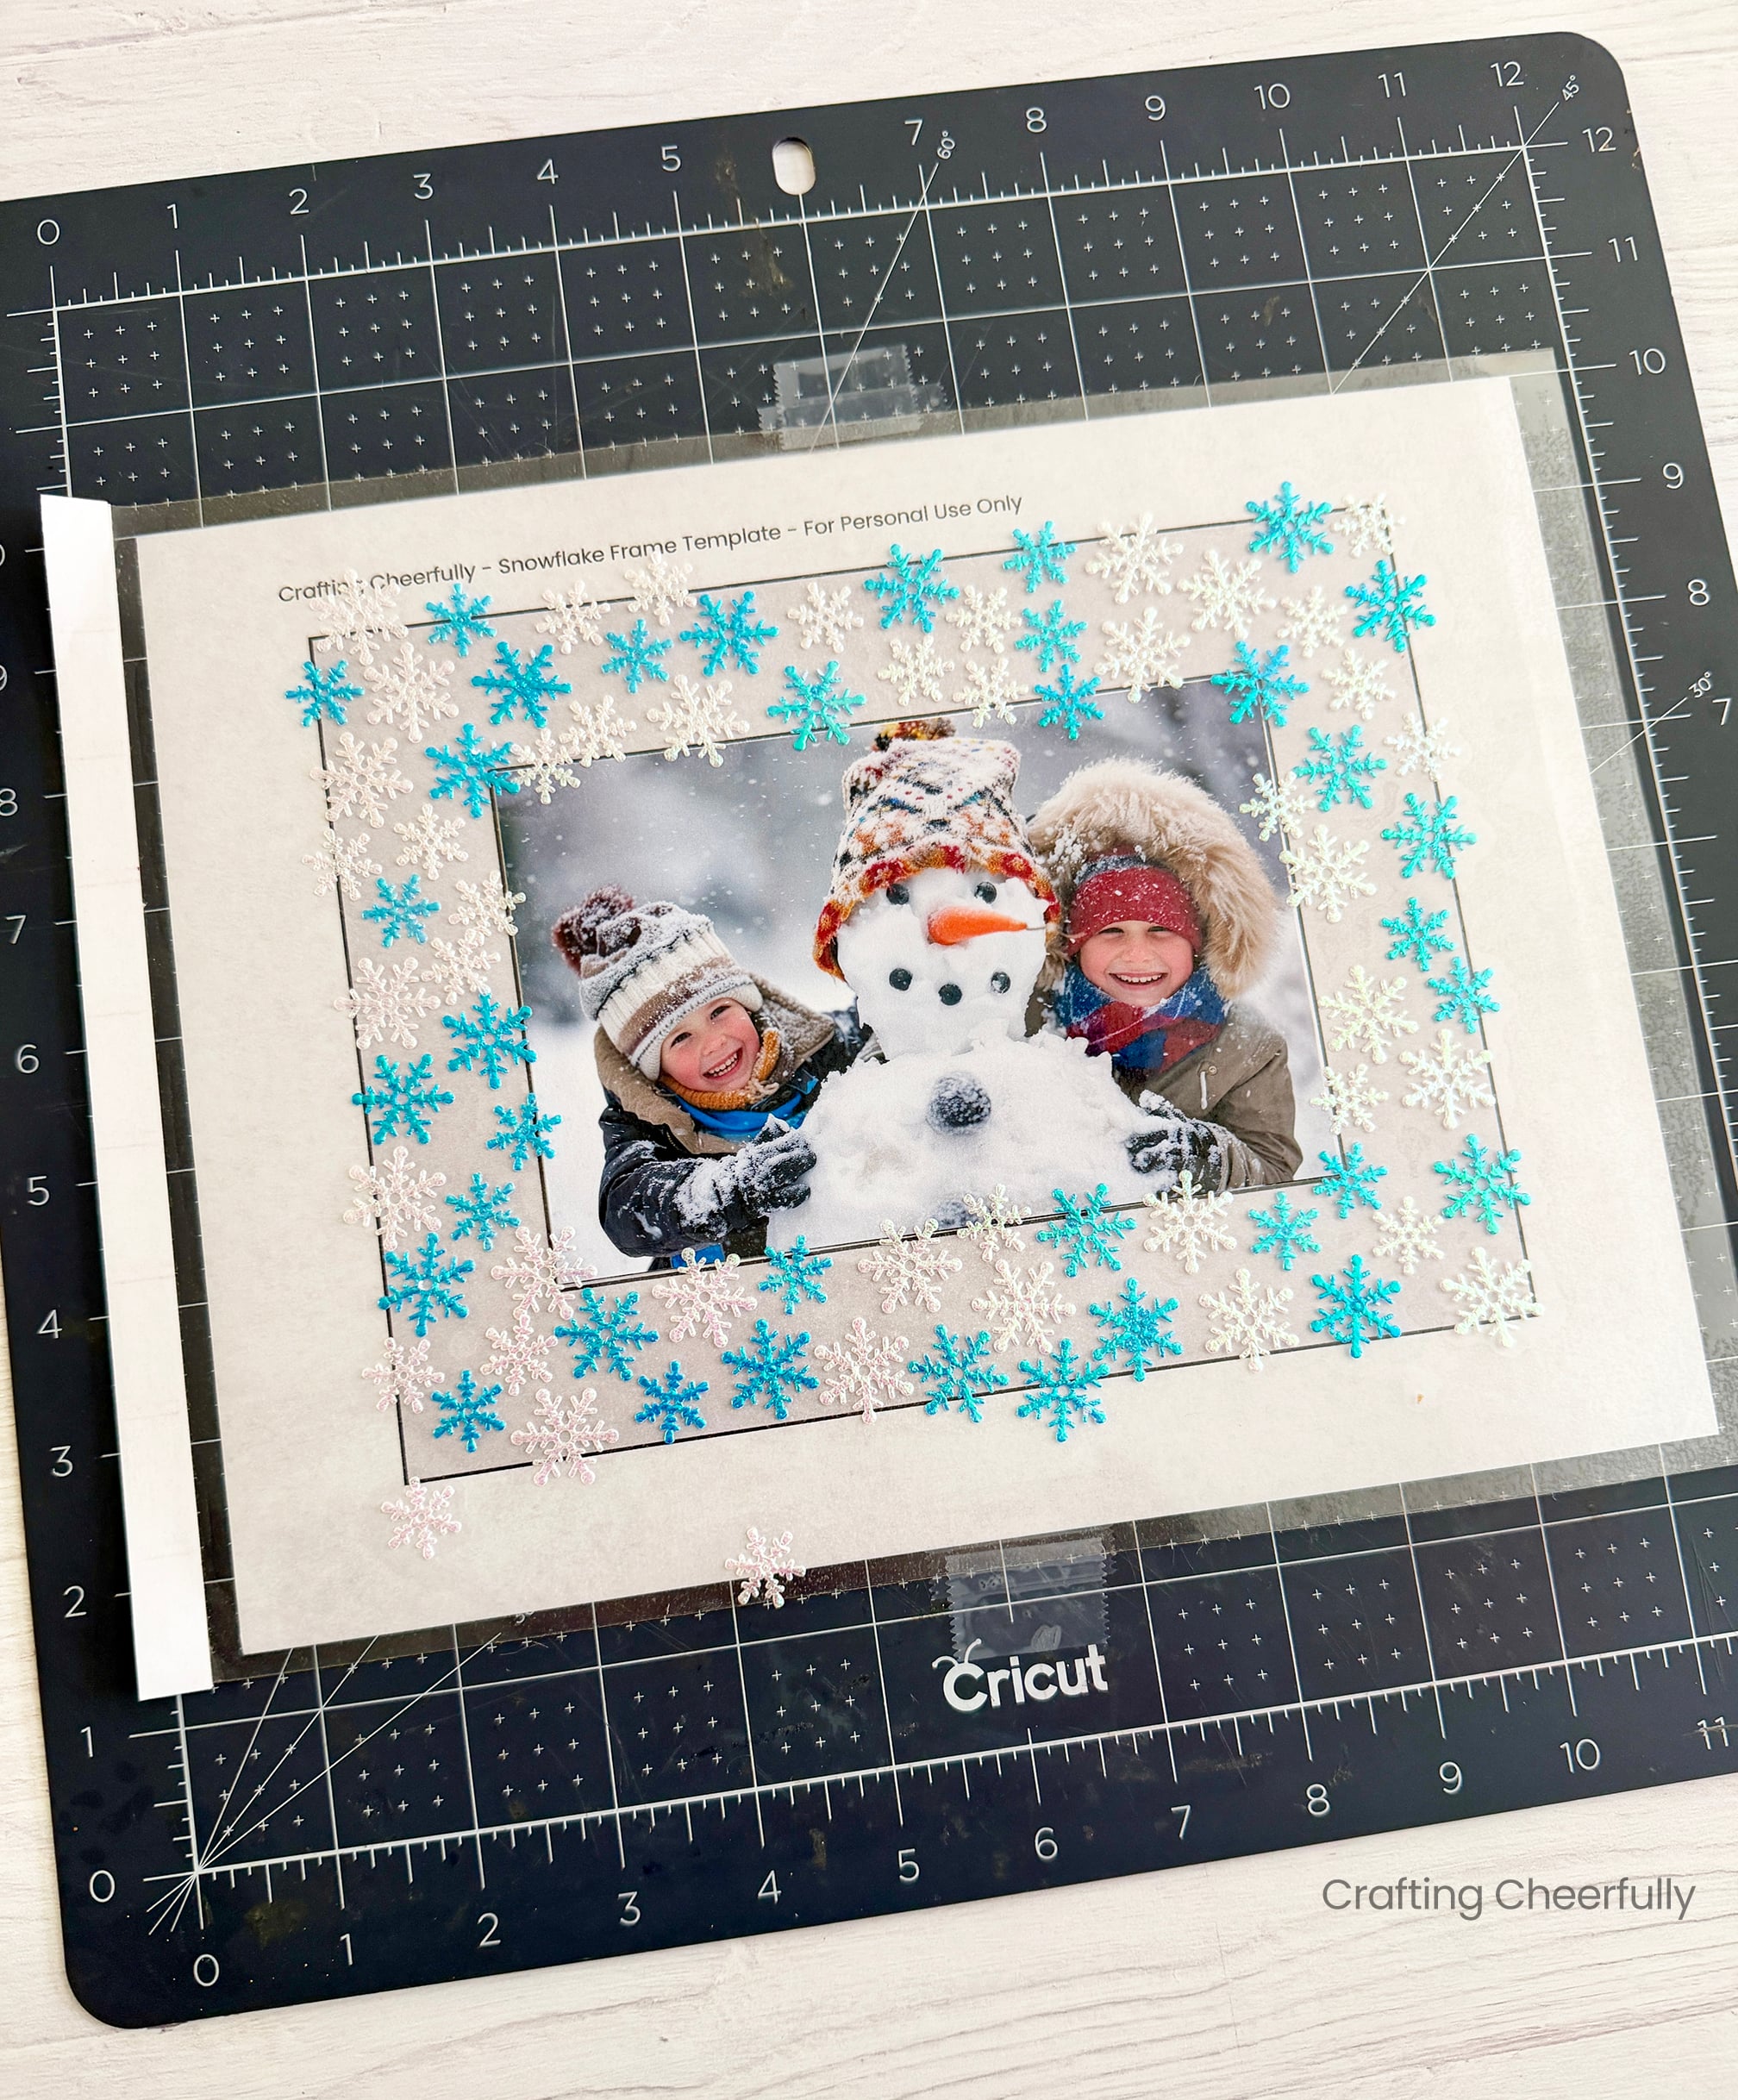
Step One: Start by printing the template and tape it to a board, mat or table. I taped mine to my cutting mat.
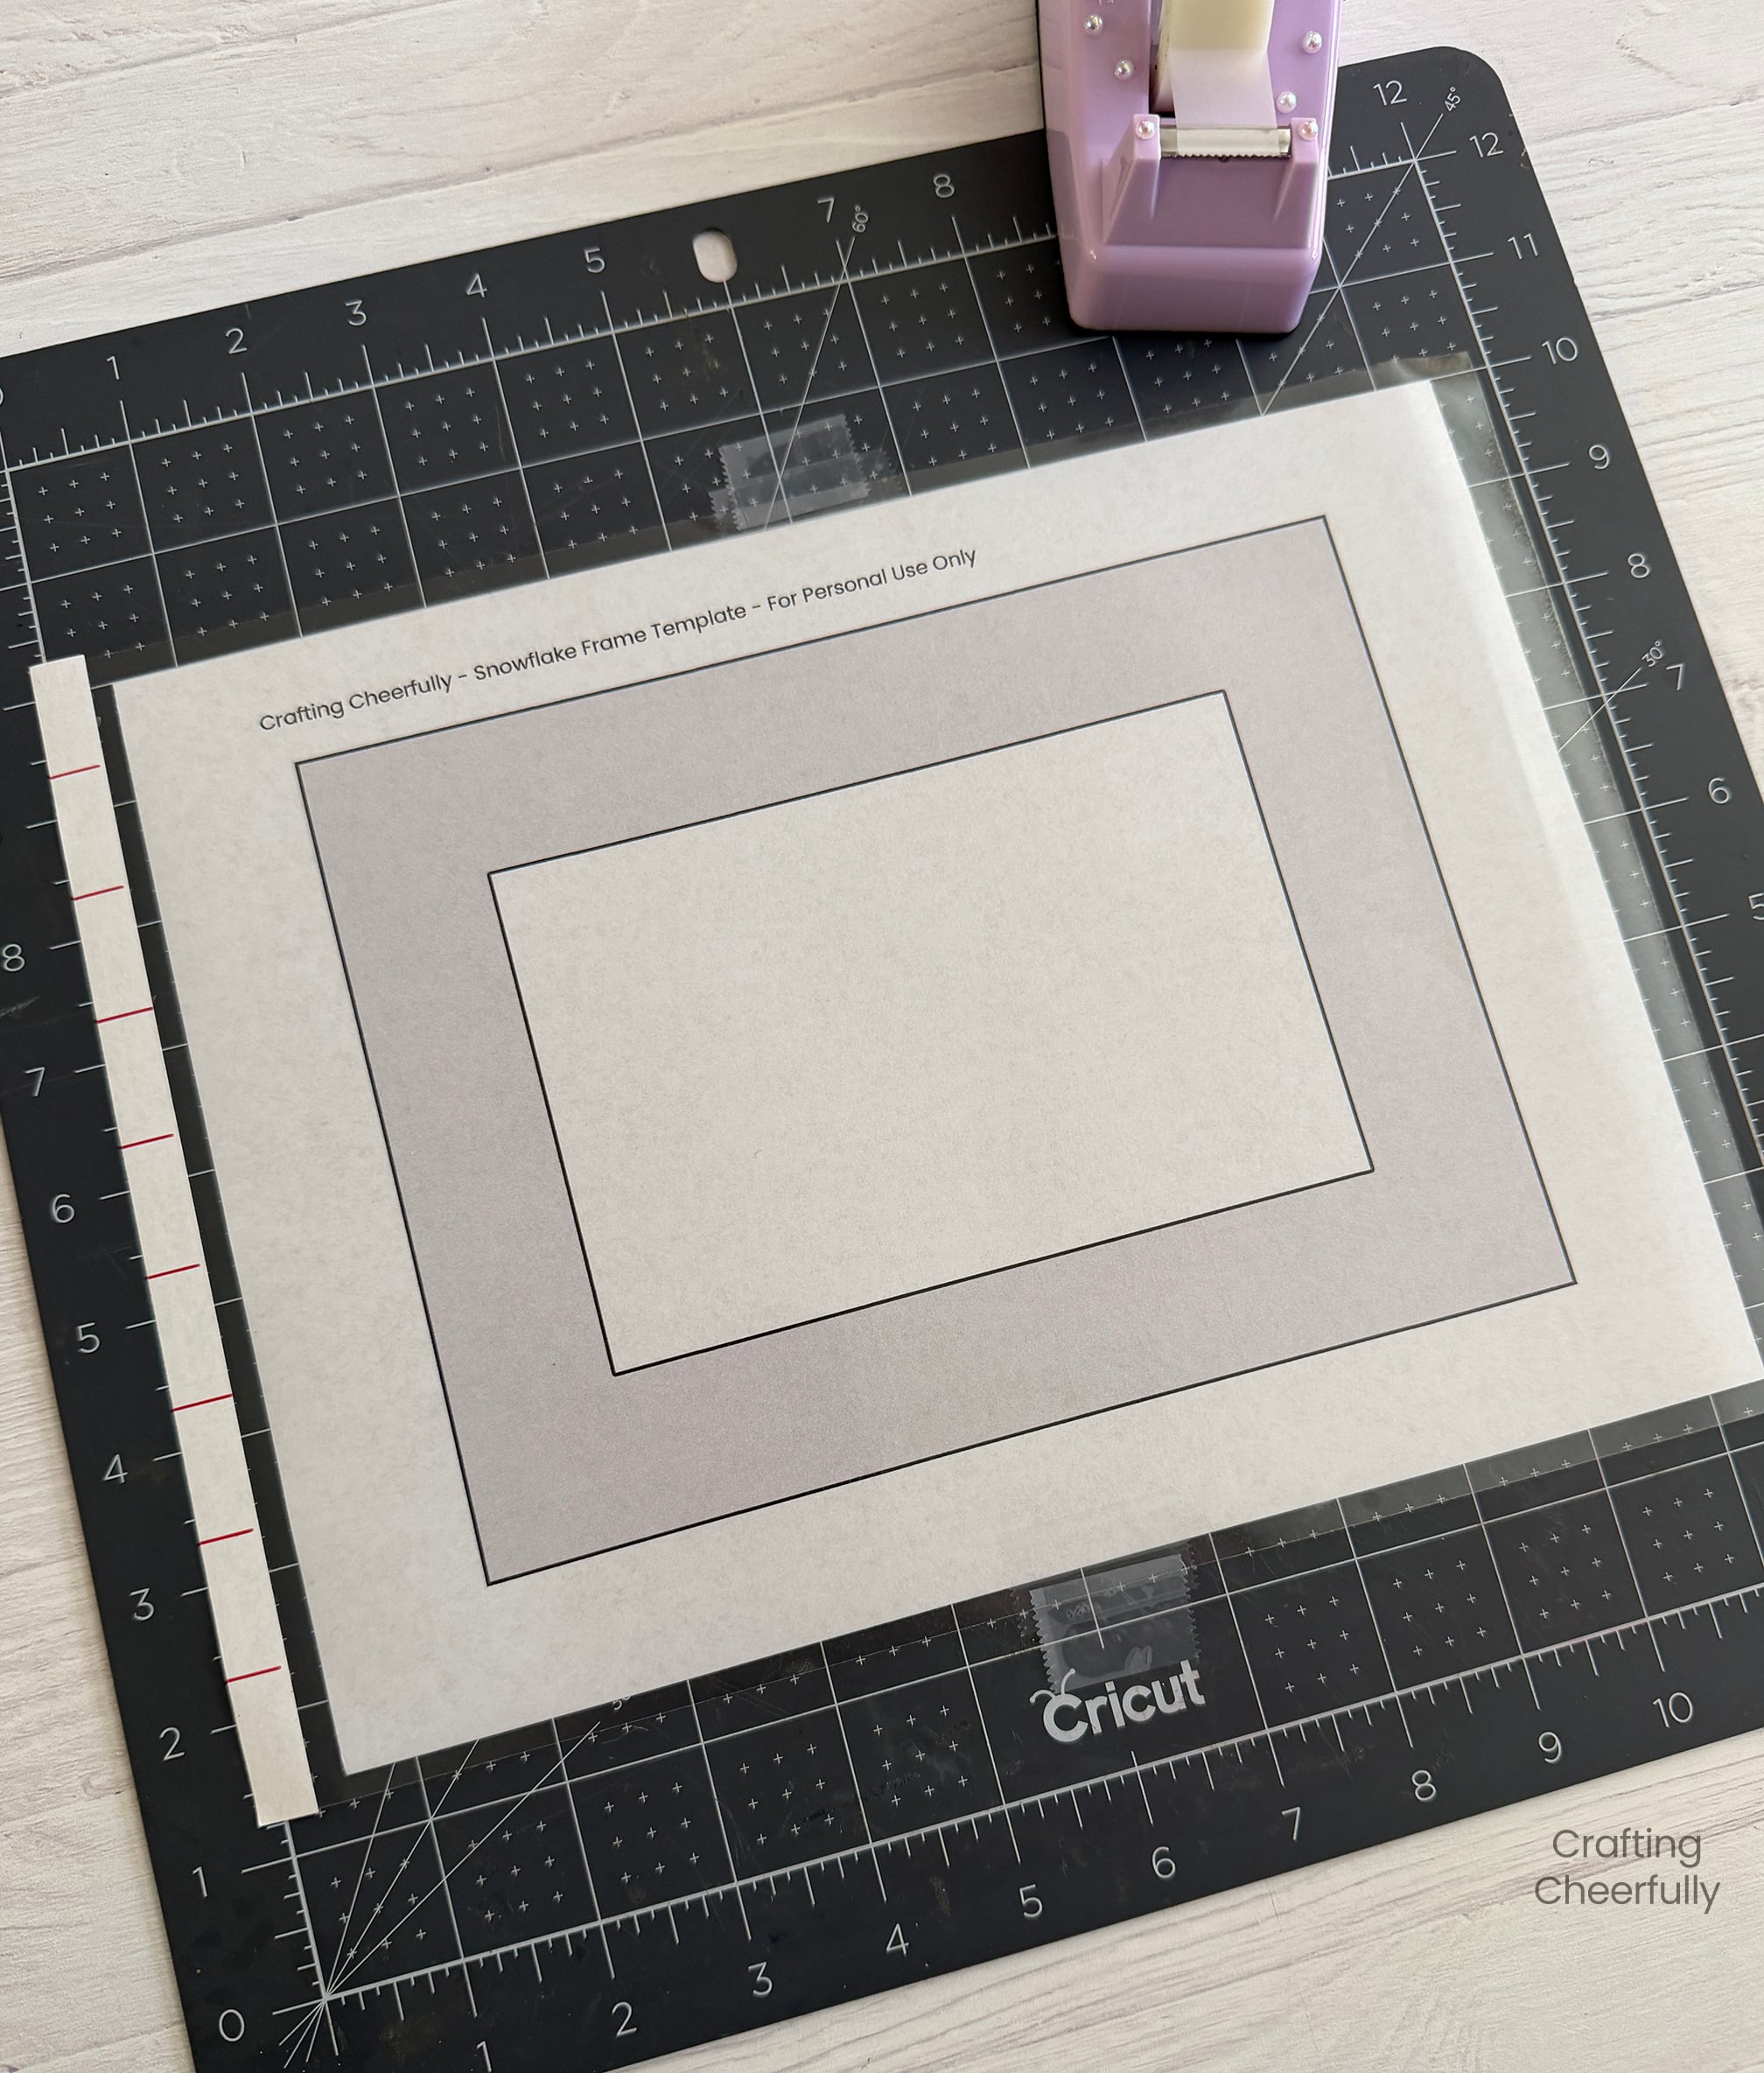
Step Two: Next, peel the backing from one sheet of self-lamination. Lay this over the frame template (sticky side up) and hold it in place with two small pieces of tape. Carefully lay the 4″ x 6″ photo on the sticky lamination sheet following the guide page underneath.
Arranging the Snowflakes
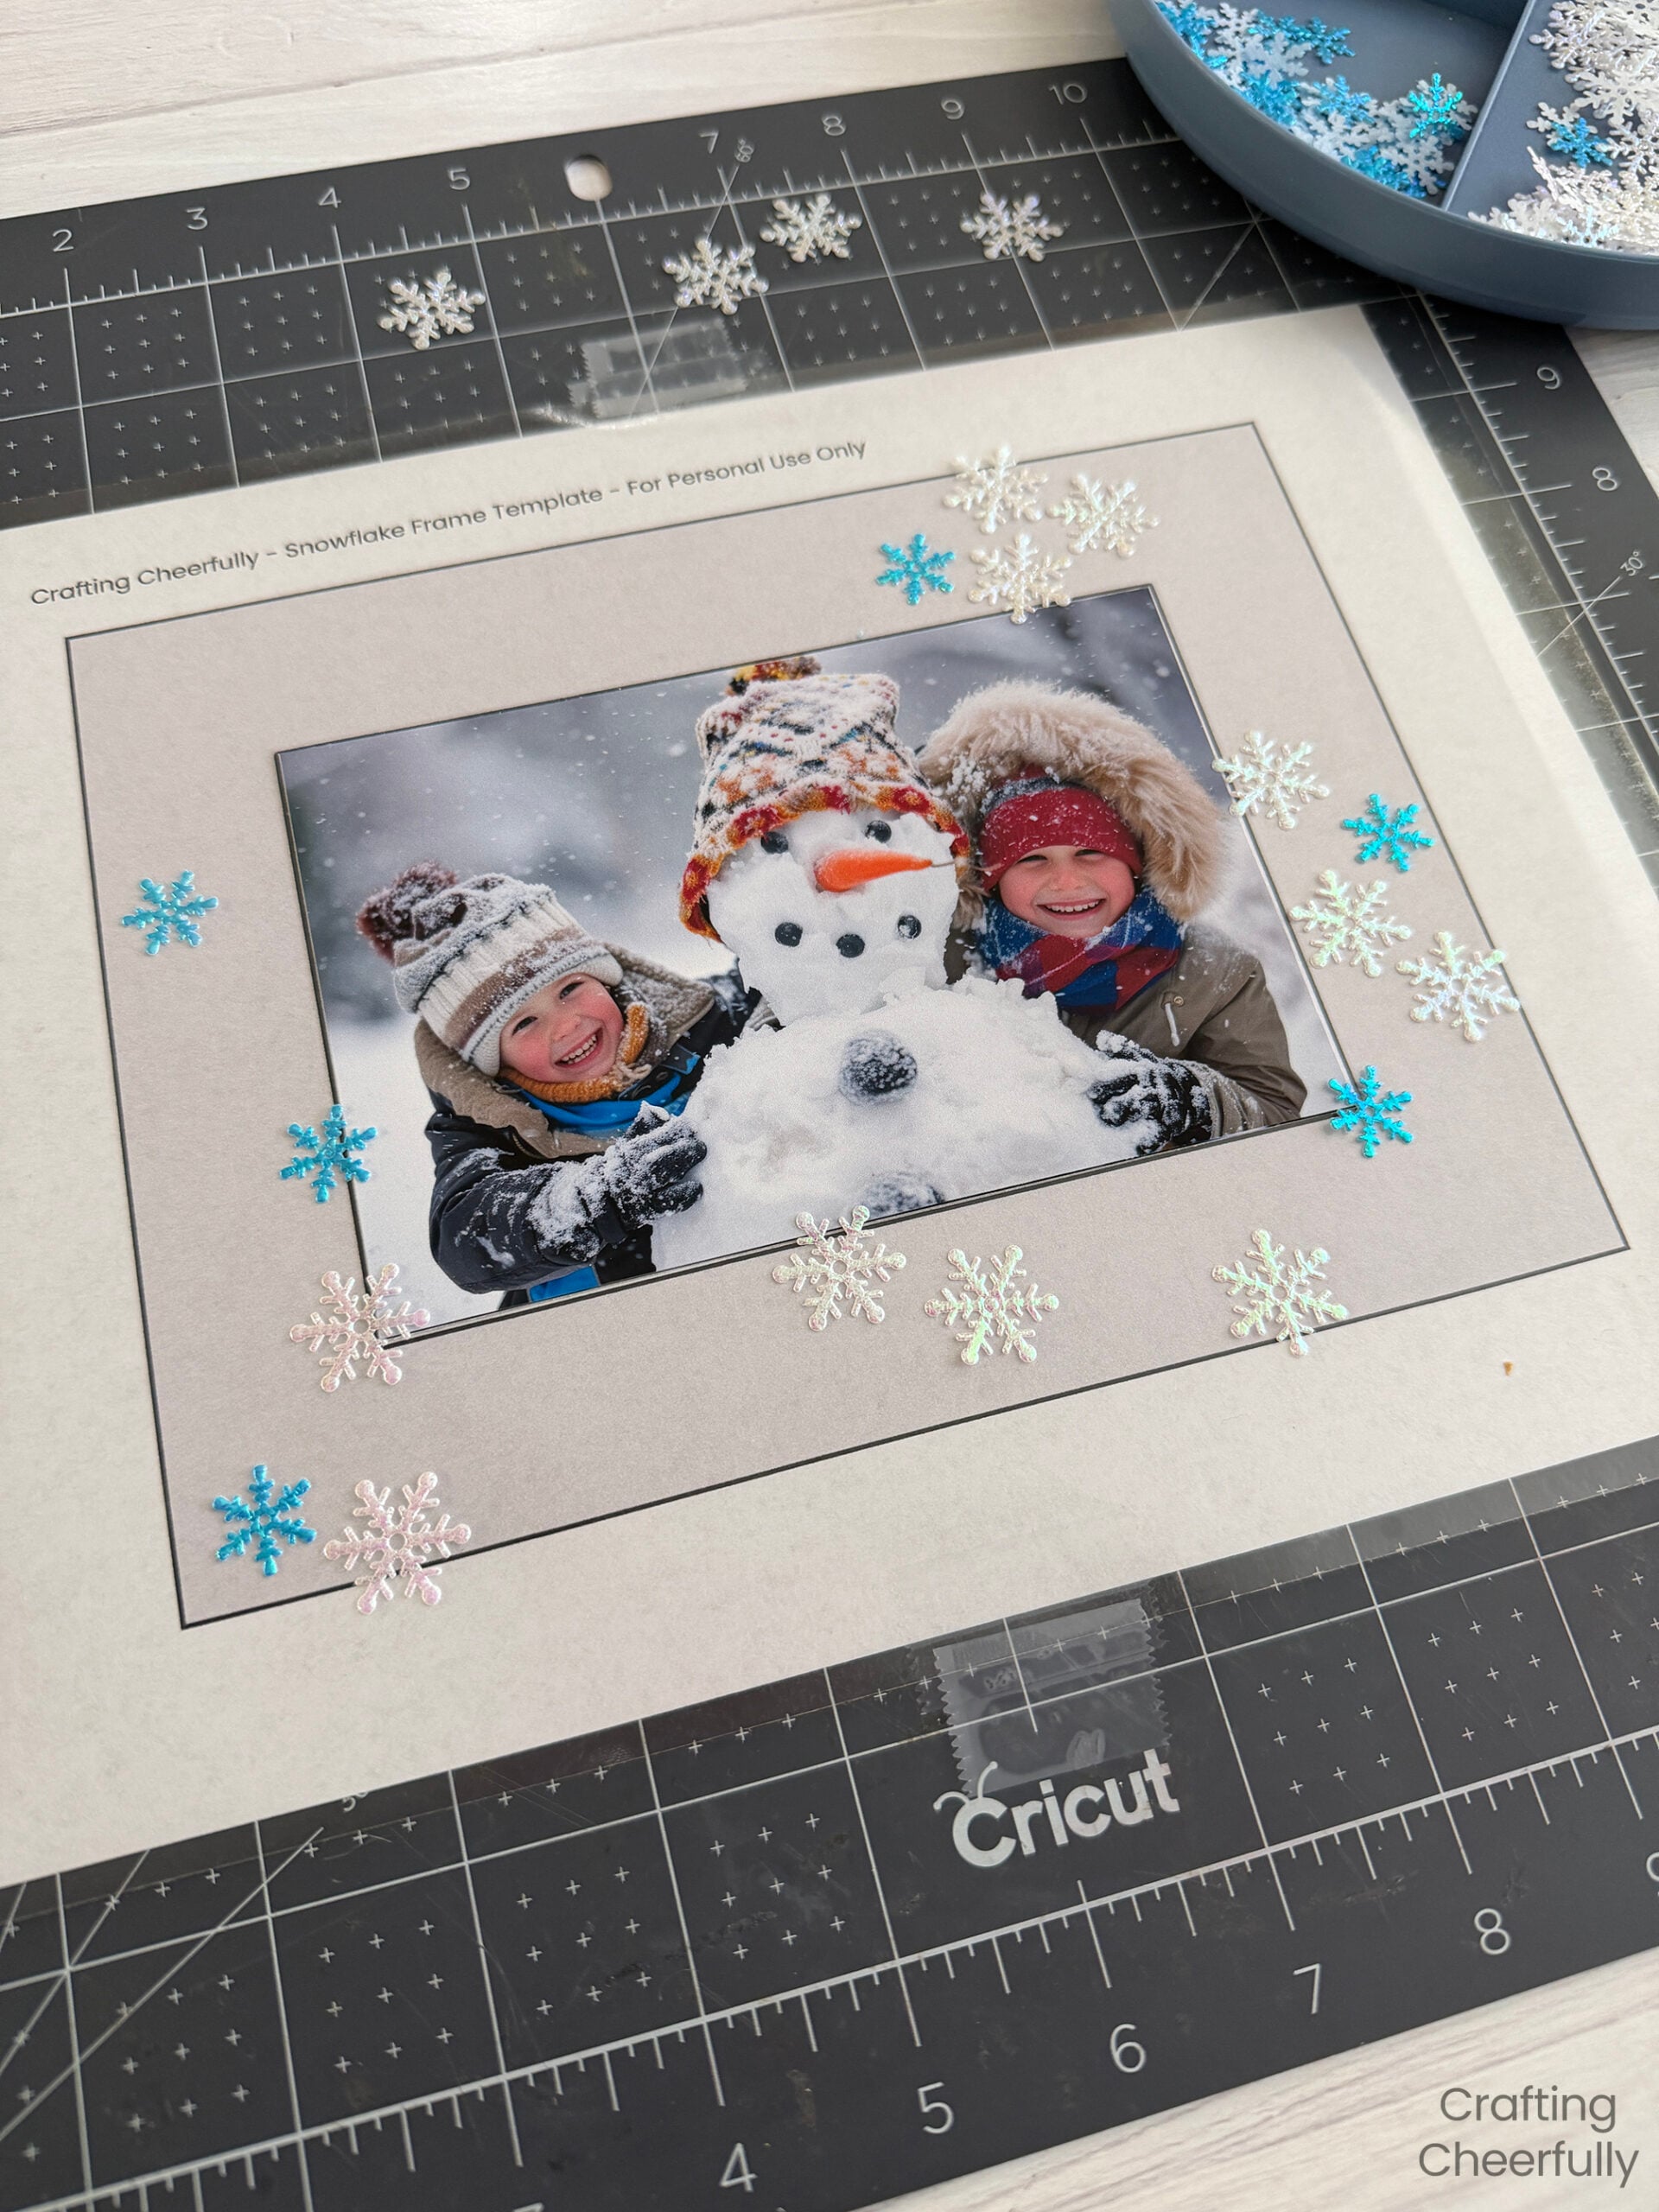
Step Three: Place the snowflake confetti on the lamination sheet. It is very sticky, so once you stick one down it will be hard to remove. Have fun playing around and filling the frame with snowflakes. It’s okay if the snowflakes peek over the edges, but remember anything peeking over the inside lines of the frame will cover parts of your photo and anything sticking outside of your frame will be cut off.
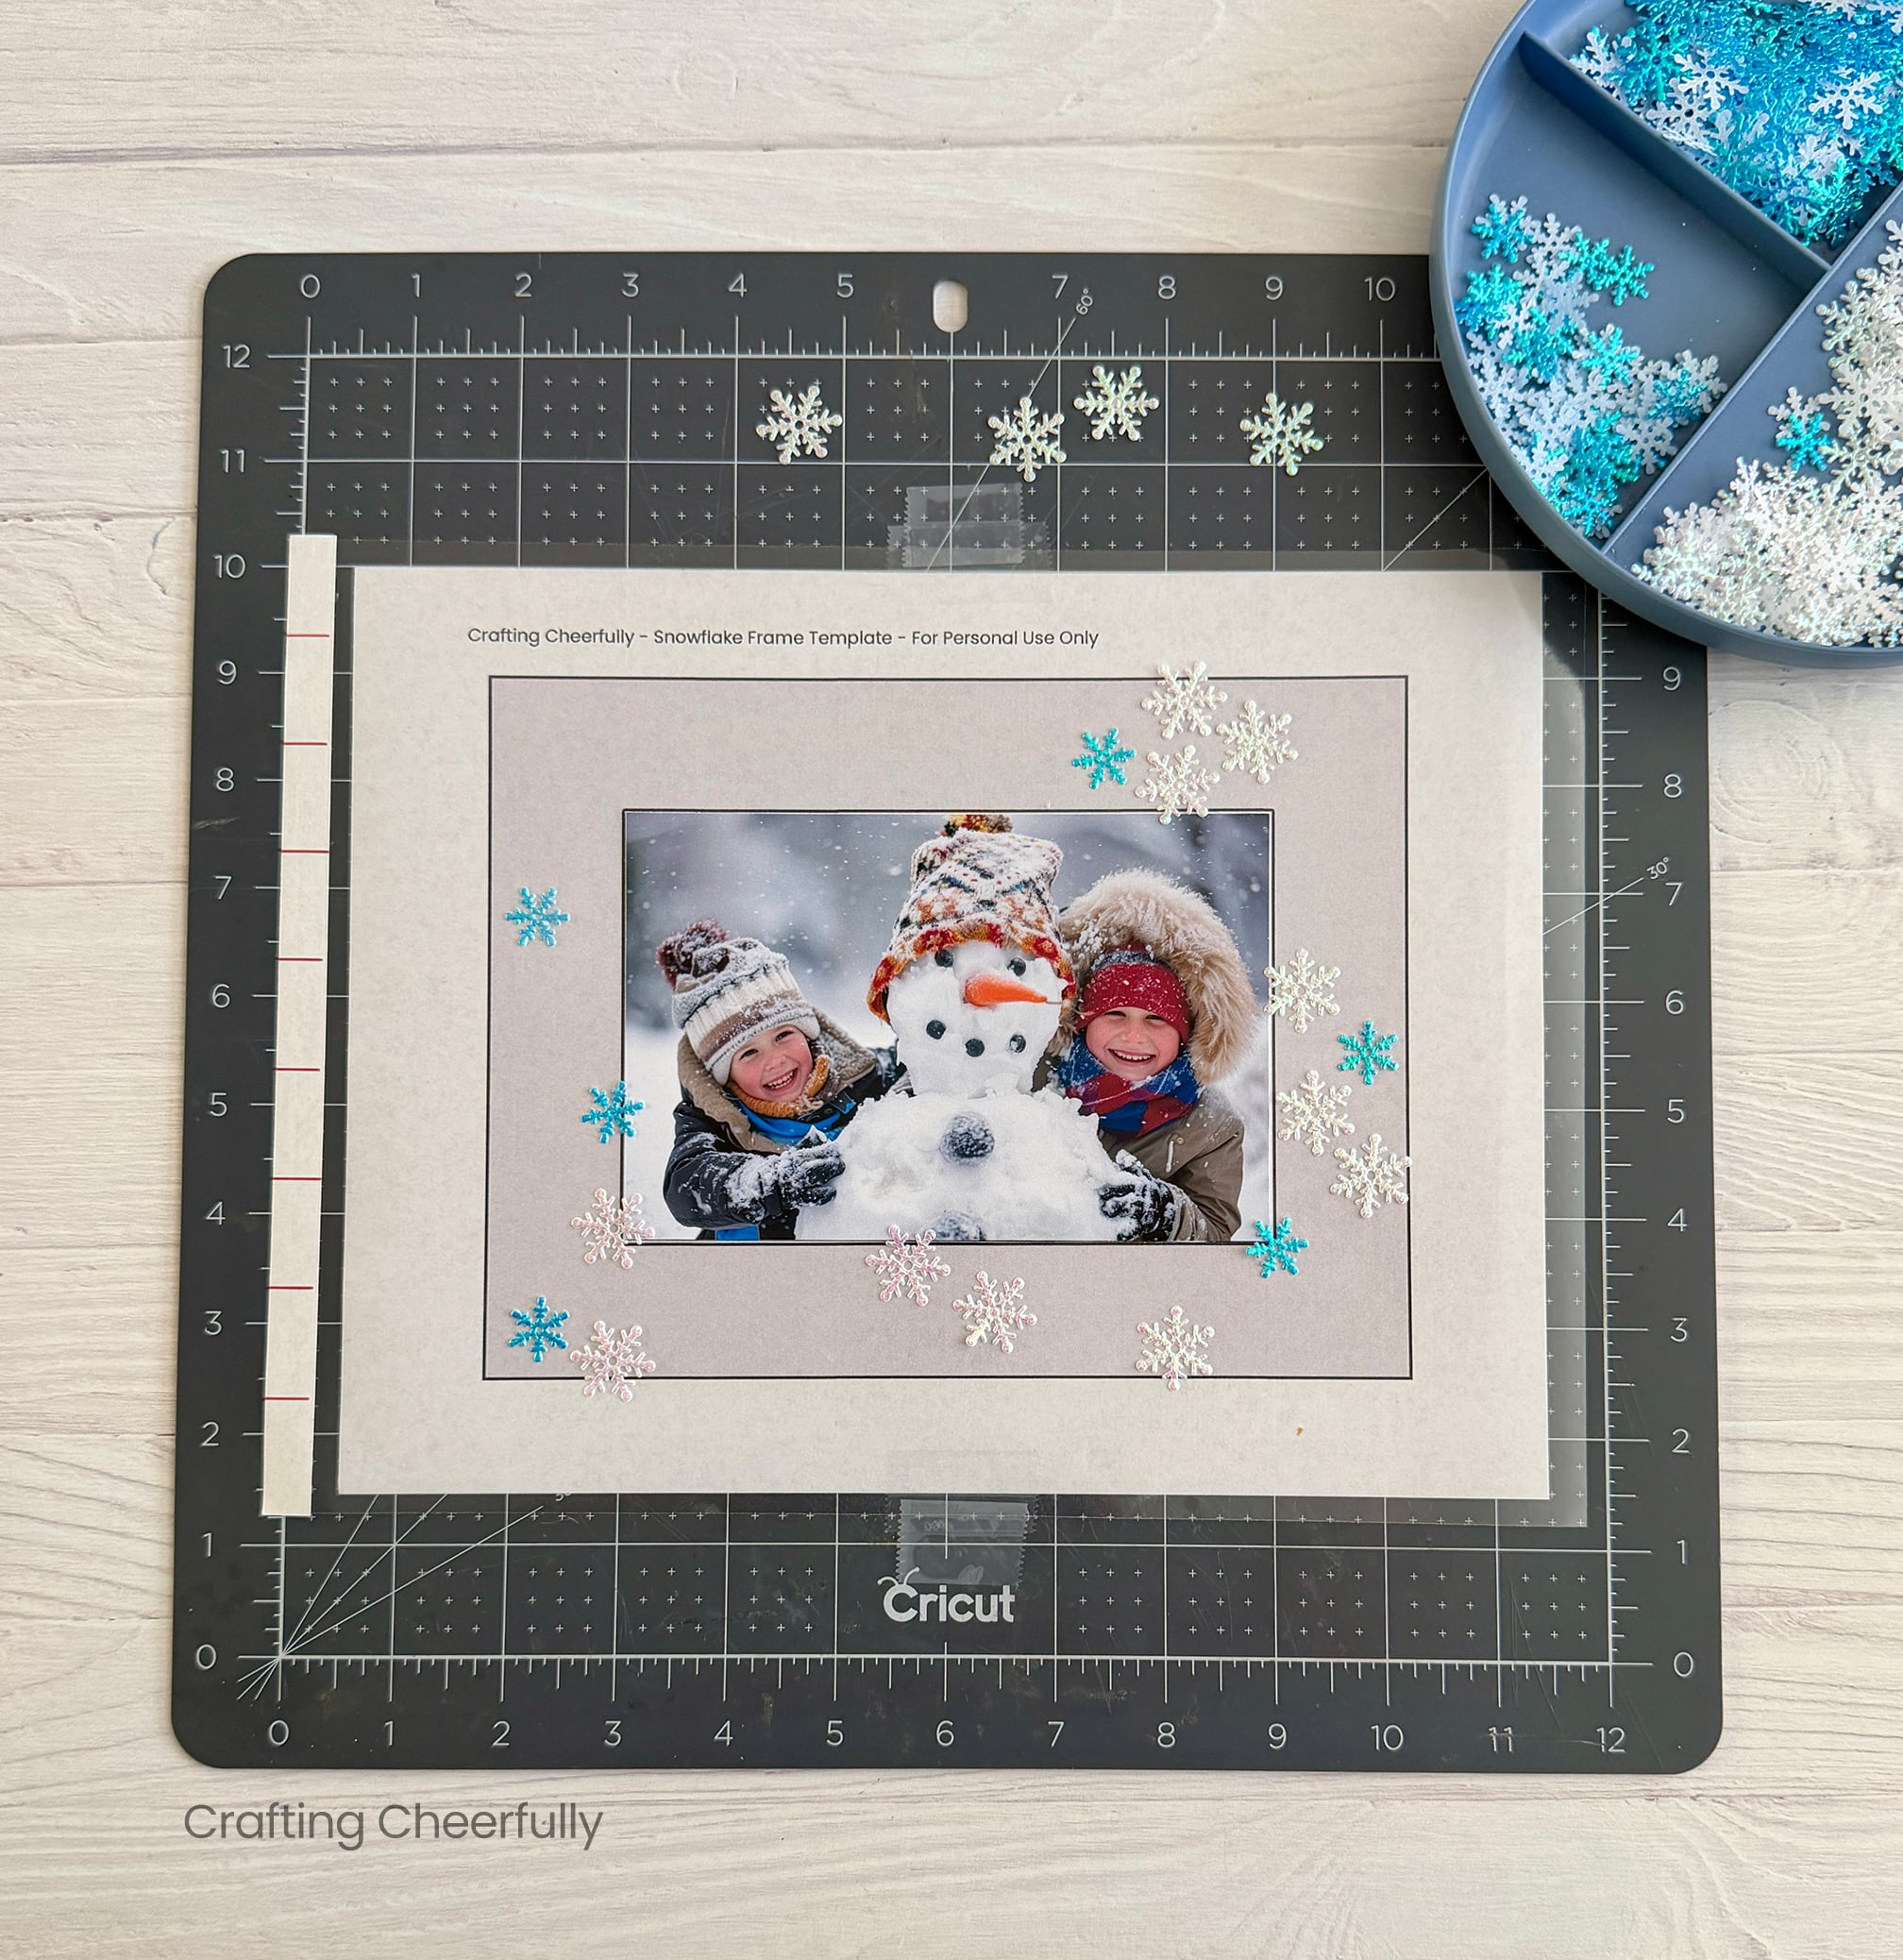
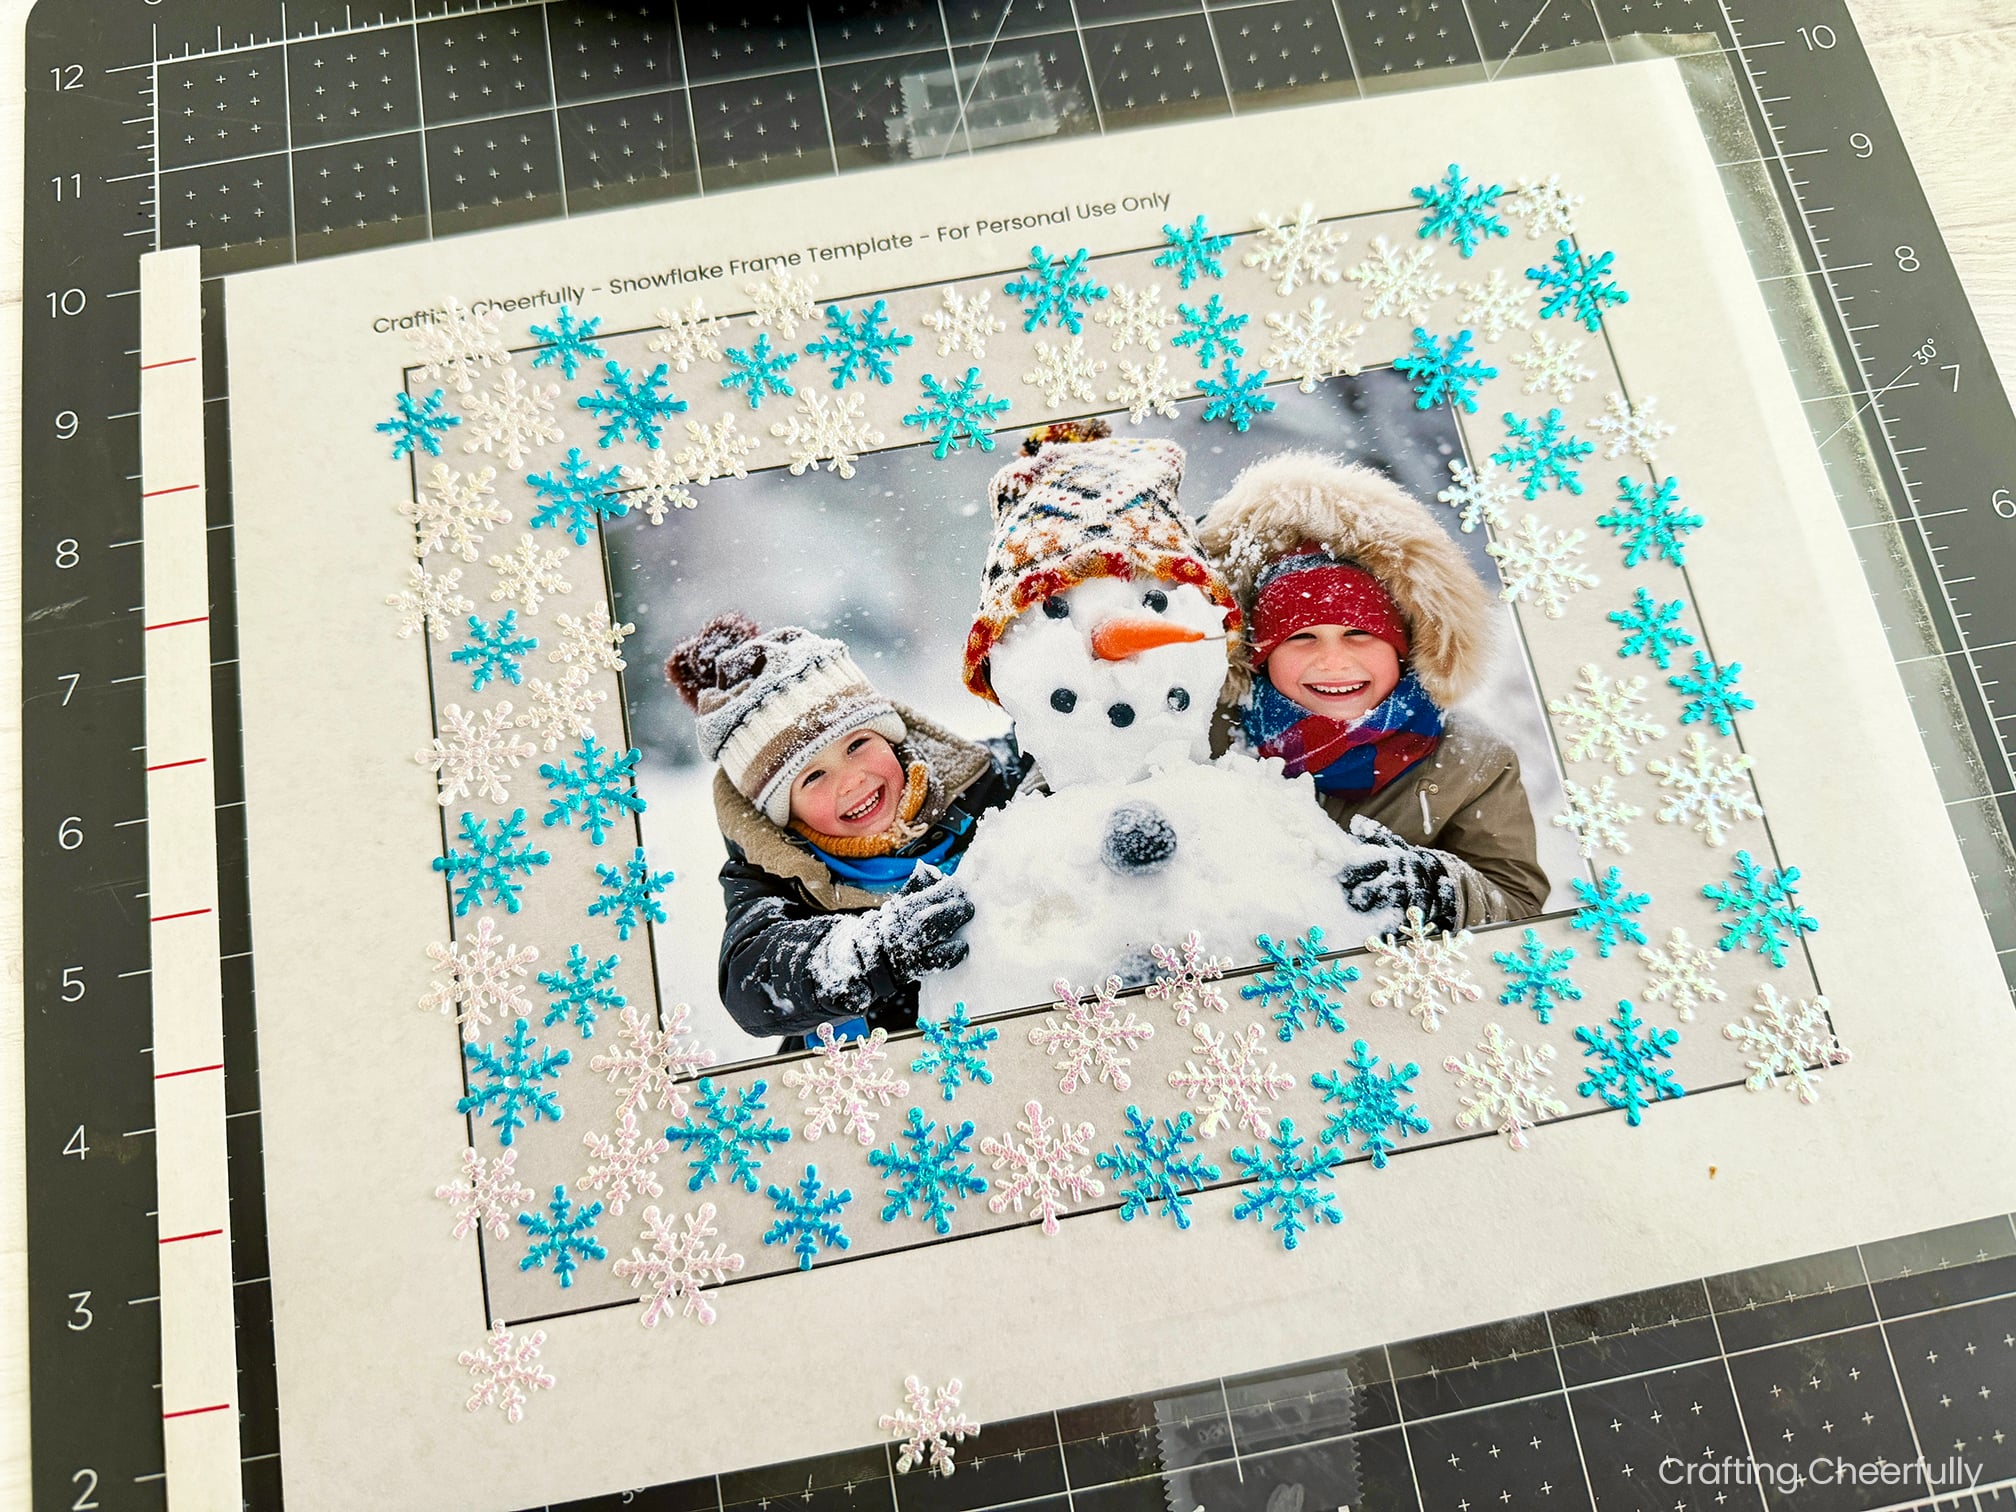
Laminating the Snowflake Frame
Step Four: Once you are happy with your arrangement on the laminated page, it is time to cover it with the other sheet of lamination and seal the snowflake confetti in place. Carefully apply the top layer, lining up the paper edges and slowly peeling the paper backing, smoothing down the lamination as you go. Use your hands or a brayer to smooth it down.
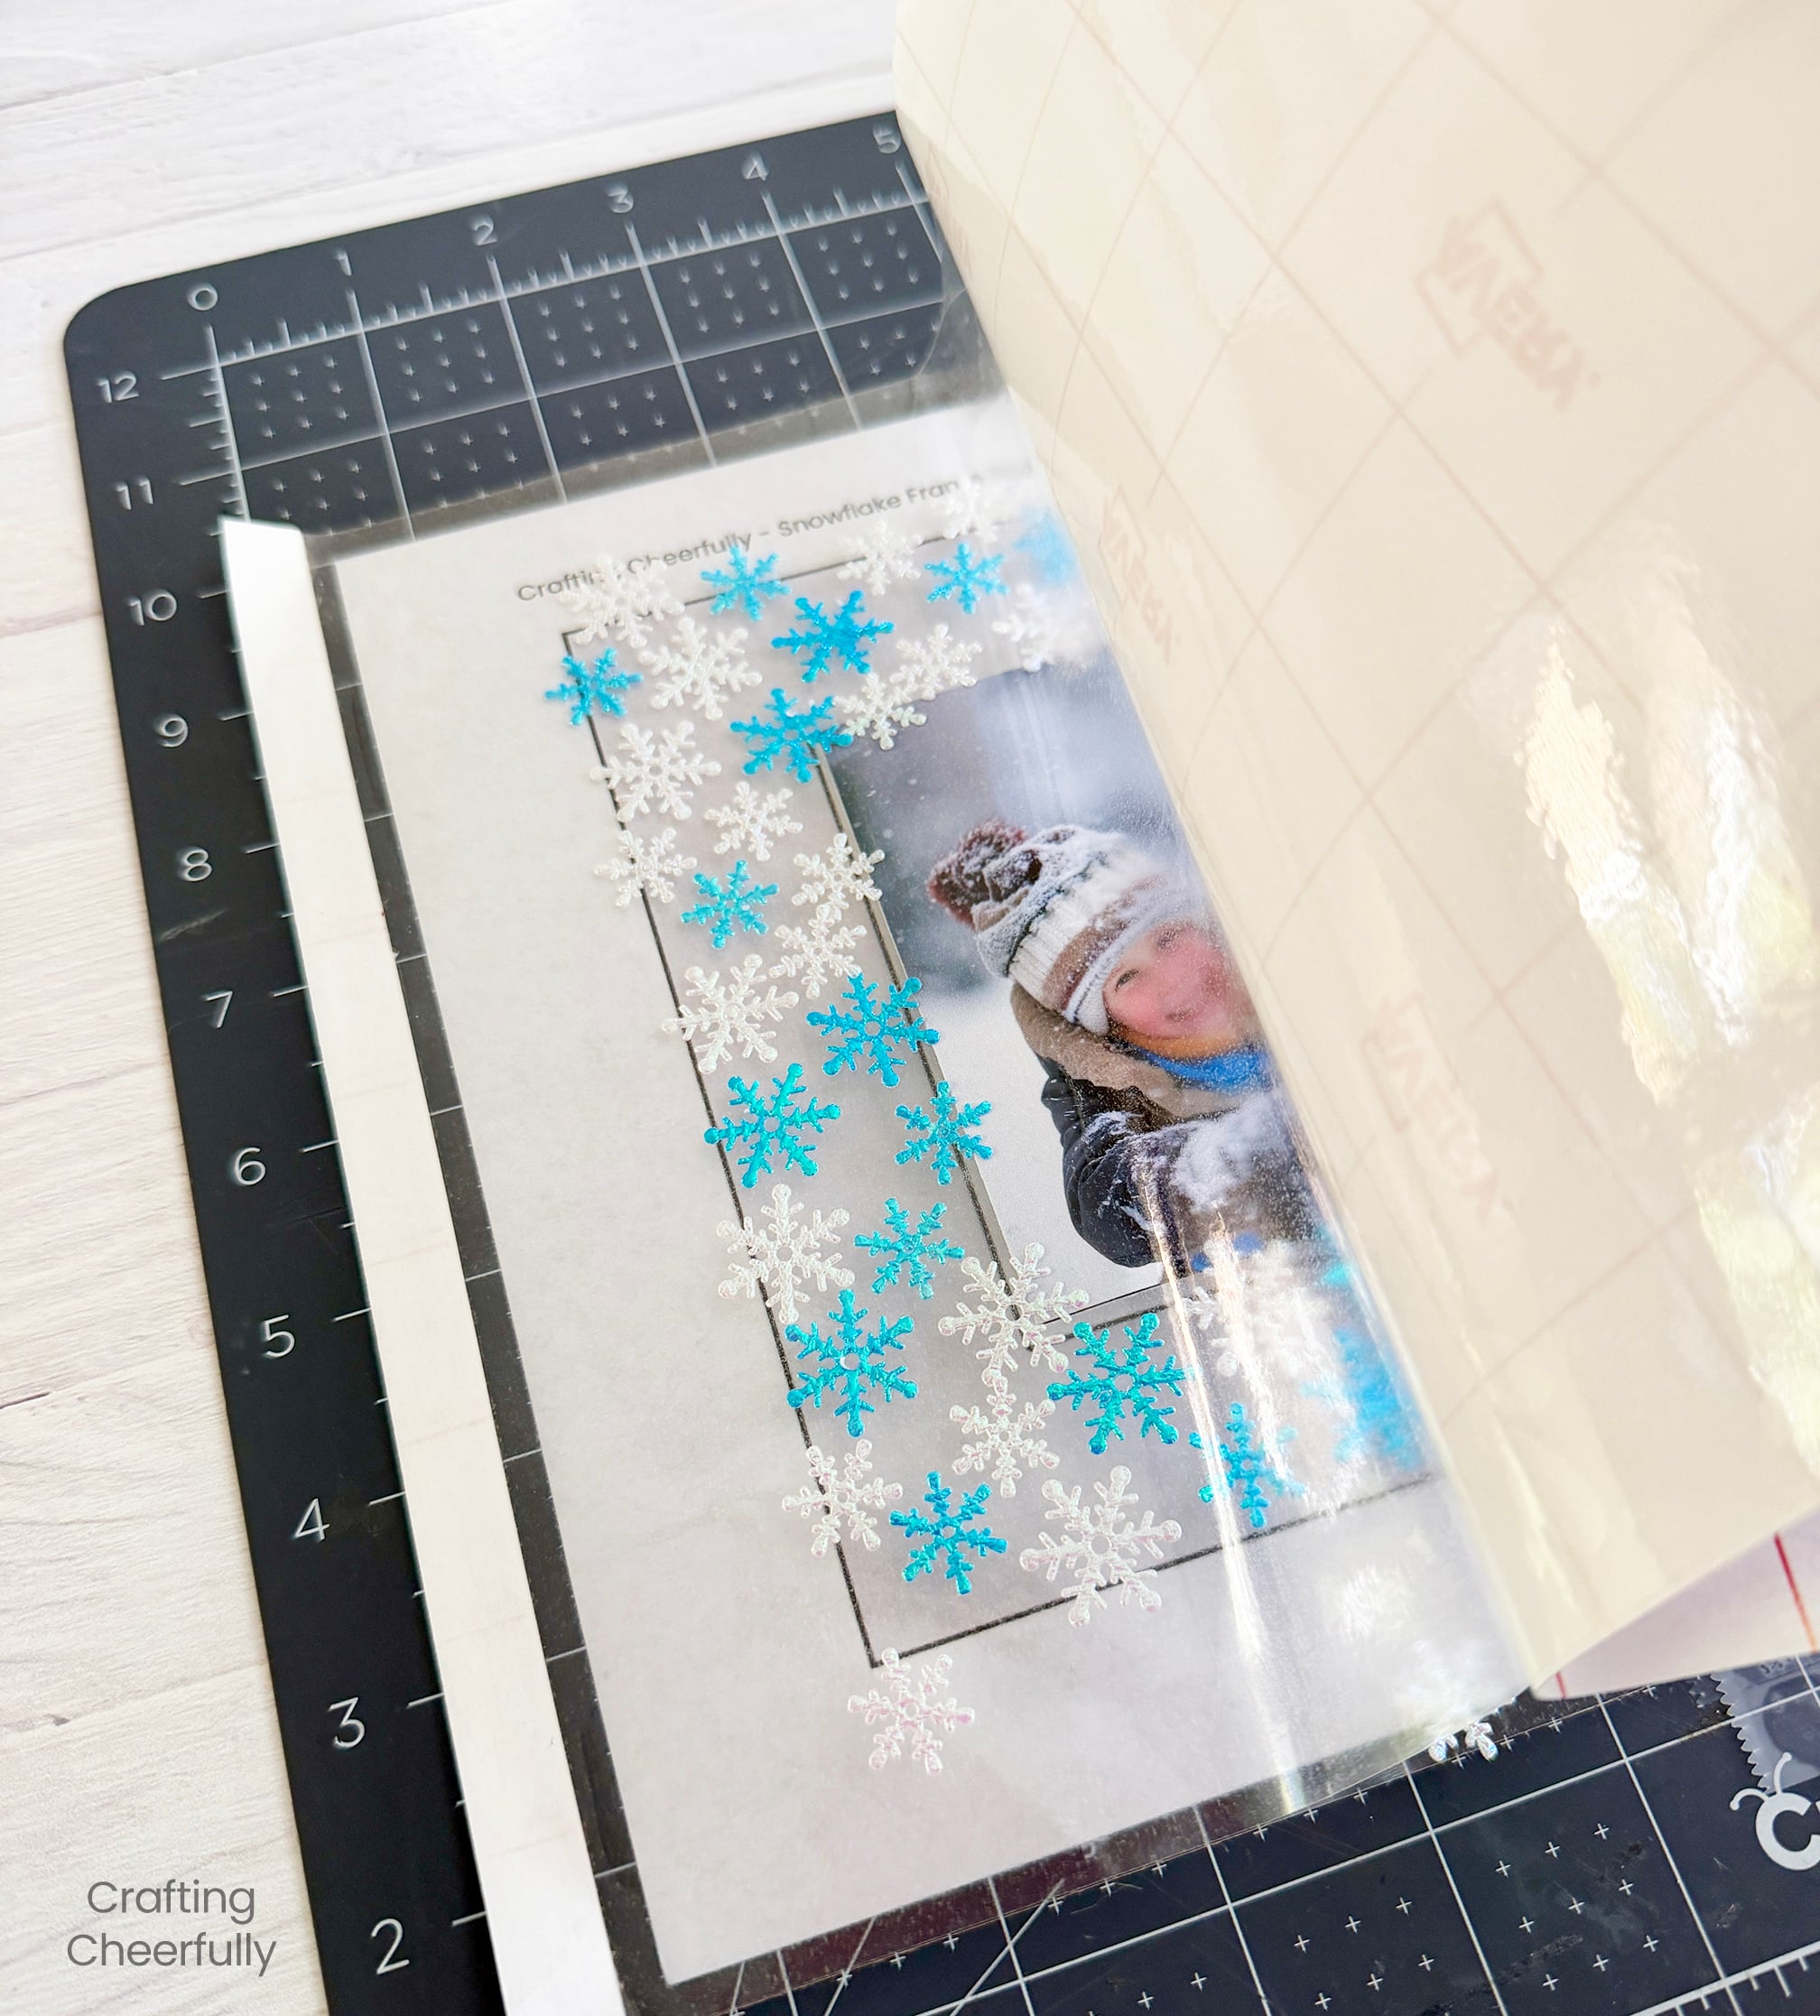
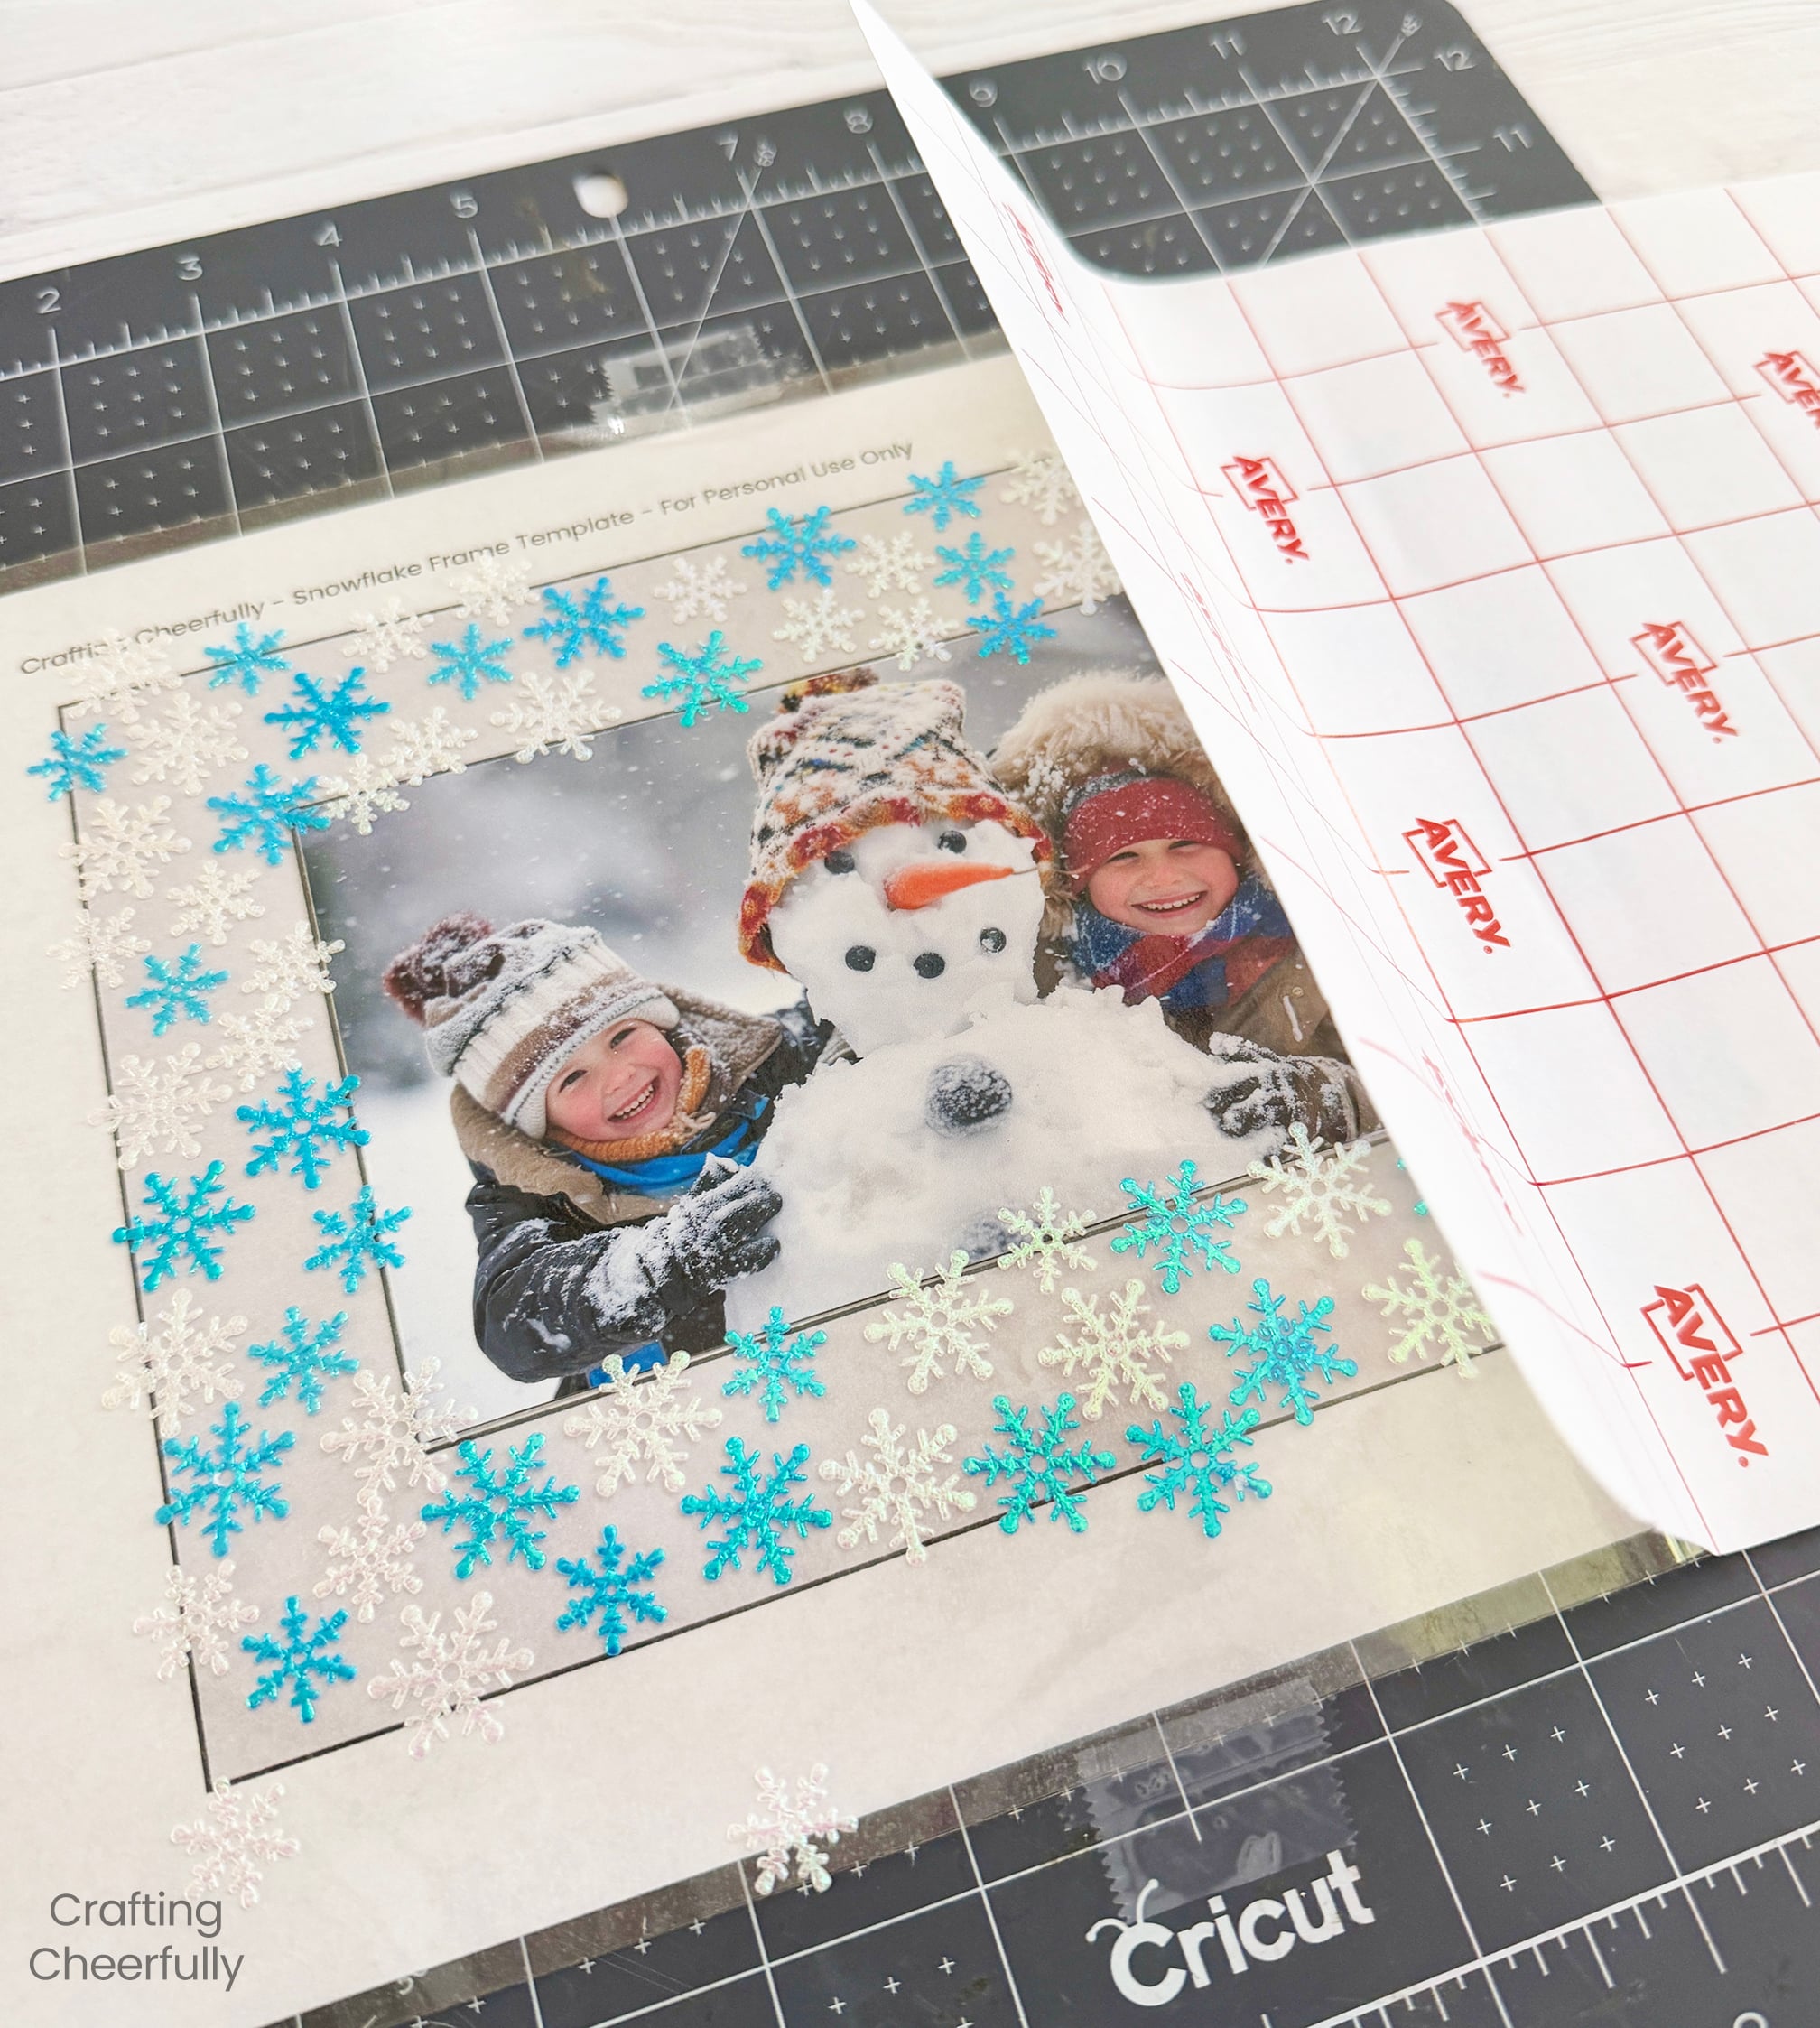
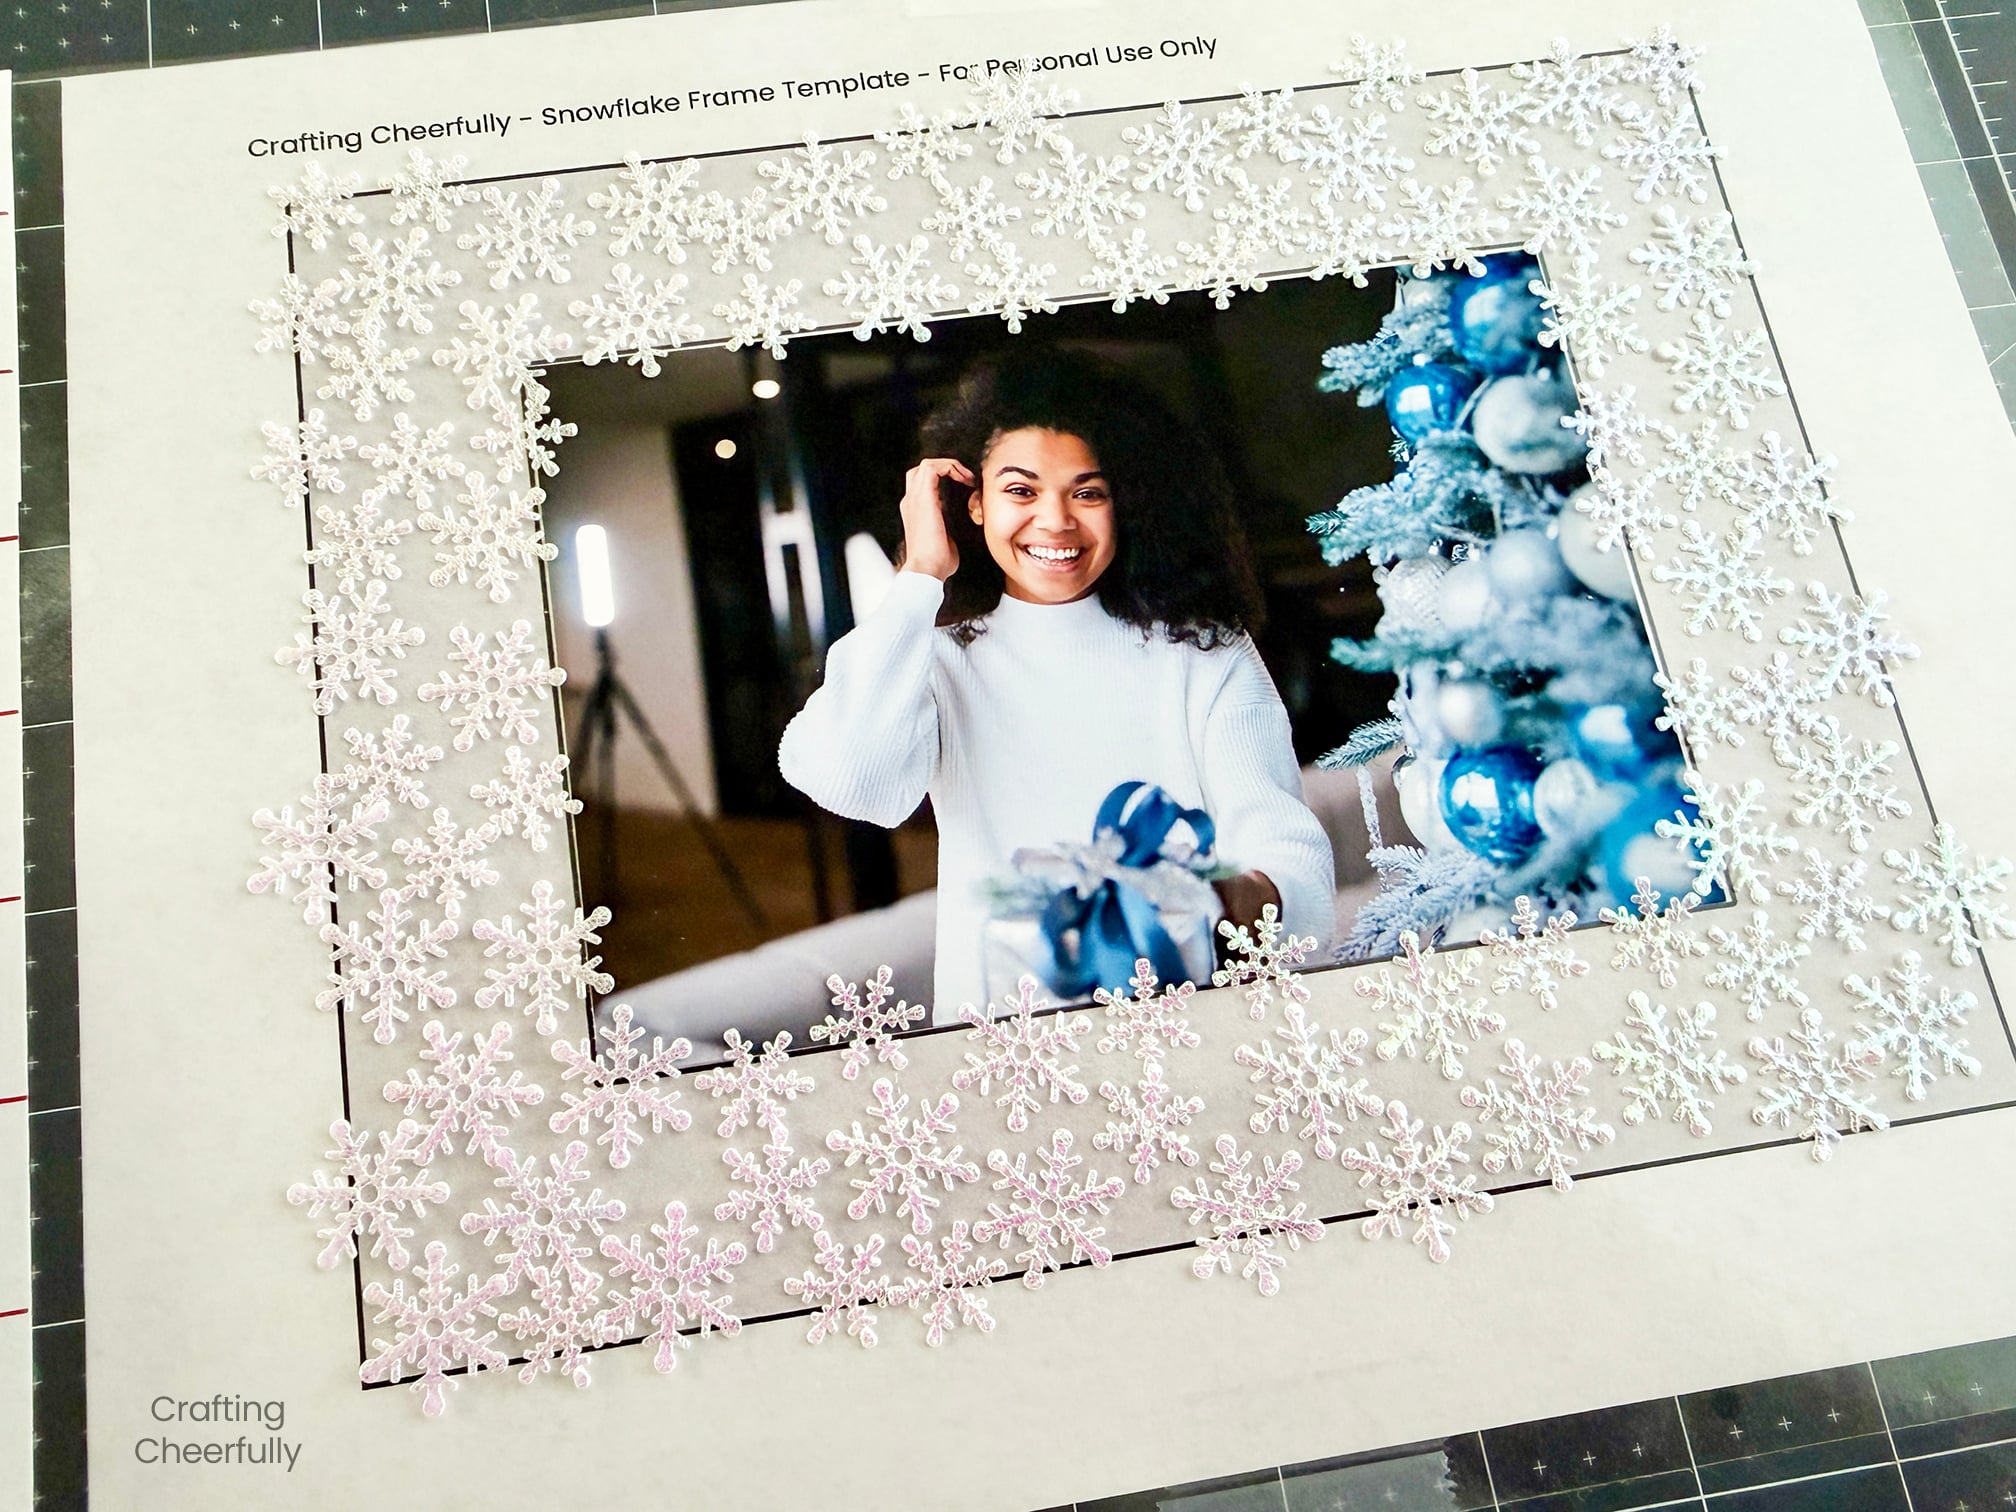
You can overlap the snowflakes slightly, like I did in the all white snowflake frame below. Just be mindful to not overlap them too much or it will make the top lamination sheet extra bumpy!
Cutting the Frame
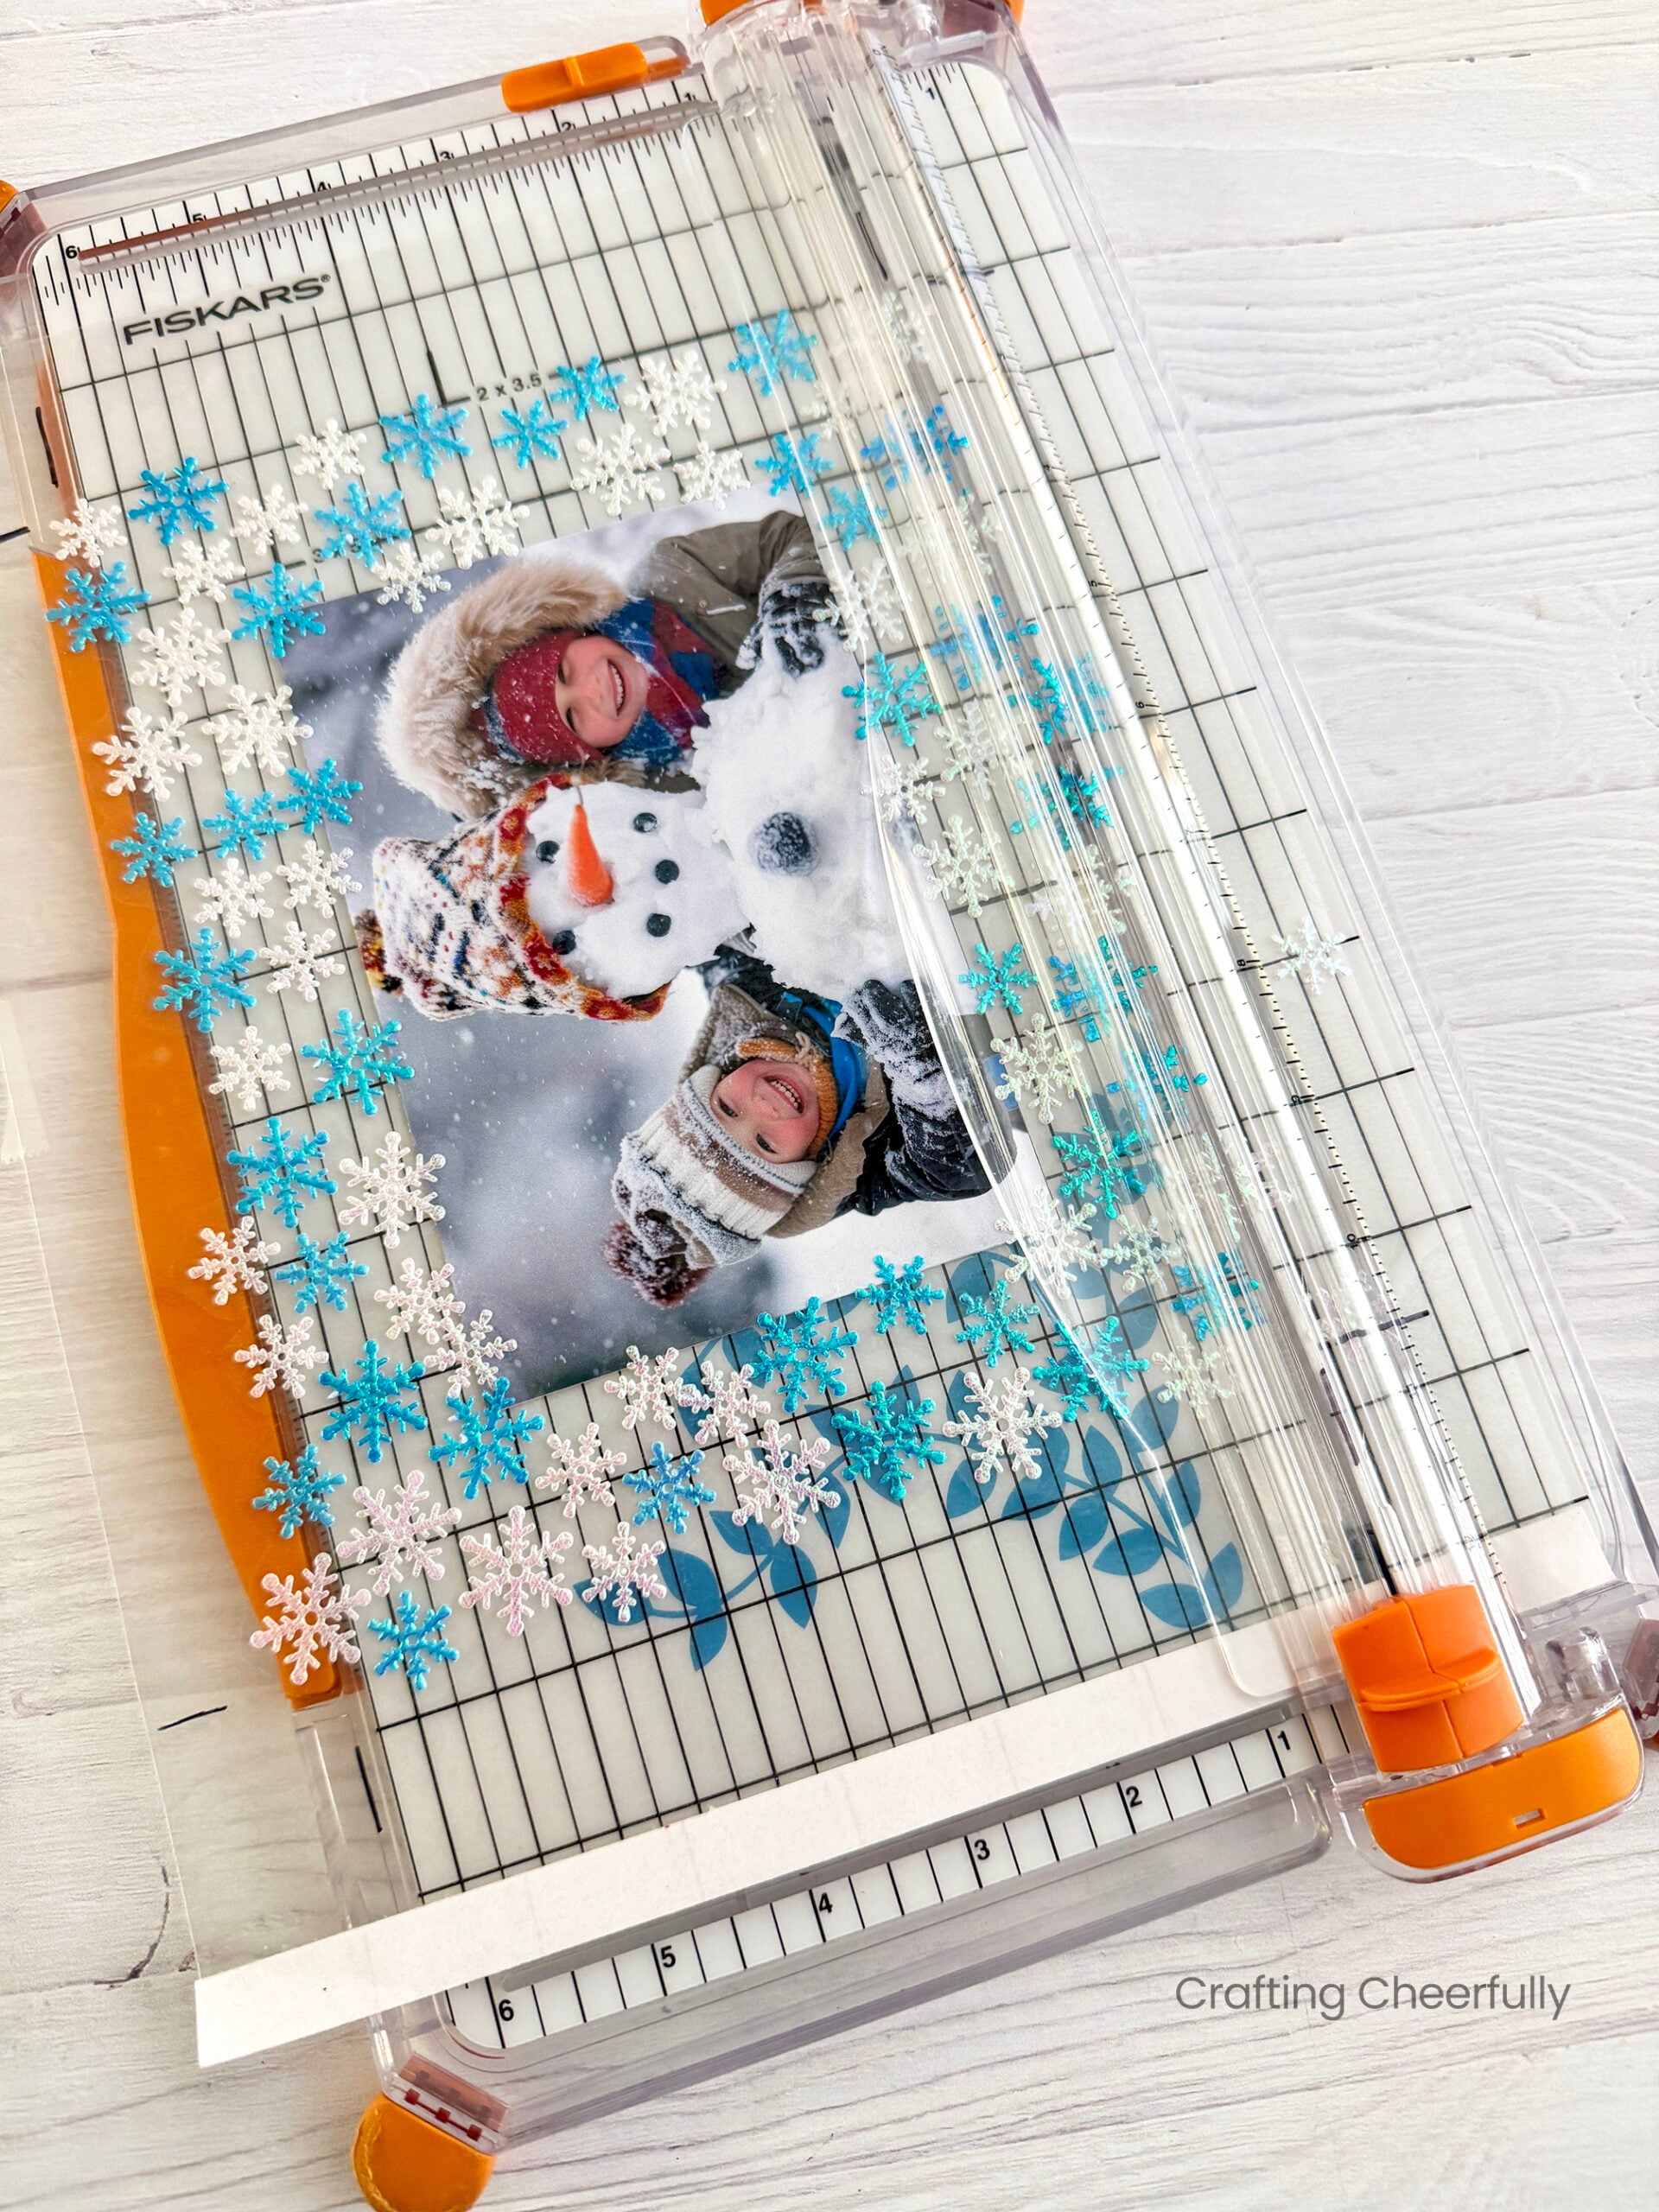
Step Five: Next it’s time to cut out the frame. Use a marker or Sharpie to mark the edges of the frame on the laminated sheets using the guide below. Remove the laminated frame and cut it down to size using a paper trimmer or scissors. If cutting it with a scissors, I recommend tracing the frame with marker on all four sides using a ruler so you have straight lines to cut along.
Finishing the Frame
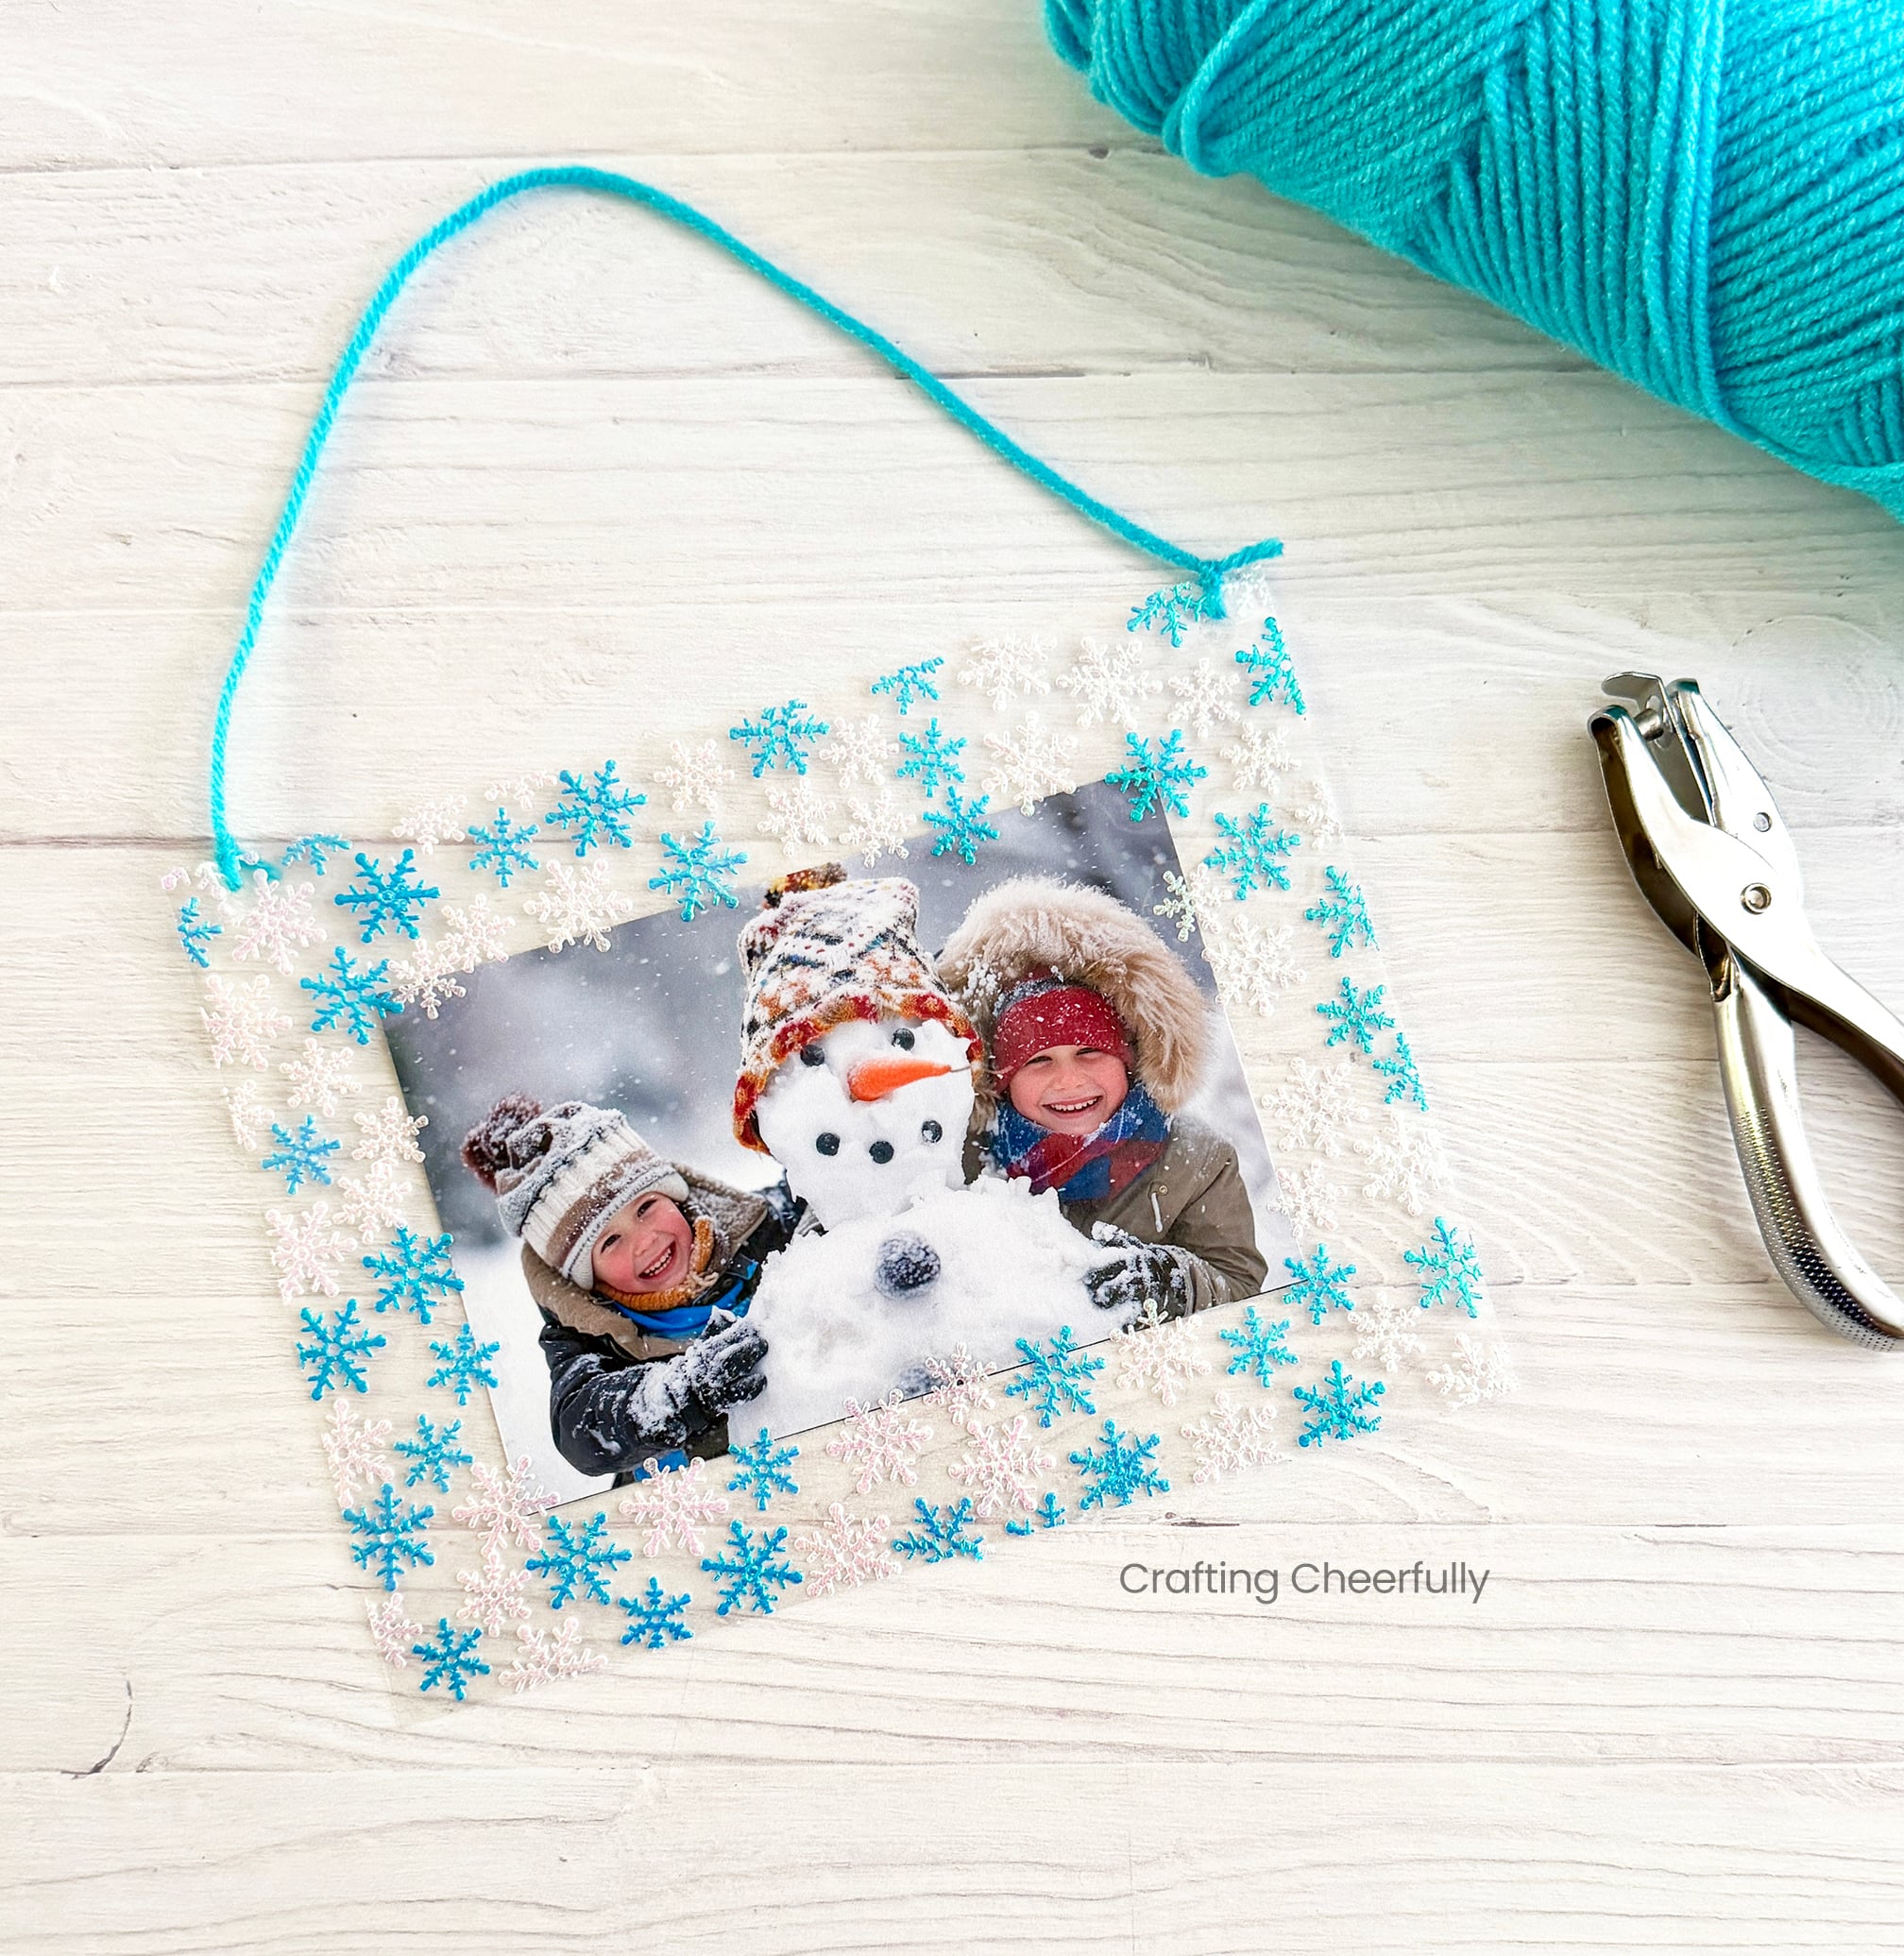
Step Six: You can finish the frame by punching two small holes in the top corners and using Baker’s Twine or yarn to add a hanging loop.
If you prefer to display the frame in an easel, skip adding the hole punches and instead cut a piece of cardstock that measure 6.5″ by 8.5″ to place behind the frame and give it support.
Adding Extra Stickers
Step Seven: For both of my frames I added glitter stickers to the top. This added more color and dimension to the frames!
Making the Frames with a Group of Kids
If making these with a group of children, I recommend doing these first two steps for each child at their “station” or wherever they will be sitting. Place the snowflake confetti in little dishes so kids can decorate and then you can come by with the second sheet of lamination to seal the snowflakes. Then allow them to add the stickers on top!
I hope you enjoyed this fun, wintery craft that is perfect for Christmas and the entire winter season! Check out my other Photo Craft Projects for more ideas that are great for gift giving!

Get the Free PDF Template
Fill out the purple form below with your first name and email address! The free file will be sent straight to your inbox! If you have already filled out the form below, don’t worry – you won’t be added to my list twice! This freebie is for personal use only. I hope you enjoy crafting something special. Please let me know if you have any questions :)


