
Christmas Paper Gift Boxes
Create a Christmas paper gift box for someone special! Easily customizable, this paper gift box is a fun, handmade paper project. Grab the PDF pattern and SVG cut file to create your own festive boxes.

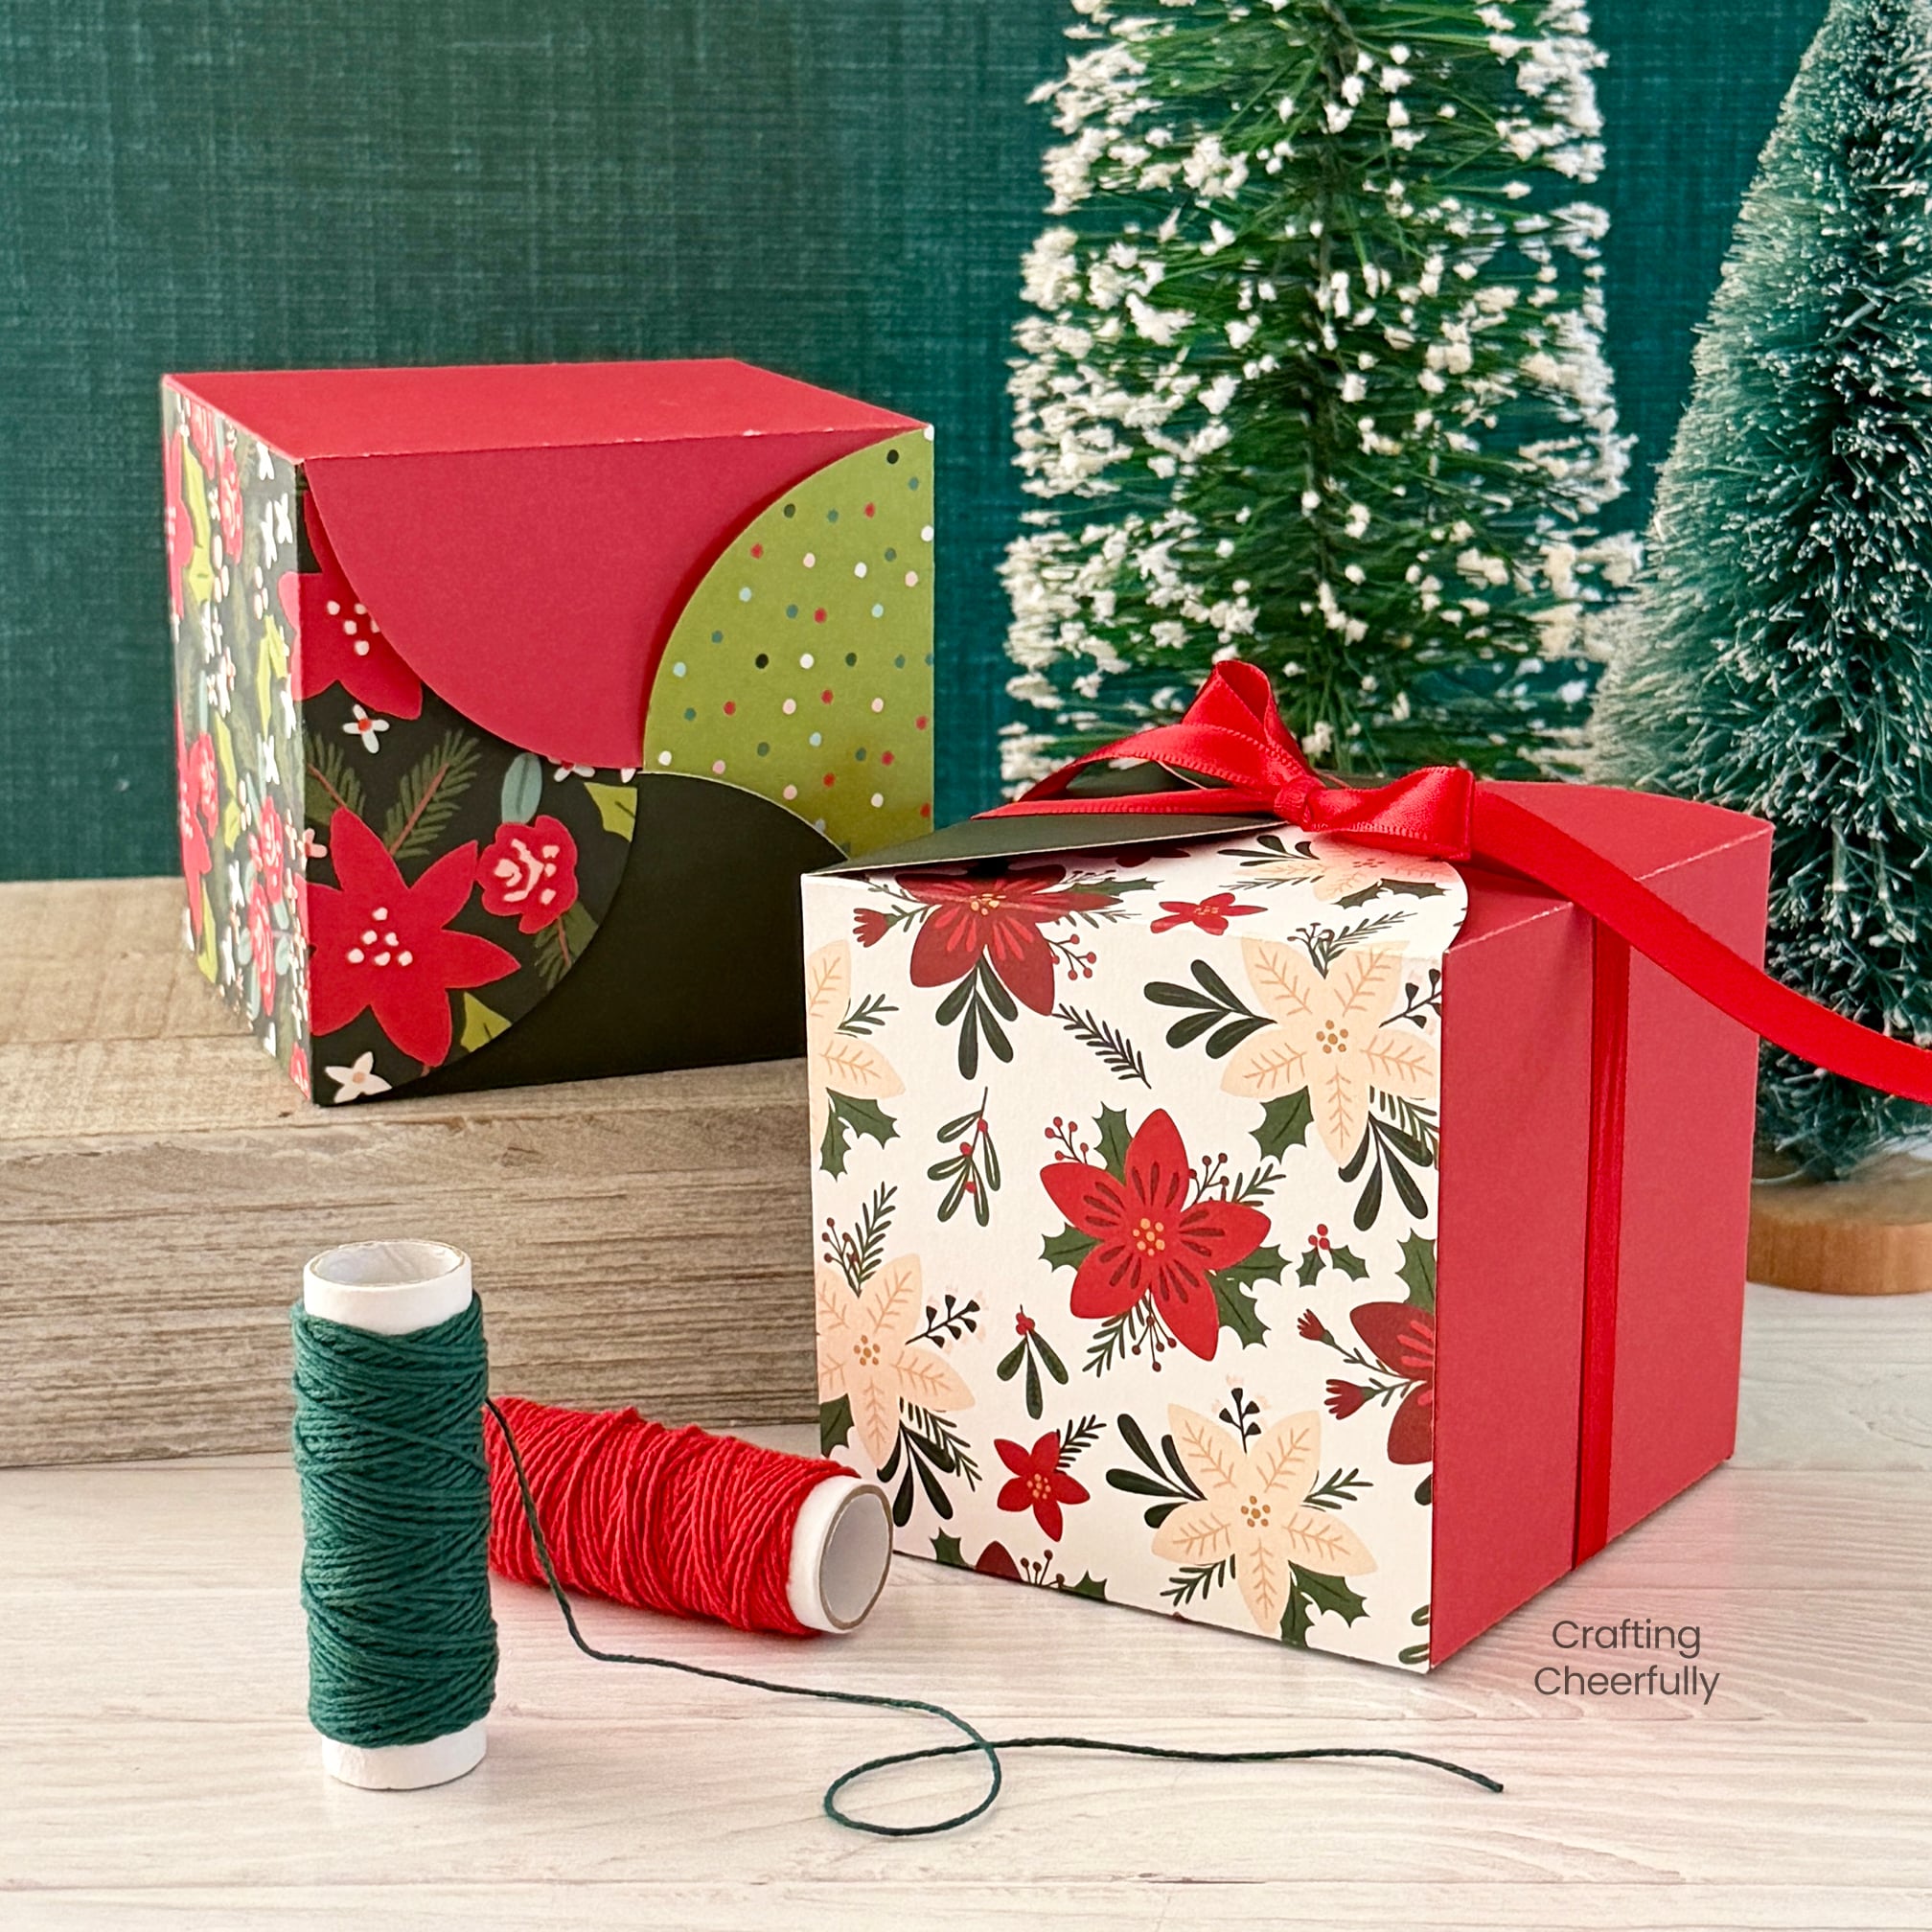
Hello Crafty Friends and welcome to Day 3 of my annual series 12 Days of Holiday Crafts! Today I’m sharing these festive paper gift boxes. These boxes are a great way to gift something special. Customize them by choosing your favorite holiday papers. I chose to use a classic red and green color palette, but these boxes would look amazing in bold colors, cute pastels or even shiny metallics!
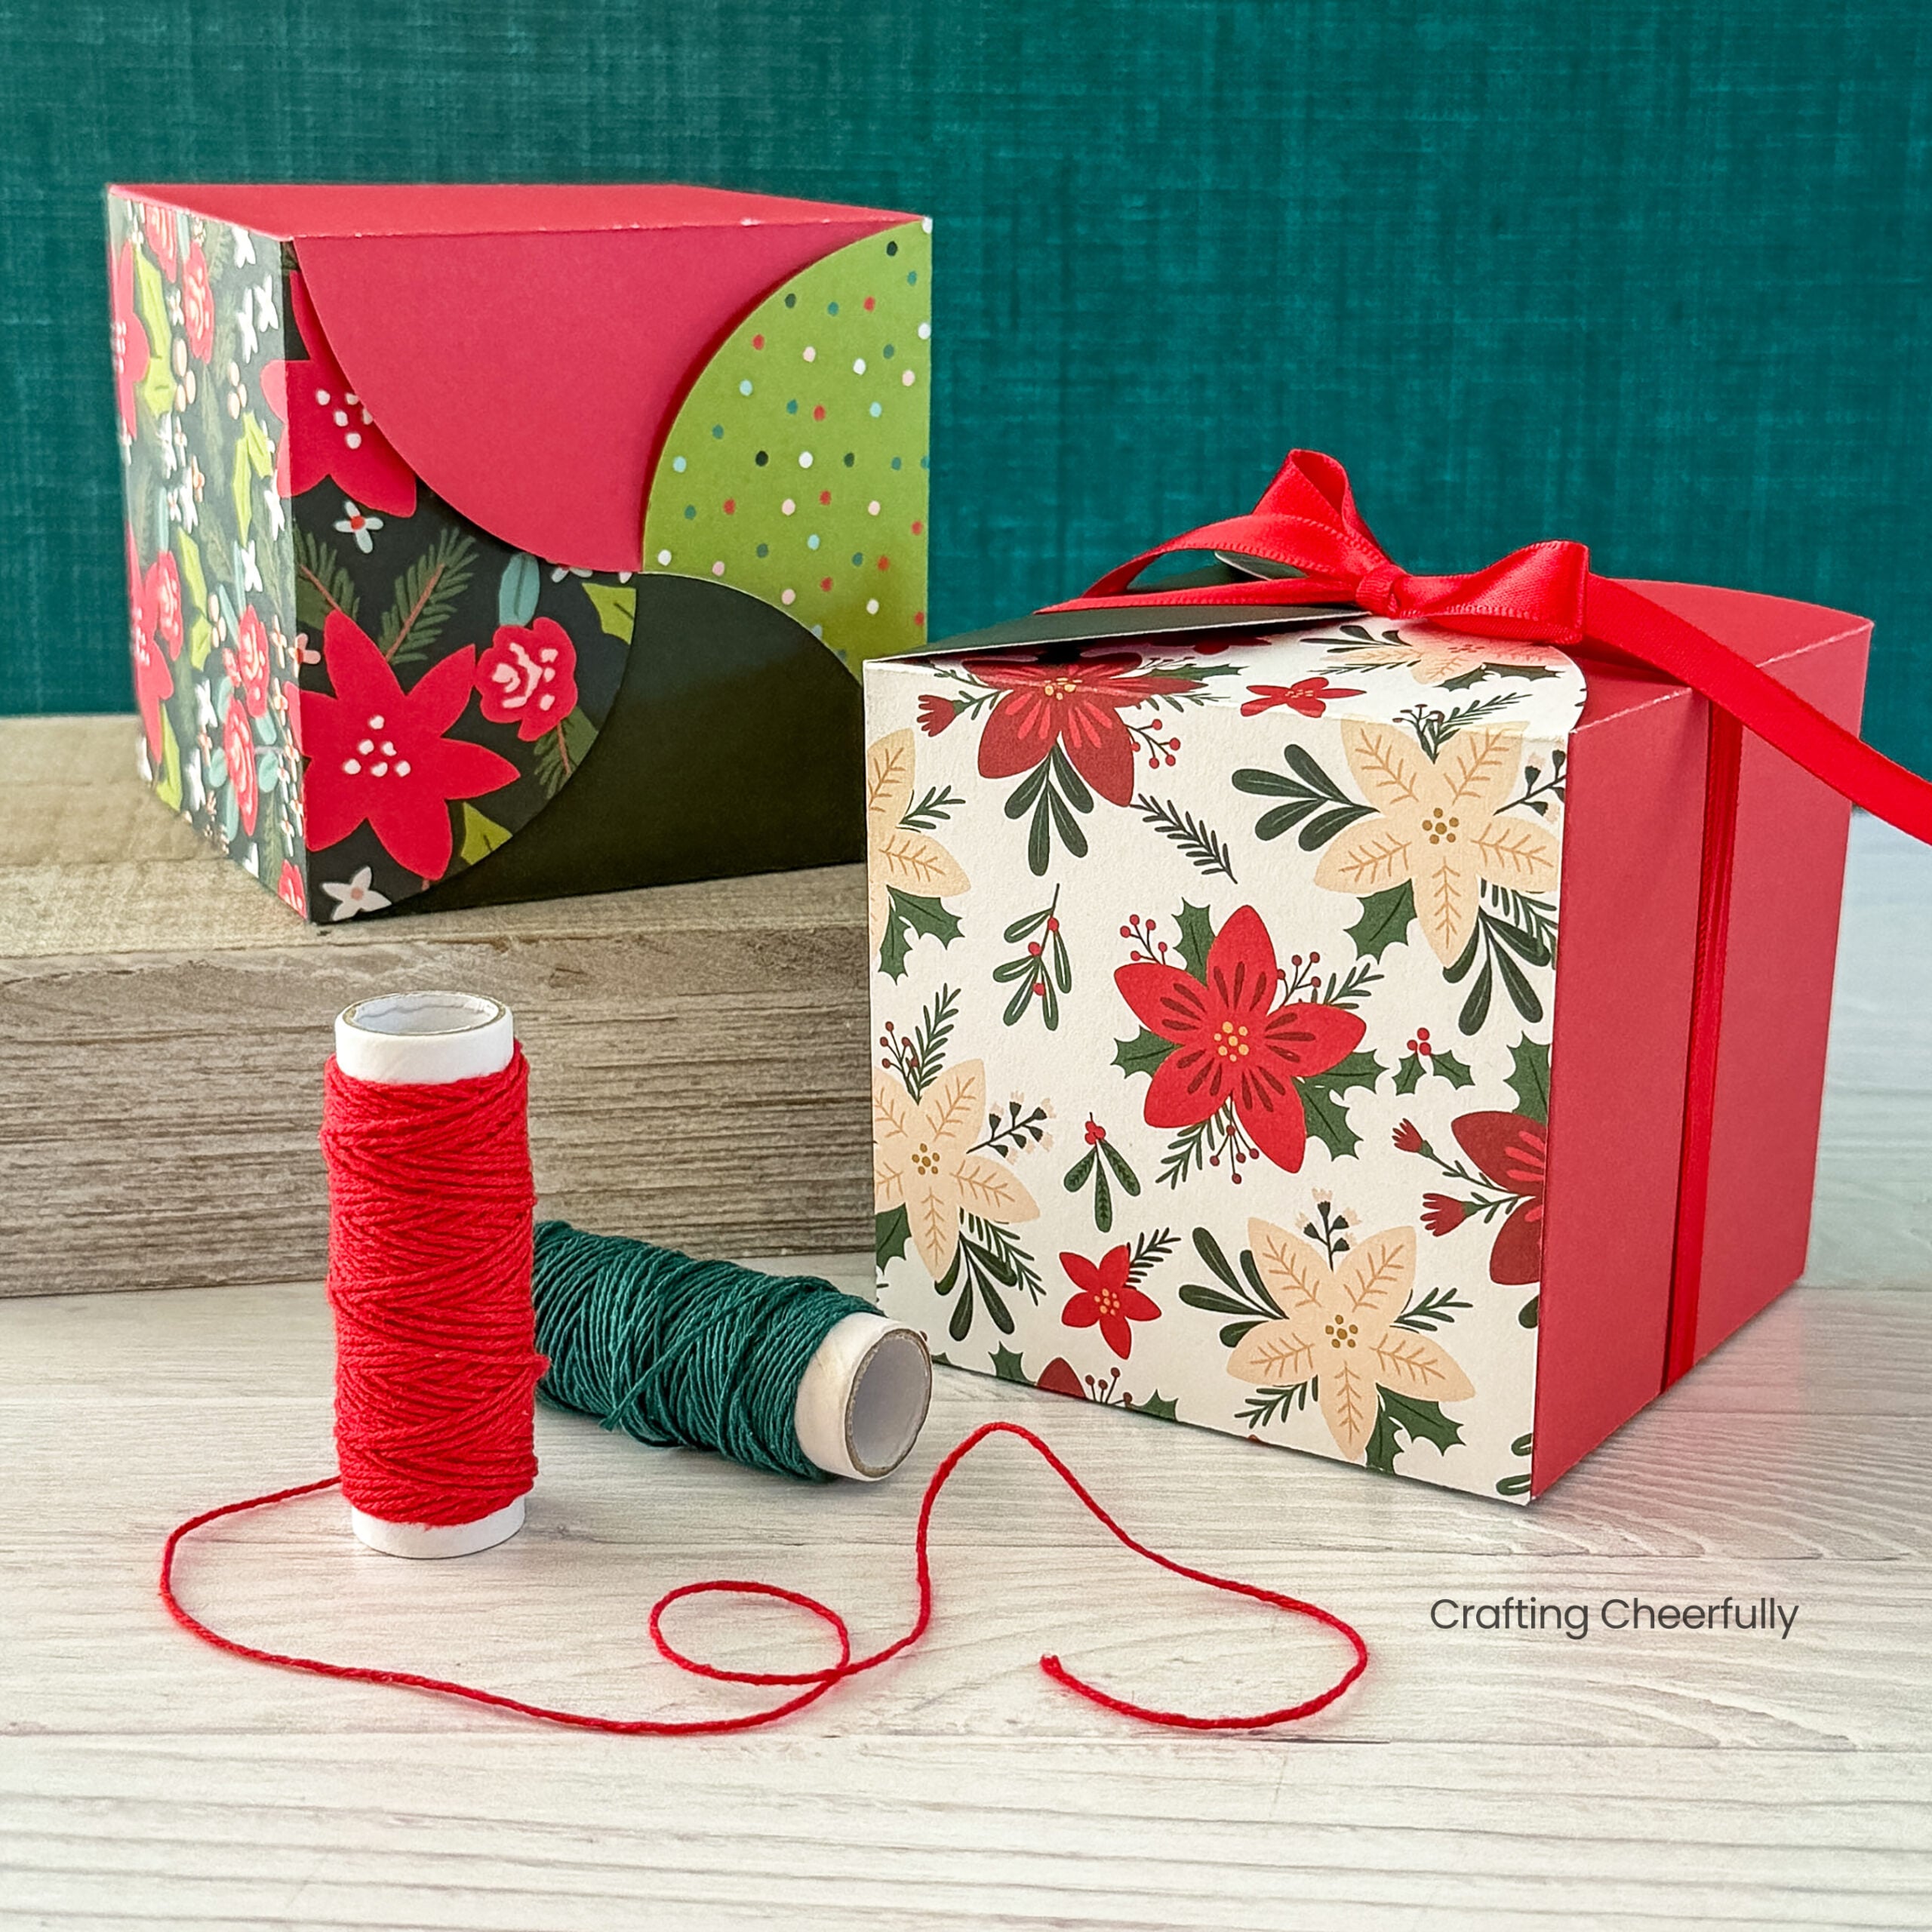
This paper gift box can be made with one to four different patterns of paper. Each side of the box can be made from a different color or pattern. On the top of the box all of the patterns come together in a pretty spiral design. The finished boxes measure 3.5″ x 3.5″ and are a great size for small gifts.
DIY Christmas Gift Boxes
Choosing the Paper
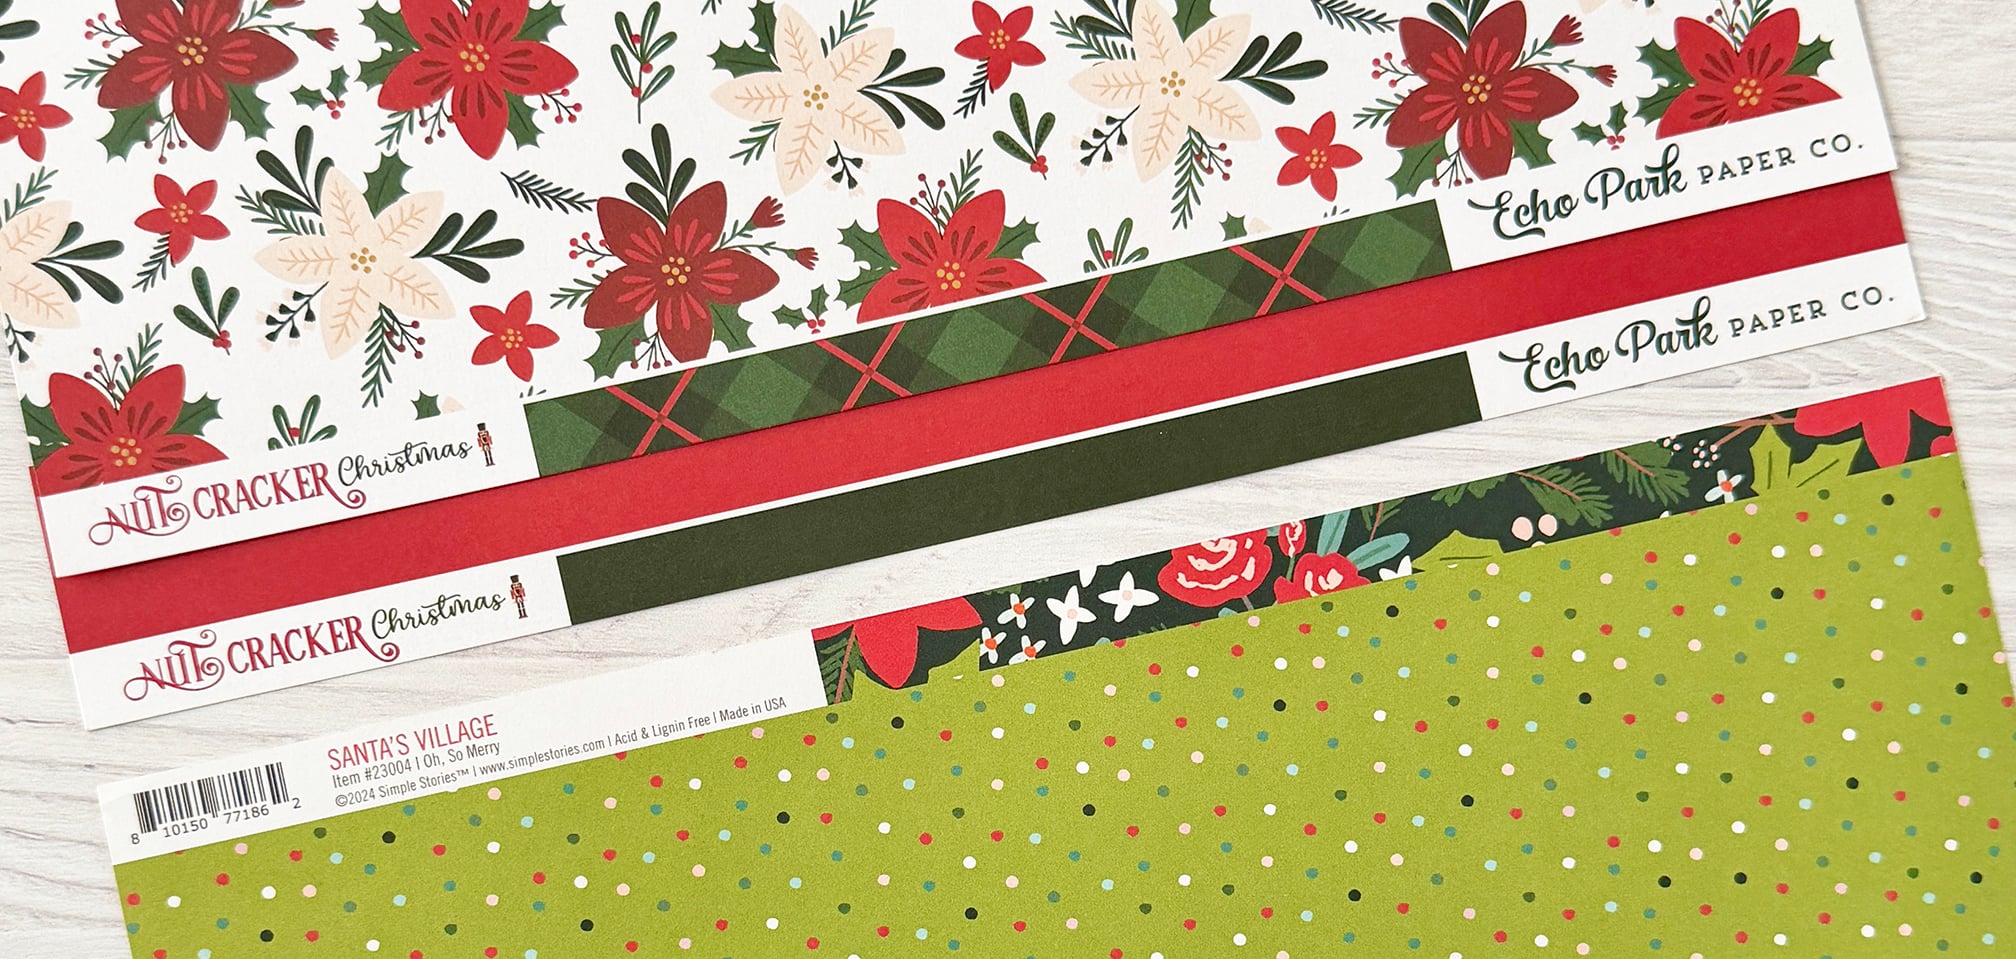
For these Christmas gift boxes I chose to use paper from Echo Park Paper’s collection, Nutcracker Christmas, and Simple Stories’ collection, Santa’s Village. These sheets of paper were both double-sided so I was able to use one sheet of paper for two sides of the box.
Supplies Needed
- PDF pattern and SVG Cut File – grab the file for free by filling out the purple form at the end of this post.
- Cardstock – Four pieces each 5″ x 8″ (one piece is slightly longer and measures 8.25″).
- Double-sided tape – I used 1/2″ Scor-Tape
- Cutting by Hand
- Cutting with a Cutting Machine
Setting up the File in Design Space
Below are directions for setting up the file in Cricut Design Space. The directions should be helpful for other cutting machines as well. For machines without a scoring tool, delete the black layers and score by hand.
Start by downloading the Christmas Gift box (get the file by filling out the purple form at the end of this post) and upload it into a new project in Cricut Design Space. Select the file and “Ungroup”.
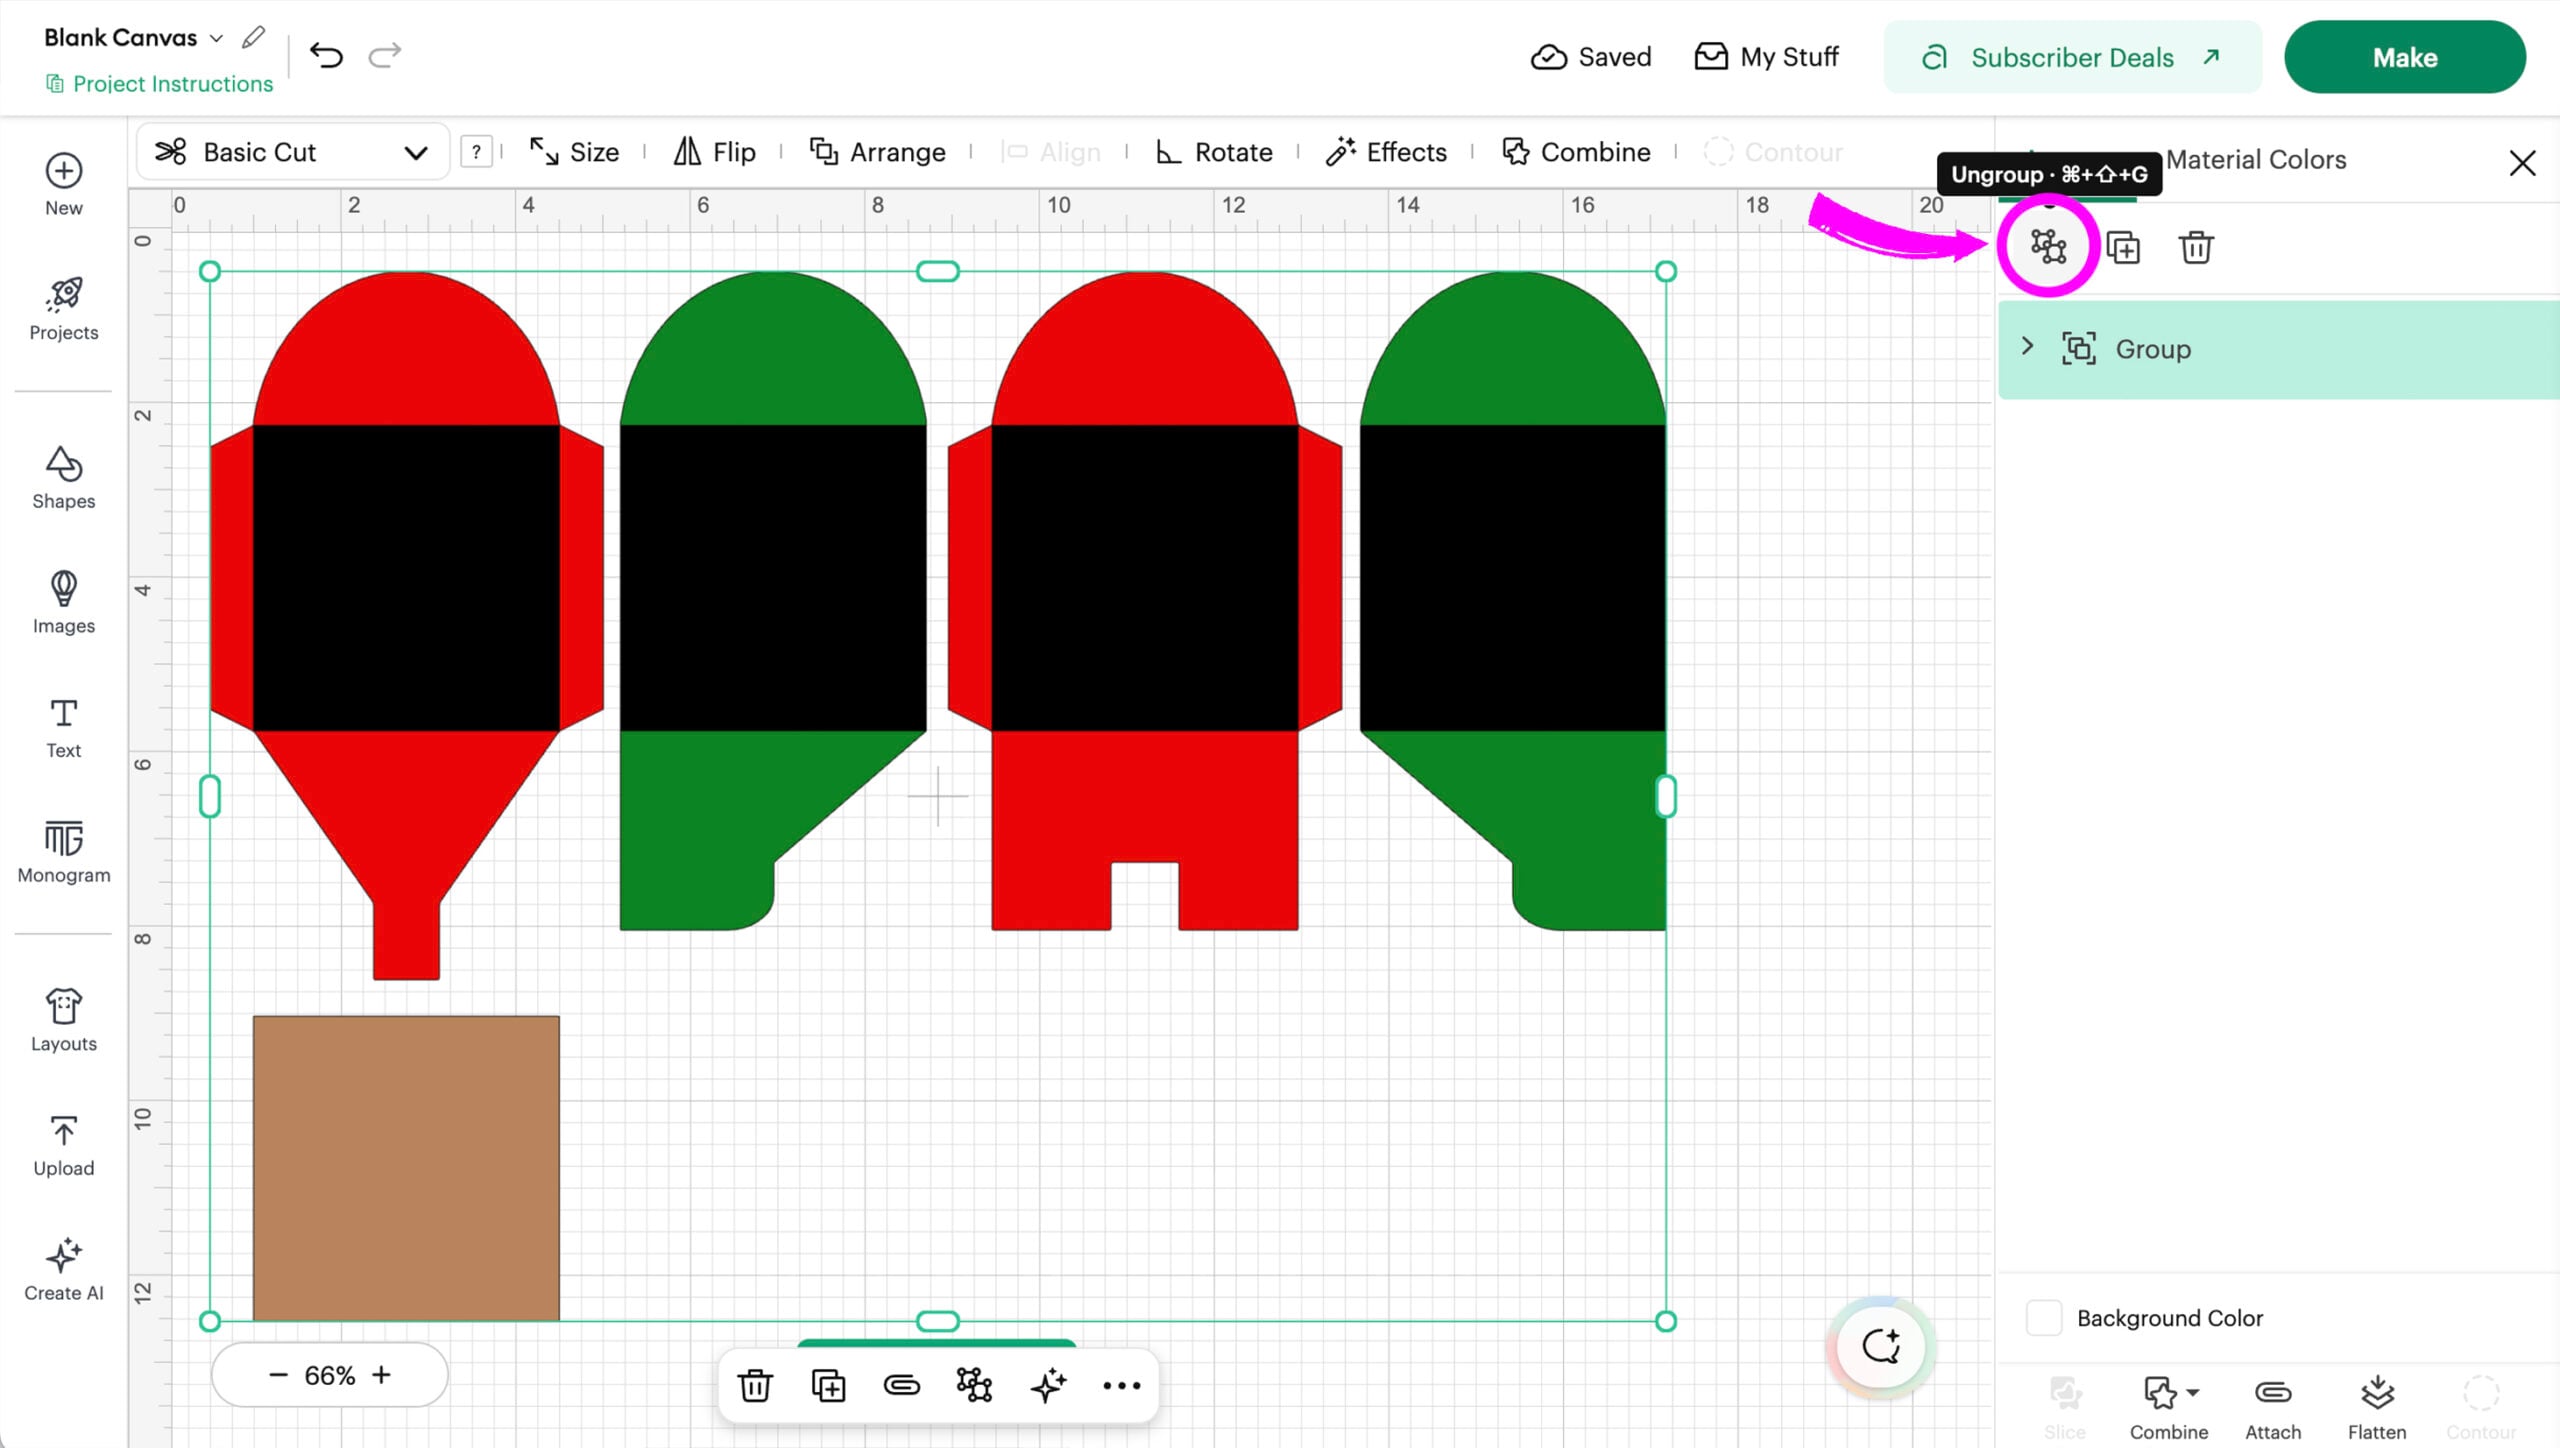
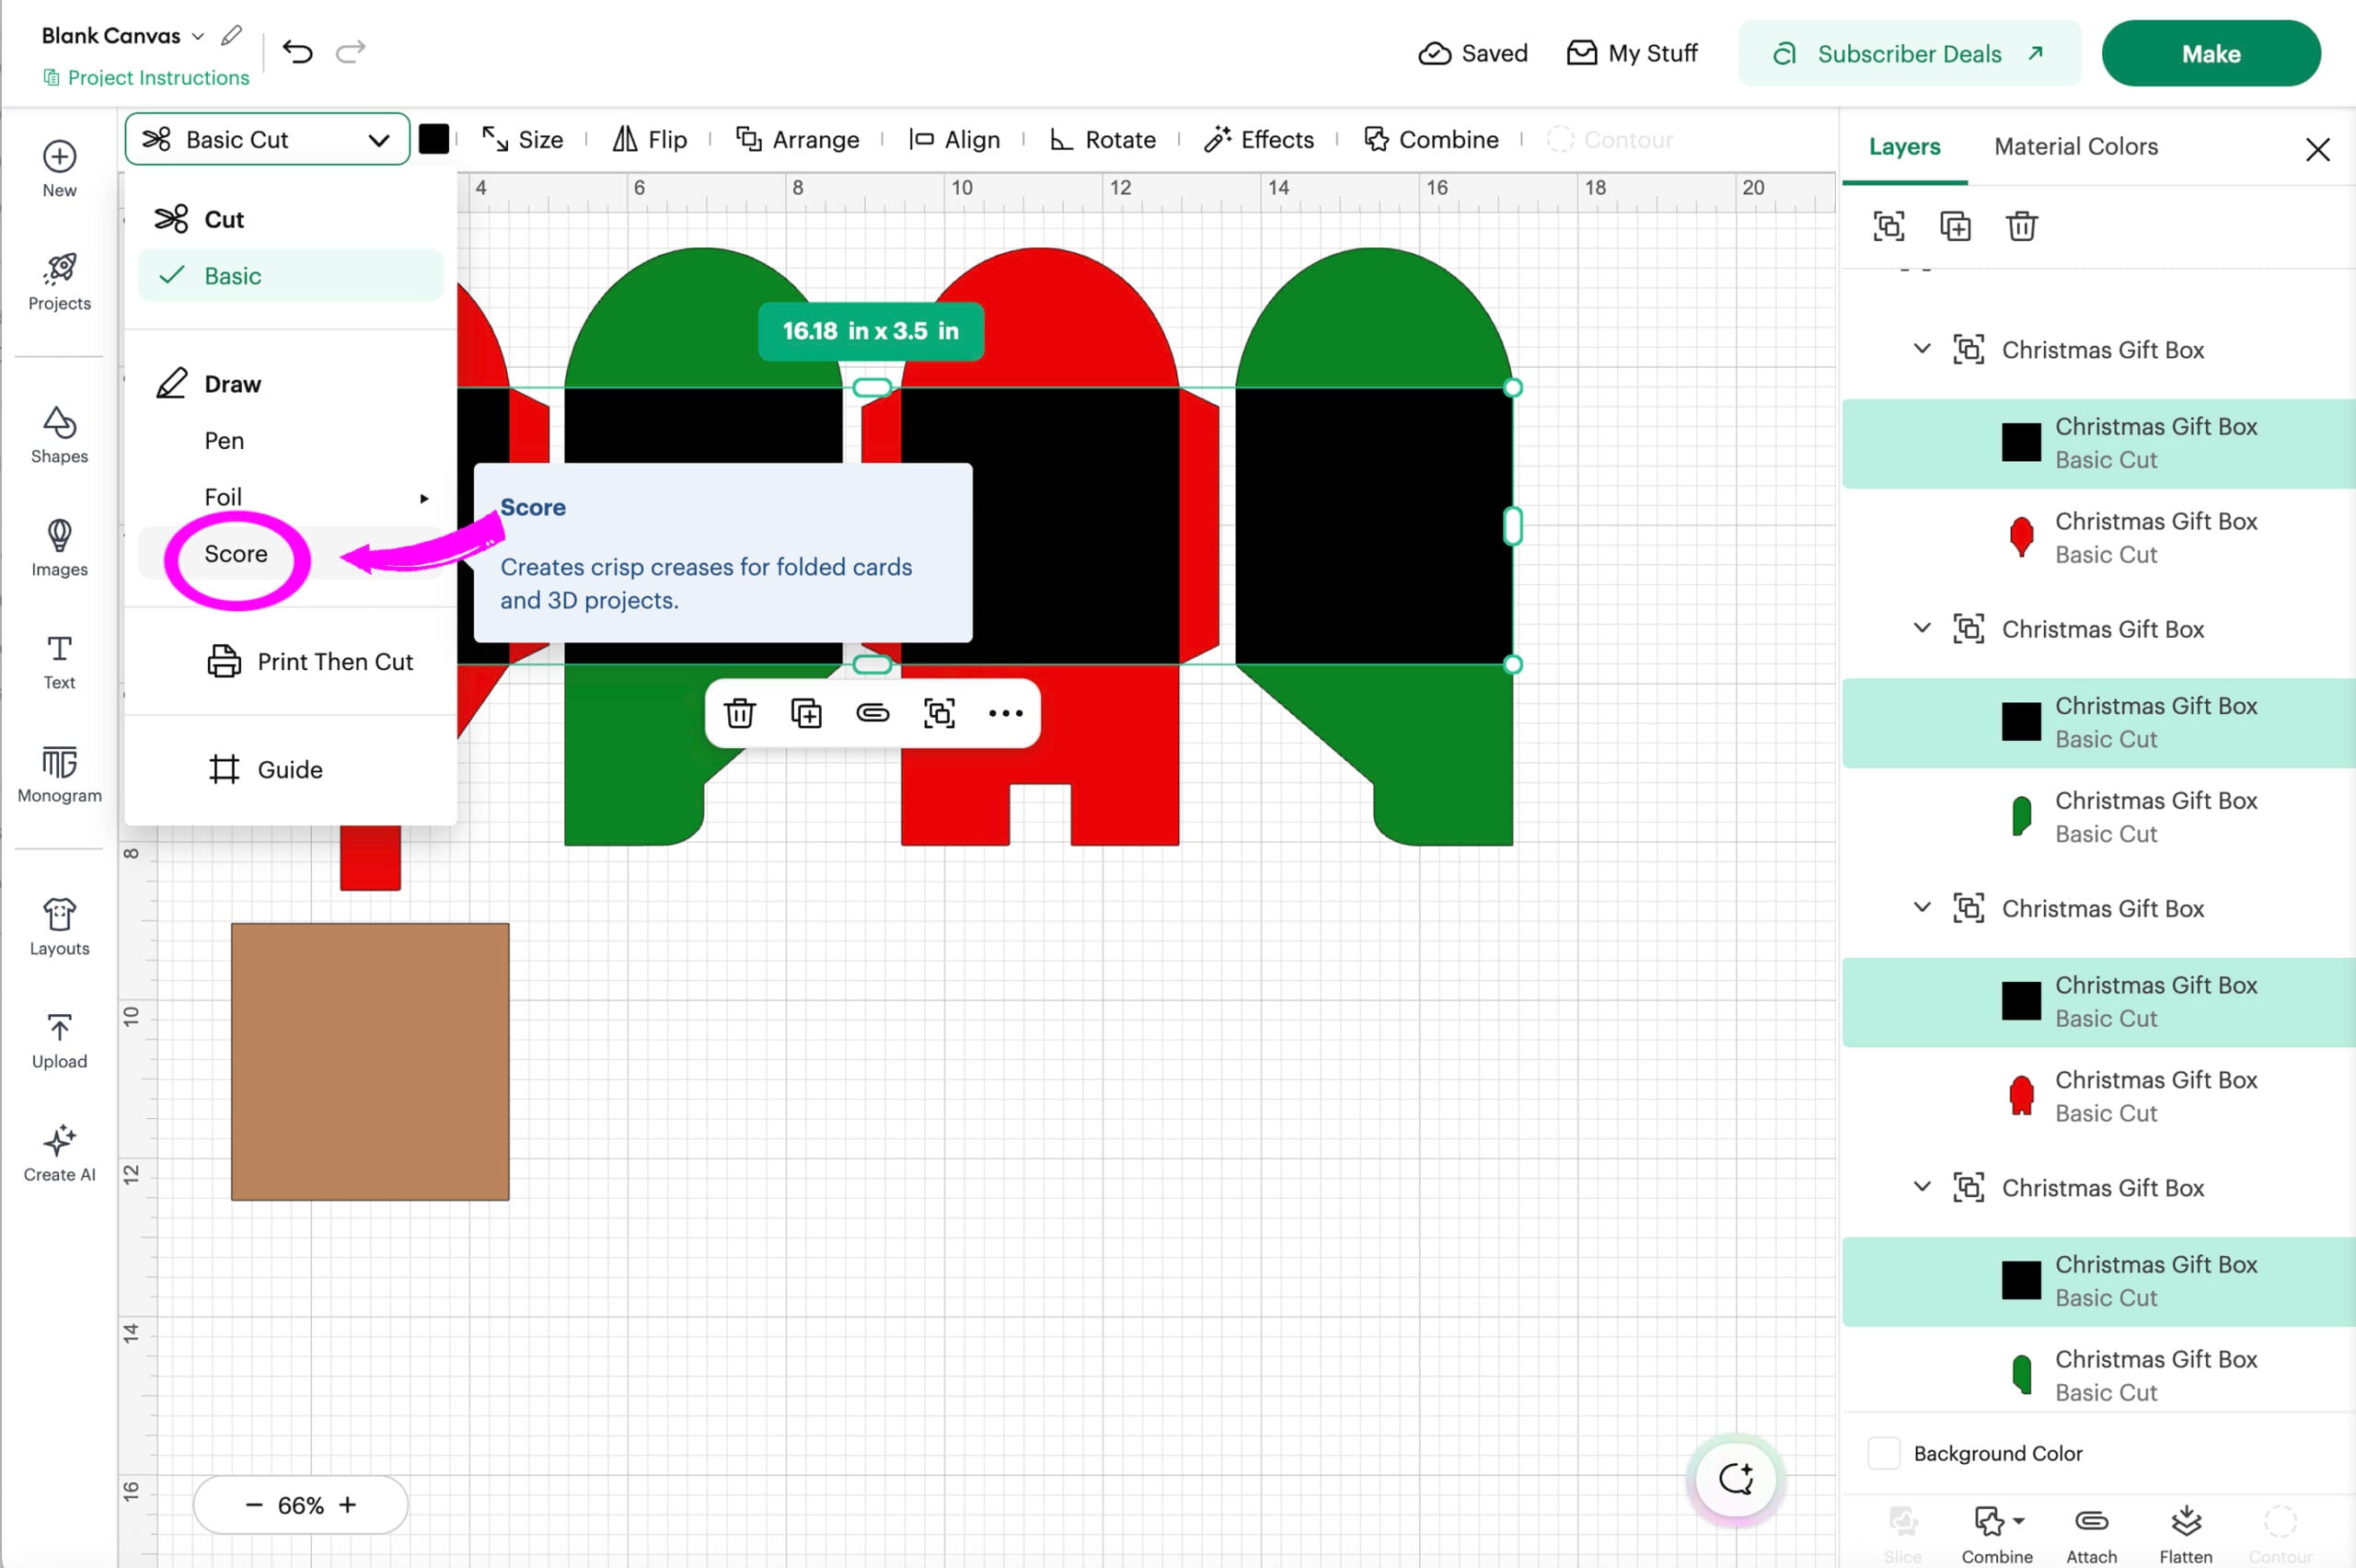
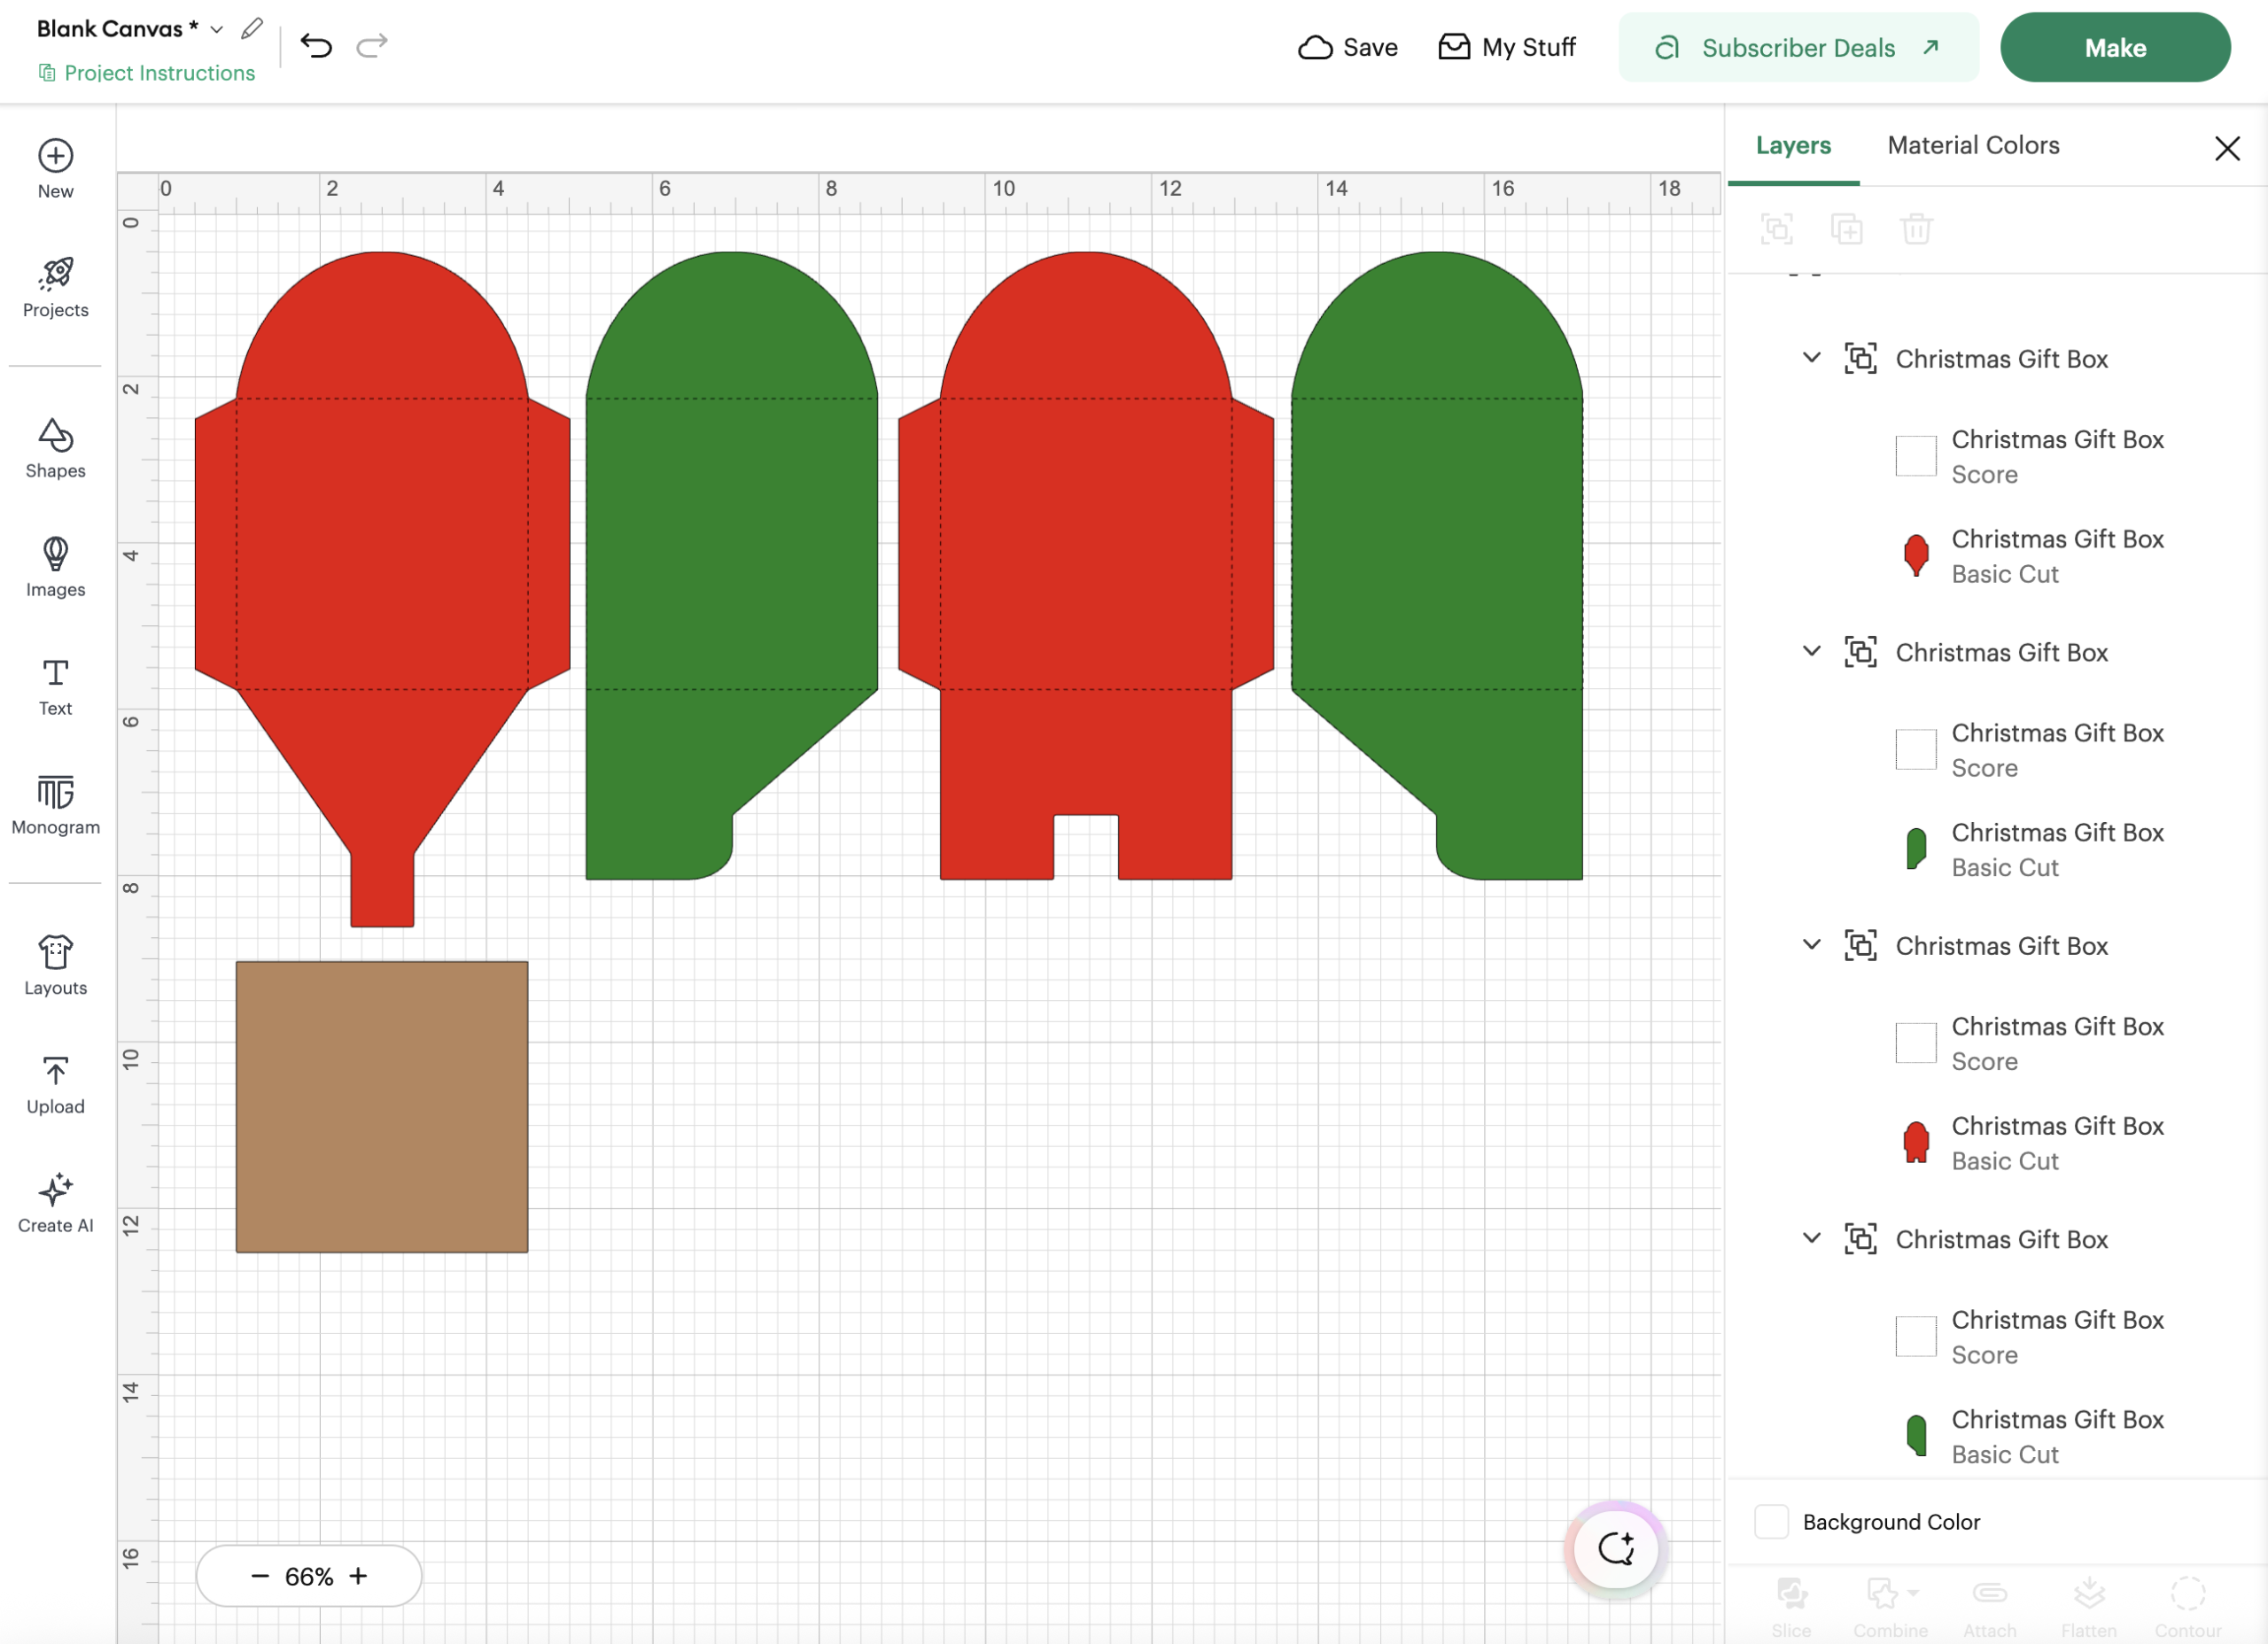
Change the black shapes to scoring lines. Highlight the 4 black shapes and change their operation from basic cut to score under the drop down operation menu. The black shapes will change to dashed lines.
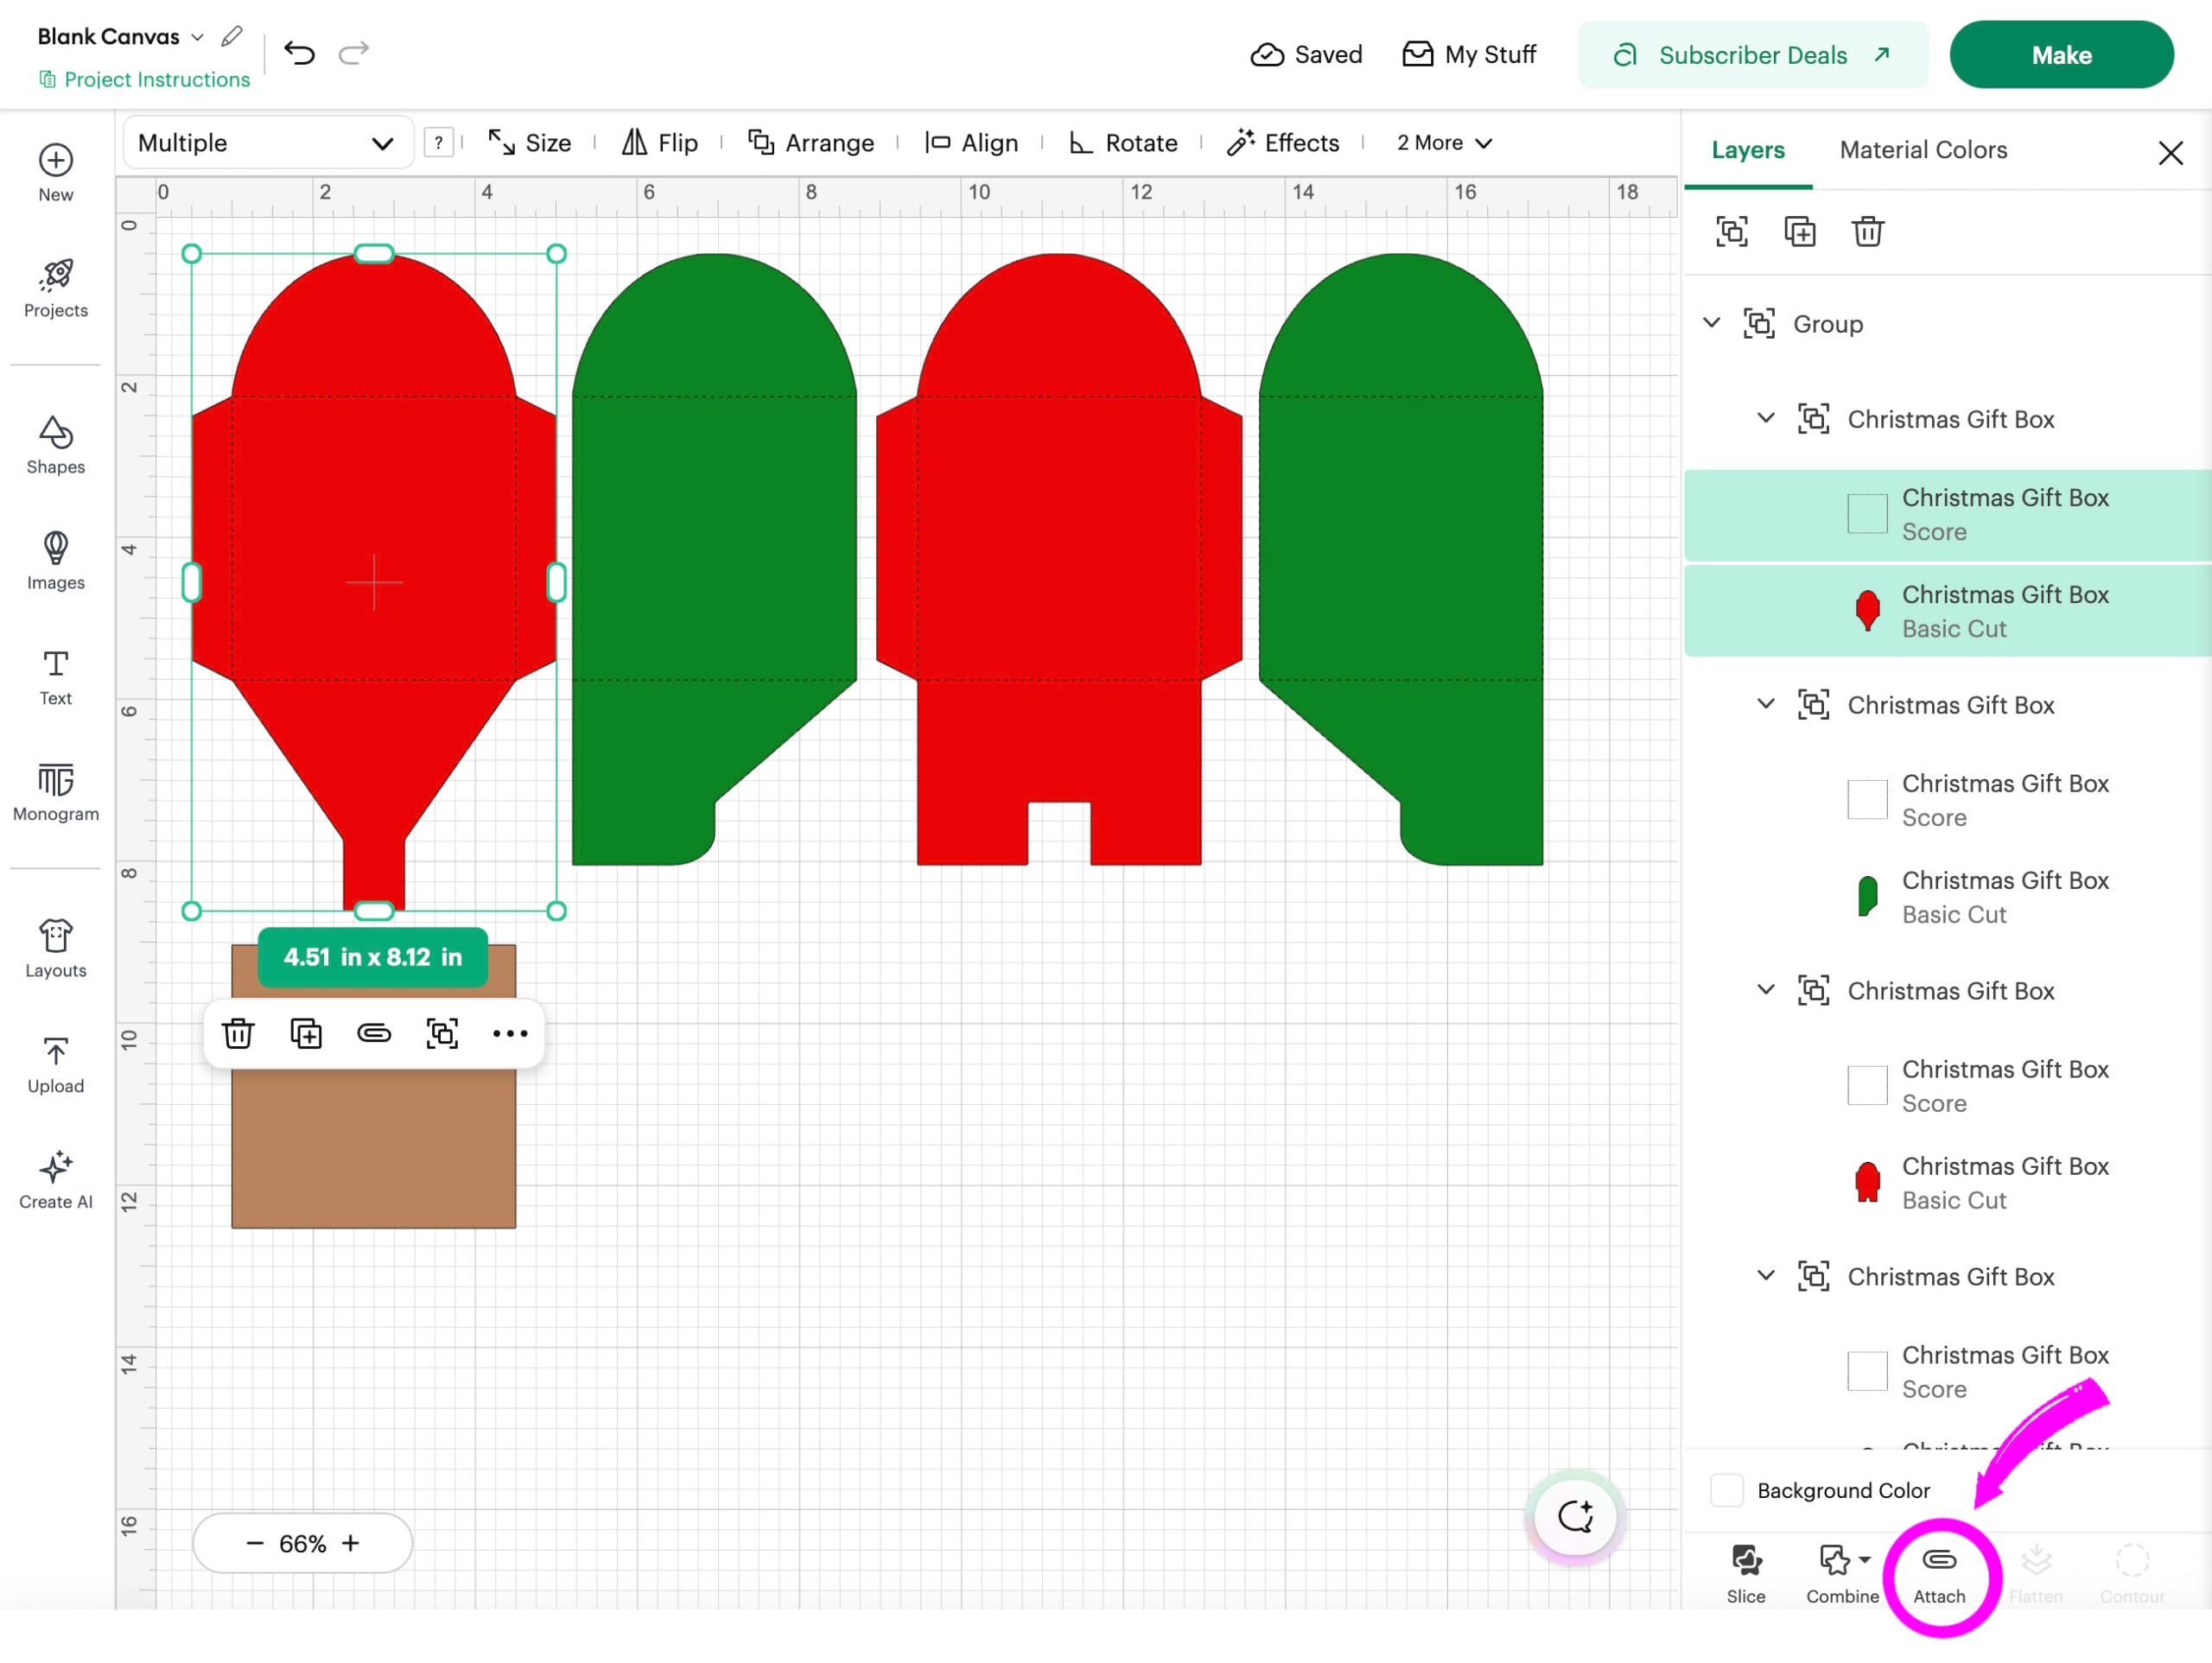
Next, attach the score lines to each piece they belong to. Start by selecting the first red piece and the score lines on top of it. Then while both are highlighted, click “Attach” located in the bottom right corner. The two pieces will then show up as a group and be attached. Repeat for each piece of the box.
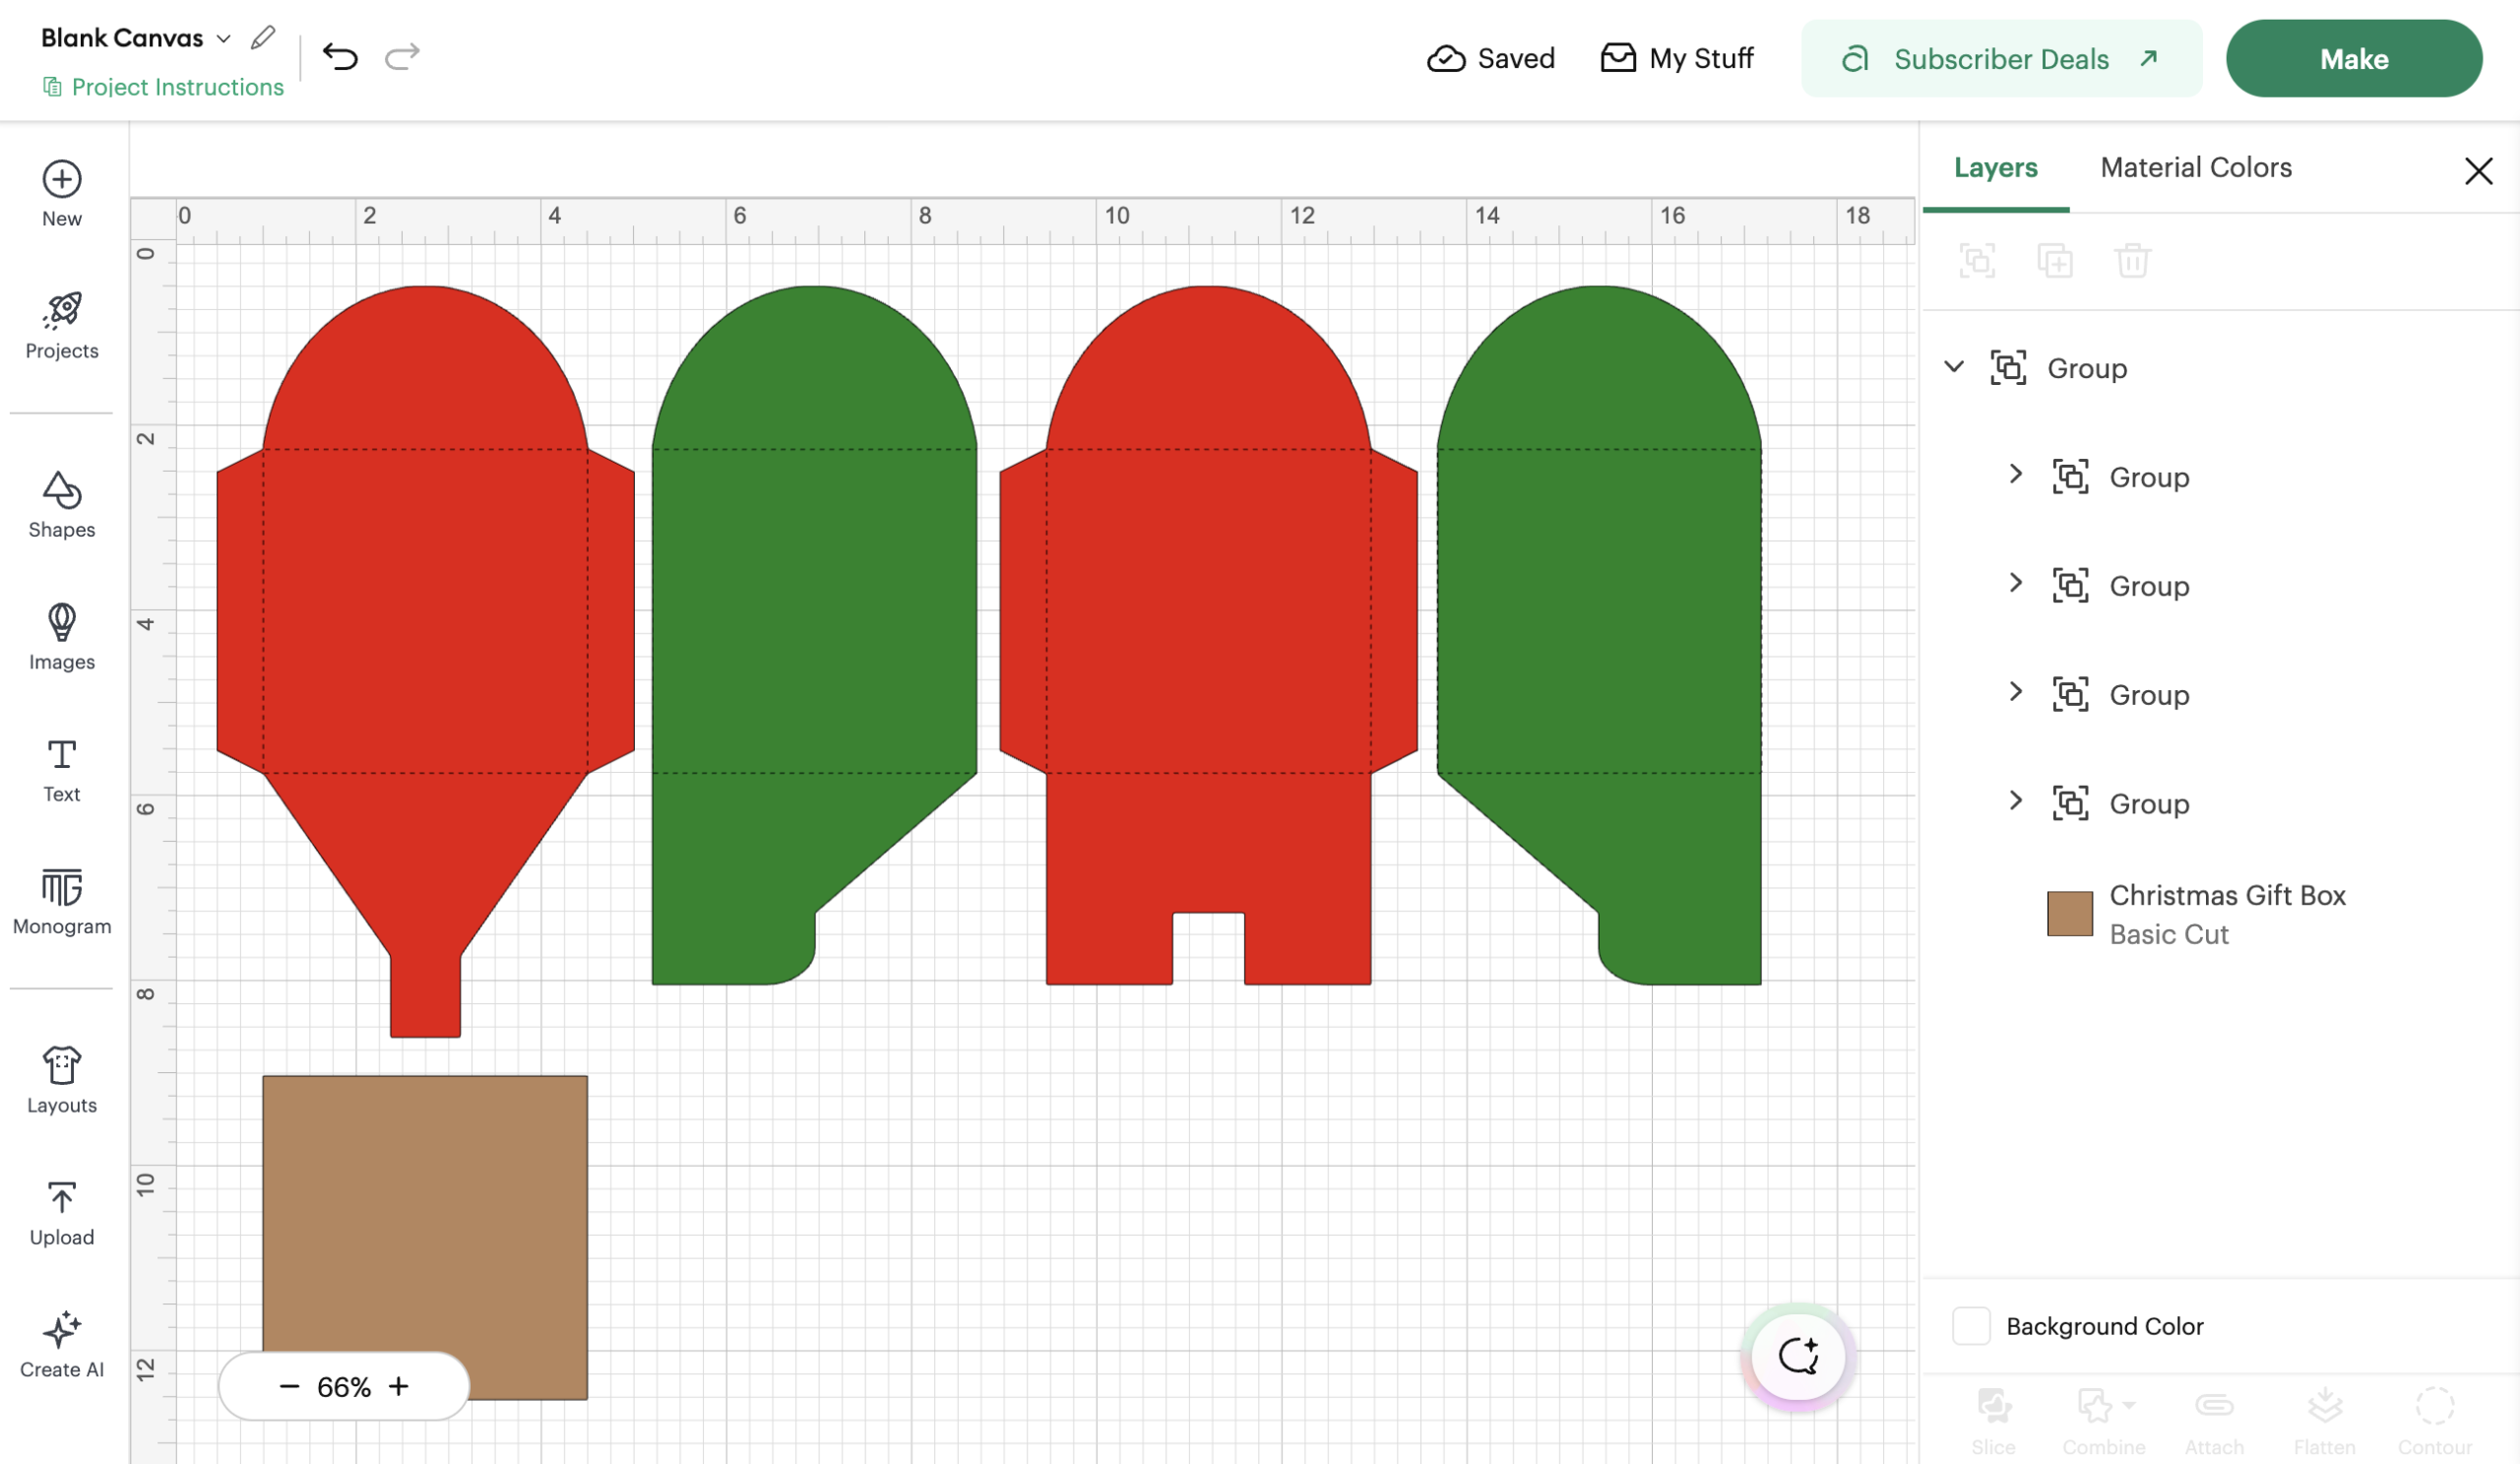
When you go to cut the pieces, the dashed score lines should appear on top of the pieces and both “Score” and “Basic Cut” should be listed next to each mat, except for the brown piece which is for a cardboard insert that can be placed at the bottom of the box.
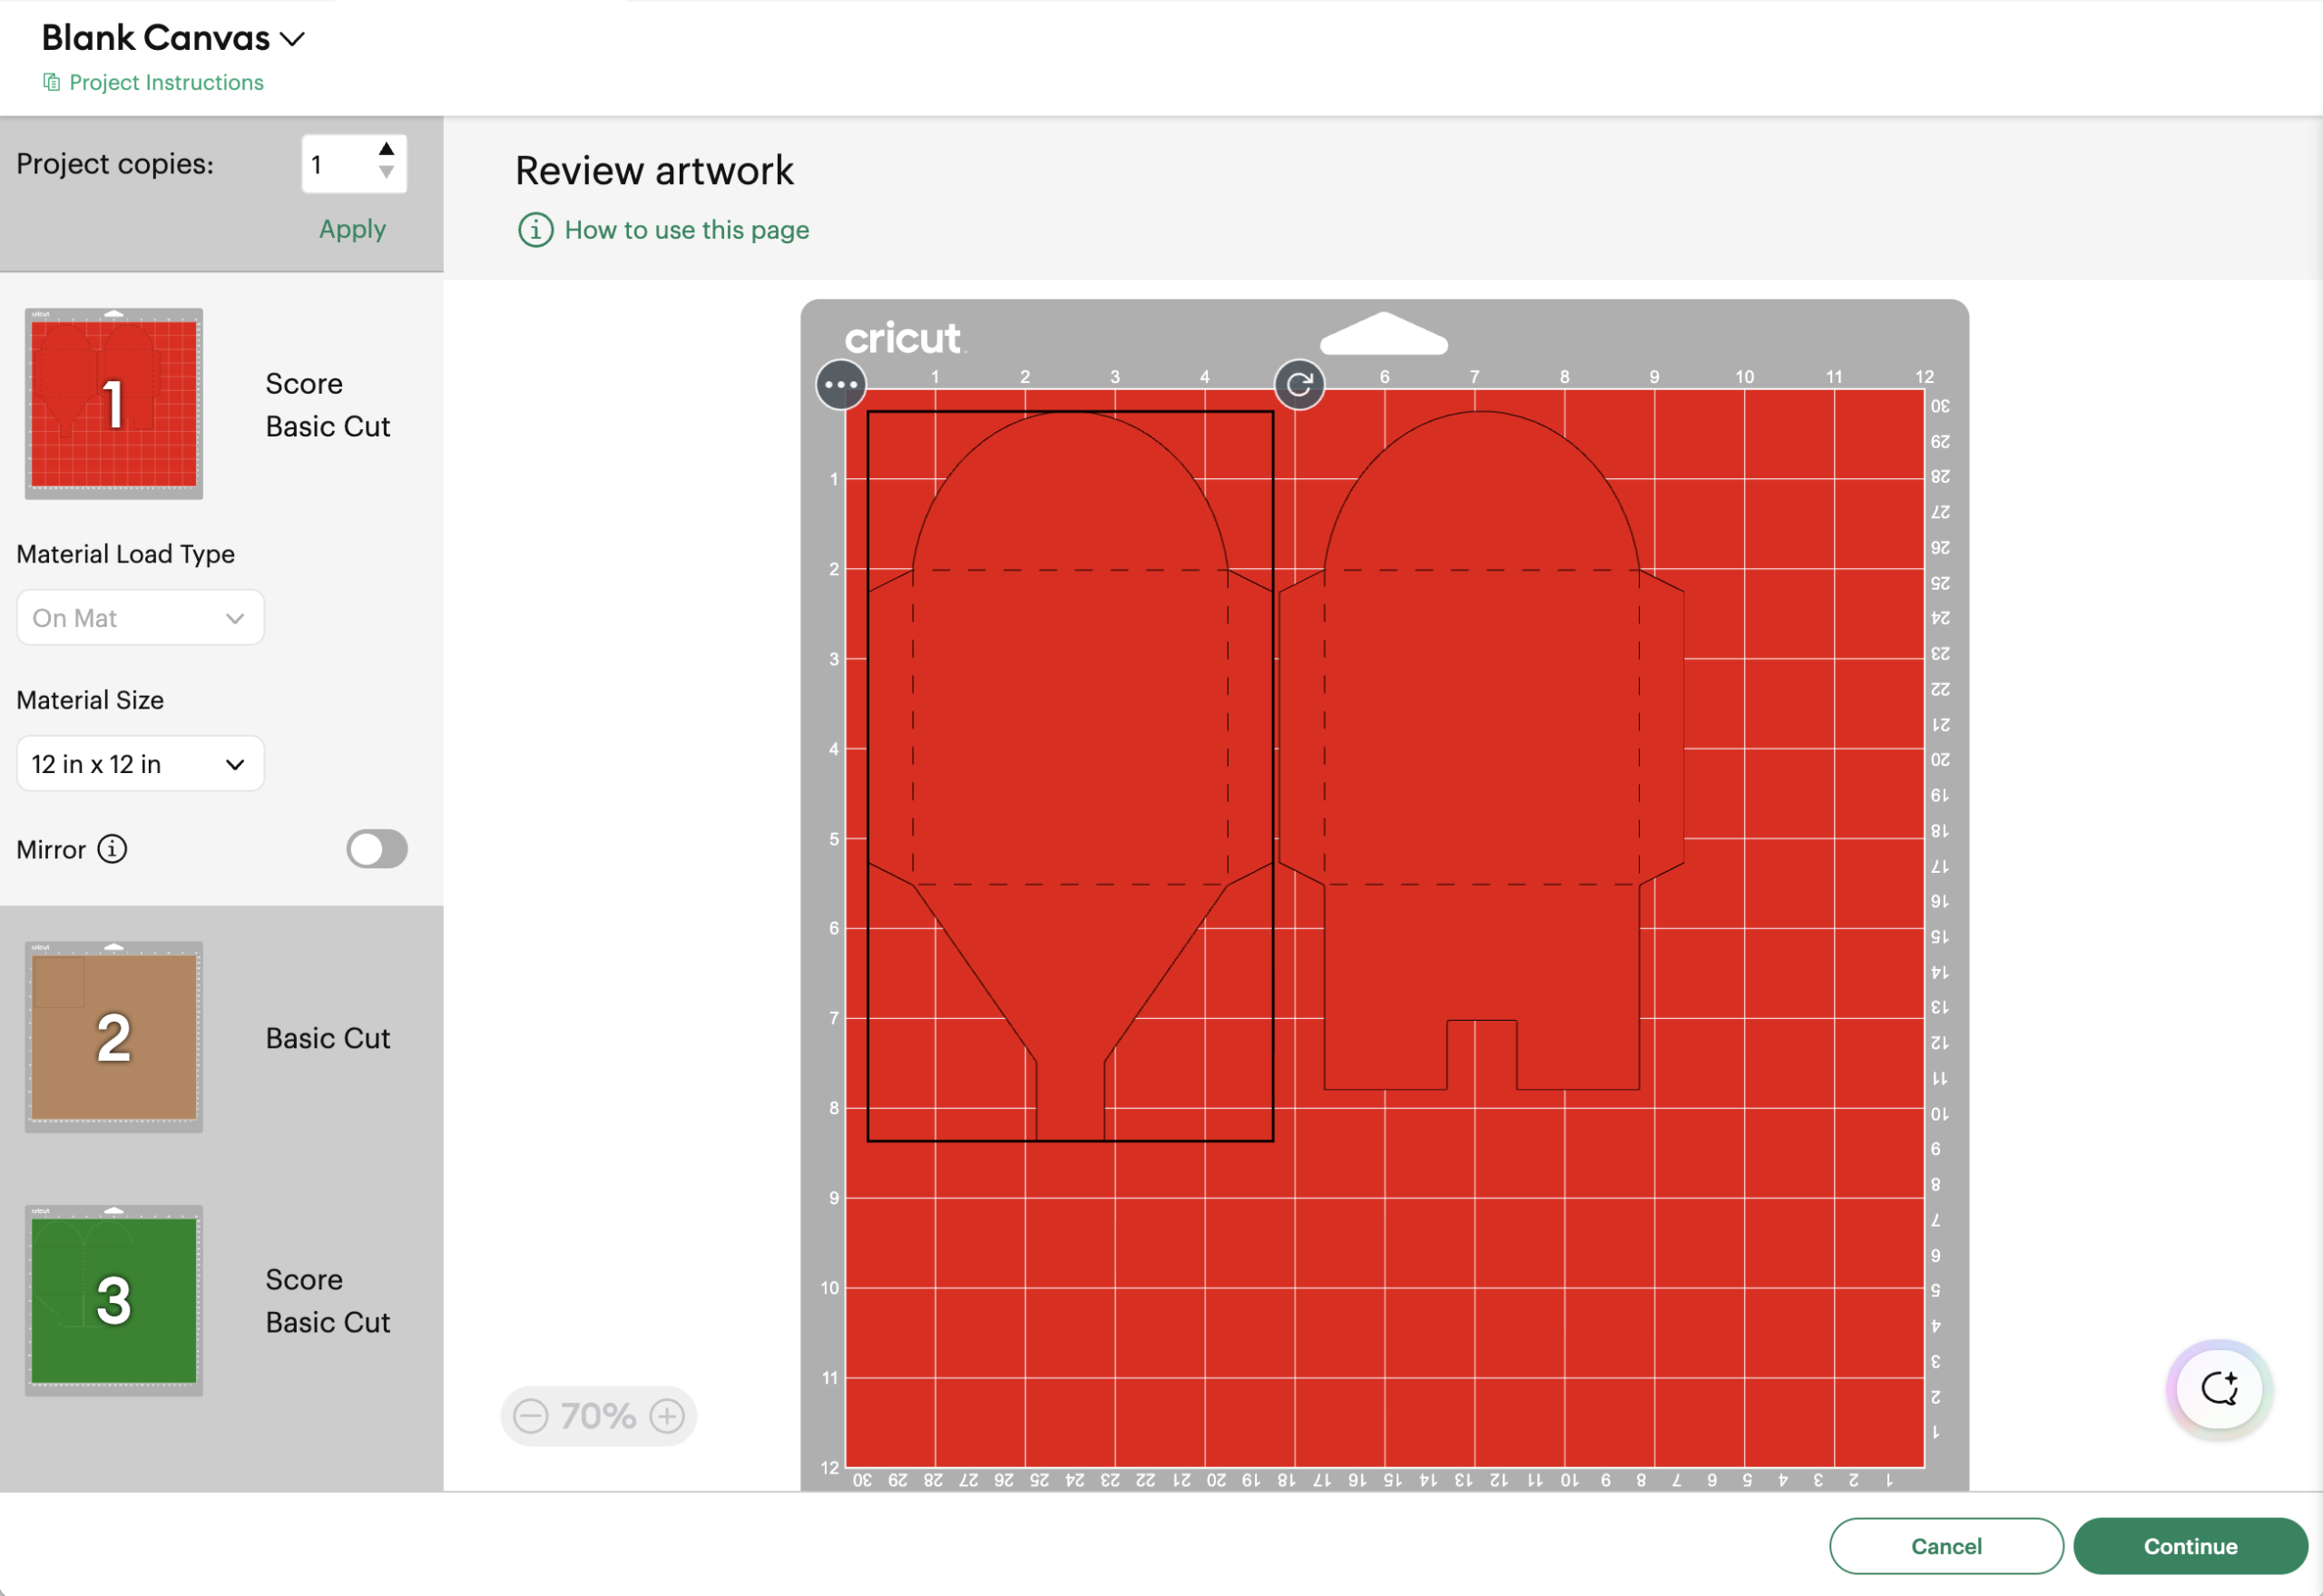 It’s time to cut the box! Feel free to change the colors of the pieces. If you are cutting the paper from four separate sheets of paper, change them so each piece is a different color. I was cutting my pieces from double-sided paper, so I kept the pieces to two colors. The finished box measures 3.5″ x 3.5″. To change the size, be sure to select all of the pieces and resize them together so they still fit.
Cutting the Box
Step One: Cut out the box pieces using your cutting machine or a paper trimmer and scissors if cutting by hand. I like to use a paper trimmer for the straight sides of the boxes and then cut out the rest with a scissors. For these boxes I also chose to add a small square of chip board to place in the bottom of the boxes for stability.
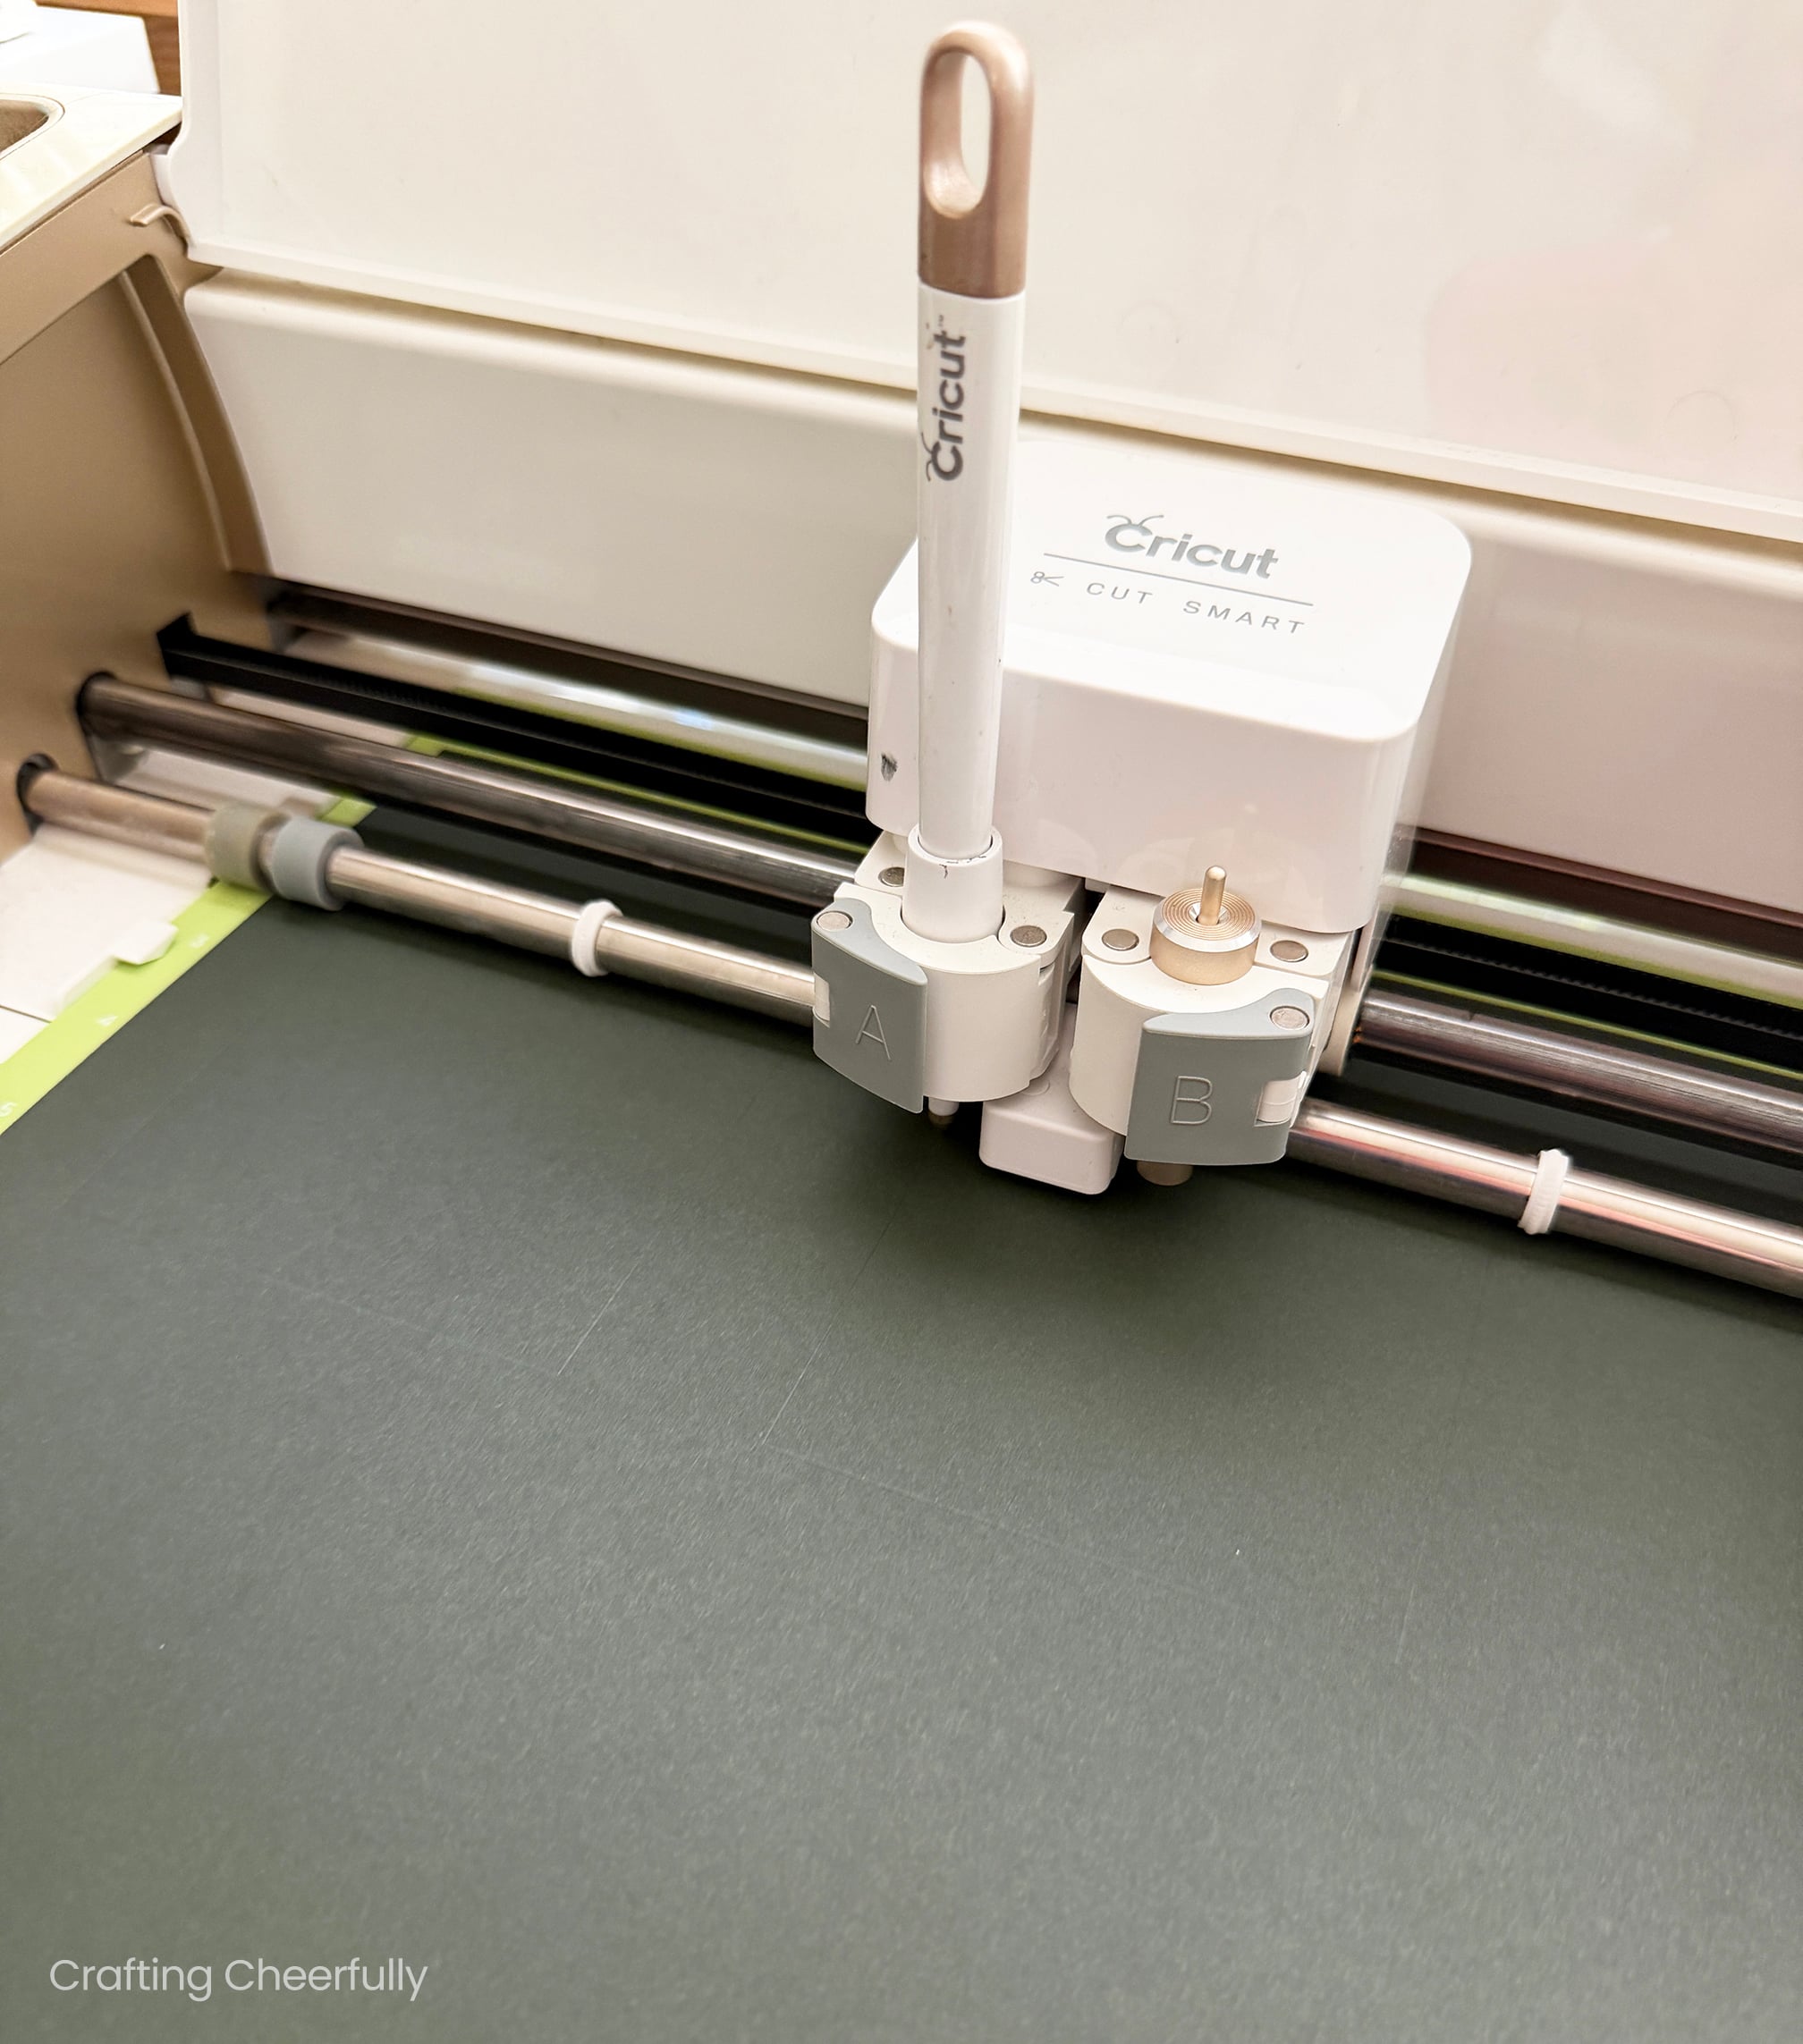
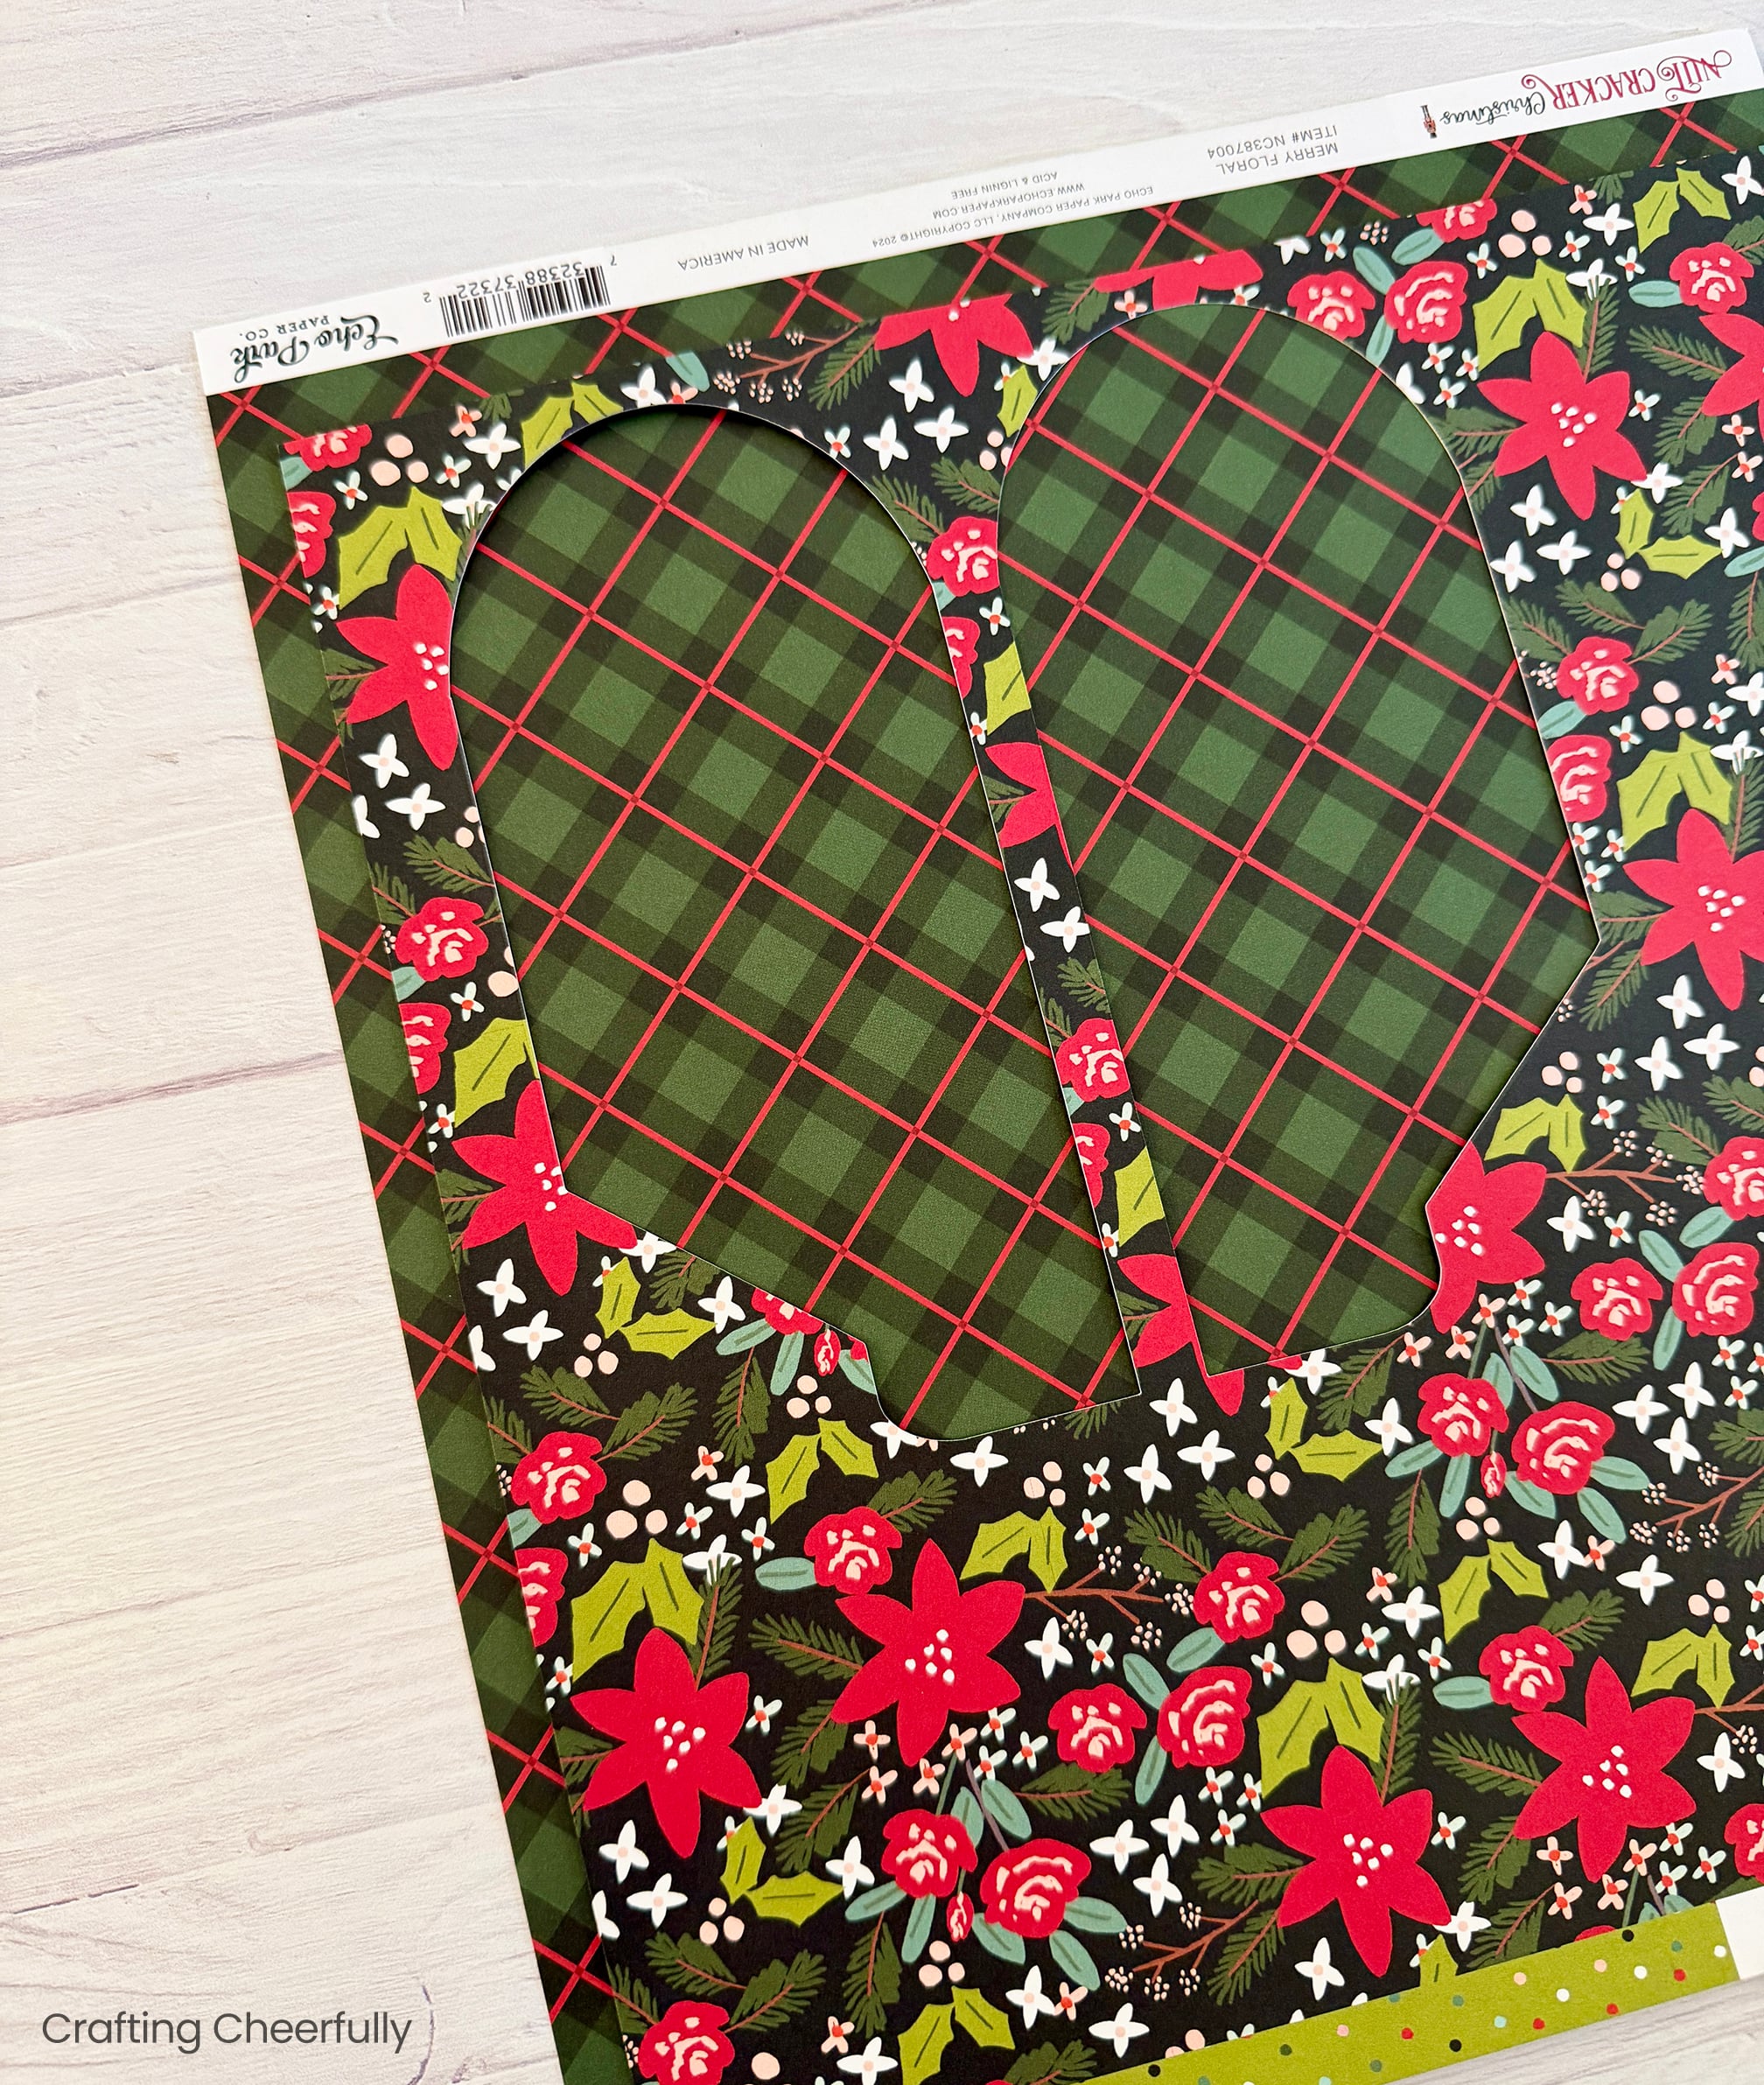
For one of my boxes I wanted to use a plaid pattern, but I wanted it to line up nicely and be centered. I saved the leftover paper from a previous cut, and used this to help me know where to place my plaid paper on my cutting mat. Below you can see I used the leftover paper and ended up trimming the top and left sides of my plaid paper so it would sit on the mat in the perfect spot.
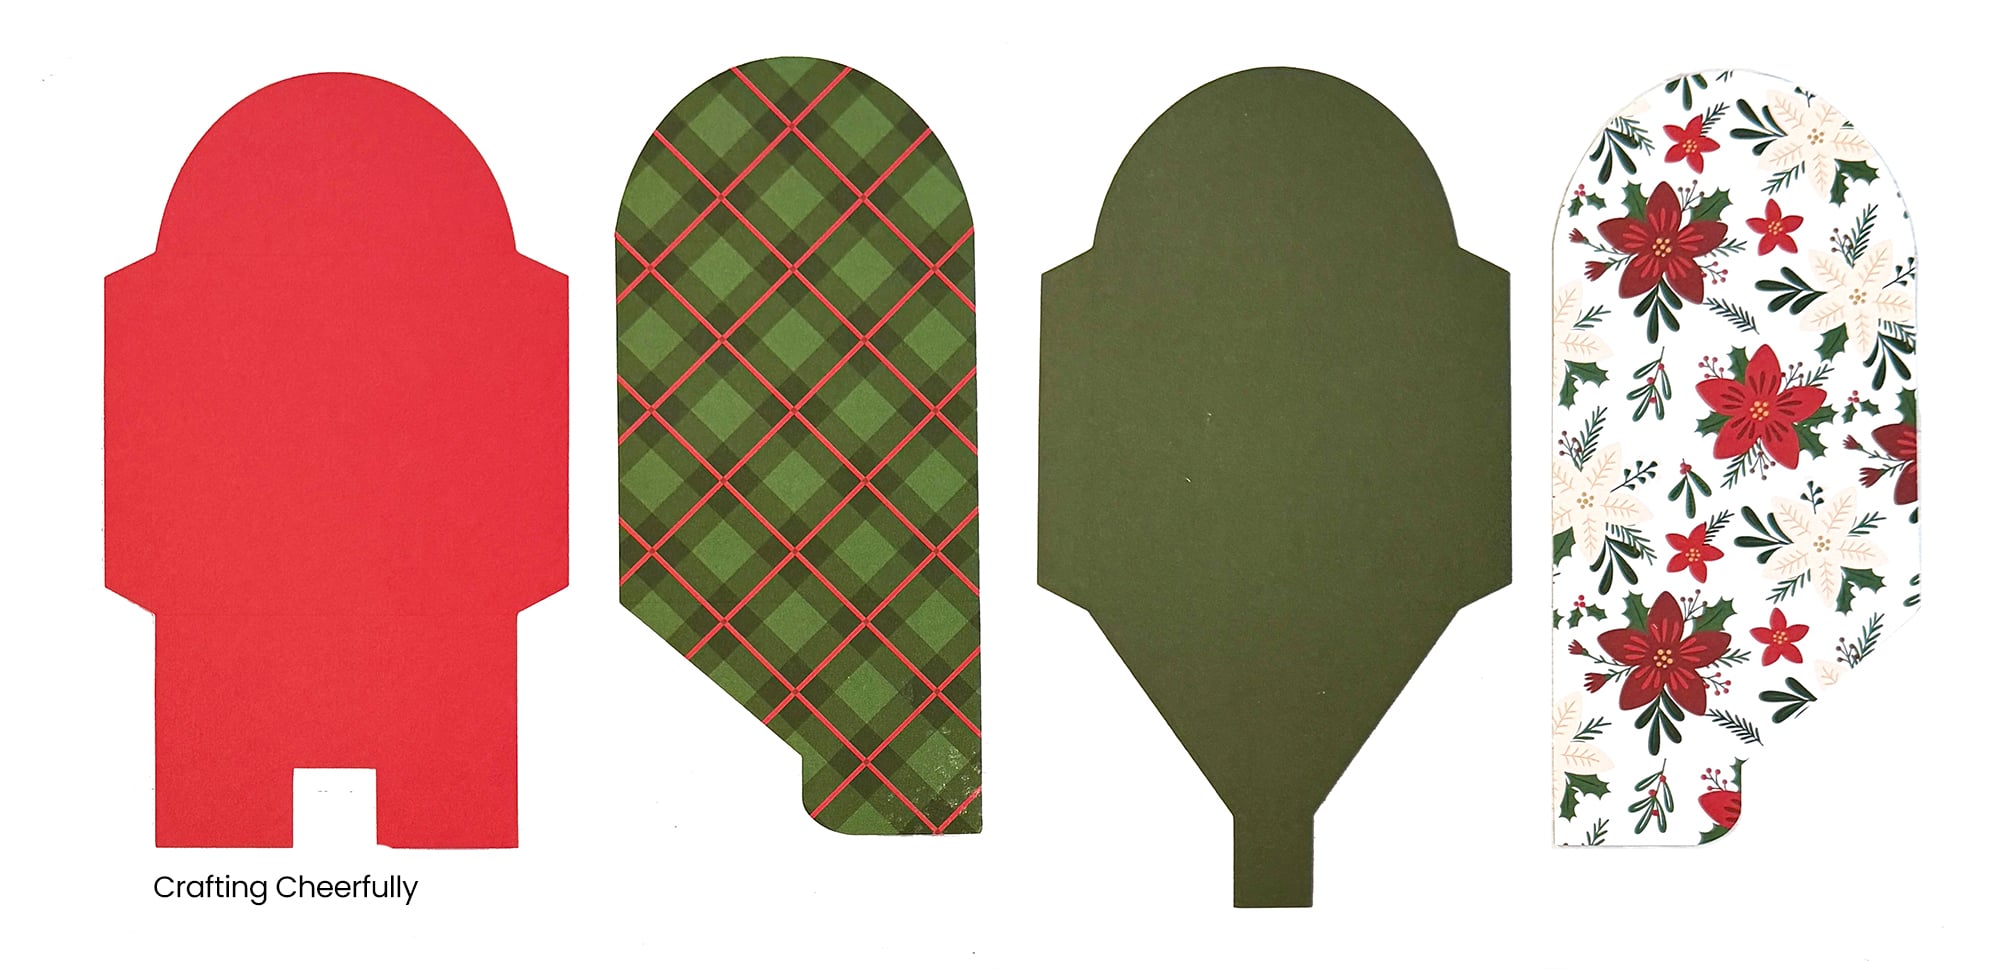
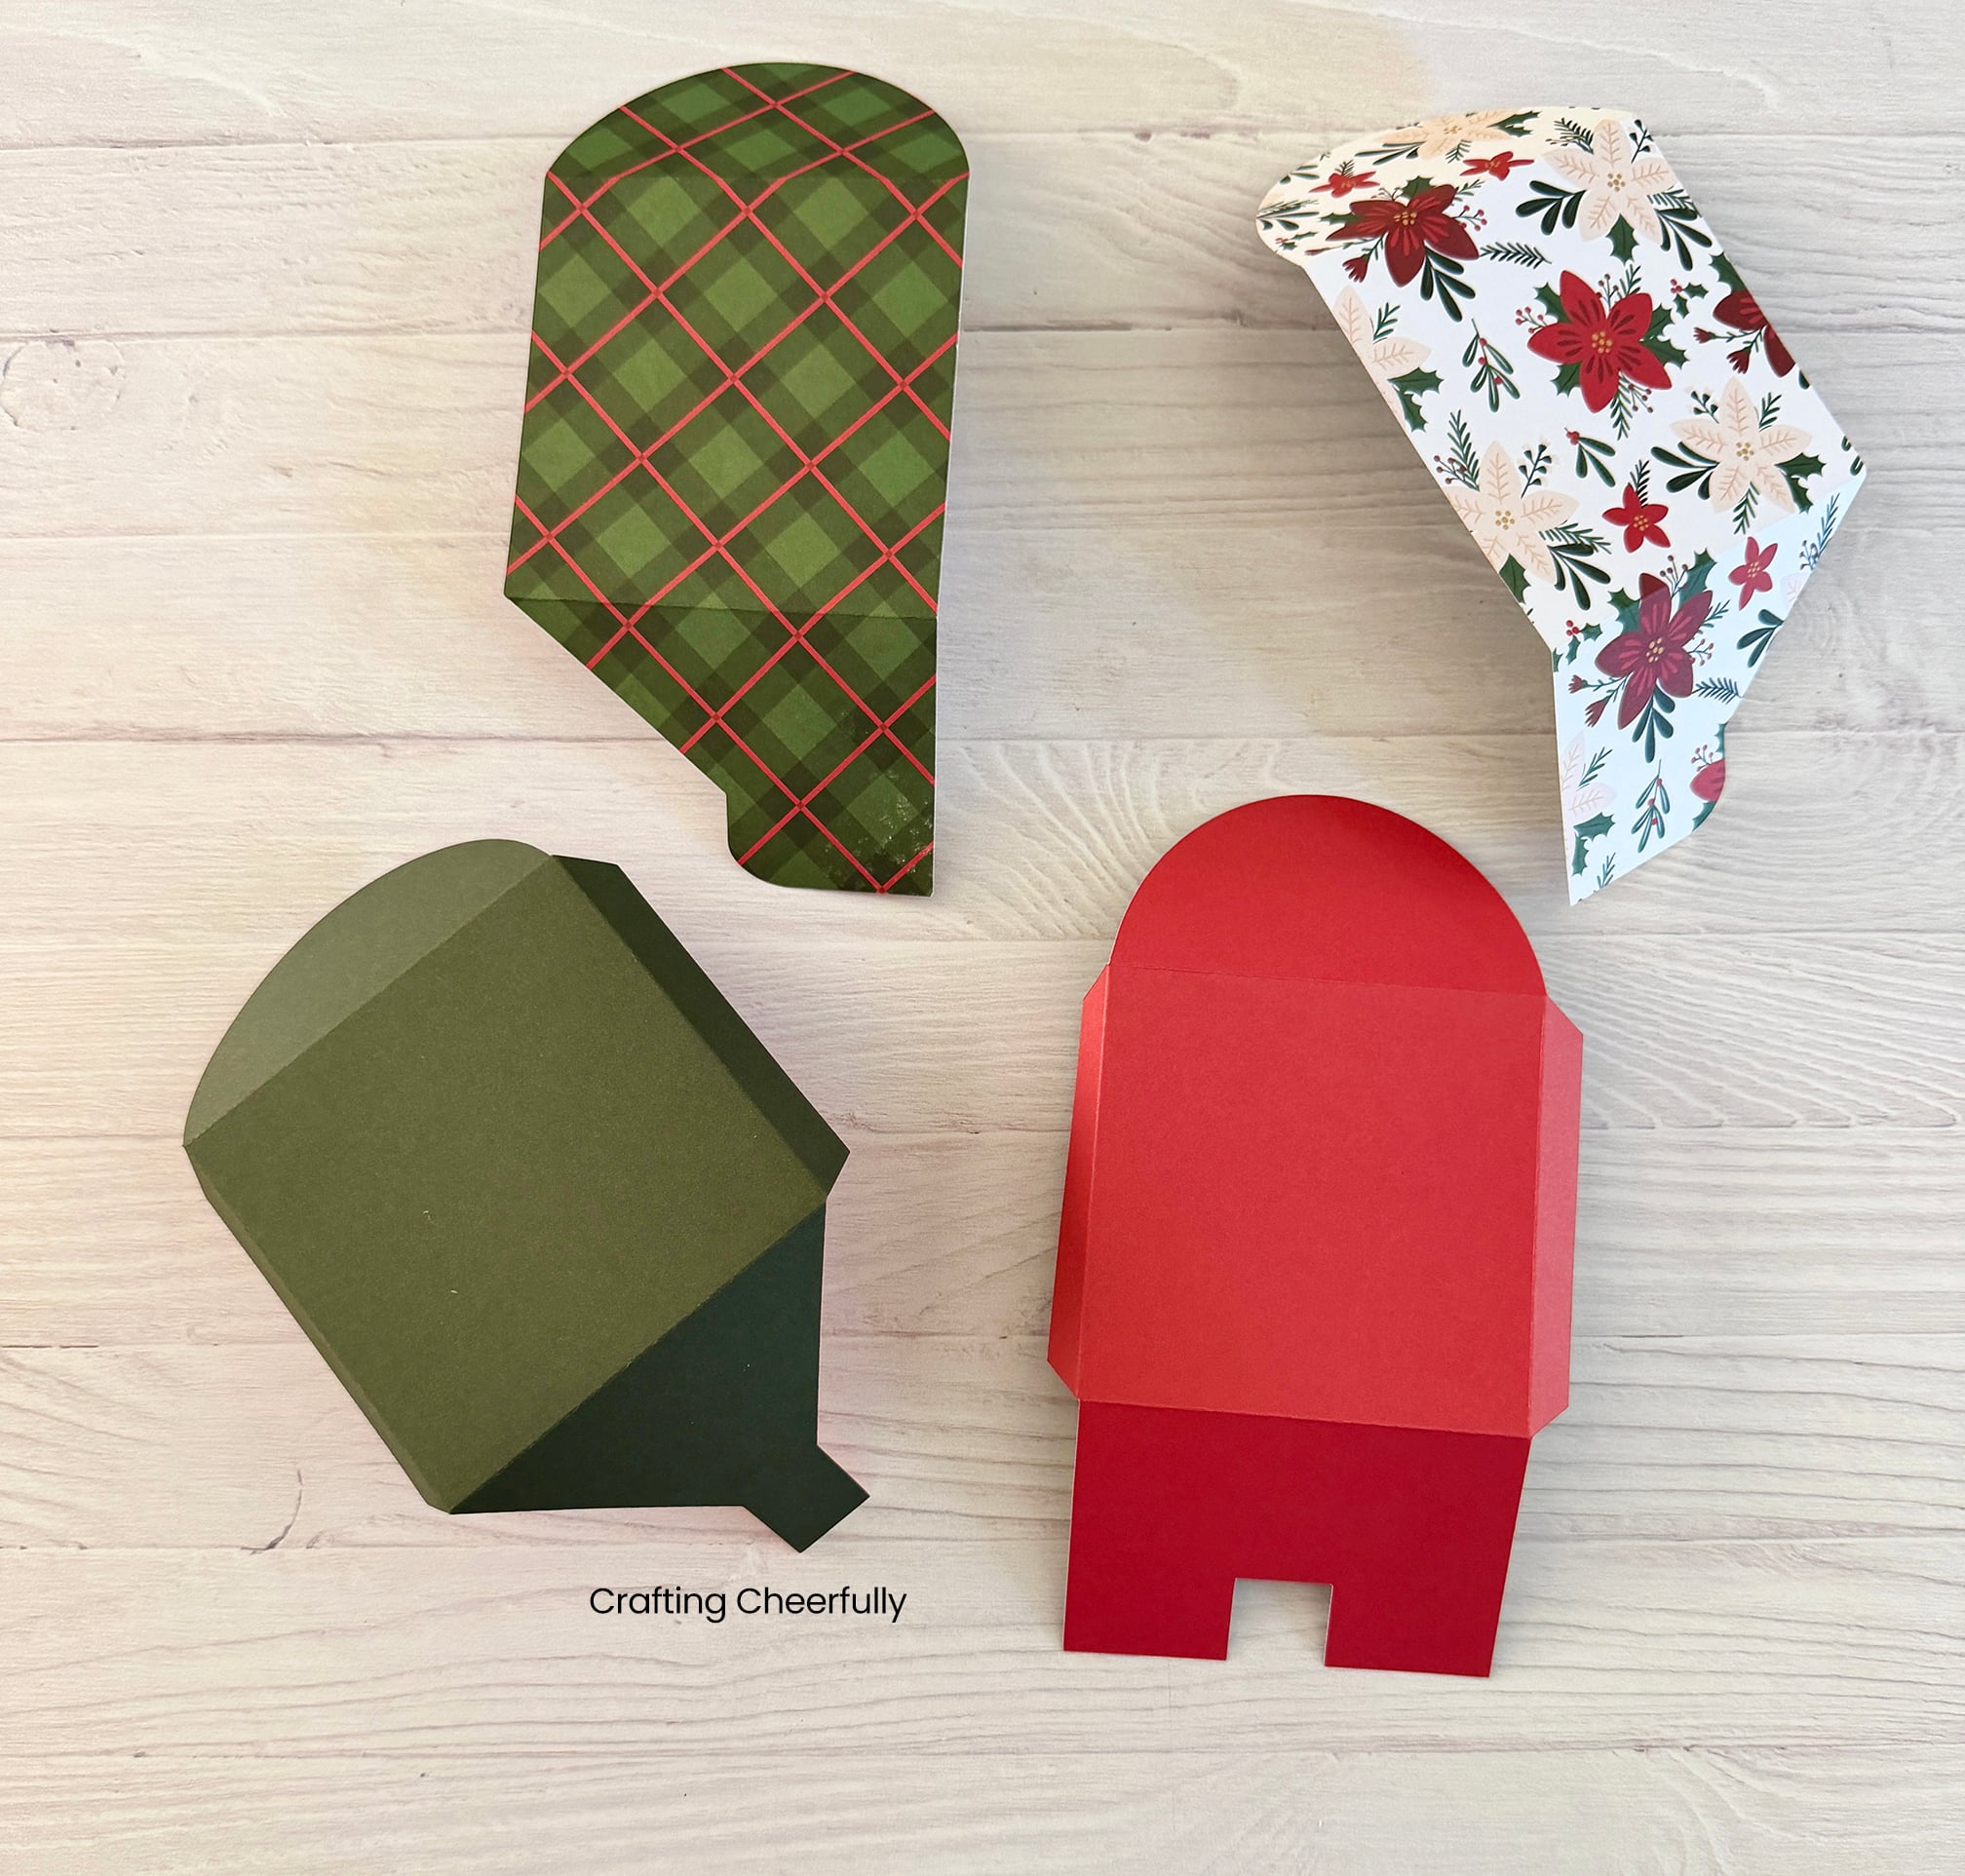
Below are the four pieces needed for one box. They were cut from just two sheets of double-sided paper!
Step Two: Score the box pieces using the scoring guide included with the PDF pattern, then gently fold along the score lines. If you used the scoring tool with your Cricut you will be ready to fold after cutting the pieces.
Assembling the Box
Step Three: Add adhesive to the four tabs. I used 1/4″ Scor-Tape (but 1/2″ would have worked too) which is my favorite adhesive for treat boxes since it is so strong. If you plan to place something heavy in the box, make sure your adhesive is strong enough.
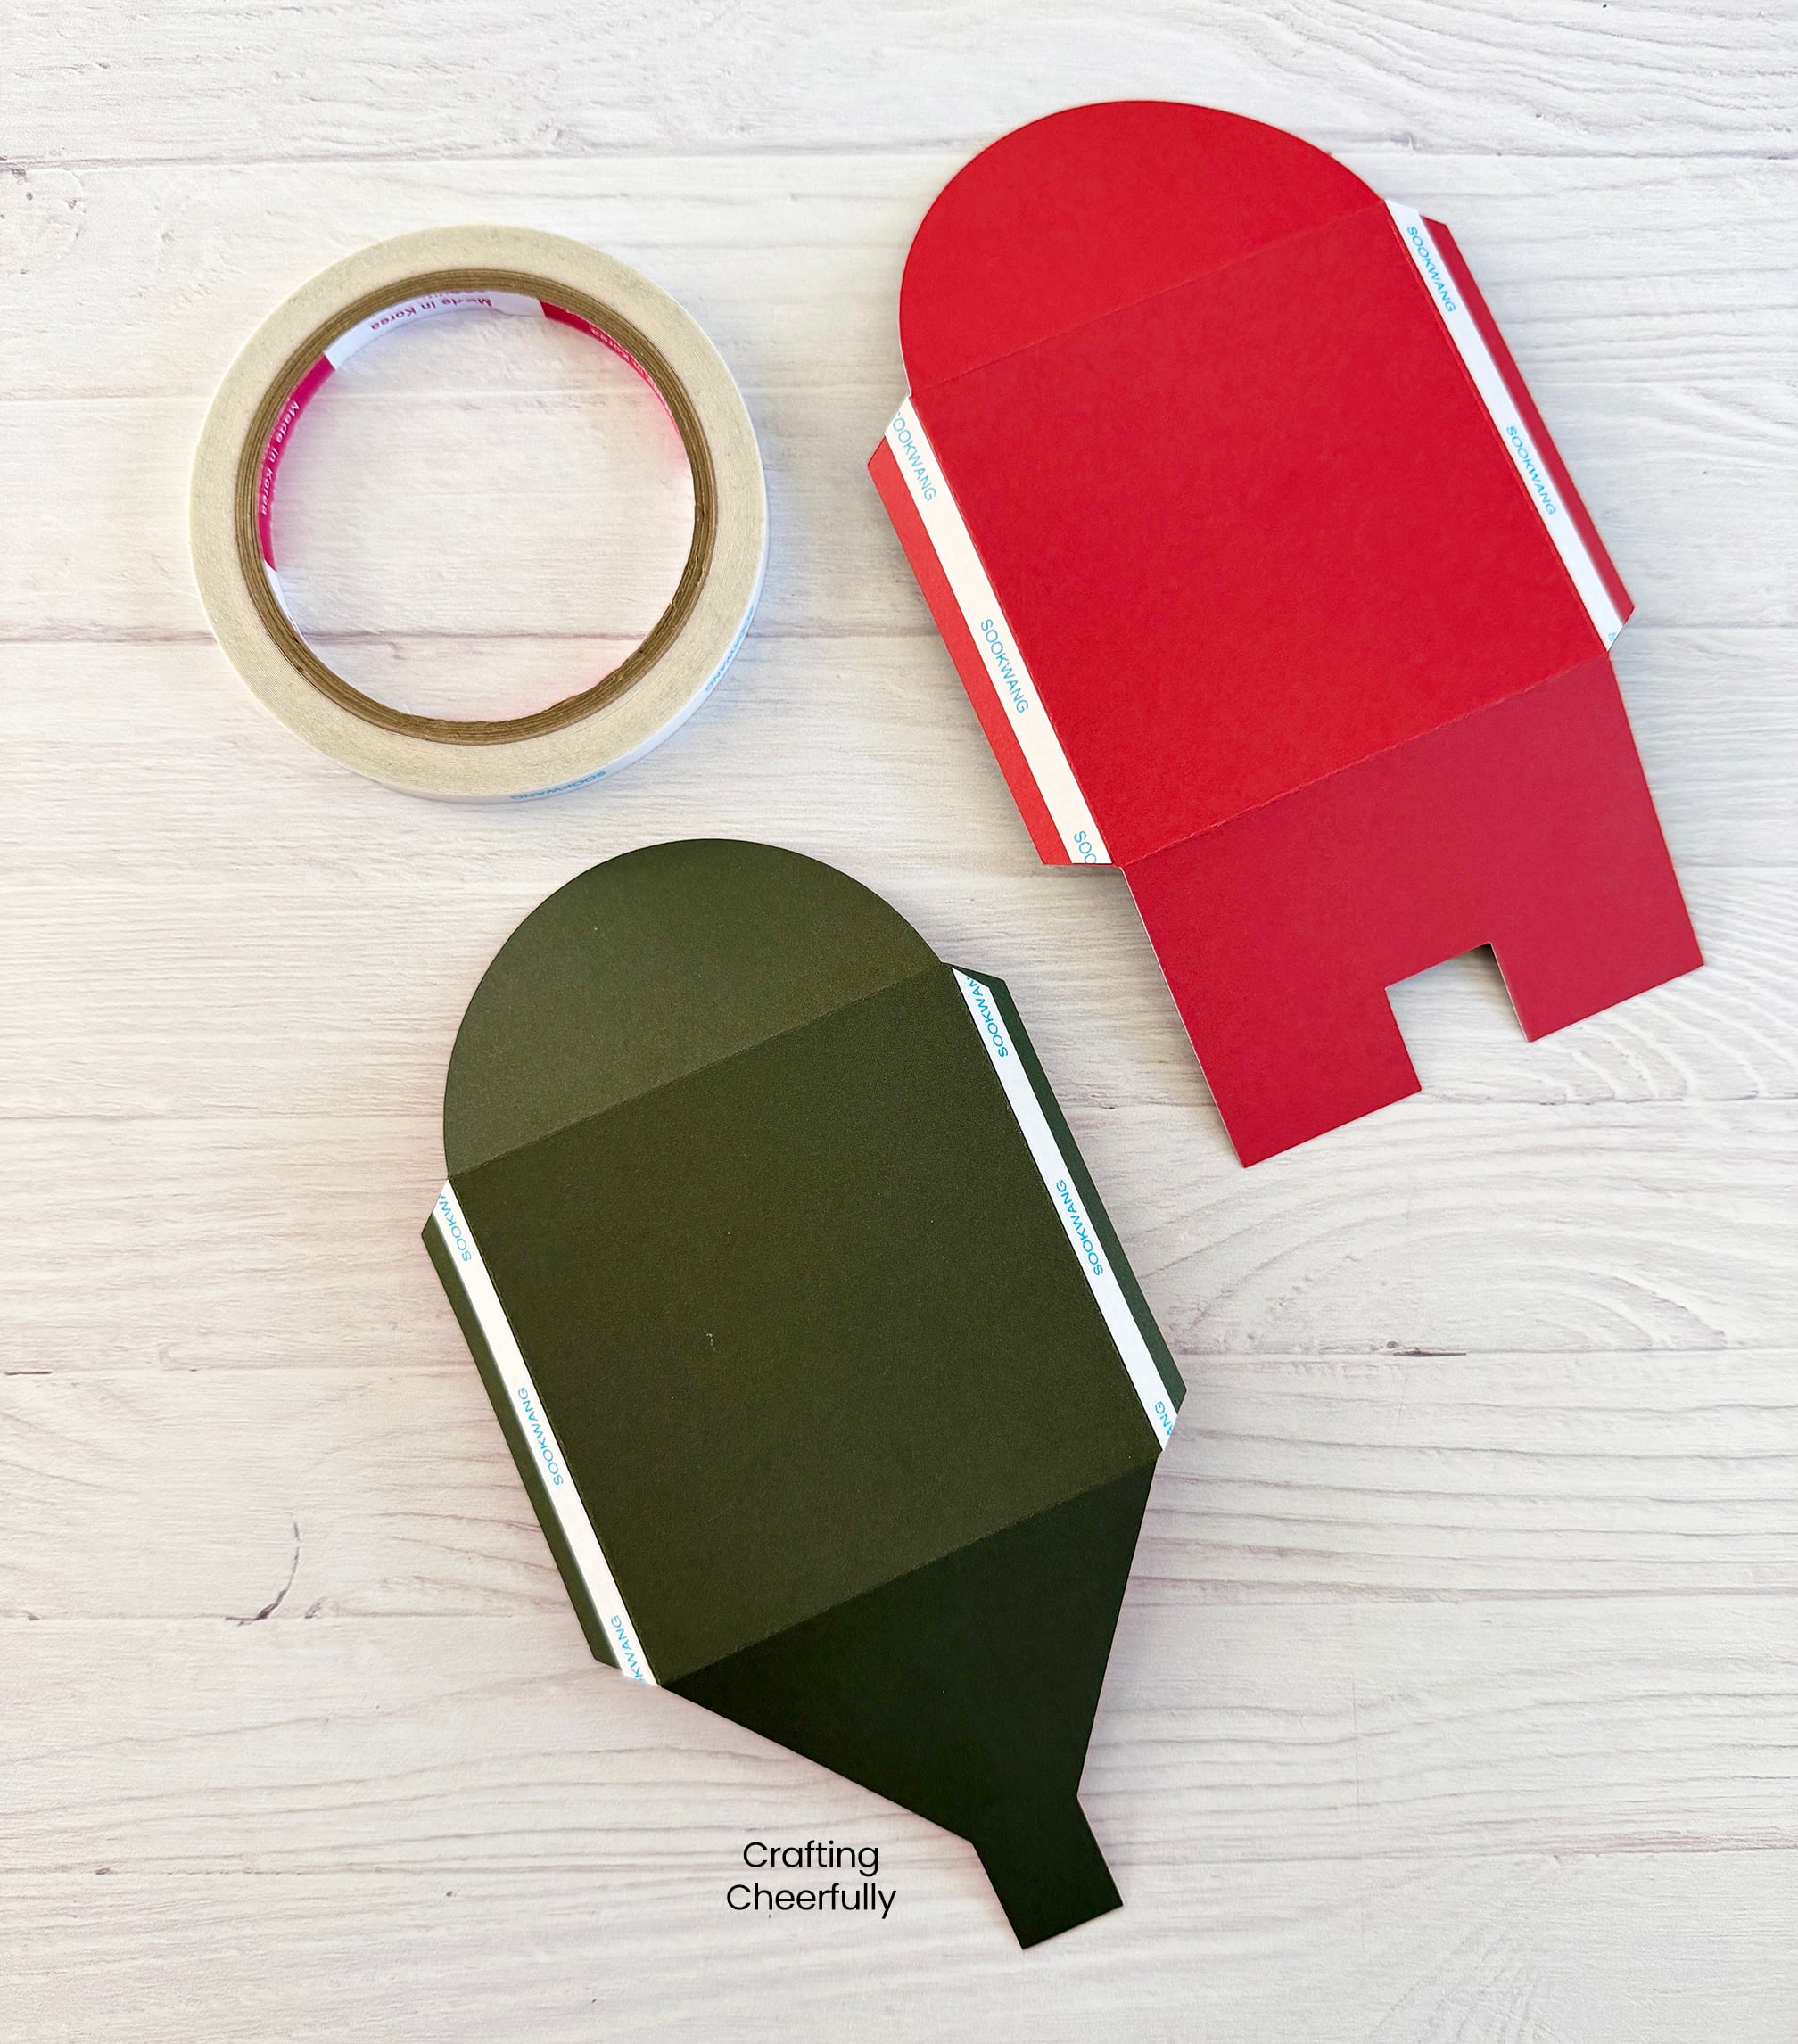
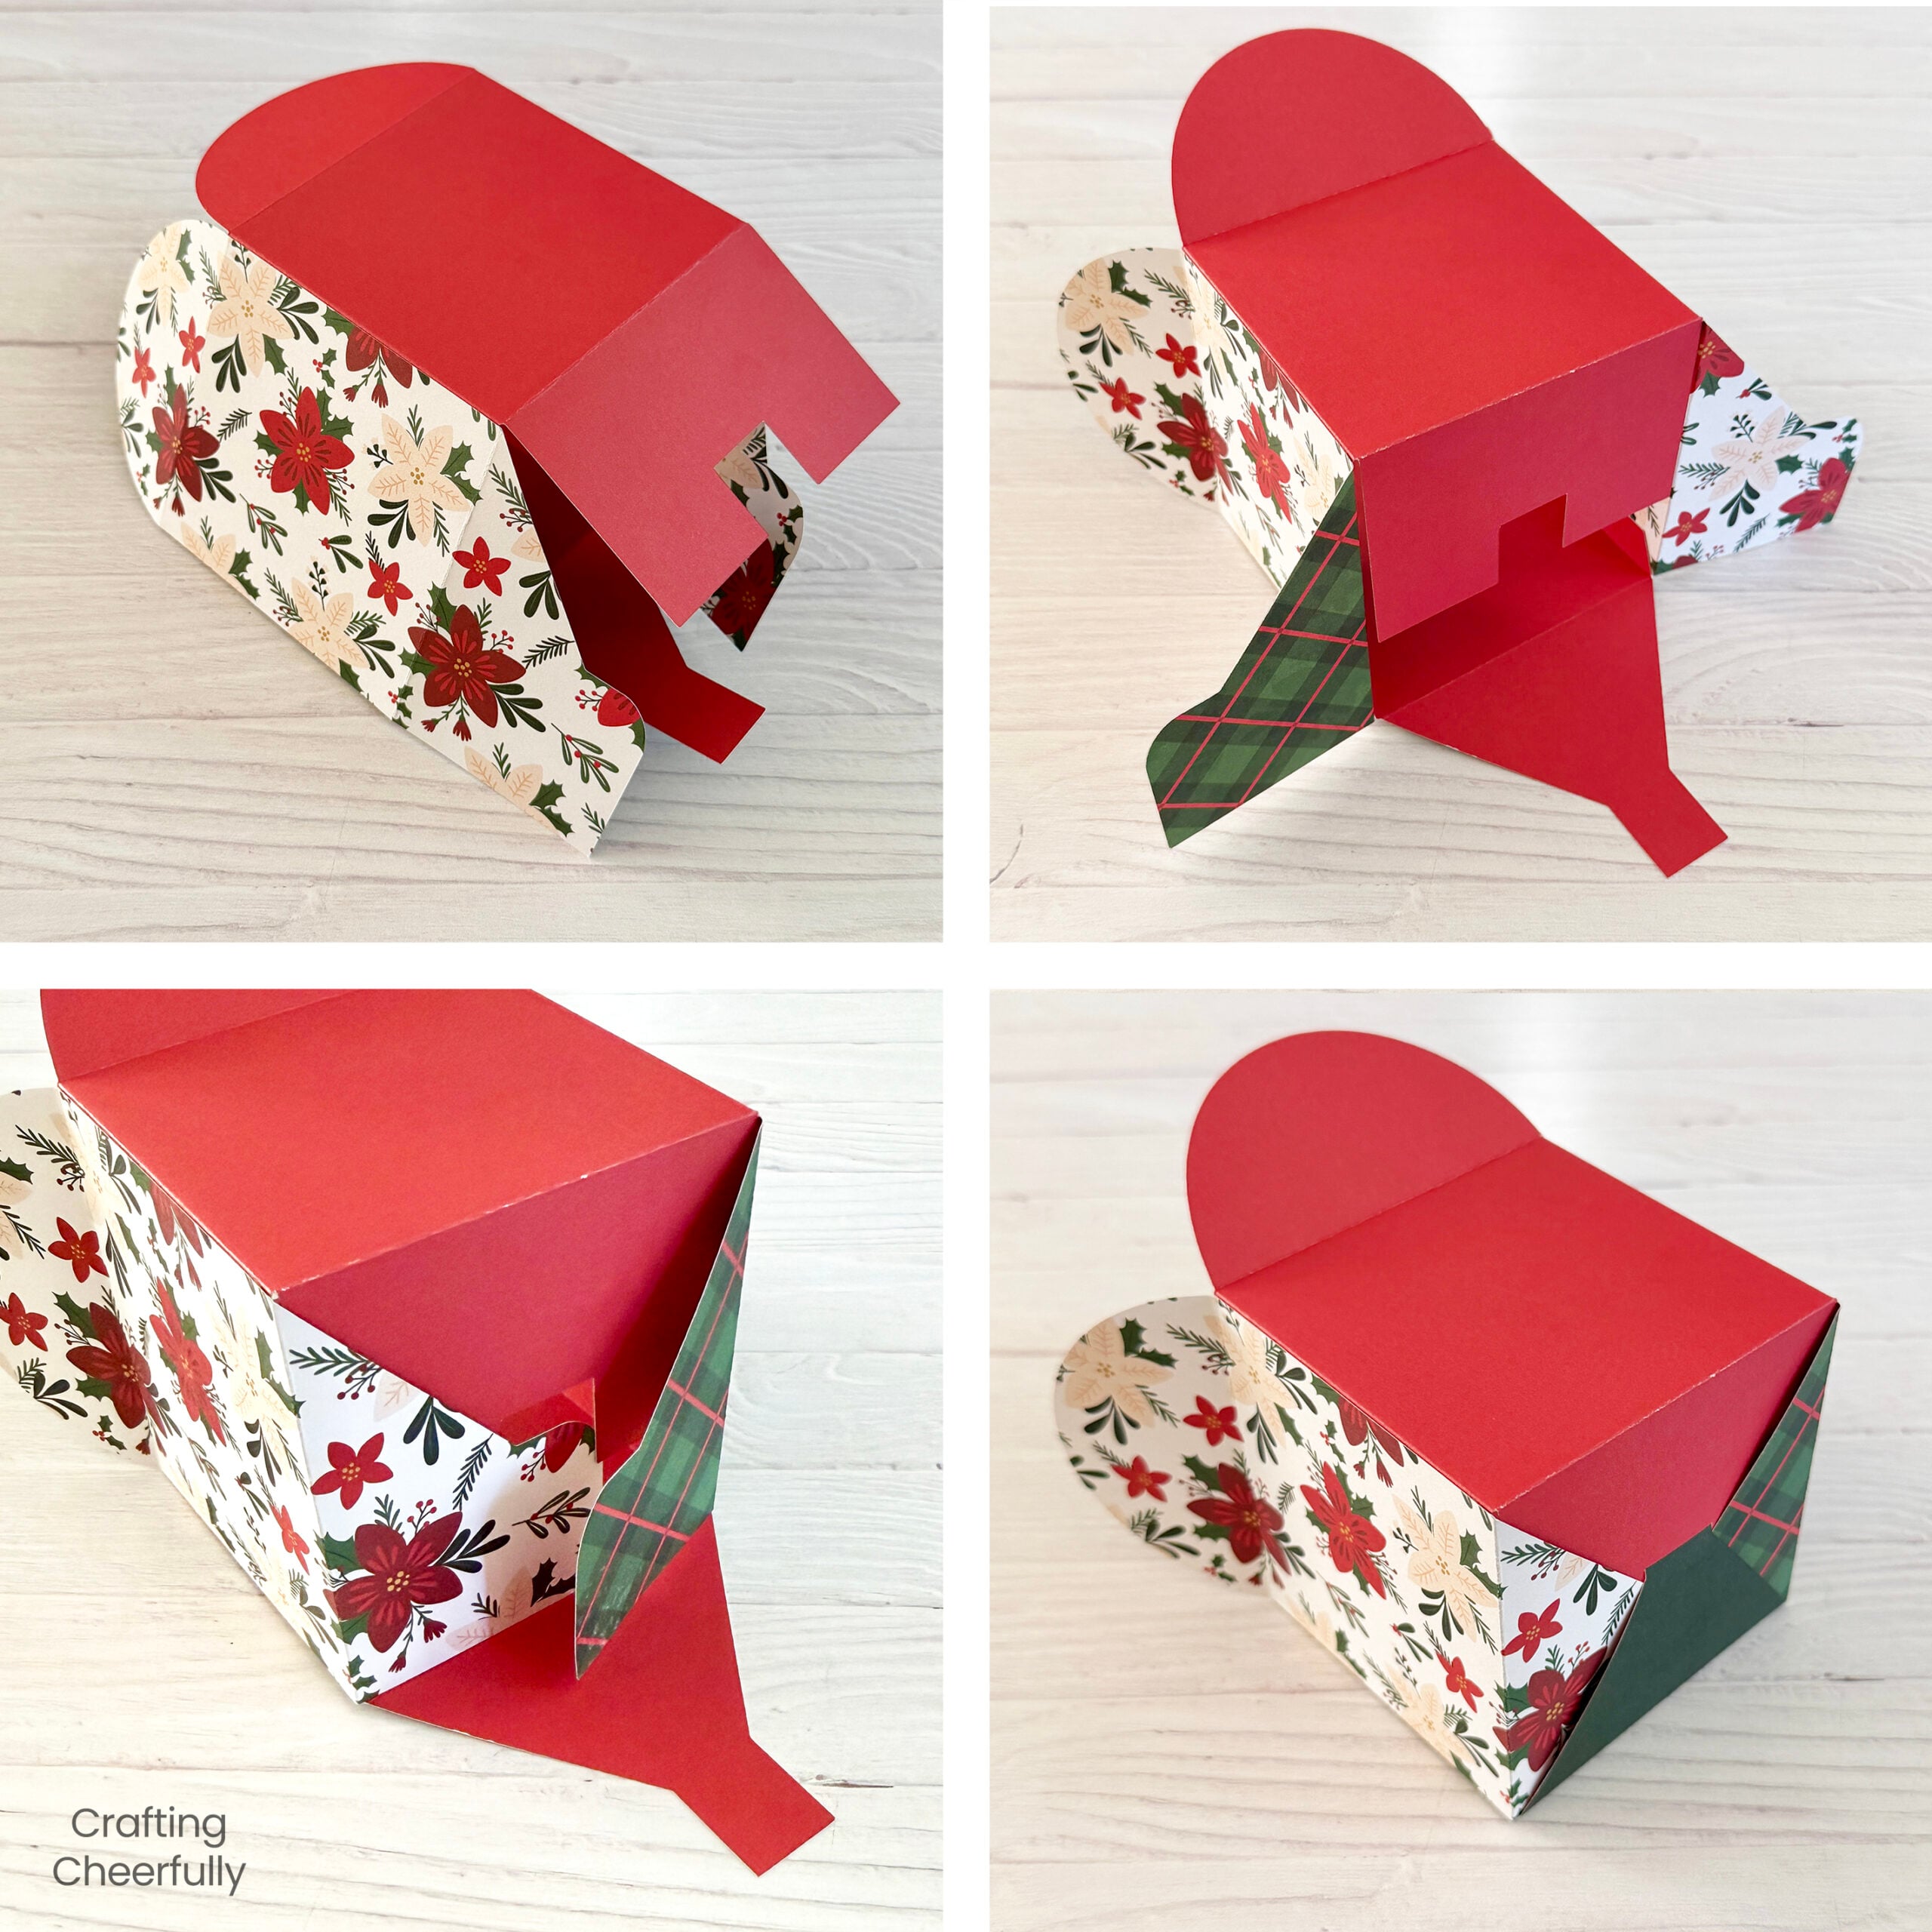
Connect the pieces of the box using the tabs. Make sure you put the pieces in the right order so the bottom of the box will close correctly.
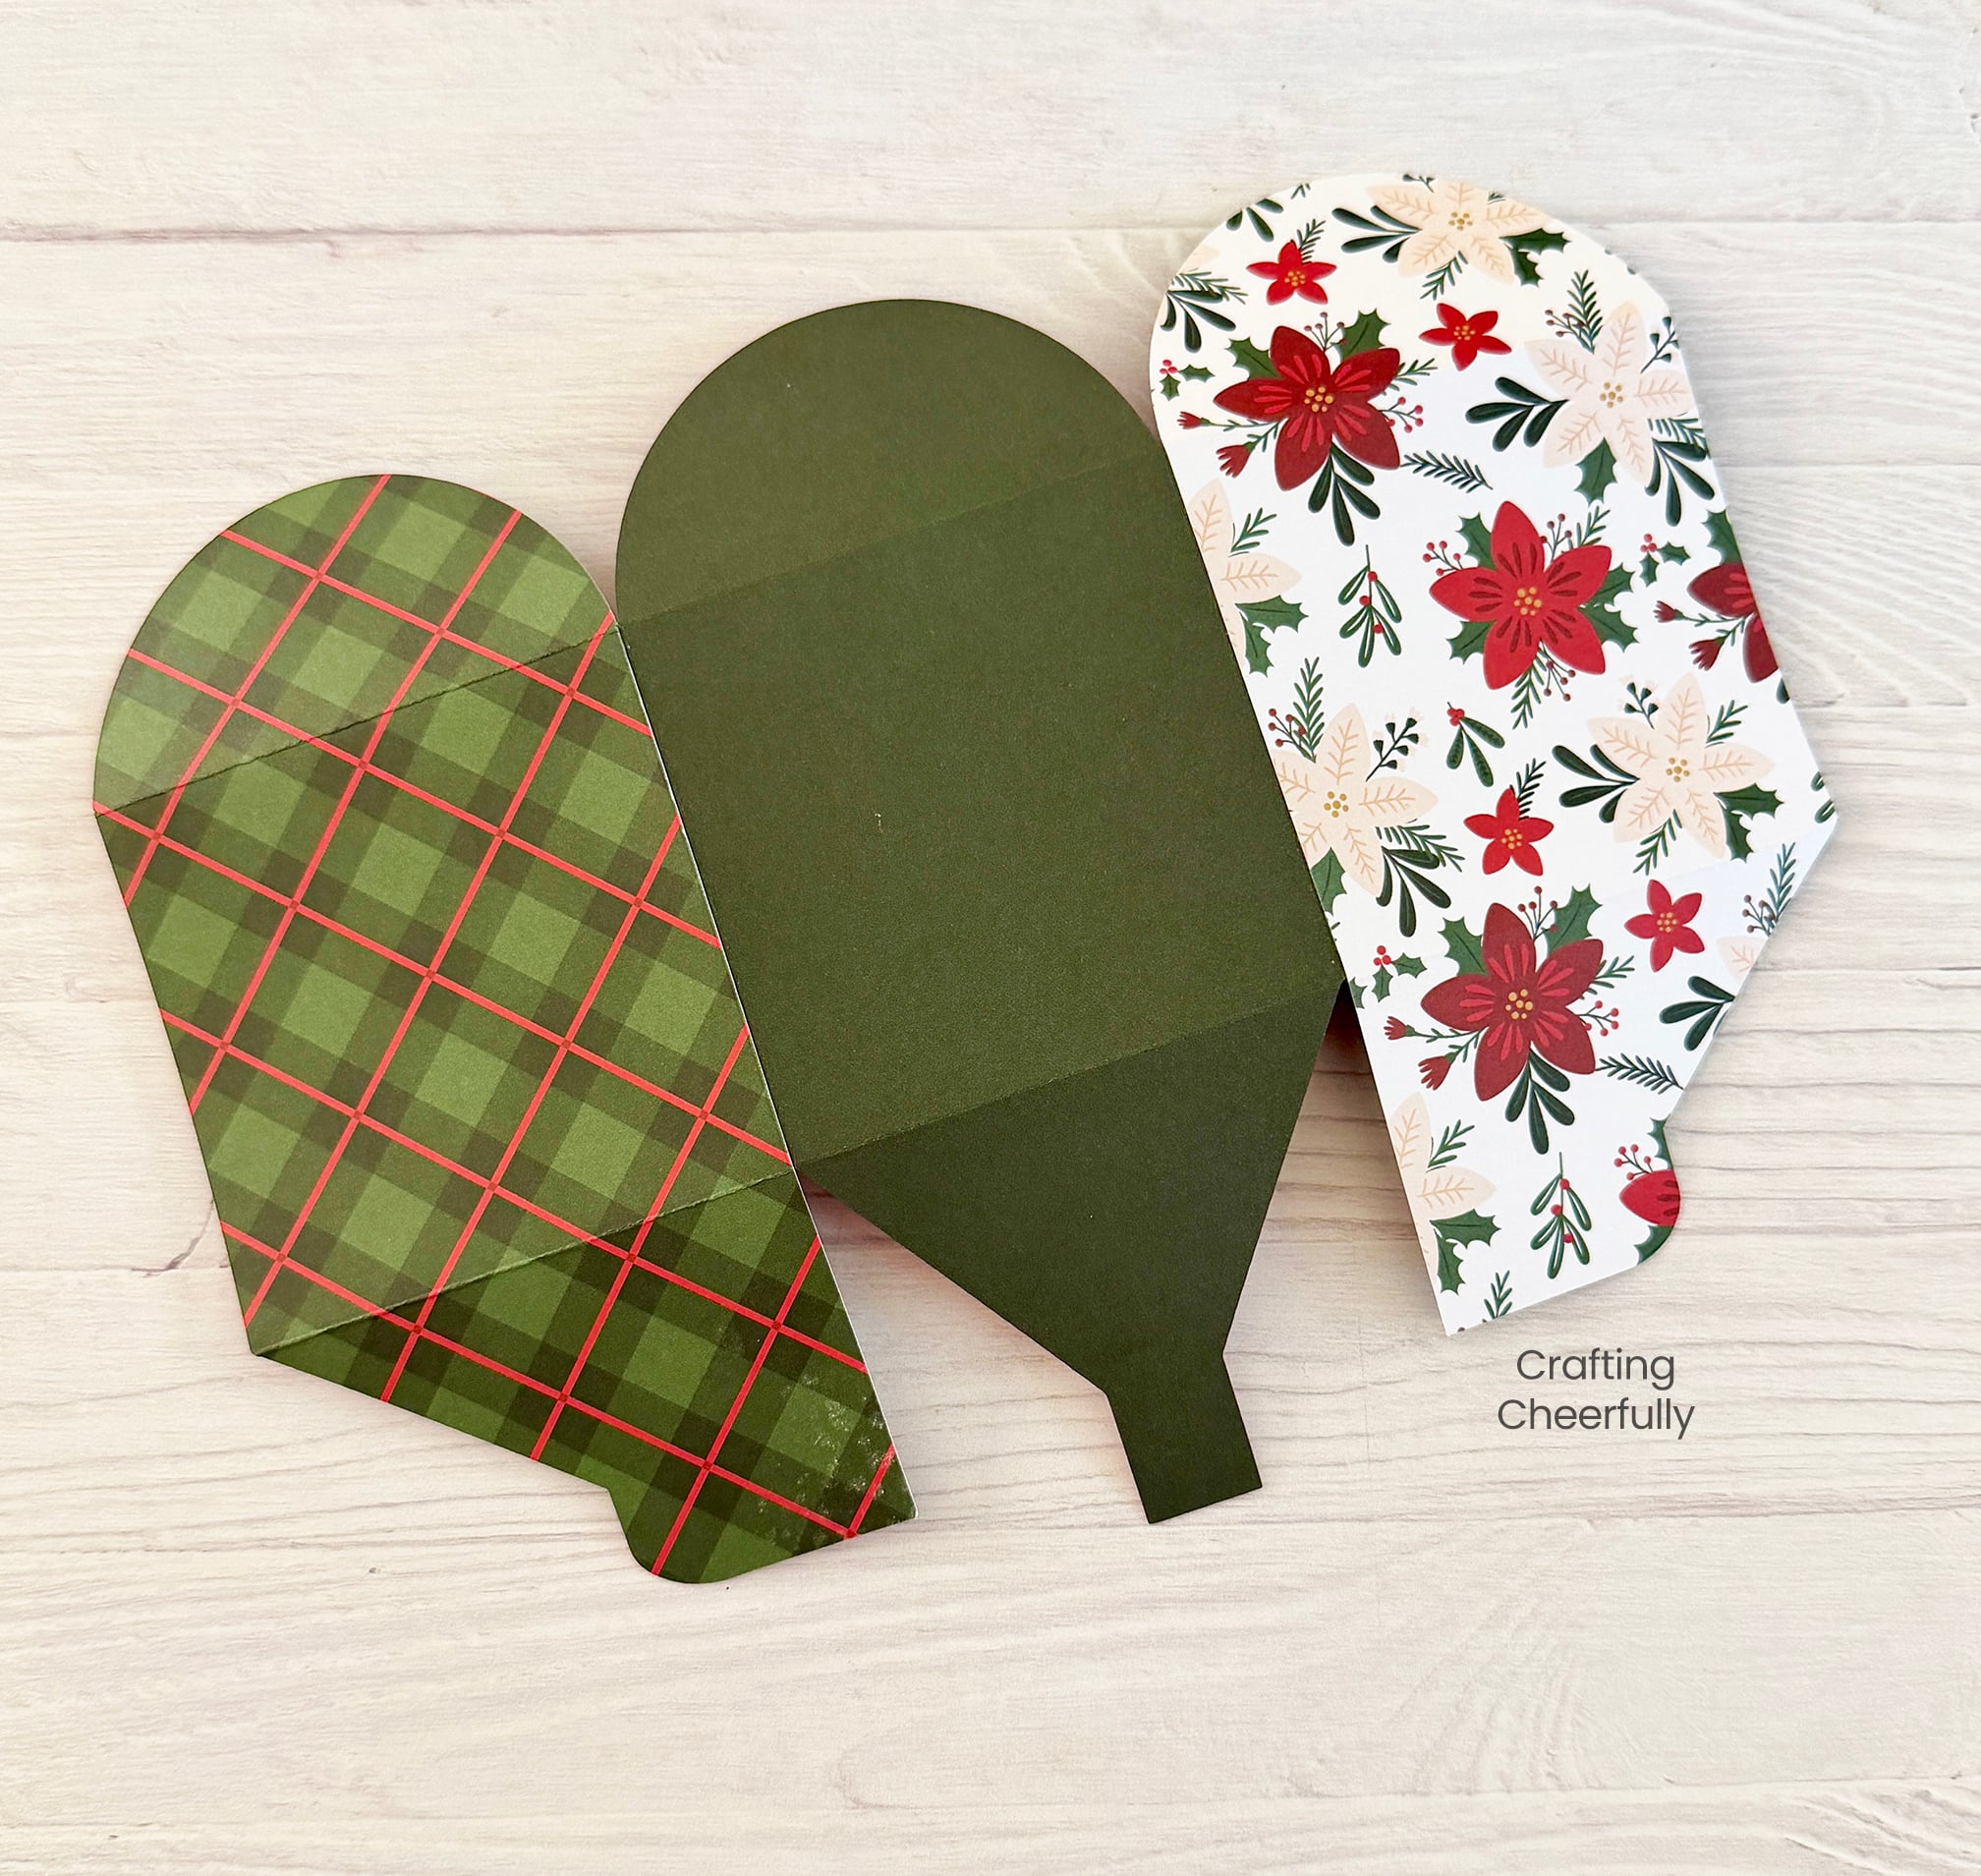
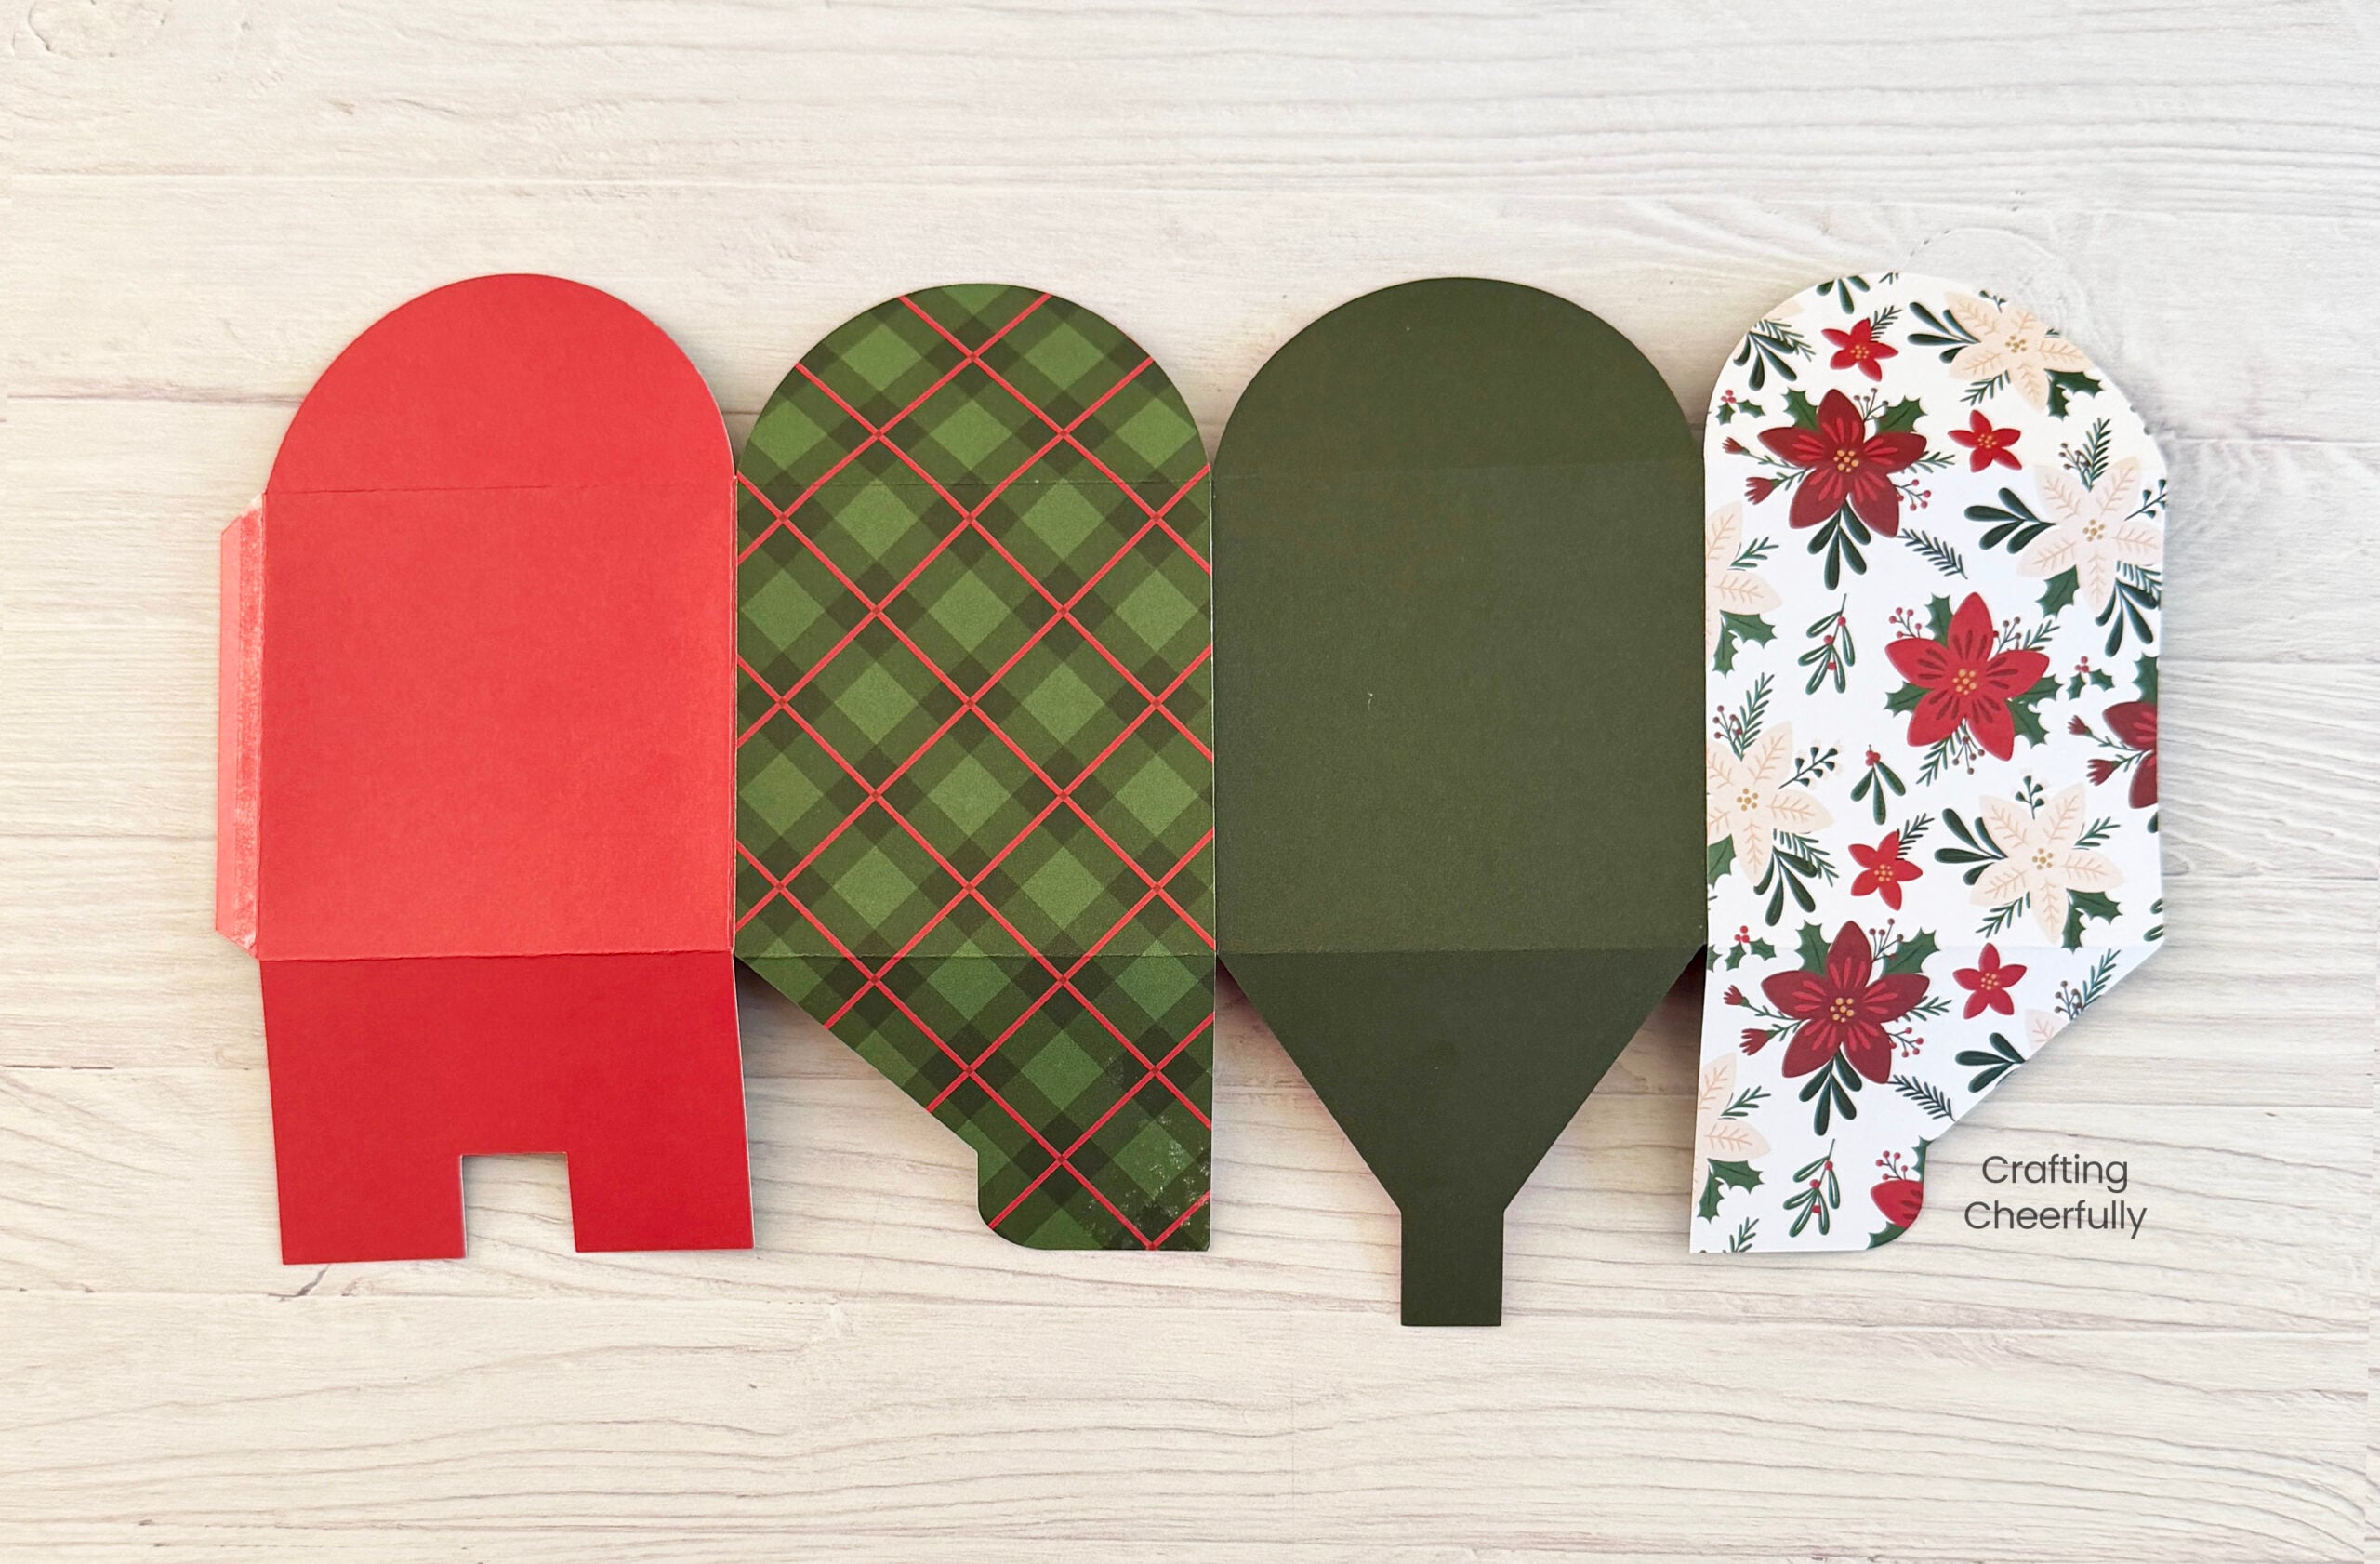
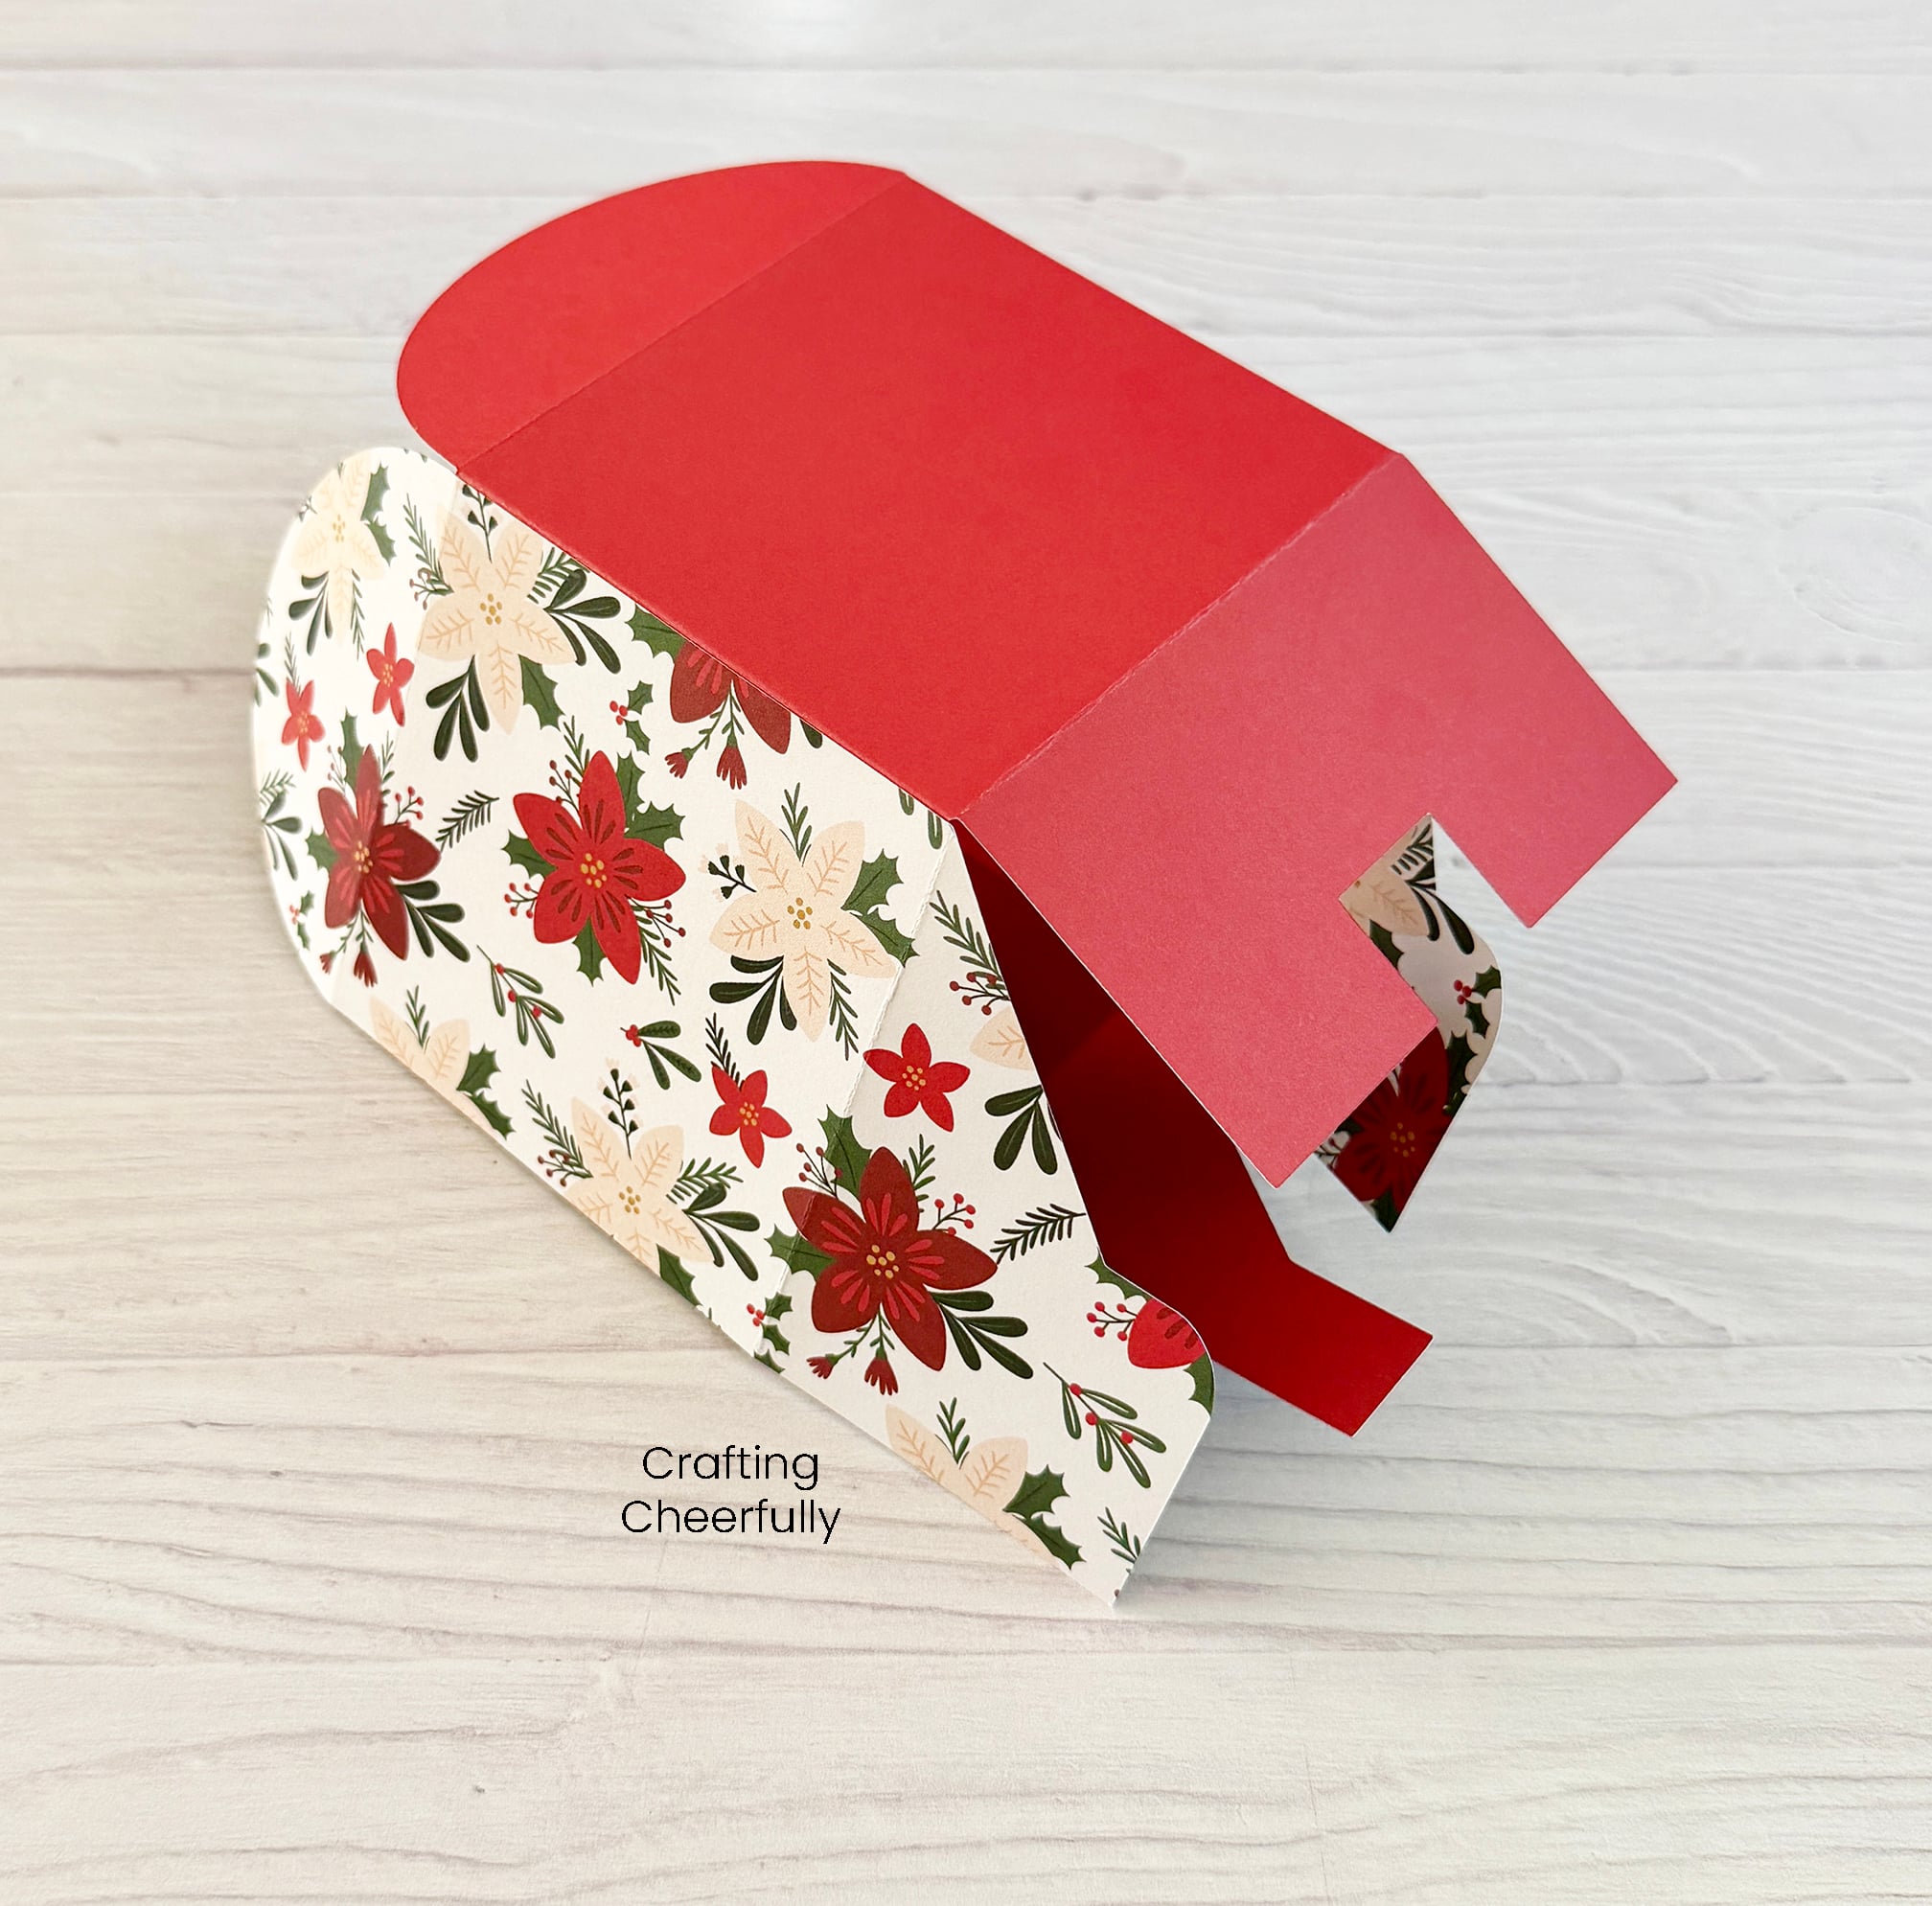
Next, fold the bottom of the box together. Start by folding the H piece down first, followed by the two triangular pieces, and finally the longest piece with the tab is inserted into the open slit to form the bottom of the box.
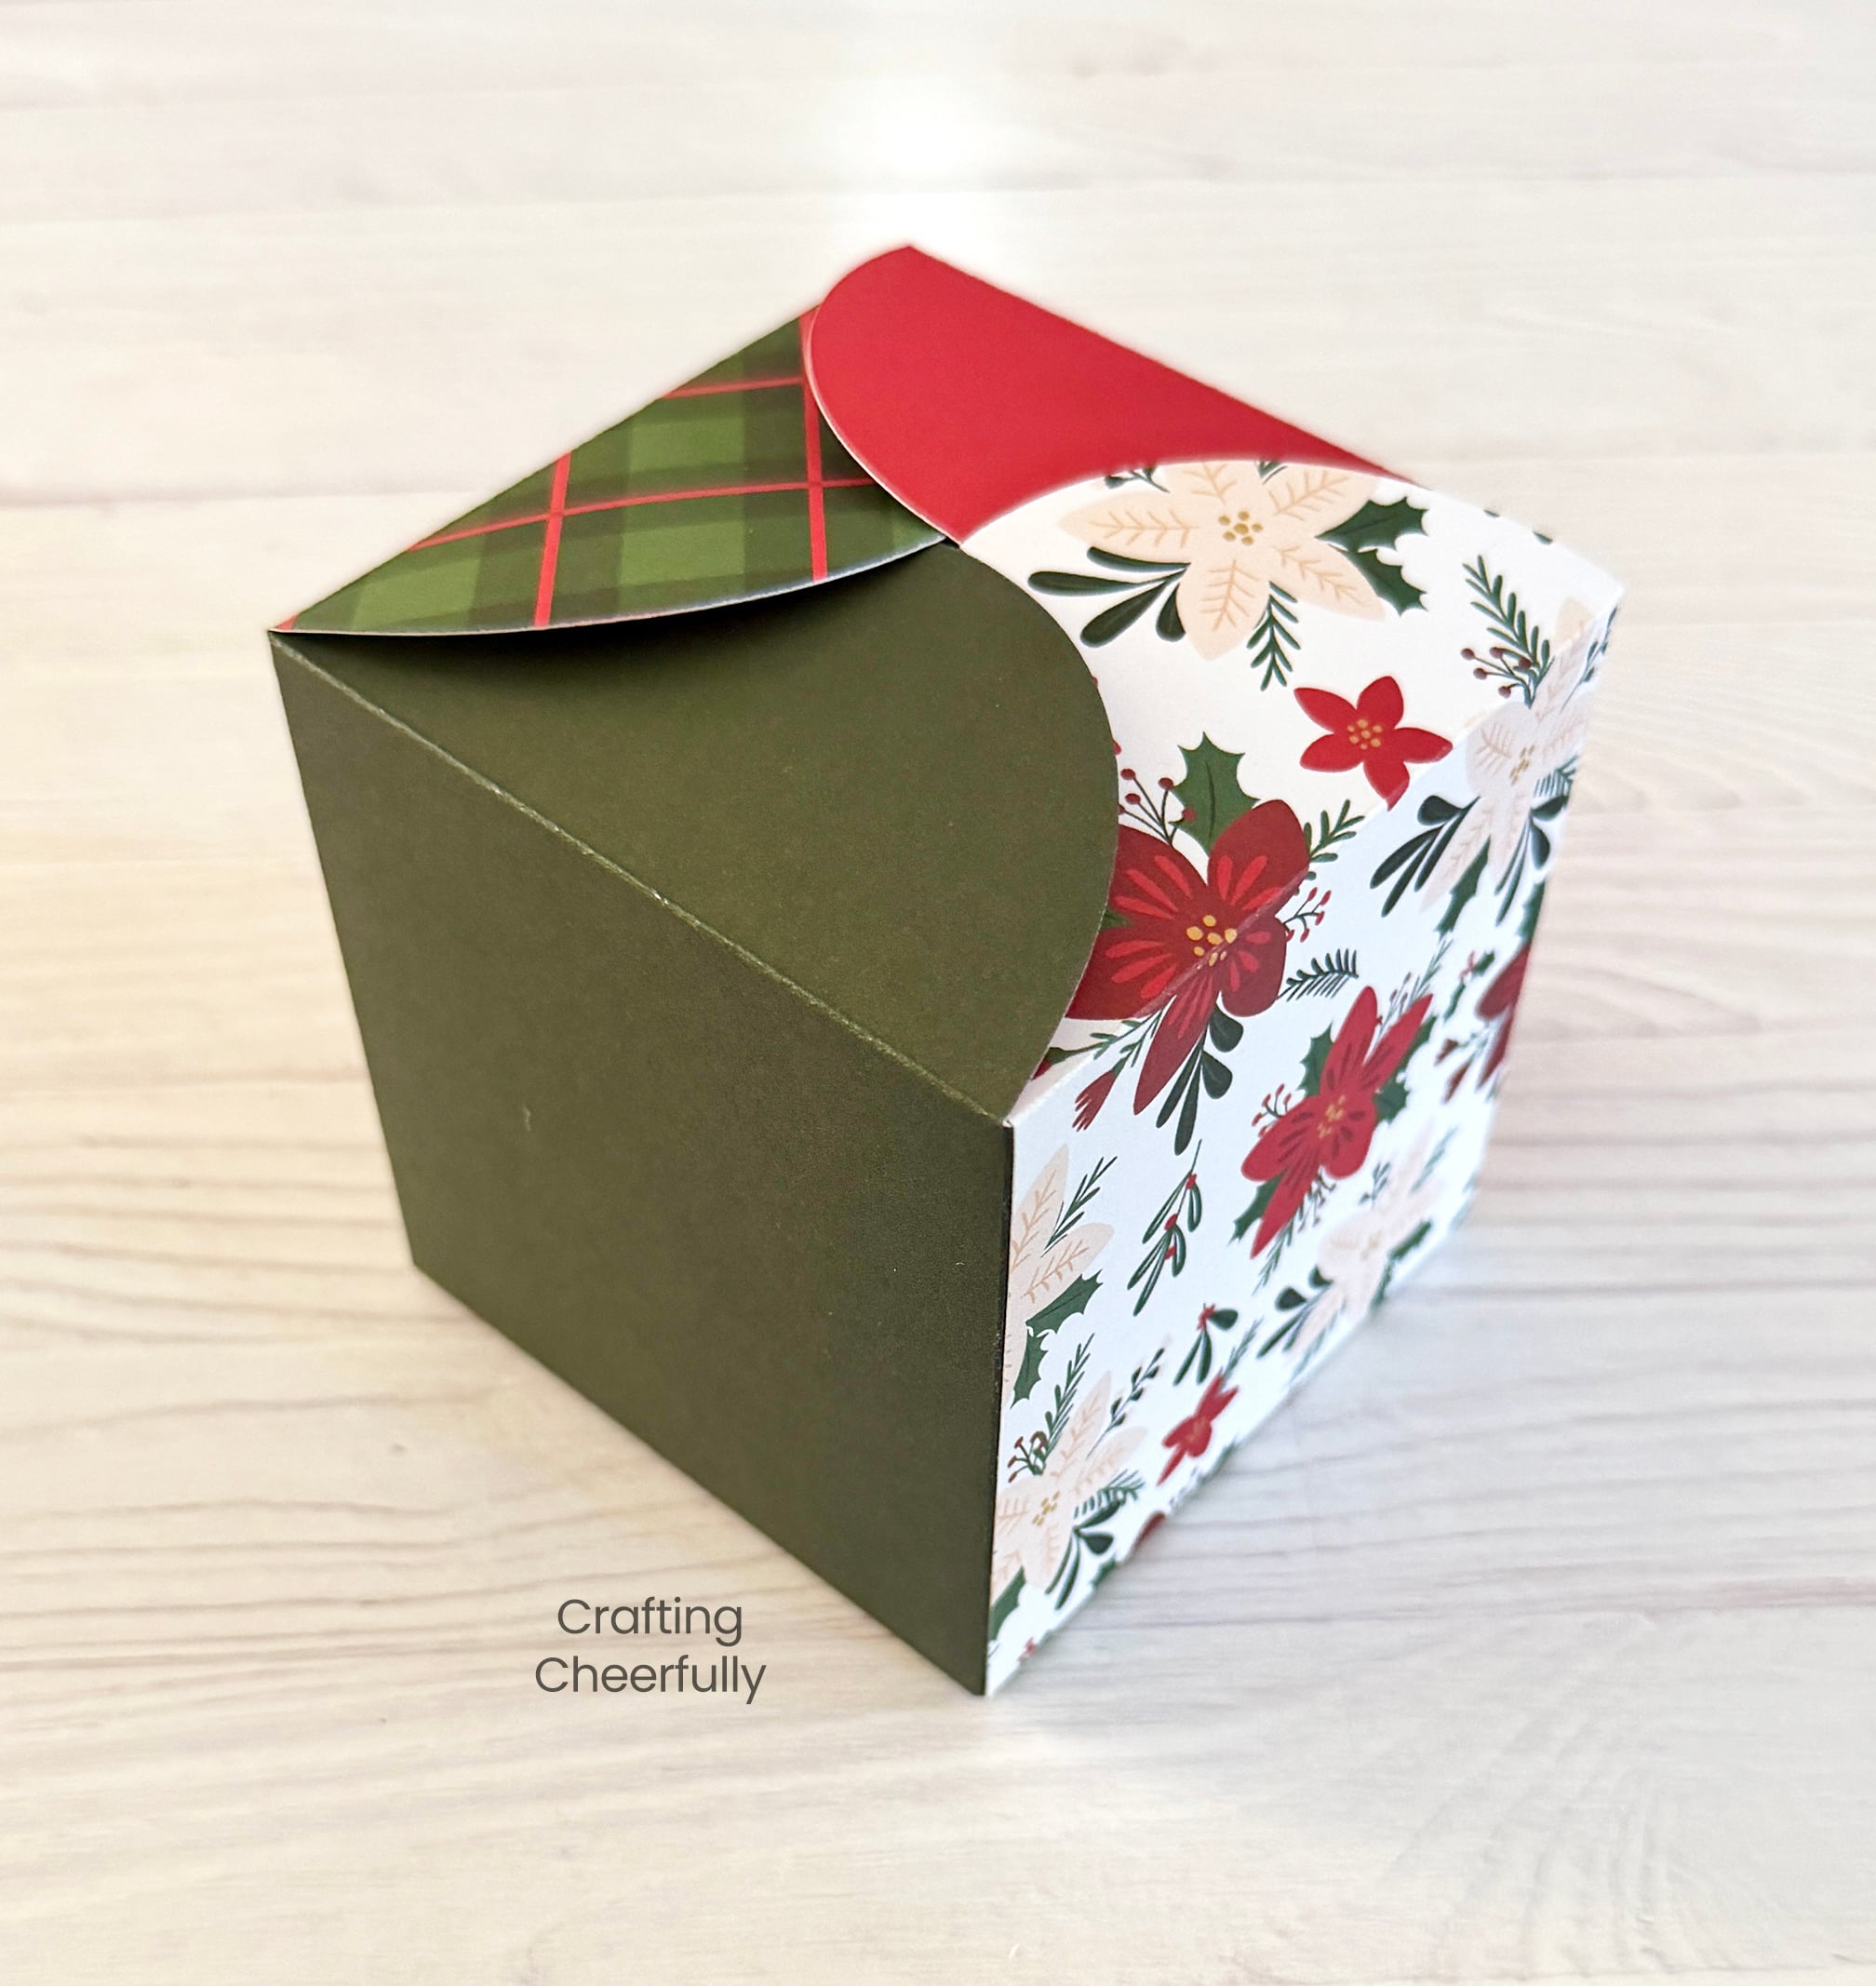
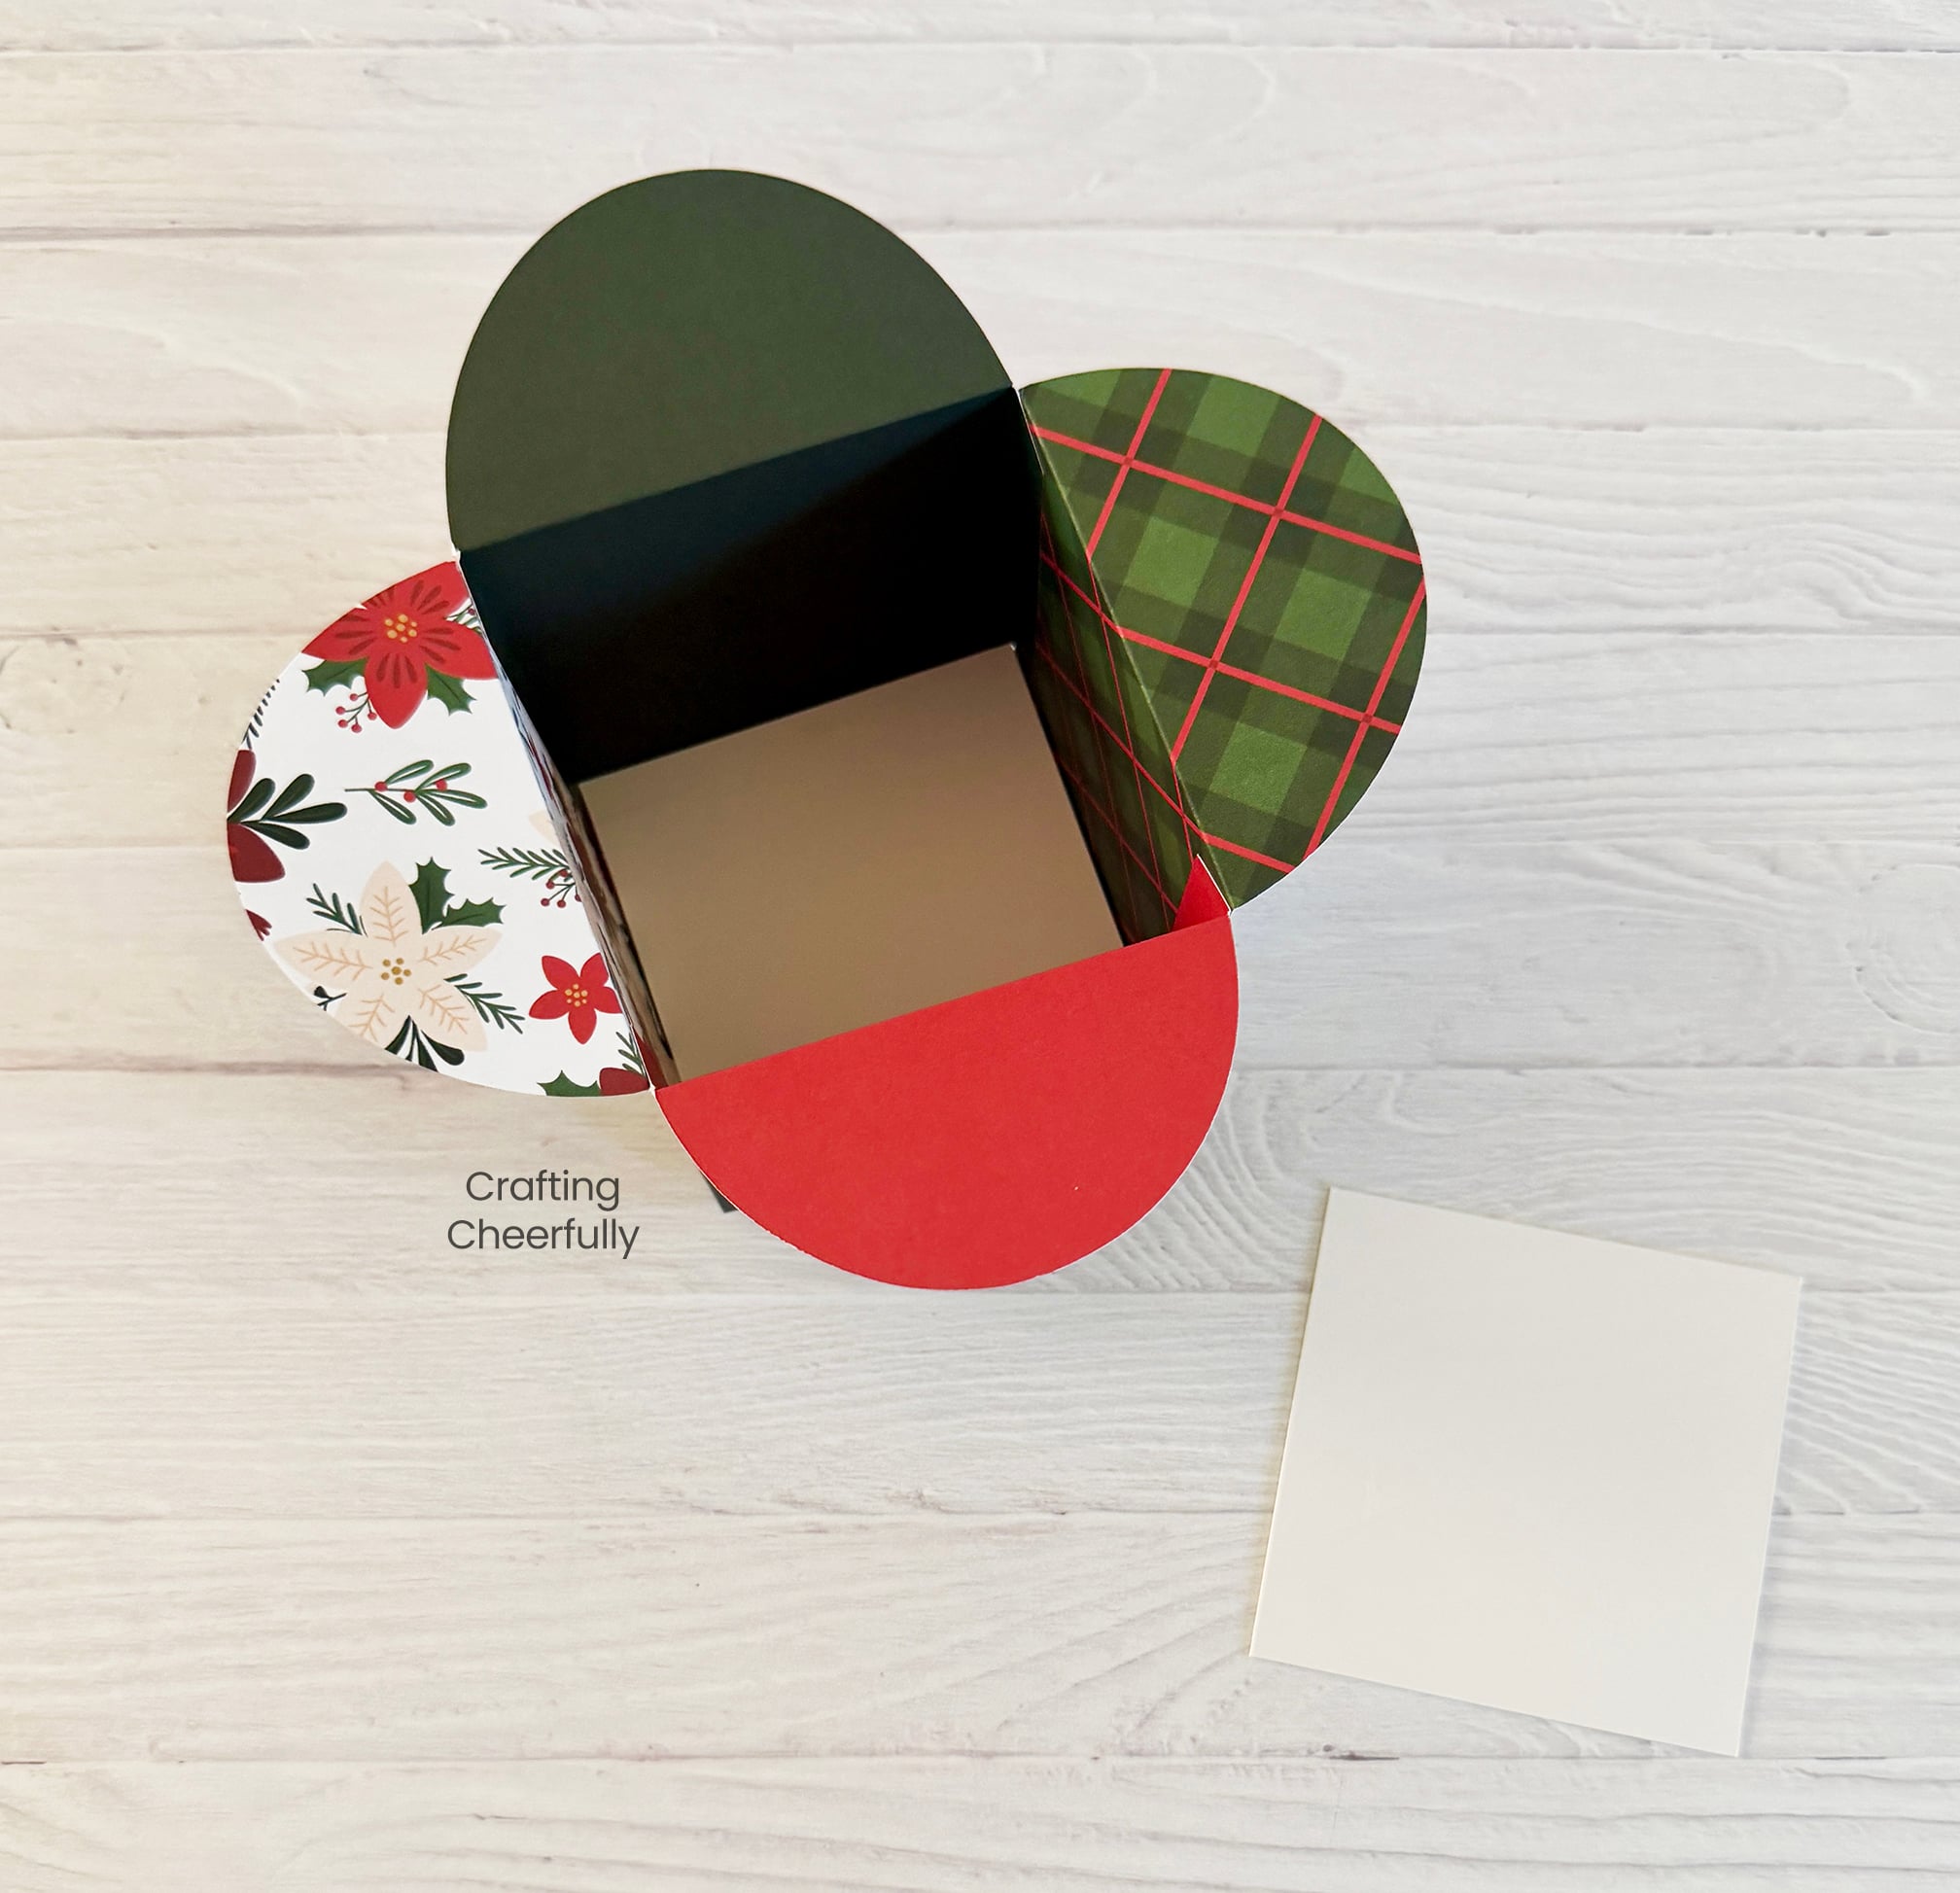
The top of the box closes by layering the circular pieces one over the other. I love the pattern the box creates on the top, especially when using different patterns and colors of paper.
Place the chipboard insert into the bottom of the box for added stability. This makes it so whatever you have inside the box is not pressing directly on the box opening.
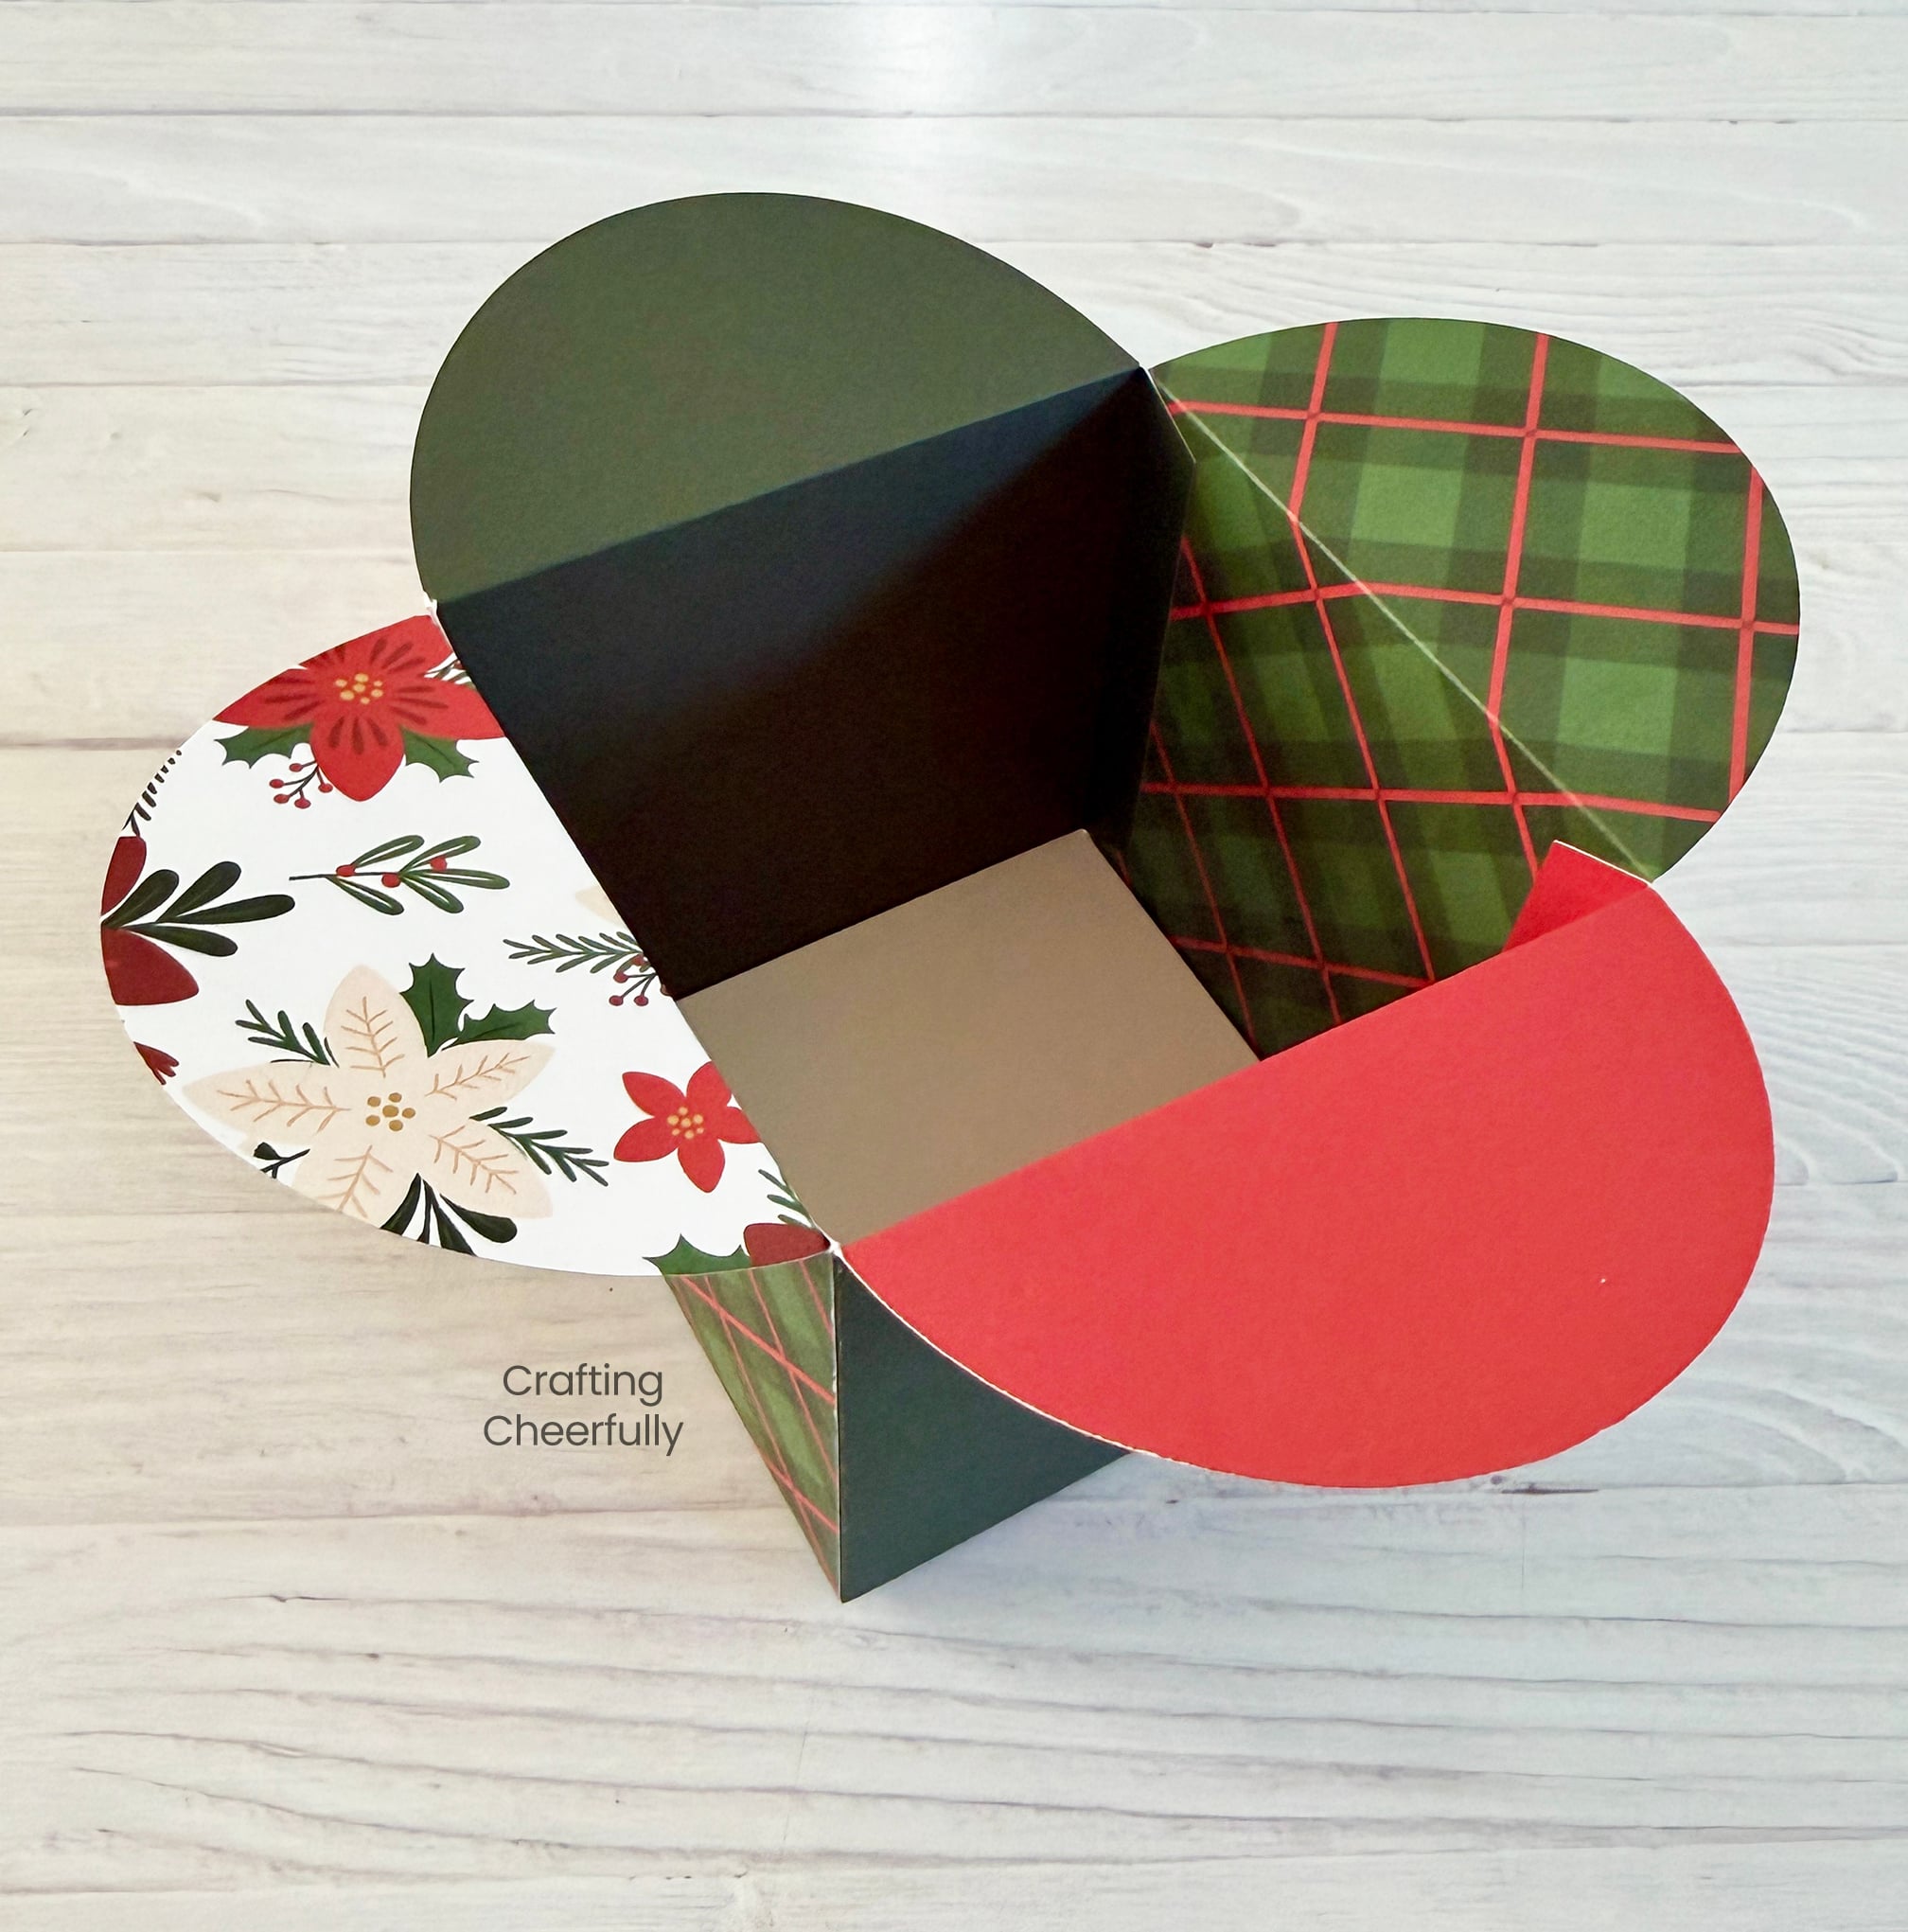
Enjoy the gift boxes once they are finished! They look so festive and I love how the different papers come together at the top in a cool spiral!
I hope you enjoy making these fun gift boxes! I’ll be back tomorrow with Day 4 of my series, 12 Days of Holiday Crafts. White you wait, check out my Christmas Crafts Page or my collection of Treat Boxes.

Get the Christmas Gift Box File
Fill out the purple form below with your first name and email address! The free file will be sent straight to your inbox! If you have already filled out the form below, don’t worry – you won’t be added to my list twice! This freebie is for personal use only. I hope you enjoy crafting something special. Please let me know if you have any questions :)


