Christmas Upcylced Shirt Wall Hanging
Create your own upcycled t-shirt wall hanging for the holiday season! This fun pennant can be made with an old Christmas shirt, felt, and a bit of fusible interfacing!

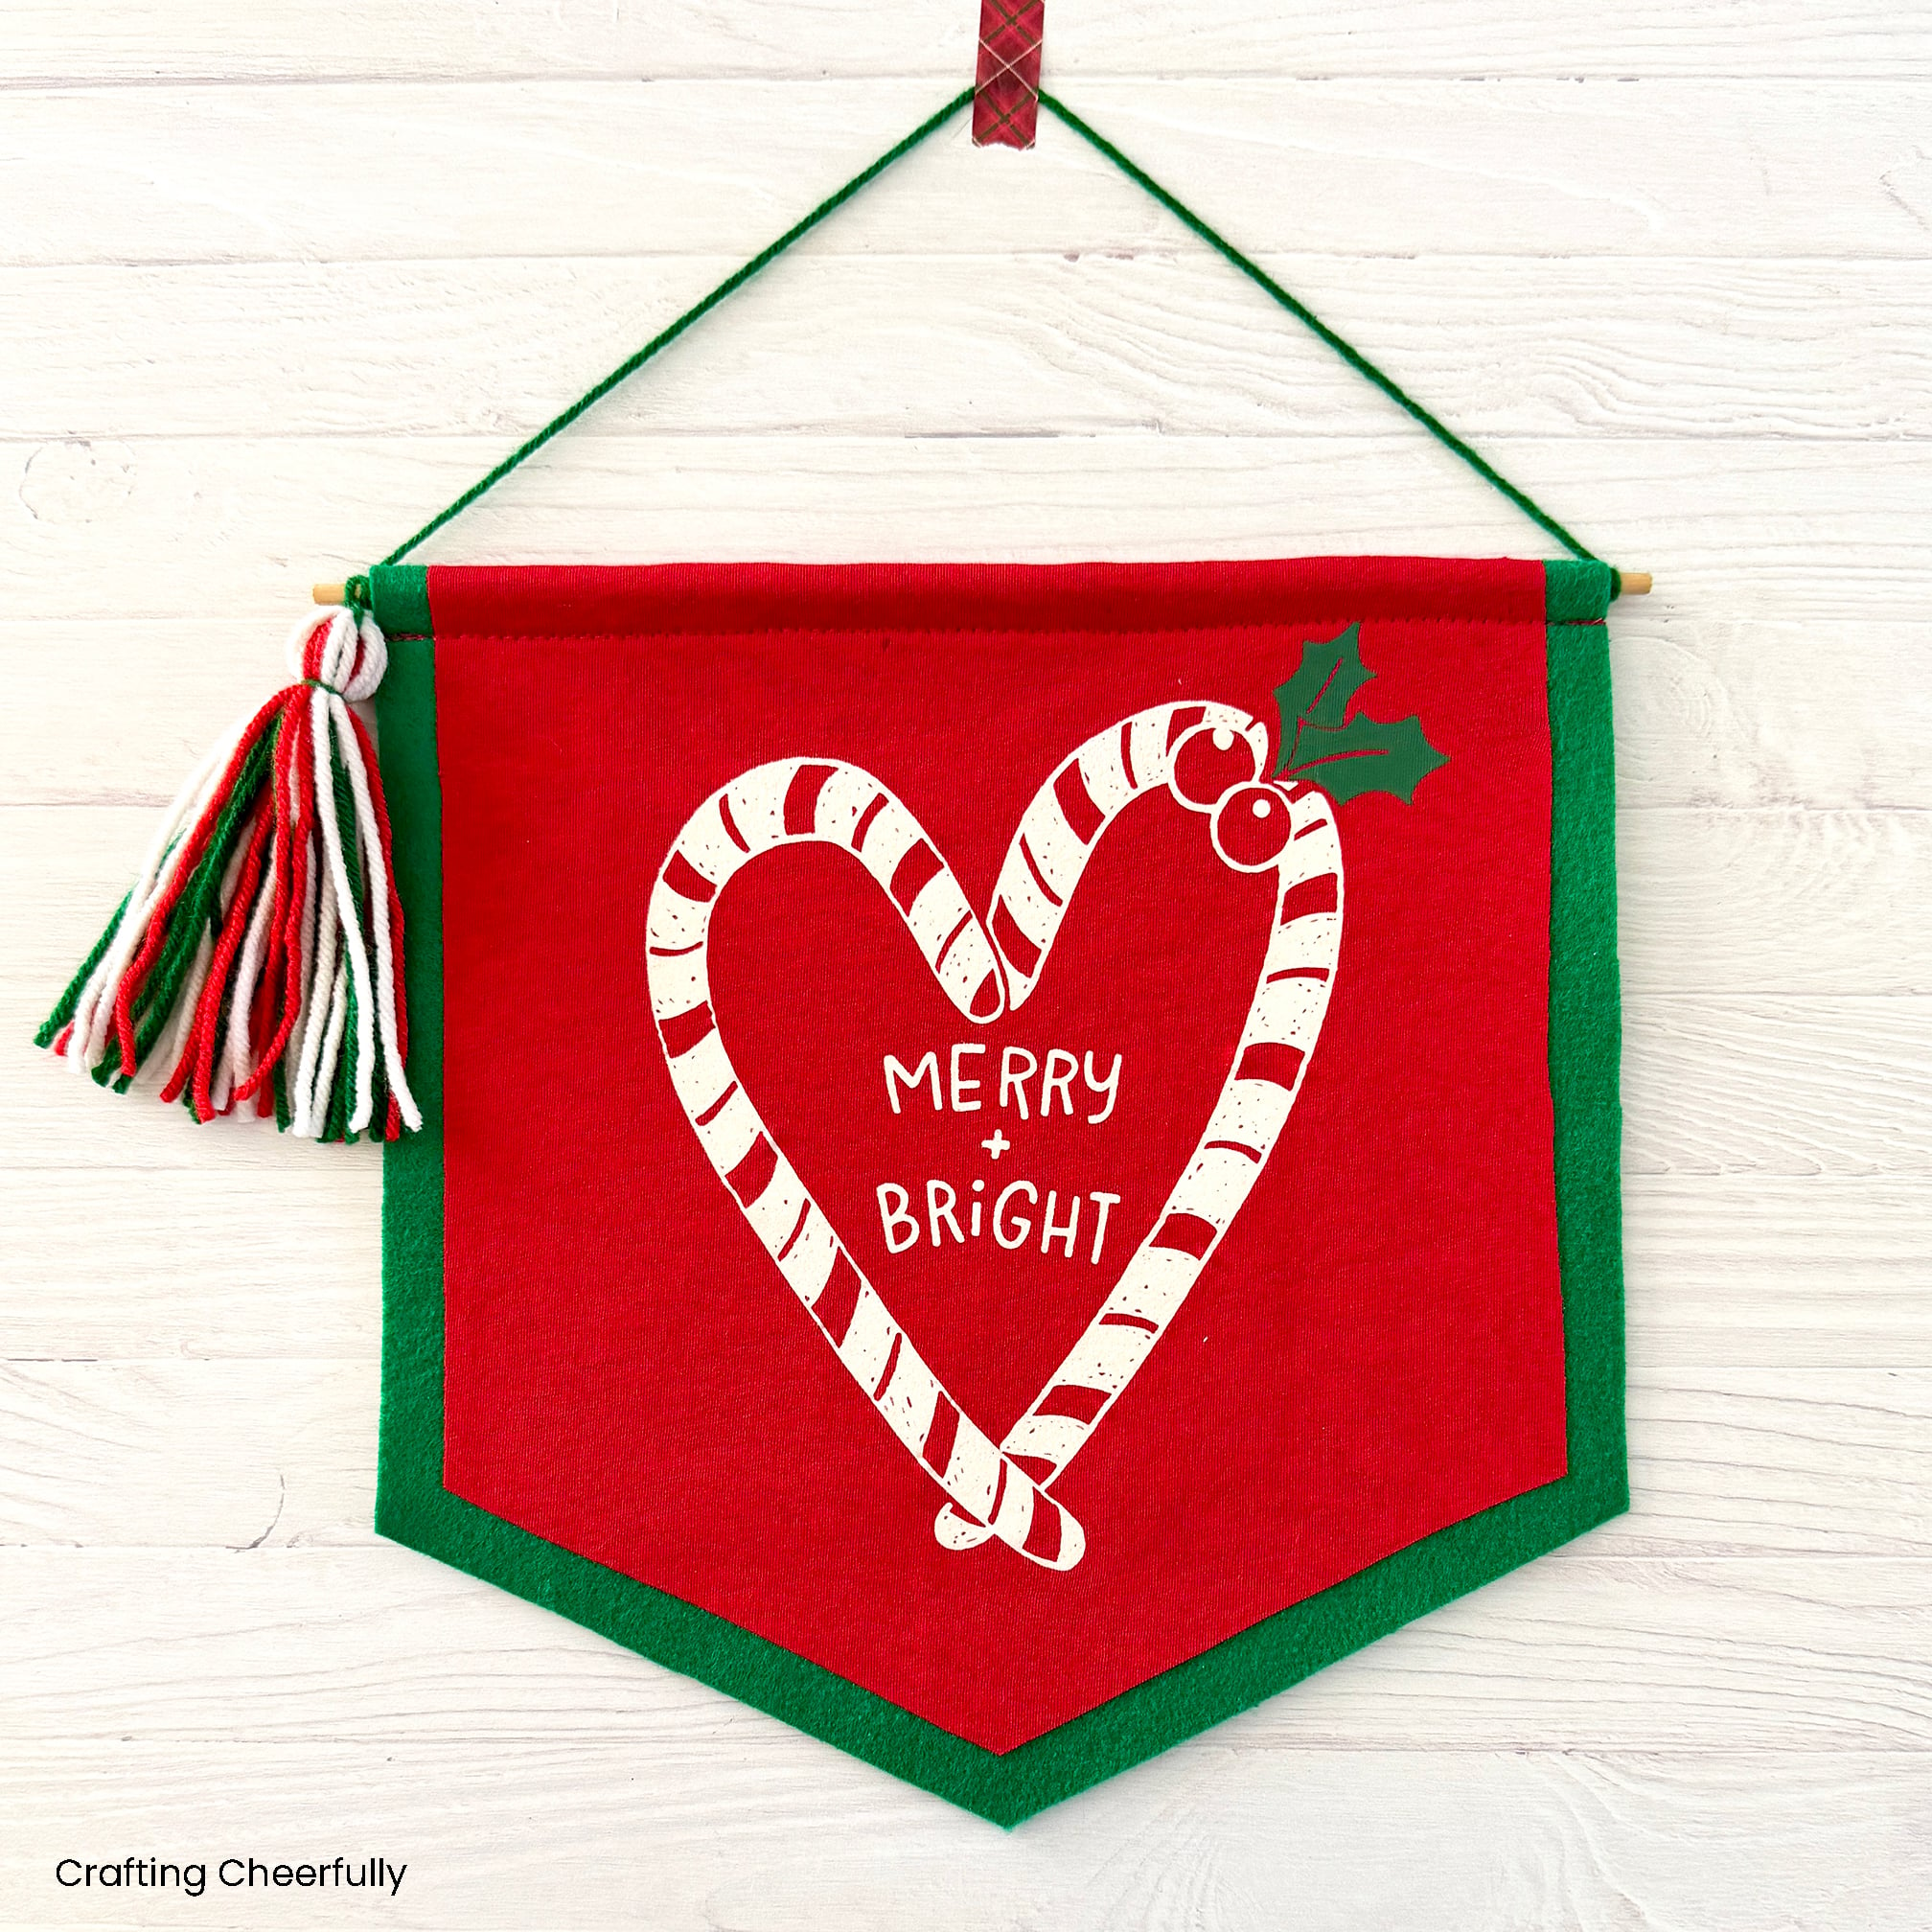
Hello Crafty Friends! Today is the second day of my series 12 Days of Holiday Crafts and I’m excited to share this sweet wall hanging. The best part – it’s made from an upcycled Christmas shirt. I love turning old clothing into something new and this craft is a fun option for upcycling your old t-shirts.
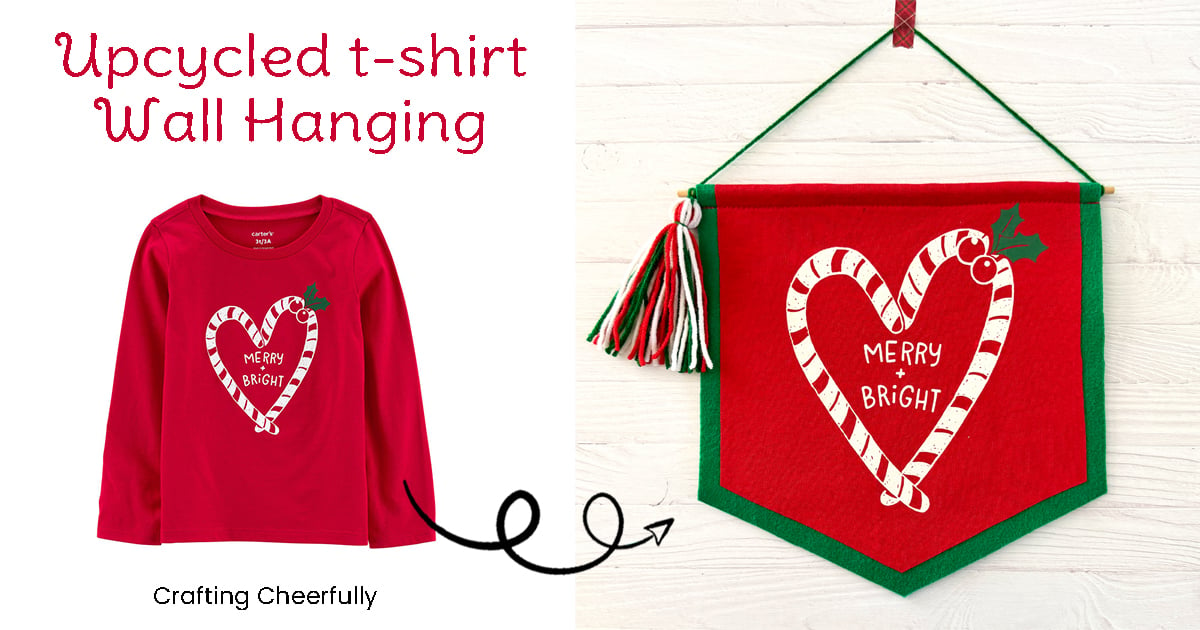
I love to buy my kids holiday shirts but they outgrow them so quickly. Most of them we donate but sometimes I have really fond memories of a particular shirt. For example this shirt from Carters. It was inexpensive when I picked it up so it isn’t anything super special, but I have the best memories of my daughter wearing it with a green tutu skirt and reindeer ears. Instead of donating this one, I wanted to save it and turn it into something special.
This new wall hanging will look cute hanging in our home this holiday season. I’m even thinking it would be fun on my daughter’s bedroom door! You can do this with just about any shirt and make your pennant the size you need to accommodate the shirt’s design. I ended up using the same sizes as my last t-shirt wall hanging which made this extra simple.
Below is the tutorial! I hope you enjoy making making this fun craft for the holidays :)
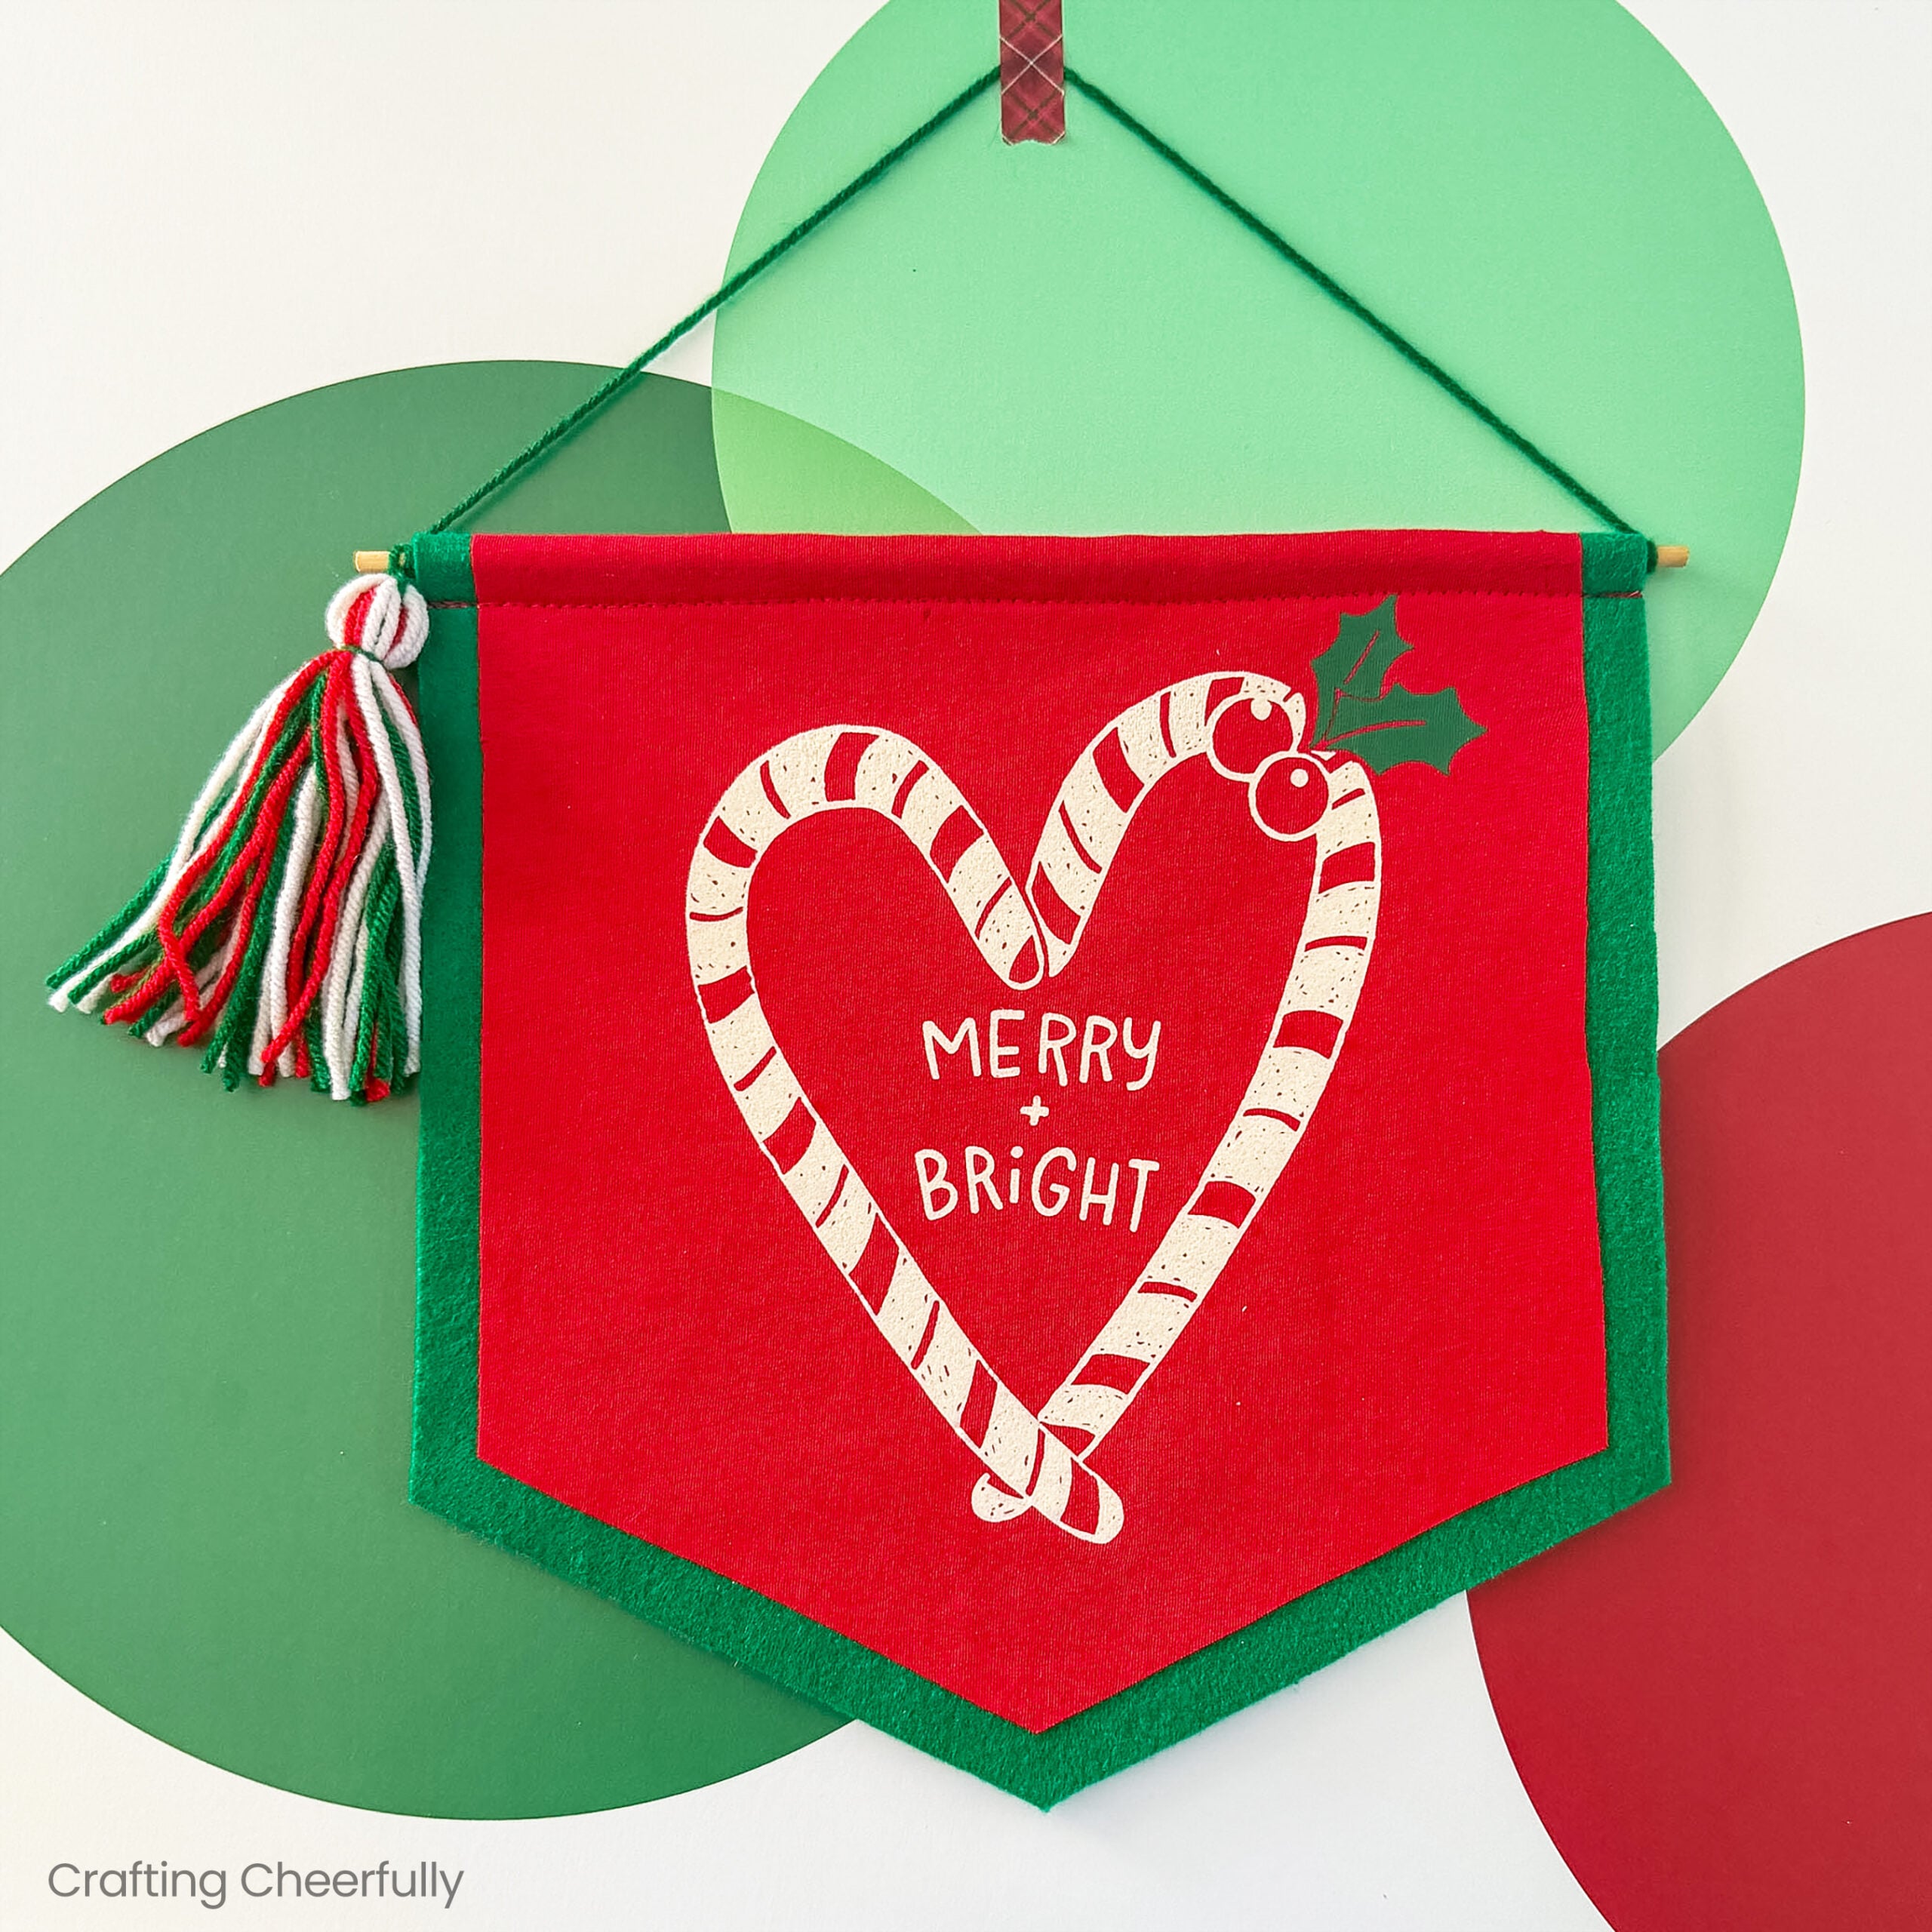
DIY Banner Wall Hanging from an Upcycled Shirt
Supplies Needed
- Old t-shirt with fun holiday design
- Felt
- Ultrahold HeatnBond Fusible Web
- Dowel – I used a 12″ dowel
- Yarn
- Ruler
- Fabric Scissors
- Straight Pins
- Thread
- Pencil
- Small piece of cardboard
- Iron (I also used my wool pressing mat)
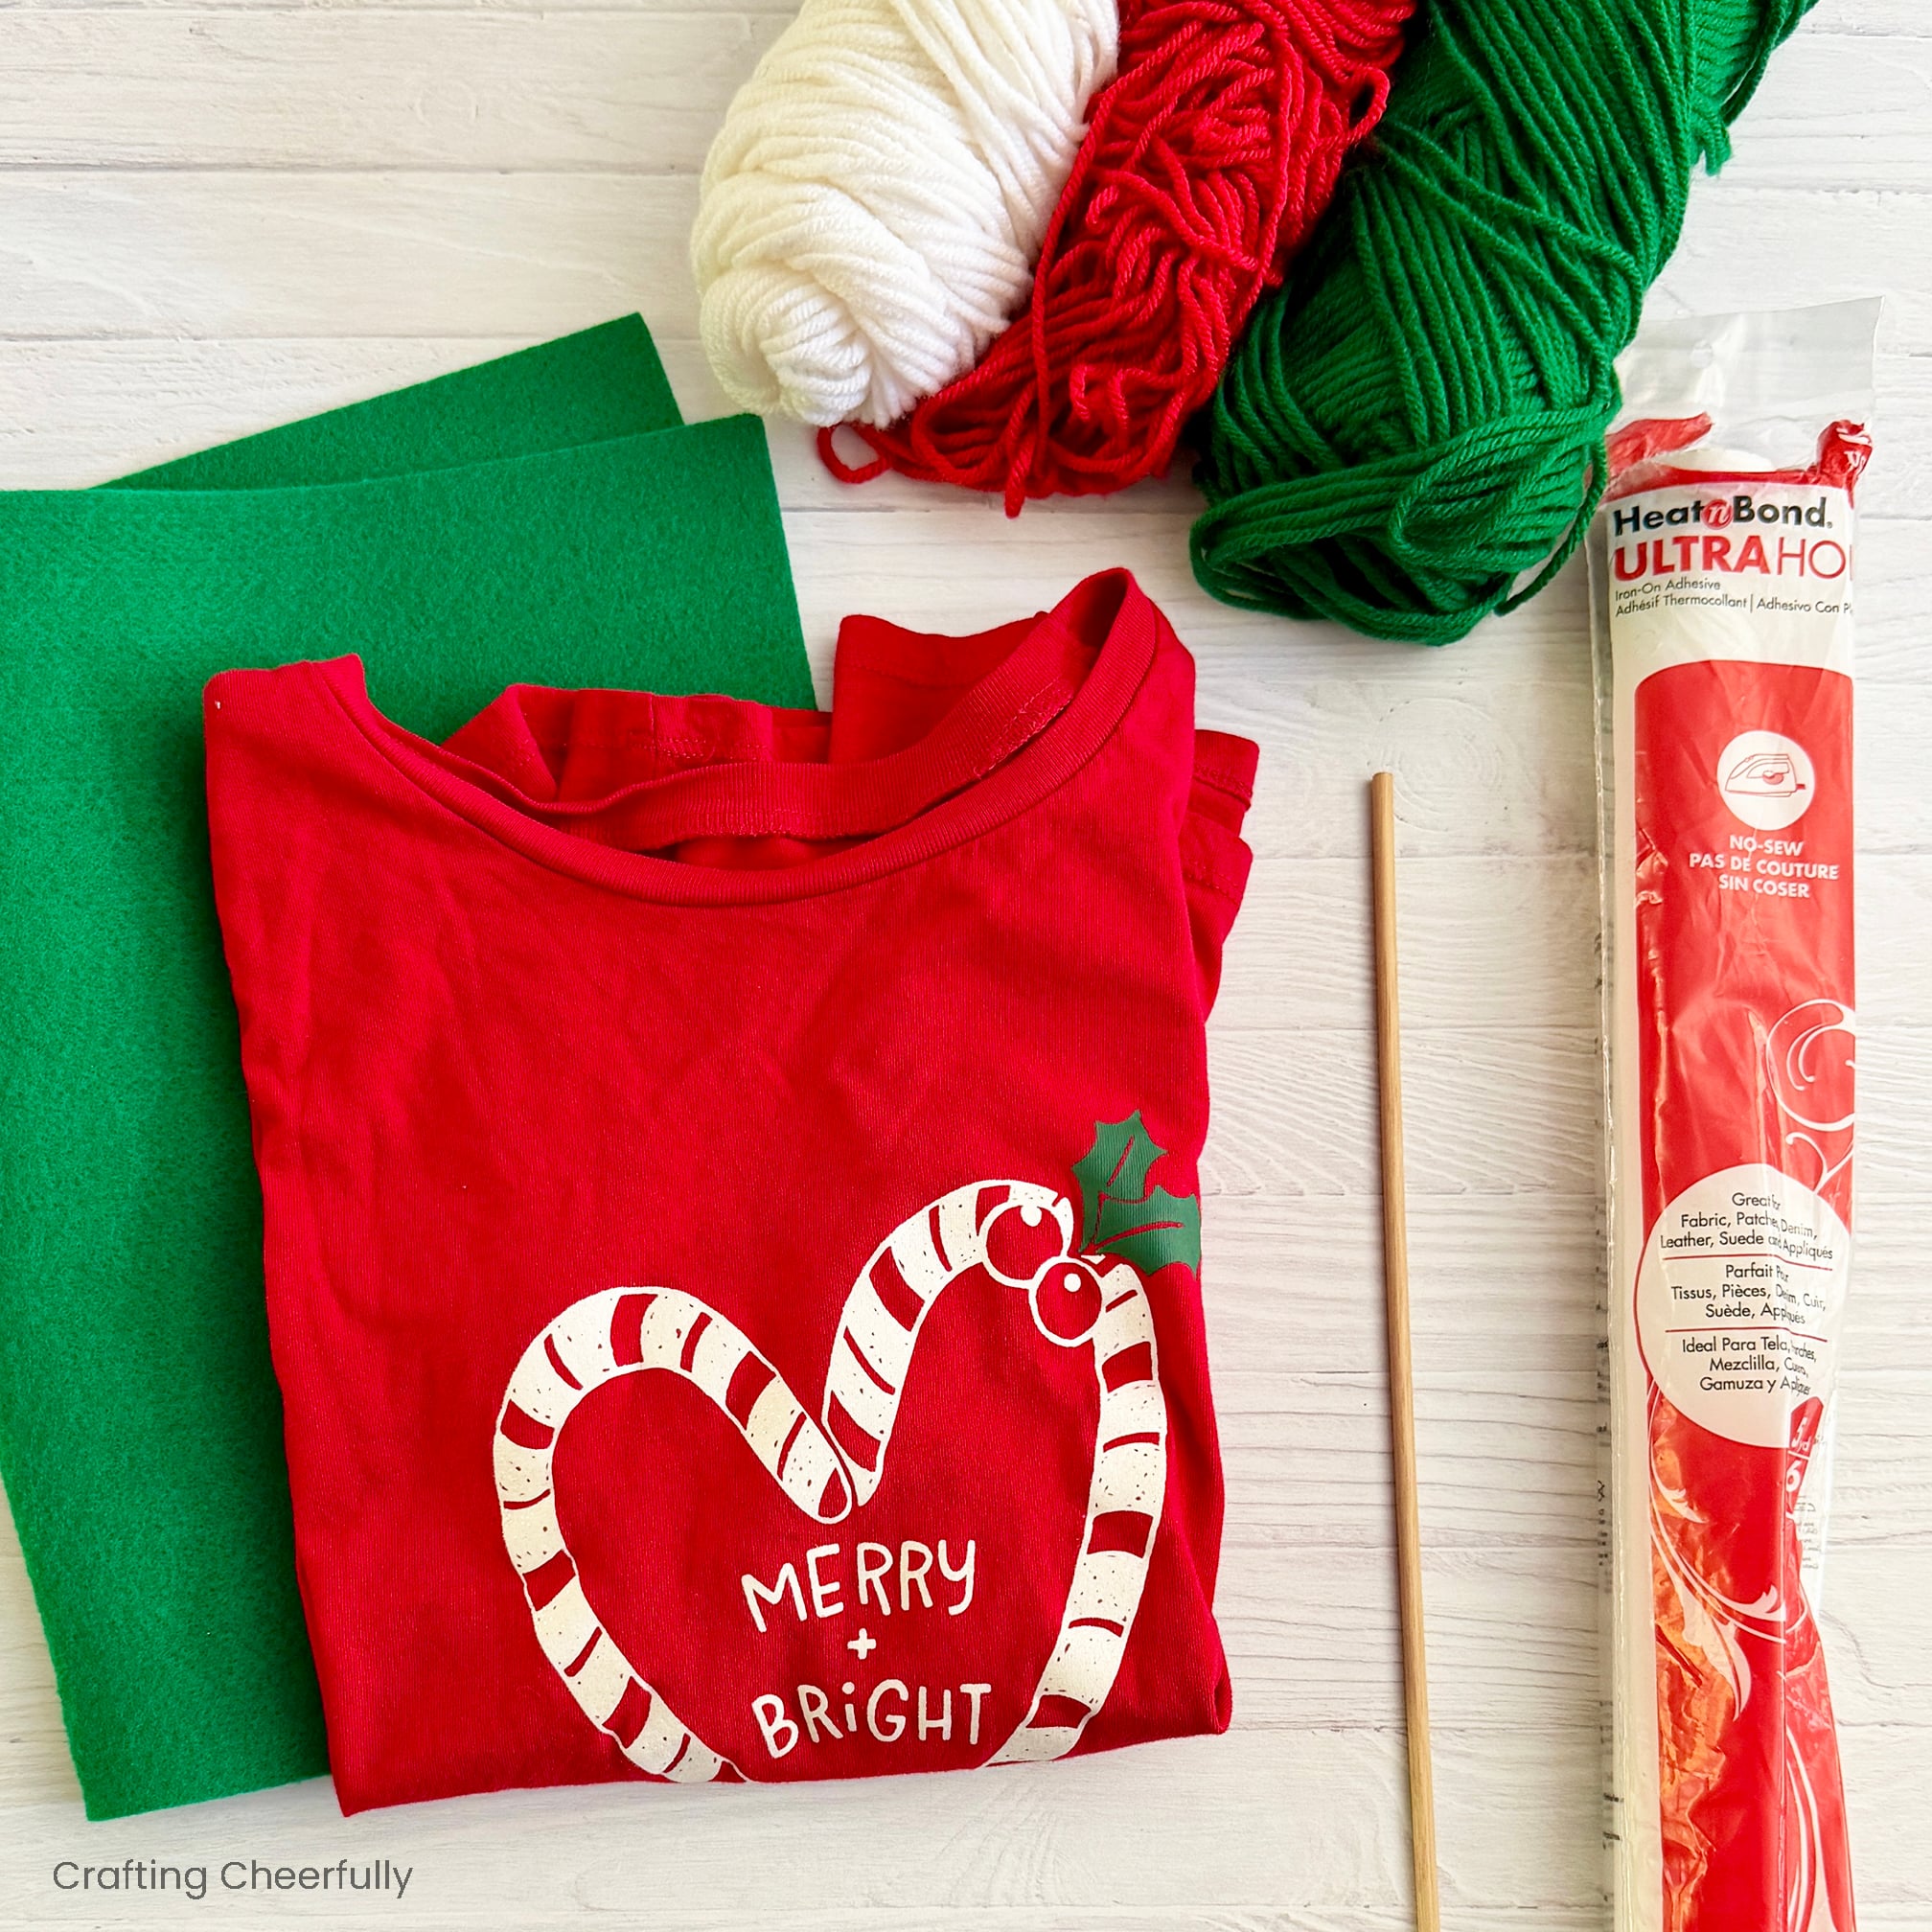
Choosing the Shirt Design
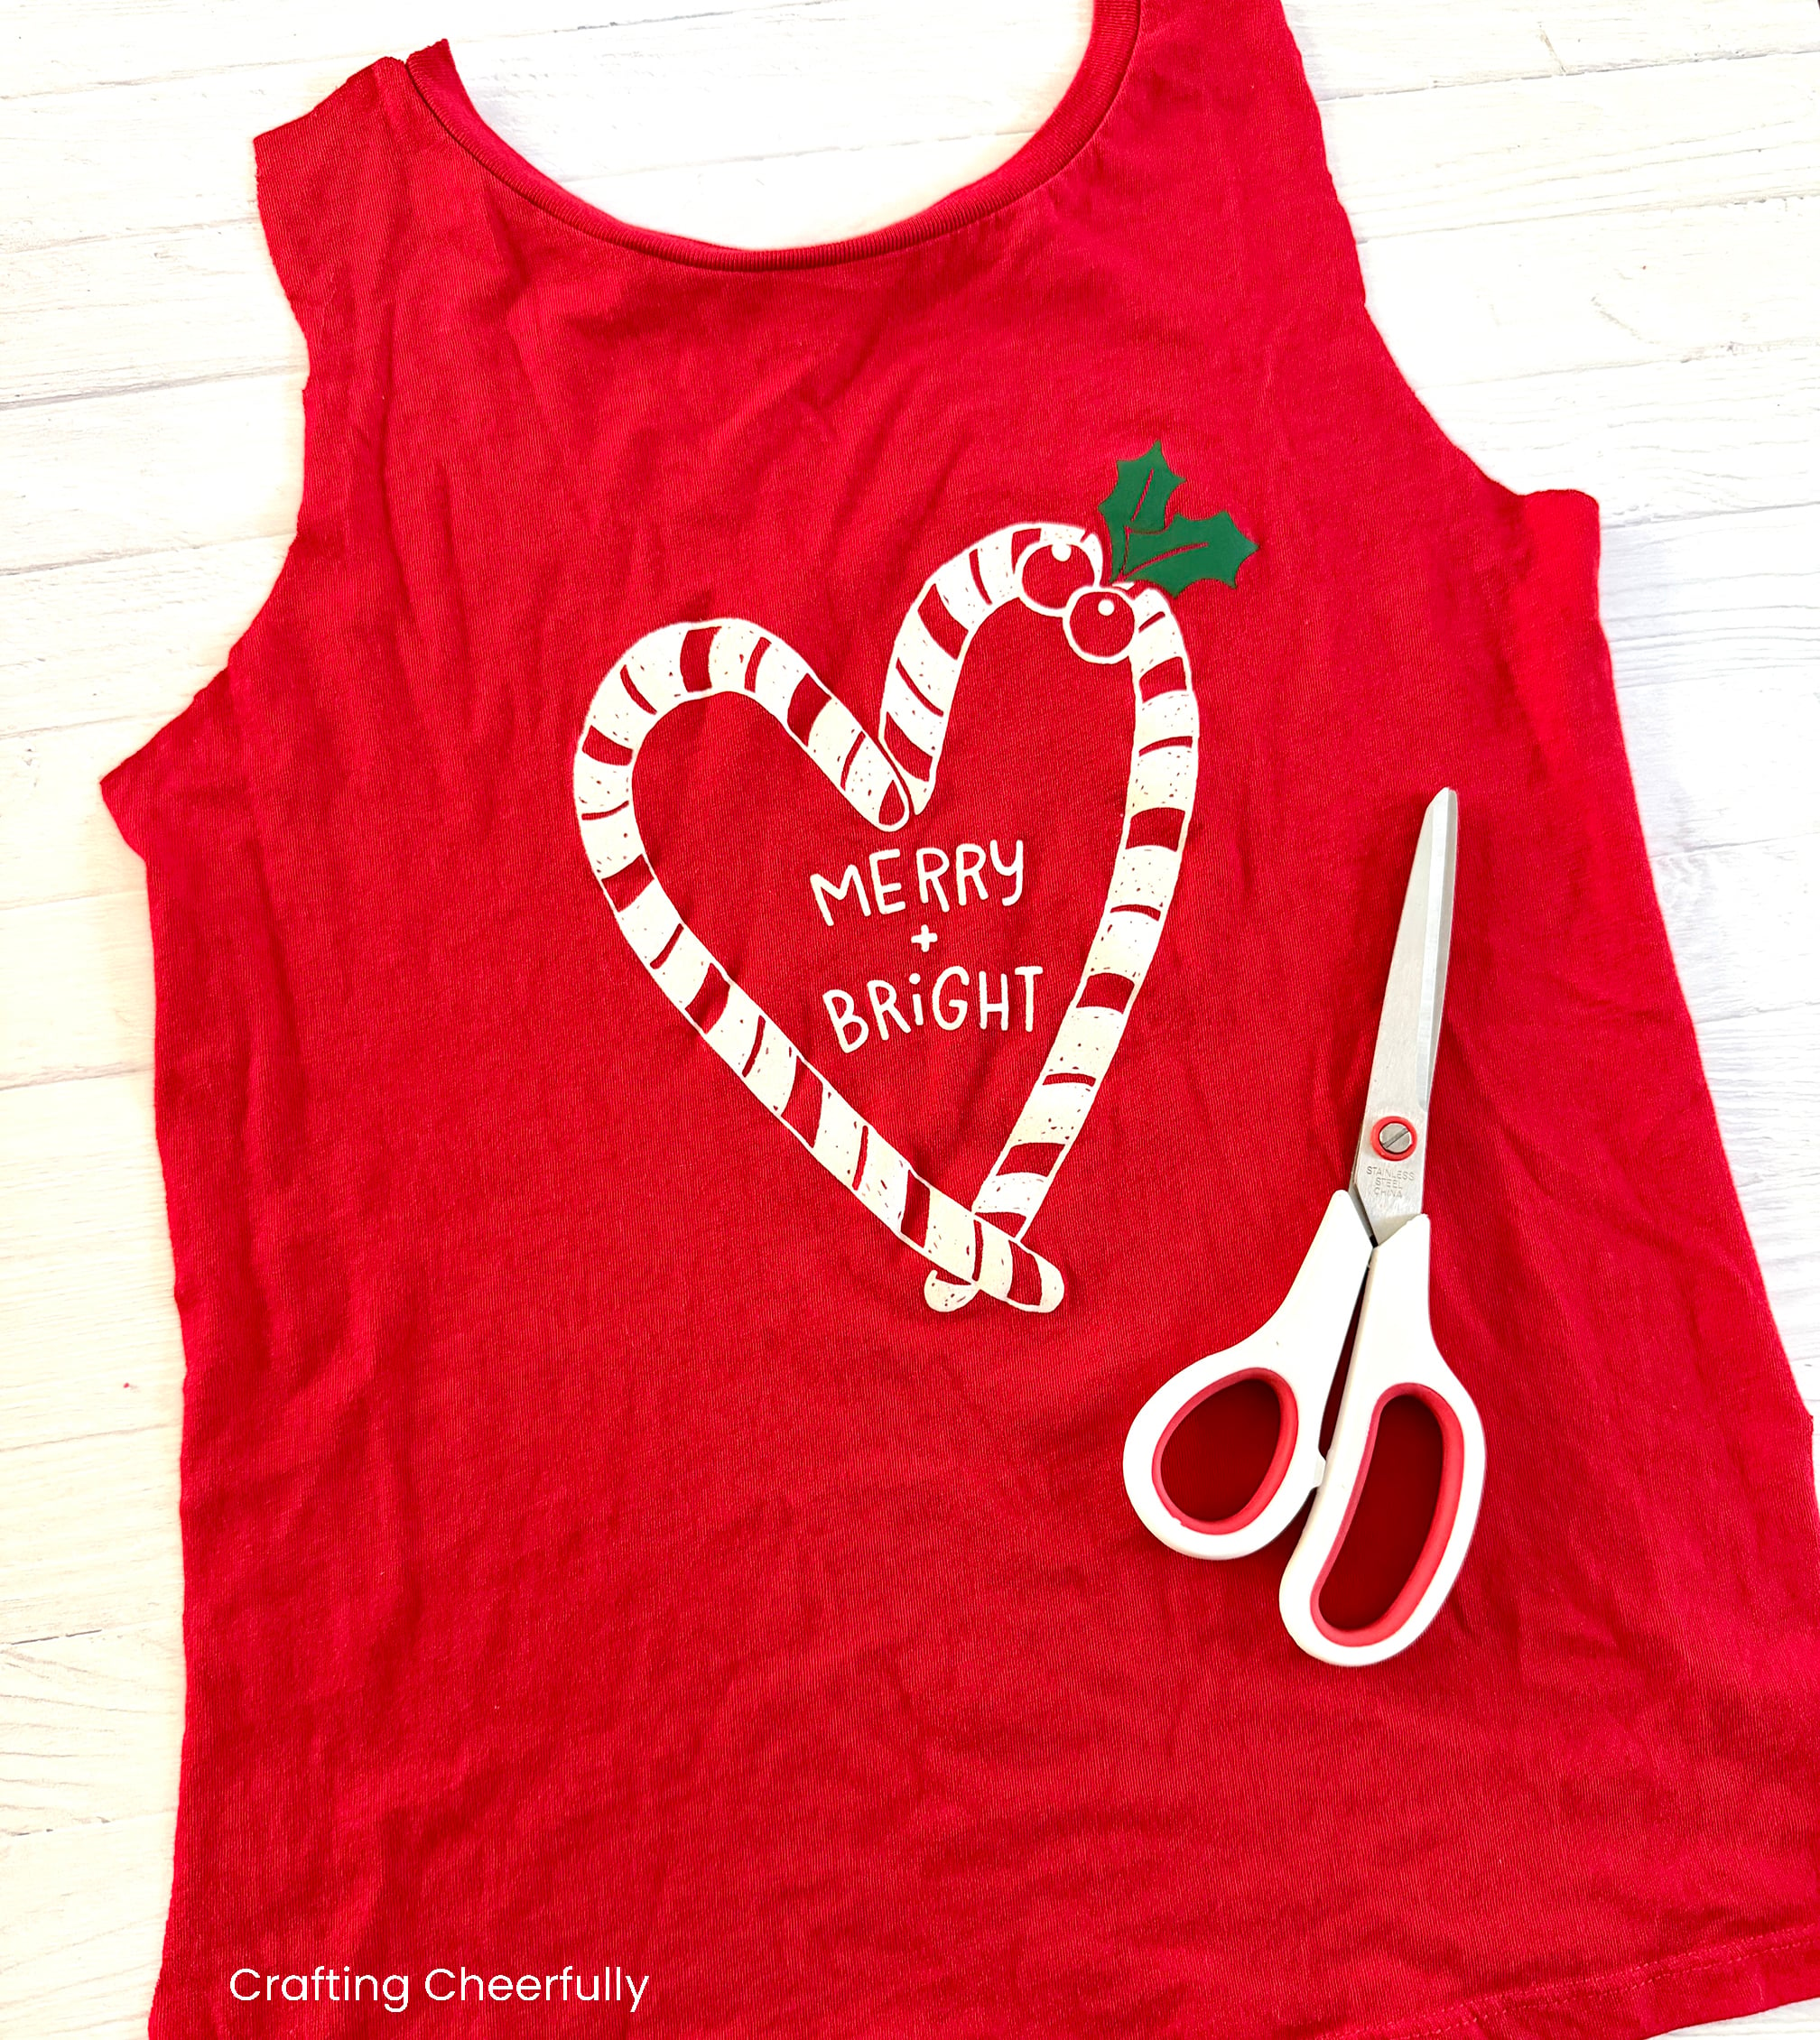
Step One: Cut the shirt open so it lays flat on your work surface. Mark the center of the design with straight pins, then measure the front of the shirt to see how large your banner can be. This candy cane heart design was 7.25″ wide and 8.5″ tall, so I decided I could use the same measurements as my last wall hanging and cut a piece of fusible interfacing that measured 10.25″ x 12″. You can customize the size of your wall hanging to fit your shirt’s design.
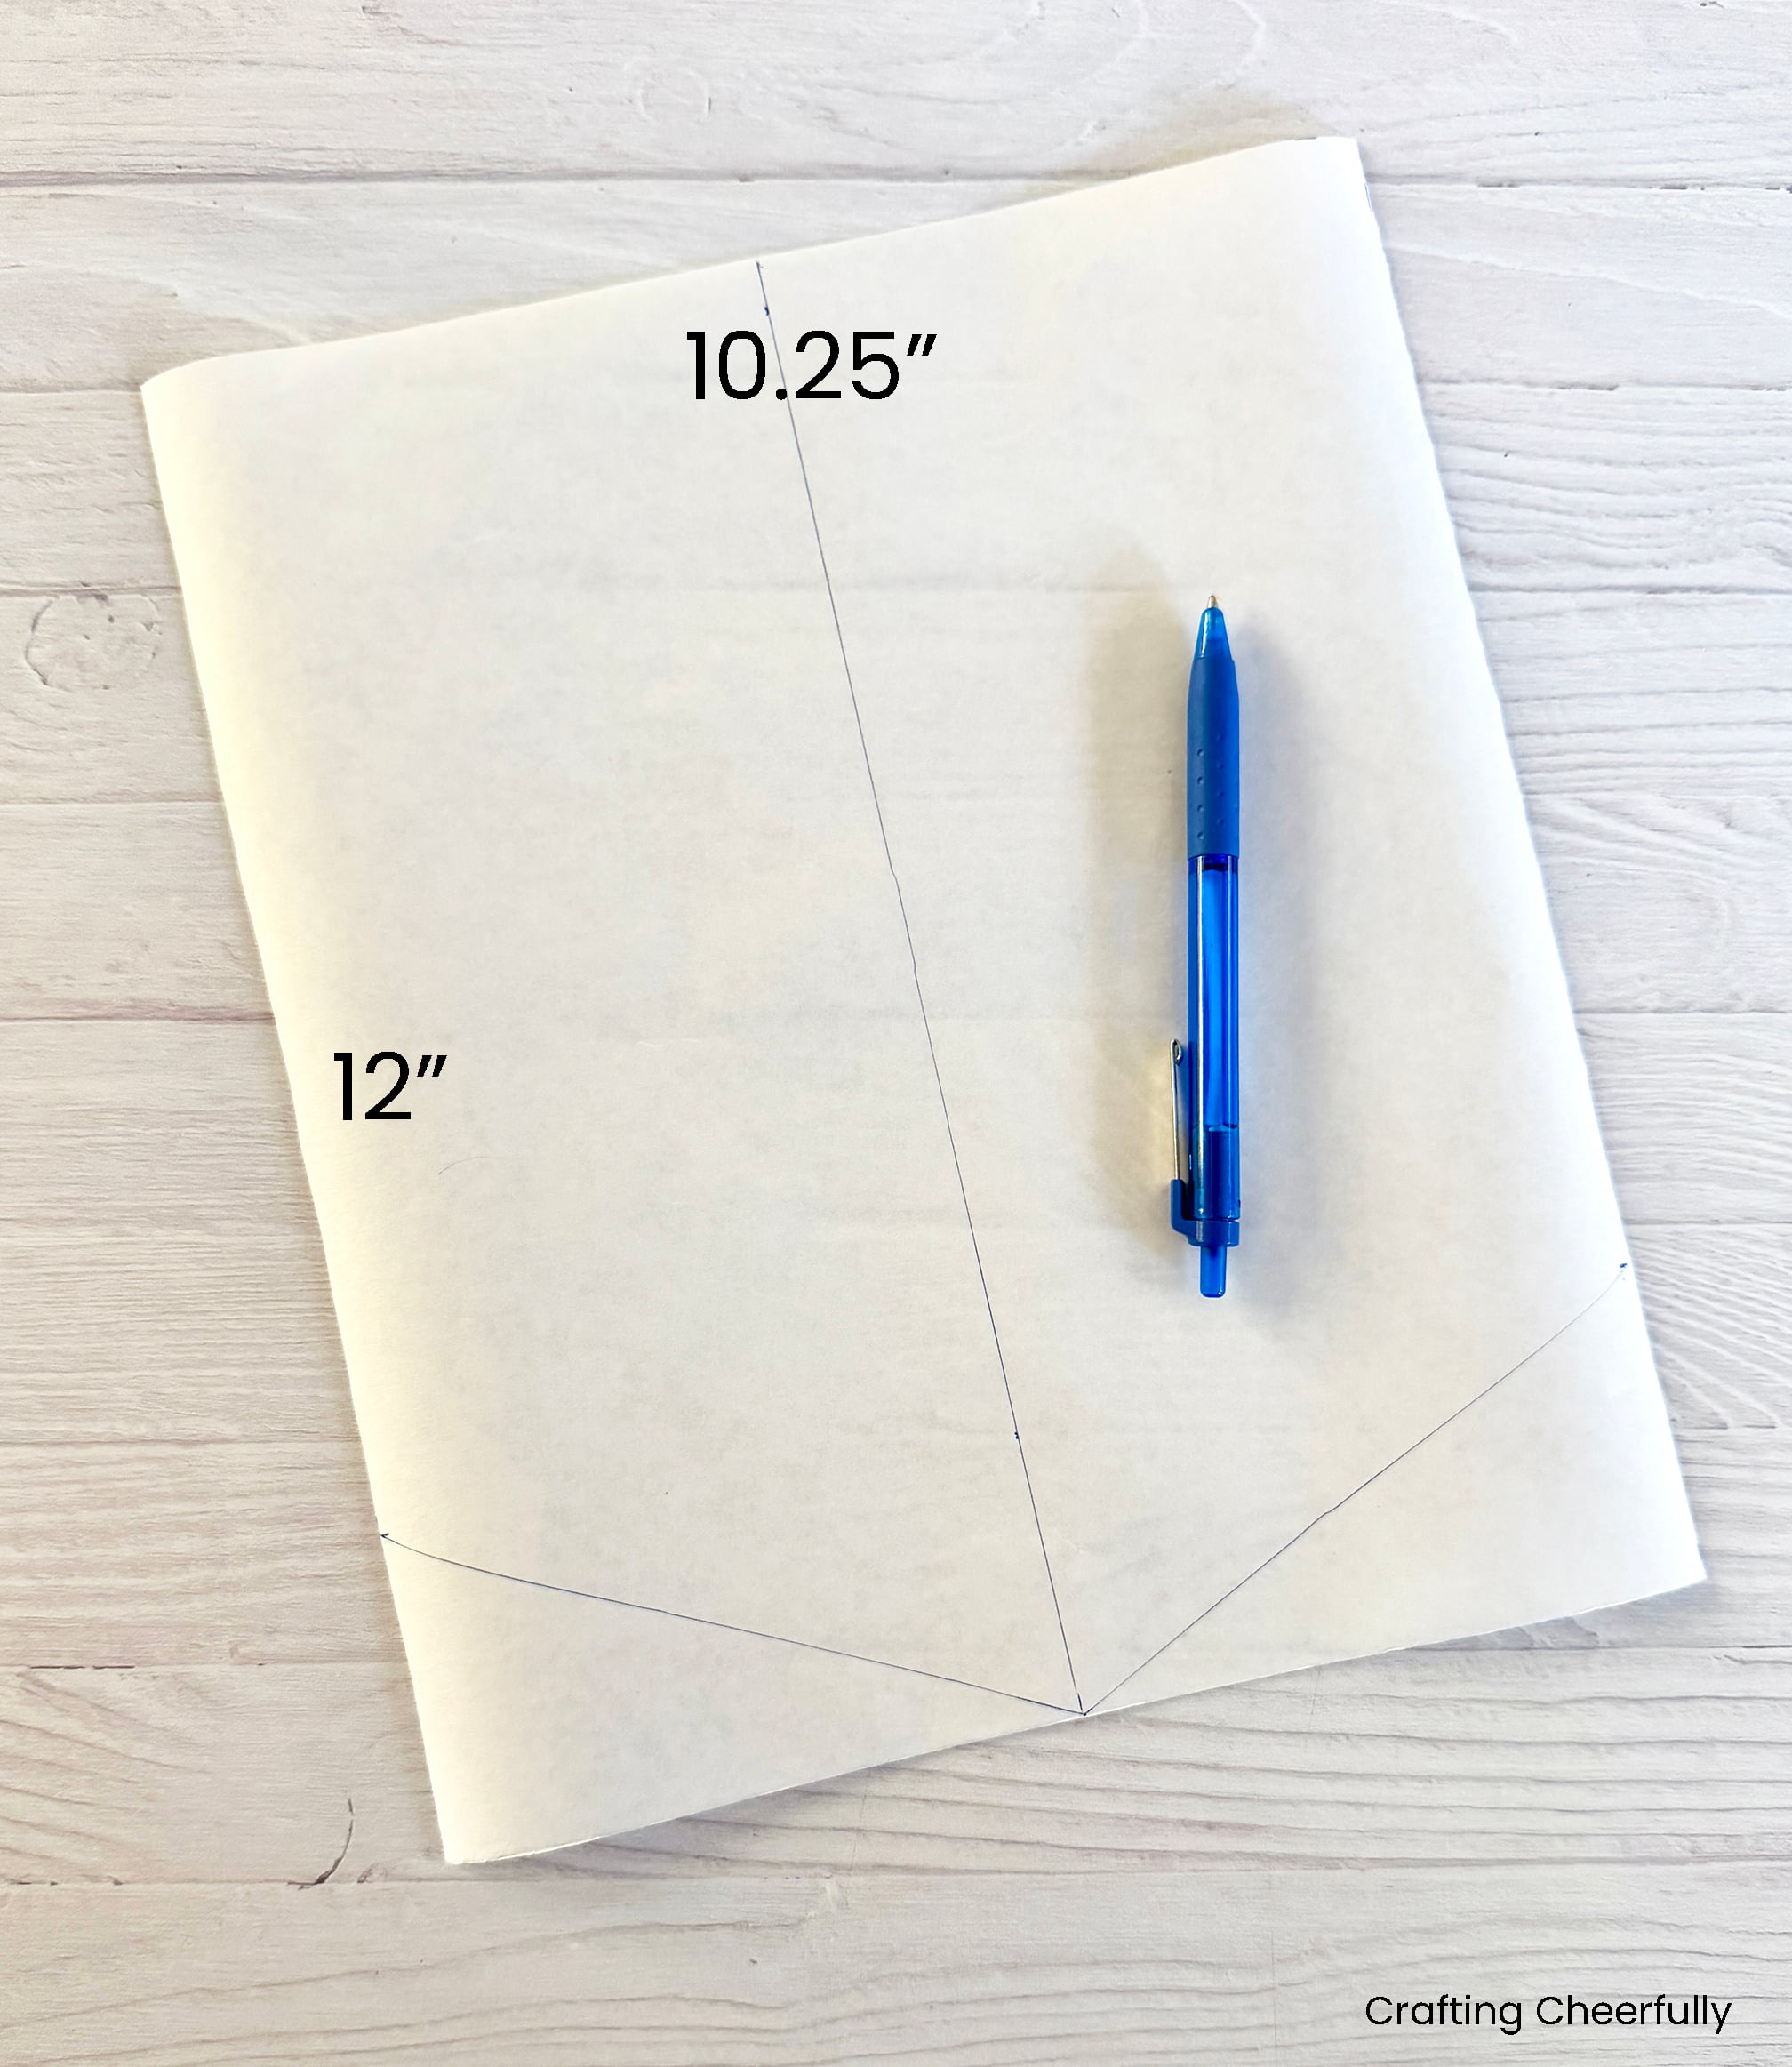
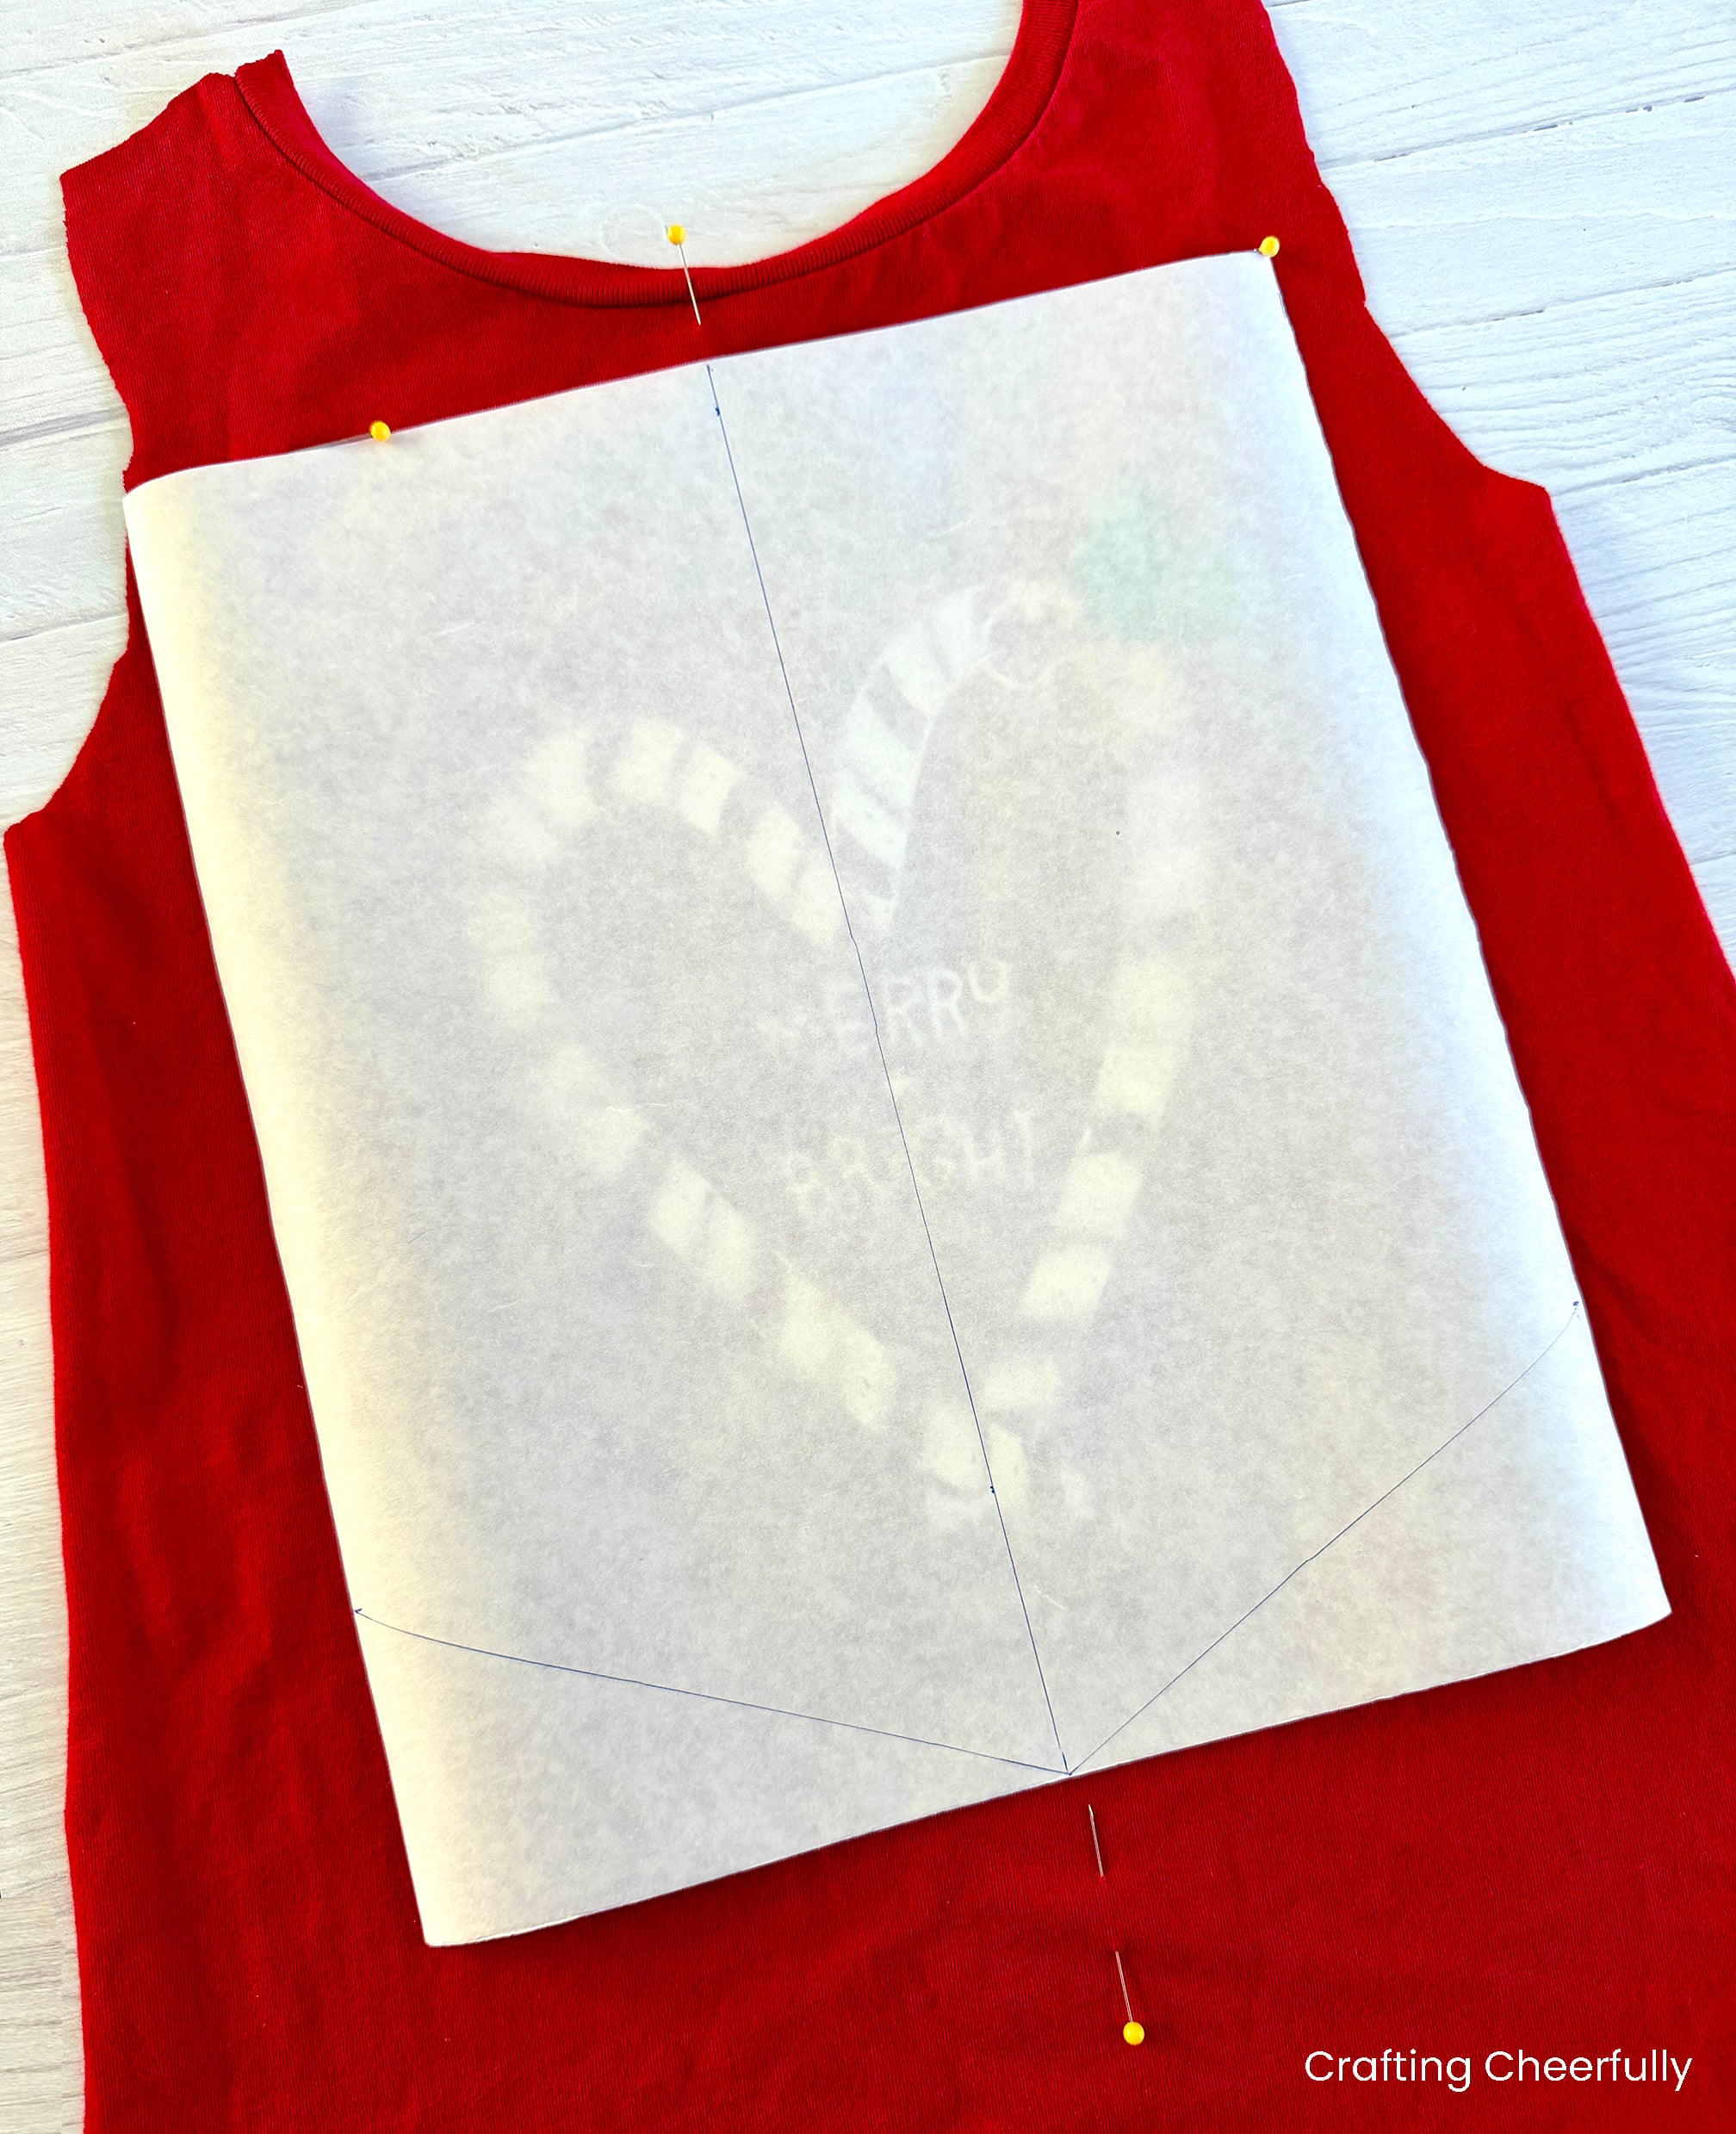
Step Two: Cut a piece of fusible interfacing and iron it to the backside of the shirt front. As I mentioned in the last step, I cut a piece of fusible web that measured 10.25″ x 12″. I drew a line down the center of my fusible web and added the point at the bottom. To do this, I marked each side at 2.5″ from the bottom. Next, I connected those markings with the bottom center point, this created a V-shape at the bottom.
Next, place the fusible web interfacing on the back of the t-shirt design. I first placed mine on the front to figure out what would look best. I used the center line I had drawn on the interfacing to help position it on the center of the shirt design. Be mindful that the V-shape at the bottom doesn’t cut off your design in a weird way. I marked where the interfacing looked best with pins and then flipped over the shirt and positioned the interfacing following my pins.
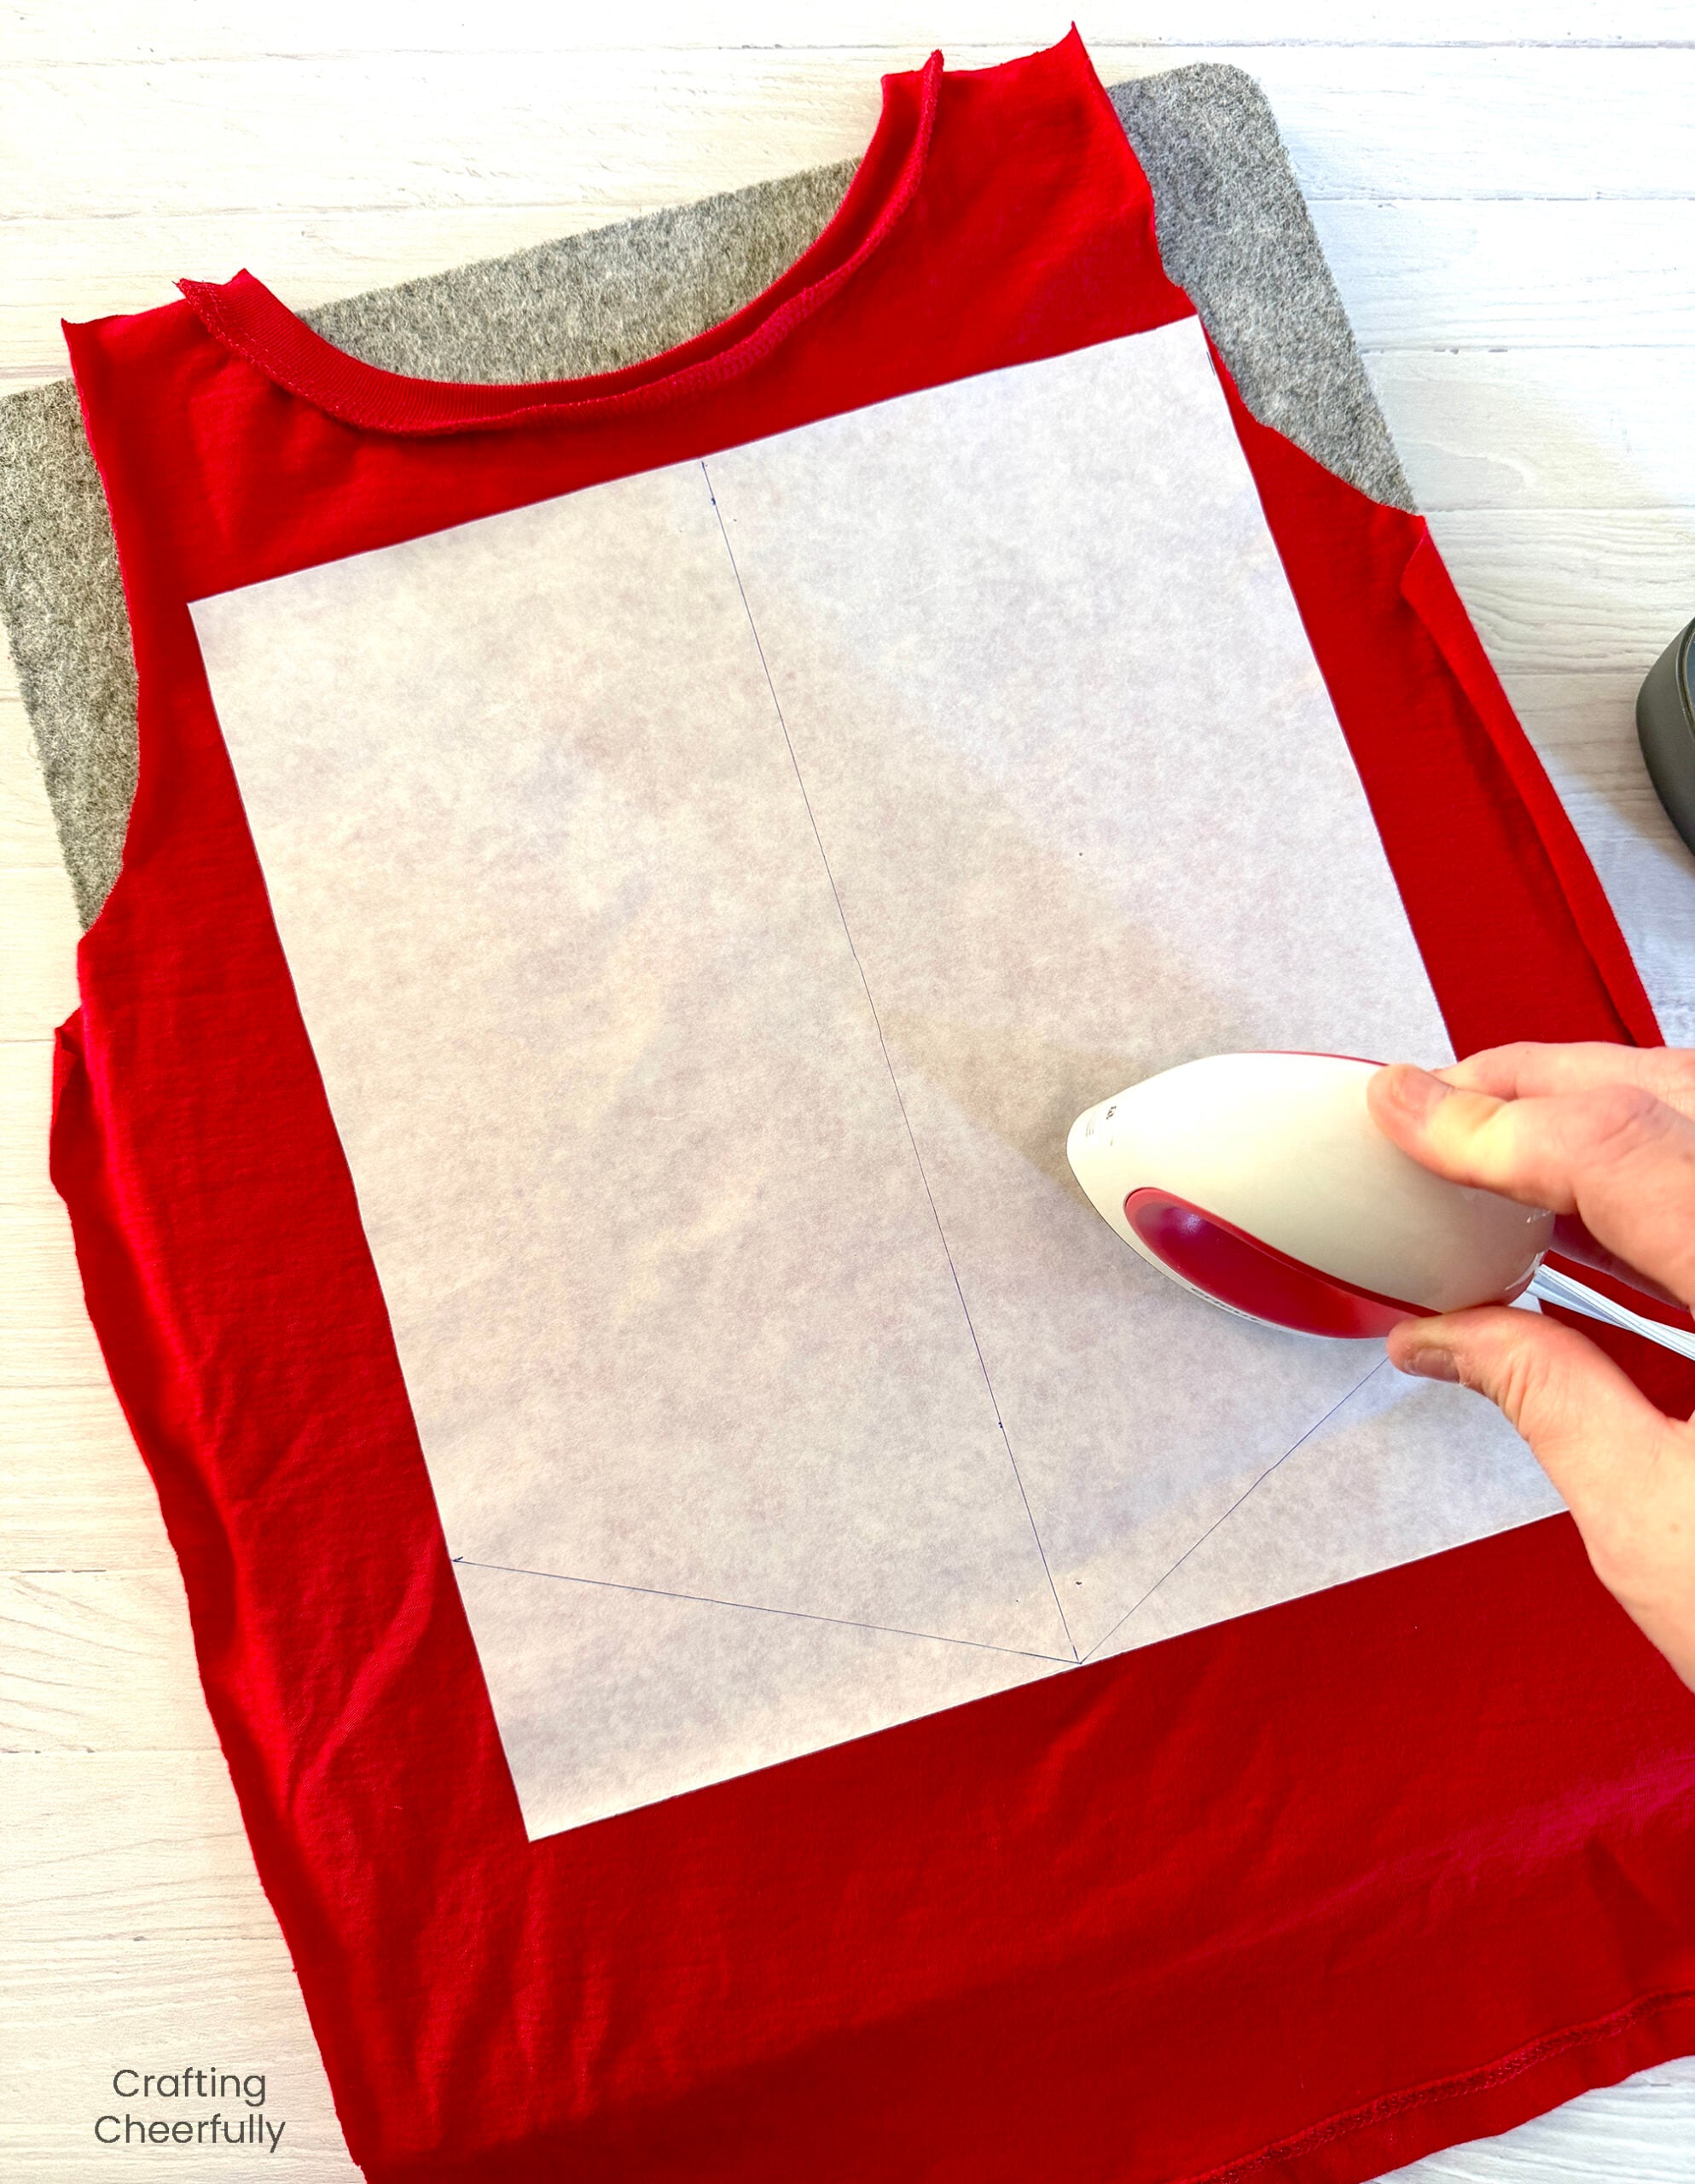
Step Three: Iron the fusible web interfacing to the back of your t-shirt design. I used my Cricut mini press and took my time. If I did this again, I would probably get out my larger iron as I think the larger surface area of the iron would have helped the interfacing fuse better.
Cutting Out the Shirt
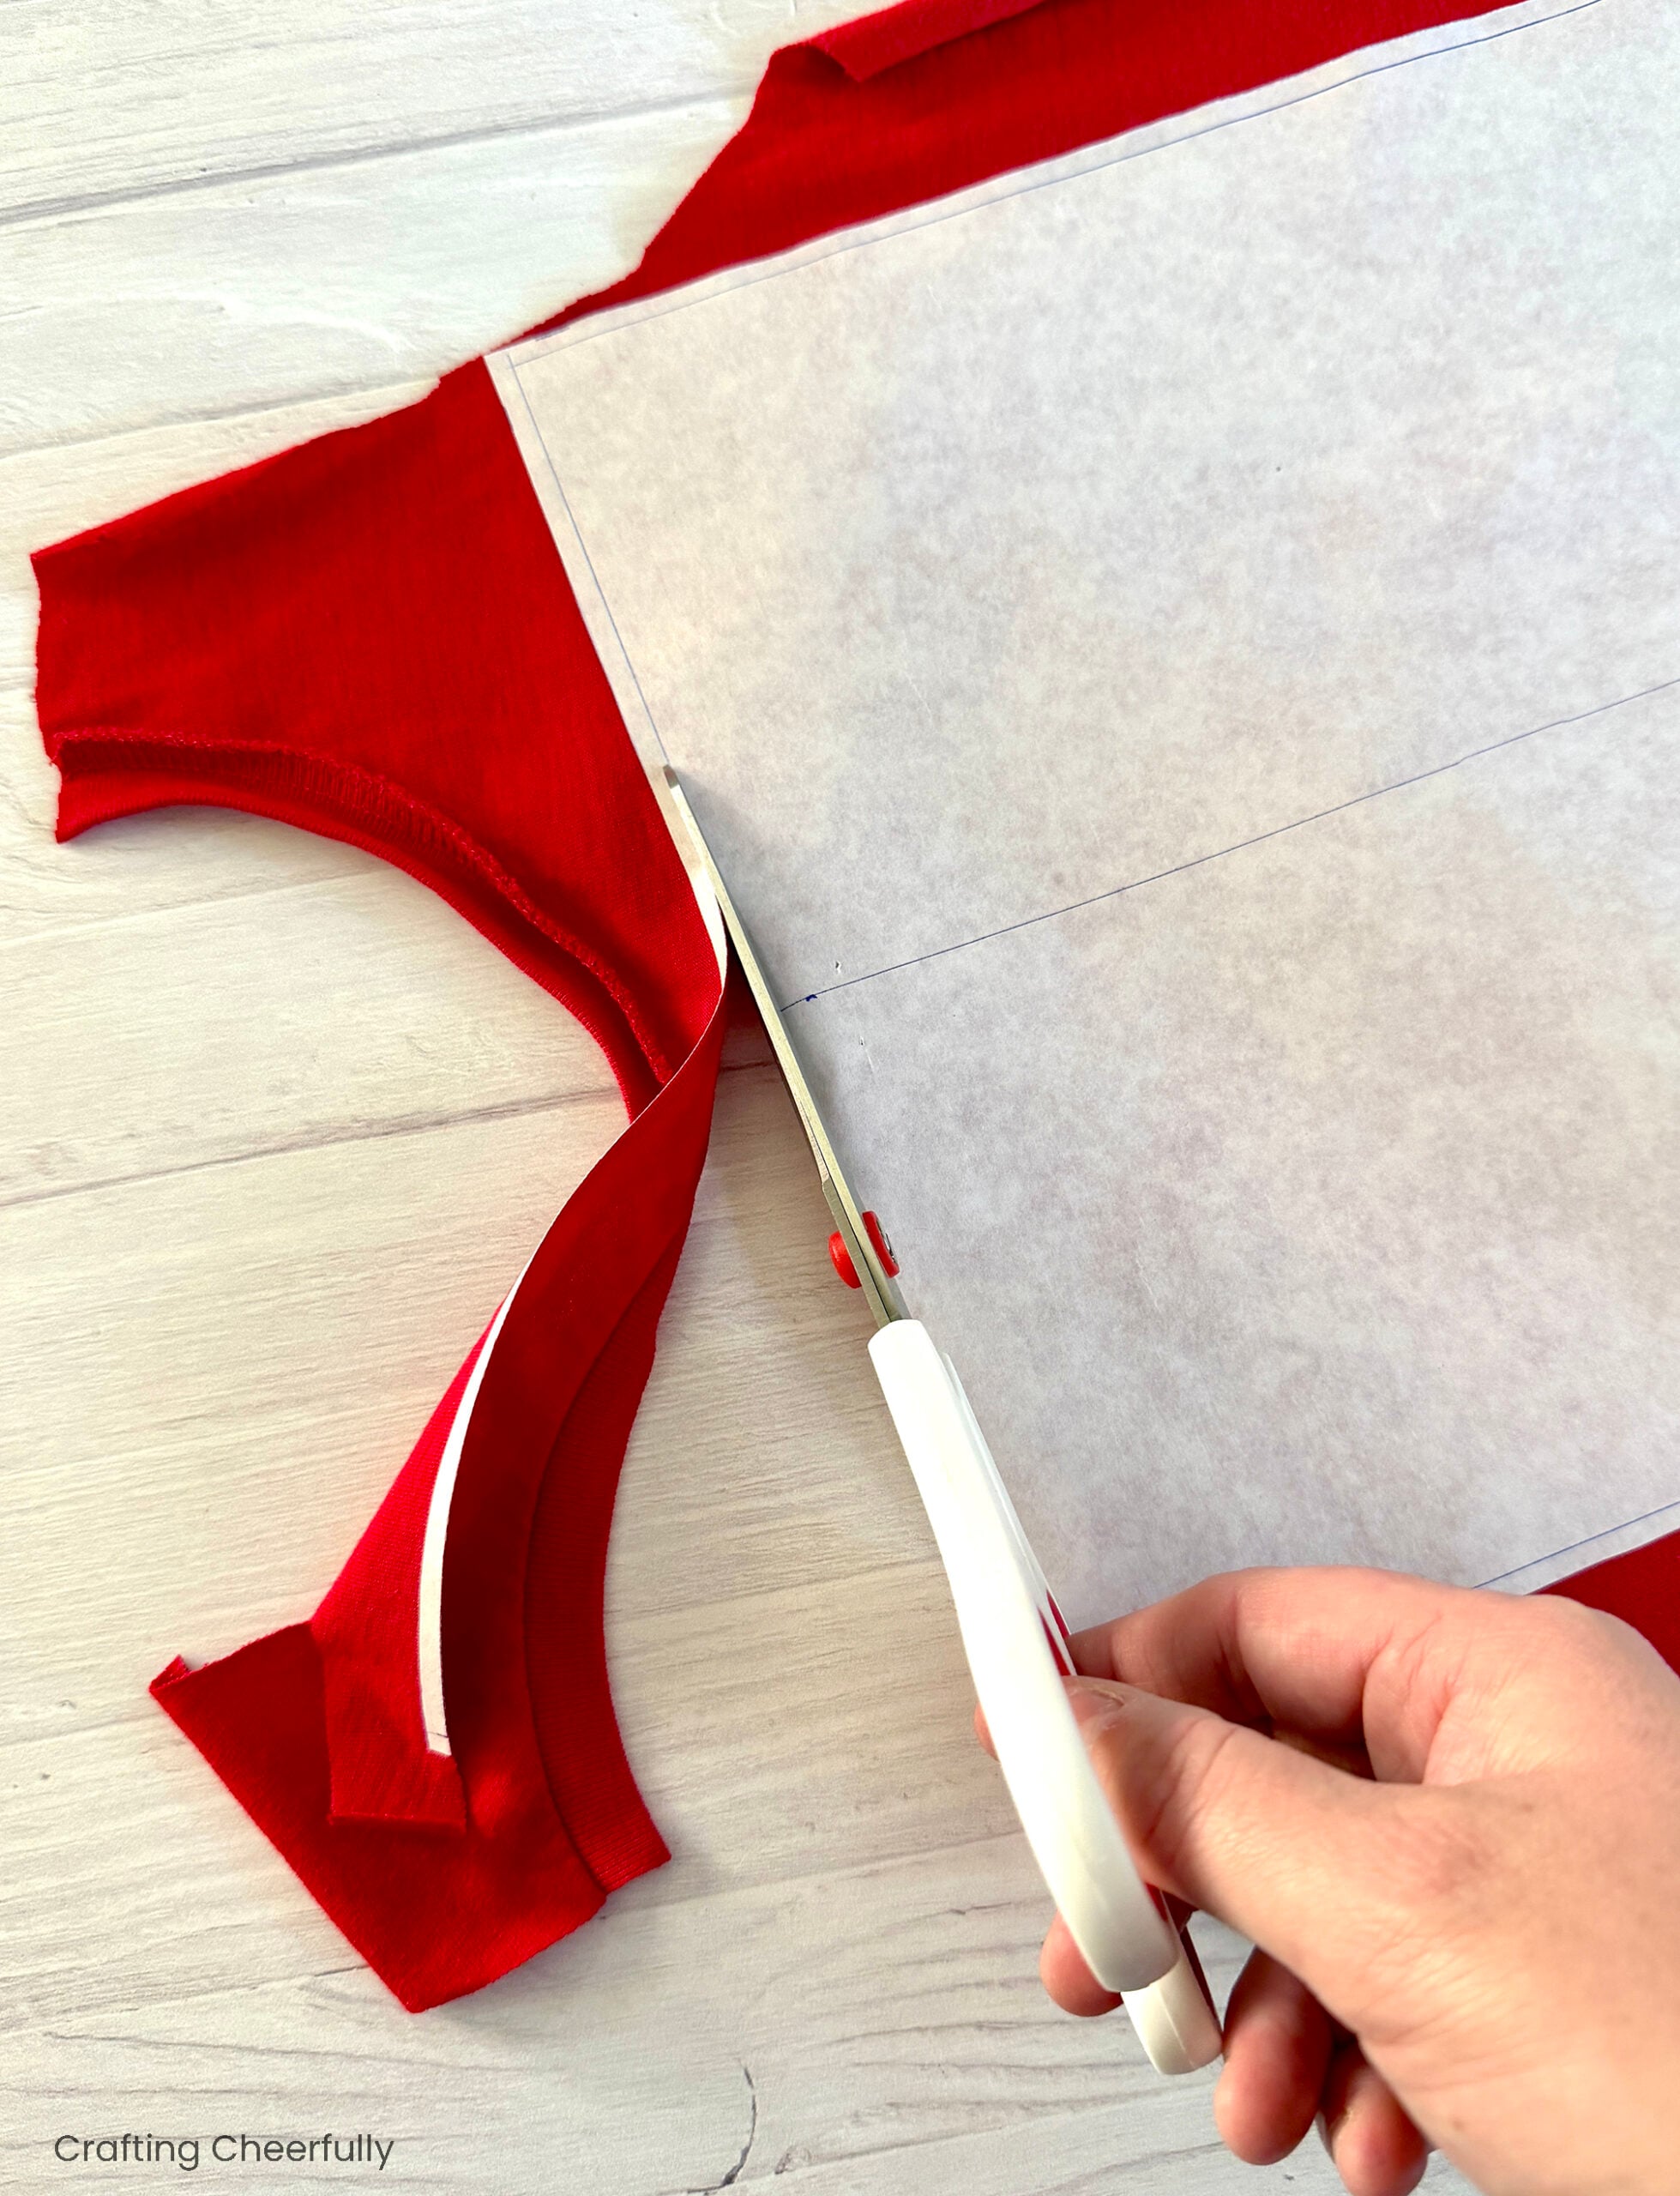
Step Four: Use a ruler to mark a 1/4″ border on all four sides of the interfacing. These will be your cut lines. It helps to cut through both the interfacing and fabric at the same time to get nice straight edges. I prefer doing this over cutting just the fabric out around the interfacing.
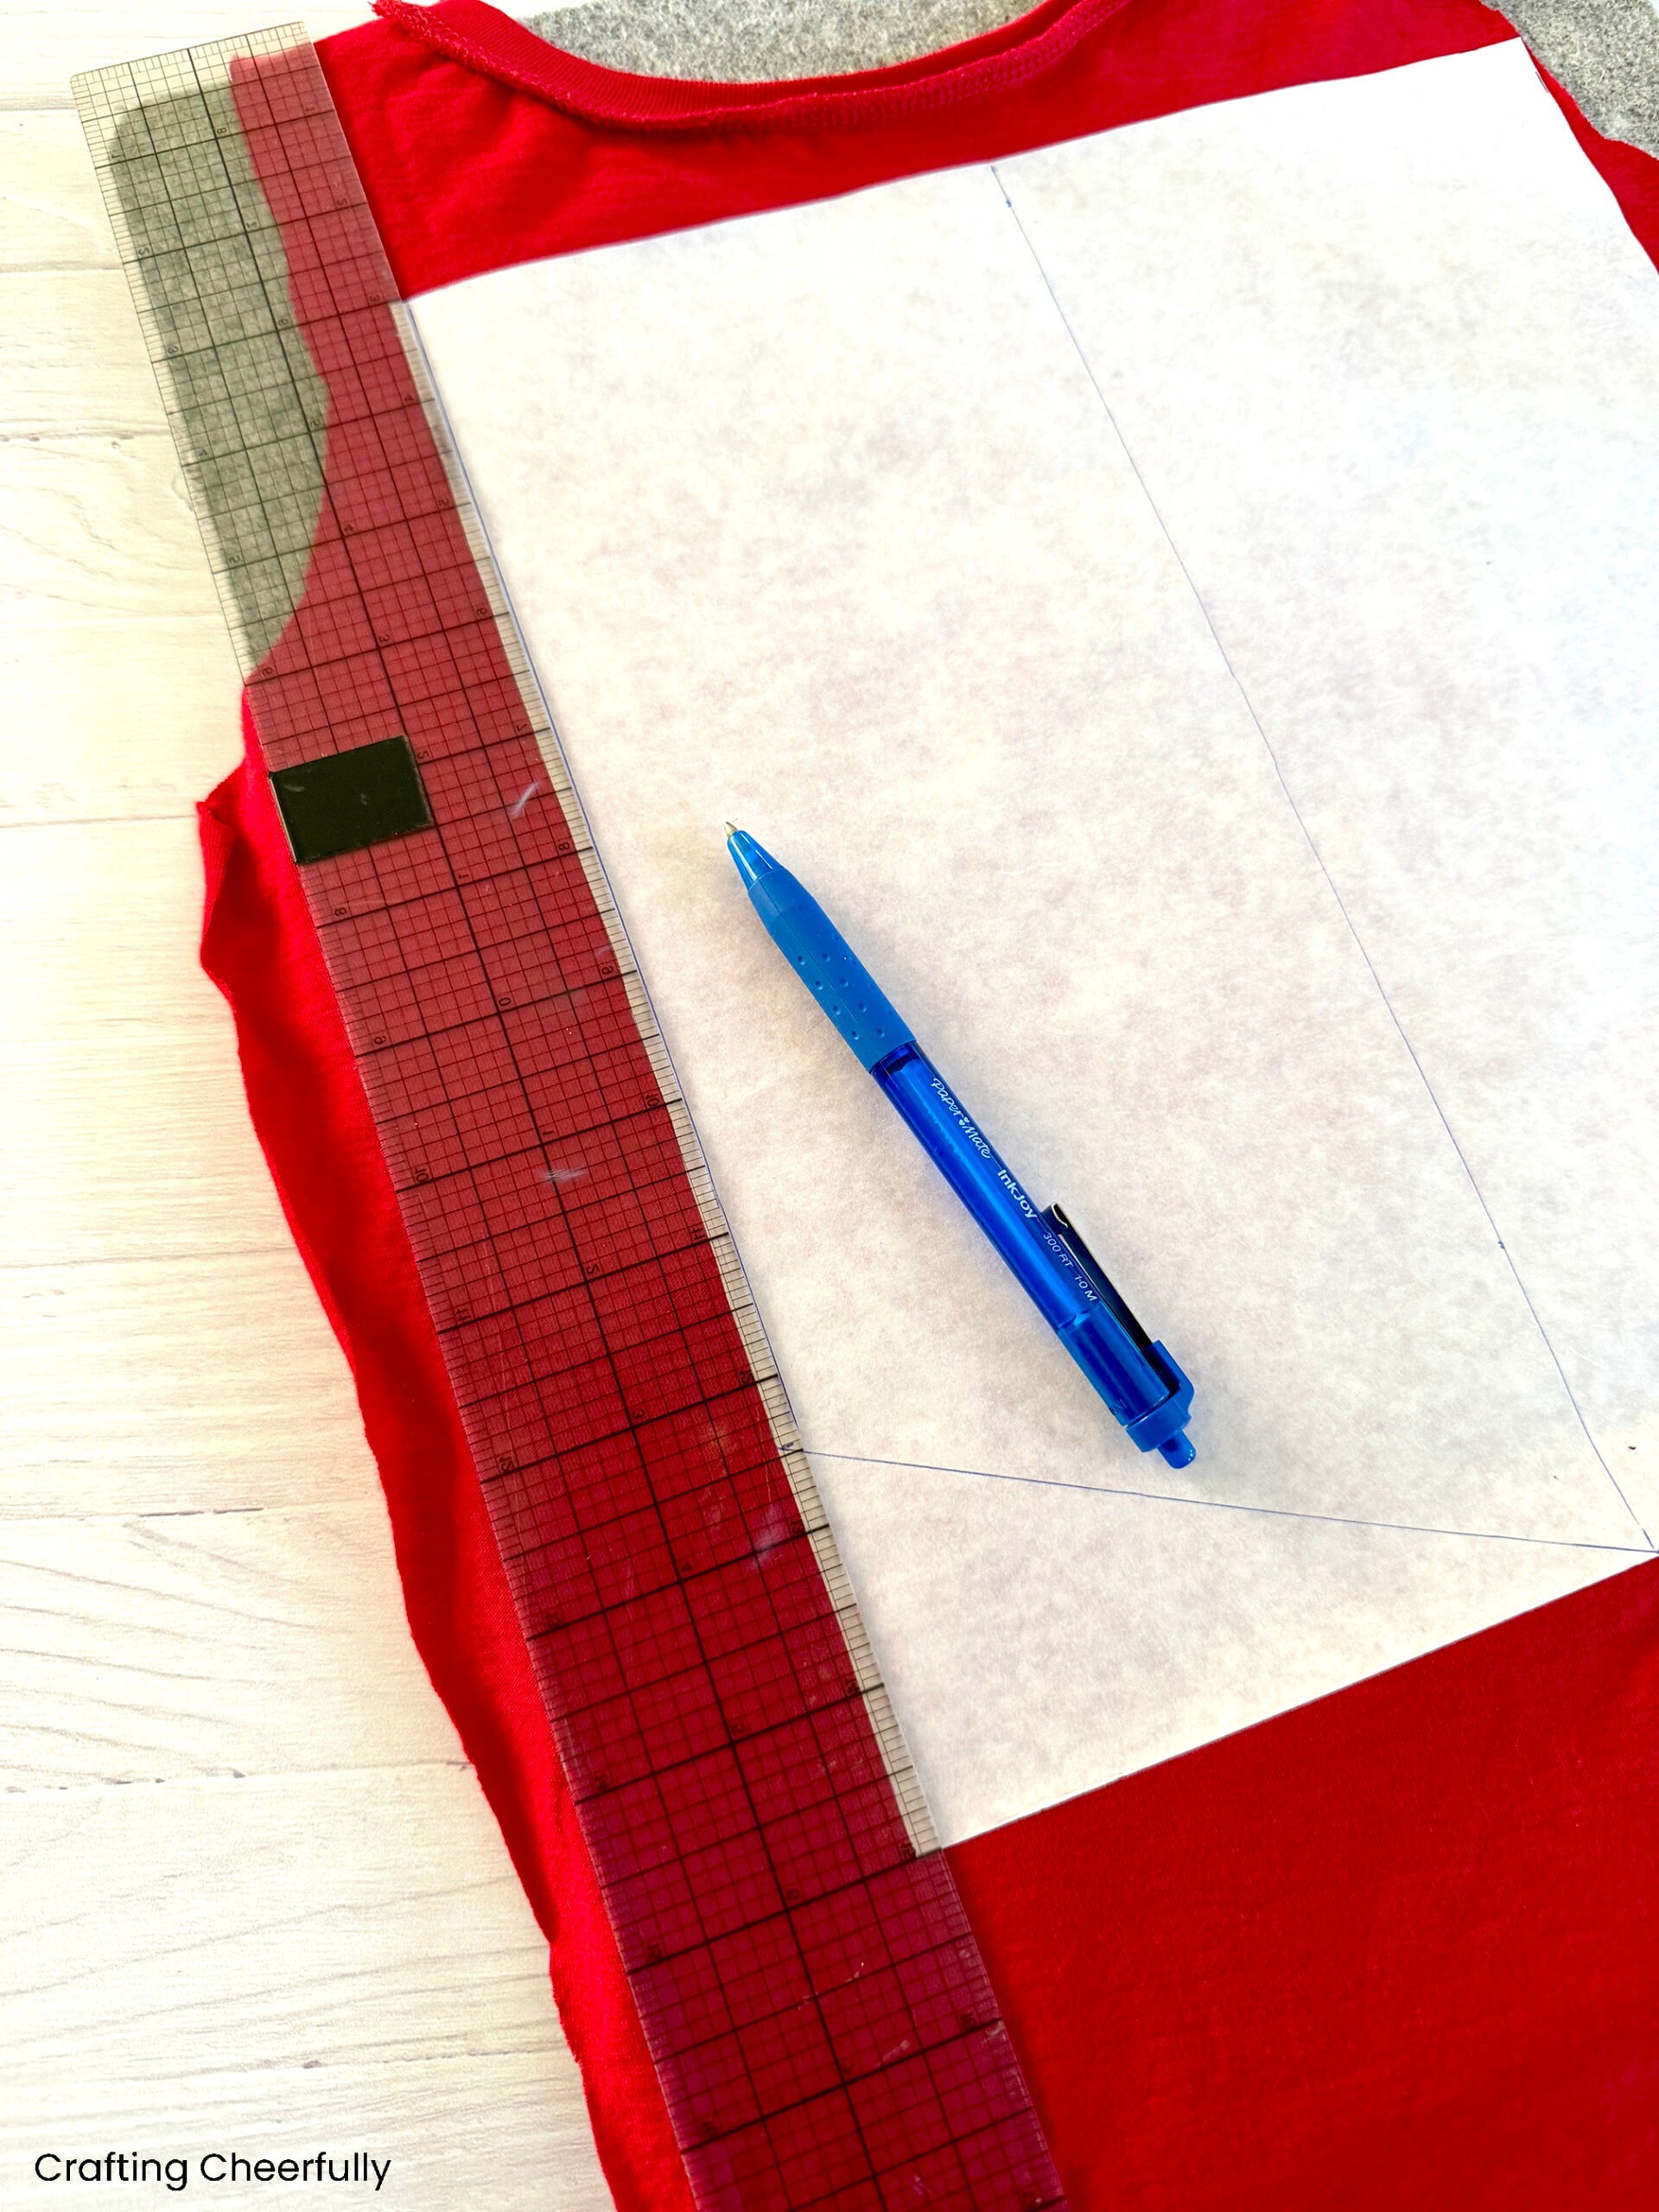
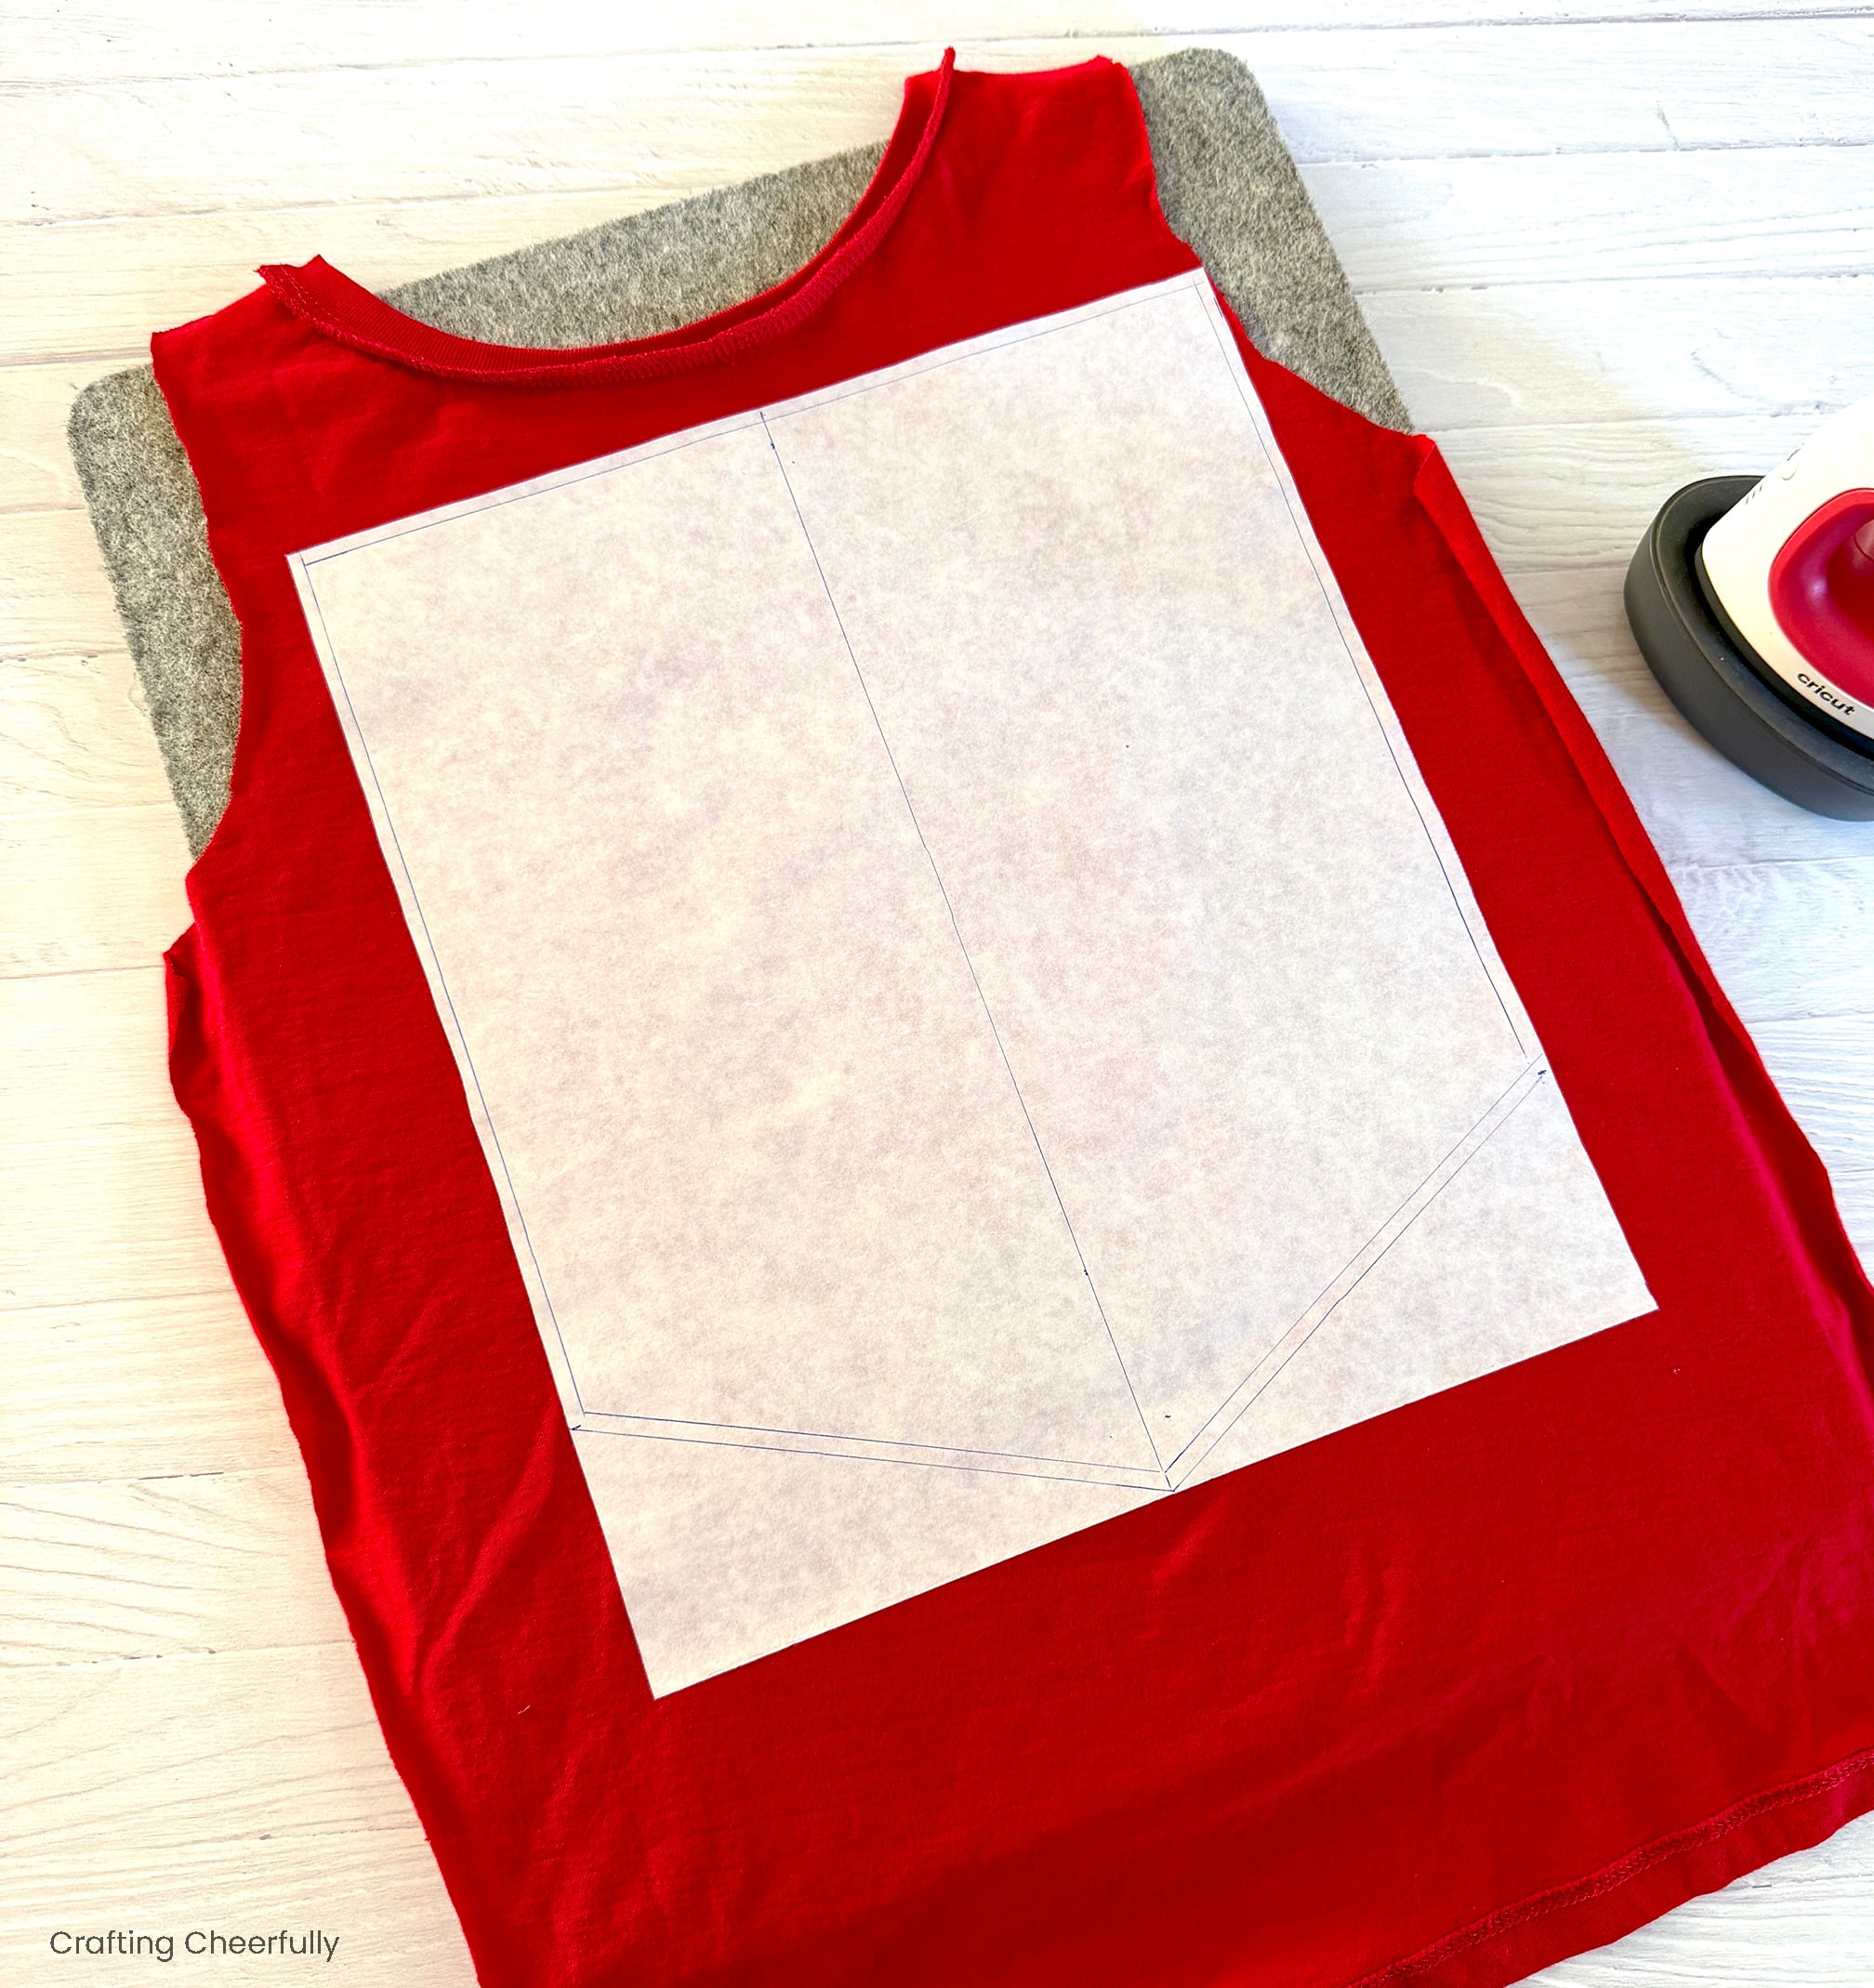
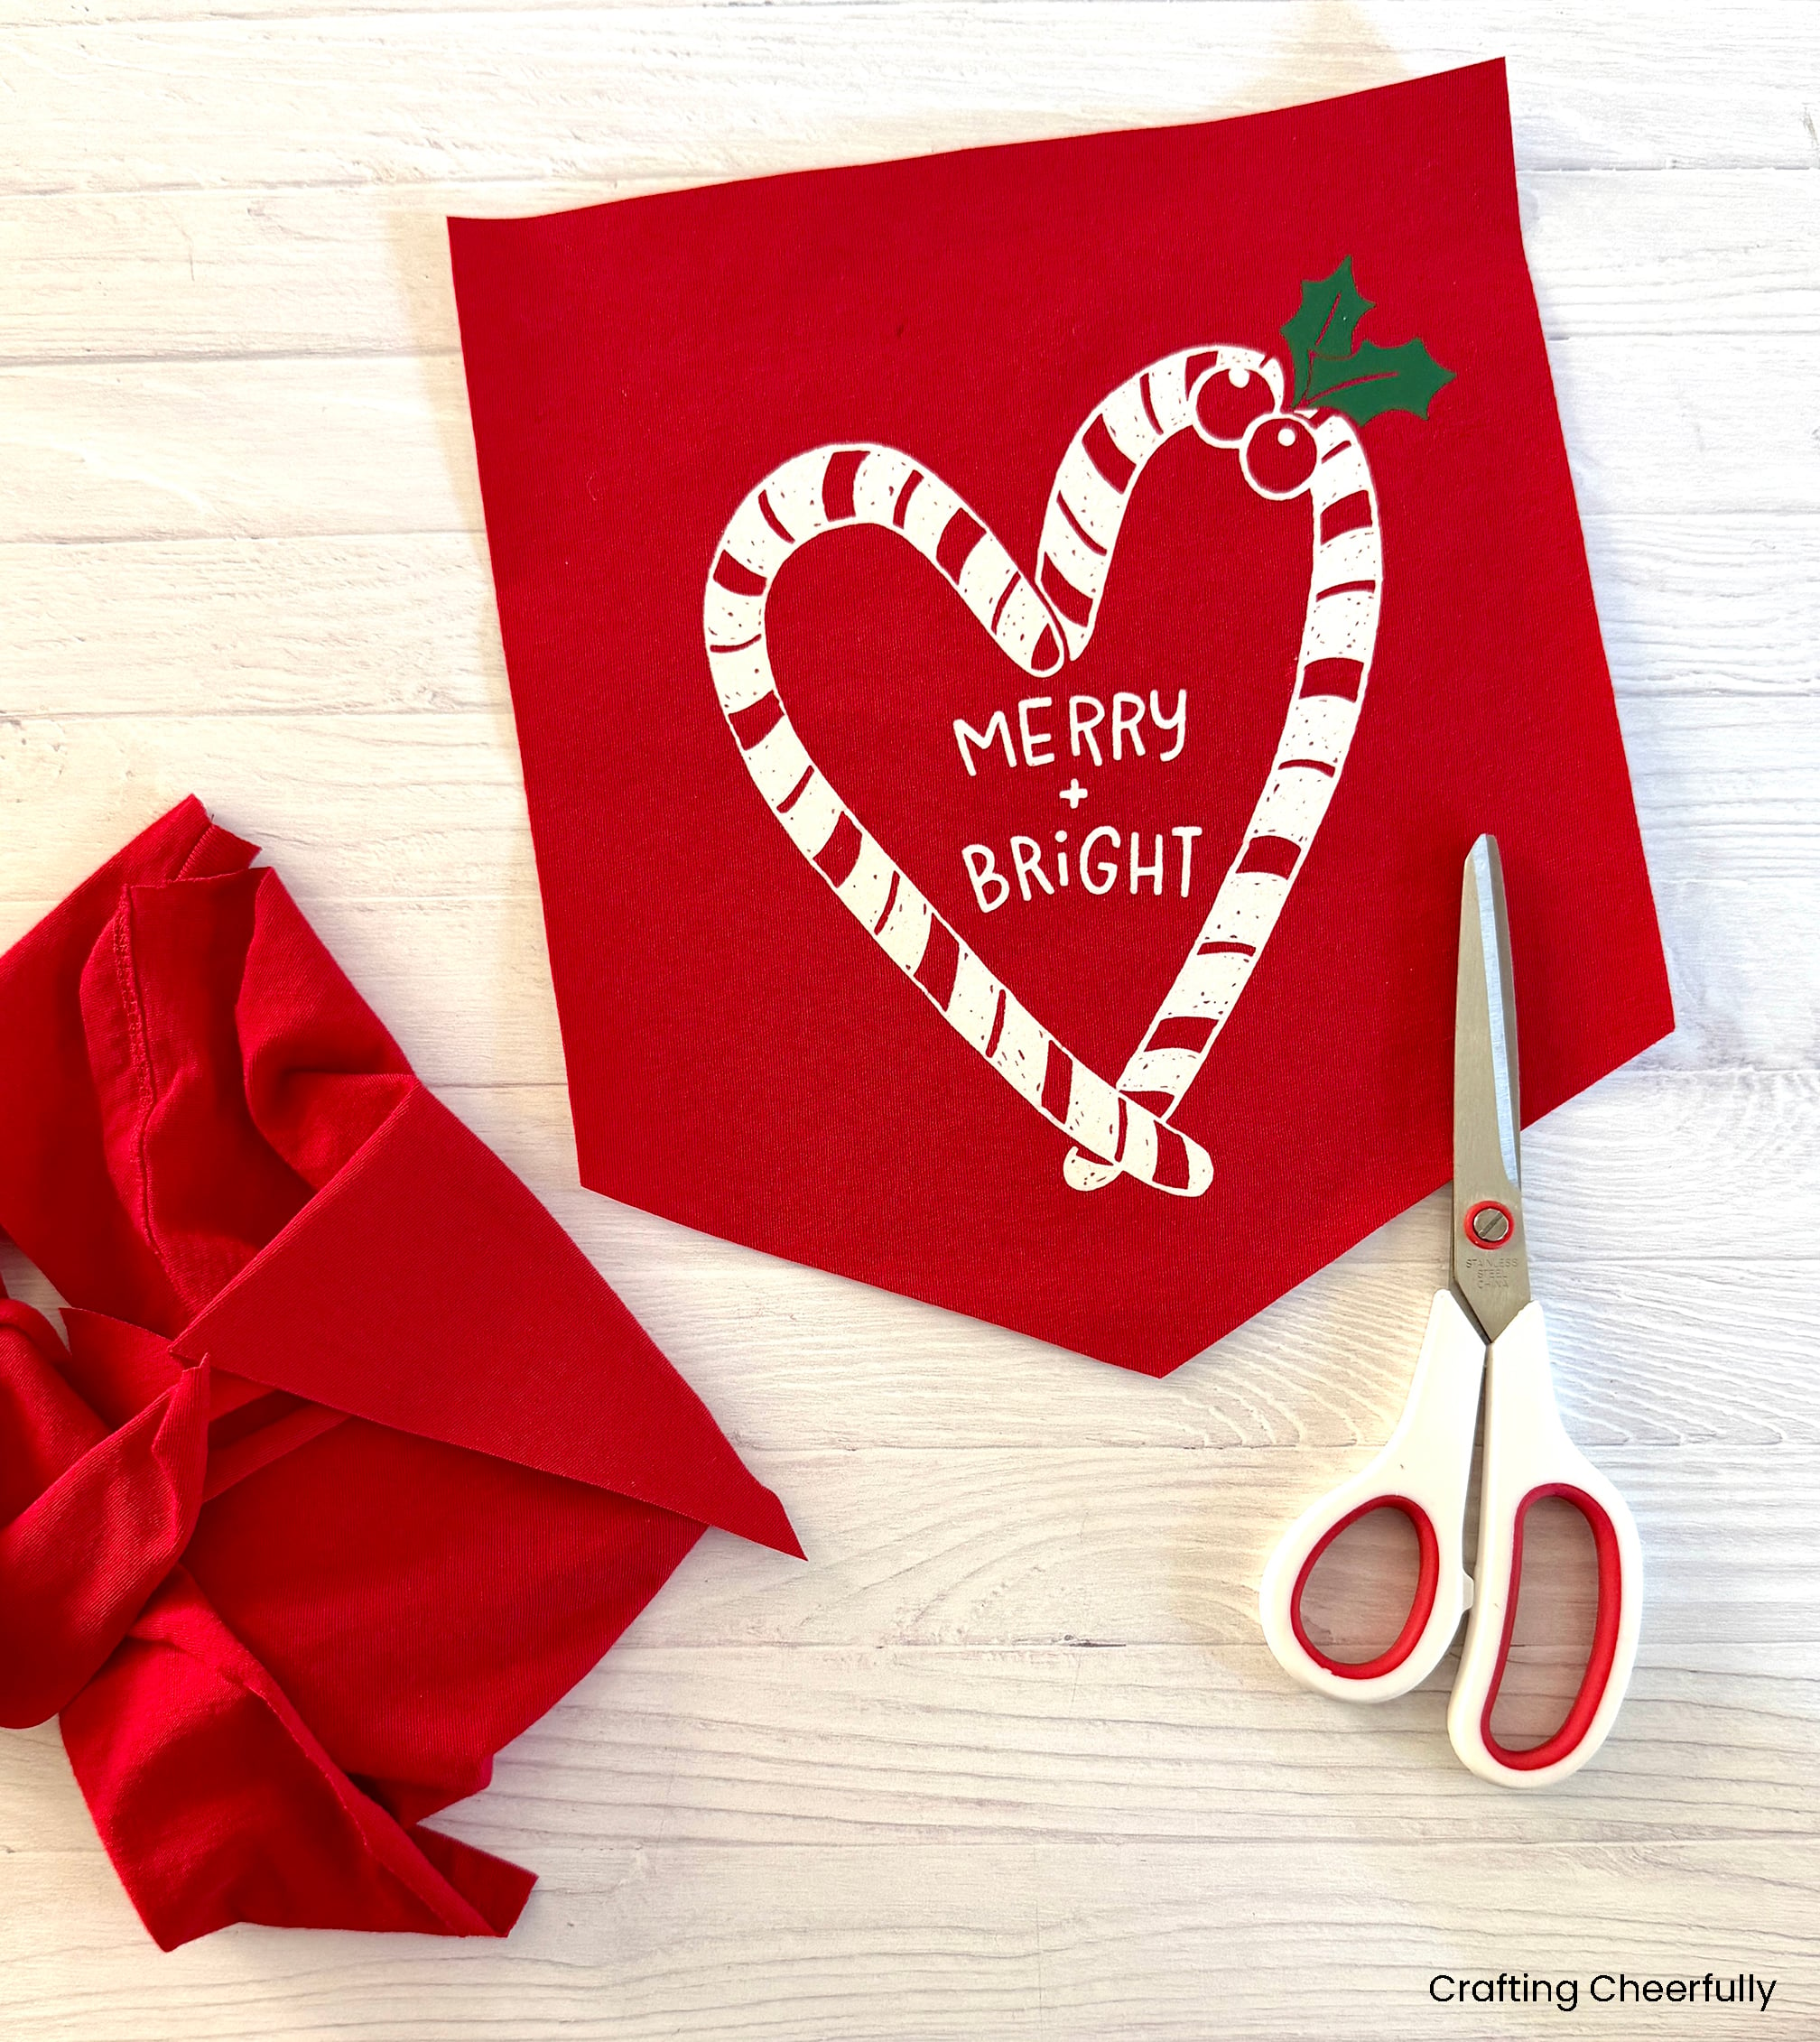
Step Five: Cut out the banner following the lines you just drew and cutting through the interfacing and shirt fabric at the same time.
Assembling the Banner
Step Six: Peel the paper backing off the shirt and iron it to a piece of felt. Use a press cloth between the iron and your t-shirt so you don’t accidentally melt the shirt design!
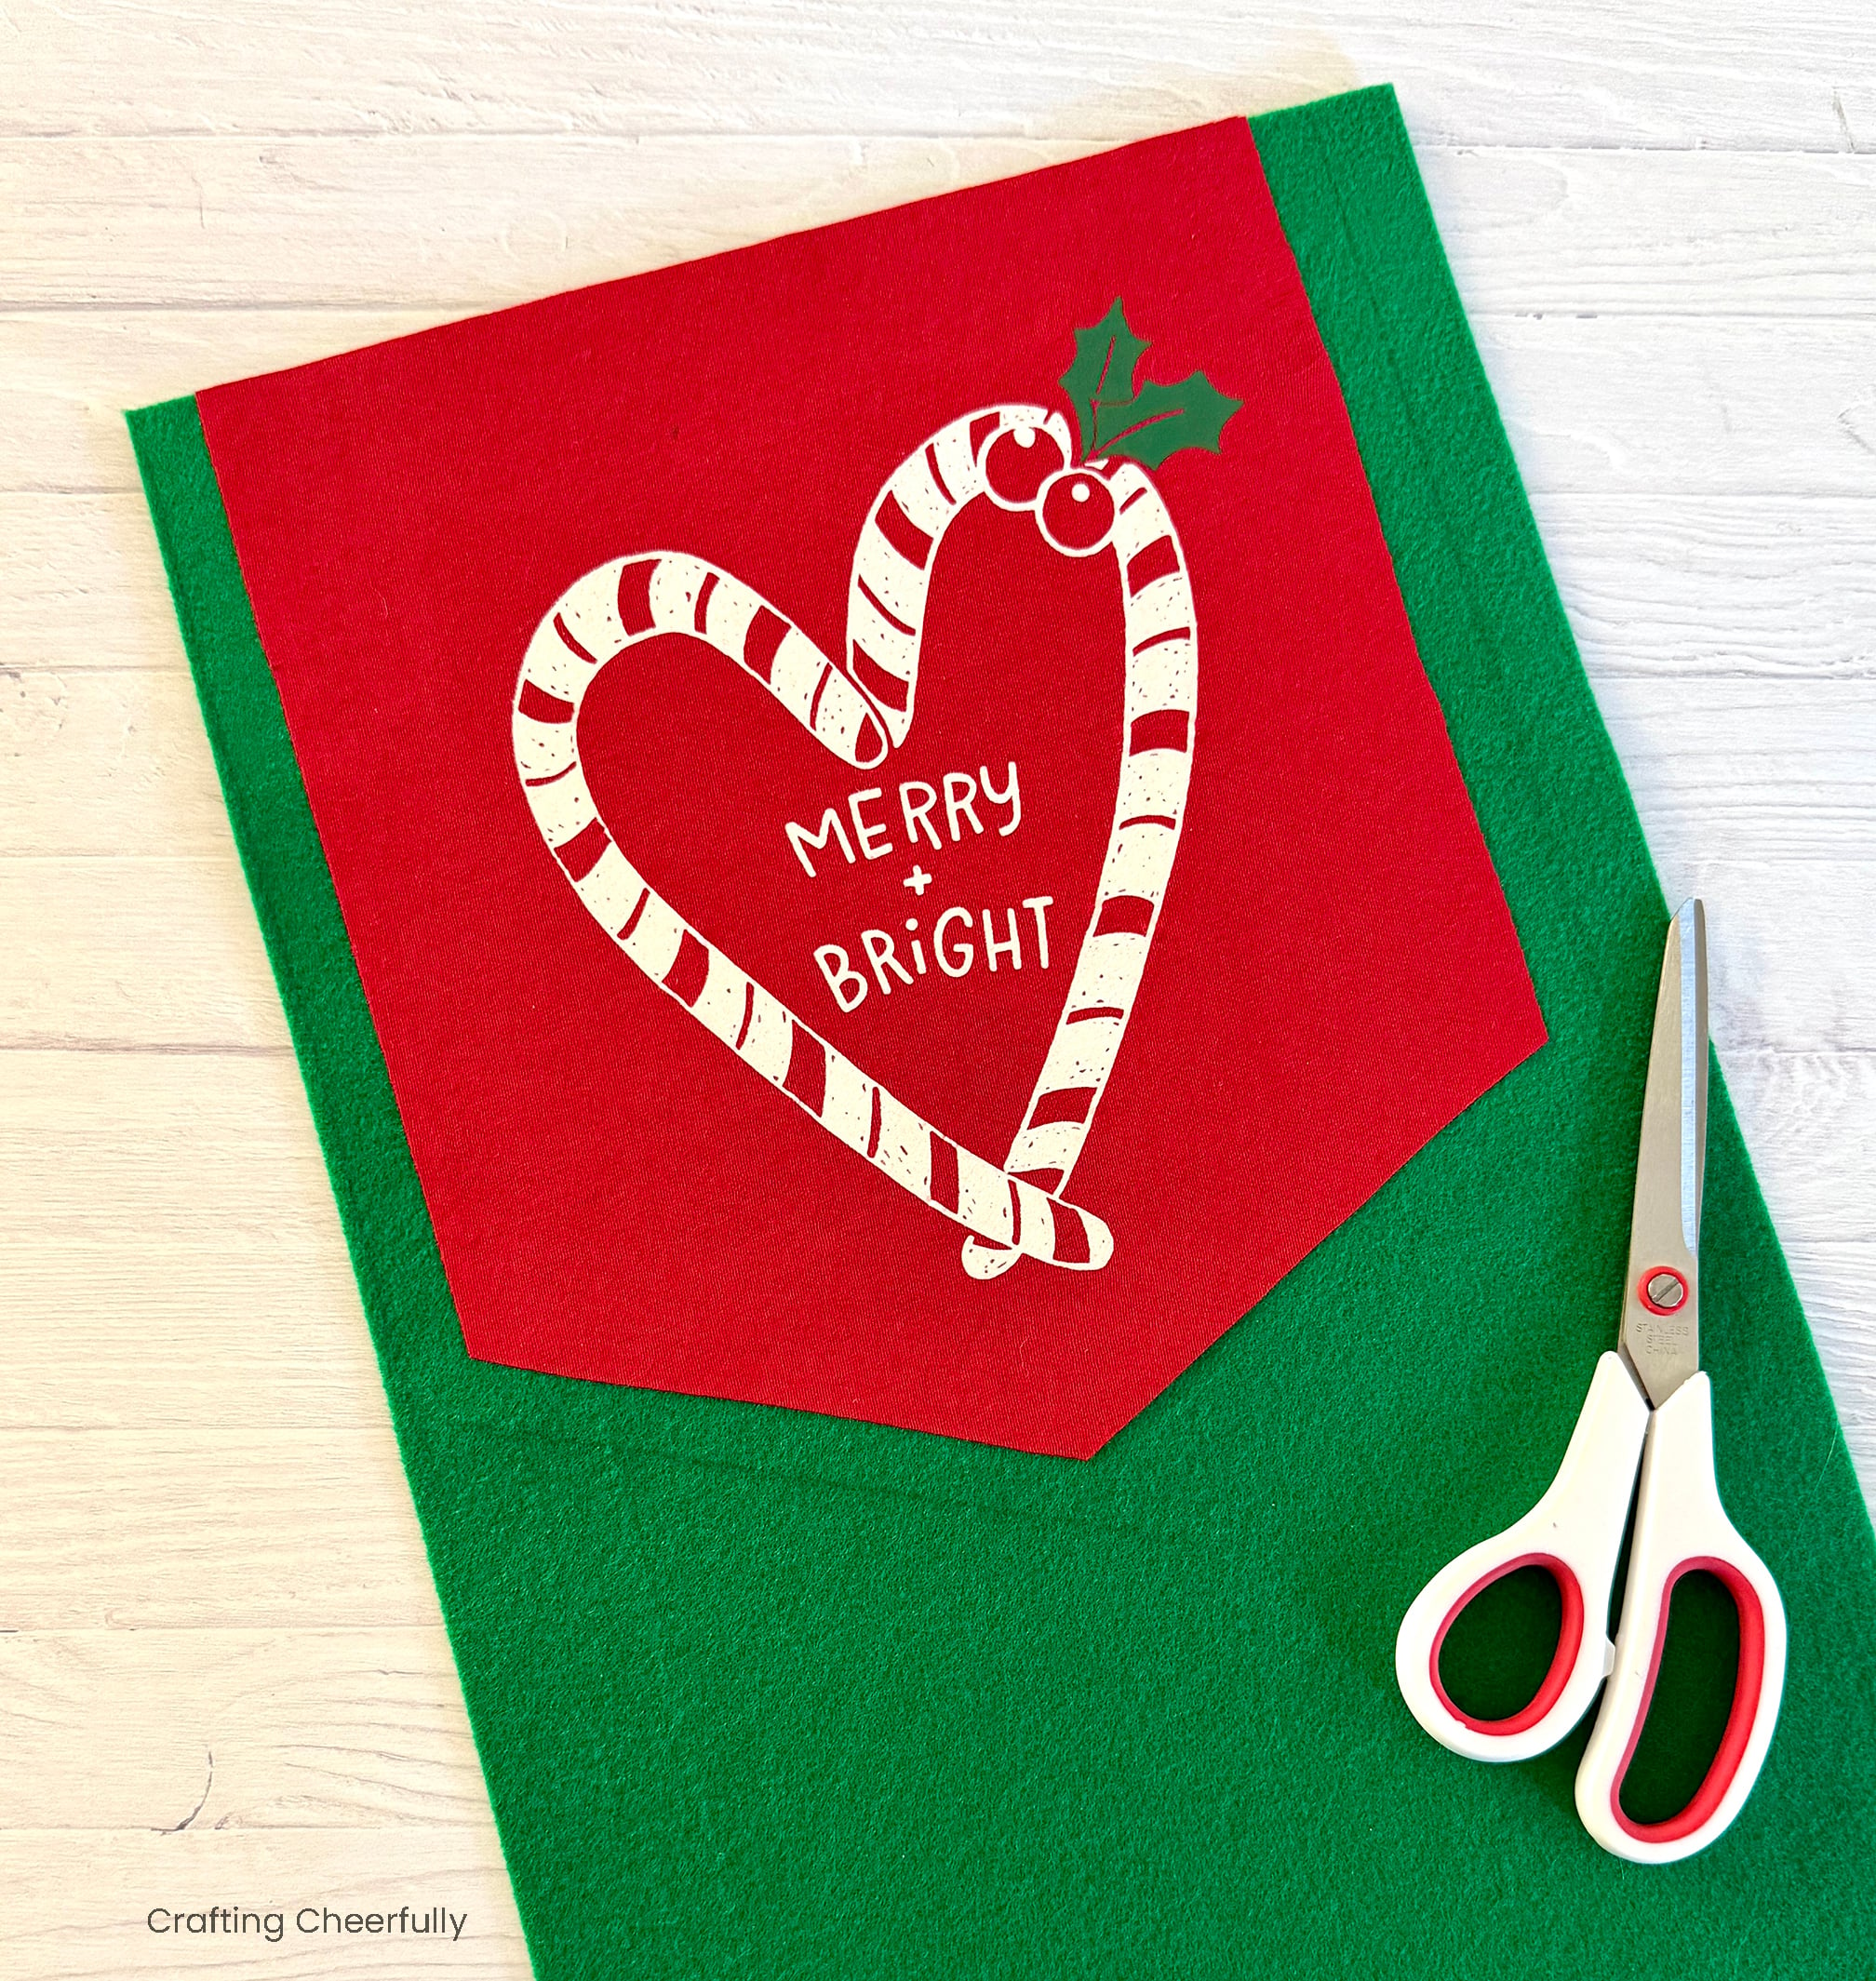
Mark a 1/2″ or 3/8″ border around the banner and cut out the felt. I did not add a border to the top of the design since this edge will get folded over.
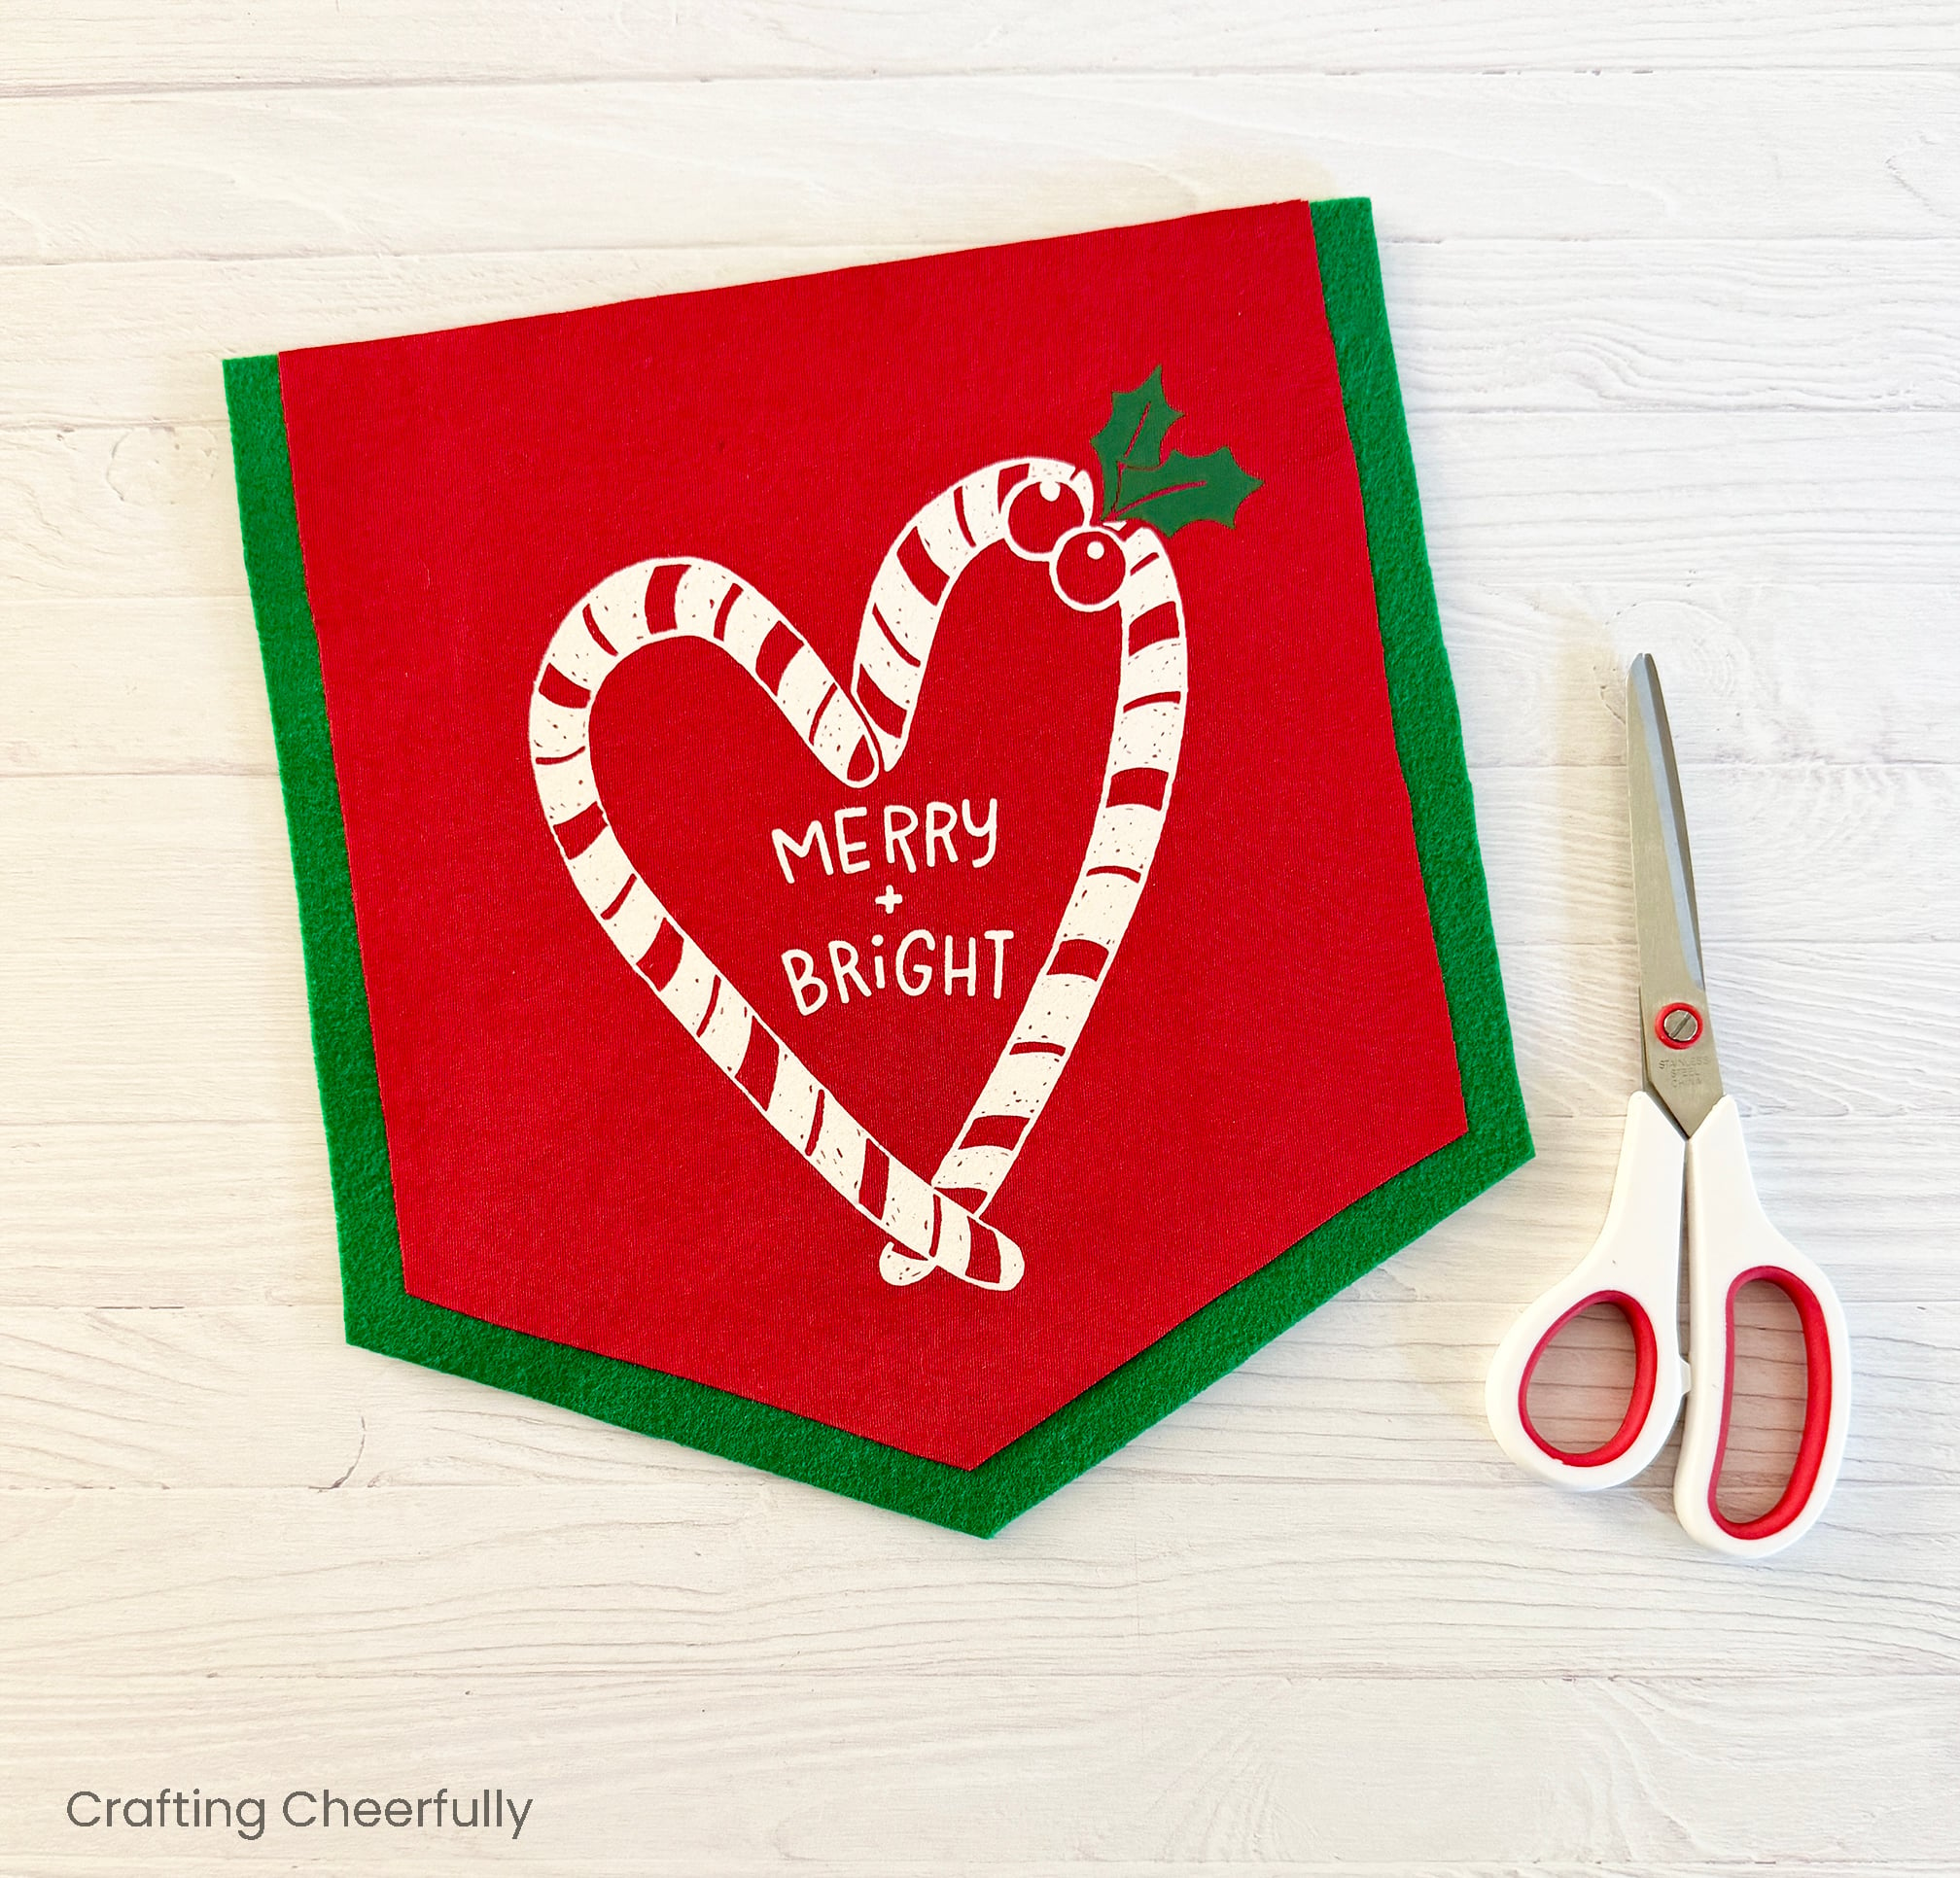
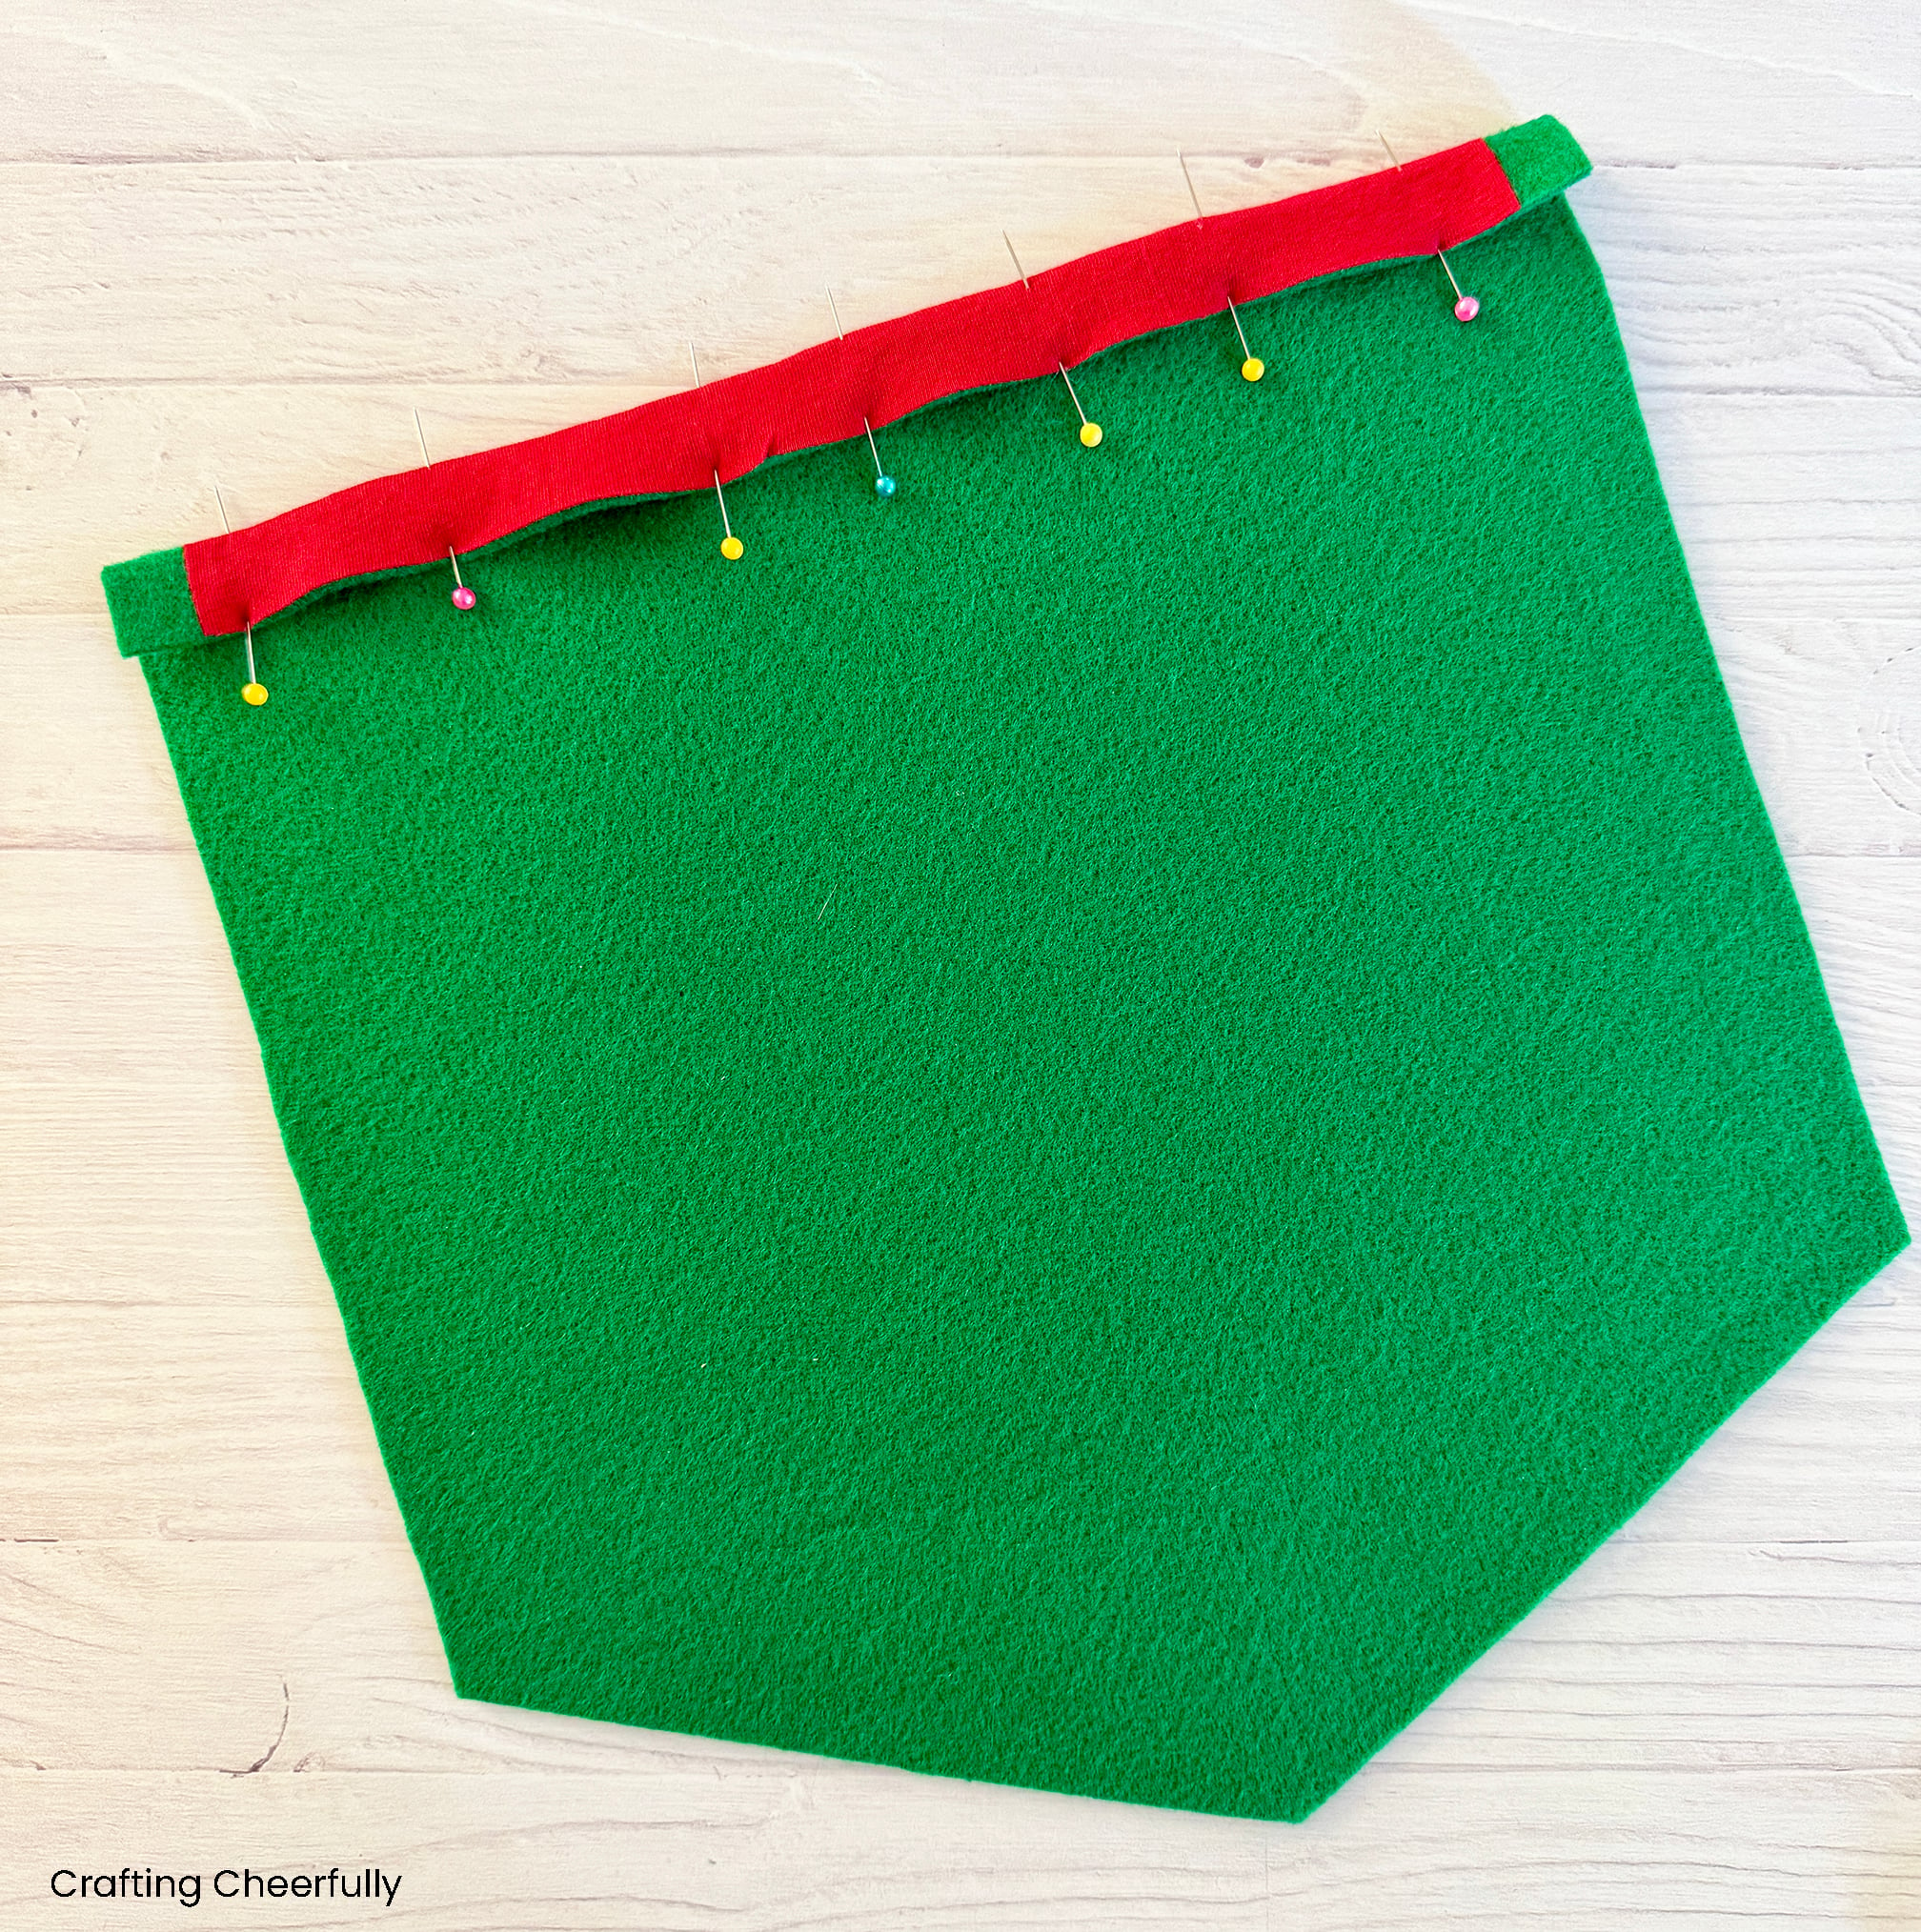
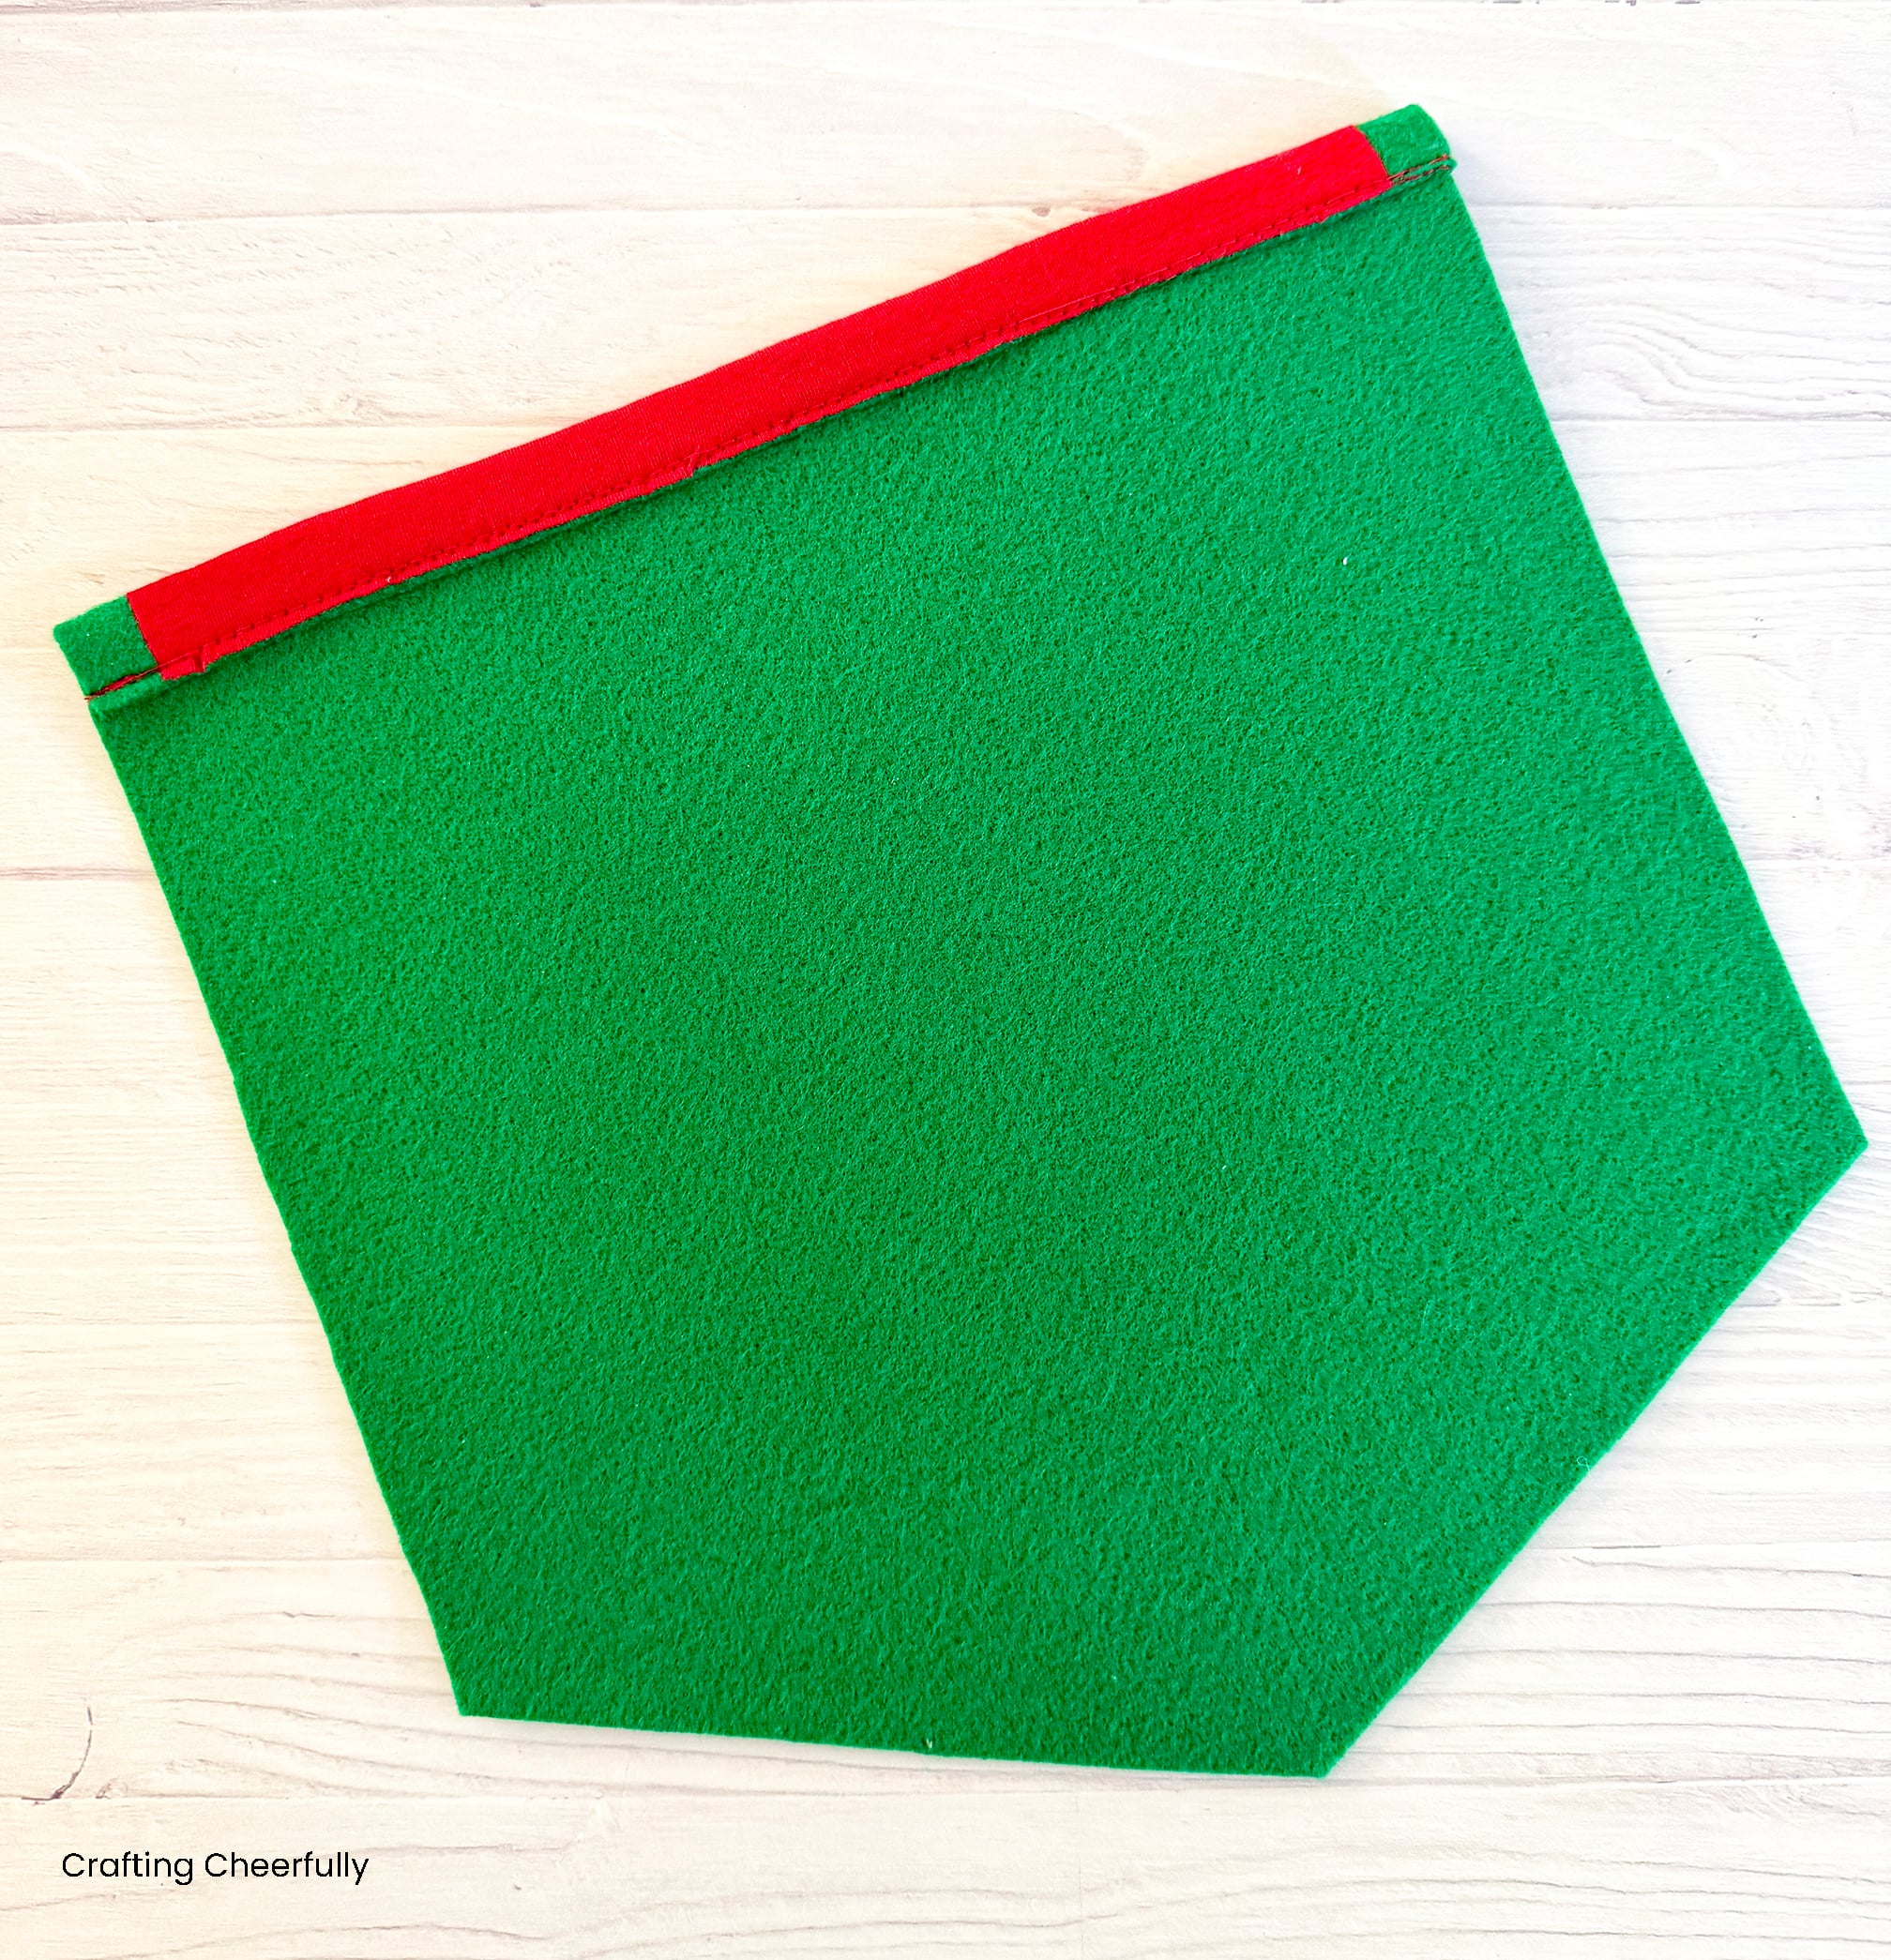
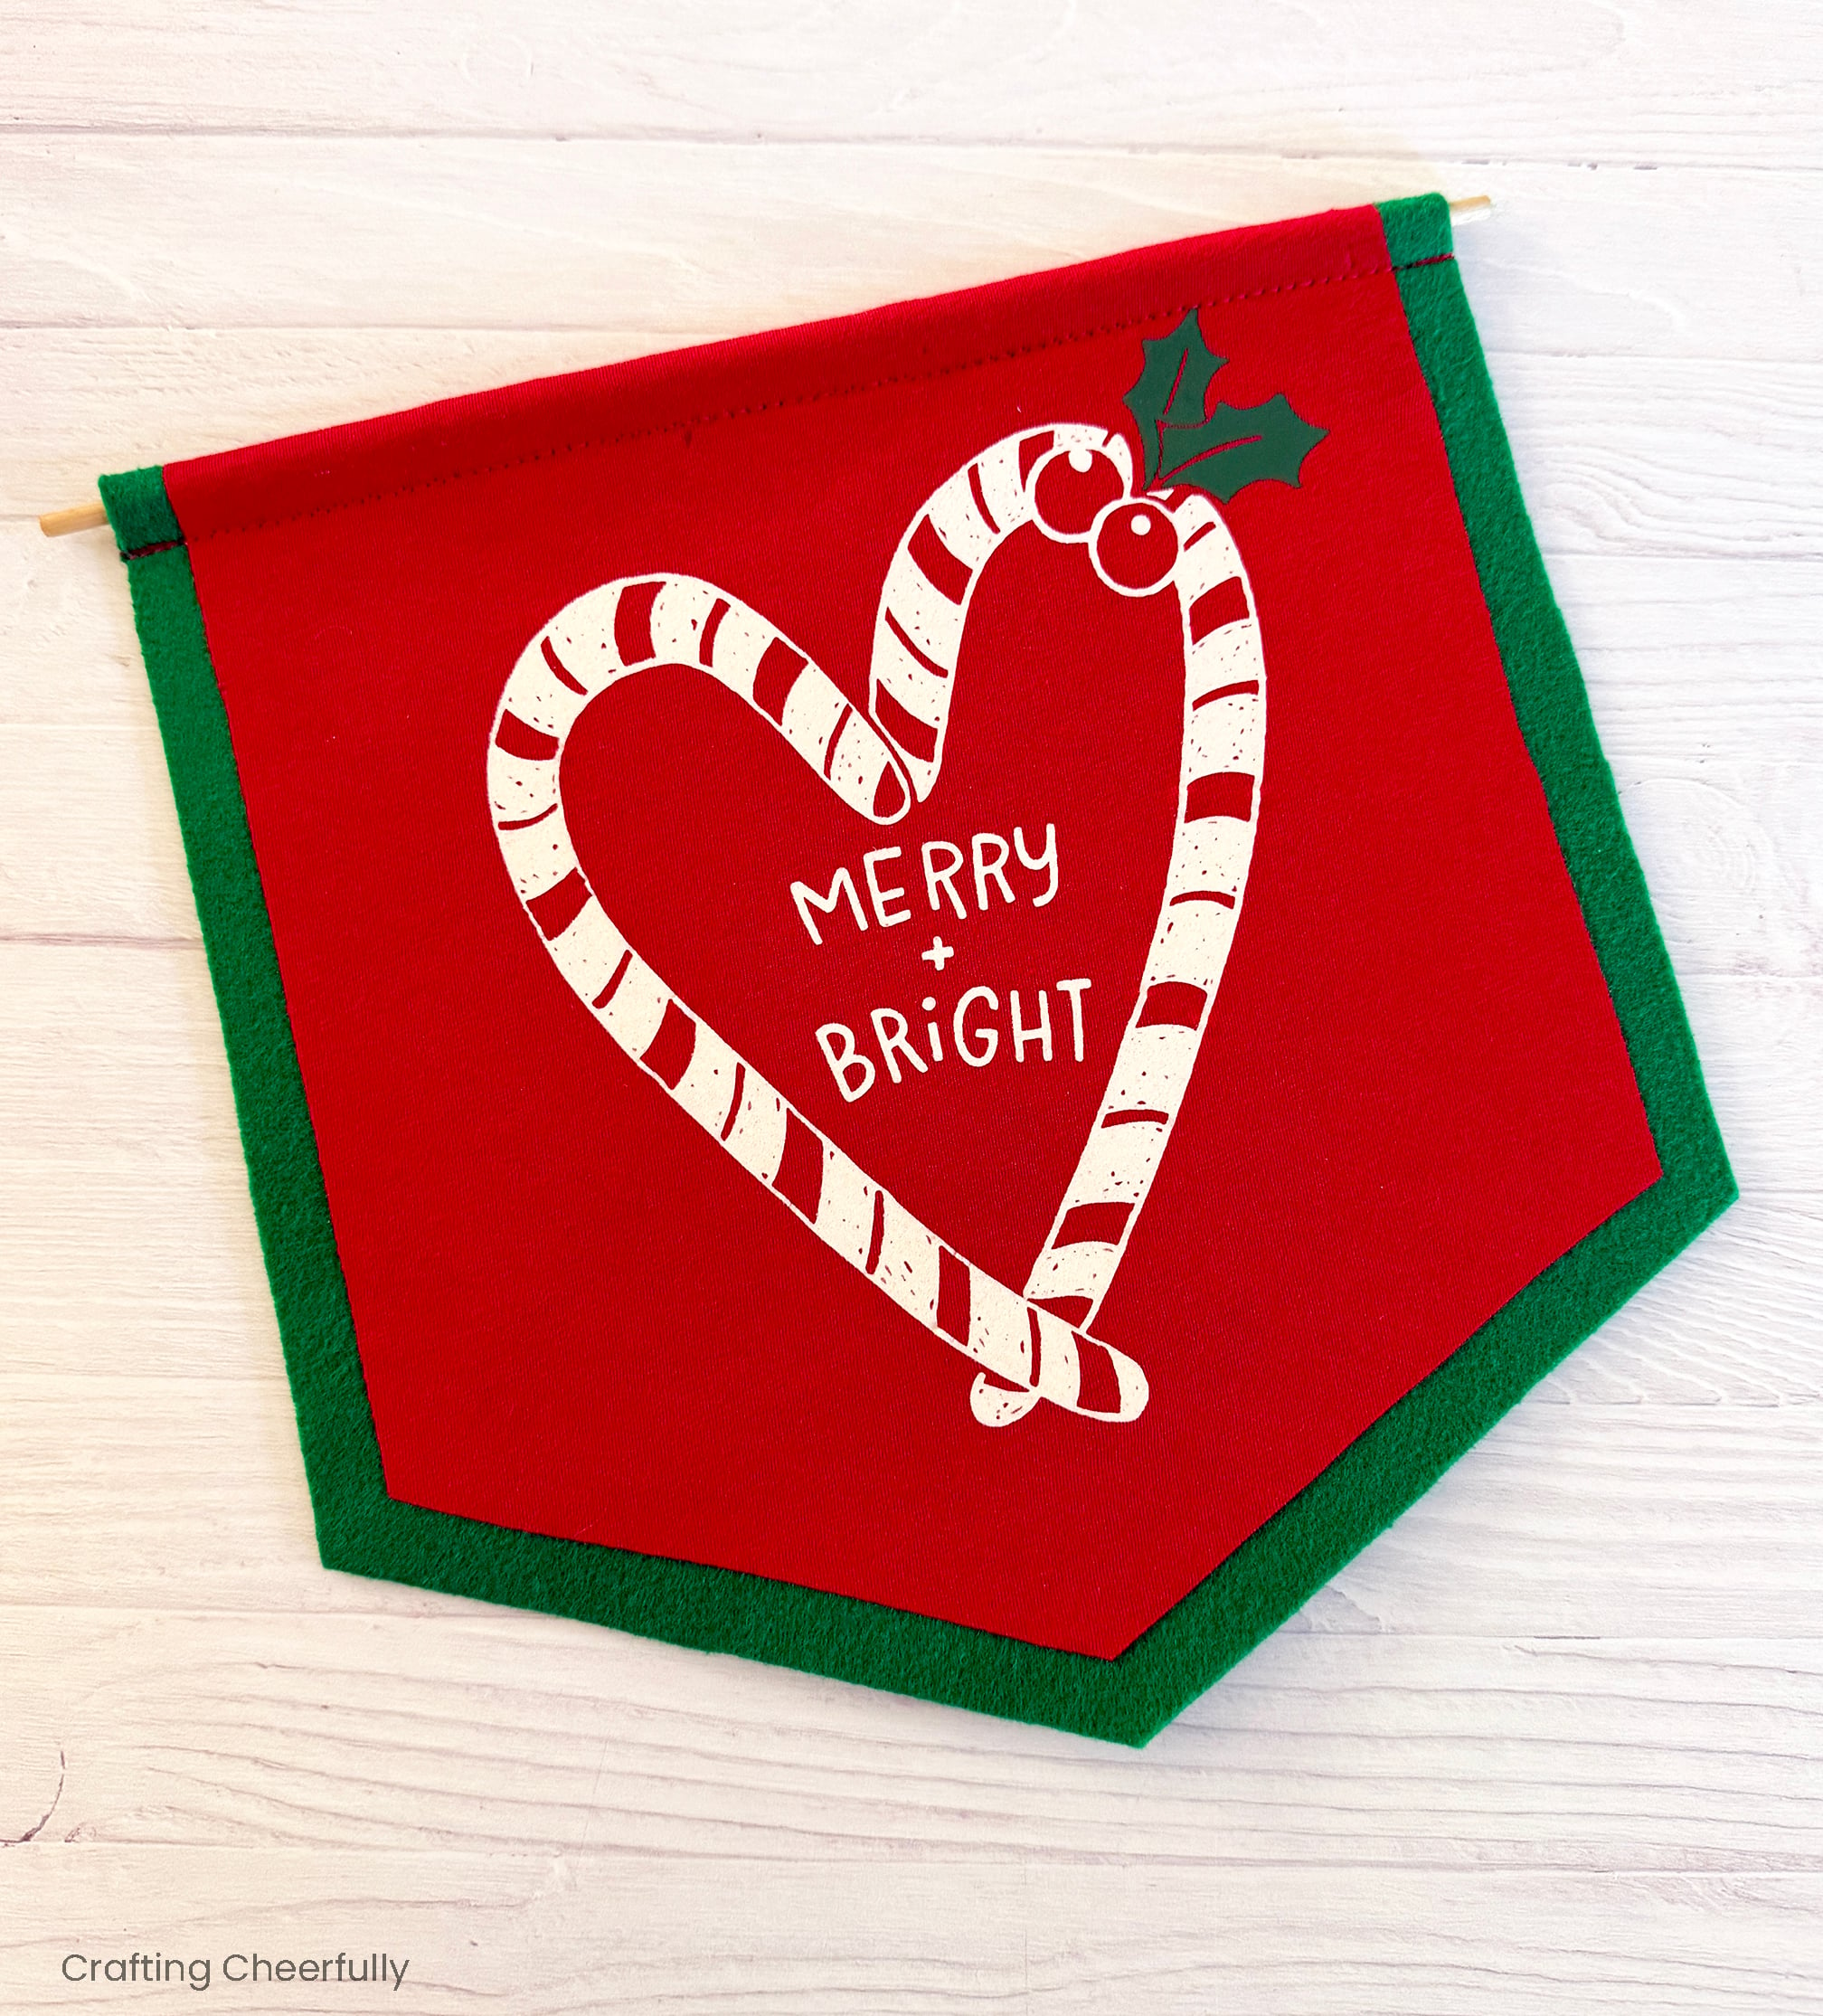
Step Seven: Make a casing along the top of the banner for the dowel. Start by folding over the top of the banner by 3/4″. Stitch the casing down along the edge leaving the two ends open. Slide your dowel into the casing.
Adding the Tassel
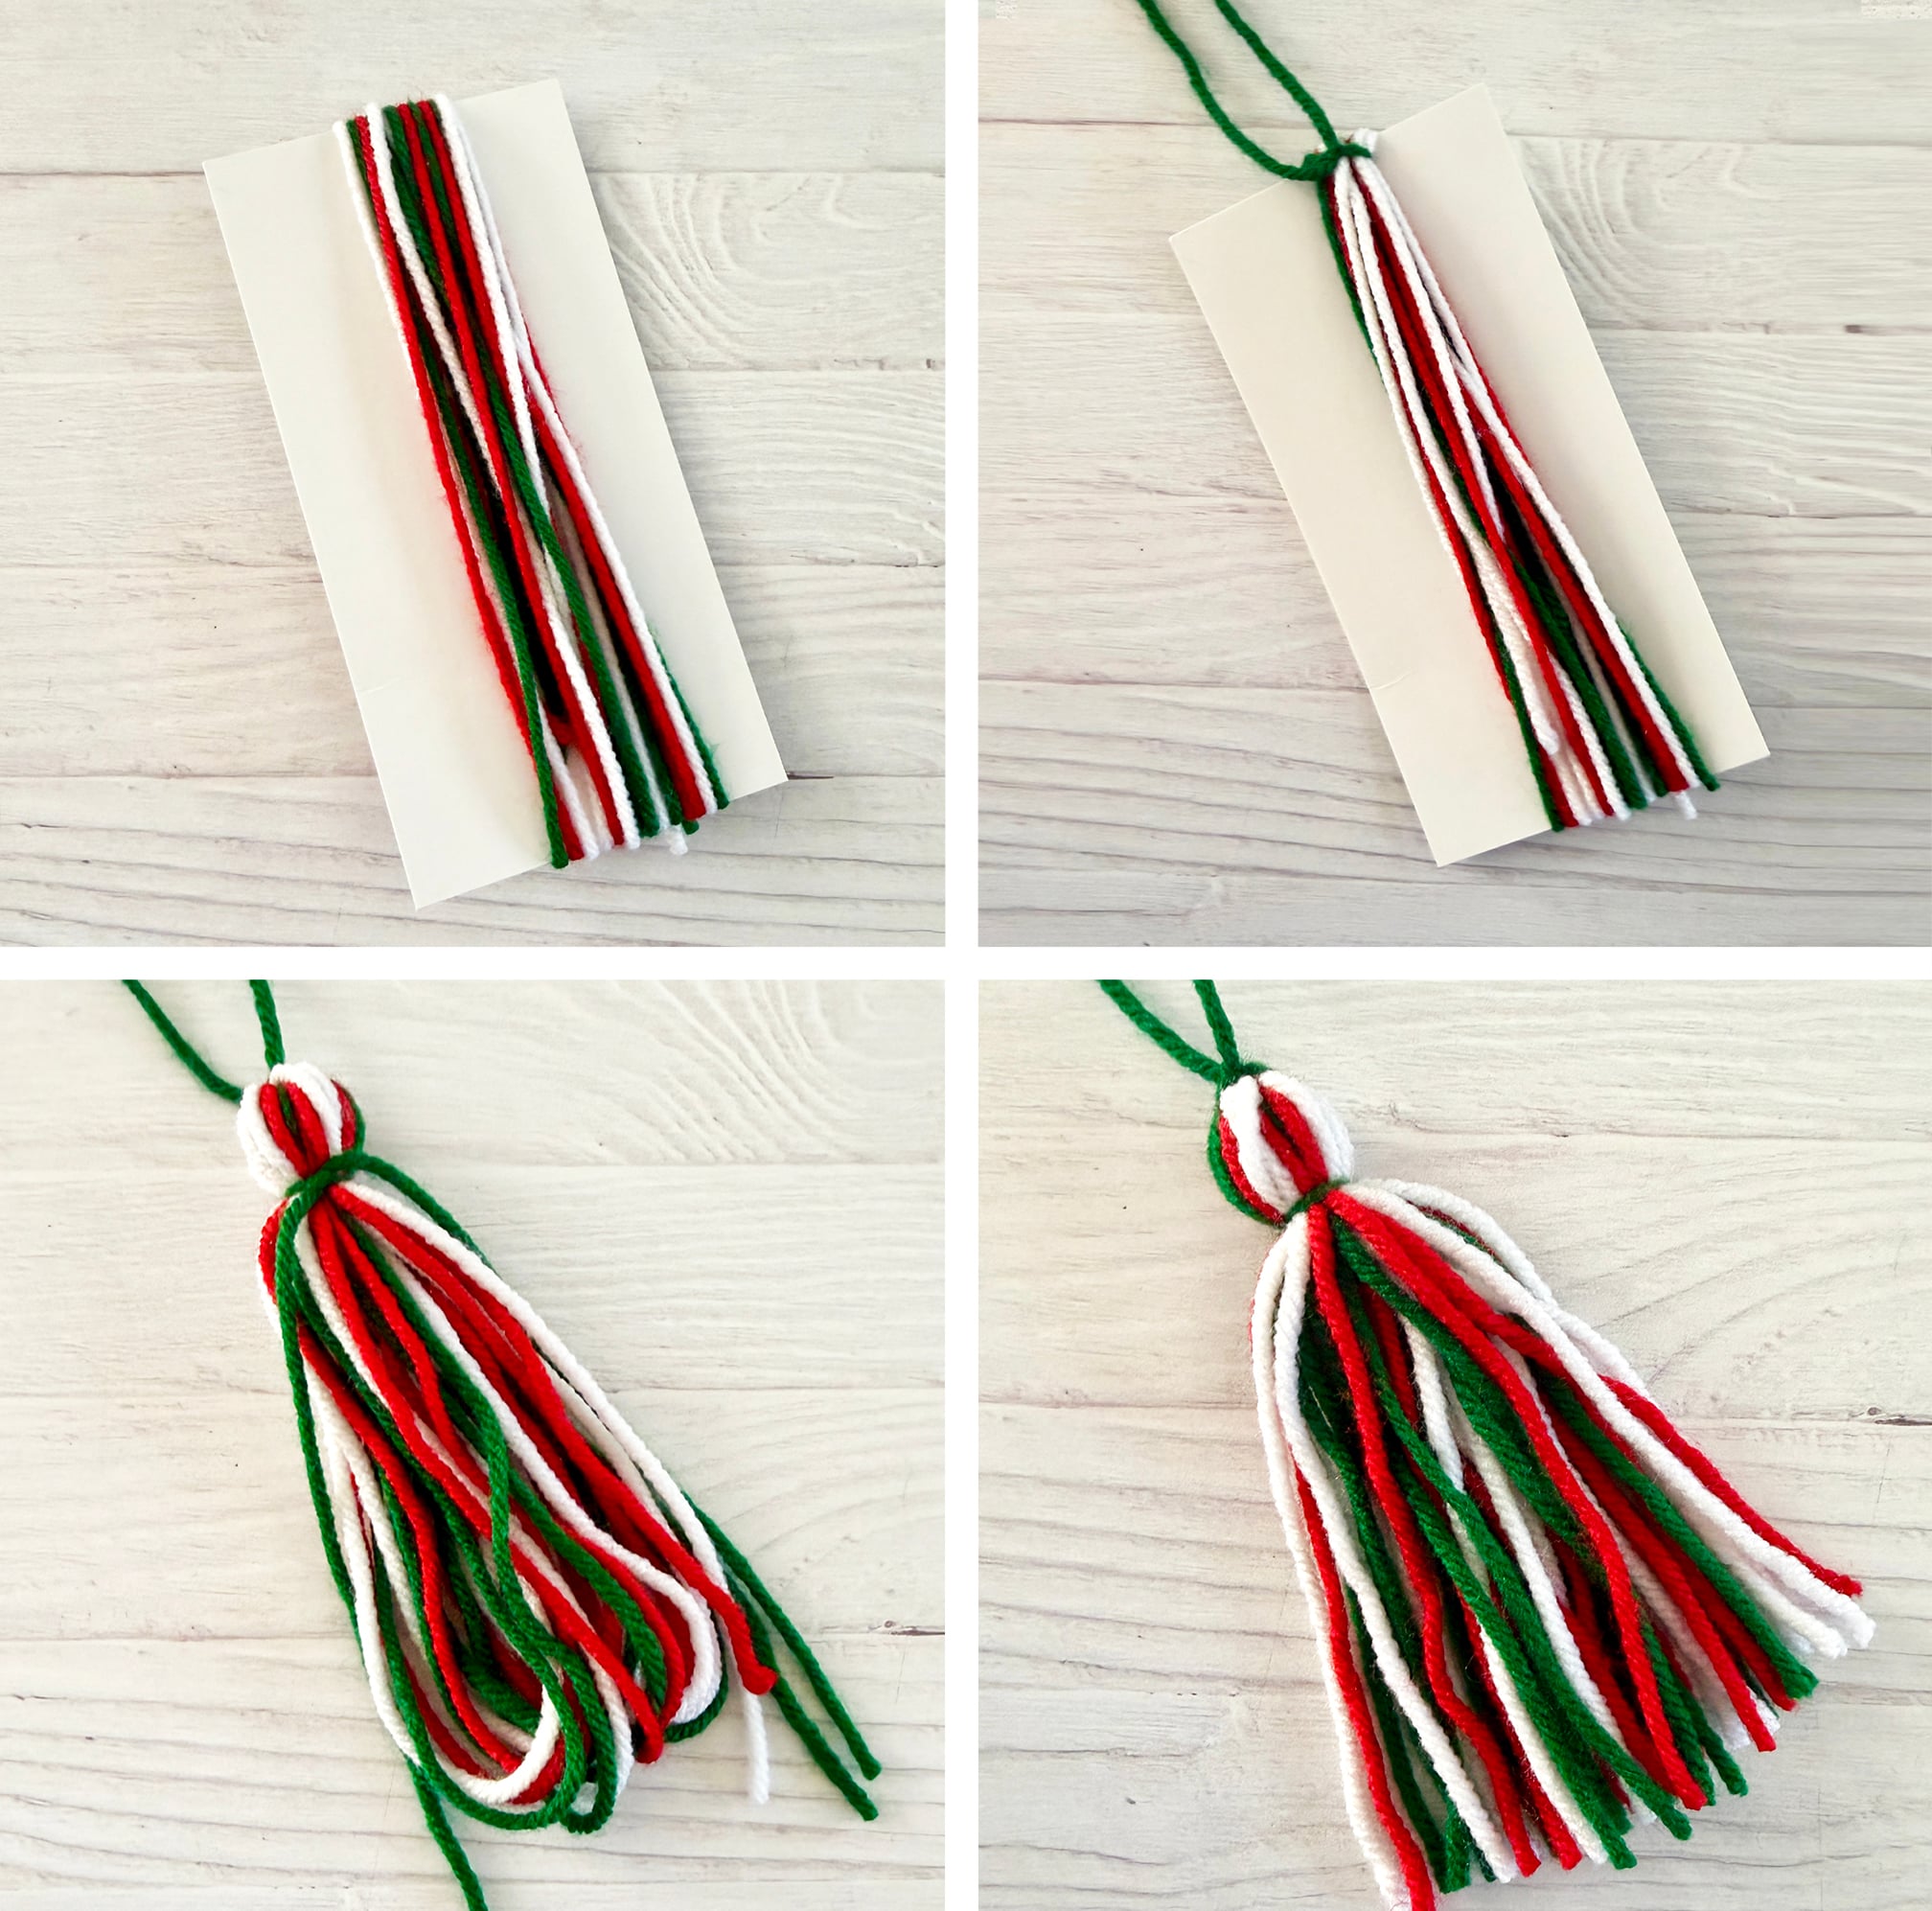
Step Eight: Create a tassel. Cut a piece of cardboard that measures 3″ x 6″. Wrap yarn around it about 20-25 times. I chose to use three colors of yarn for my tassel to incorporate all three colors in the t-shirt design.
Use a small piece of yarn to secure the top of the tassel and remove the cardboard. Use another piece of yarn to tie around the tassel about 3/4″ from the top of the tassel. Trim the ends of the tassel so they are even then tie the tassel to one end of the dowel. Tie a piece of yarn on each end of the dowel to create a hanging loop.
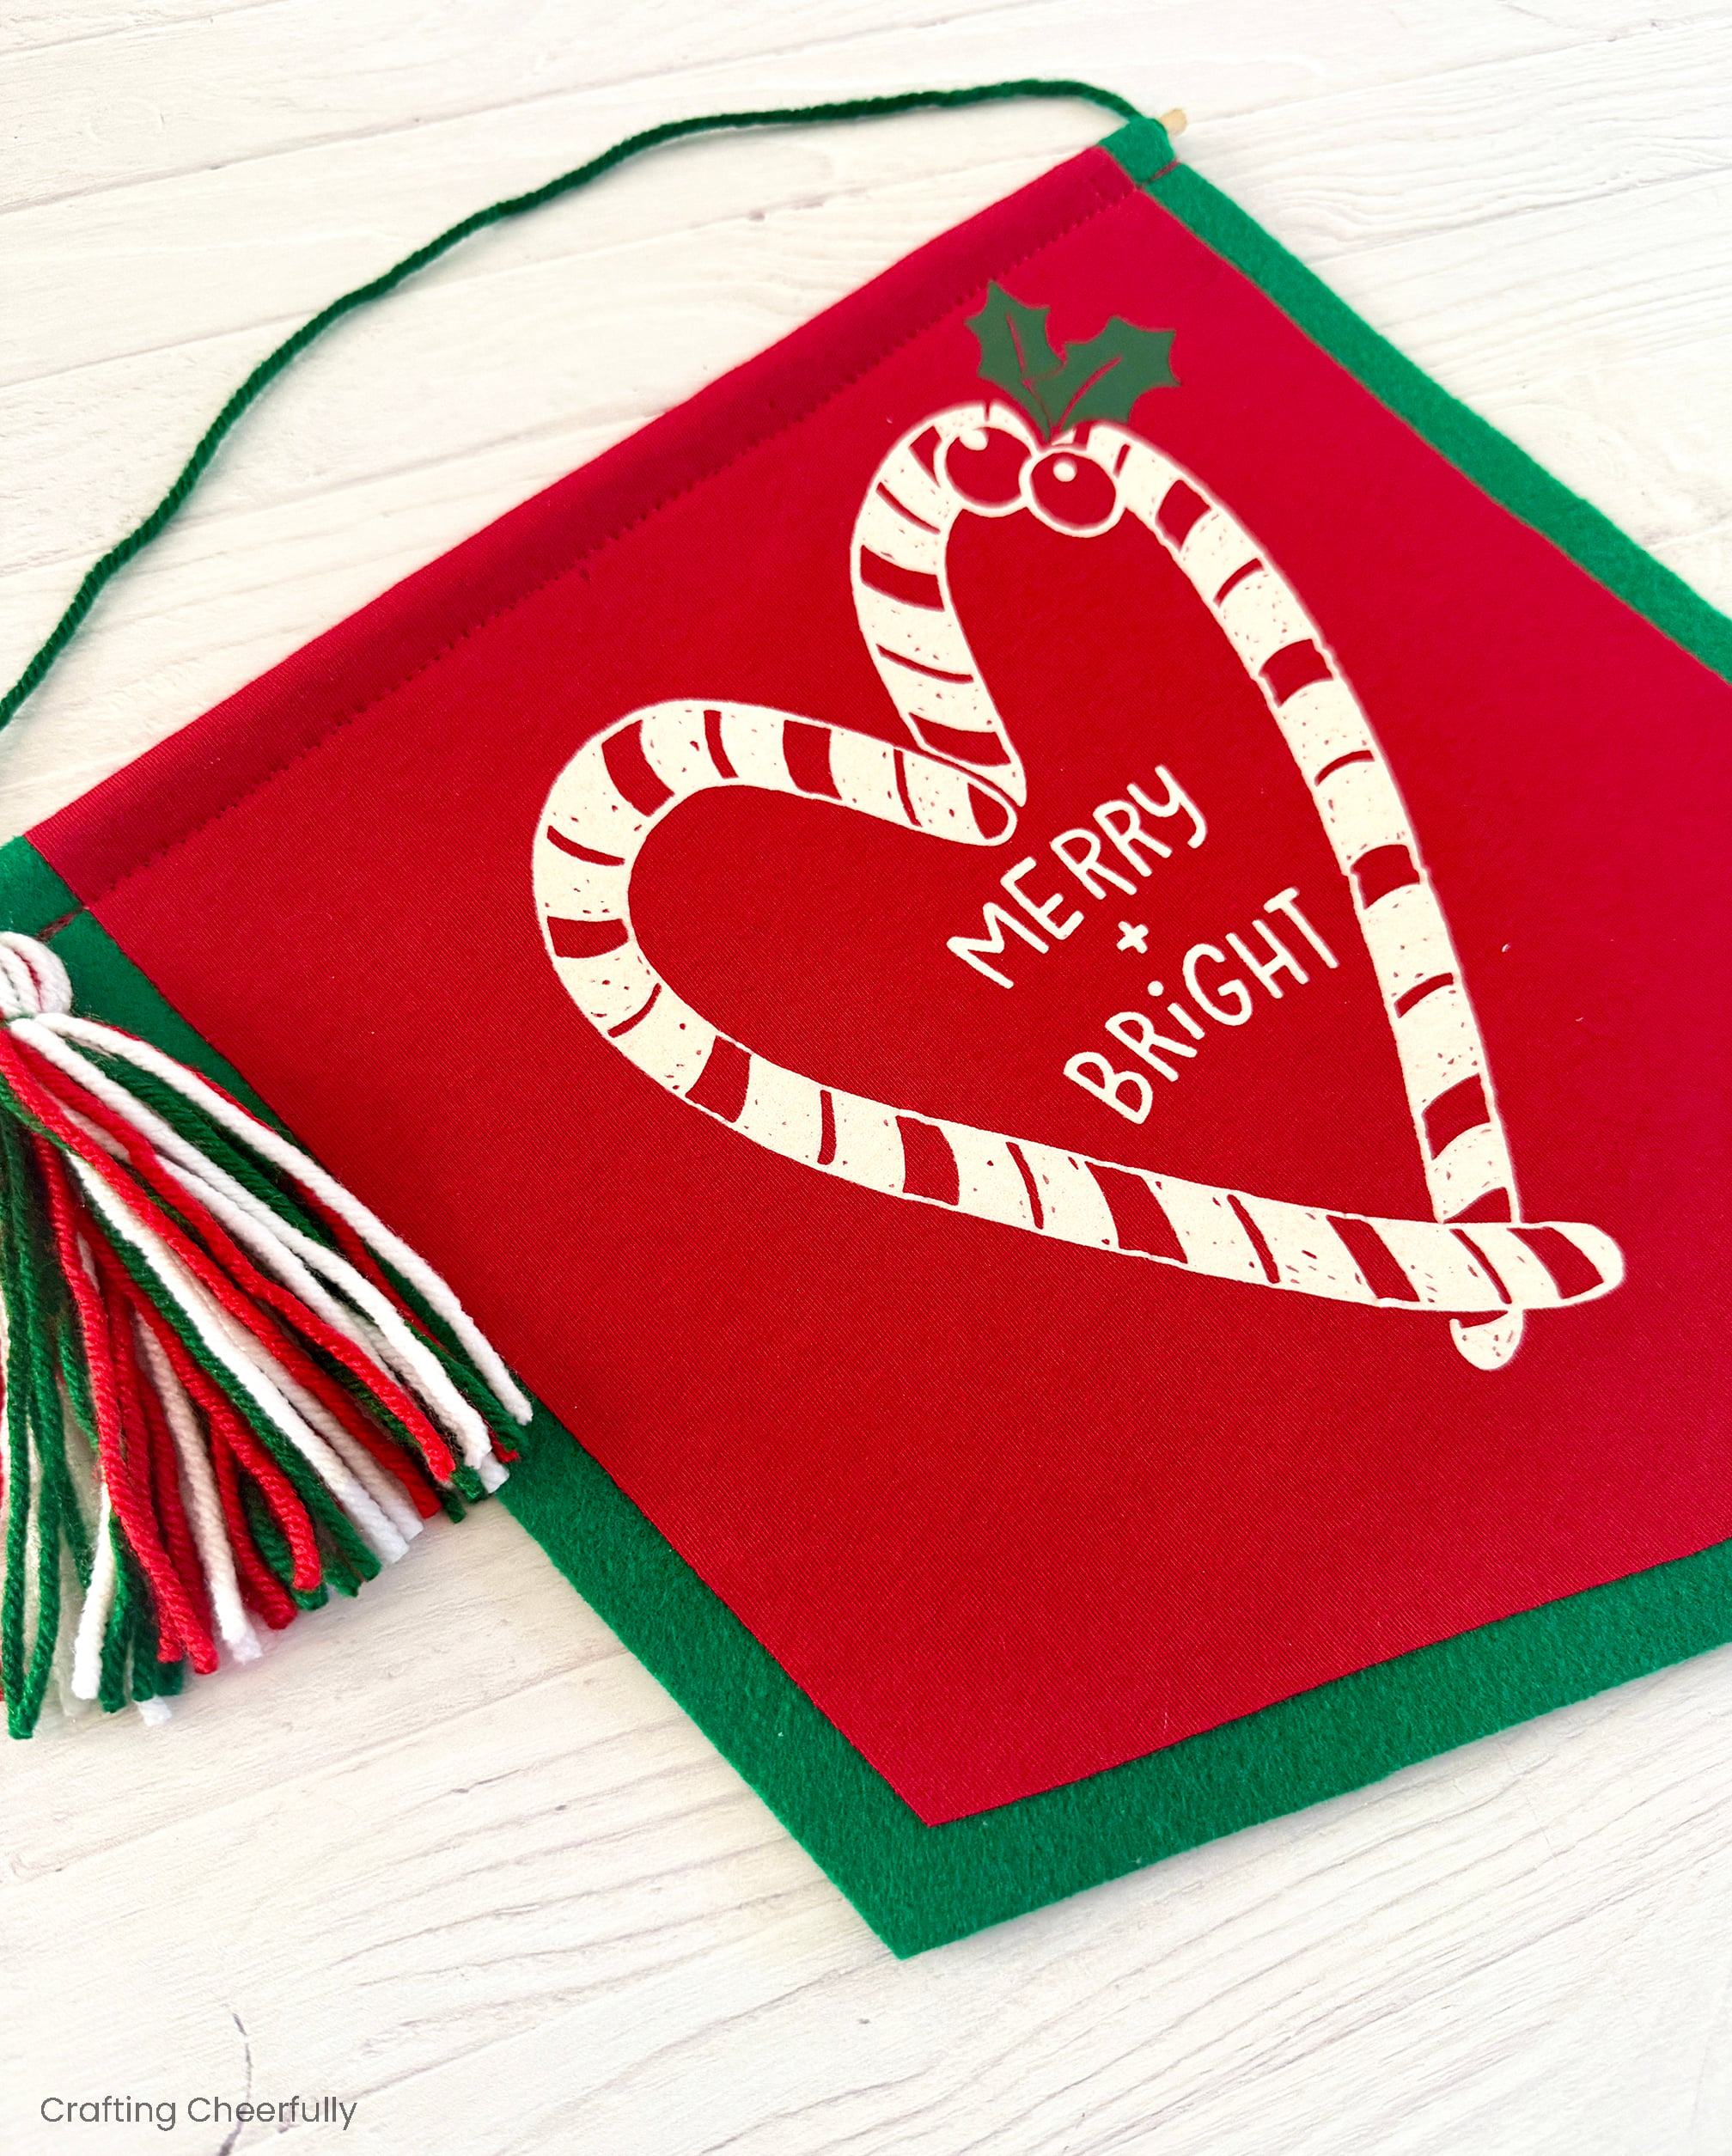
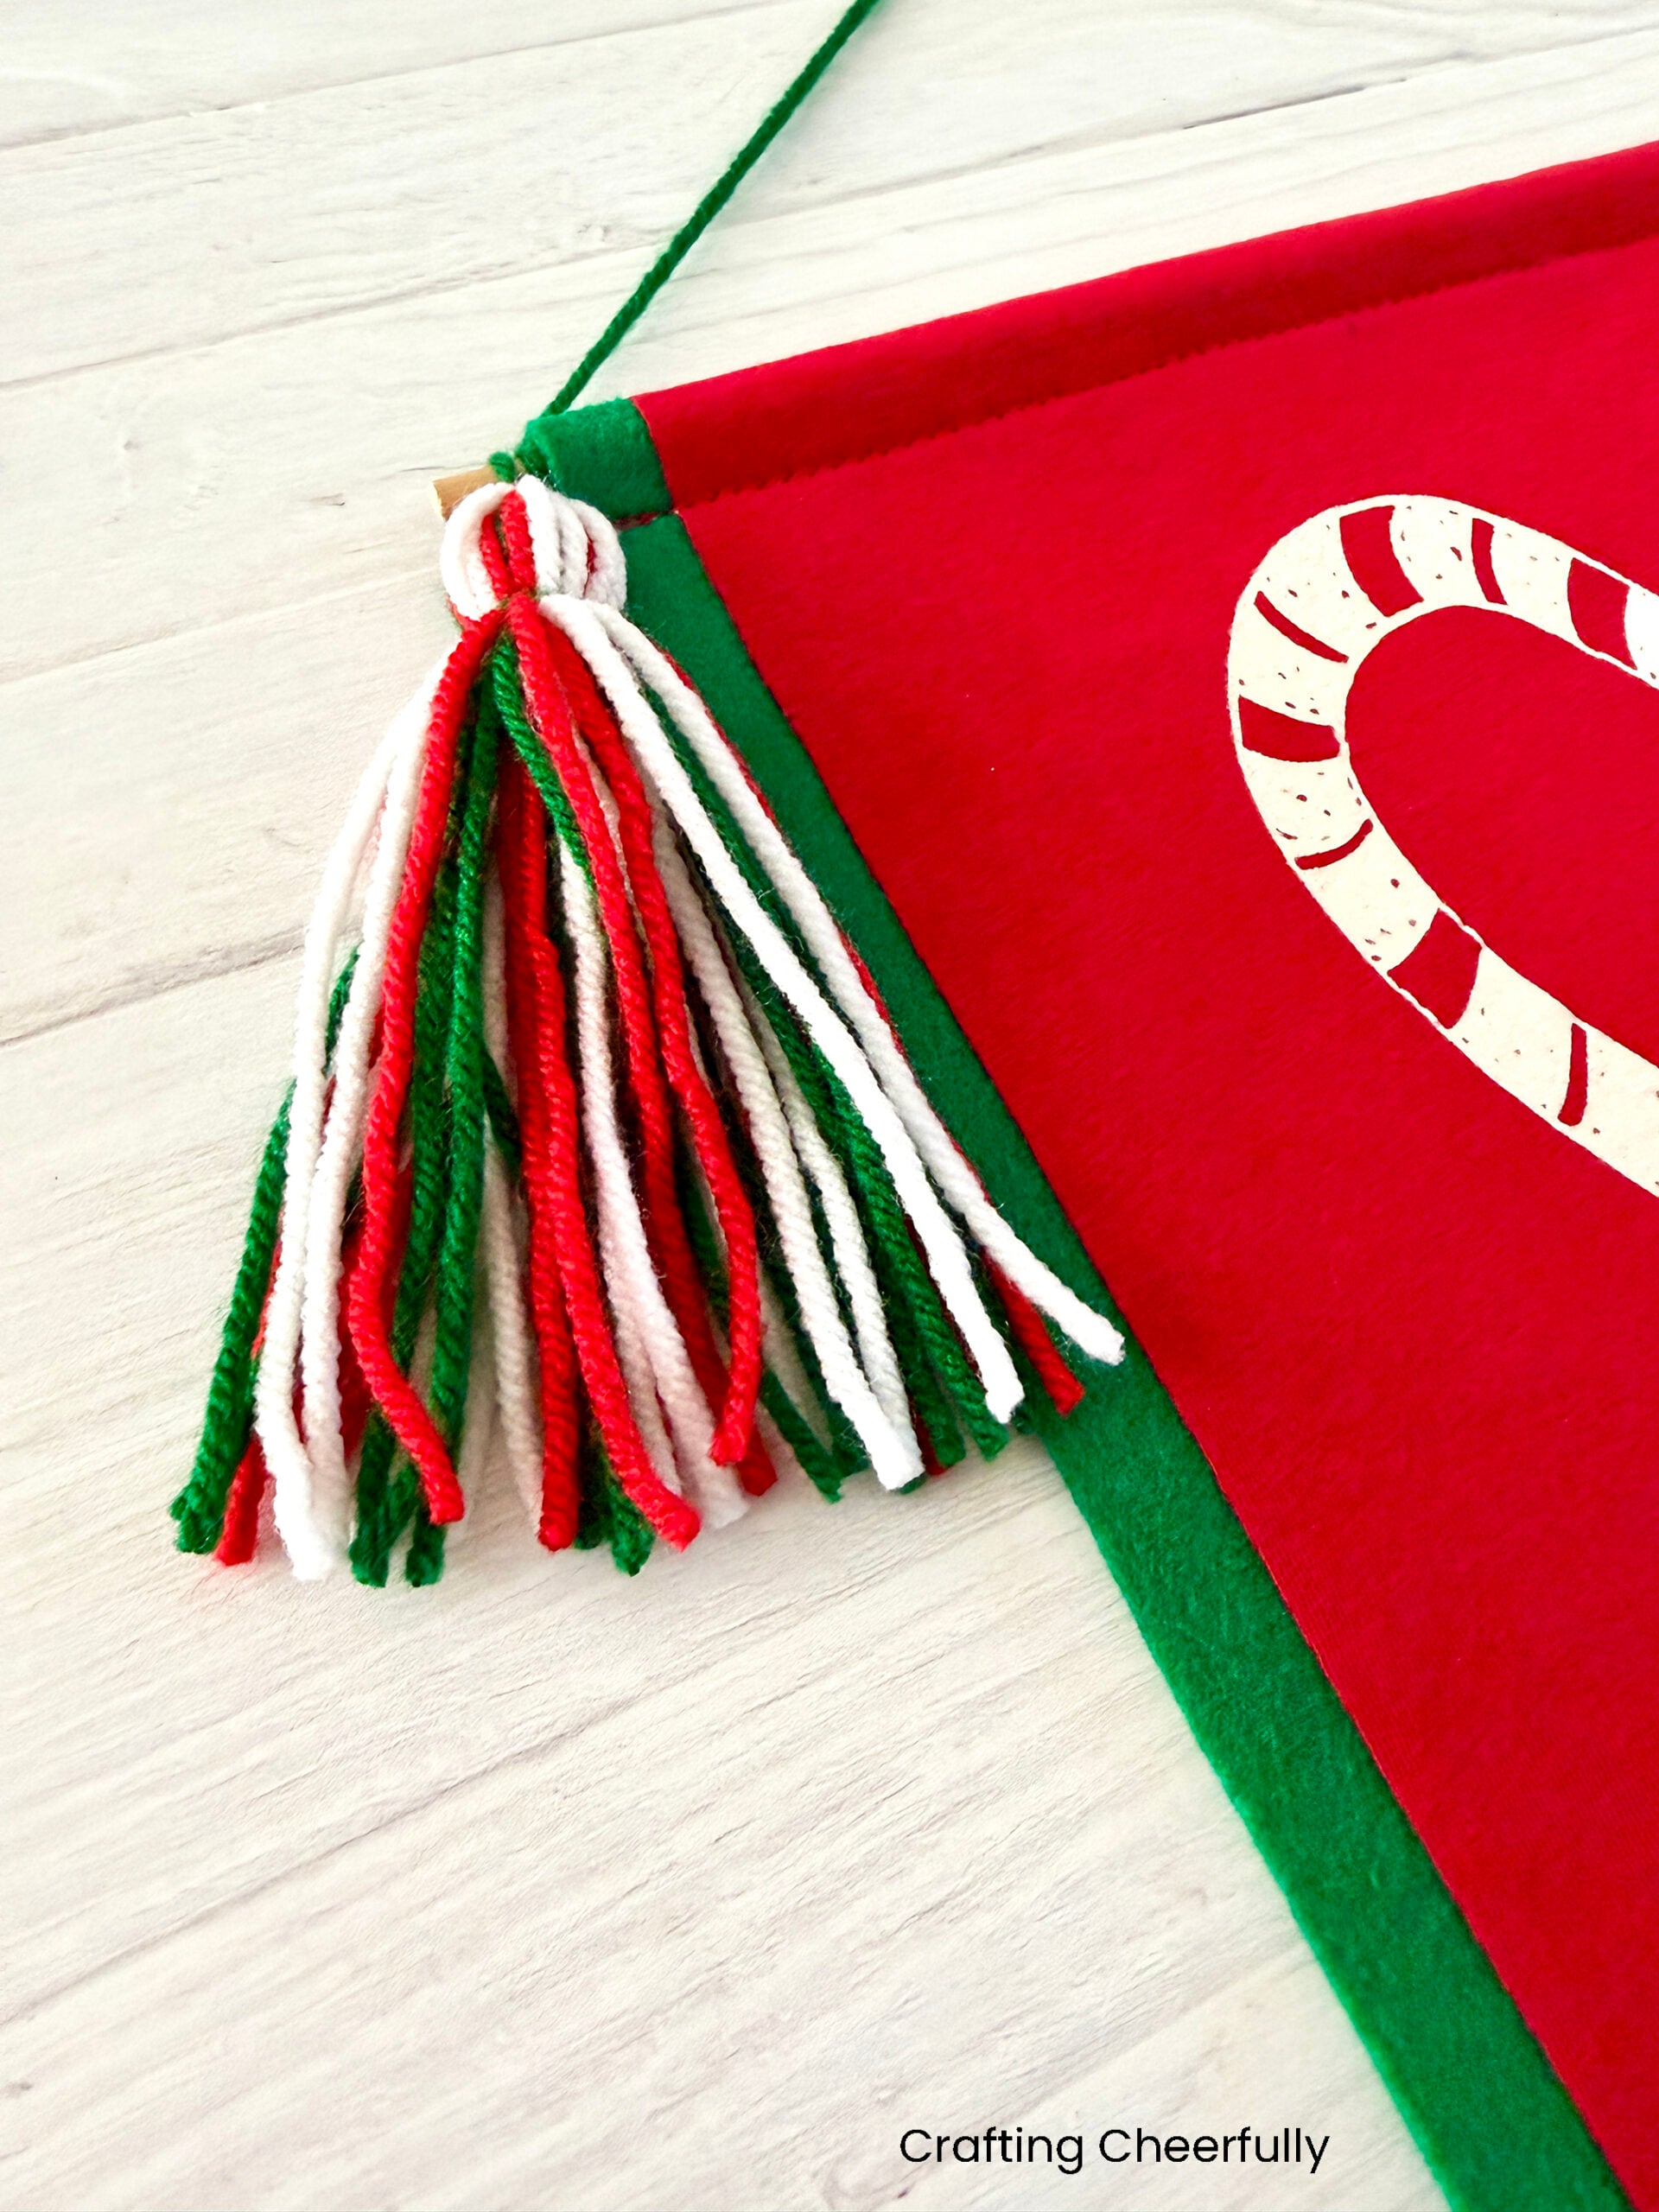
The banner is complete! I really love how this turned out and how cute it will look hanging on my daughter’s door. I hope you’ll give this sweet craft a try! I’ll be back tomorrow for day 3 in my series 12 Days of Holiday Crafts. In the mean time check out my other Christmas Crafts and my collection of Recycled Crafts!