Upcycled T-Shirt Wall Hanging
Create your own upcycled t-shirt wall hanging! This fun no-sew banner can be made with an old shirt, felt and a bit of fusible interfacing!
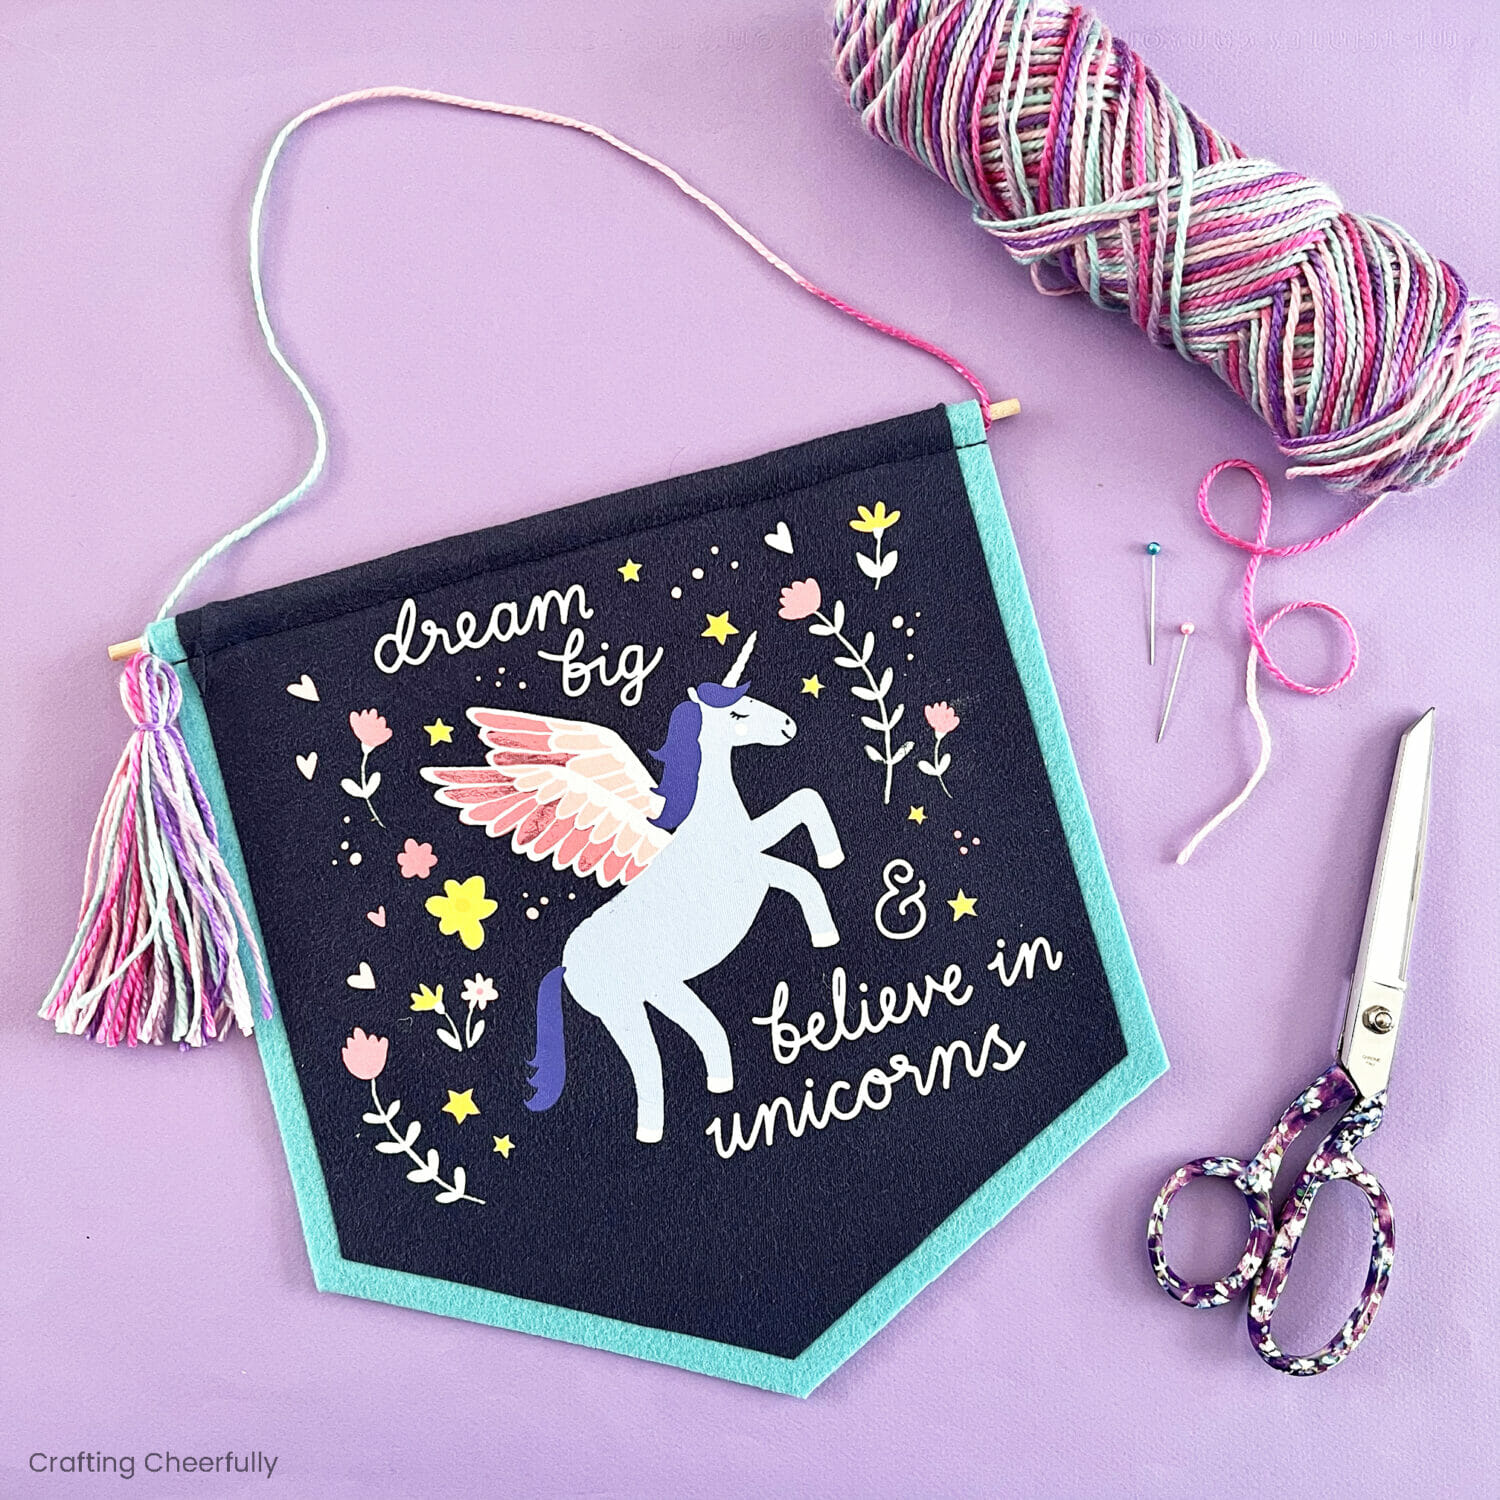
Hello Crafty Friends! Earth Day is right around the corner (April 22nd) and it’s the perfect time of year to create something using upcycled materials! Today I’m excited to share this cute upcycled t-shirt wall hanging. I love turning old clothing into something new and this craft is a fun, no-sew option for upcycling your old t-shirts.
Before tossing or donating an old shirt that is torn, stained or doesn’t fit, consider using it to make something cool for your home. Turning a shirt into wall art is a great idea especially if you have a special souvenir shirt you aren’t ready to part with. Or in the case of my kids, favorite shirts you wish still fit you!
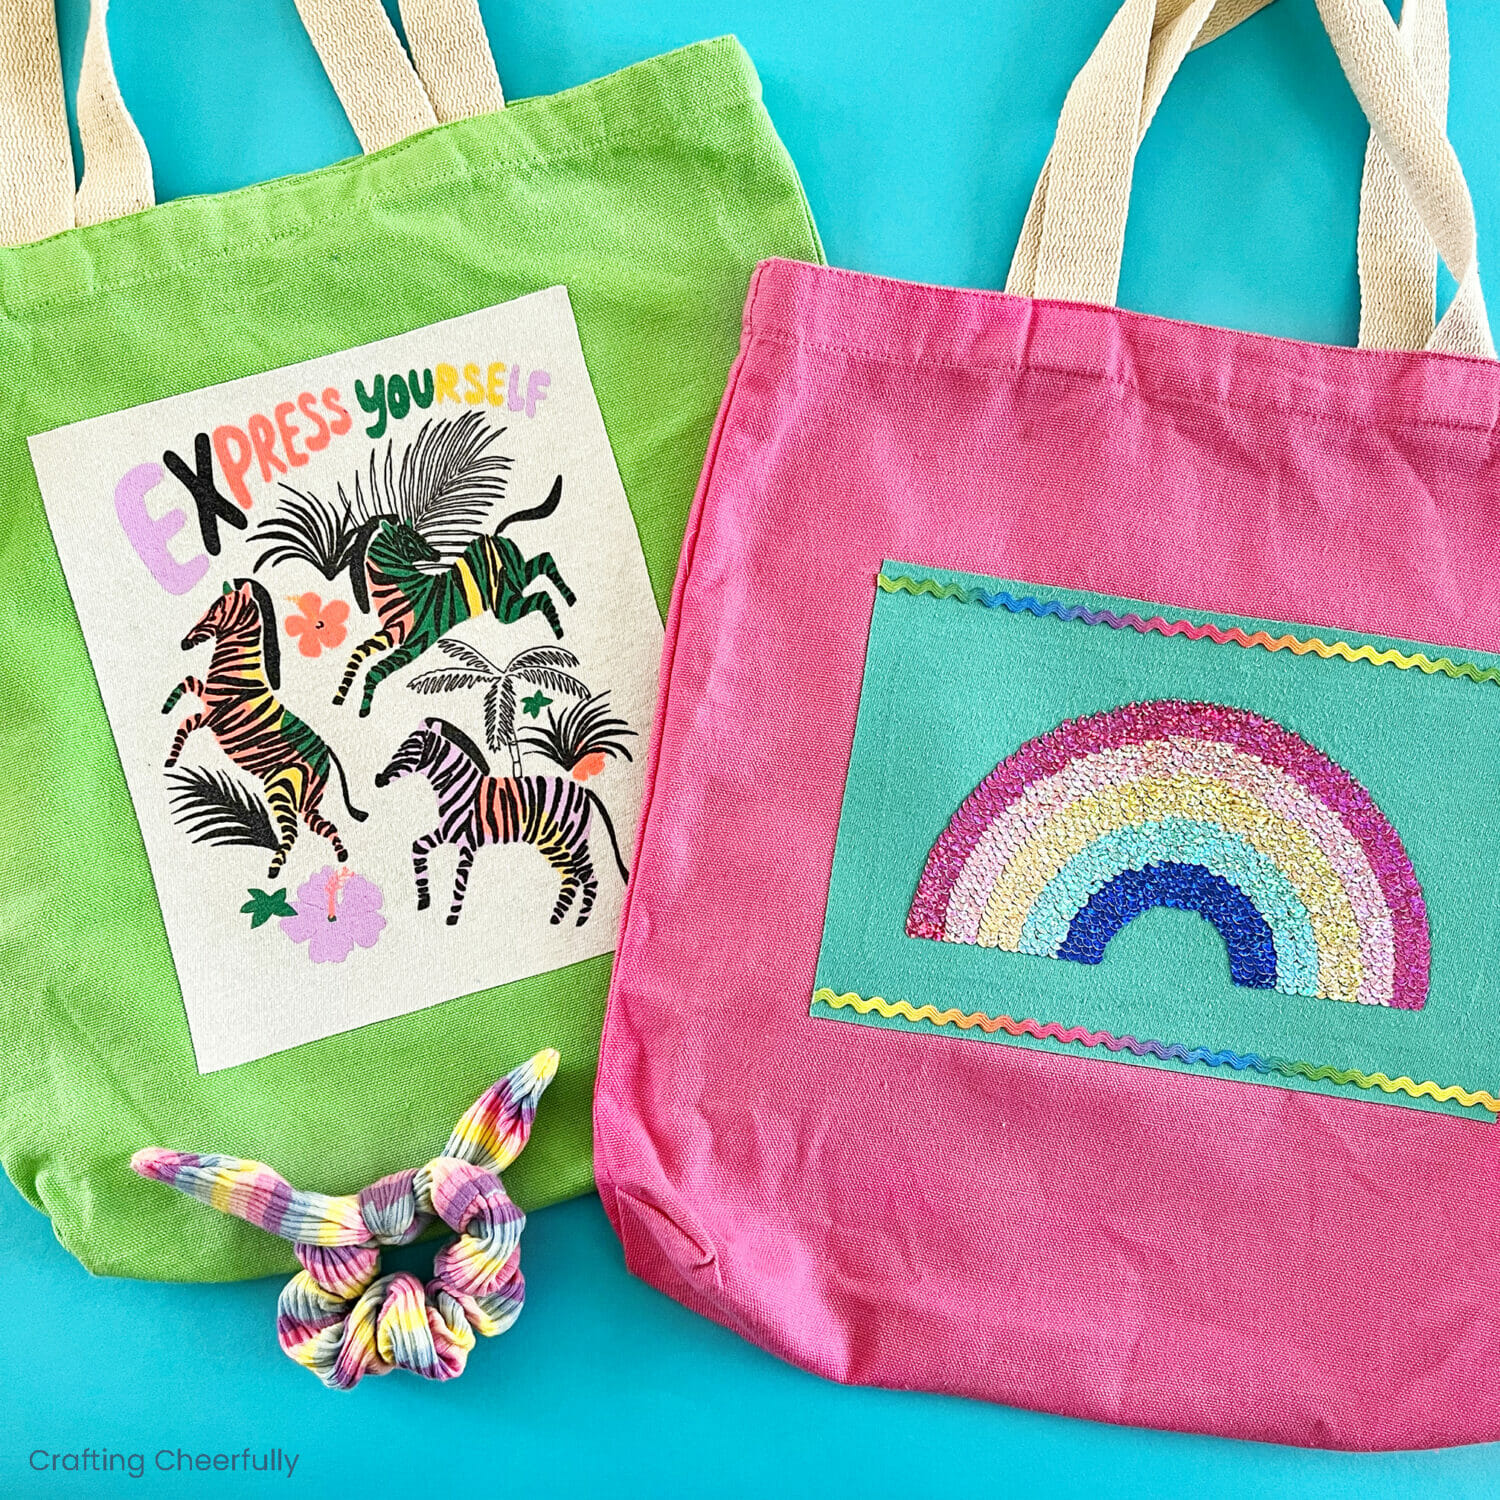
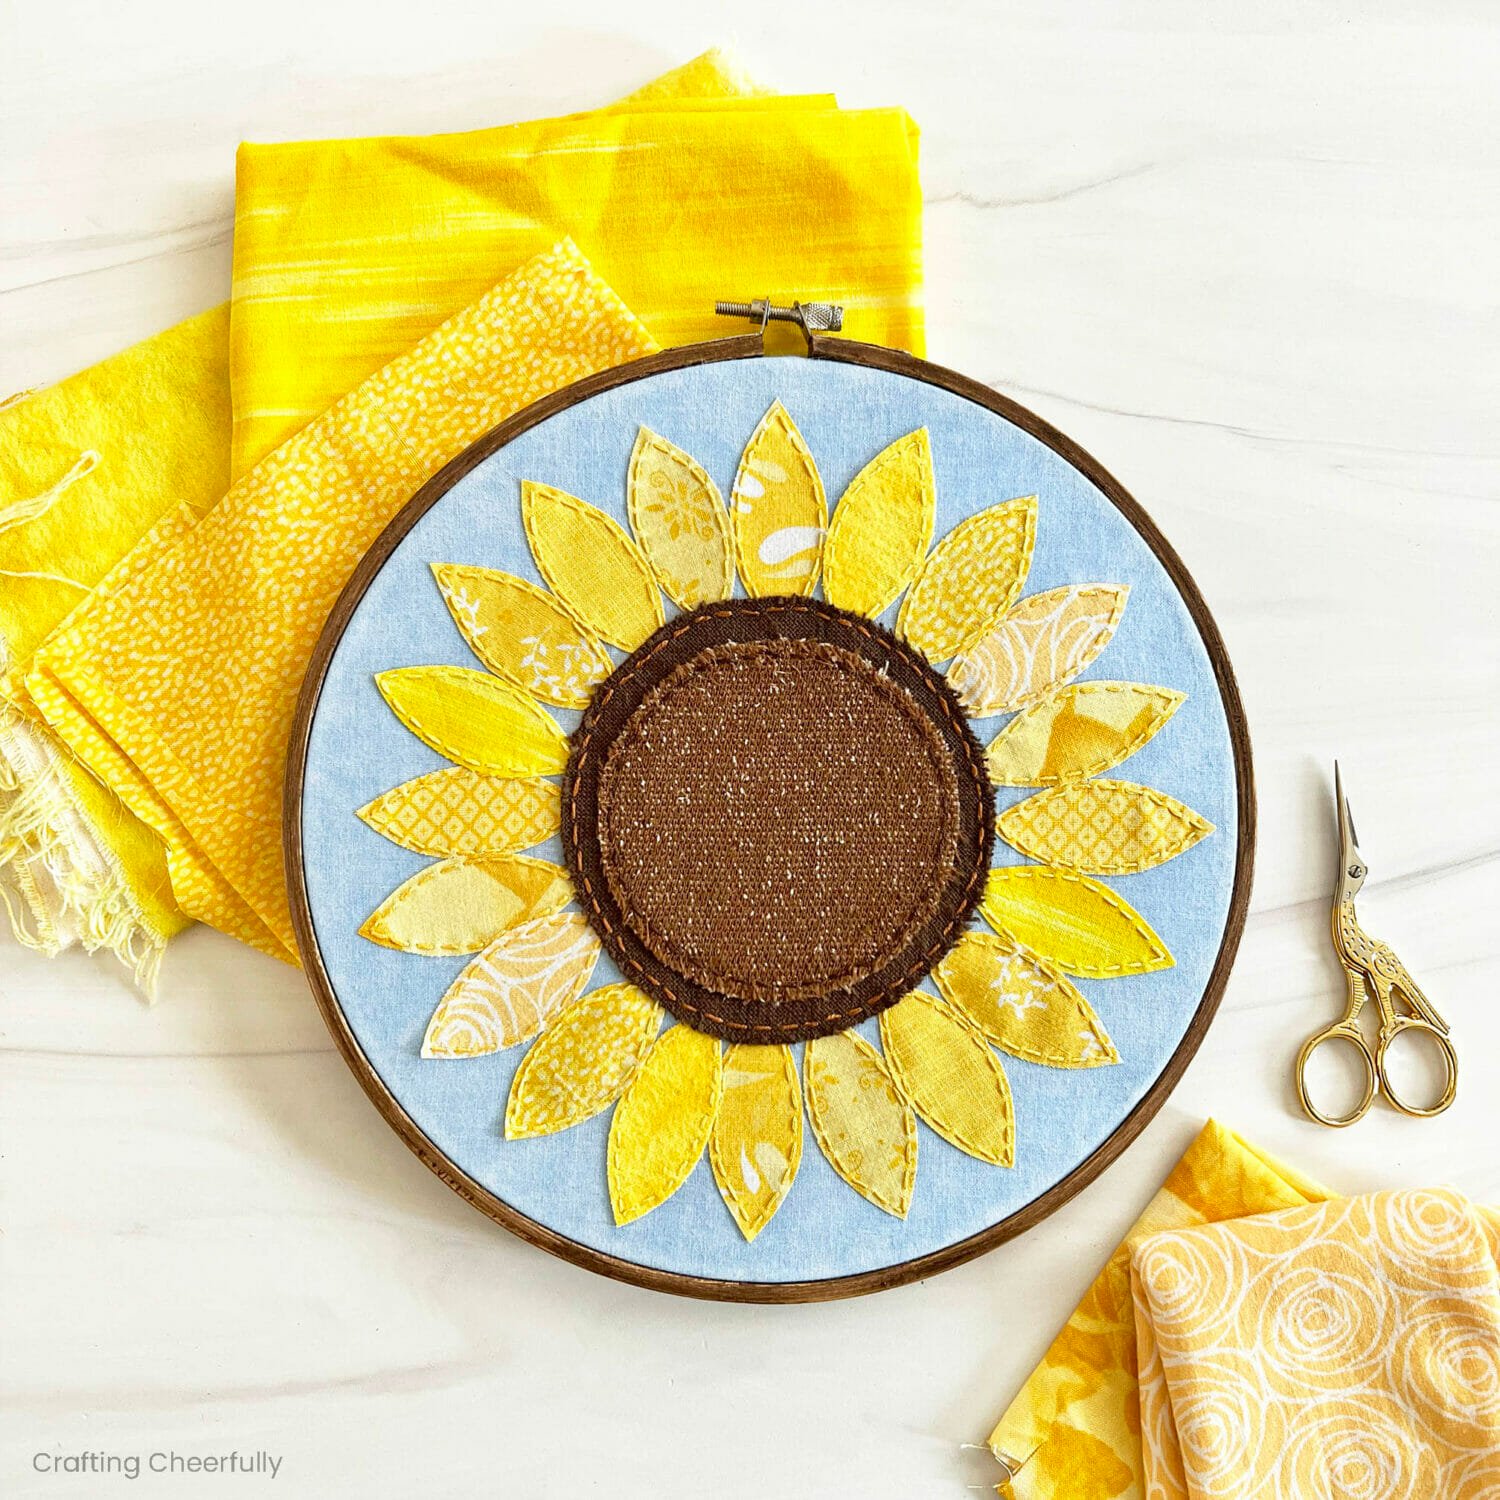
A few years ago I turned some of my children’s old shirts into wall art using embroidery hoops. They loved the hoops and they add such a fun pop of color to their rooms. I’ve also used old baby bodysuits to make a wreath and recently decorated a few tote bags using old t-shirts. There are so many fun ways to use old shirts I hope you are inspired to give one a try!
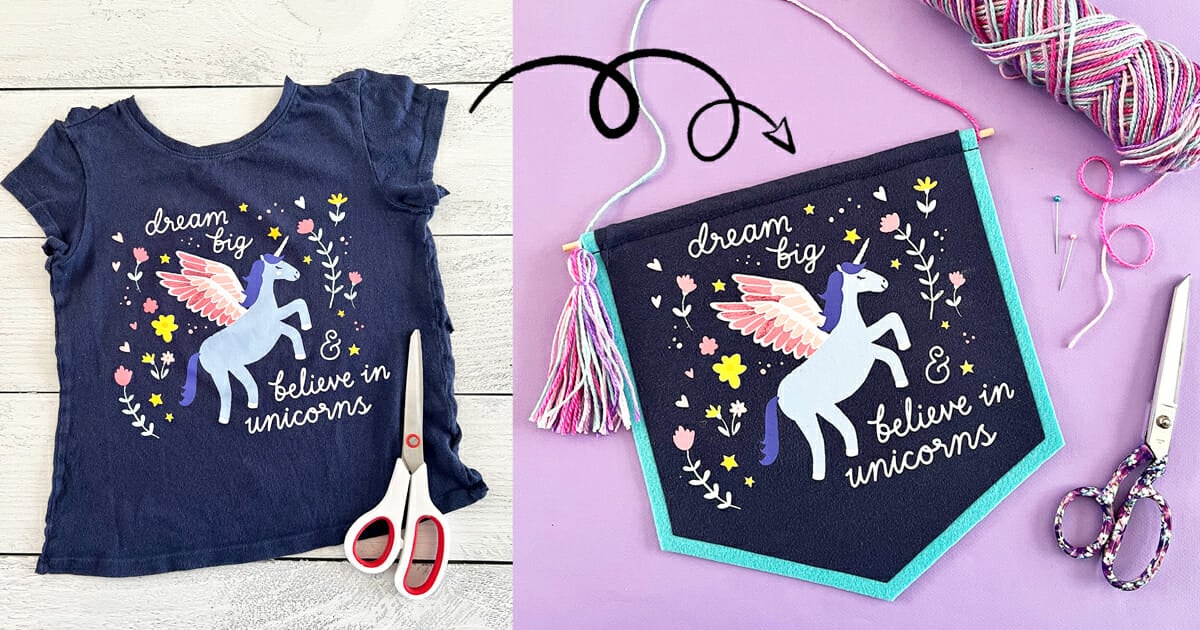
DIY Banner Wall Hanging from an Upcycled Shirt
Supplies Needed
- Old t-shirt with fun design
- Felt
- Ultrahold HeatnBond Fusible Web
- Dowel – I used a 12″ dowel
- Yarn
- Ruler
- Fabric Scissors
- Straight Pins
- Thread
- Pencil
- Small piece of cardboard
- Iron – I also used a wool pressing mat

Step by Step Tutorial
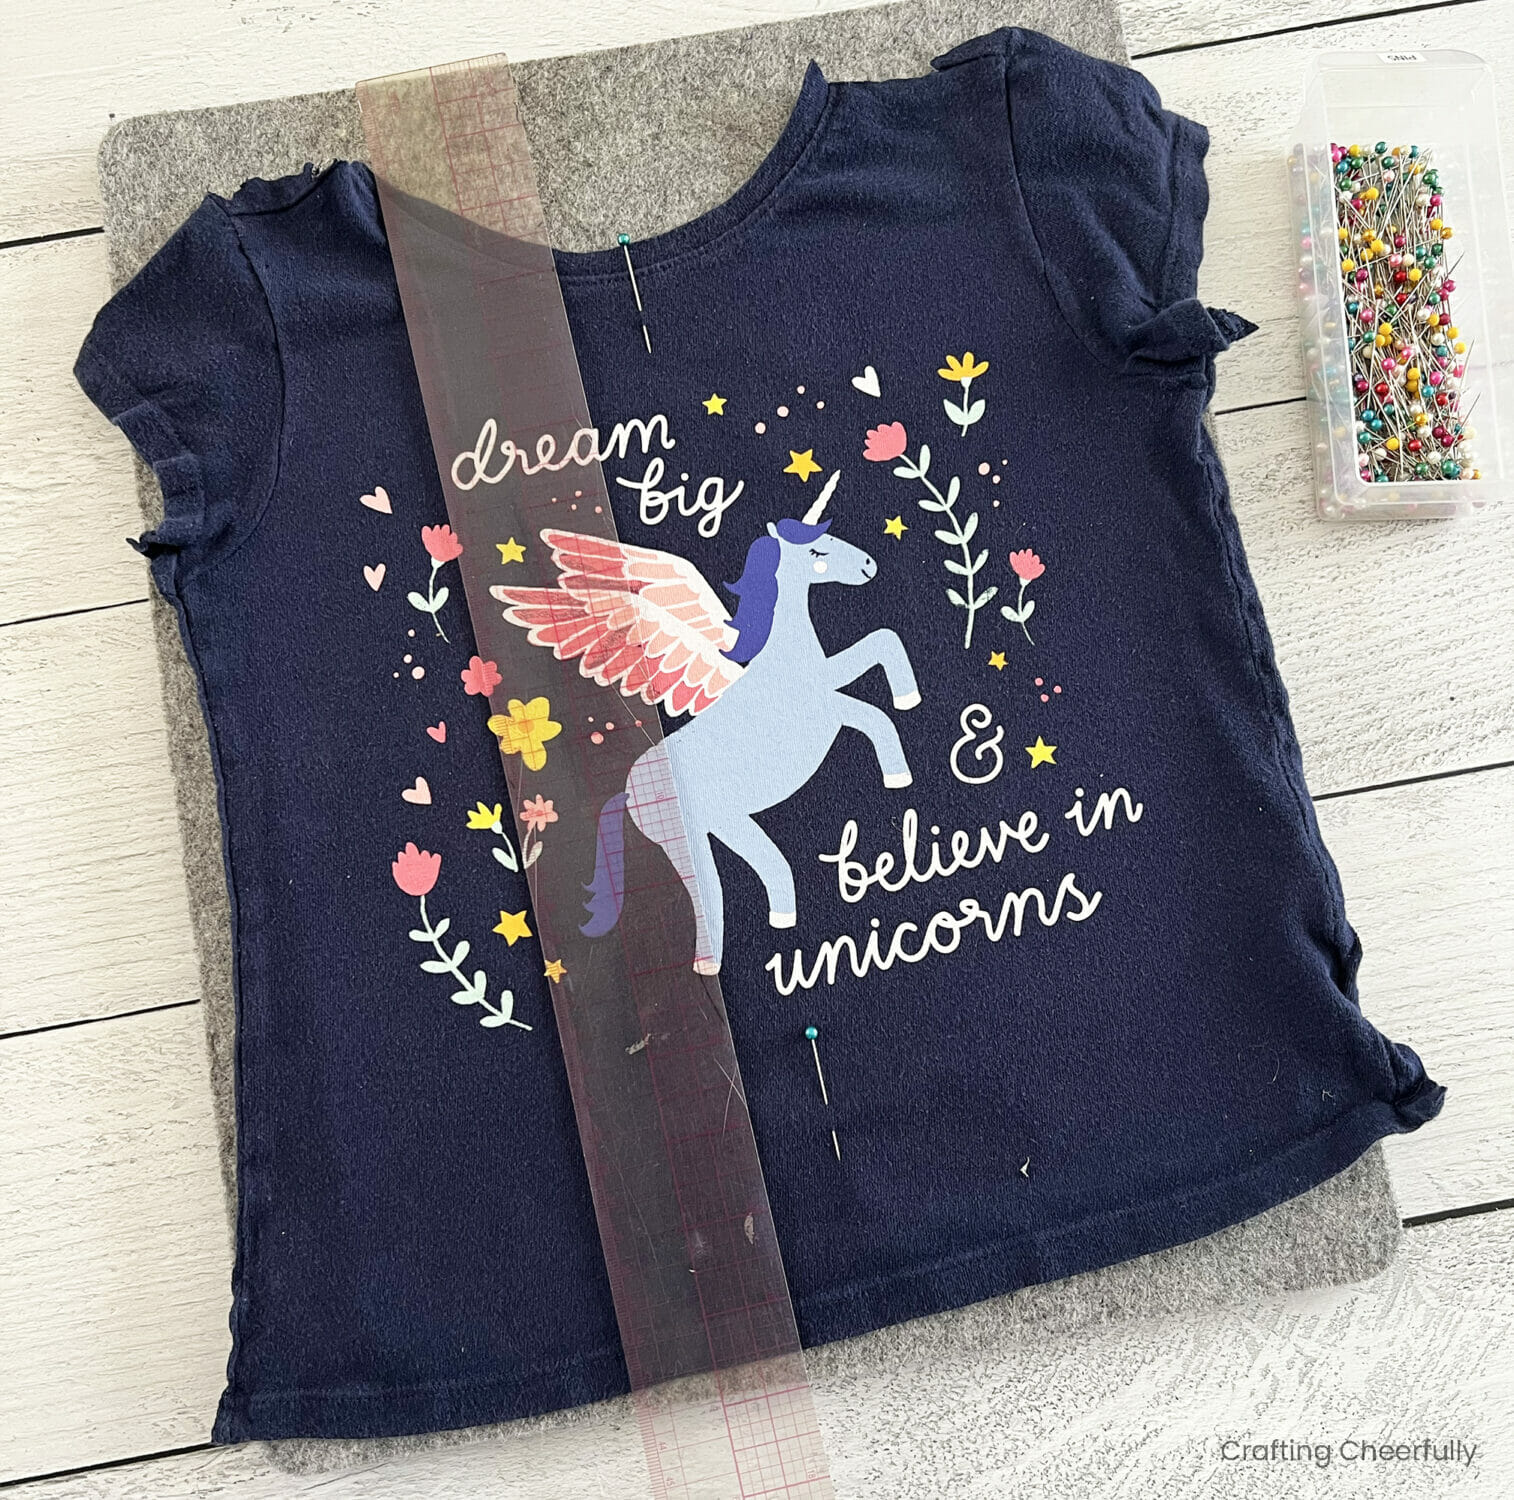
Step One: Cut the shirt open so it lays flat on your work surface. Mark the center of the design with straight pins, then measure the front of the shirt to see how large your banner can be.

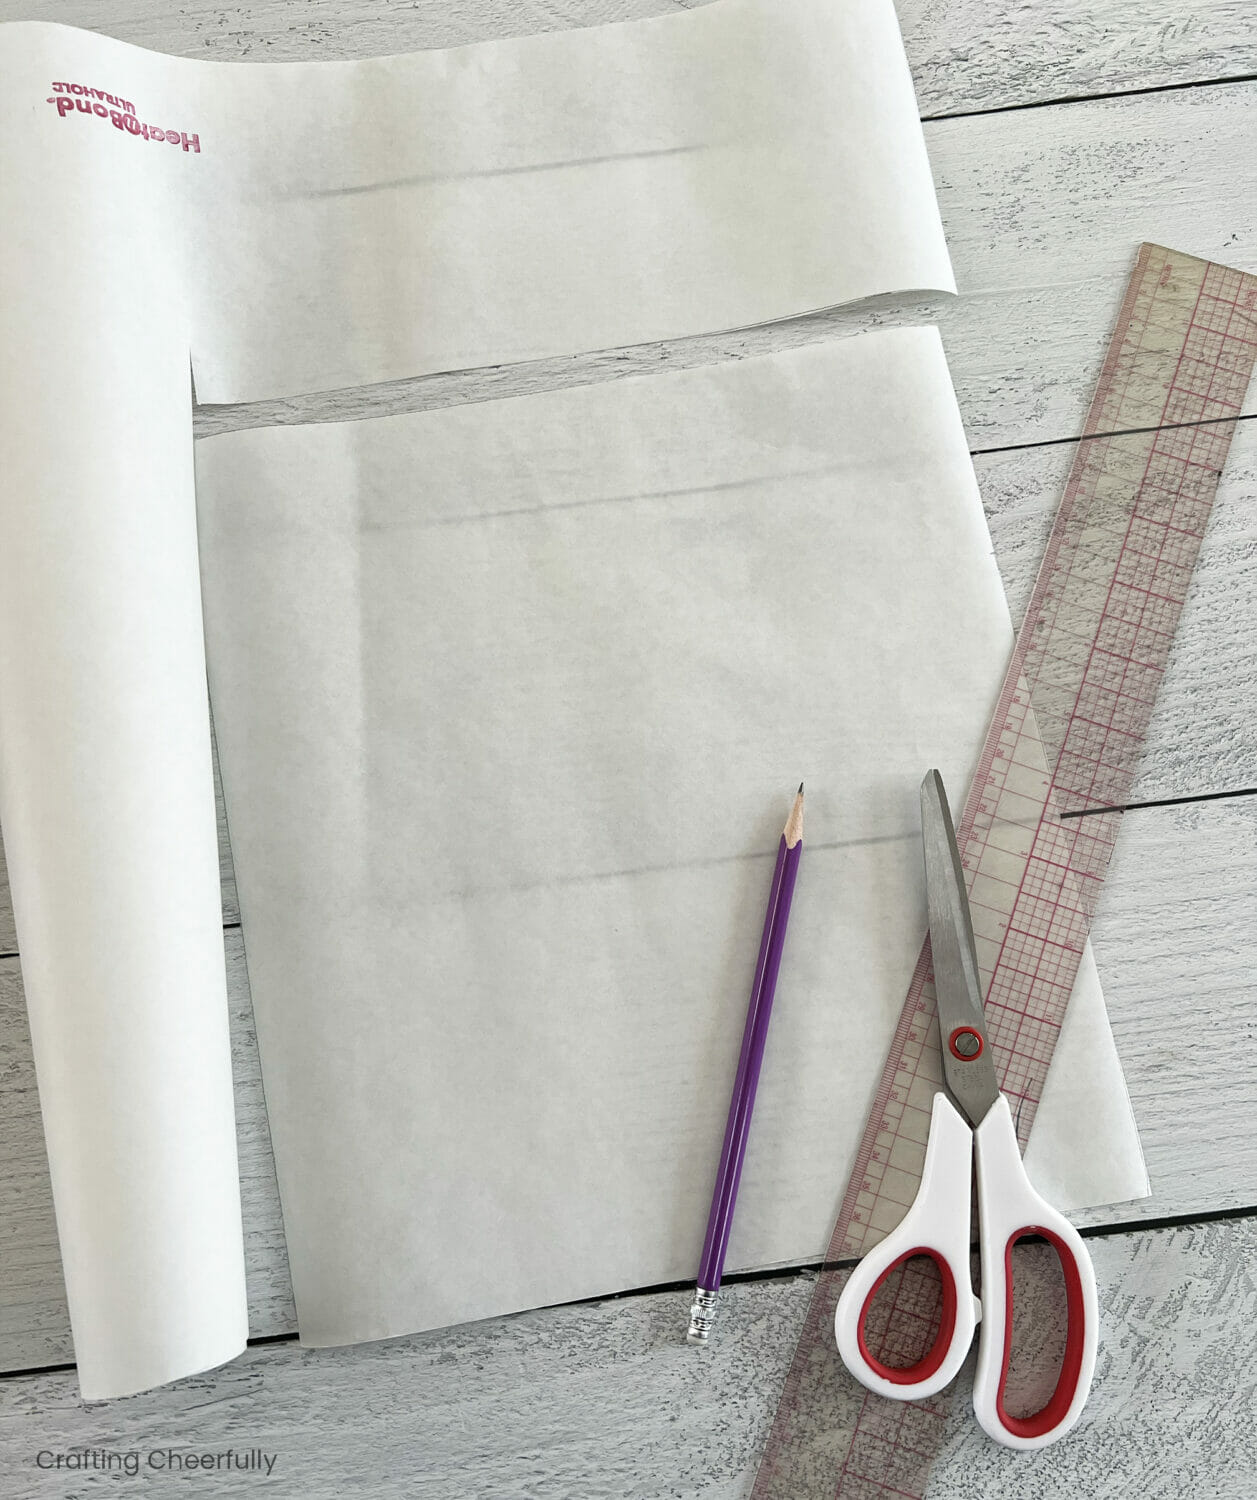
Step Two: Cut a piece of fusible interfacing and iron it to the backside of the shirt front. I was working with a child’s shirt and cut a piece of fusible web that measured 10.25″ x 12″.

Step Three: Mark the edges of the t-shirt design using straight pins. Use these as a guide to draw your banner shape on the fusible interfacing.

Below you can see the outline of my banner. I added a 1/2″ to either side of the t-shirt design and 1.5″ to the top, and 2.5″ to the bottom. The size of your t-shirt will dictate how large your banner can be. You will need to leave enough shirt at the top to make a casing for the dowel.

Once you are happy with the banner shape, carefully cut it out using a fabric scissors. I found cutting about 1/8″ in from the edge of the interfacing worked the best and kept the edges of the shirt fabric from fraying.

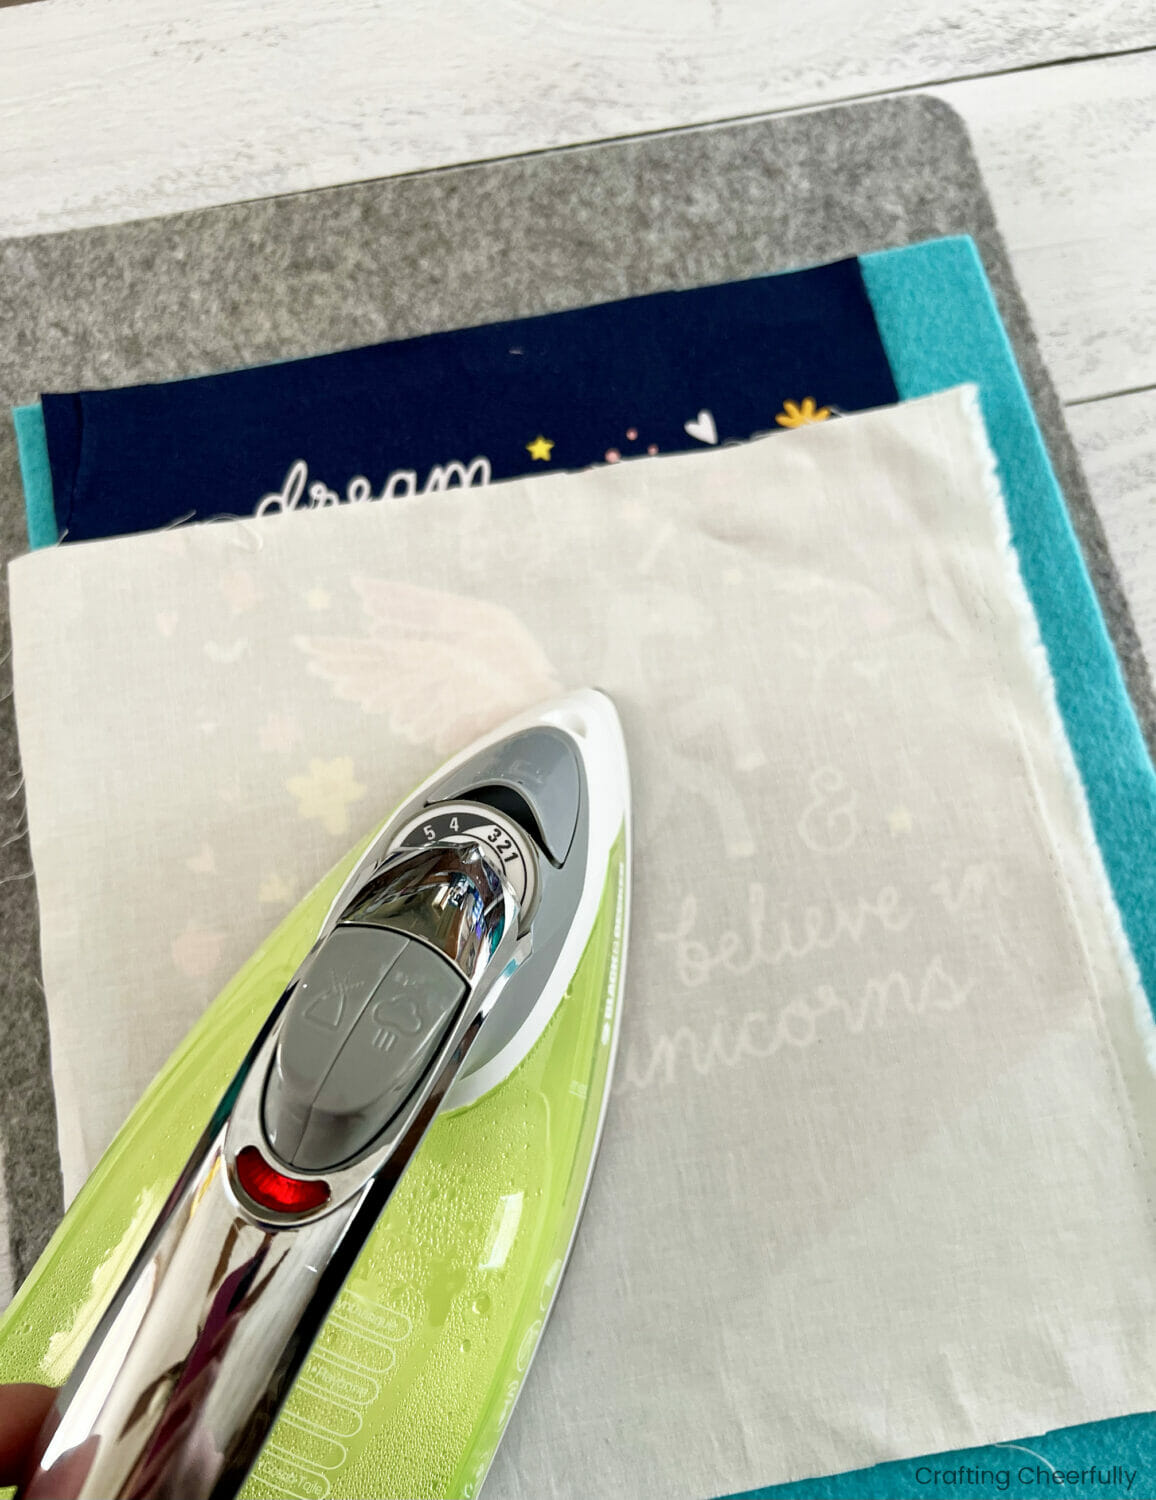
Step Four: Peel the paper backing off the banner shape and iron it to a piece of felt. Use a press cloth between the iron and your t-shirt design.

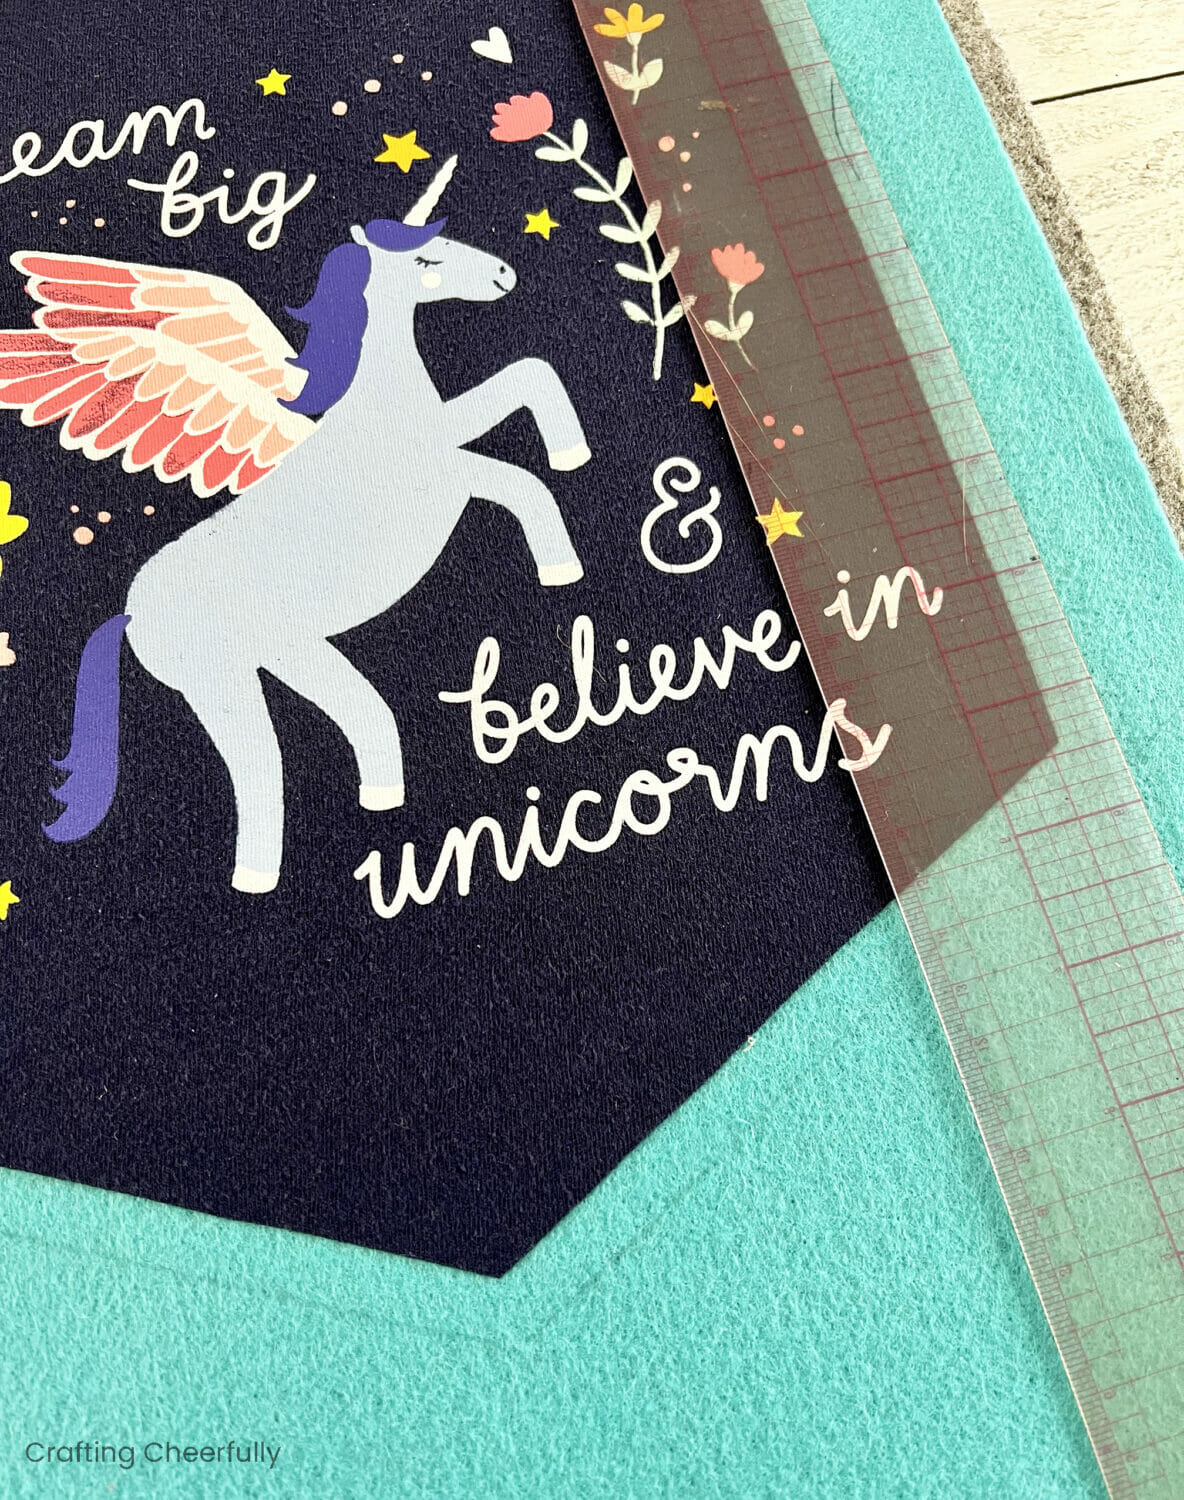
Mark a border around the banner and cut out the felt. I created a 3/8″ border.

Step Five: Make a casing for the dowel. Start by folding over the top of the banner by 3/4″. Stitch the casing down along the edge leaving the two ends open. Slide your dowel into the casing.


Step Six: Create a tassel. Cut a piece of cardboard that measures 3″ x 6″. Wrap yarn around it about 20-25 times. Use a small piece of yarn to secure the top of the tassel and remove the cardboard. Use another piece of yarn to tie around the tassel about 1″ from the top of the tassel. Trim the ends of the tassel so they are even then tie the tassel to one end of the dowel.


The banner is complete! I really love how this turned out and how cut it looks hanging in my daughter’s room. My daughter loves the unicorn design and I have lovely memories of her wearing this shirt when she was younger.
I hope you’ll give this sweet craft a try! It would be fun to create a pennant with souvenir shirts, sports shirts, club or school activity shirts or really any shirt with a fun design you love!


