DIY Sunflower Embroidery Hoop
Learn how to create a sunflower embroidery hoop using fabric scraps and appliqué. This cheerful hoop is fun to make and only uses one simple embroidery stitch. Use my free pattern to help get you started!
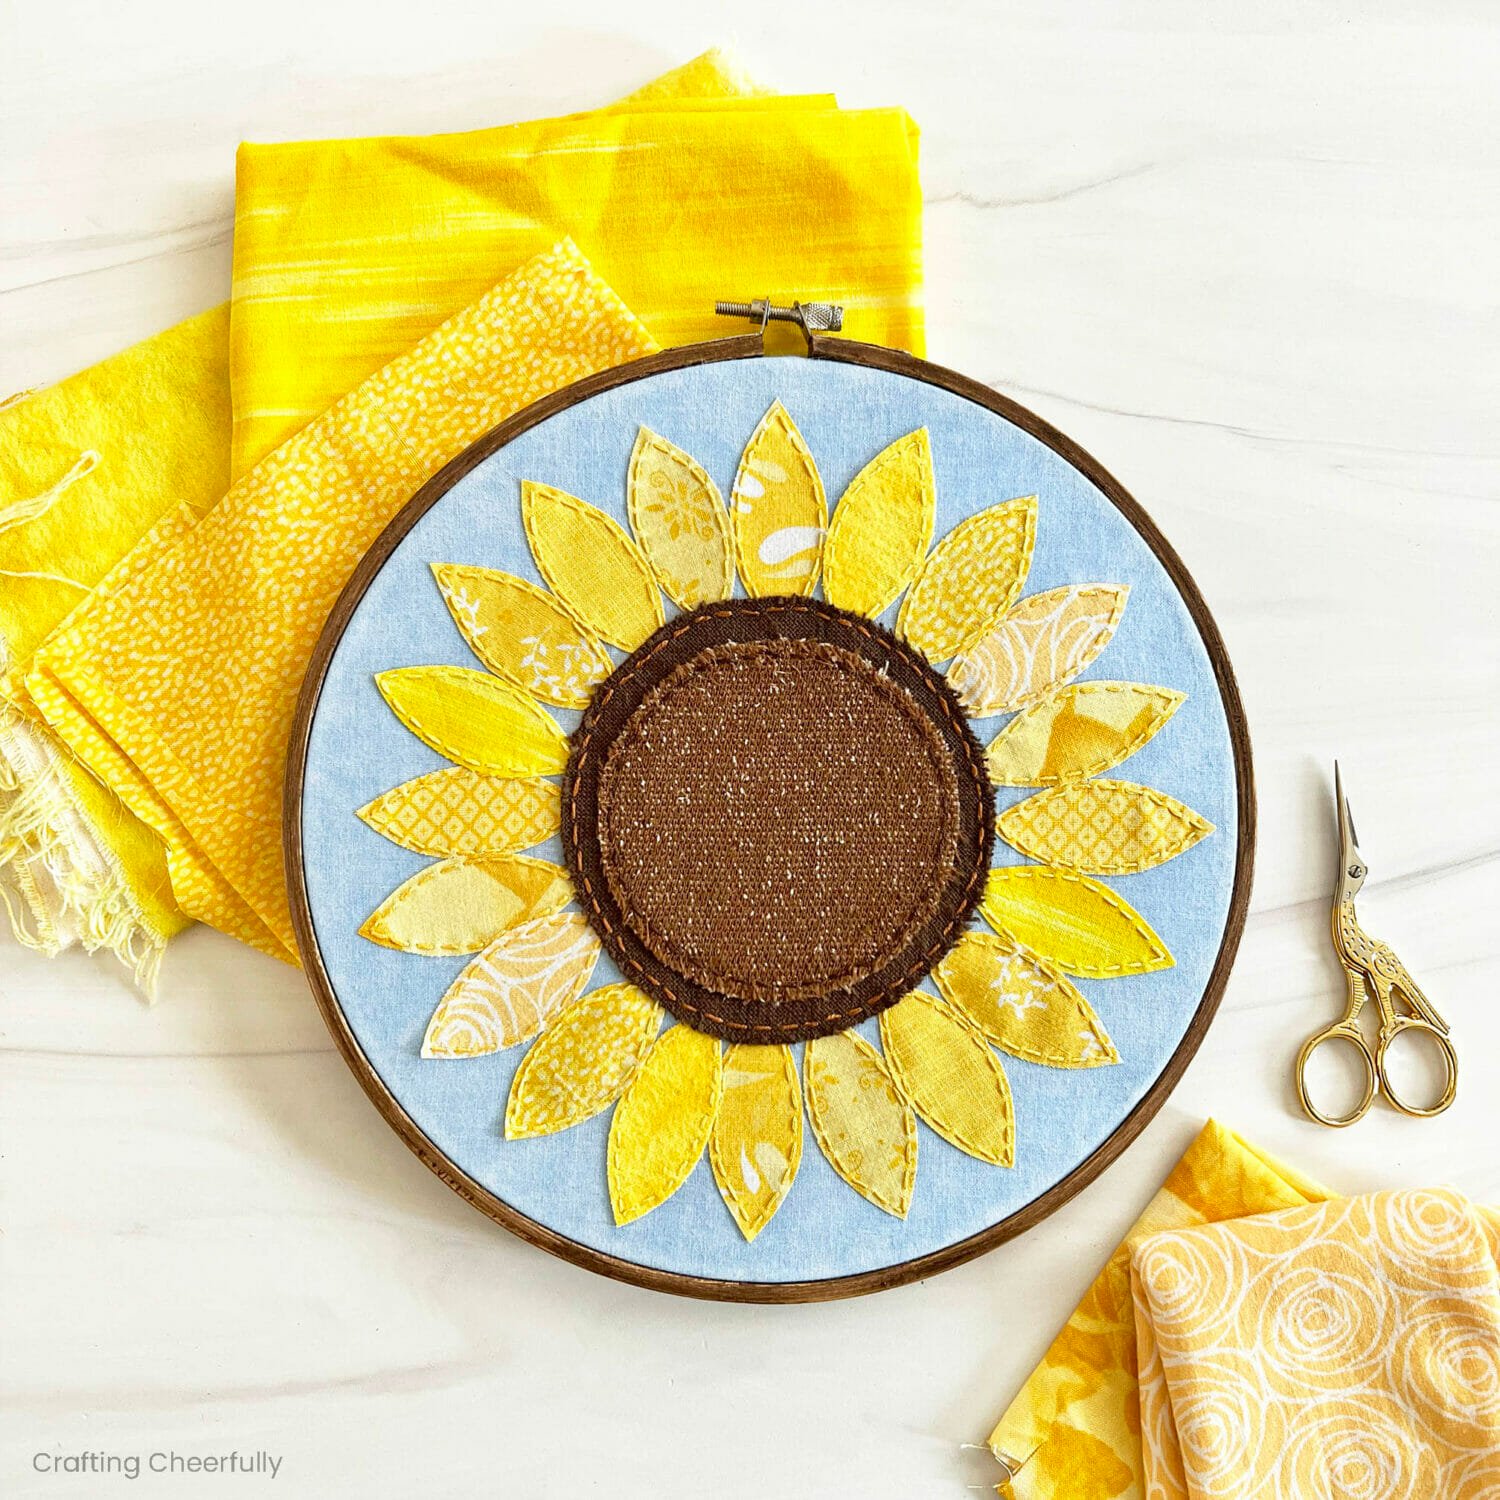
Hello Crafty Friends! Today I am excited to share this sweet sunflower embroidery hoop made from fabric scraps from my stash. You know I love a good scrappy project and this one was a fun way to feature some my pretty yellow scraps of fabric.
This hoop is perfect for both summer and fall decor. as sunflower season lasts awhile, in some places from mid-July to October.
This hoop is created by appliquéing fabric with an easy hand embroidered running stitch. I love how simple and non-fussy the running stitch looks. It’s just enough to hold the fabric in place and it’s quick to do. I used coordinating floss for the yellow petals but switched it up for the center of my sunflower using contrasting floss colors. The center of my sunflower is made with two beautiful scraps of brown wool that give the hoop really nice texture and depth.

To frame my sunflower I used a 9″ embroidery hoop that I stained myself using Walnut Gel Stain. I have a tutorial showing how to stain embroidery hoops – it is way easier than I imagined! The stained hoop compliments the sunflower and I love the finished look.
How to Make a Sunflower Appliqué Hoop
Supplies Needed
- Free Sunflower Embroidery Hoop Pattern – Grab the free file by filling out the purple form at the end of this post.
- 9″ embroidery hoop
- Yellow fabric scraps – I used 10 different yellow fabrics with various prints.
- Brown fabric scraps – I used 2 different brown fabric scraps.
- Blue fabric – at least 13″ x 13″
- Sewable Fusible Interfacing for Appliqué – I used Thermoweb HeatnBond Lite.
- Embroidery Needles
- Embroidery Scissors and Fabric Scissors
- Blue thread
Step by Step Tutorial
Step One: Cut the fabric shapes out using interfacing.
The pattern for this hoop is meant to be used with fusible interfacing. Simply lay the fusible interfacing over the pattern, paper side up, and trace the shapes. There are 2 circles and 20 petals to trace.

Once the shapes have been traced, “bubble” cut around them, leaving about 1/4″ around each shape.

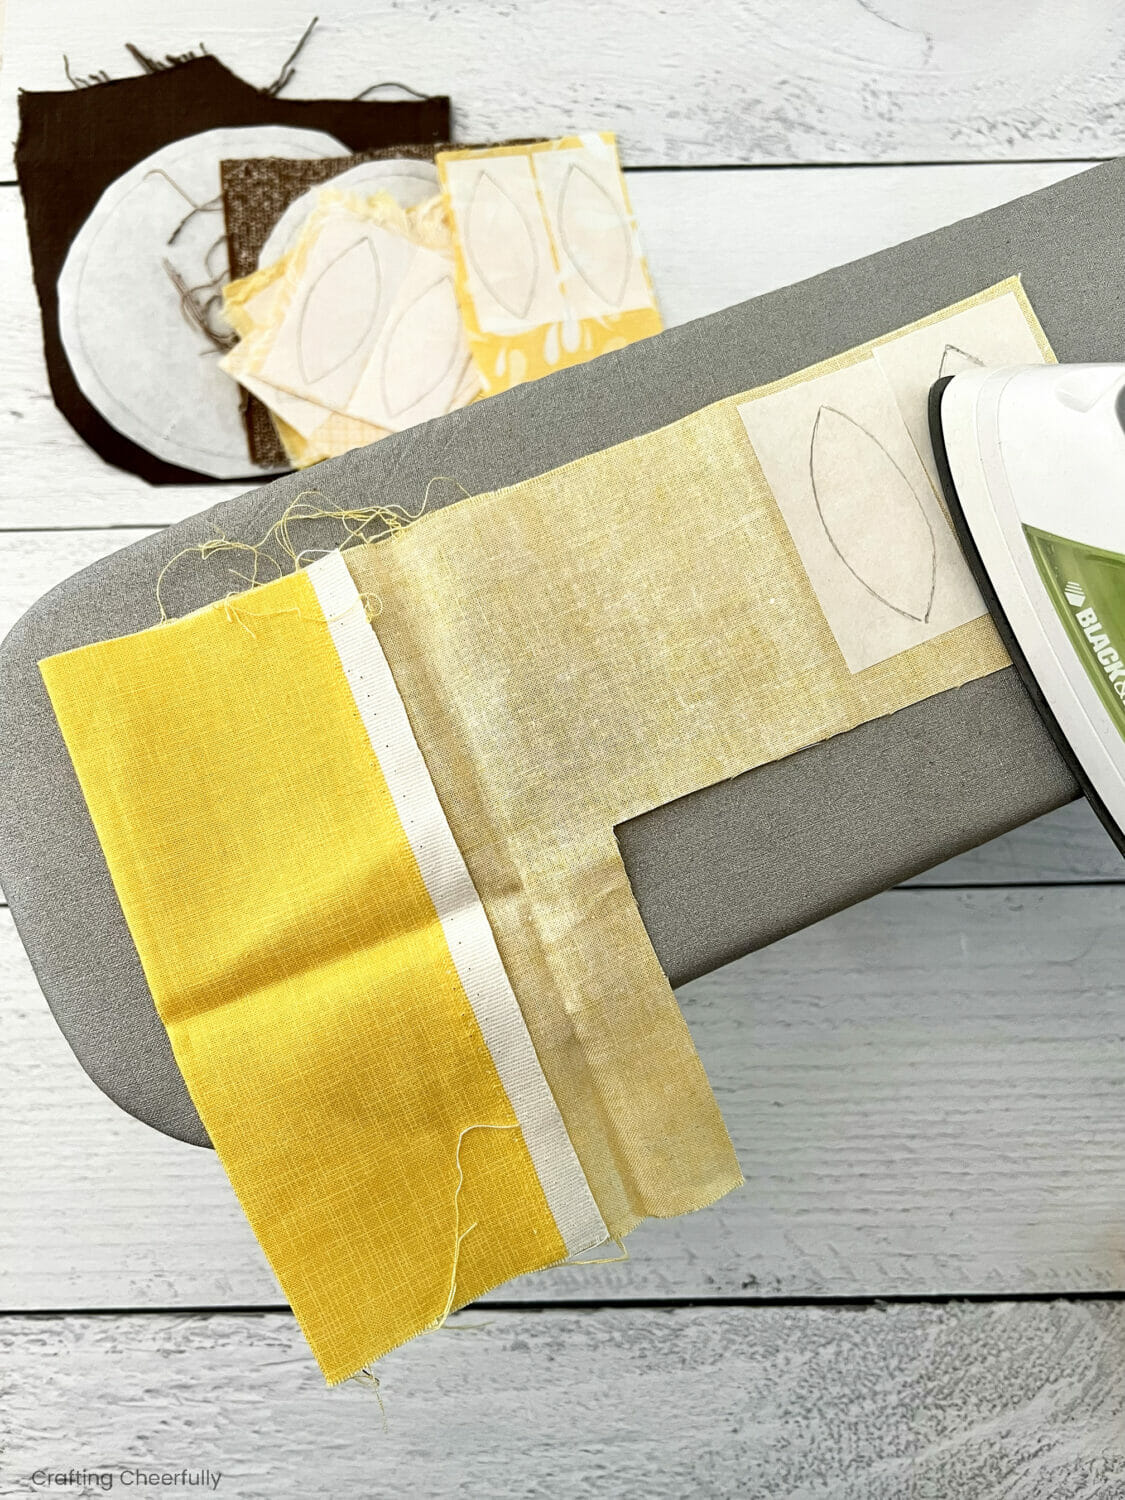
Step Two: Iron the interfacing shapes onto fabric.
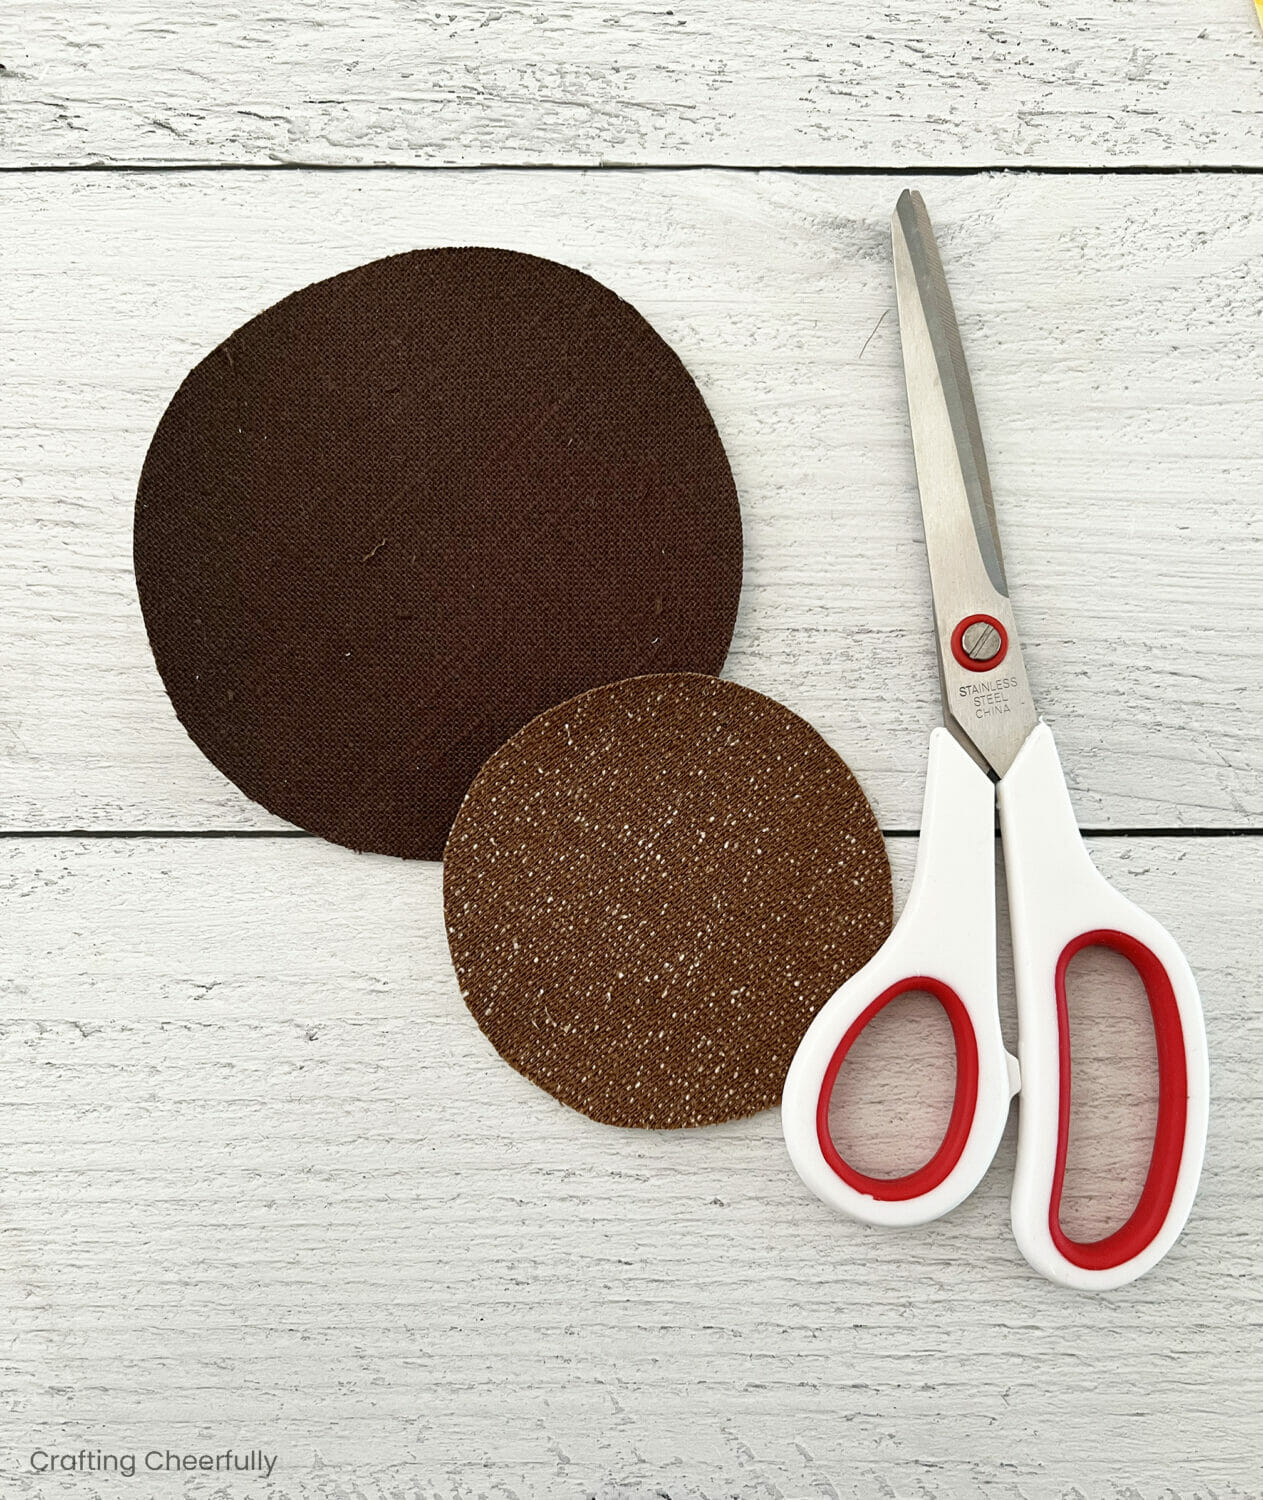
Next, iron each shape to a piece of fabric. I used ten different yellow fabrics so I ironed two petals on each fabric. For the center of the sunflower, I used two beautiful wools I found in my stash. I used the darker brown fabric for the large circle and the medium brown fabric for the smaller circle. The medium brown wool has specks of white and tan in it, which reminds me of the center on a real sunflower.


Step Three: Cut out the fabric shapes.
Cut each fabric shape out along the traced pencil line.

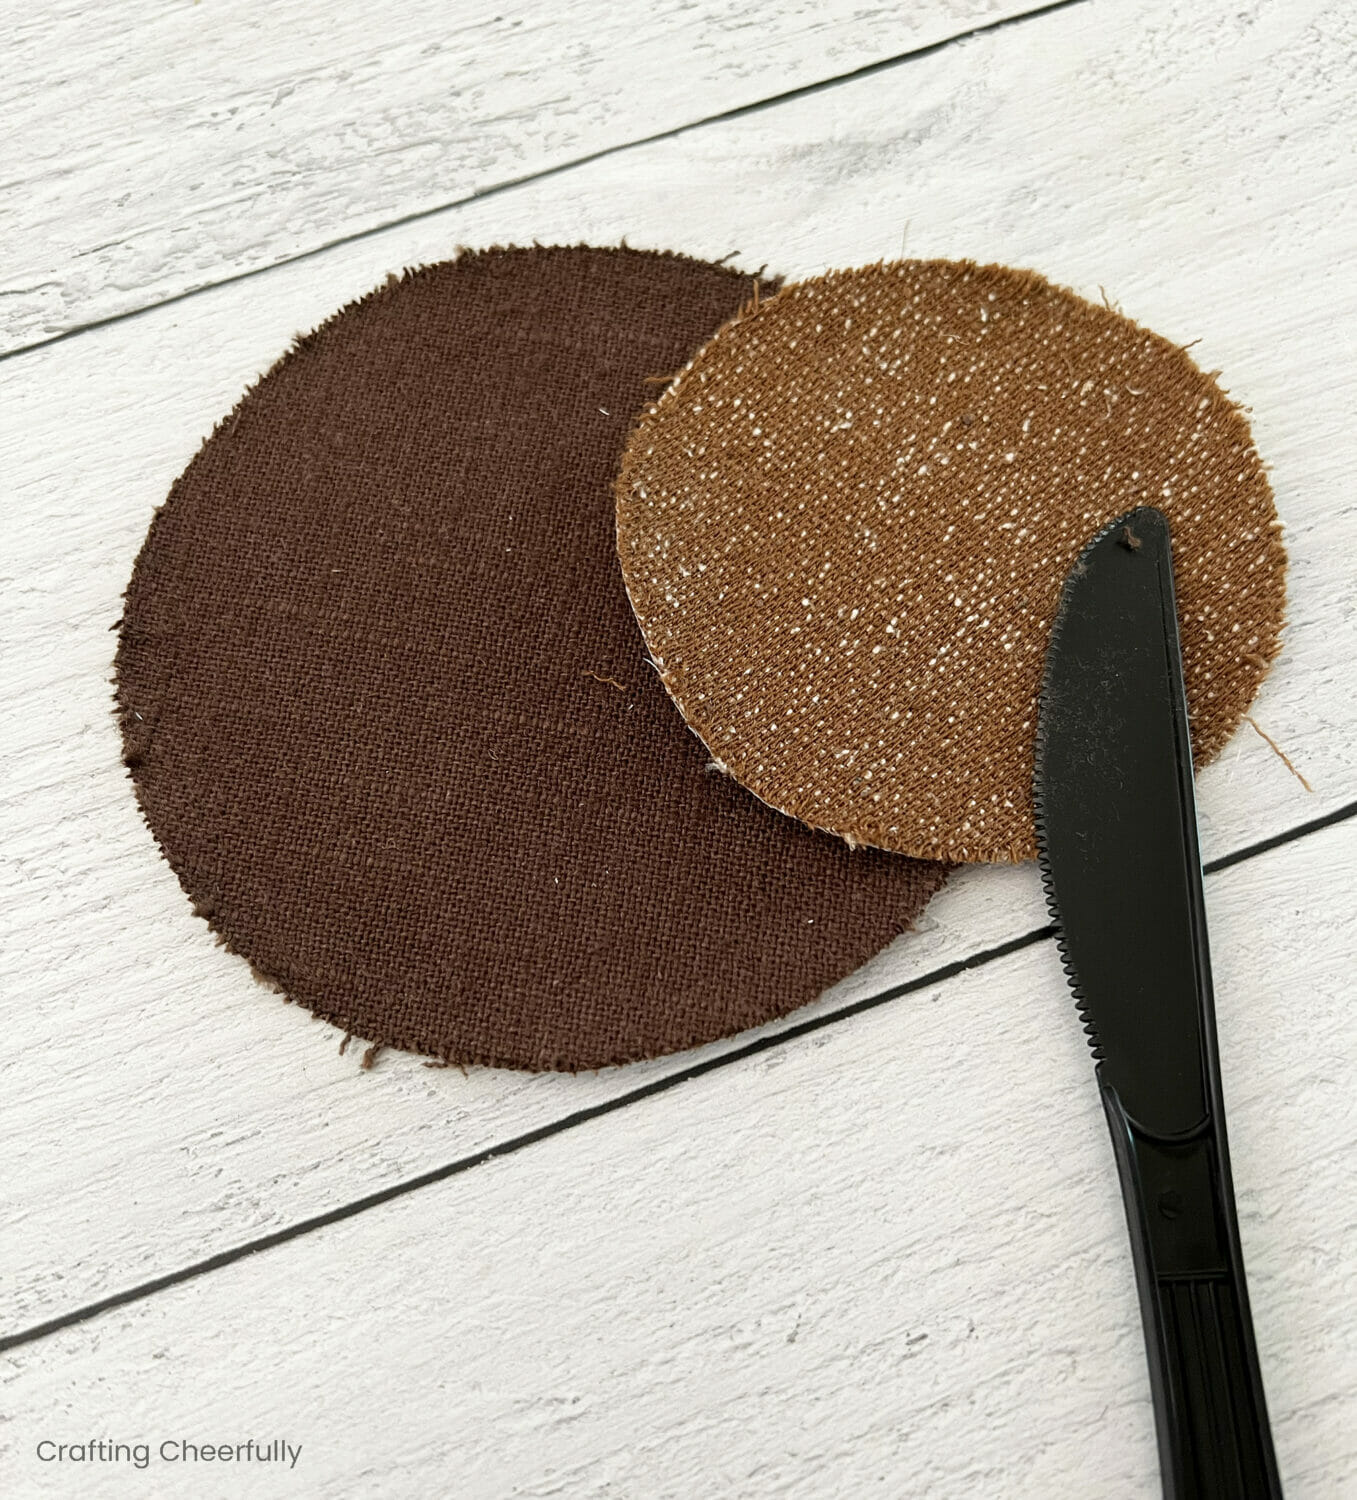
I wanted to rough up the edges of my two circles to make them look a little less perfect and more distressed. I used a plastic knife and frayed the edges of each circle.
Step Four: Iron the fabric shapes to a piece of blue fabric.
I chose to use a pretty blue fabric that looked like the sky as my backdrop fabric. I placed the outer ring of a 9″ embroidery hoop on the fabric and used it as a guide to arrange my fabric petals. Peel the paper off each petal and arrange them within the hoop. Since I had two petals that matched, I placed them opposite each other on the hoop. *TIP: Trace the small circle on the center of your blue fabric to help you place the petals. (The circle I traced below is larger than the small circle so my petals overlap it. If you trace the small circle, the petals should line up with it or just slightly overlap it and it will be completely hidden once your large circle is ironed on.)

Once the petals are arranged, iron them into place.

Iron the two circles for the center of the sunflower next overlapping the petals.

And now the fun part! The hoop is ready to be stitched!

Step Five: Hand stitch the sunflower design using a simple running stitch.
I love hand sewing and stitching this sunflower is nice and easy! I used a simple running stitch around each petal and each circle. You could use other stitches like a backstich or chain stitch, but the running stitch is more than enough to appliqué the shapes and the simplicity of it looks very sweet on this hoop.
For the petals, I used coordinating embroidery floss, but for the circles I used contrasting floss so it would stand out.


Step Six: Finish the hoop.
Once the design has been embroidered, it is time to finish the hoop. Start by trimming the blue fabric so it is about 1-1.5″ around the hoop. Use blue thread and a running stitch along the outer edge of the fabric. As you stitch and pull, the fabric will naturally gather toward the center of the hoop. You can choose to cover the back of the hoop with fabric, felt, or paper or you can leave it blank.


The hoop is finished! I love how this sweet sunflower hoop turned out! It’s perfect for both summer and autumn as sunflower season is a long one. This was a great way to use my fabric scraps!

Check out my other embroidery projects perfect for summer and autumn including my Scrappy Apple Banner and my Burlap Strawberry Banner.

Get the Free Sunflower Embroidery Hoop Pattern!
Fill out the purple form below with your first name and email address! The free file will be sent straight to your inbox! If you have already filled out the form below, don’t worry – you won’t be added to my list twice! This freebie is for personal use only. I hope you enjoy crafting something special. Please let me know if you have any questions :)