
DIY Animal Appliqué Pillows for Children
Learn how to make sweet animal appliqué pillows. Grab the free appliqué designs for an owl, elephant and lion and gets tarted sewing!

Hello Crafty Friends! Today I’m excited to share the sweetest little animal appliqué pillows with you. These are so fun to make and are so cute and colorful when finished.
I made each of my children one of these pillows before they were born as decoration for their nursery. They are also a great pillow size for small children sleeping in their own beds.
I made three animal appliqué patterns including an owl, elephant and lion. While I normally enjoy appliquéing by hand, I used my sewing machine to appliqué each animal to the front of a pillow. They are all designed to fit a small 12″ x 16″ pillow form.


> View more DIY Pillow Tutorials!
How to Make Cute Animal Appliqué Pillows
Supplies Needed:
- Free Appliqué Patterns – Grab the free files by filling out the purple form at the end of this post.
- 12″ x 16″ pillow form
- Fusible Web Interfacing – Wonder Under
- Machine Embroidery Thread for Appliqué
- Embroidery floss – for elephant’s ear and owl’s eyes/beak/legs.
- Fabric
- Back of pillow – 2 pieces (13″ x 10″)
- Front of pillow – 1 piece (11″ x 15″)
- Fabric Border – 2 pieces (13″ x 2″) and 2 pieces (17″ x 2″)
- Fabric scraps for appliqué animal – reference pattern for sizes of each piece
- Felt scraps for owl’s eyes, beak and legs
- Batting or flannel – 1 piece (13″ x 17″)
> This pillow should not be placed in a crib with a sleeping child or used by an infant.

Step by Step Tutorial
Step One: Cut out all of your fabrics.
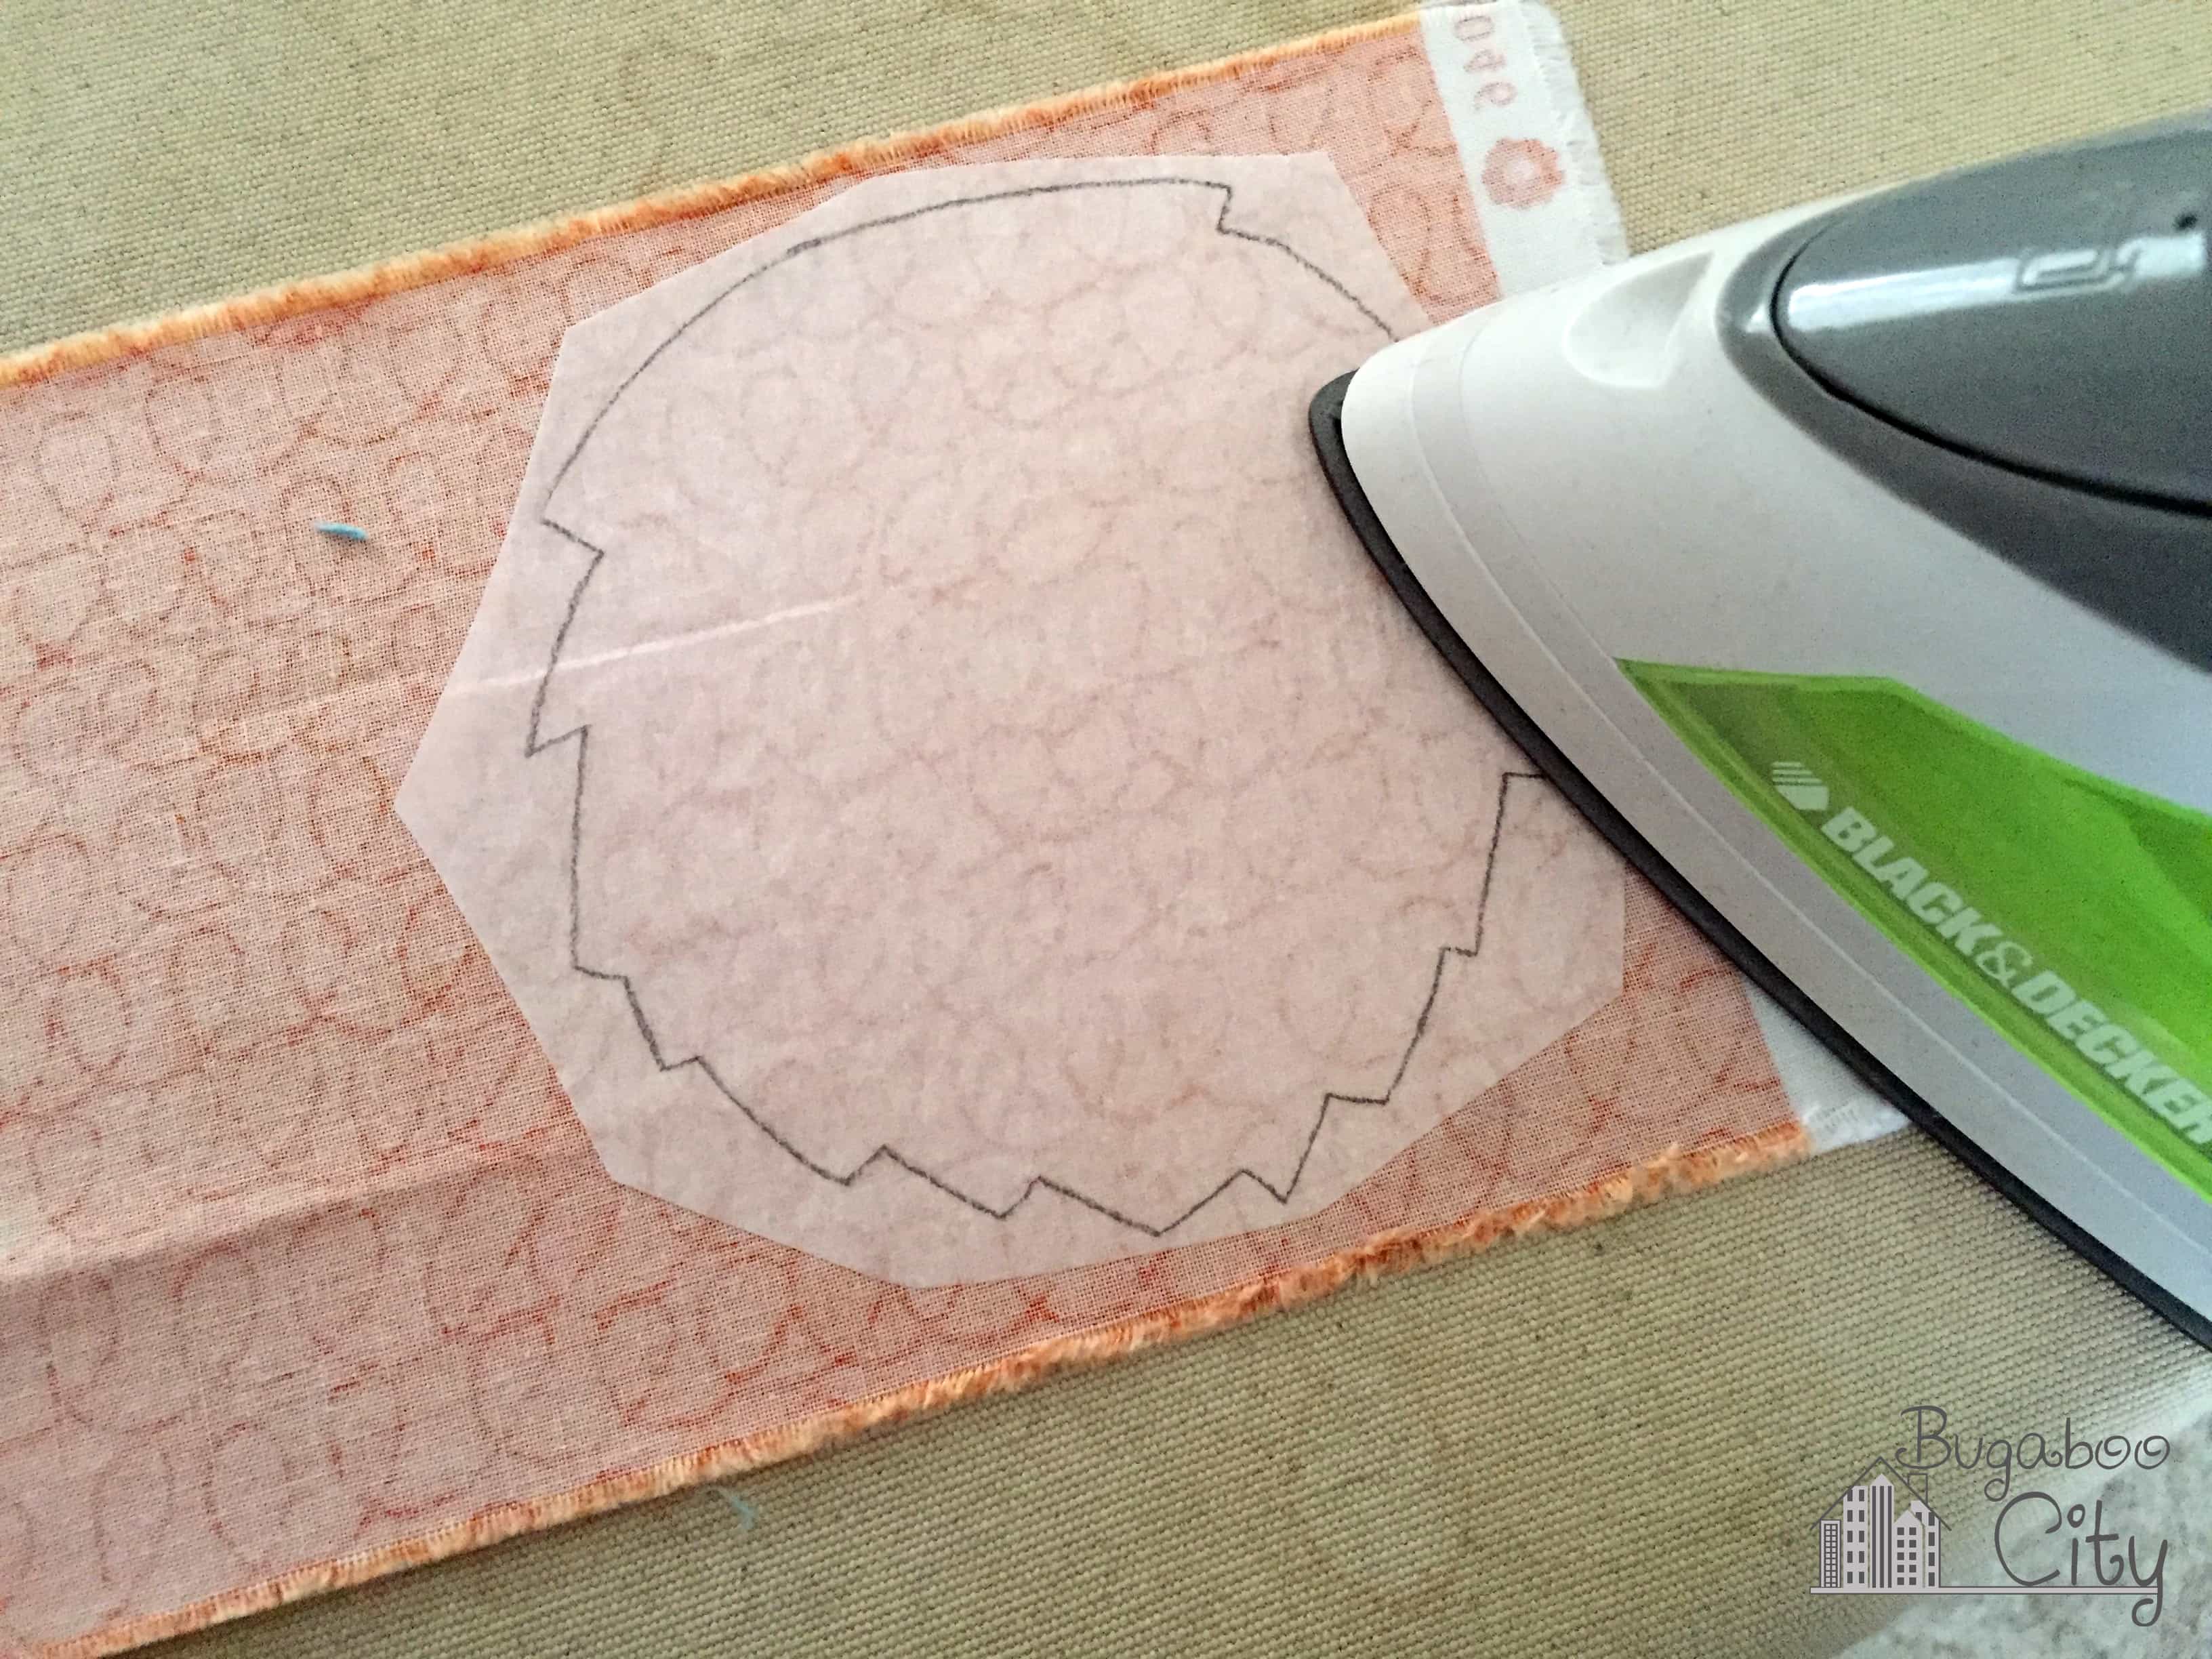
Use the dimensions under Supplies Need to cut the large pieces of fabric for the pillow case. To cut the fabric for the animal appliqué, use the fusible web. Lay the fusible web, paper side up, over the printed appliqué pattern. Trace the shapes.

Cut the appliqué shapes out leaving space around the pieces. Next, iron each piece to fabric making sure to iron the piece onto the wrong side of the fabric. Let the fabric cool, then cut the pieces out directly on the line.
Step Two: Appliqué the animal.
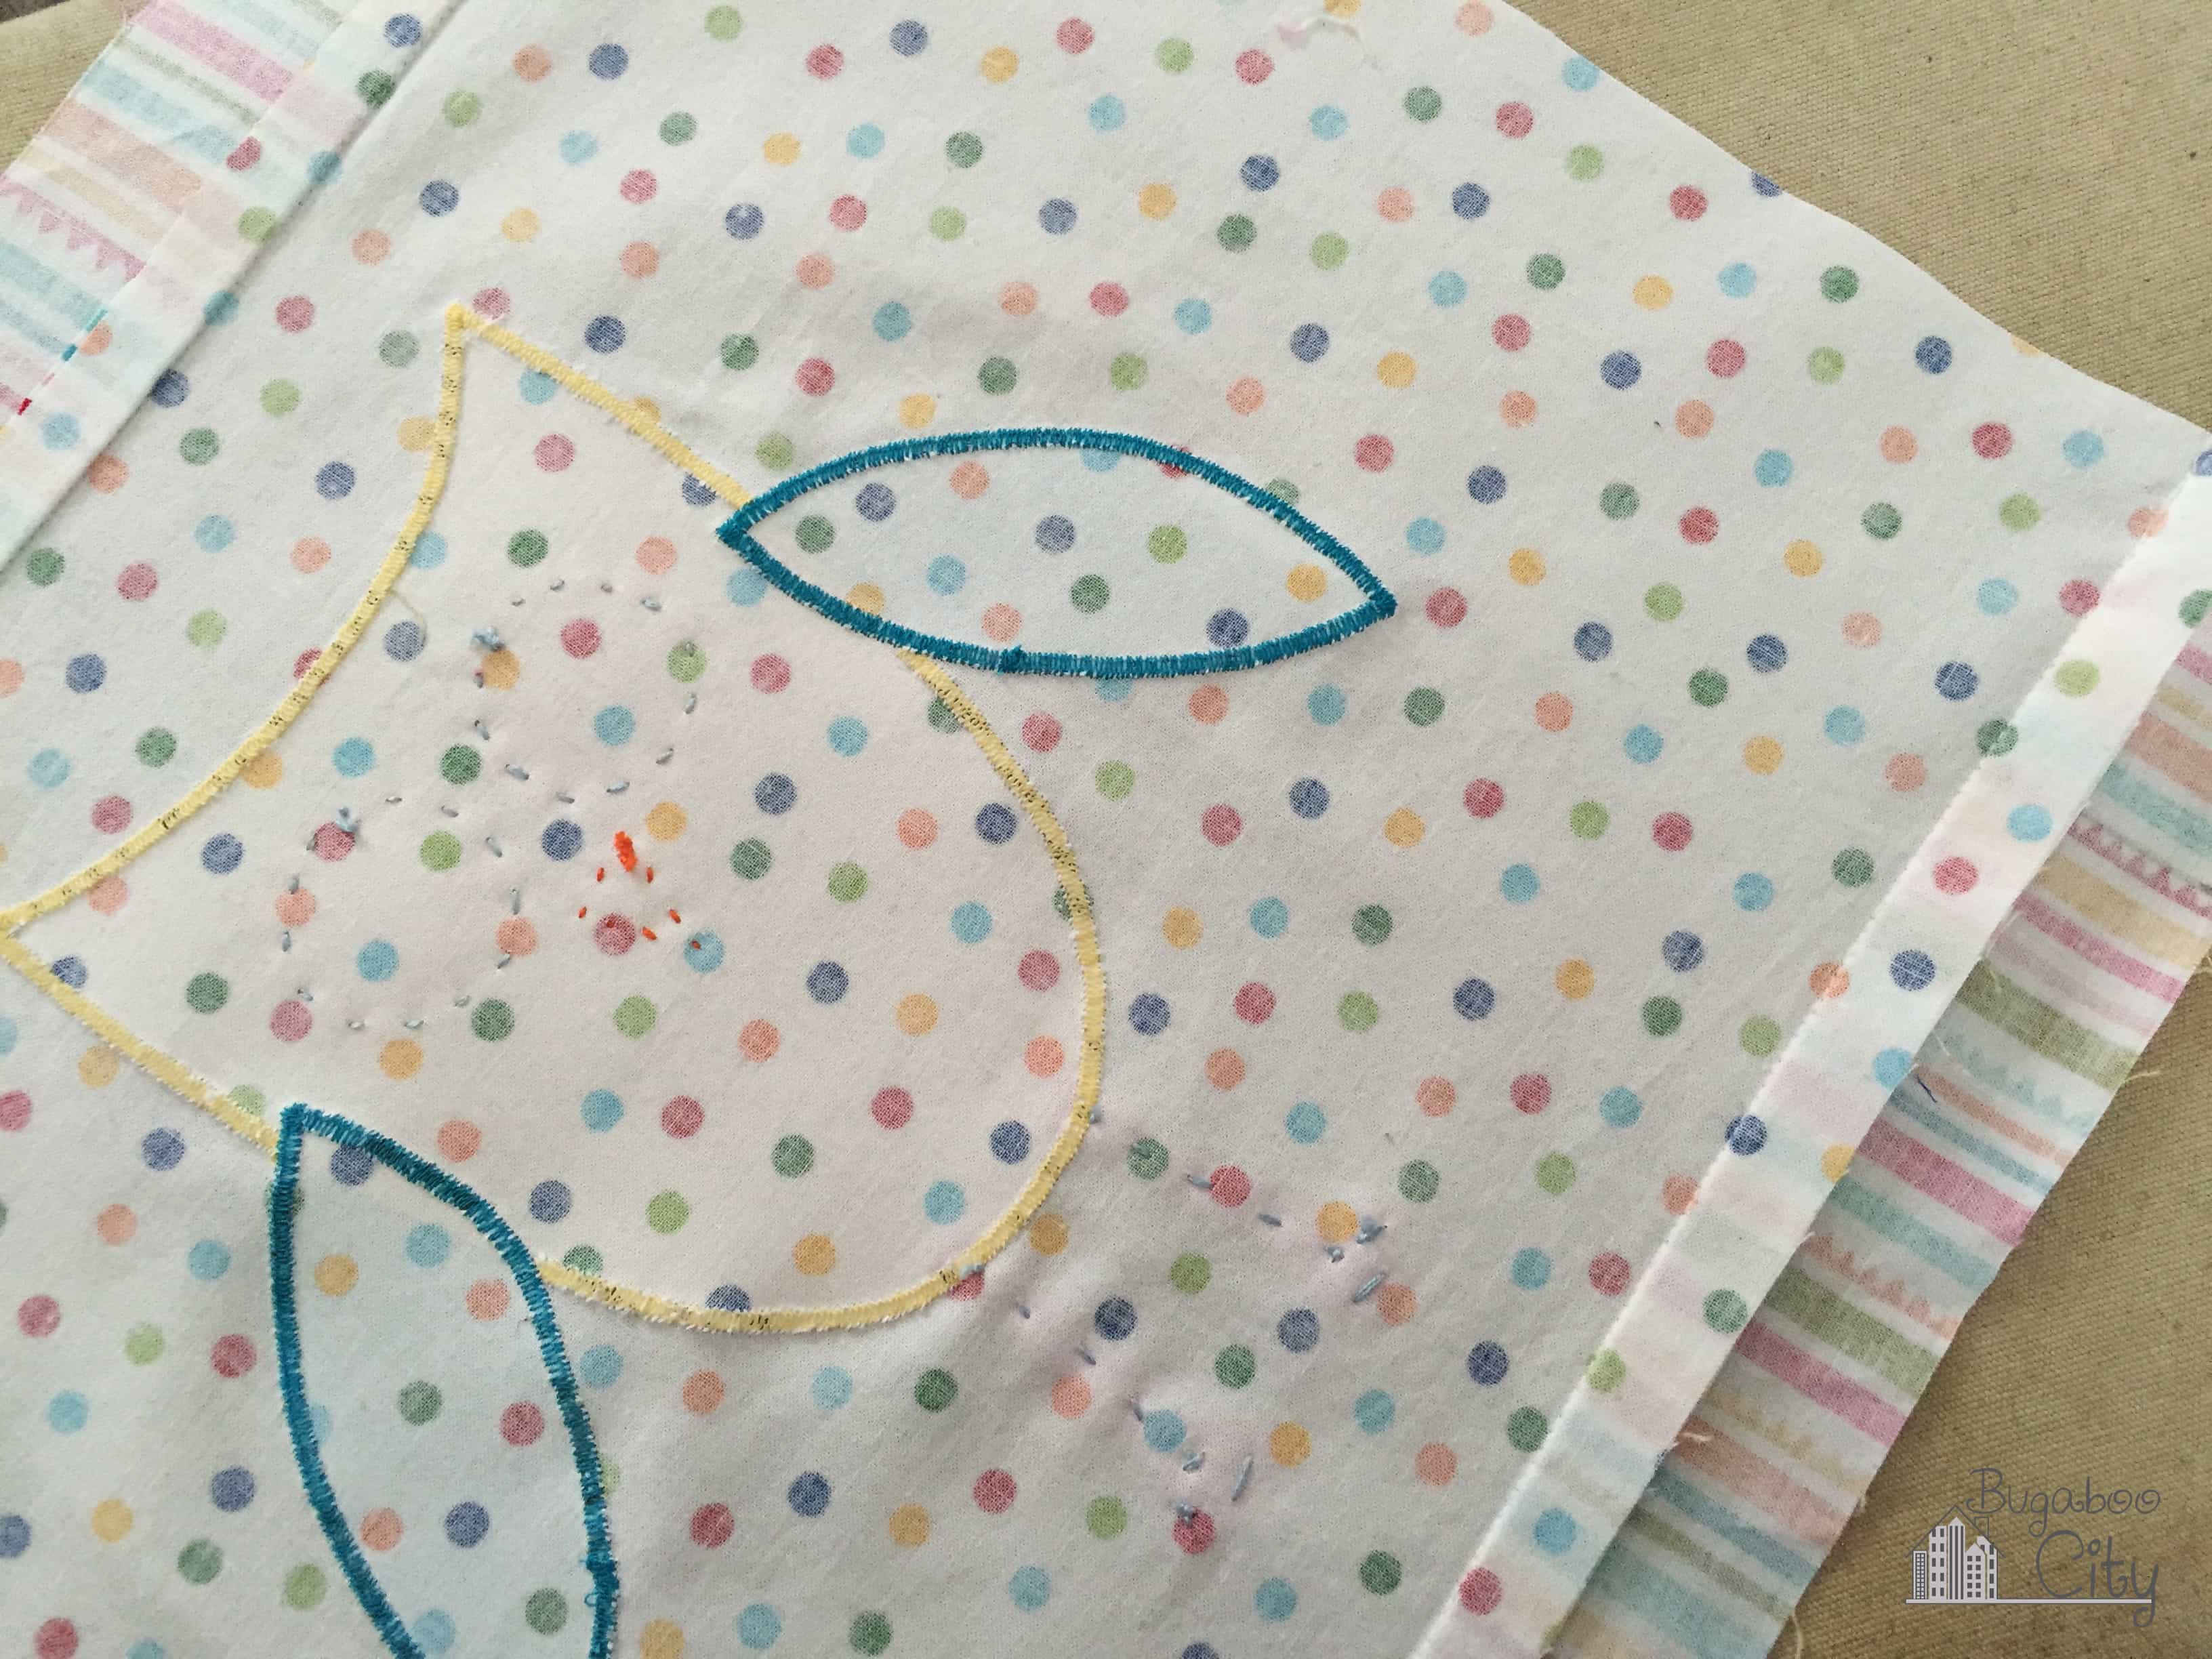
Peel the paper backing off of each appliqué piece and iron them to the front piece of fabric. Some of the pieces will be layers, so start by ironing the bottom pieces and then adding on.


After the animals are ironed in place, appliqué them using your machine and machine embroidery thread. I used a zig zag stitch on my machine and set my stitches to be about 1/4″ wide and very close together. I’ve found going slow, especially around curves is the key to getting a nice solid satin stitch. You can also appliqué the pieces with a looser zig zag stitch, buttonhole stitch or by hand with a running stitch. The tight zig zag satin stitch I did will keep the edges of the appliqué pieces from fraying when washed.

Hand stitch felt pieces like the eyes, beak and legs on the owl and hand stitch the fabric ear of the elephant. I used a small and simple running stitch in contrasting embroidery floss colors.

Hand stitch the lion’s nose and snout using embroidery floss.

Step Three: Create the front of the pillow by adding the border pieces.
The front of the pillow has a border on all four sides. Start with the top and bottom pieces. Mark in from each end at 1″ and 1.5″. With right sides together, lay the border piece on the pillow. It should hang 1″ off on each side. When sewing keep your stitching between the 1.5″ marks.


Press your seams towards the border pieces.
Stitch the right and left border pieces to the front of the pillow with right sides together. Start your stitching where the right/left border piece meets the top/bottom border piece. Press seam allowance towards border pieces.


To create the mitered corners, bring the border pieces together (right sides together) at each corner. Stitch a diagonal line from corner to corner. The pictures will hopefully help explain this since it can be tricky to describe! Press corners flat.


Step Four: Flat line the front piece with the flannel.
I like to add a layer of flannel under the front of the pillow because it makes the pillow so nice and soft. You can stitch the flannel to the front layer of the pillow very close to the edge so your stitching is in the seam allowance (flat lining), or wait and sew all layers together in the next step.

Step Five: Sew the front piece of the pillow to the back pieces.
To create the envelope pillow case, start by finishing off the ends of the back pieces that will overlap. Fold the edge under twice and top stitch.


Stitch the back pieces to the front piece of the pillow with right sides together. Overlap the back pieces.

Stitch around all four sides of the pillow with a 1/2″ seam allowance. Clip the corners and flip right side out.


The pillow is finished! I love how cheerful the pillows turned out. My kids have used their pillows for over 5 years and they have held up so well after so many washes.


Get the Free Animal Appliqué Pillow Pattern Files!
Fill out the purple form below with your first name and email address! The free file will be sent straight to your inbox! If you have already filled out the form below, don’t worry – you won’t be added to my list twice! This freebie is for personal use only. I hope you enjoy crafting something special. Please let me know if you have any questions :)


2 Comments