DIY Lego Travel Case
Create the coolest DIY LEGO Travel Case! A great way to store your LEGOS and play with them. Decorate in any theme using wrapping paper!

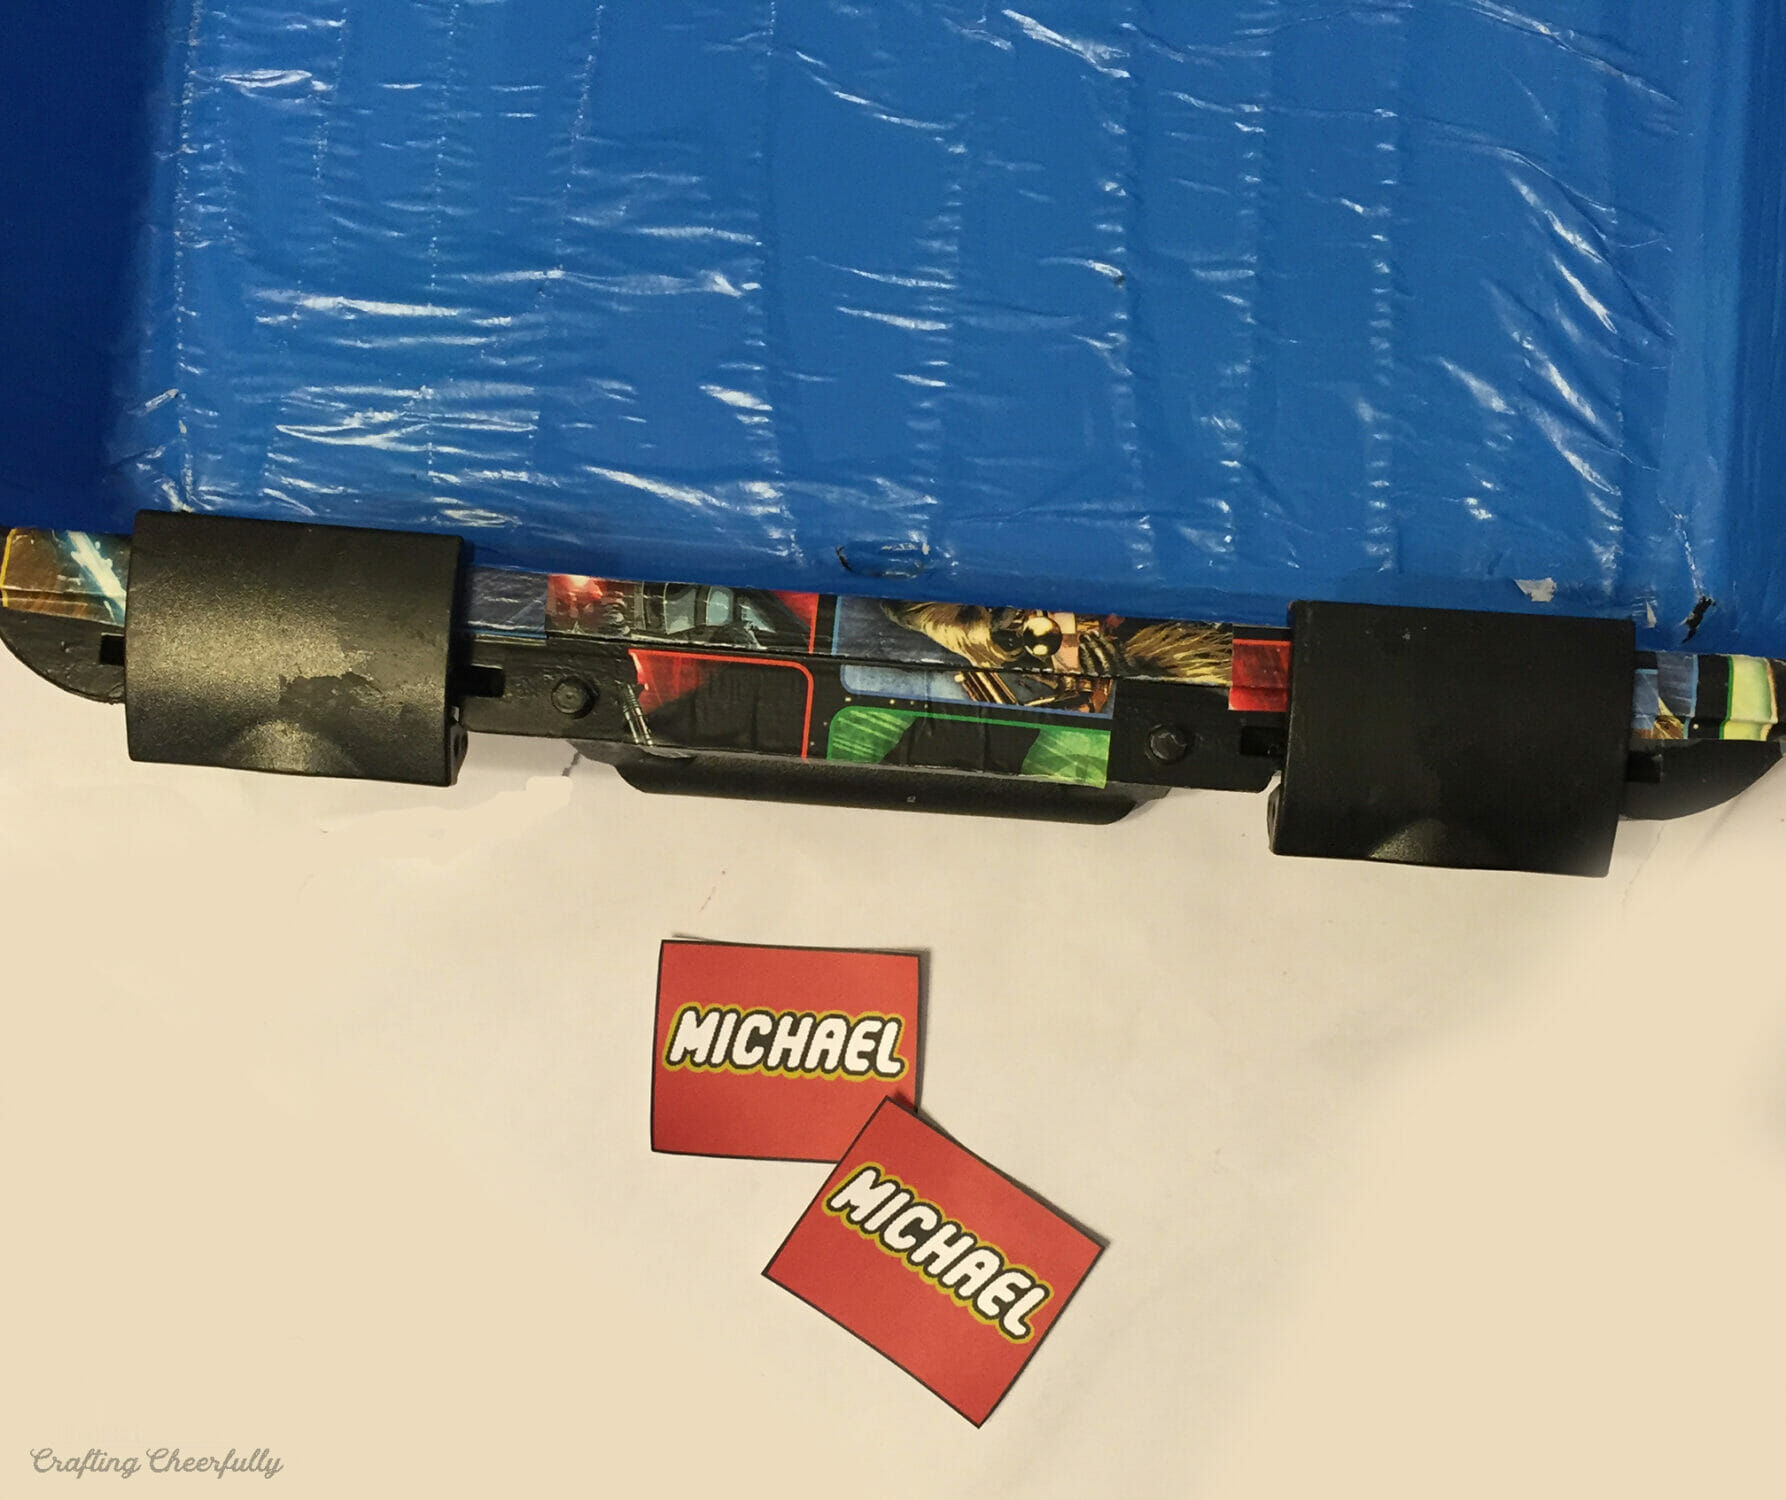
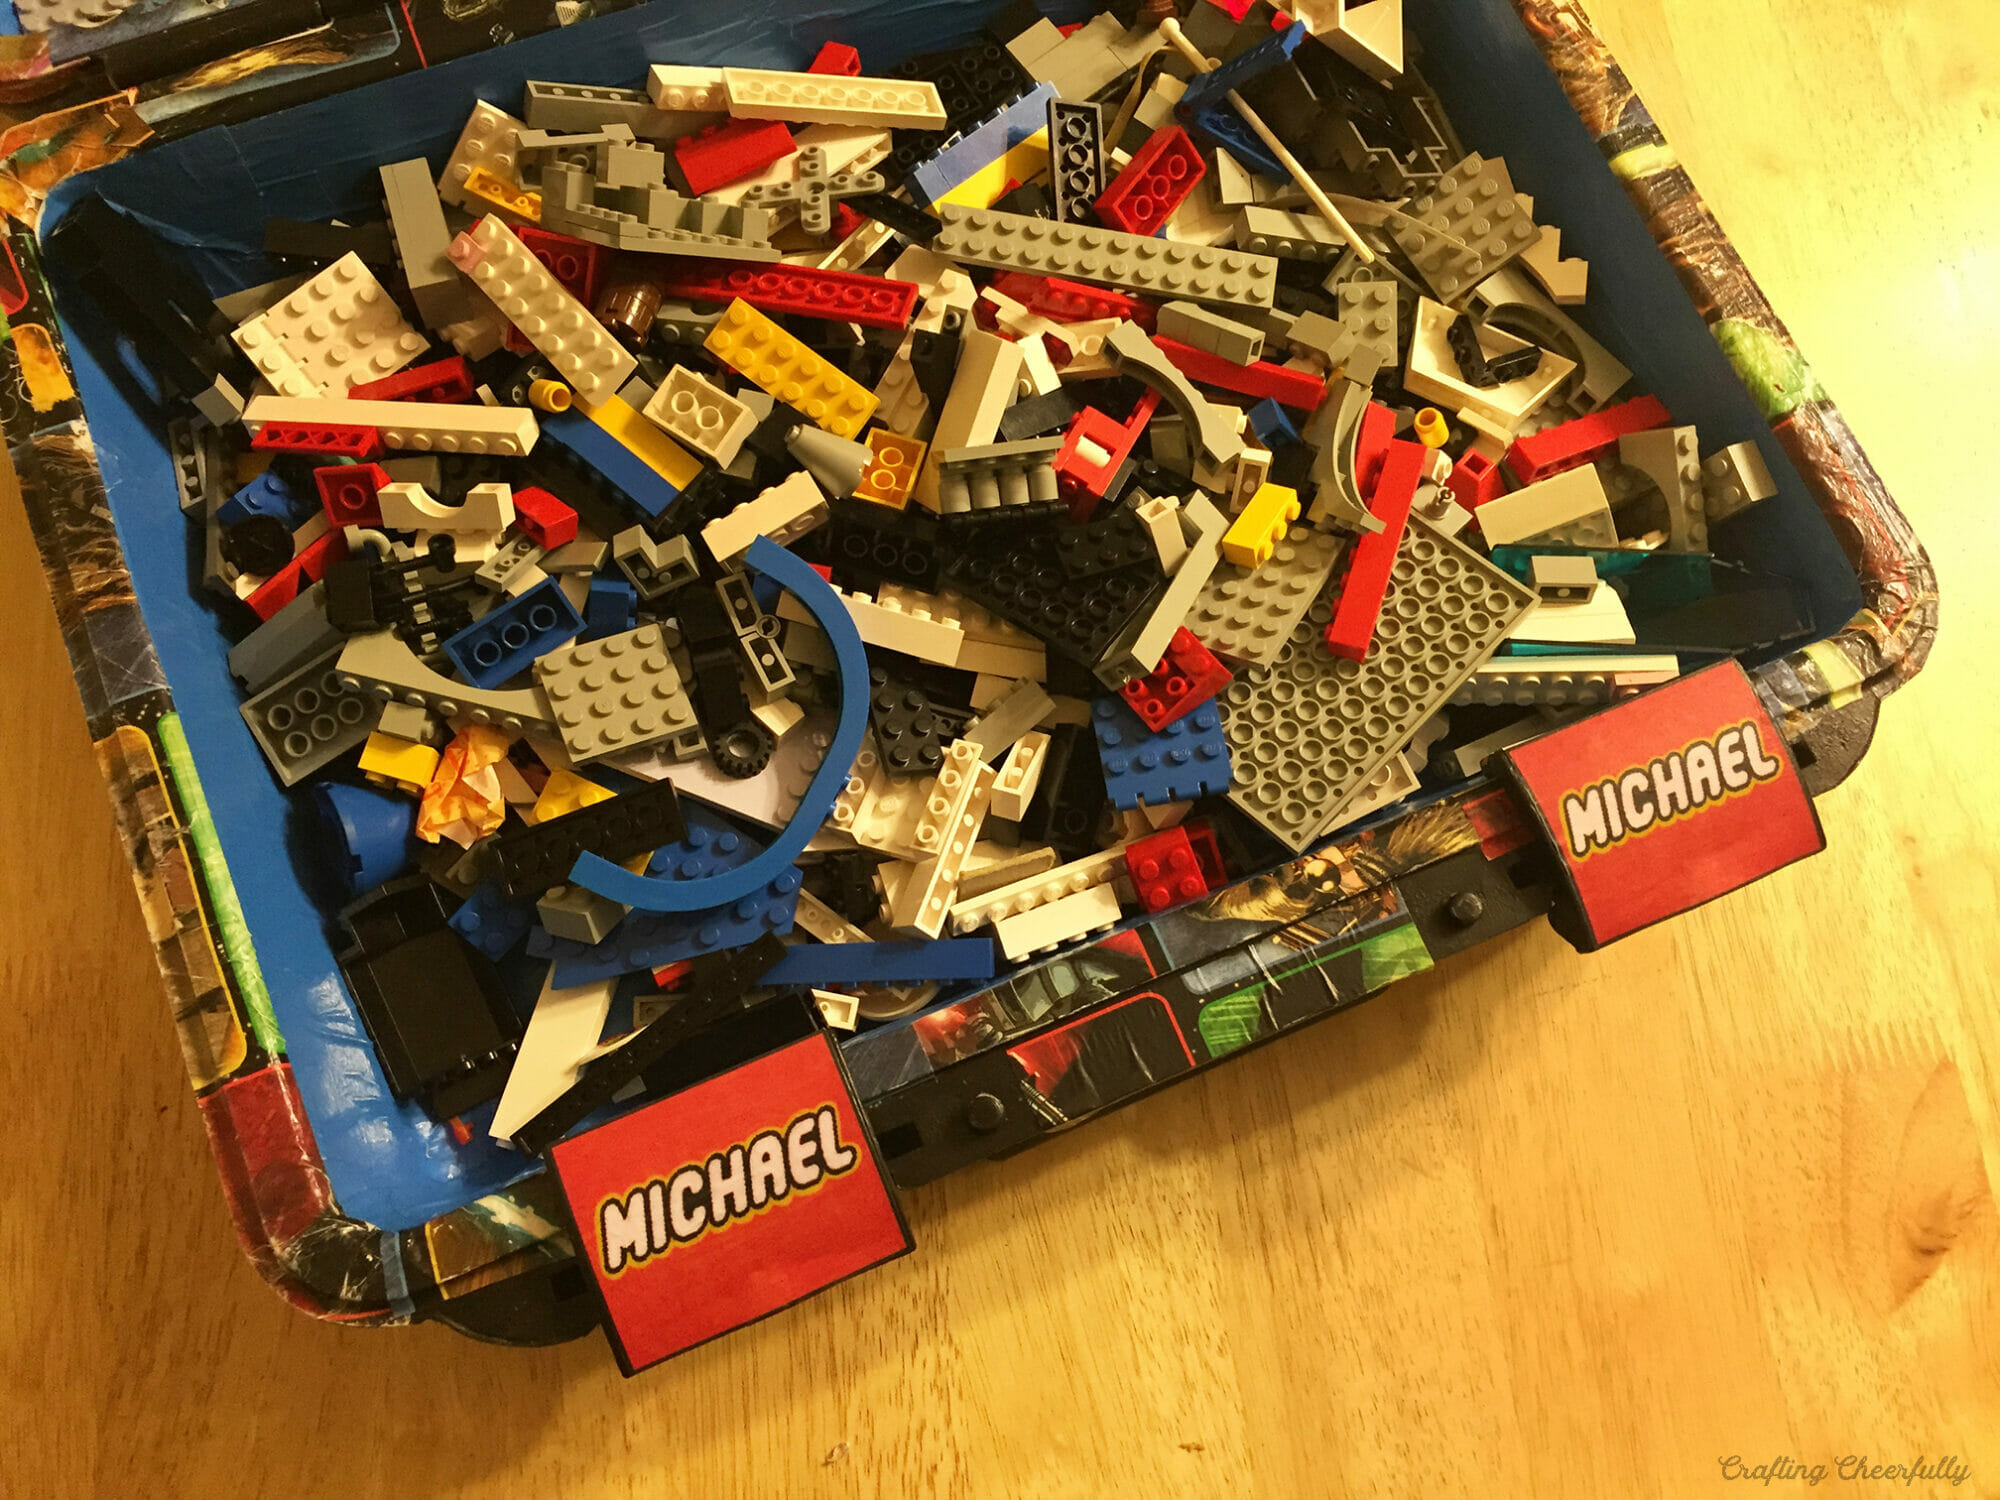
Hello Crafty Friends! Today I’m excited to share a tutorial with you to create a DIY LEGO travel case! This past Christmas I handmade most of my gifts including this LEGO travel case. It was the perfect gift for our nephew who is a huge LEGO fan. The case was easy to personalize. We used Star Wars-themed wrapping paper to cover the outside of the box and added his name to the handles.
There are so many fun ideas for travel cases online I had plenty of inspiration. Many of the cases I saw were small. While these looked perfect for road trips in the car I was hoping to make something larger that could hold a decent amount of LEGO. This travel case is perfect for when our nephew is staying at his grandparents house and wants to bring his LEGO with him or even for playing LEGO in the living room for an afternoon instead of in the basement. This case also ended up being a great storage case that can slide under a bed or tuck away under a desk.

The case opens up to a large storage bin on one side and a play area with a LEGO baseplate on the other. Our LEGO baseplate needed to be trimmed to fit in our case, so we added the part that was cut away to the outside of the bin. This worked out really well as it added another fun play space. The outside baseplate also helps keep the case level while playing!

More DIY LEGO Crafts from Crafting Cheerfully
Supplies Needed for DIY LEGO Travel Case
- Plastic carrying Case – we found ours at Goodwill and removed the foam. This black carrying case looks very similar to what we found. I recommend trying to upcycle something if possible!
- LEGO baseplate (we used a 15″ x 17″ baseplate and cut it into two pieces) You could also use peel and stick baseplates. We used these by Creative QT for our makerspace LEGO board.
- Wrapping paper – one for the outside and one for inside the case
- Mod Podge
- Foam paintbrush
- Scissors
- Utility knife to cut the baseplate if needed
- LEGO plates to help guide cutting the baseplate
- LEGOS to fill the case with! This set is a great open-ended starter set!

How to Make a DIY LEGO Travel Case
Step One: Choose a container.
Choosing the container for your travel case is the most important step. We were on the hunt for quite some time and ended up finding some good options at our local Goodwill store. We liked the plastic carrying cases we found since they were thick plastic that would hold up for a long time, they latched closed so LEGO pieces wouldn’t spill out and they had a handle.

After we chose our case, we removed the foam that was inside it.

Step Two – Cover the outside of the case.
Use Mod Podge to cover the outside of your case in wrapping paper. I was inspired by this Travel Lego Box from Cherished Bliss. Ashley used Star Wars fabric to cover her box, the exact theme we wanted to make our case! Instead of fabric, I chose to use wrapping paper since our case was quite large and wrapping paper was cheaper. I gave the outside of the case several coats of Mod Podge so it would be well protected.


Step Three: Cover the inside of your case.
Cover the inside of the case using a different wrapping paper and Mod Podge. You could of course leave the inside of your case uncovered. We chose to cover ours since the foam we had ripped out left glue lines that I couldn’t scrape out. The glue lines are visible through the wrapping paper but once the bin is filled with LEGO it can’t be seen.
Step Four: Personalize the handles.
To personalize the case, we added a name in LEGO themed writing to the handles. I used the font Legothick font in Photoshop and made the labels the size of each latch.
Step Five: Attach the LEGO building baseplates.
Attach a LEGO baseplate to the inside lid of the container. If you have leftover baseplate, add it to the outside of the case. This can come in handy for building in the car or in a smaller space, or for displaying build. The baseplate on the outside of the lid, also helps create a stand so your playing space inside the lid is level.
To cut your LEGO building plate down to size, fold it gently where you want to cut it. Then use a utility knife, or box cutter, to cut down the fold line. It’s actually quite easy to cut through and we used a line of LEGO plates to help guide our cut.


Curve the corners along your cut lines so they aren’t sharp.

Adhere the base plate to the inside lid of the case using hot glue or a strong adhesive glue.

Attach the leftover baseplate piece to the outside lid near the edge closest to the opening.
One huge advantage to having a baseplate on the outside of the case, is that you can stack a few LEGOs on the corners to keep the case lid level when open playing. and it makes the case lay level when open! This keeps the lid from laying at an angle when open.

The DIY Lego Travel case is done! Gift it to someone special so they can start using and enjoying it!
I’m happy we made this! This is our second adventure in DIY LEGO crafting – check out the DIY Lego Table we made my son for Christmas. I wonder what other LEGO-related crafts we can make?!?