DIY Harry Potter Funko Pocket Pop Display Case
Create a unique display case for your Harry Potter Funko Pocket Pops! Using scrapbook paper, stickers and an unusual kitchen gadget, you can display your figurines in style and keep them dust-free!

Hello! It’s that time of year again – time for Harry Potter crafts! This week on my blog I’ll be celebrating Harry Potter all week long with some fun Harry Potter-themed DIY crafts. Today I’m excited to share how I created my own DIY Harry Potter Funko Pocket Pop Display Case. This past Christmas my husband surprised me with the Harry Potter Advent Calendar. It was a lot of fun and my kids think they are so cute!
These are my first Funkos and I haven’t had any place to display them. They have been moving around the house since January. Unfortunately, I am now missing one – Dumbledore! In retrospect I definitely should have kept them in a safer spot, away from curious kids, but I’m sure Dumbledore will turn up and I can add him to my display. *Update: Dumbledore has been found! :)
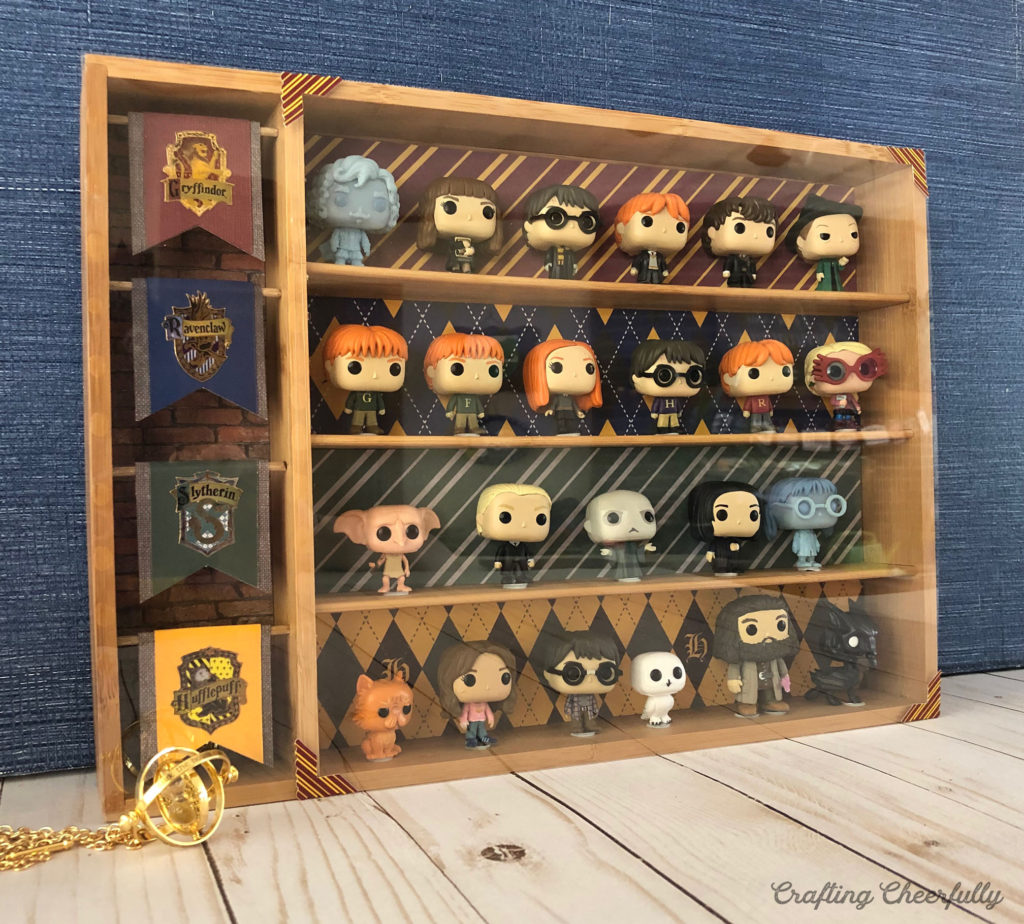
Creating this display case was a lot of fun! I found some display cases on Amazon I could have purchased, but most were clear acrylic or black. The case I created reminds me of the Gryffindor common room – cozy and warm. I love how all four houses are represented and the little house banners are so fun!
Can you guess what I used? A drawer organizer! The kind you put silverware in to keep your forks separate from your spoons! I found this at Target one day for $6 and knew if the Funkos fit, it would be perfect!! Below you can see how I created this and what I used to make sure my Funko Pocket Pops would stand up straight and stay dust-free!
*Update: I understand my Funko Pops are not organized by house and this may drive you crazy. The Harry Potter Funko Pop Advent Calendar did not come with enough Funkos from each house to organize them perfectly. You’ll be happy to know I have since received more Harry Potter Advent Calendars and now have my Funkos organized by house. :)
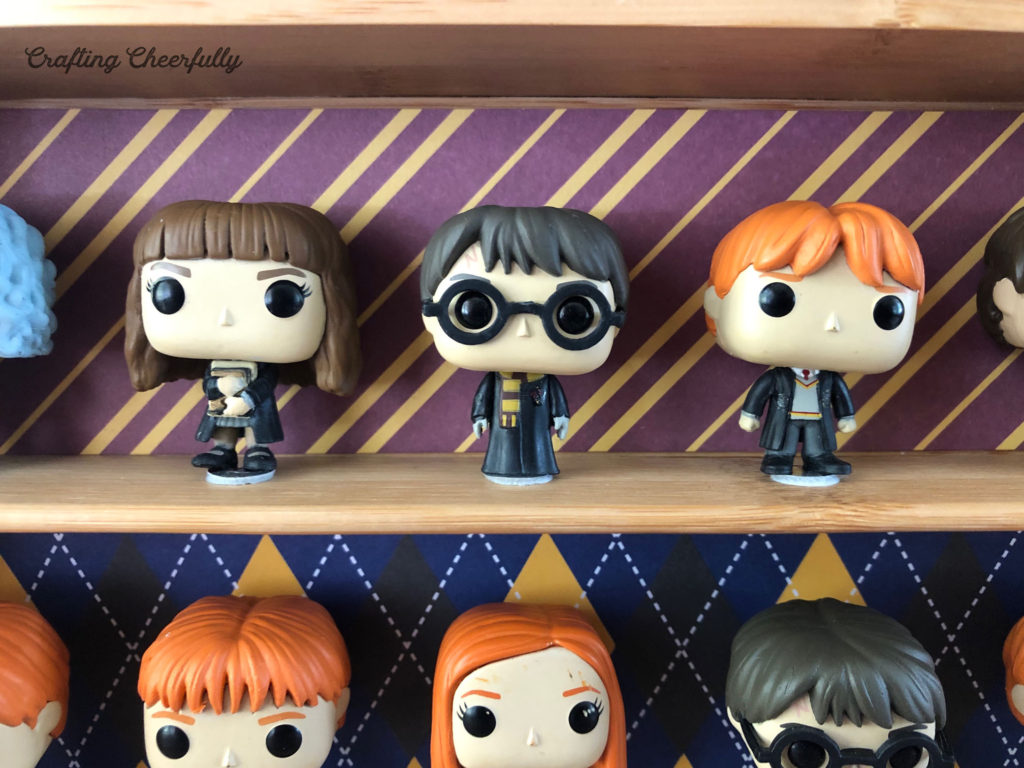
DIY Harry Potter Funko Display Case
Supplies Needed
- Harry Potter Funko Pops – the Pops pictures are from the 2018 Harry Potter Funko Pop Advent Calendar.
- Bamboo Drawer Organizer – I used this one from Target. This Bamboo Silverware Organizer from Amazon, looks really similar, but I have not personally purchased it. It has the same number of compartments and outside dimensions as the one I used from Target. Drawer organizers will work for Funk0 Pocket Pops which are just 1.5″ tall.
- Clear Velcro Dots
*Update! A couple of my Funkos were falling over so I switched to 5/8″ Velcro Dots – much more visible but I haven’t had any problems since switching! I have also use Removable Poster Putty which works really well and is less visible.
- 2 sheets of Craft Plastic – I used Grafix Clear Craft Plastic .007 Thickness
- Harry Potter Scrapbook Paper – I used paper from this Reminisce Wizard 101 Collection Kit
- Cardstock for house flags – if you need color recommendations check out my HP Paper Stockings Post
- Harry Potter house crests – I used these fun Harry Potter House Stickers
- 1/8″ thick wooden dowel
- Double-sided tape or glue stick – I used 1/4″ Scor-Tape
- Clear Tacky Glue
- Gorilla Super Glue
- Hole punch
- Paper Trimmer
- *optional – Score Board

Step by Step Tutorial
Step One: Use scrapbook paper as a background.
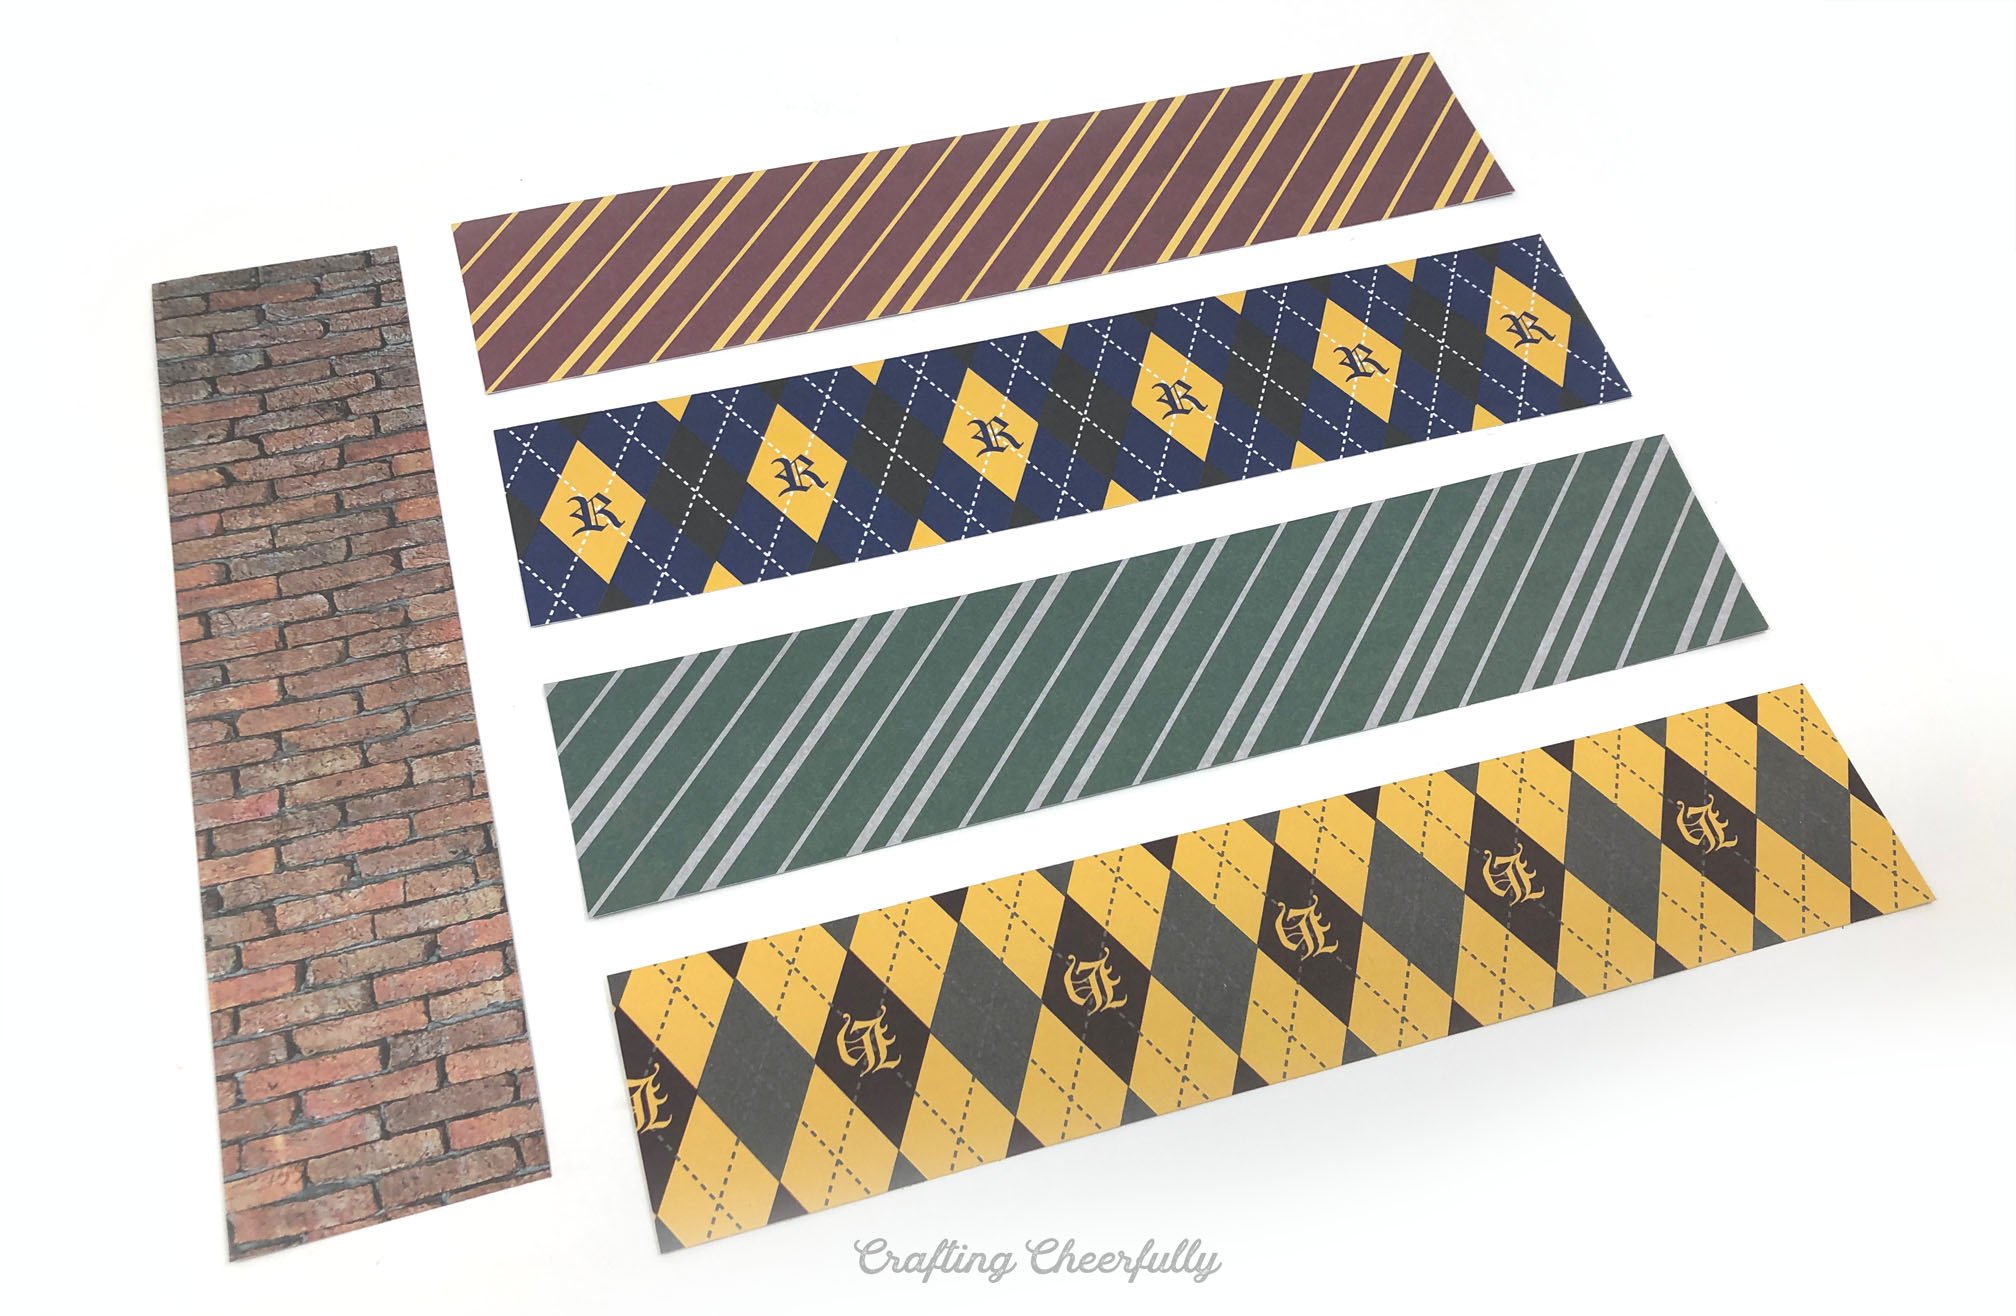
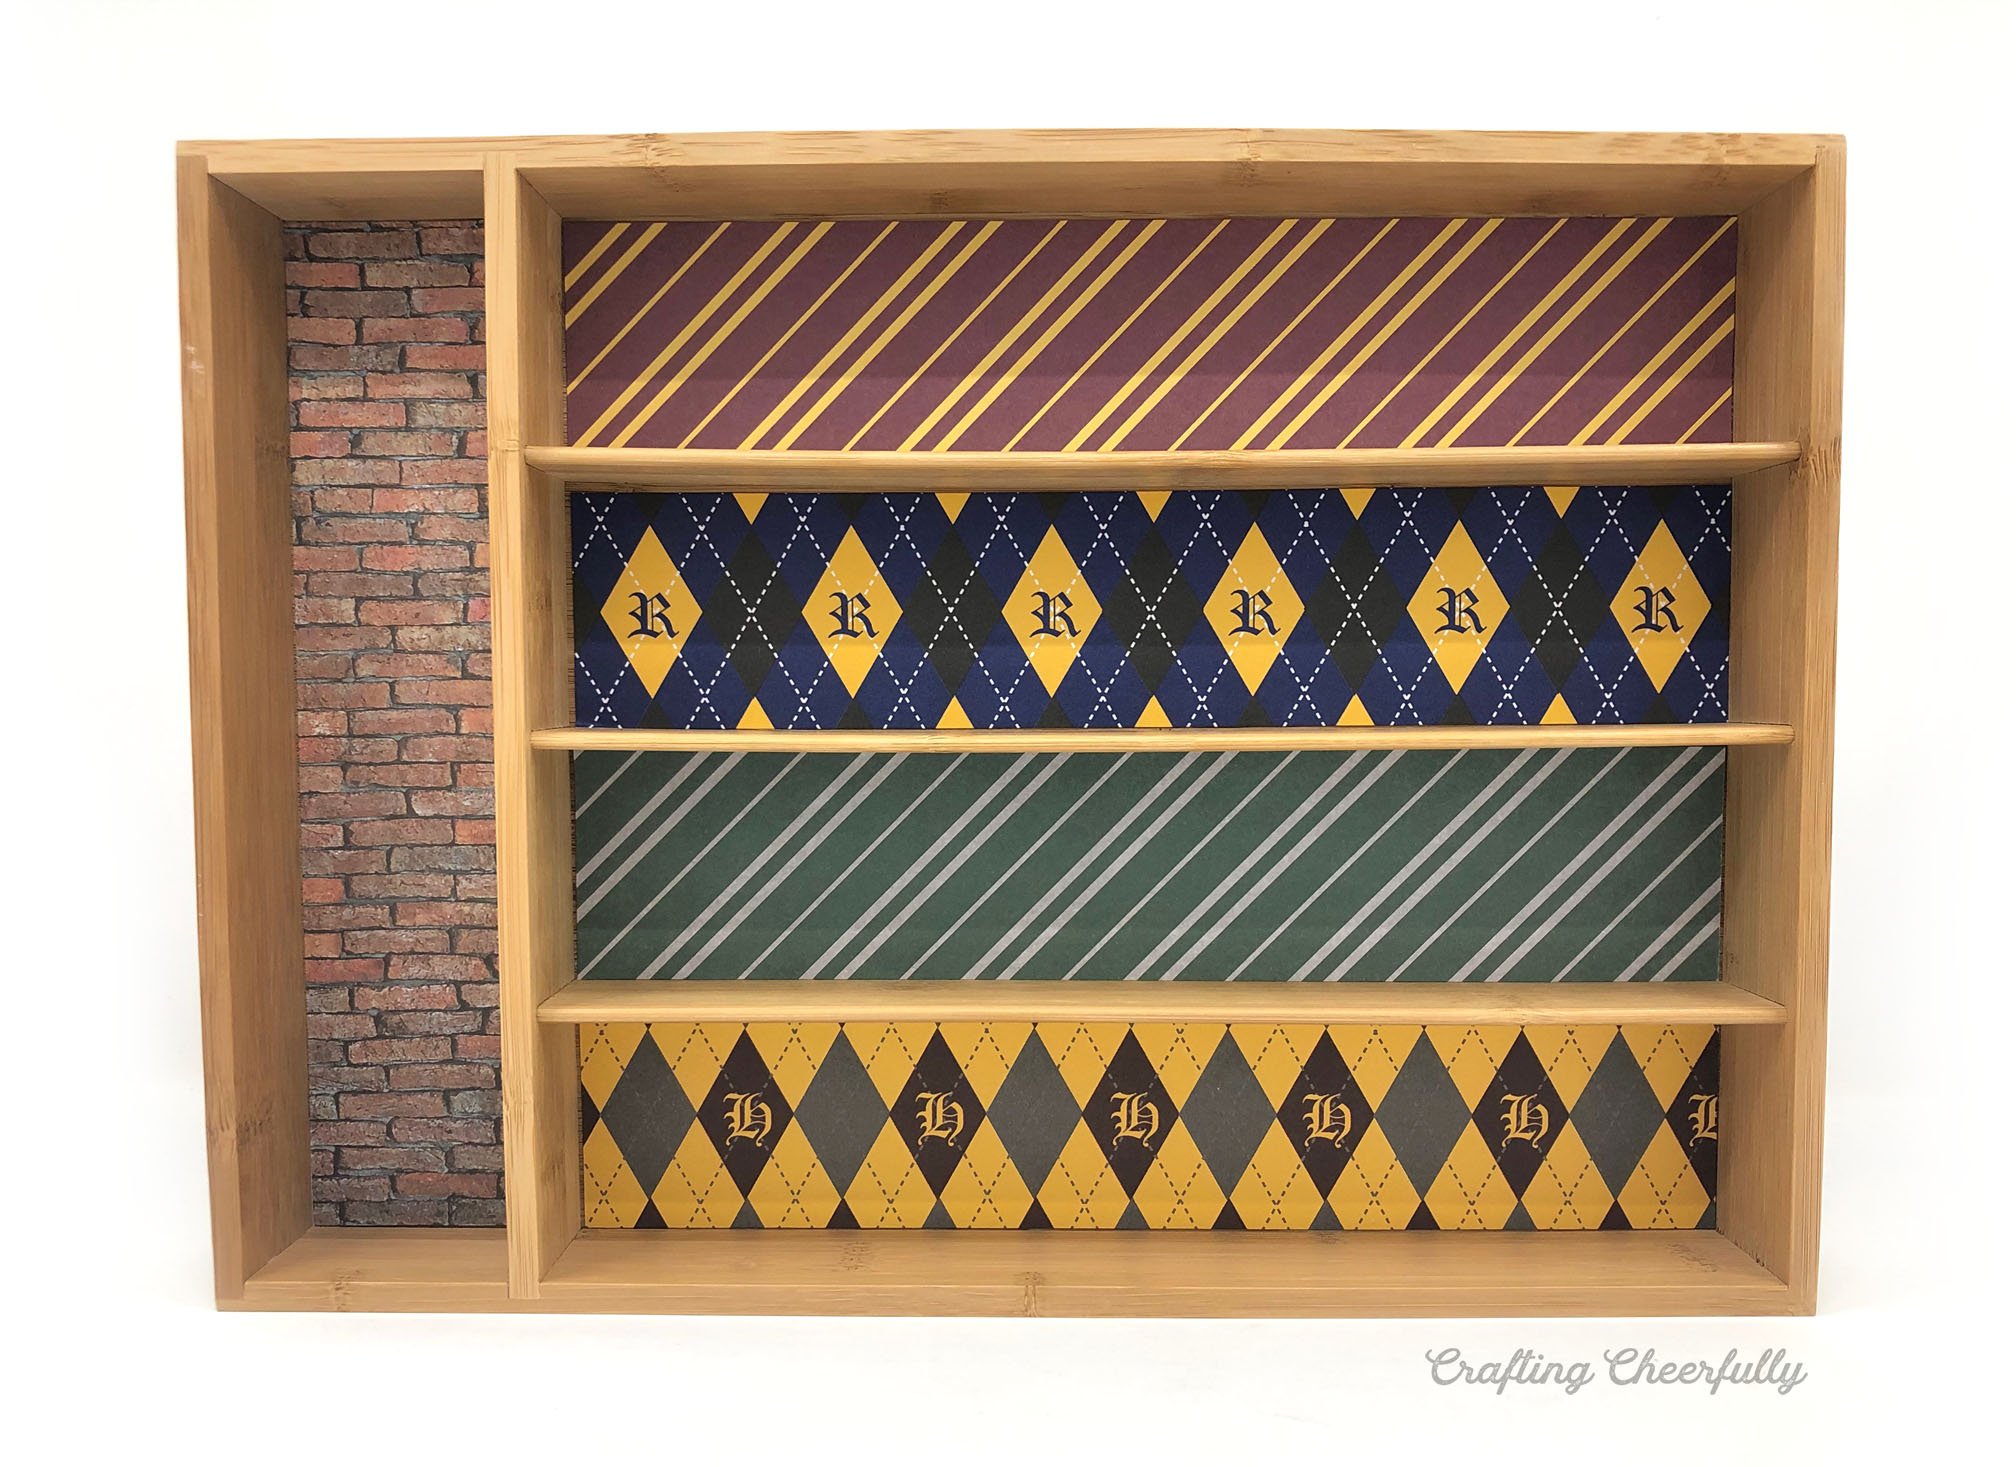
Add decorative paper to each section of the drawer organizer. I chose to purchase a fun paper stack I found on Amazon full of awesome Harry Potter papers and matching stickers. The stack came with two different designs for each house – an argyle and diagonal lines. I alternated which design I chose for the houses. I used the brick print in the vertical column, which would feature my little house banners.
Measure and trim the paper to size using a paper trimmer to get straight edges. Adhere them to the organizer using double-sided tape or a glue stick. I used Scor-Tape, which kept them nice and smooth. If the dividers of your bamboo organizer are not completely straight, don’t worry too much. The dividers in mine curved slightly and I just inserted my paper the best I could, and you really can’t tell there are a few small gaps here and there.

It’s already looking less like a drawer organizer!!
Step Two: Create Mini House Banners!
Create the mini house banners! I searched my cardstock for paper that matched the scrapbook paper to create my little banners. Each house flag has a gray background with the house color over it. The gray paper came from the paper stack I purchased. It had a picture of the Hogwart’s Express in the bottom corner.
To create the house banners, start by creating a template for yourself to use on all four banners to keep them the same size. You can see my template in white below. The horizontal line was the fold line that would wrap around the little dowel. When creating a template, make sure four will fit in your drawer organizer and also fit your house crest on the front. Use your template to cut out all of the banner pieces.

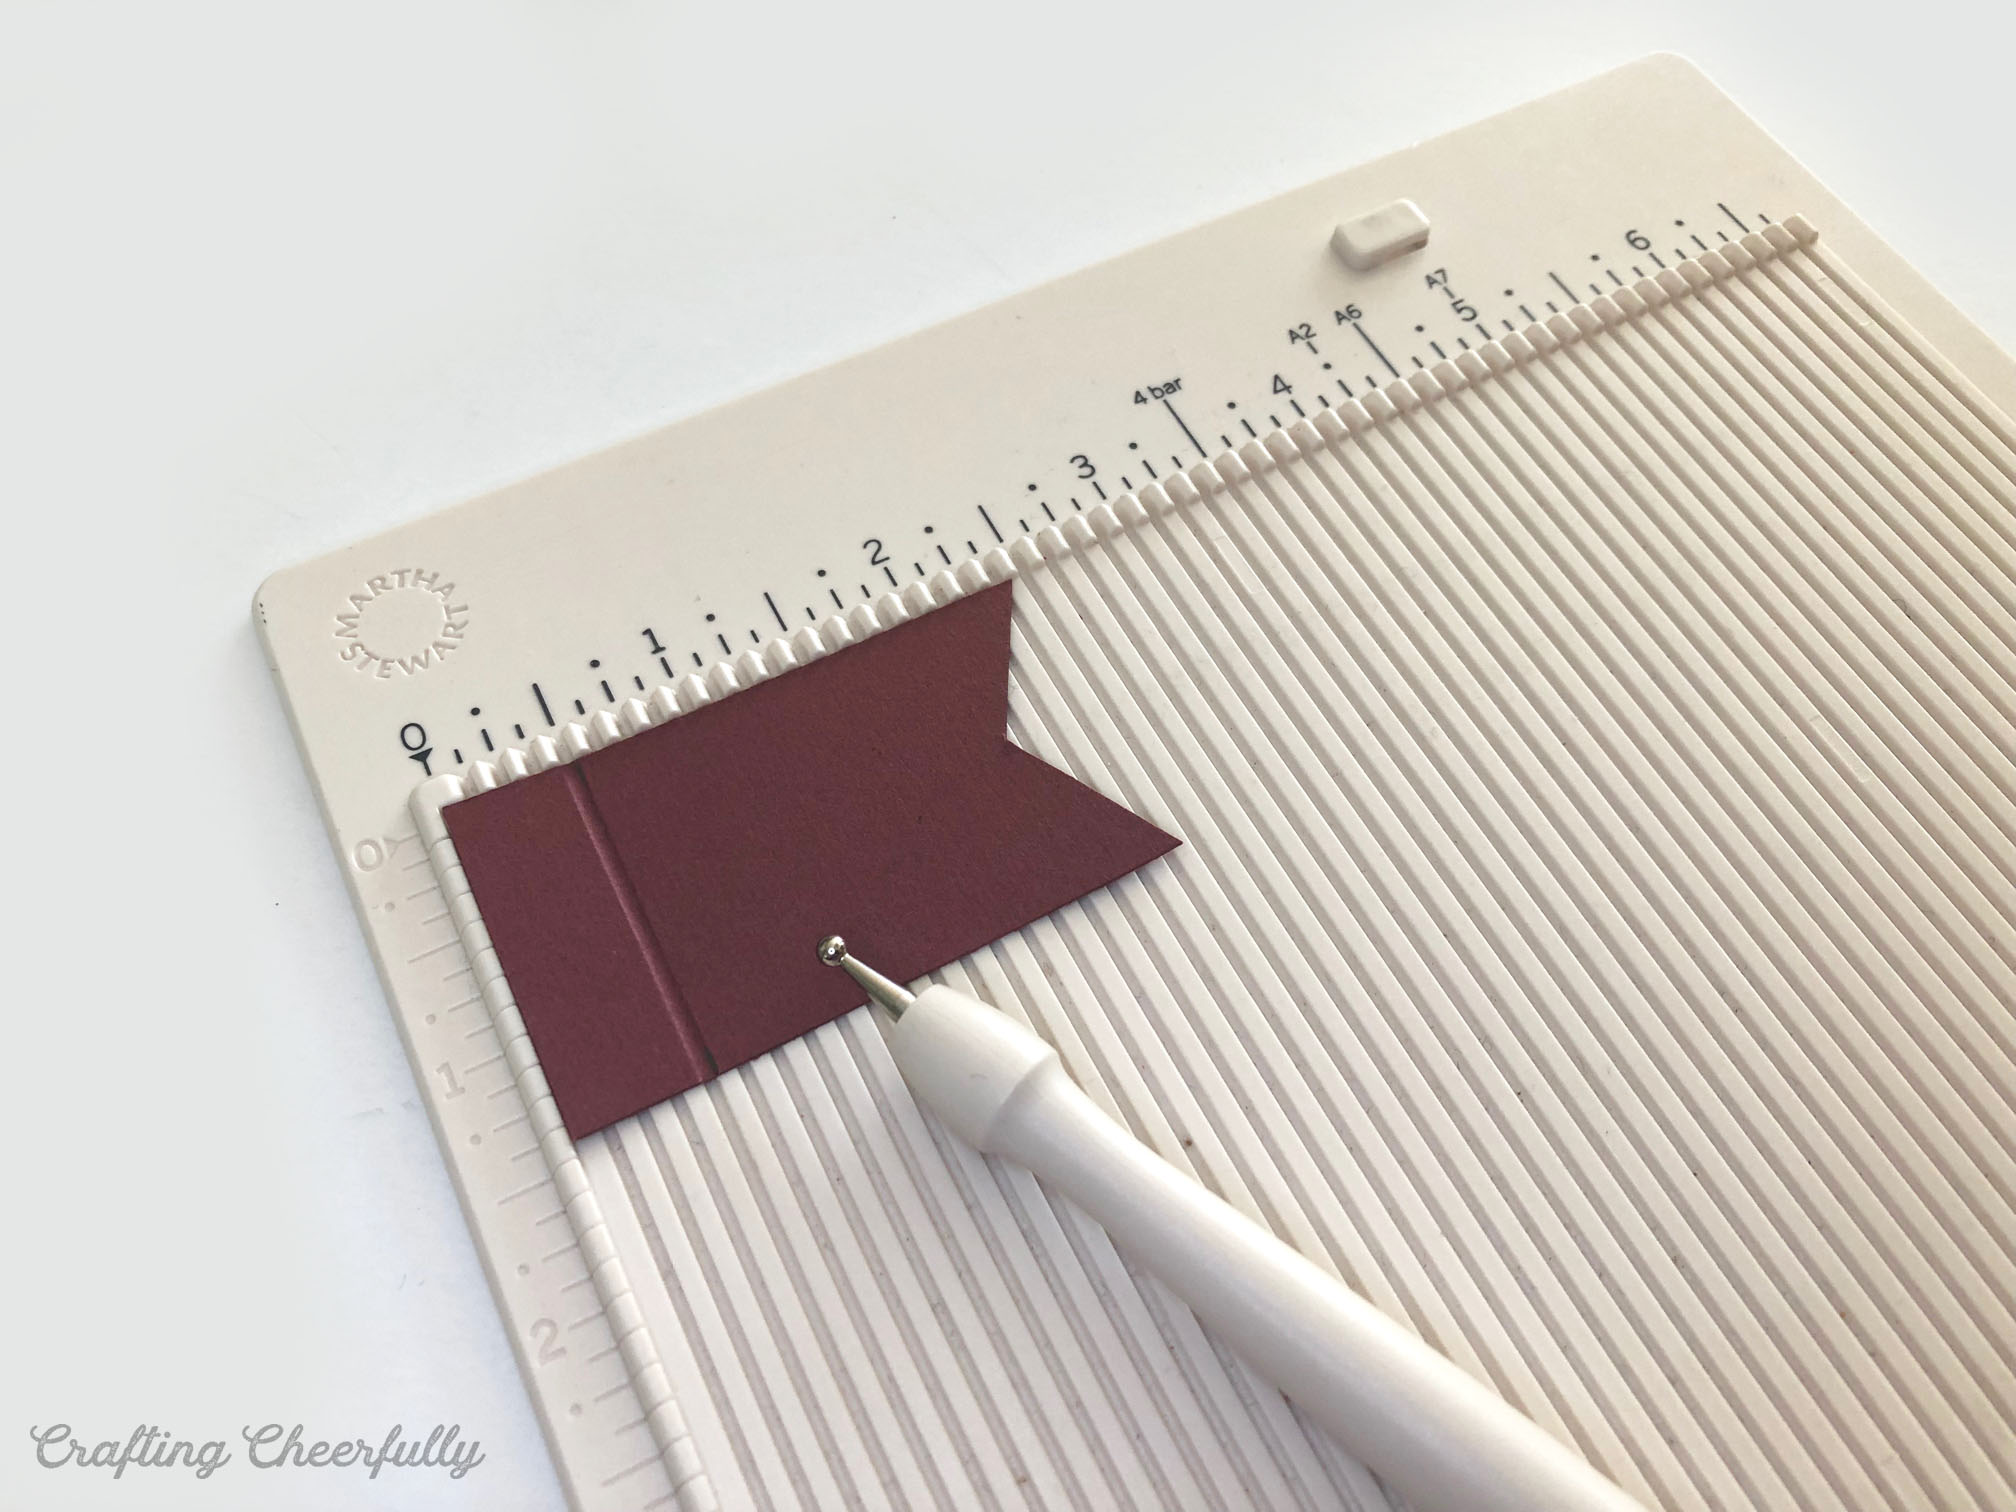
Score all the banner pieces using a scoring board and stylus or fold along the line by hand. I scored my banners 1/2″ down from the top.
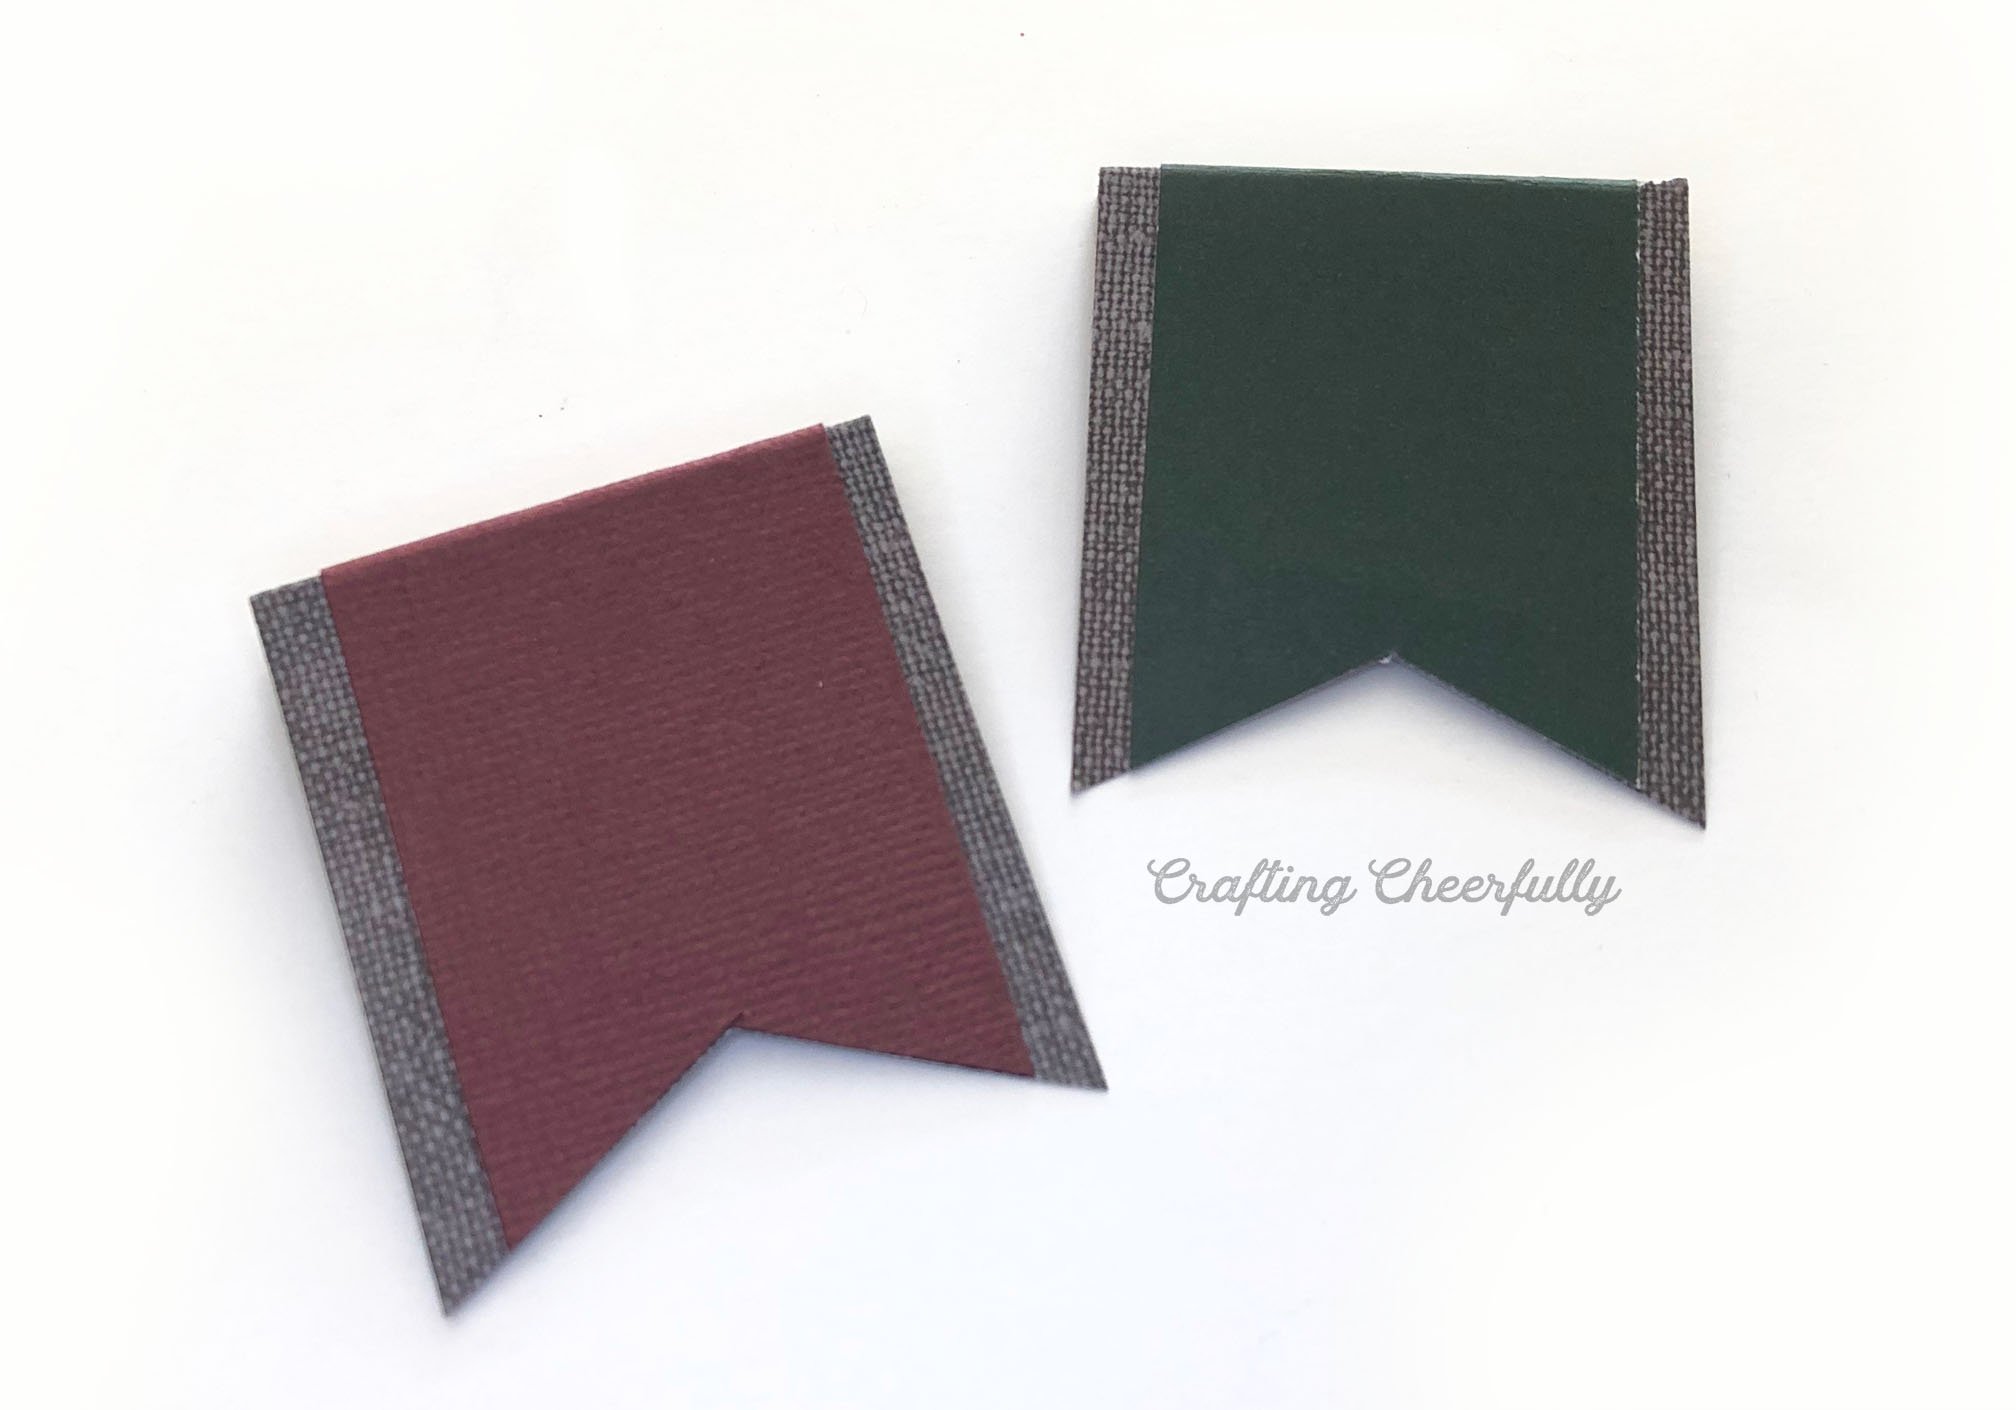
Adhere the pieces together using and adhesive – I used my Scor-Tape again.
Cut a wooden dowel into four parts to fit inside the drawer organizer.

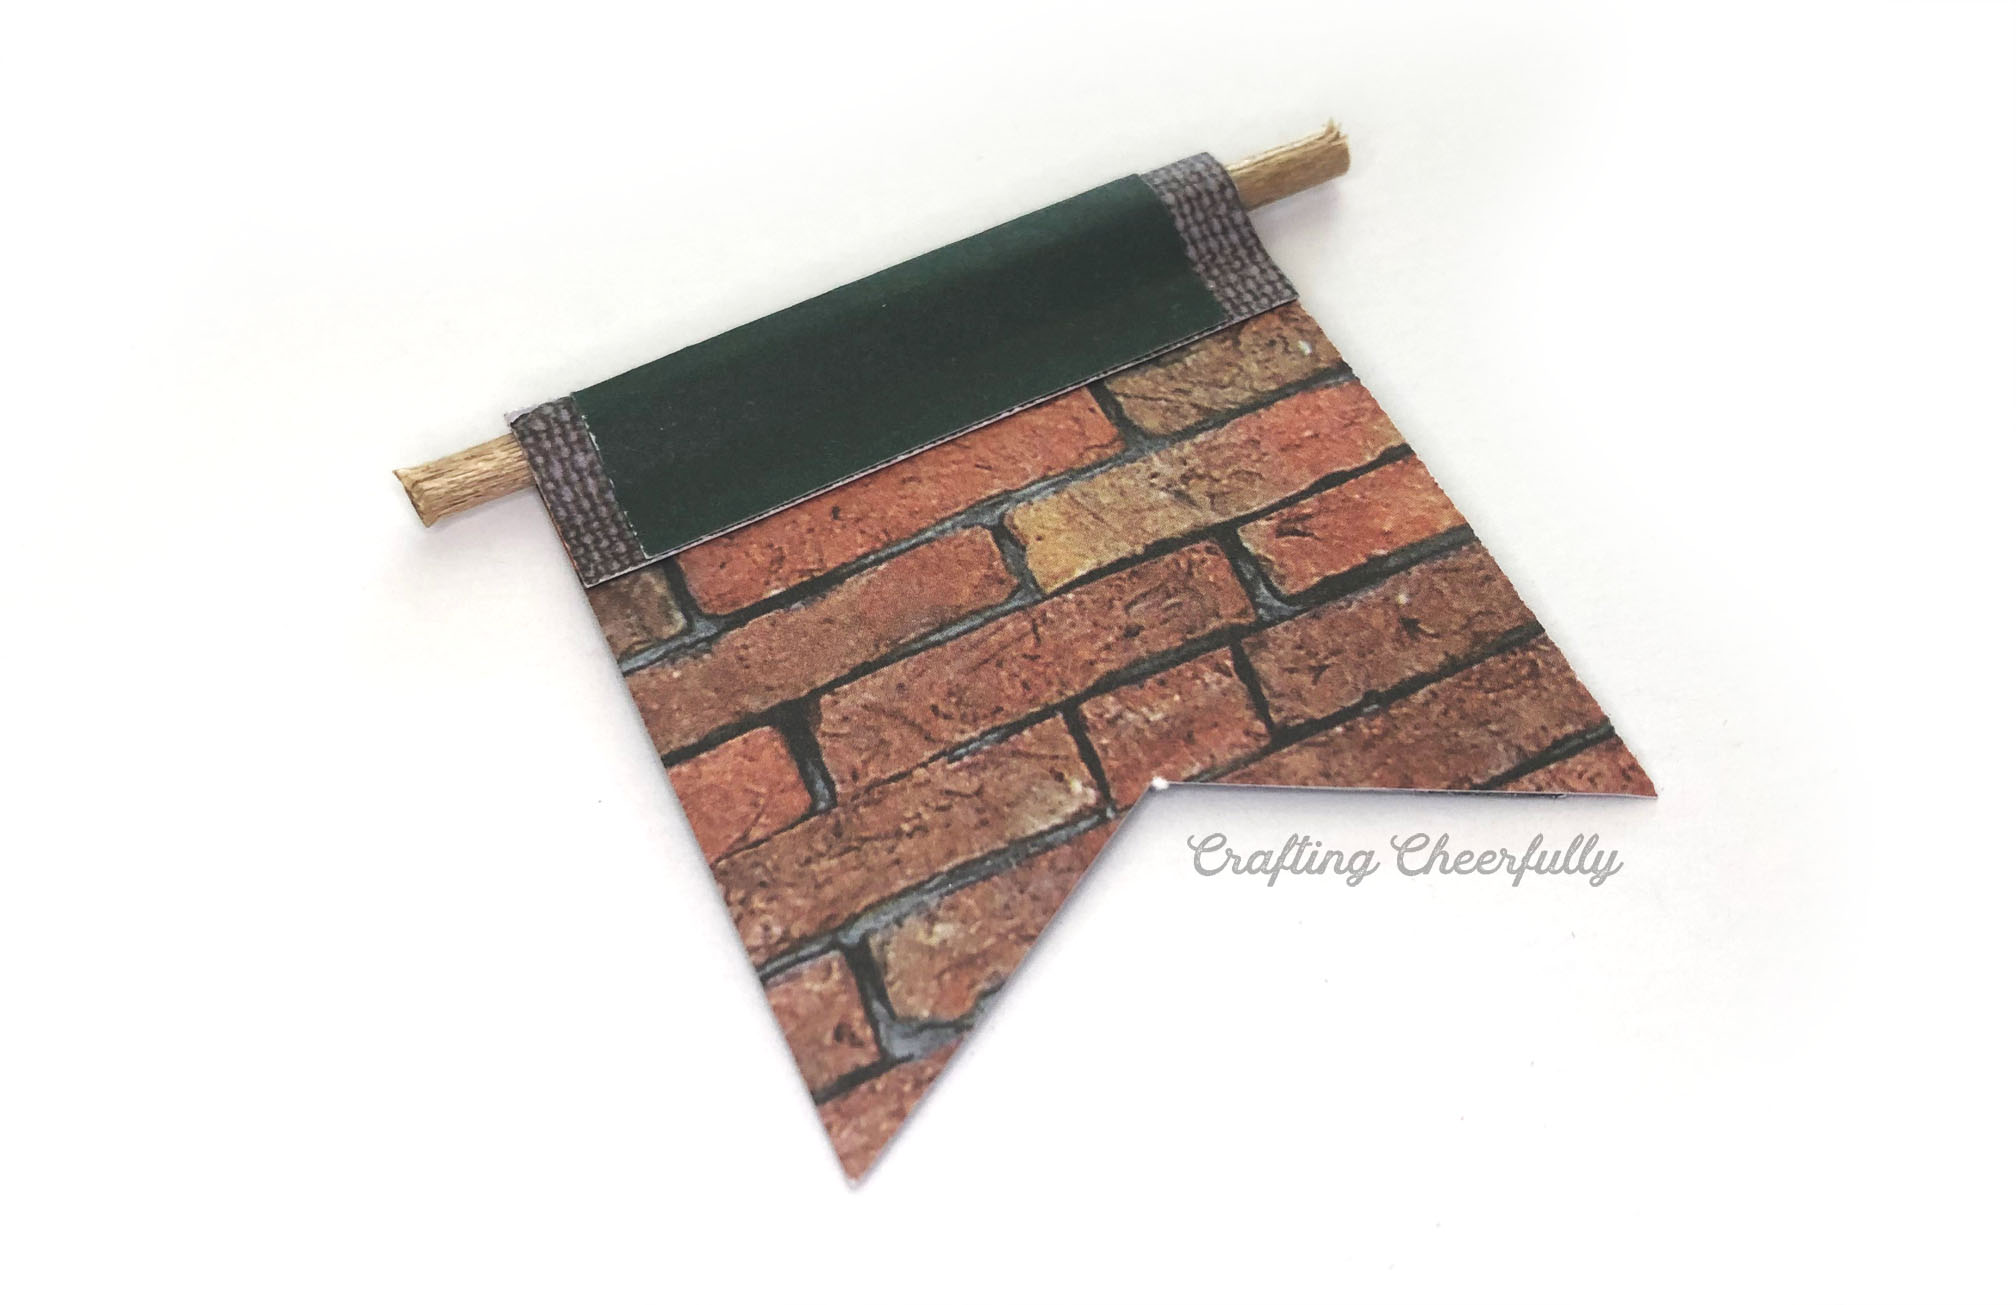
Wrap each house banner around a little dowel and adhere.
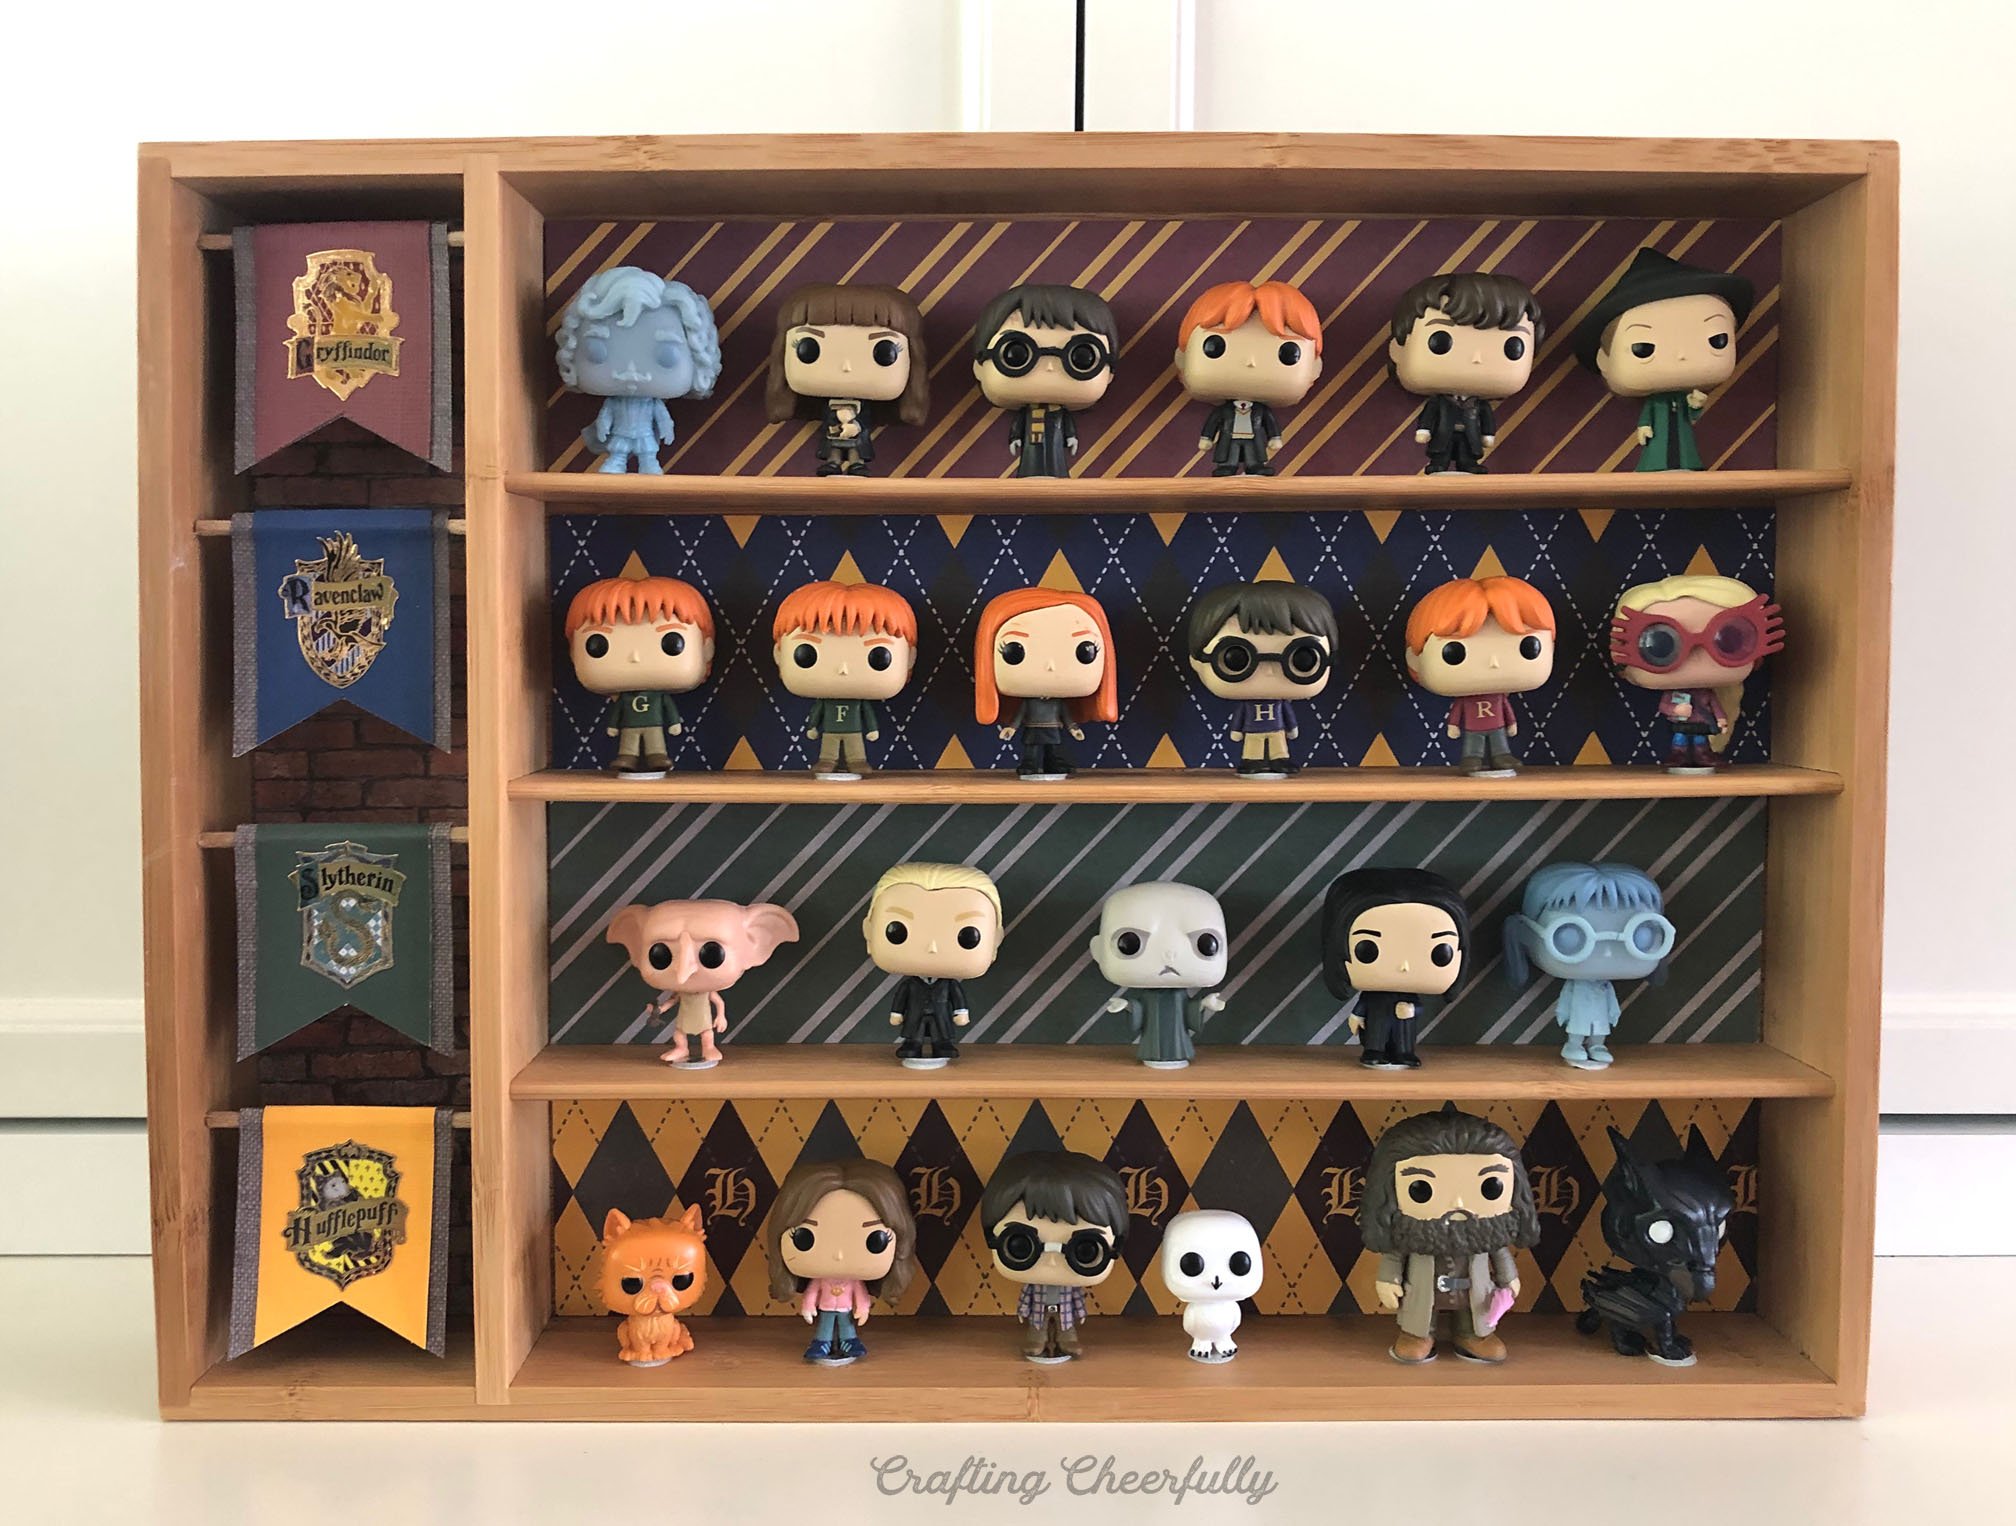
Add the house crest to each banner. I found these beautiful stickers on Amazon. They look so nice in person! I used the smaller house crests that came with the sticker set.

Glue the banners into the drawer organizer. It was a little tricky to get the banners in so they were spaced evenly and hanging at the same depth. I used my ruler and marked where they should each go as a guide, then I attached them with a dab of Gorilla glue on each end of the dowel.

Step Three: Add the Funko Pops!
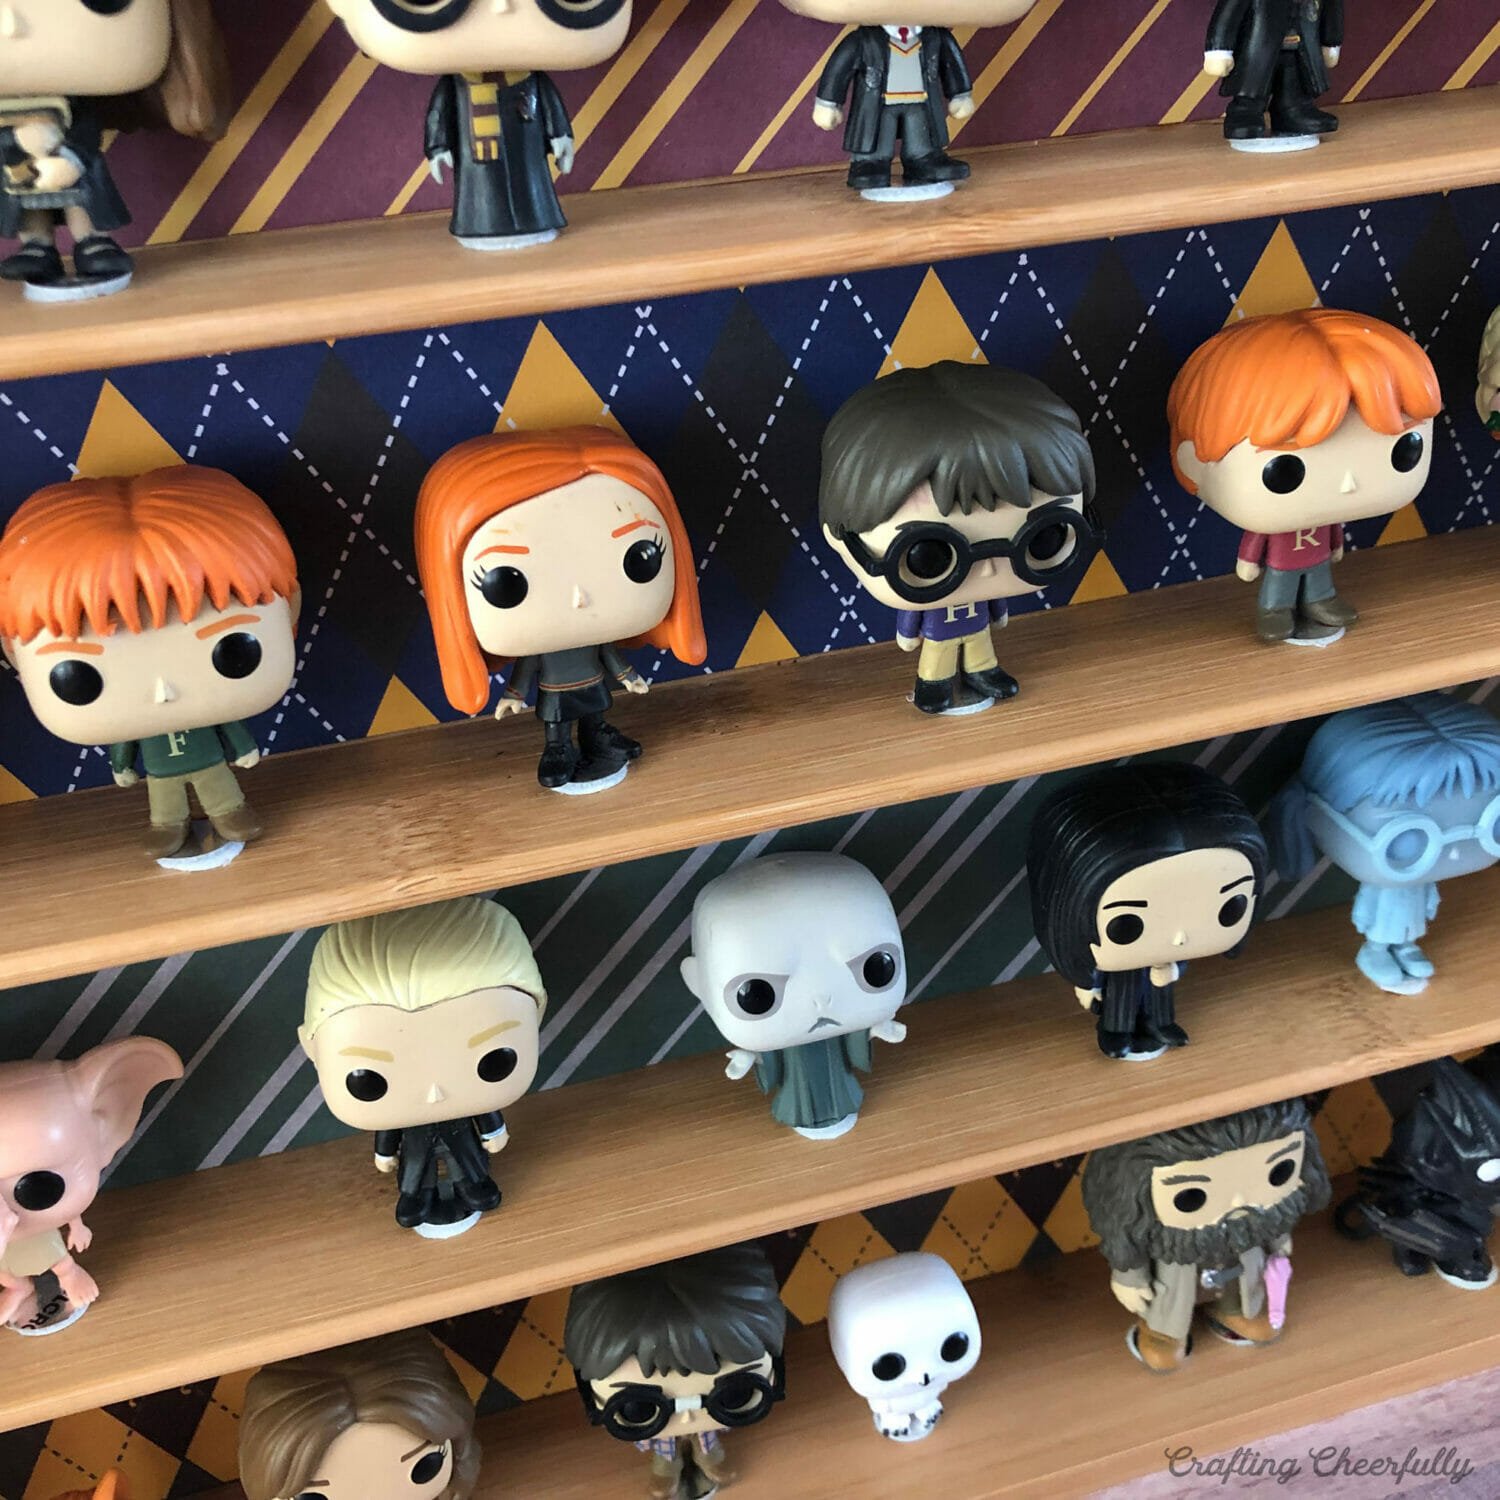
Place the Harry Potter Funko Pops – the fun part! I used tiny Velcro Dots to attach each Funko Pop. You could just set them on the shelves, if you want, but with kids I wanted something to help them stay put.
I didn’t have enough Funko Pops to organize them by house, the Pops that come in the Advent calendar are heavily Gryffindor so I got a bit creative with my organization! I sorted some of the characters by house colors – like Luna is on the Ravenclaw shelf (along with other D.A. members) and Malfoy is on the Slytherin shelf, Hagrid and the animals are on the Hufflepuff shelf because oddly the set didn’t come with any Hufflepuff Pops! When I get more Funko pops I’ll reorganize them by house.
Below you can see the Pops on their little Velcro Dots. I was able to easily take the figures on and off the Velcro Dots. I’m going to check on them in a week or two to see if they still come off easily. My hope is these are a good solution to keeping everyone standing up and not tipping over and also not leave any residue or marks on the actual Funko Pops.

Step Four: Add a dust cover (optional).
Keep your Funko Pops dust-free! You could stop now and you’d have a great little display case, but I wanted to keep my figures dust-free so I added a clear plastic cover. I usually have some clear craft plastic on hand- I use it for the peek-through windows of my treat boxes. Grafix Clear Craft Plastic, with a .007 thickness, was perfect for this project.
I decided to glue down the plastic over the house banner section, but for the section with the actual Funko Pops, I used my Velcro Dots to make it removable. I used clear craft glue to attach the craft plastic over the banners. Below you can see right after I glued it down when the glue was still visible. It’s way less noticeable when dry, but not completely invisible. Maybe Gorilla glue would be more invisible?

To make the Velcro Dots smaller than 3/8″, I used my hole punch and punched smaller circles from each dot. I just used them at the four corners and it seemed to work well.


To mask the Velcro Dots, I used some sticker corners that came with the scrapbook paper stack I purchased. You could also cover them with another punched circle from coordinating paper.

The plastic cover is perfect! It made the case really difficult to photograph for this post, but in person it is very clear and will hopefully keep these less dusty than if I didn’t have it.

What do you think of my Harry Potter Funko Pop display? I have a lot of leftover scrapbook paper and stickers so I am excited to use it for other projects. Creating this display case was so fun – drawer organizer for the win!!
I plan to display this on a shelf and will be adding some chipboard to the back of it as a little stand, like you see on the back of a frame, to help it stand up. This isn’t necessary, since the organizer itself is really sturdy, but since it will be in a common space where my kids can view it, I want to be sure it won’t get knocked over. One nice thing about this case is no glass to worry about breaking!

I’ll be back again this week with at least one more Harry Potter craft! You can also check out my other Harry Potter crafts – so many fun ones!
I made this display case after receiving the first Harry Potter Advent Calendar. My sweet husband gifted me them the next two years so I now have lots of Funkos! I created a new display case for my Yule Ball Funkos from the Harry Potter 2019 Advent Calendar. It has a really different vibe than this first one. What do you think? You can read more about it: Harry Potter Clear Display Case for Funko Pops.


One Comment