
DIY Love Bug Boxes
Create the sweetest little love bug boxes for Valentine’s Day! They can hold all sorts of fun treats and sweets for the holiday and make adorable valentines :)
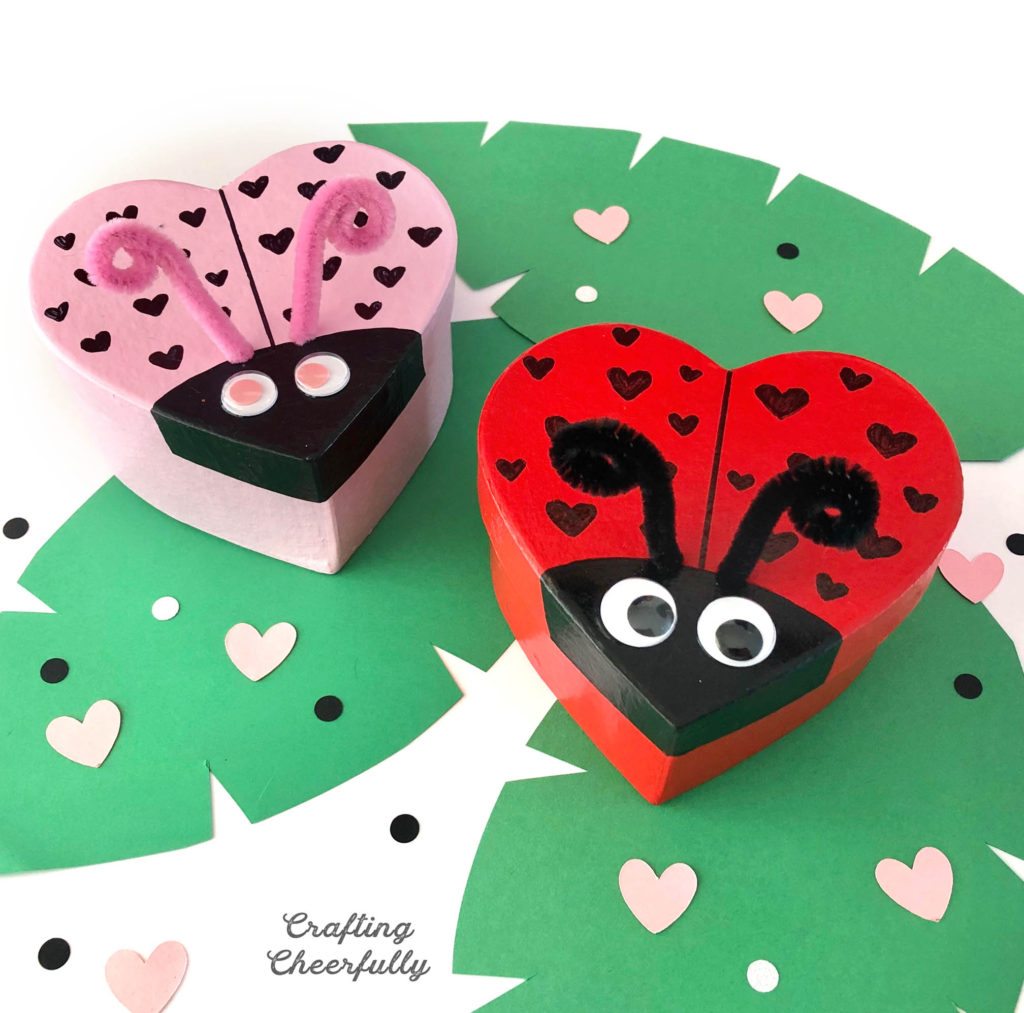
These cute Love Bug Boxes make the sweetest gifts for Valentine’s Day! I had so much fun making these little bugs and can’t wait to fill them with Valentine’s Day candy! I used paper mache boxes already in a heart shape, plus some acrylic paint from the craft store. These were super simple to whip up. The fun, googly eyes and pipe cleaner antennae make them extra fun.
This project was a lot of fun and simple enough I plan on doing it with my kiddos. It did take about three coats of paint to cover the boxes really well. If you want to do this project with kids in one sitting, I’d recommend painting them ahead of time and then letting the kids decorate them.
They can use markers to draw on the hearts as I did, or mix it up and try gluing on jewels, using stickers or creating glitter glue polka dots. There are so many fun ways to make a cute love bug box! Below is a tutorial for how I created my little bugs :)
Valentine’s Day Love Bug Boxes
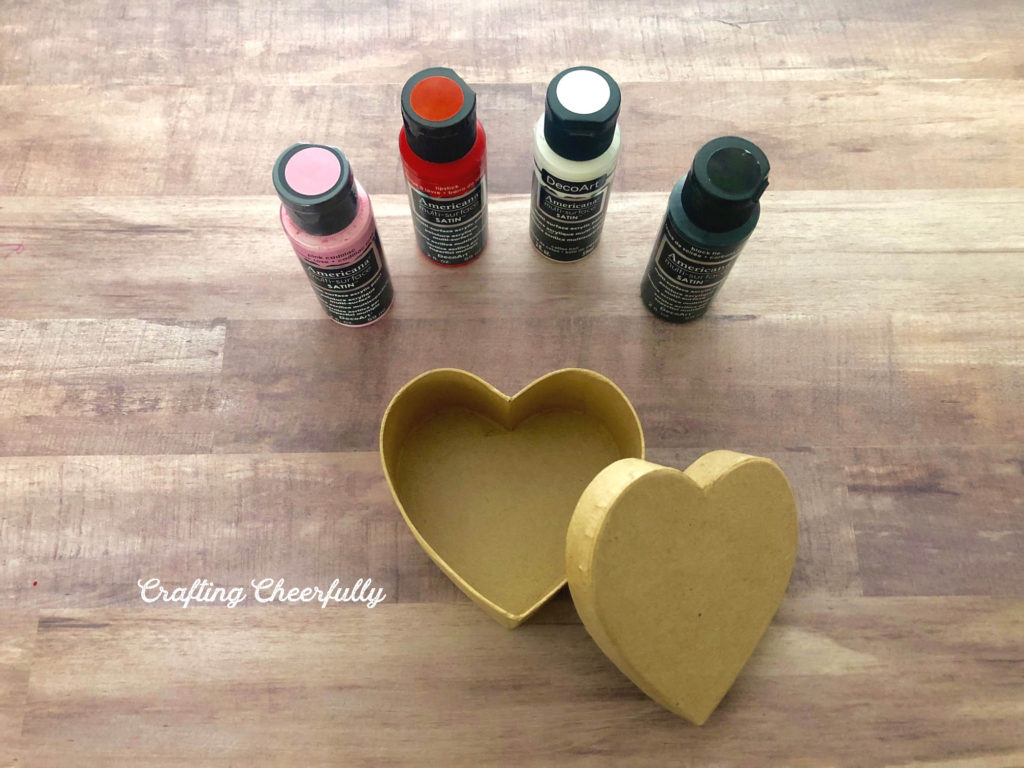
Supplies Needed
- Paper mache heart box – I found mine at JoAnn Fabrics by Fab Lab Craft. They measured 4″ x 4″ x 2″.
- Red, pink and black acrylic paint. I have this set of Americana Multi Surface Paints.
- Googly eyes
- Pipe cleaner
- Glue
- Black Sharpie marker
- Pencil for curling pipe cleaners
- Something to poke holes – I used the sharp end of a stylus
Making the Love Bug Boxes
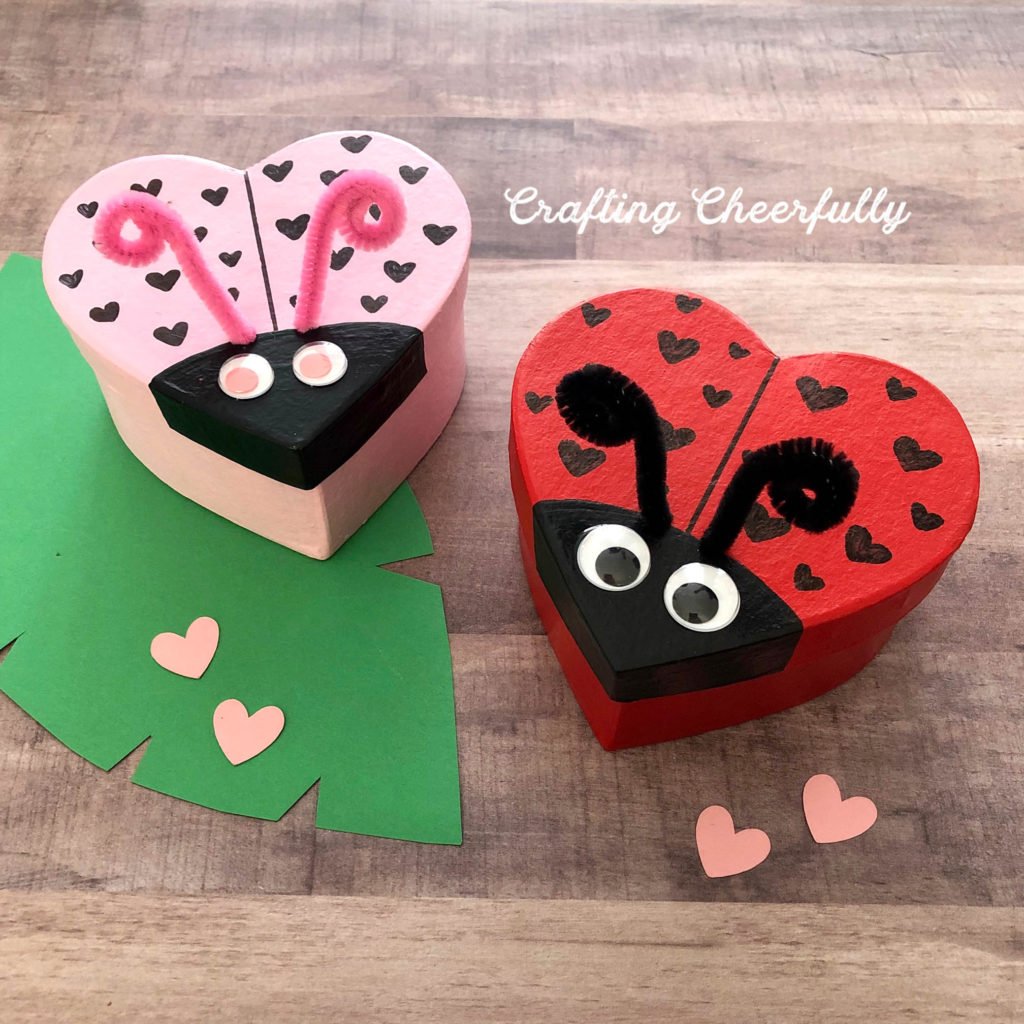
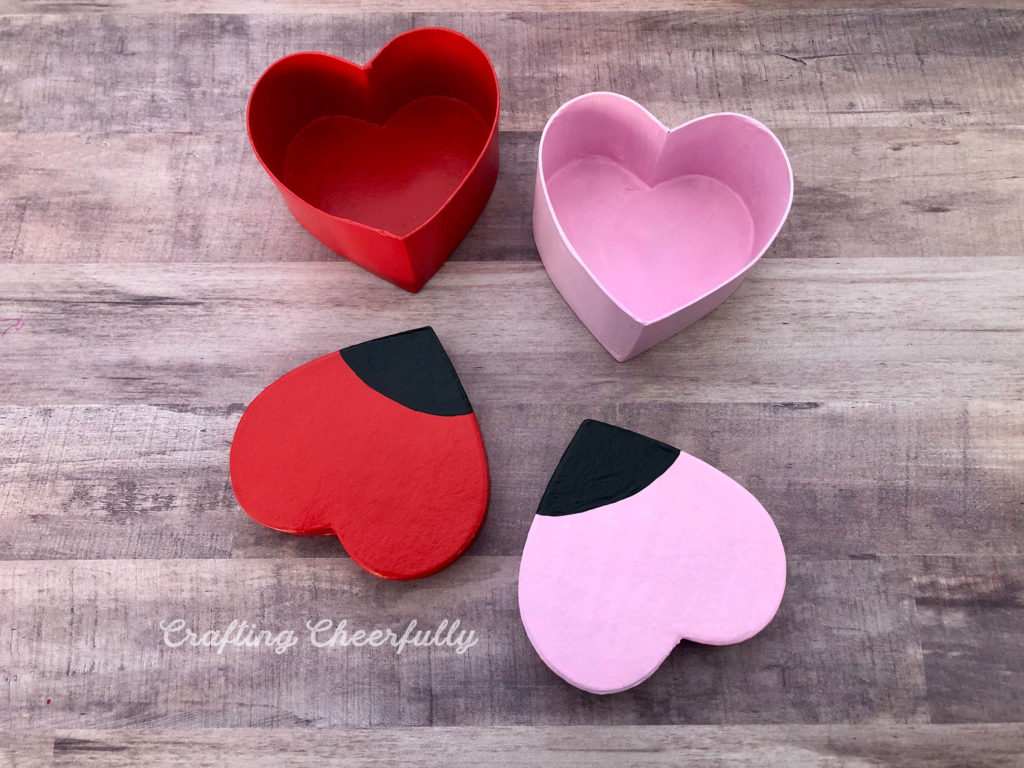
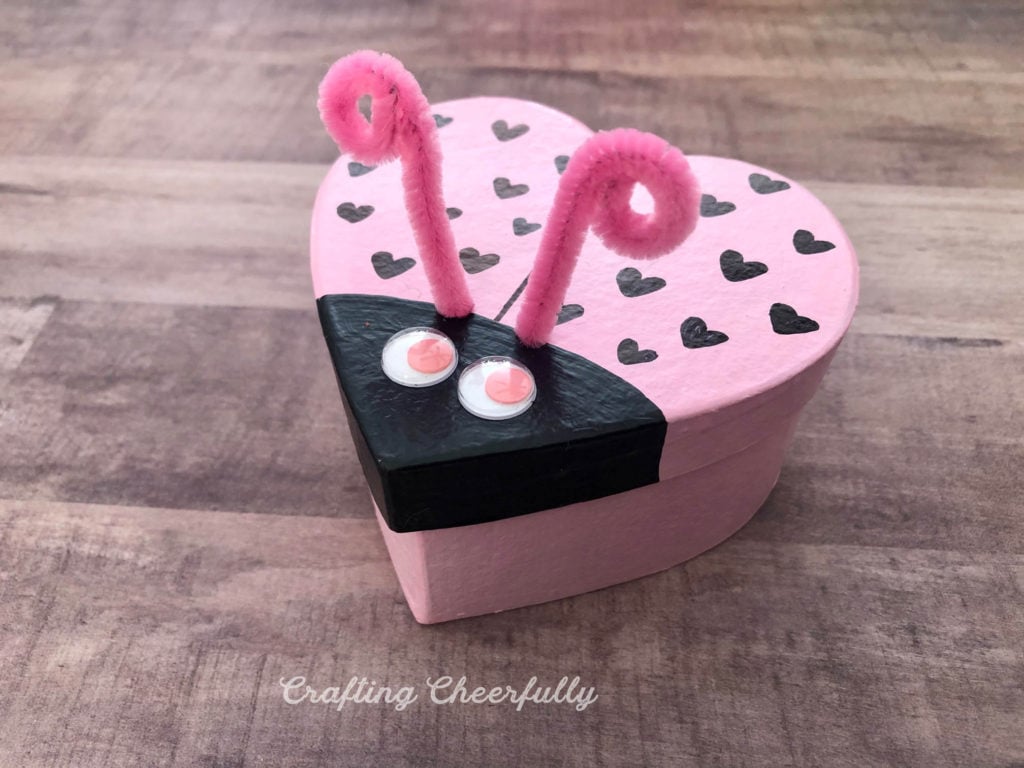
Step One: Paint each heart box and lid with acrylic paint. I painted one box pink and the other red. It only took me two coats of red paint but took three coats of the light pink. Once the box is painted, add black to the lid where the heart comes to a point. This will be the love bug’s head!
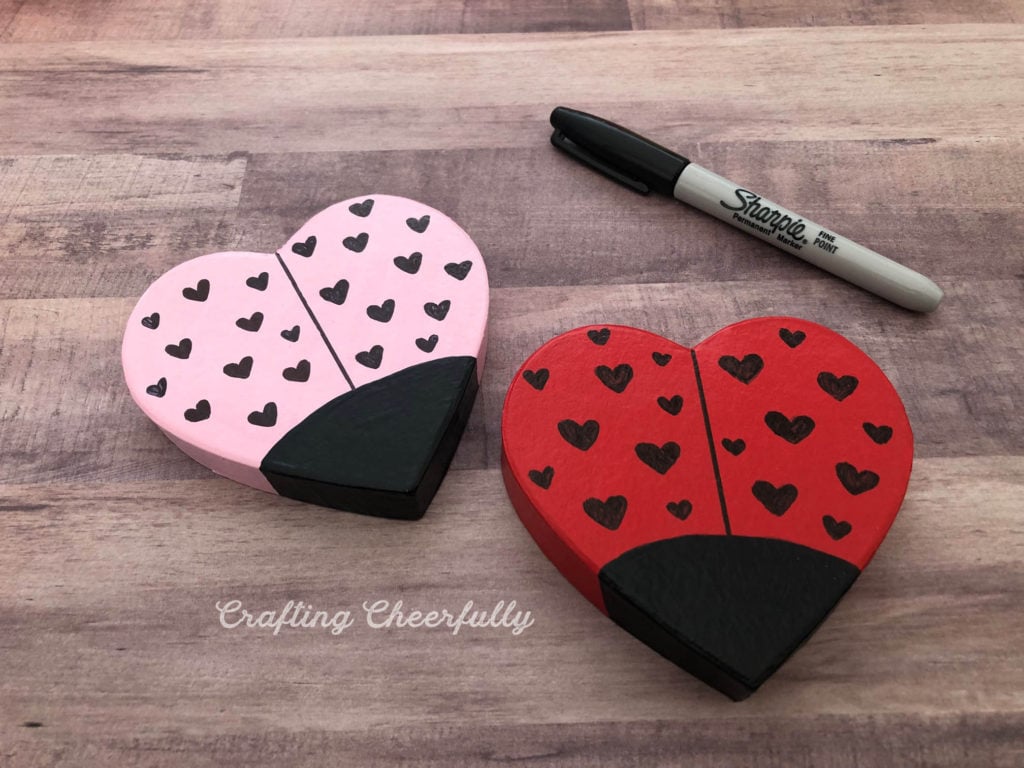
Step Two: Decorate the love bug’s wings. I used a black Sharpie marker and doodled hearts on both wings. You could add stickers, jewels, glitter glue dots or color a fun pattern.

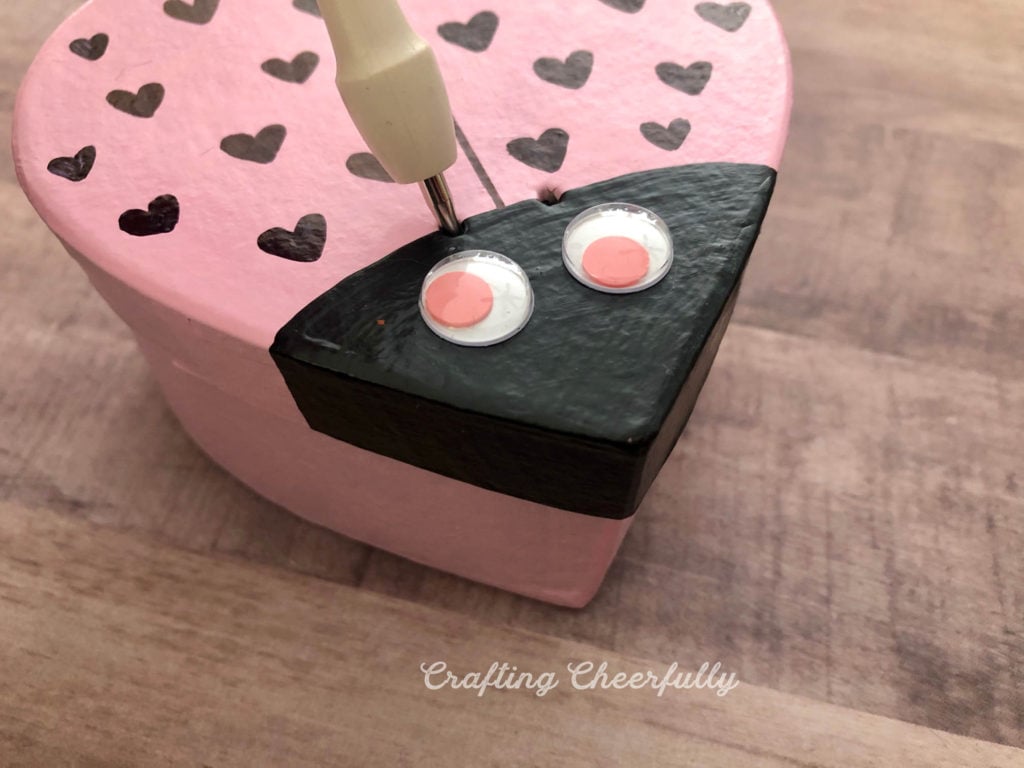
Step Three: Glue two googly eyes to the bug’s head.

Step Four: Add the antennae! Poke two holes into the lid of the box along the edge of the love bug’s head. I used the sharp end of a stylus to do this.
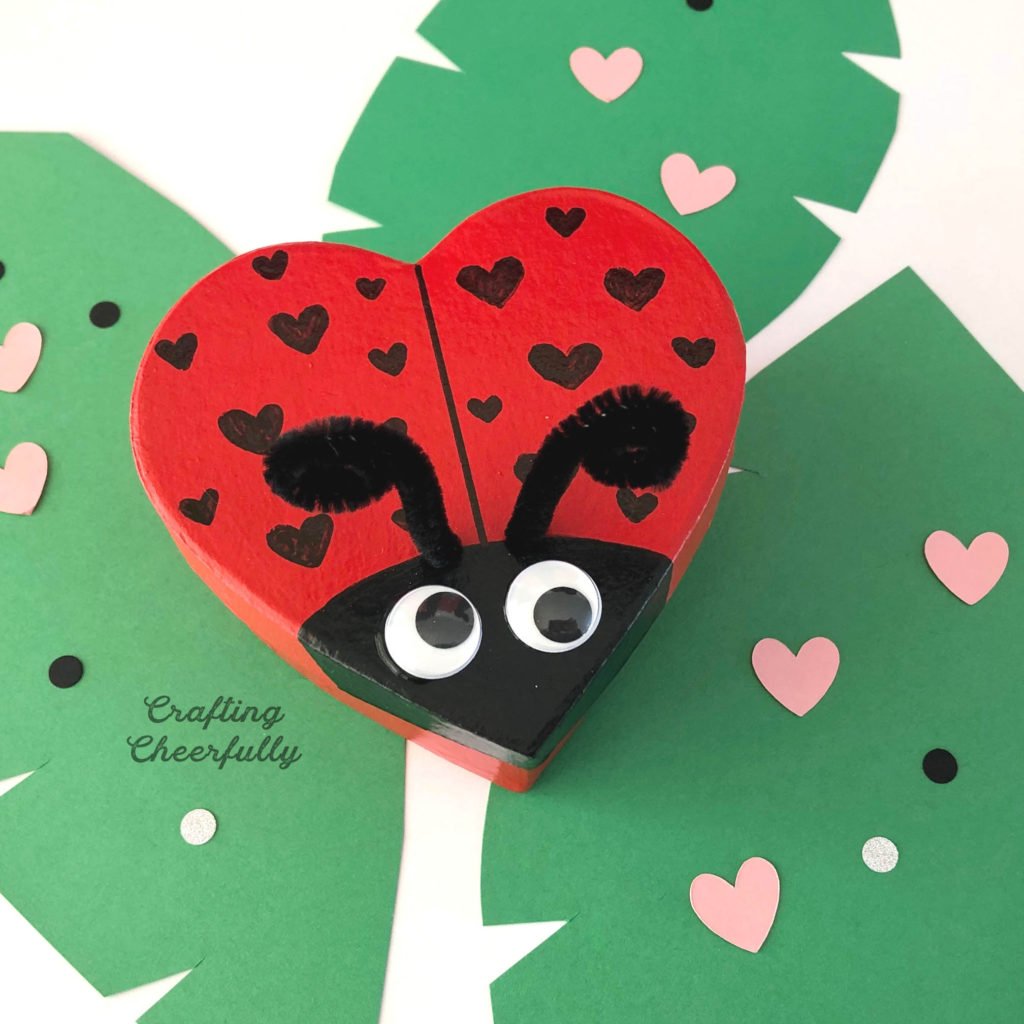
Thread a pipe cleaner through the two holes so both ends are poking up. I trimmed my pipe cleaner a little bit so it wasn’t so tall.
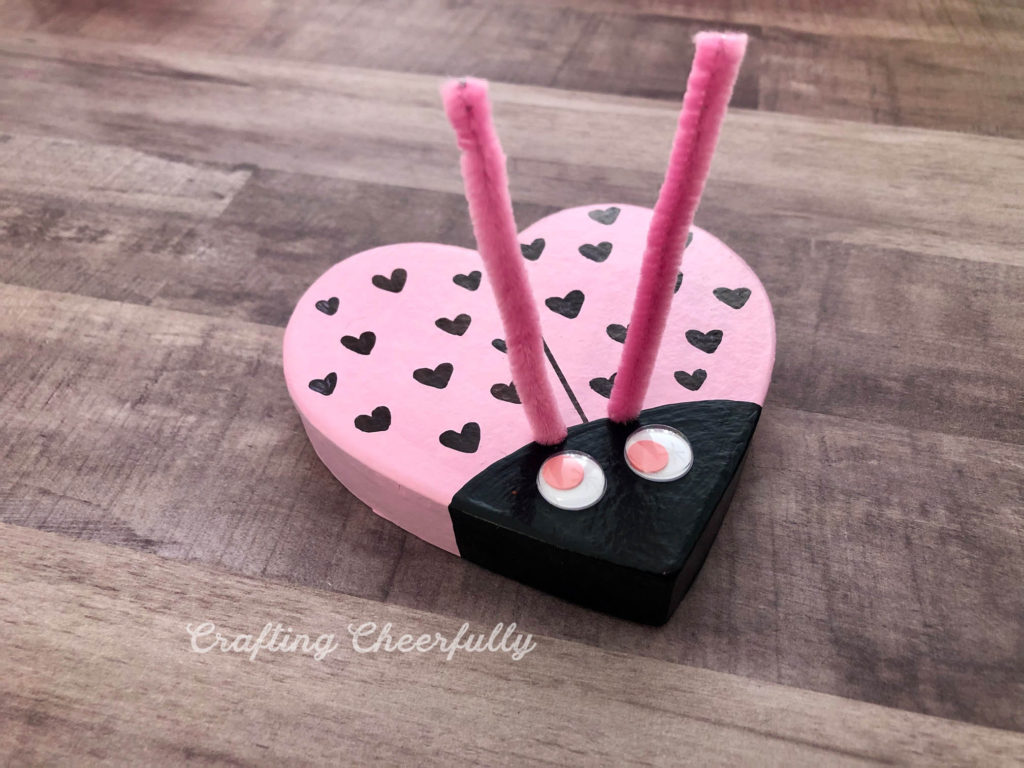
Use a pencil to curl the ends of the pipe cleaner.


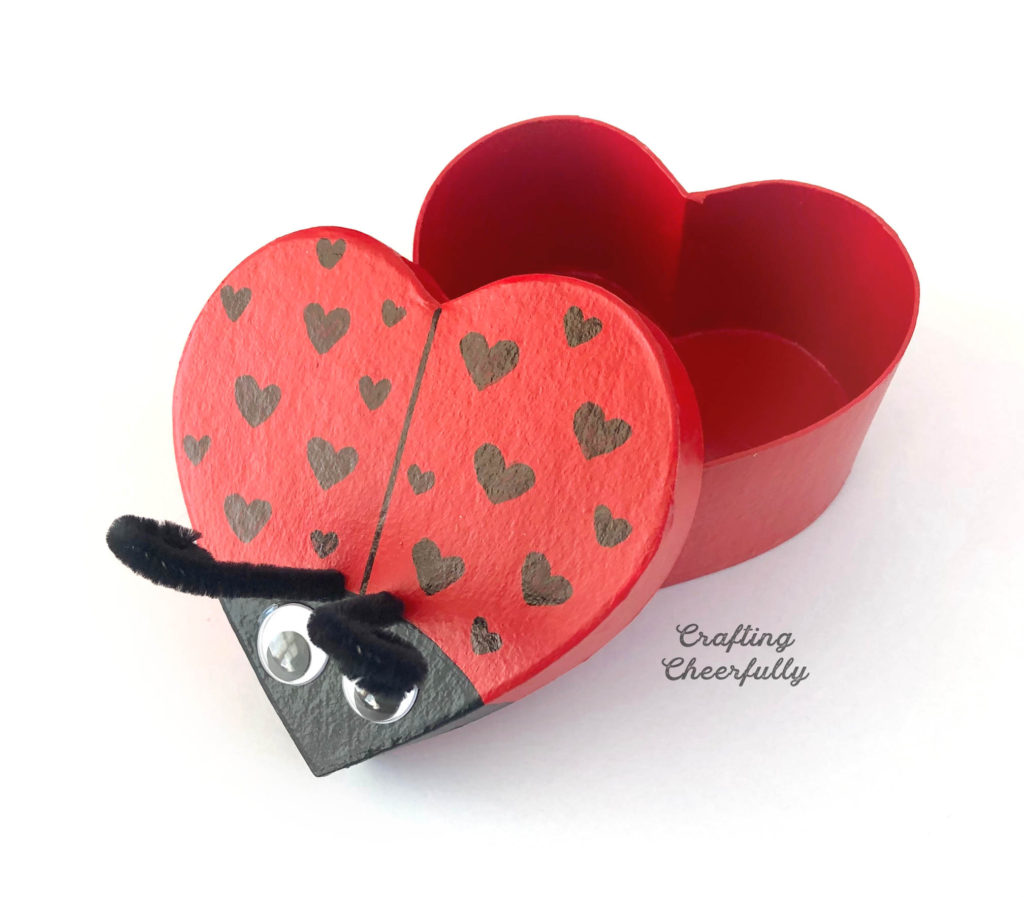
The love bug boxes are finished! These came together really quickly – the longest part was waiting for the paint to dry between coats. The boxes are a great size for small candy and cute Valentine’s Day-themed goodies!
I hope you enjoyed this fun Valentine’s Day craft! I’ll be posting a few more crafts for the holiday in the next couple weeks. You can also check out my other Valentine’s Day Crafts – a bunch of them come with free printables and patterns, including a free printable love bug pillow box!

![]()


2 Comments