Check and Plaid Bookmarks – Free Cross Stitch Patterns
Learn how to create cross stitch bookmarks inspired by autumn fabrics like houndstooth, plaid, and buffalo check. Grab the free cross stitch patterns to get started!
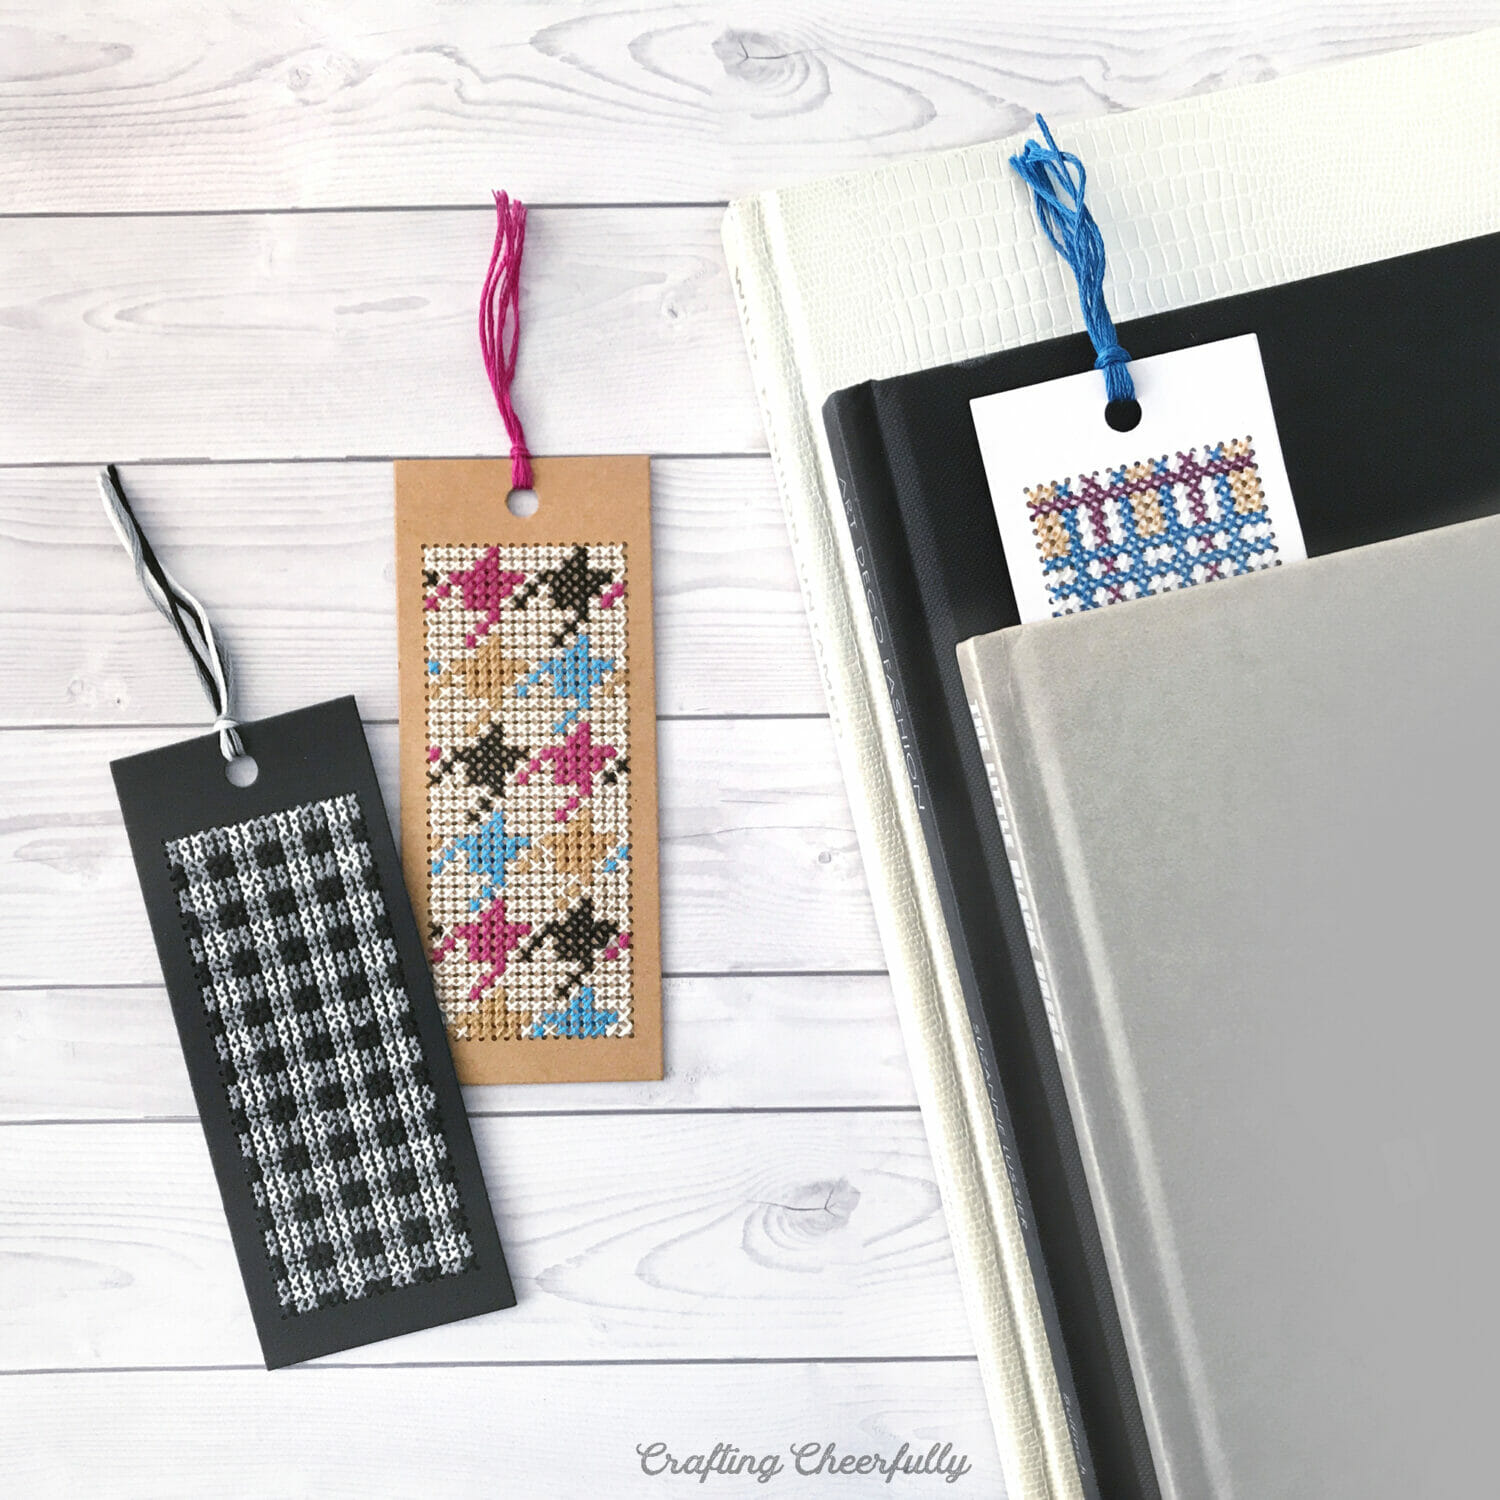
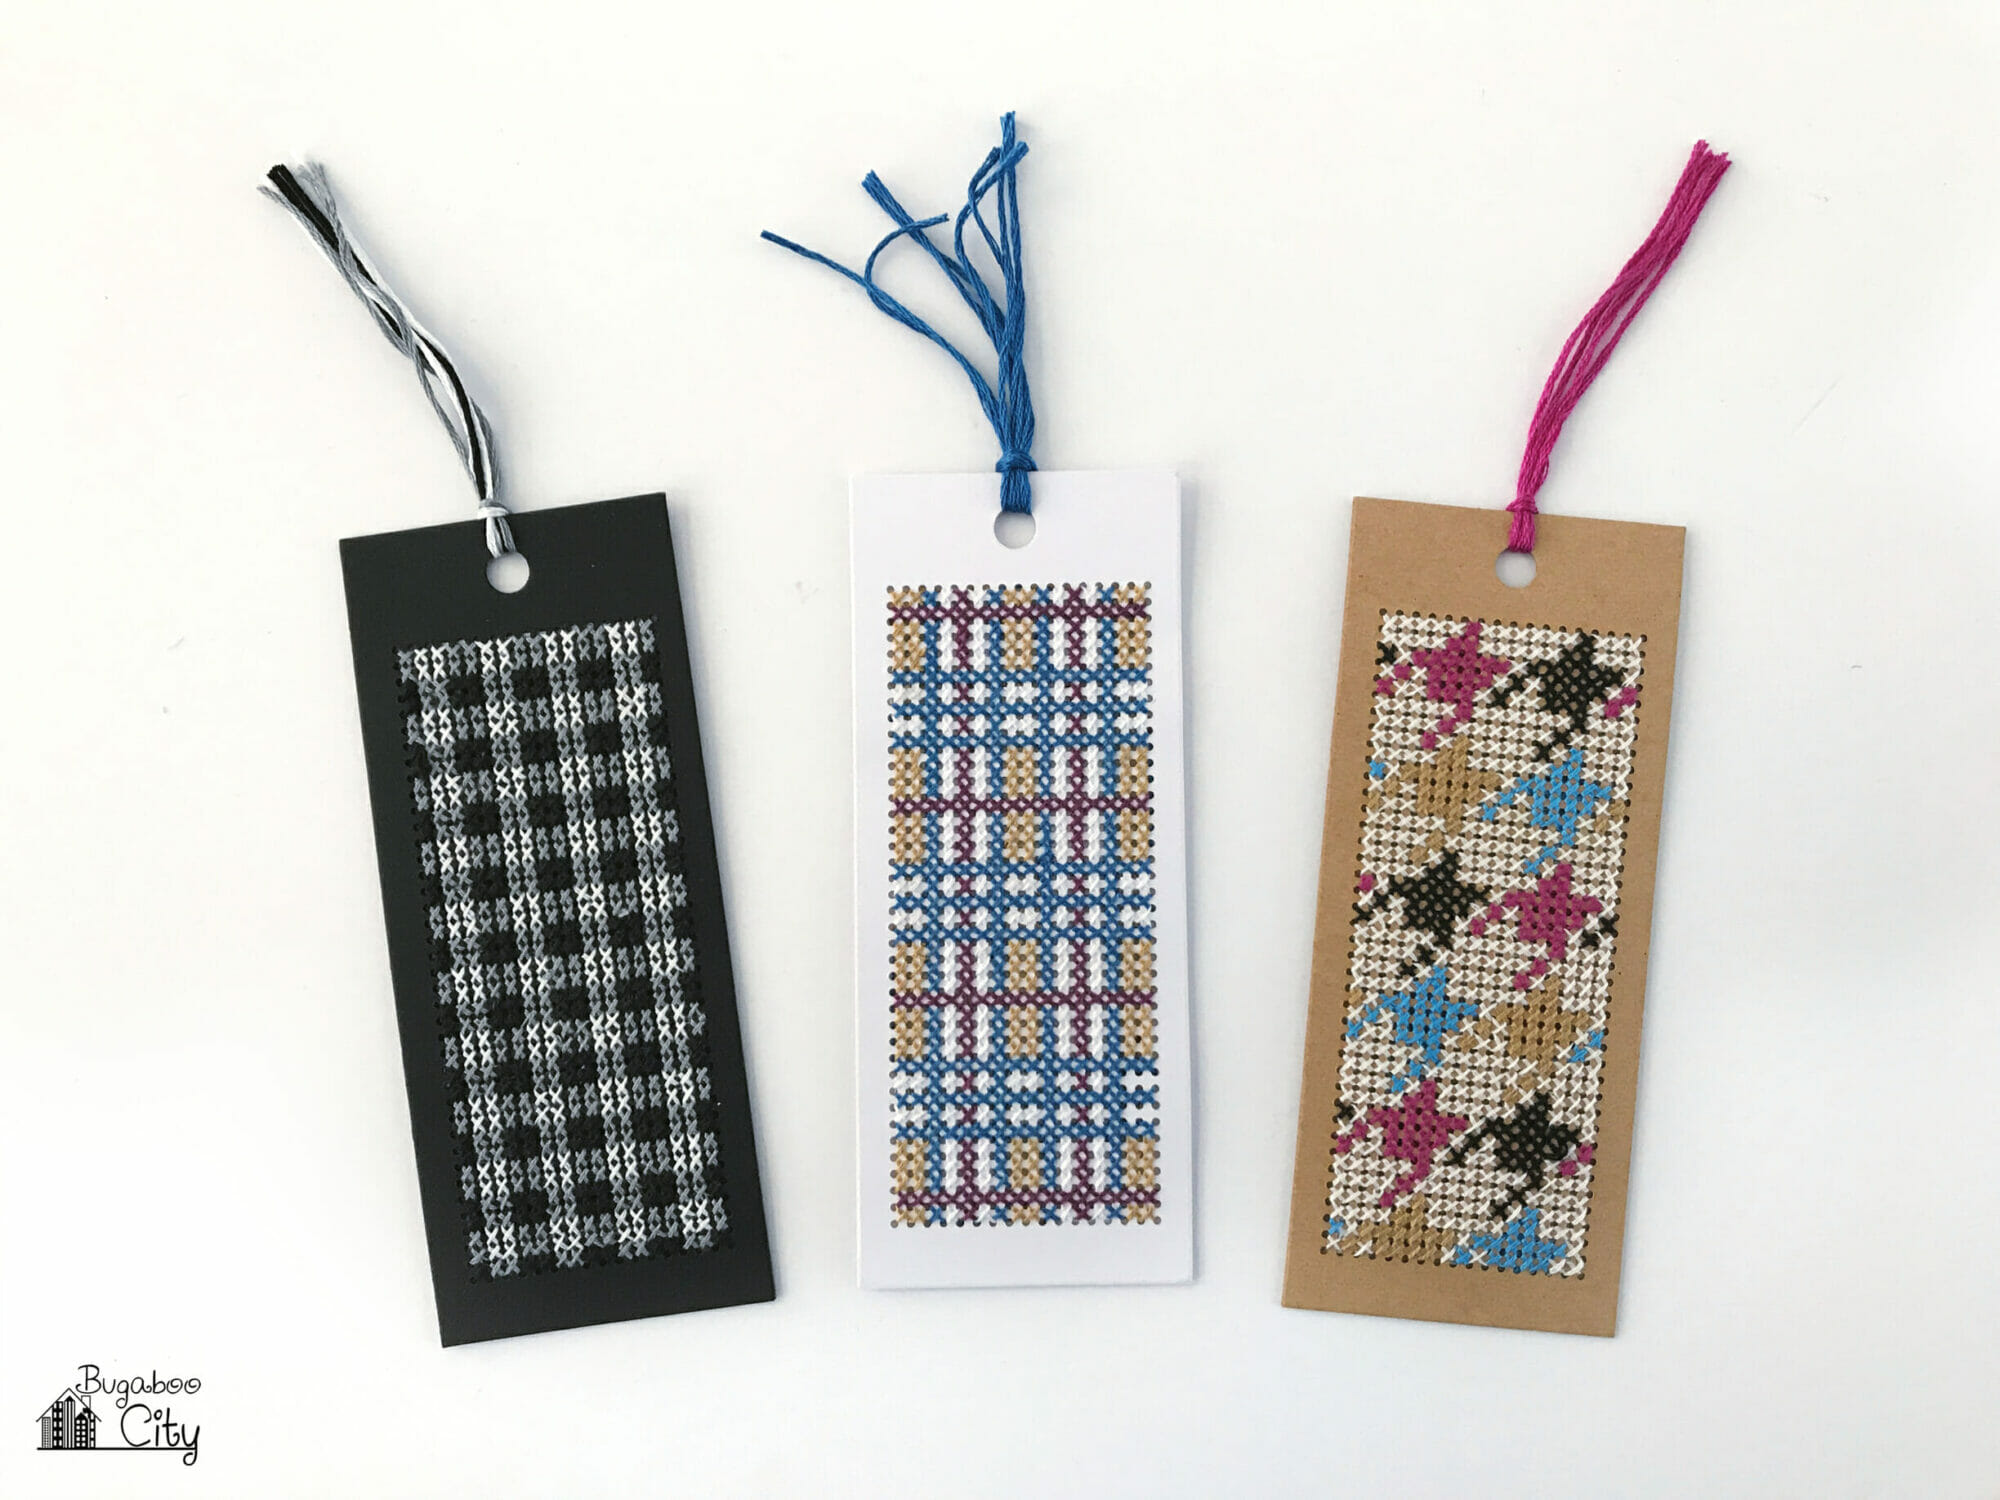
Autumn is the perfect time to cozy up with a good book! Today I am sharing a new cross stitch project – autumn bookmarks. When I think of seasons, I often think of specific fabrics. When I think of Autumn, I think of warm, cozy plaid, houndstooth, and buffalo check. With that in mind, I created these three bookmark patterns.
These bookmarks are a quick project – as far as cross-stitching goes! You can mix up the colors of each pattern or use the same colors I chose. These bookmarks can be stitched on Aida cloth, linen or paper as I did. I found cross stitch bookmark kits at my local craft store that came with perforated holes.
Cross Stitch Autumn Bookmarks
Supplies Needed
- Free Cross Stitch Bookmark Patterns – Grab the free file by filling out the purple form at the end of this post.
- Aida Cloth or Punched Bookmarks
- I used a bookmark kit by Cross-Stitch Style.
- Tapestry Needle size 24 or size 26
- Embroidery Floss
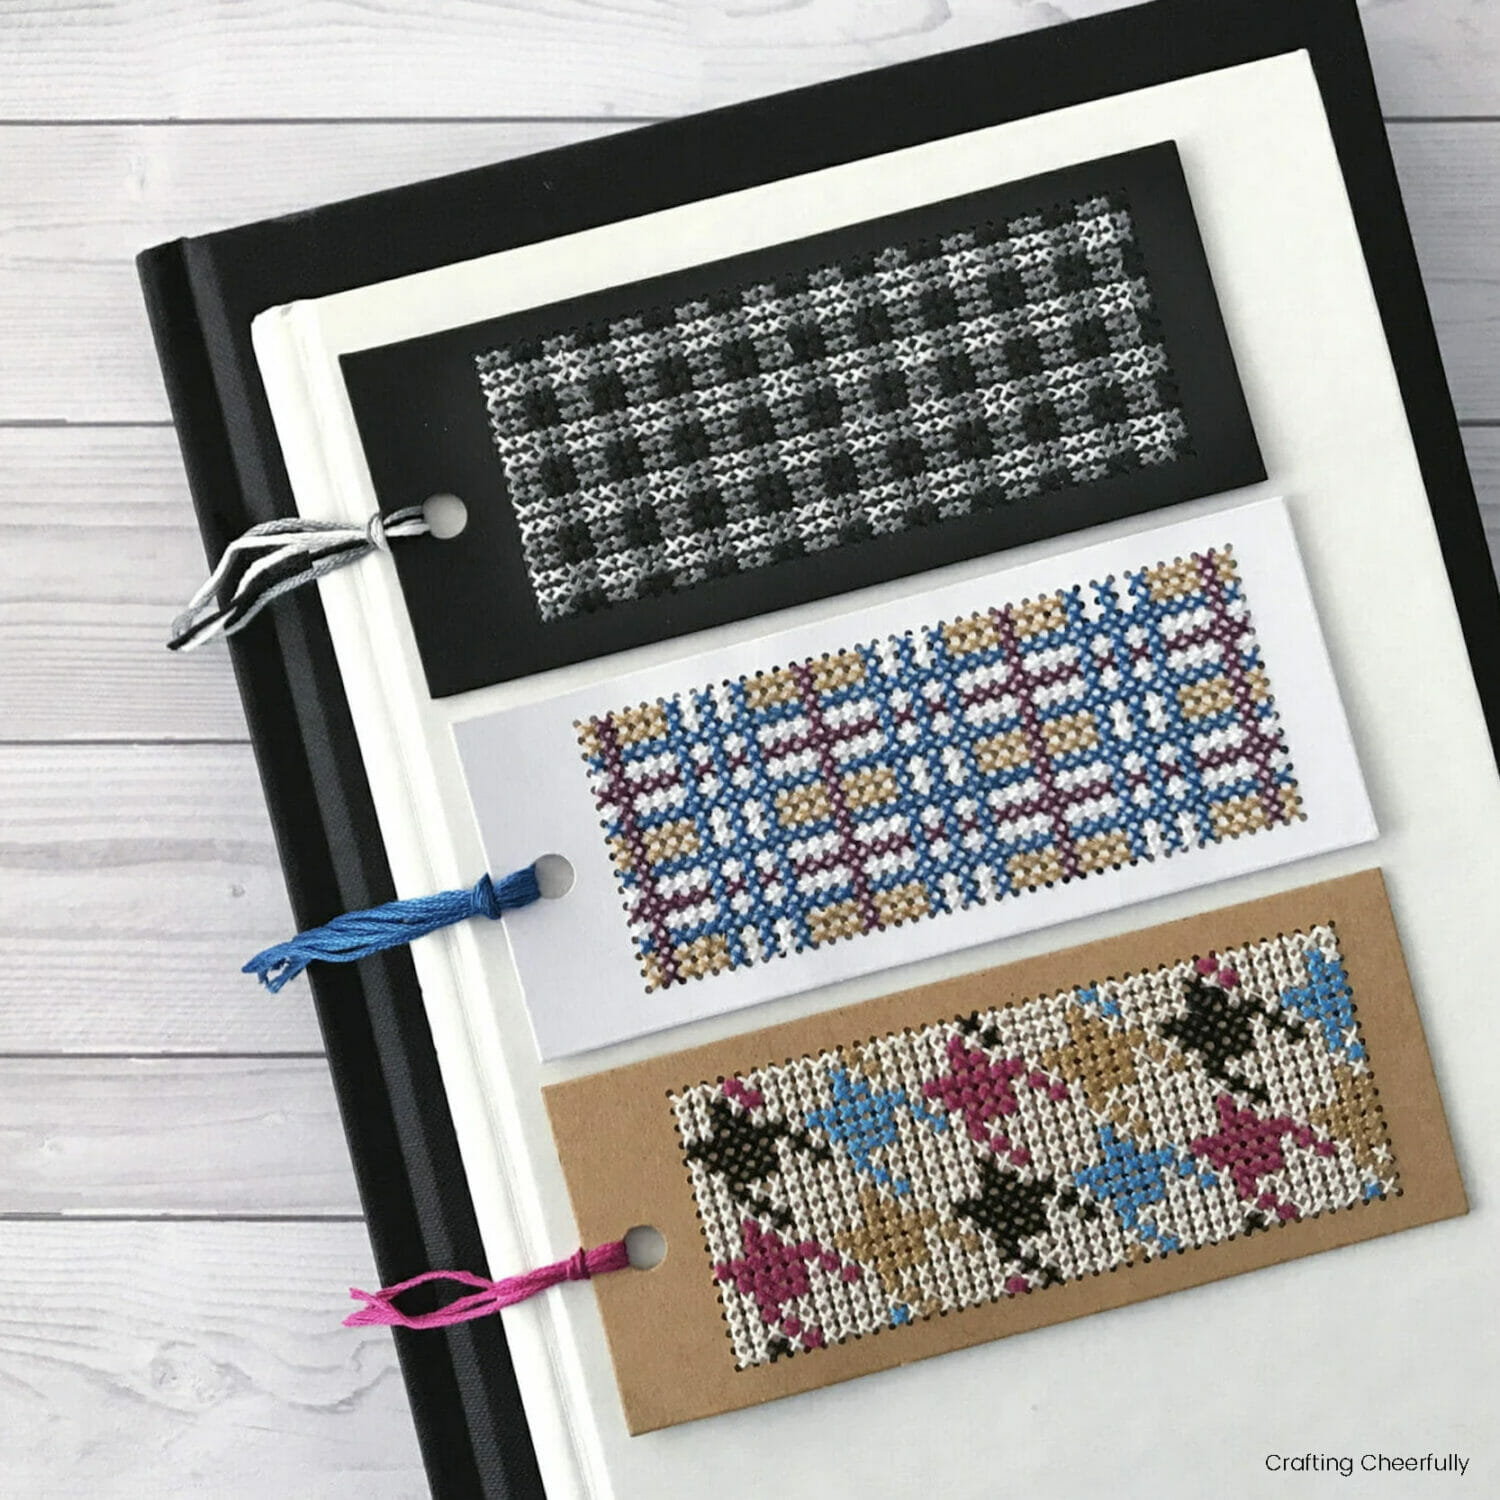
- Plaid: White, Burgundy (DMC 3834), Blue (DMC 3765), Tan (DMC 3045)
- Buffalo Check: Black, White, Grey (DMC 169)
- Houndstooth: Black, White, Tan (DMC 3045), Blue (DMC 996), Magenta (DMC 917)
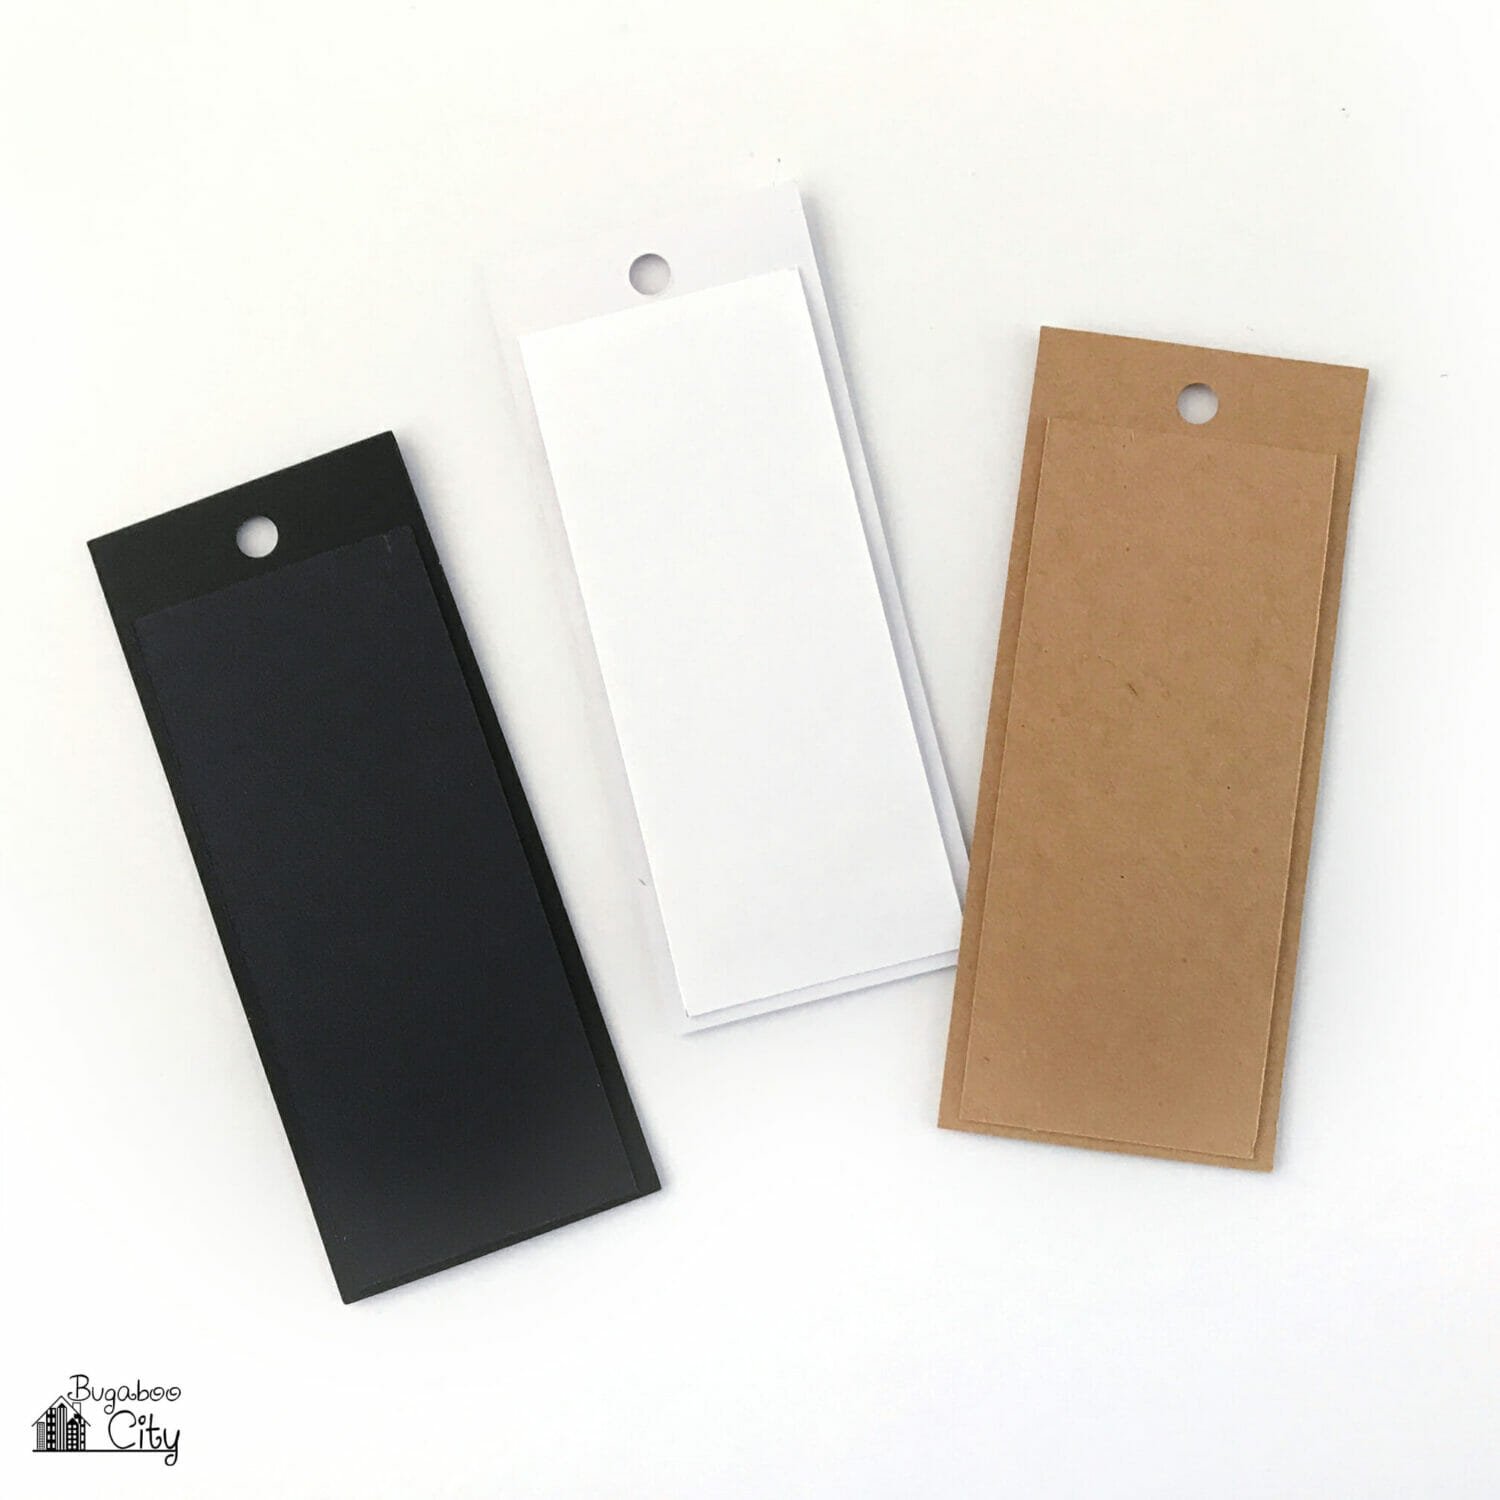
- Cardstock in the same colors as the bookmarks – black, white and tan
- Double-sided tape

Cross-Stitching the Bookmarks
To get started, choose your embroidery floss colors. I used DMC embroidery floss and chose to use similar colors in each bookmark. The pack of bookmarks I used came in white, tan and black so I made sure my floss colors would work well with the paper colors.

Cross-stitch each bookmark using a tapestry needle. The tapestry needle has a rounded and blunt tip, unlike an embroidery needle which has a sharp, pointy tip. Since the holes are pre-made in the paper bookmarks and Aida cloth, you do not need to pierce through fabric like in embroidery. Tapestry needles, usually sizes 24-26, work well for cross stitch.
Embroidery floss is made from six individual strands of thread. Use two strands to stitch the bookmarks.
*My patterns were designed to fit the paper bookmarks that used to be really popular at craft stores. I have a hard time finding them in recent years. If you use Aida cloth bookmarks you may need to continue the repeating patterns to fit the size of your bookmarks.

Finishing the Bookmarks
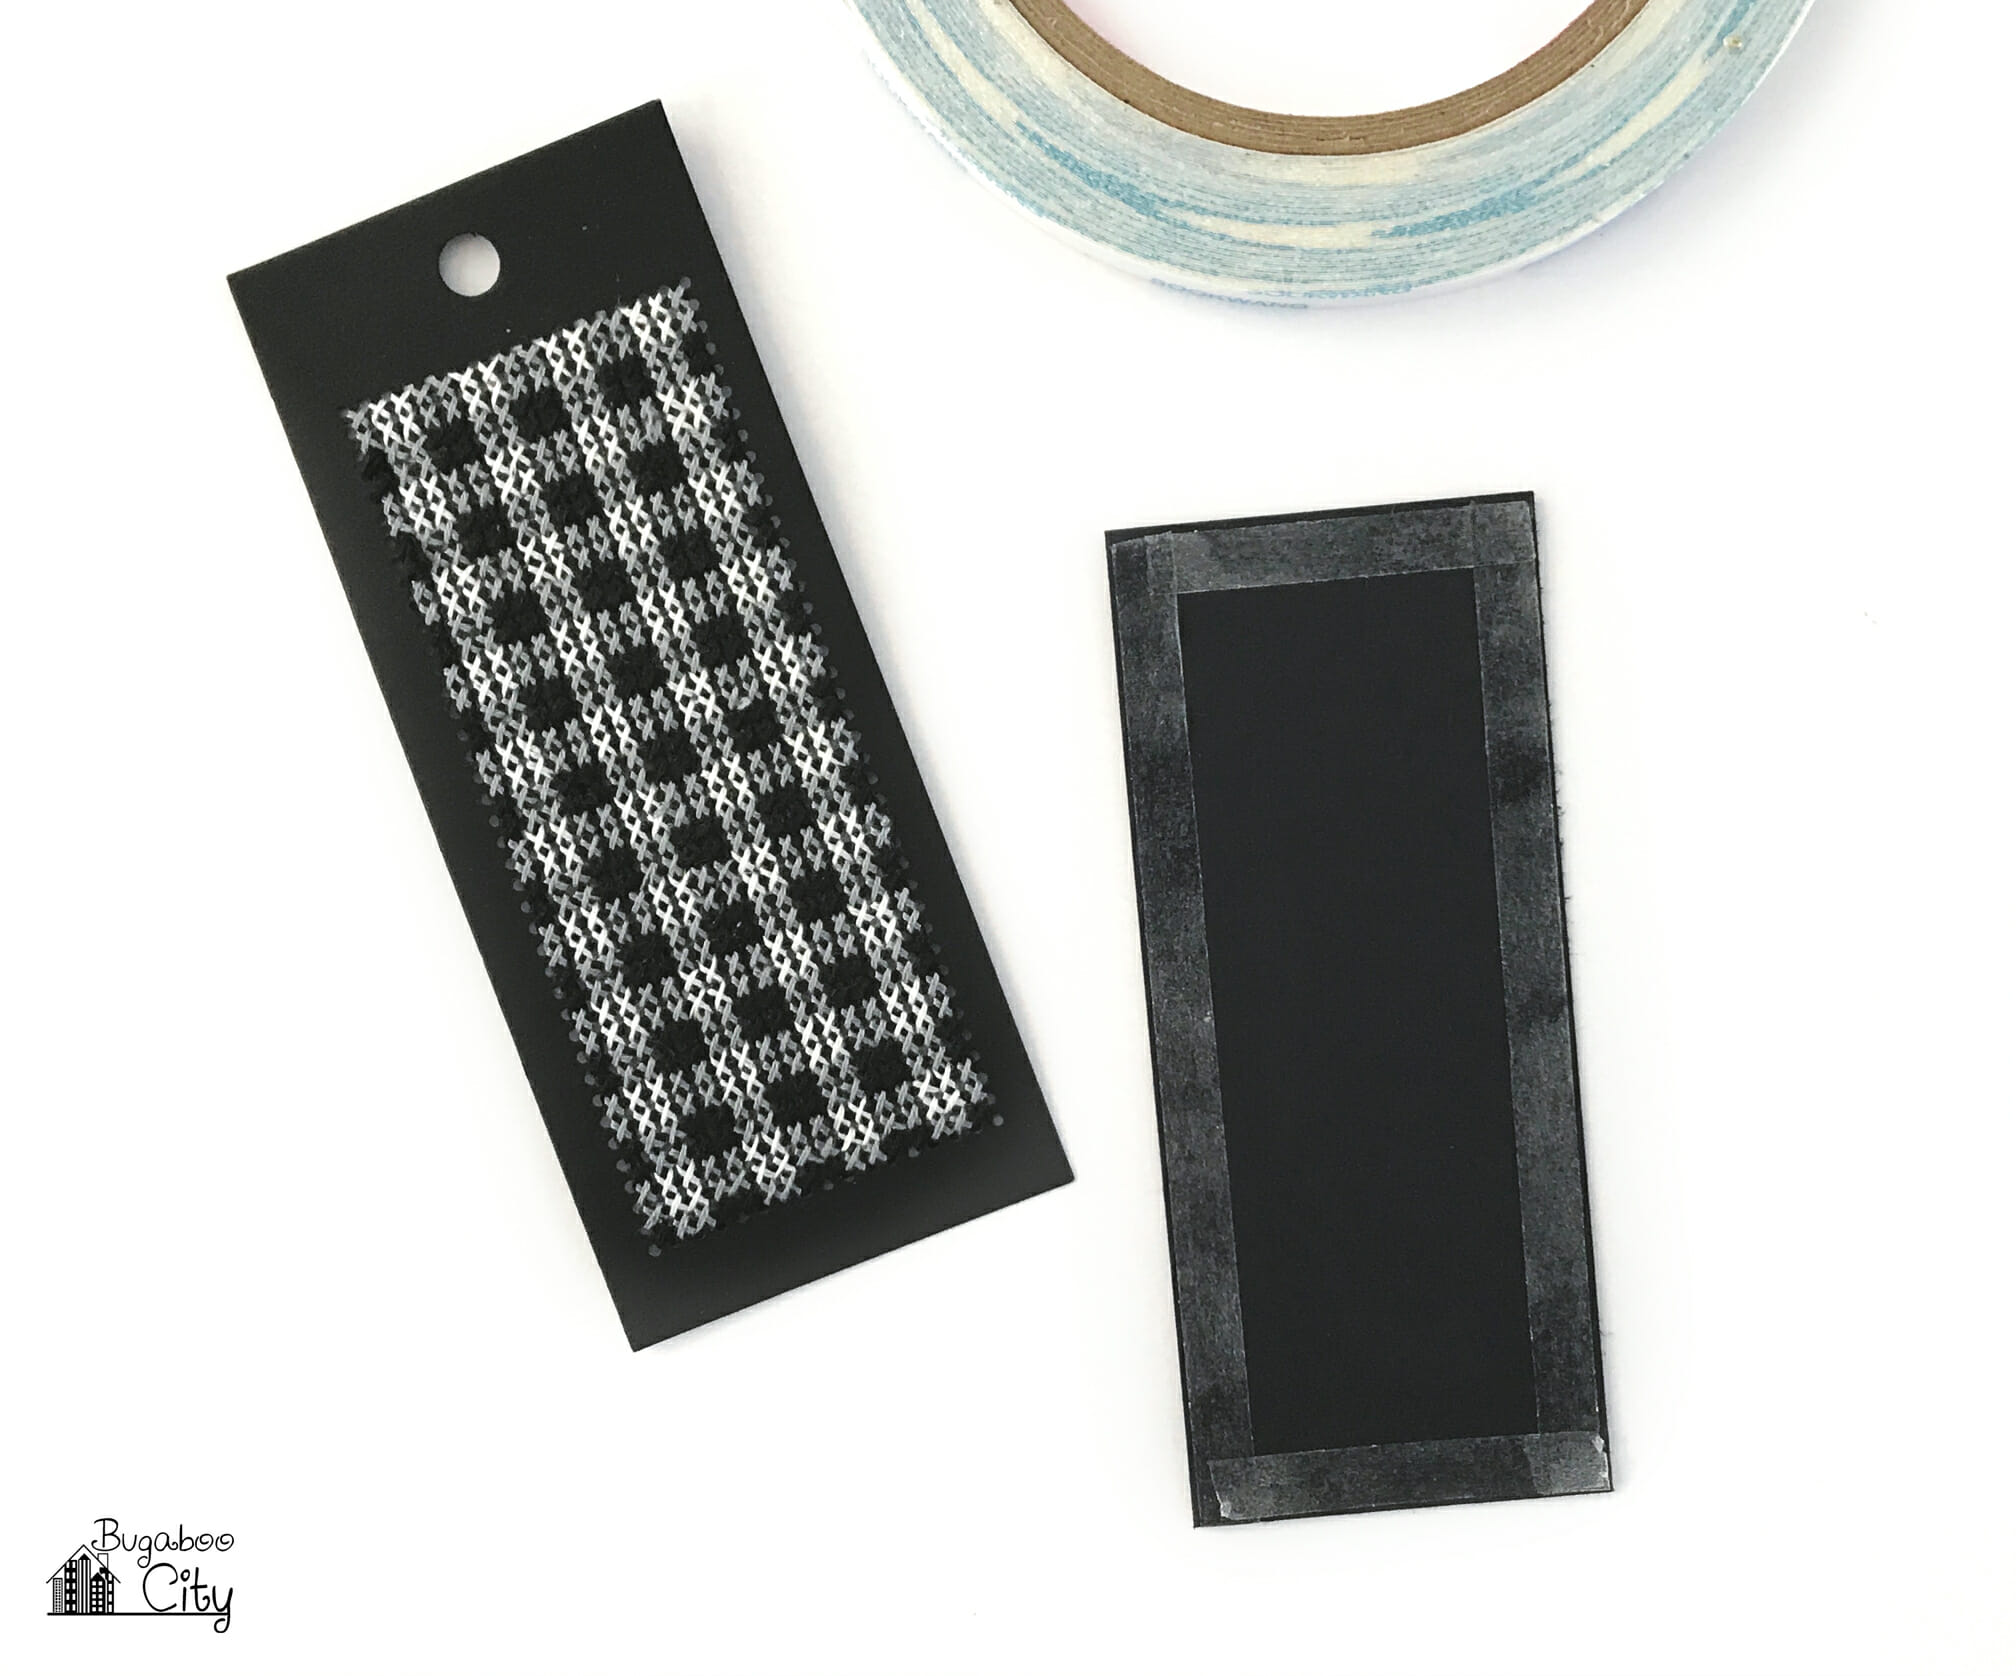
Once the bookmarks are stitched, it is time to cover the backs of the paper. This not only looks nice, hiding the back stitches, but finishing the back will also help preserve them from wear and tear.
To cover the backs, simply cut a piece of matching cardstock measuring 1.75″ x 4.25″ and adhere onto the back of each bookmark. I used double-sided tape to attach the cardstock, which works well since it doesn’t cause any warping of the paper like glue can, and it is super strong!

Finish the bookmarks off with ribbon or embroidery floss and they are finished – ready to use with a great book!

I had so much fun making these I know I want to make more in the future! After working on such a large cross-stitch pattern, it felt good to do a quicker project. I am planning to gift a couple of these, but I’ll be keeping one for myself! :)
Check out my other cross-stitched bookmarks!
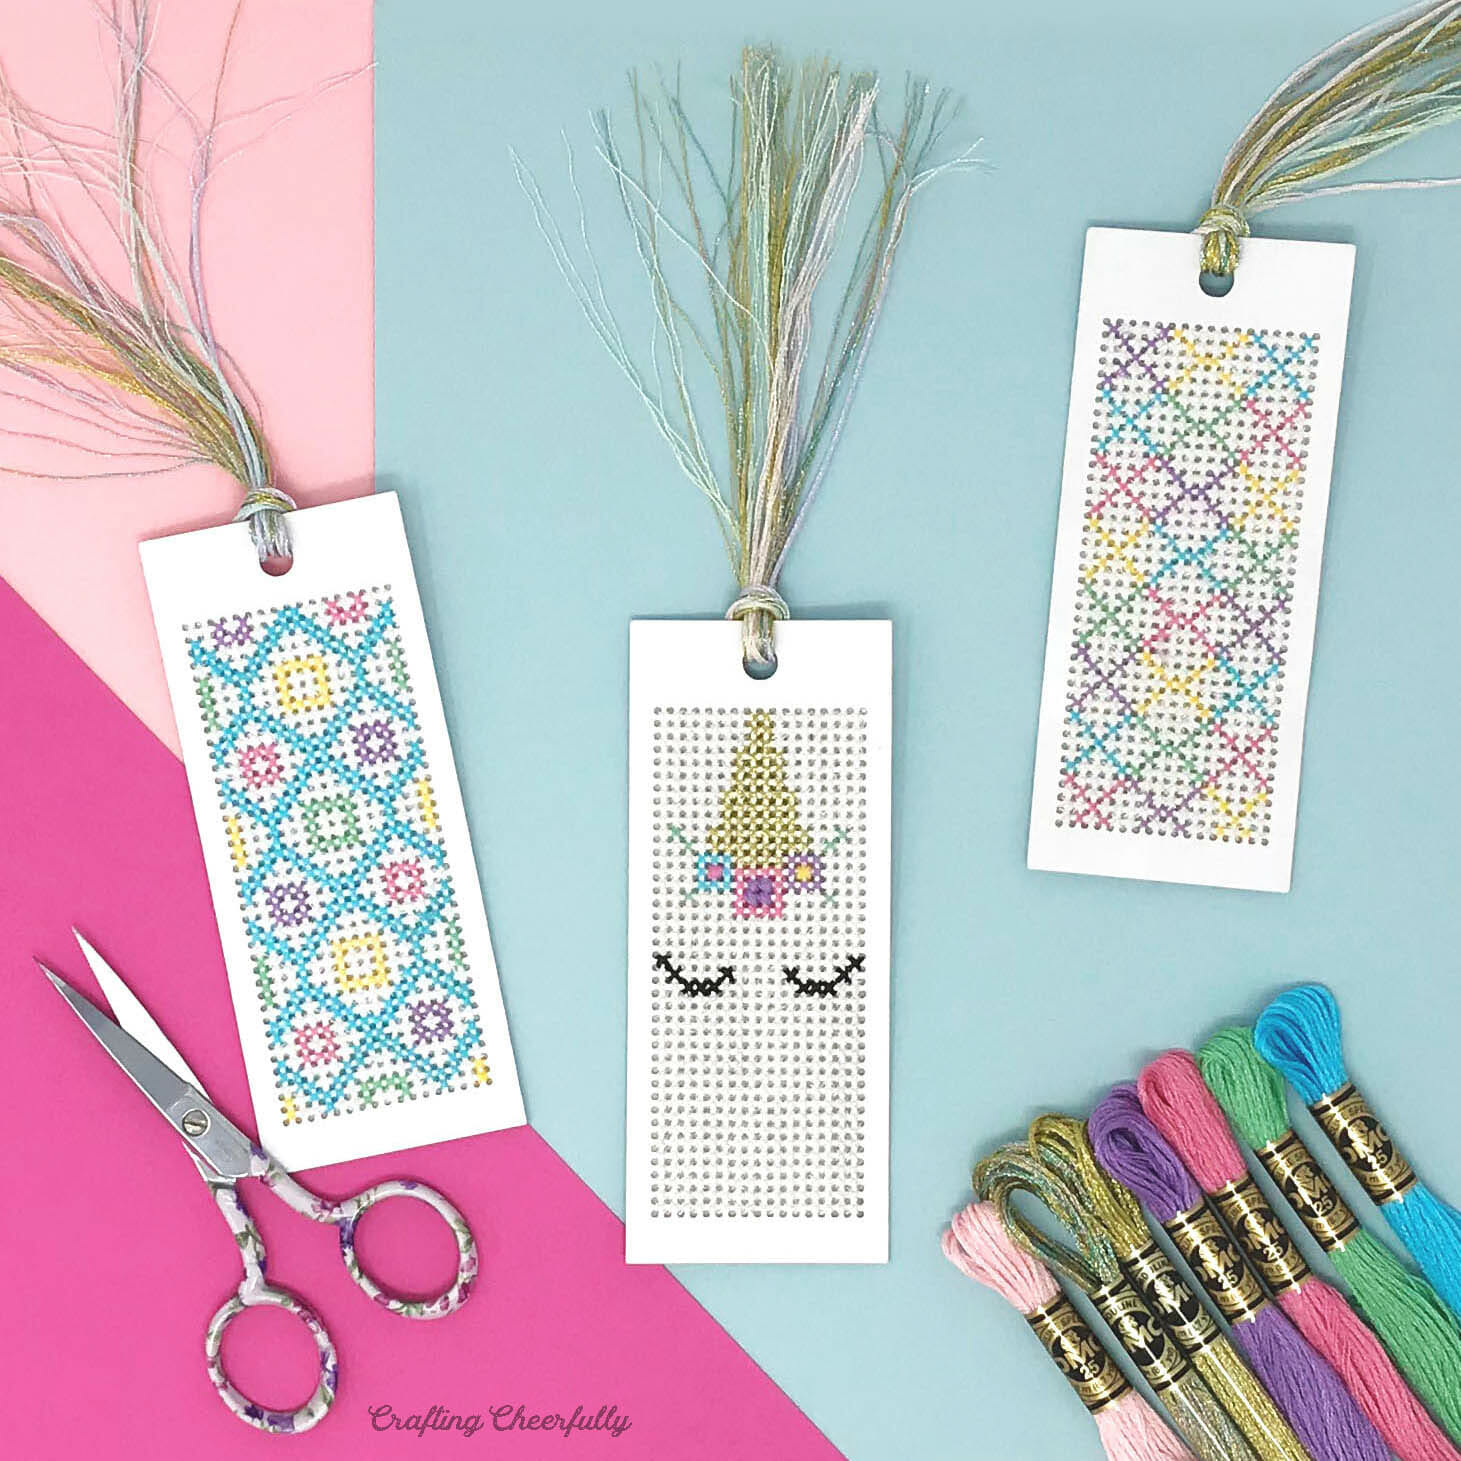
Unicorn Cross-Stitch Bookmarks


Get the Free Autumn Cross Stitch Bookmark Files!
Fill out the purple form below with your first name and email address! The free file will be sent straight to your inbox! If you have already filled out the form below, don’t worry – you won’t be added to my list twice! This freebie is for personal use only. I hope you enjoy crafting something special. Please let me know if you have any questions :)