DIY Holiday Jewelry with Air Dry Clay
Create DIY Holiday jewelry using air dry clay and mini cookie cutters! A fun and simple craft for the holiday season!


Hello! Welcome to day #10 of my “12 Days of Holiday Crafts” series! Today I’m sharing a tutorial for making your own DIY Christmas jewelry! Air dry clay is easy to use and once dry it is lightweight and it takes acrylic paint really nicely. You can create festive necklaces and pins for the holiday or use it to create jewelry that can be worn year-round!
To easily create the shapes, I used mini cookie cutters! No sculpting or shaping required, I just rolled out the clay and cut out cookies just like I would if I were baking. They took a couple days to dry and then it was time to paint them! Below is the step-by-step tutorial, plus a fun video showing you how to make your own Christmas jewelry.
DIY Christmas Jewelry
Supplies Needed
- Air-dry clay – I used FIMO Air Dry Clay from Joann Fabrics
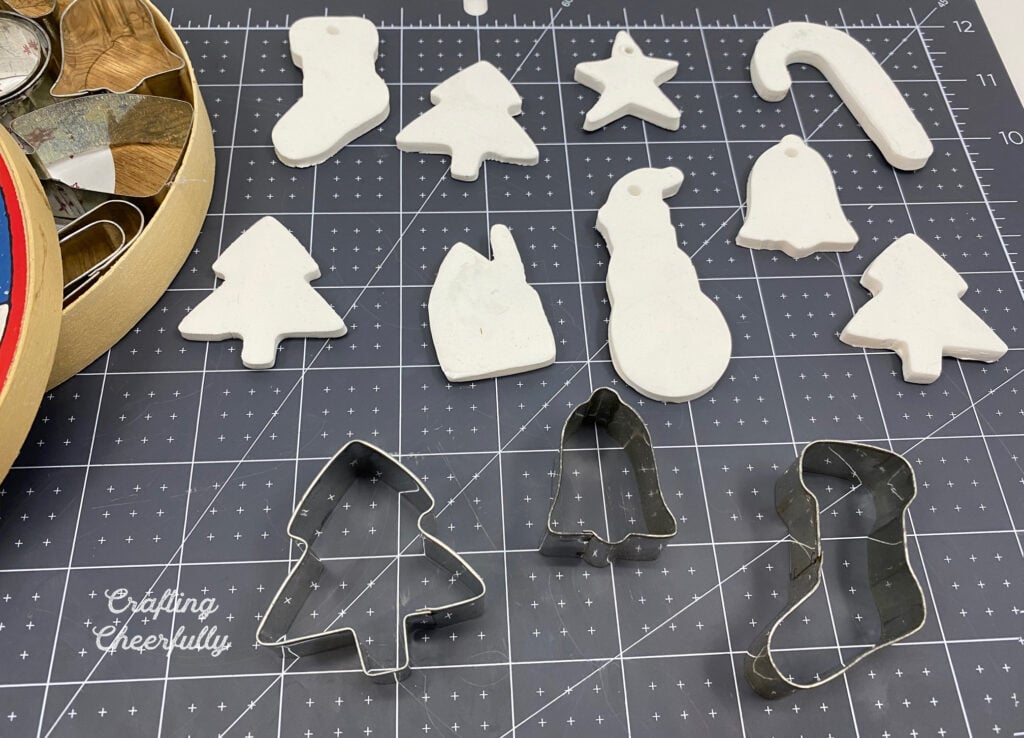
- Mini Christmas cookie cutters – I used a set I already owned. This Mini Cookie Cutters set looks similar!
- Acrylic paint
- Pin backs for brooches
- Gelly Roll Clear Stardust Pen
- Multi-Purpose Sealer
- Cording or ribbon for necklaces
- Parchment paper
- Little rolling pin – I used a rolling pin from this set of Modeling Tools
Step-by-Step Tutorial
Step One: Cut the jewelry shapes out of clay.
Roll out a chunk of air-dry clay to about 1/4″ thick using a mini rolling pin. I used a rolling pin from a Sculpy clay set but I have also used the cute little rolling pins that come in my kids’ Play-doh sets.
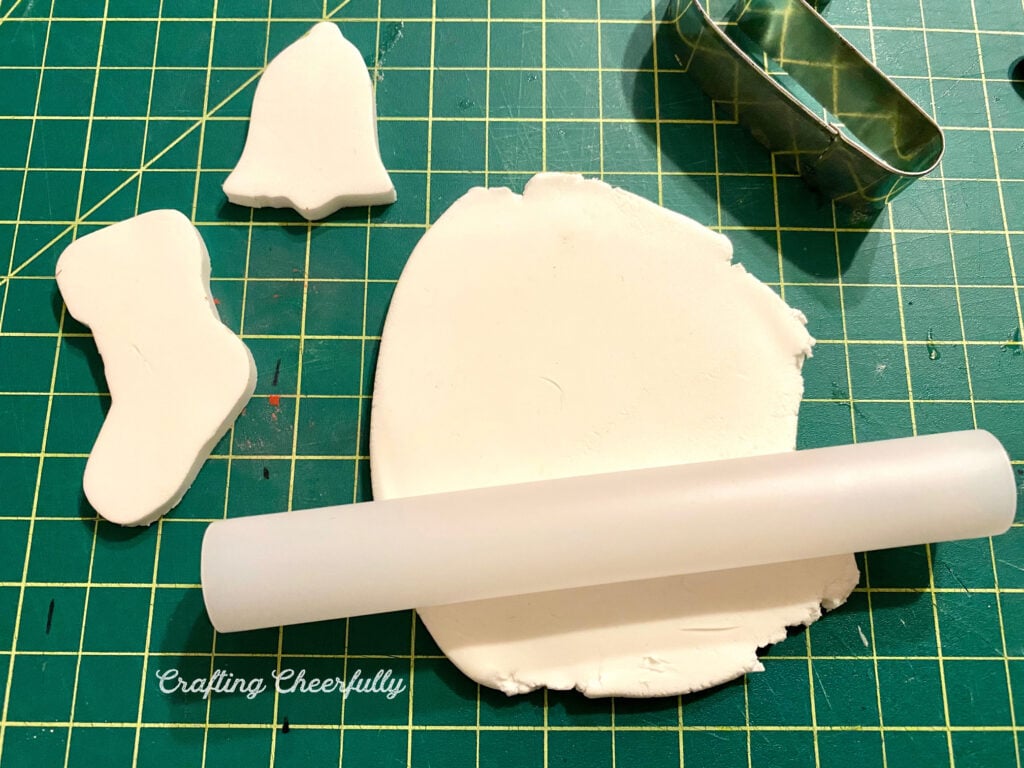
Once the clay is rolled out, use the cookie cutters to punch out shapes.

If you want to create a necklace, be sure to punch a hole in the top of the shape using a straw or clay tool. Lay them all on a sheet of parchment paper and let them dry. This will take a couple days depending on the humidity in your home. Flip them over after a day to help them dry quicker!
Step Two: Paint the clay jewelry!
Once the pieces are dry, paint them using acrylic paint. I used Americana Multi-Surface paint because it is what I had on hand, you can use any acrylic paint.
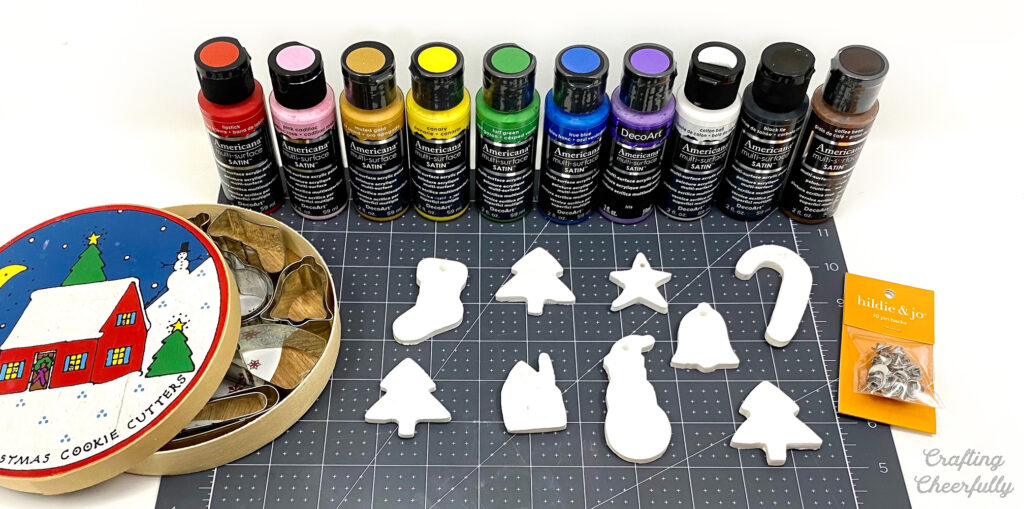
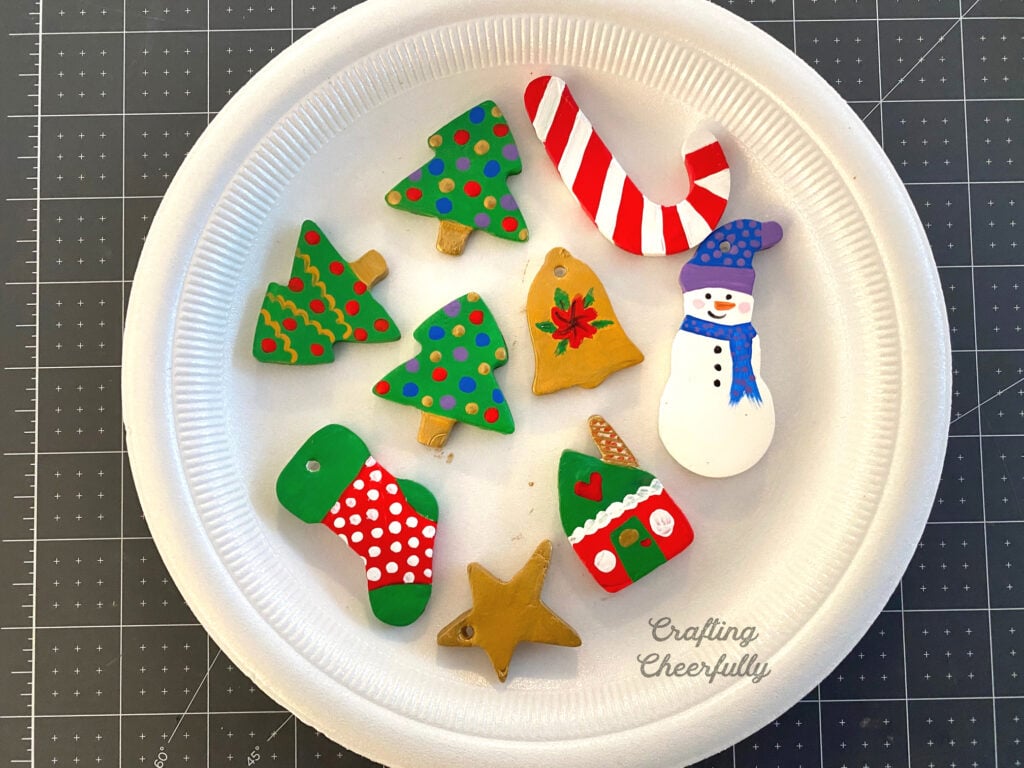
I wanted to add a little bit of sparkle to my jewelry but wasn’t using glitter paint so instead I used a Gelly Roll glitter pen. It worked really and was easy to add sparkle to small spots. On some of the pieces the glitter did spread once I added the sealer.

Apply sealer to jewelry pieces to give them a nice glossy finish.
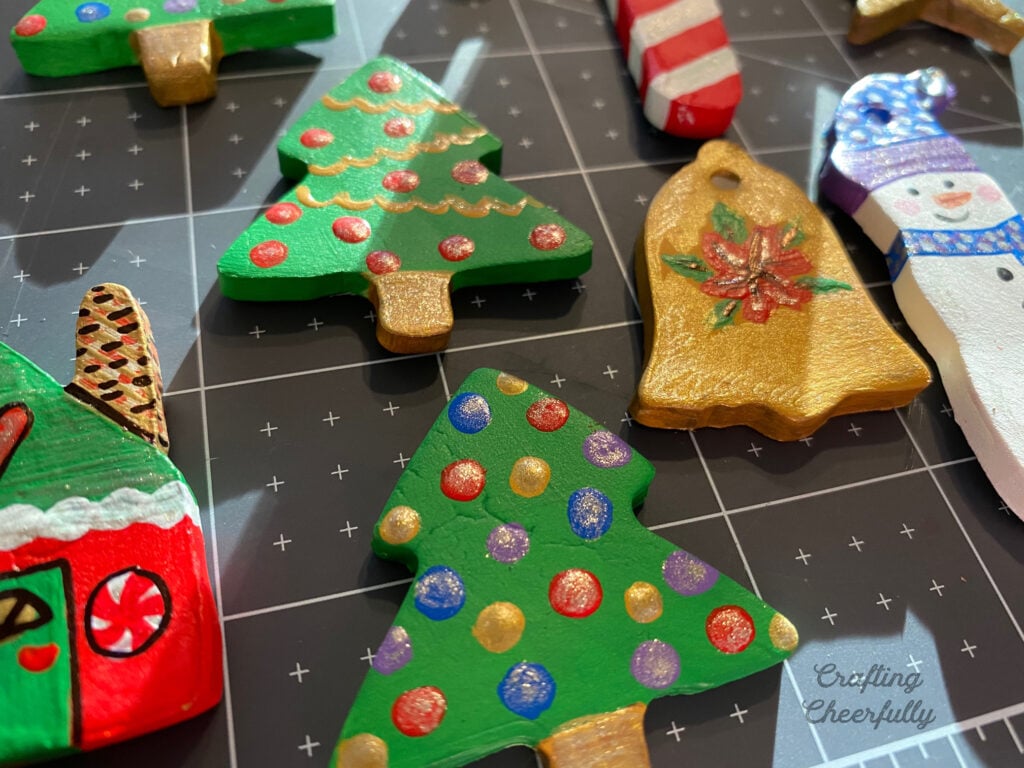
Step Three: Add pin-backs to create brooches.
To turn the pieces into brooches, add pin-backs using hot-glue.

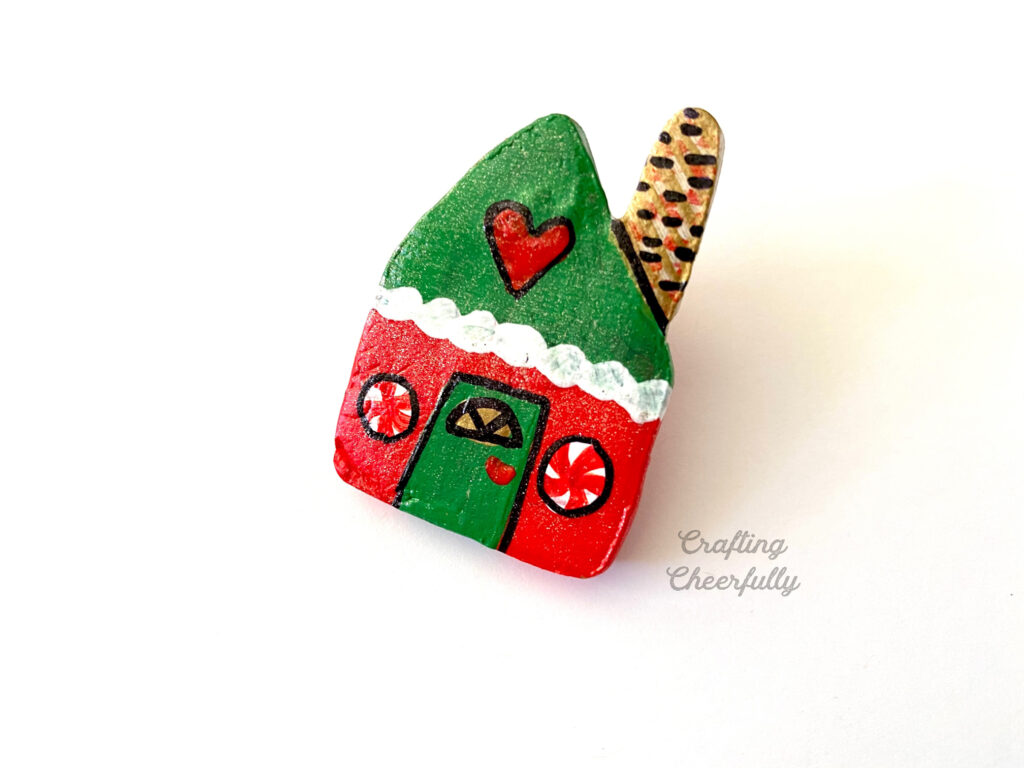
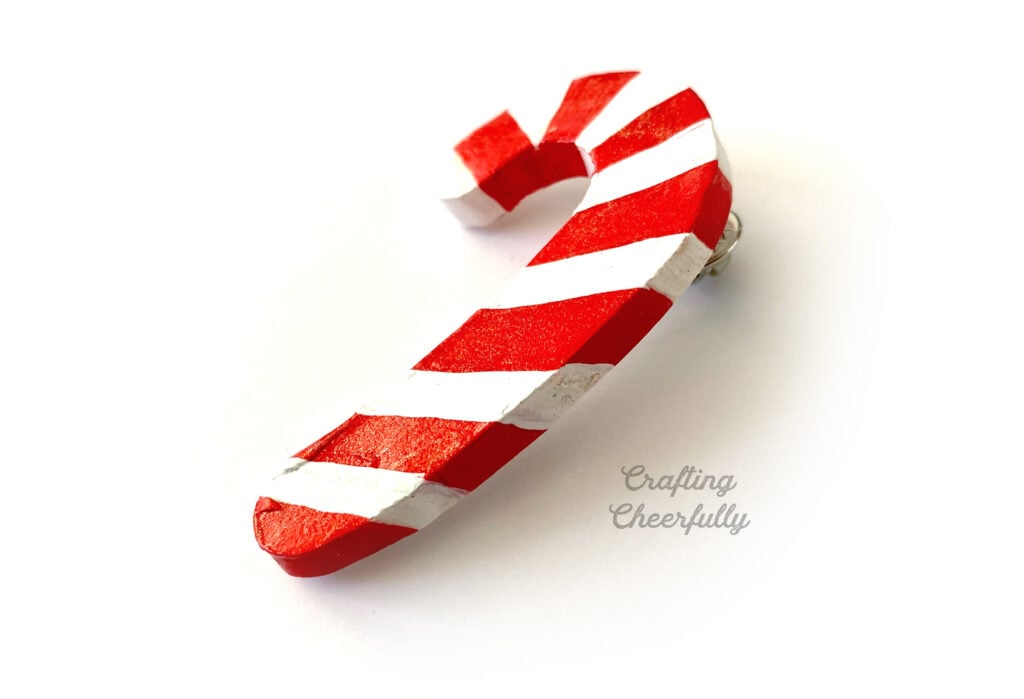
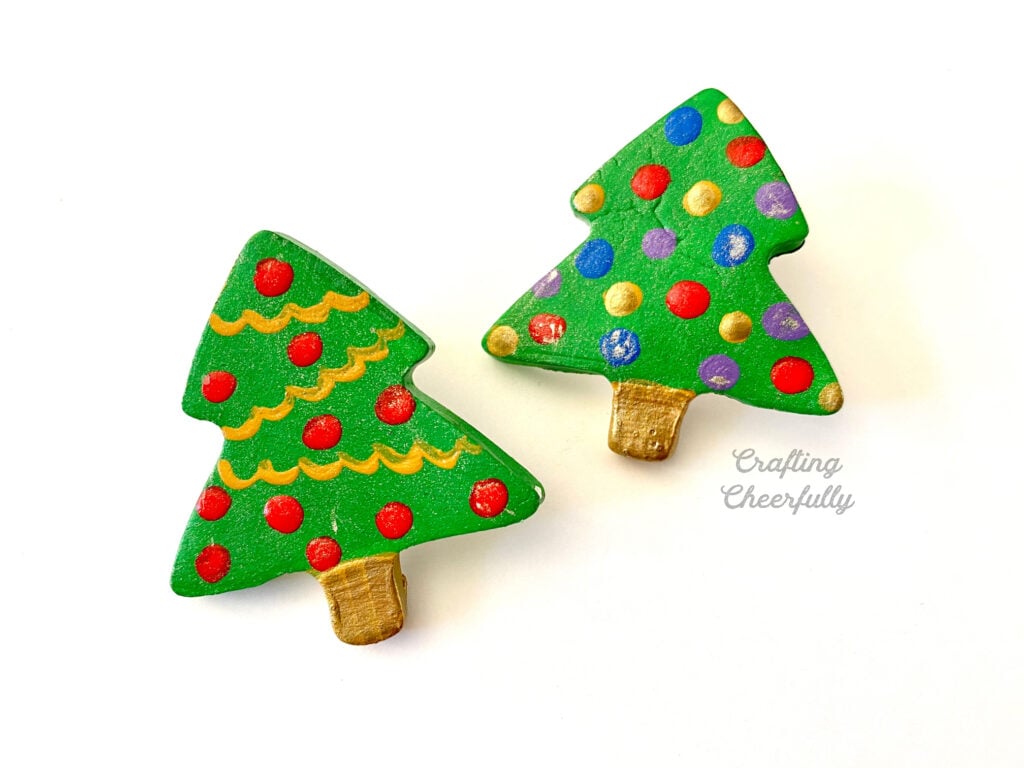
These are my finished brooches!
Step Four: Add string or cording to make necklaces.
Use cording, string or yarn to make necklaces. You could also make keychains or charms.
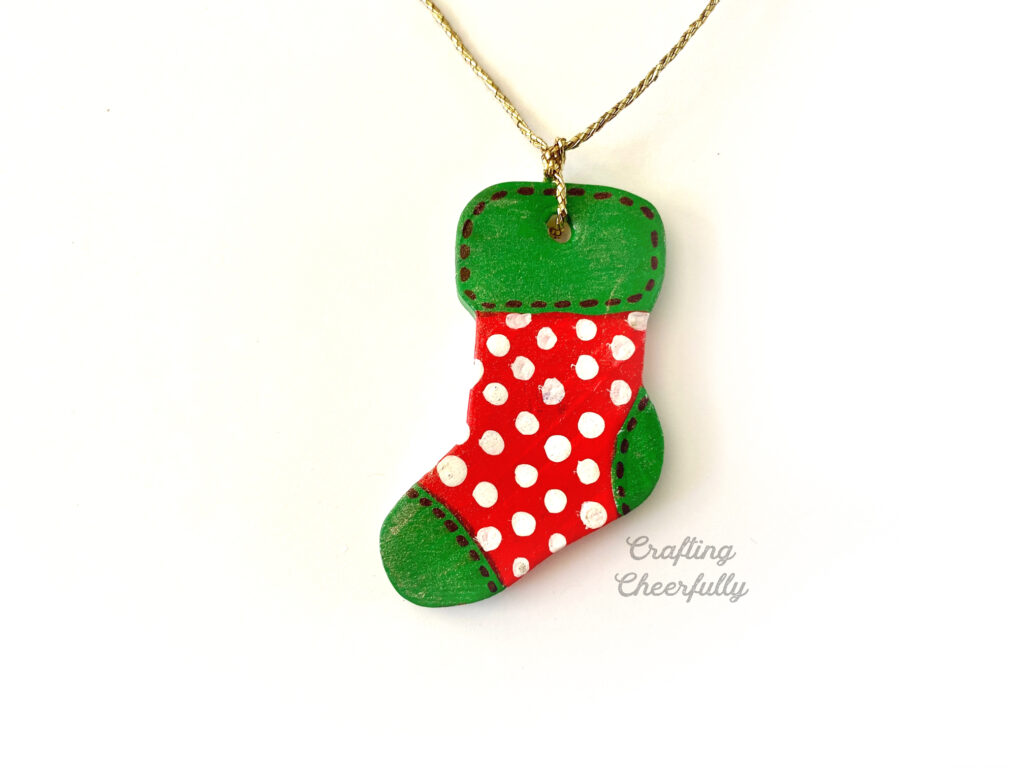
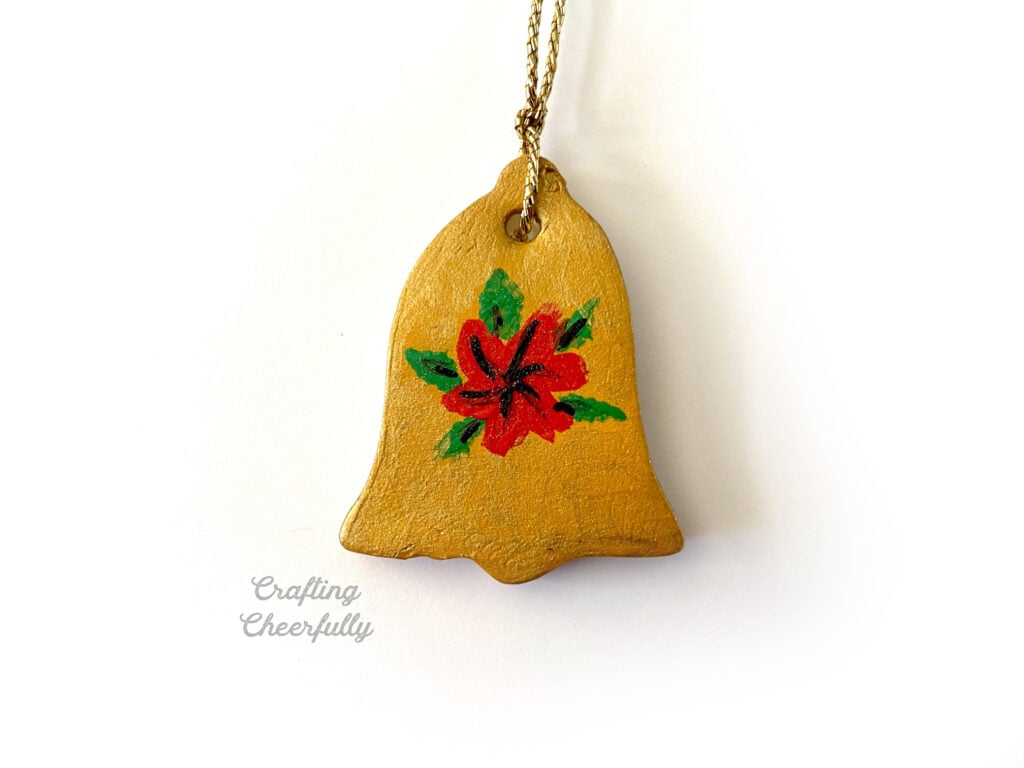

The DIY Christmas jewelry is finished! Gift to someone special or deck yourself for the holidays!

I’ll be back tomorrow for Day #11 of my series! Thank you for following along :)


I used a set of cookie cutters I already owned. I’ve linked to a set on Amazon that look like a similar size, but I have not personally used them.





One Comment