DIY Wedding Shower Wine Glasses
Create these personalized wedding shower wine glasses using the free SVG cut file. Also perfect for a bachelorette party or wedding gift!

Hello Crafty Friends! Looking for a sweet gift you can hand make for a special couple? Today I’m sharing a tutorial for making personalized wine glasses. They are perfect for wedding showers, bachelorette parties and more!
I love how simple, yet personal these wine glasses are. They are definitely something the bride or couple can take home with them and use long after the party is over.
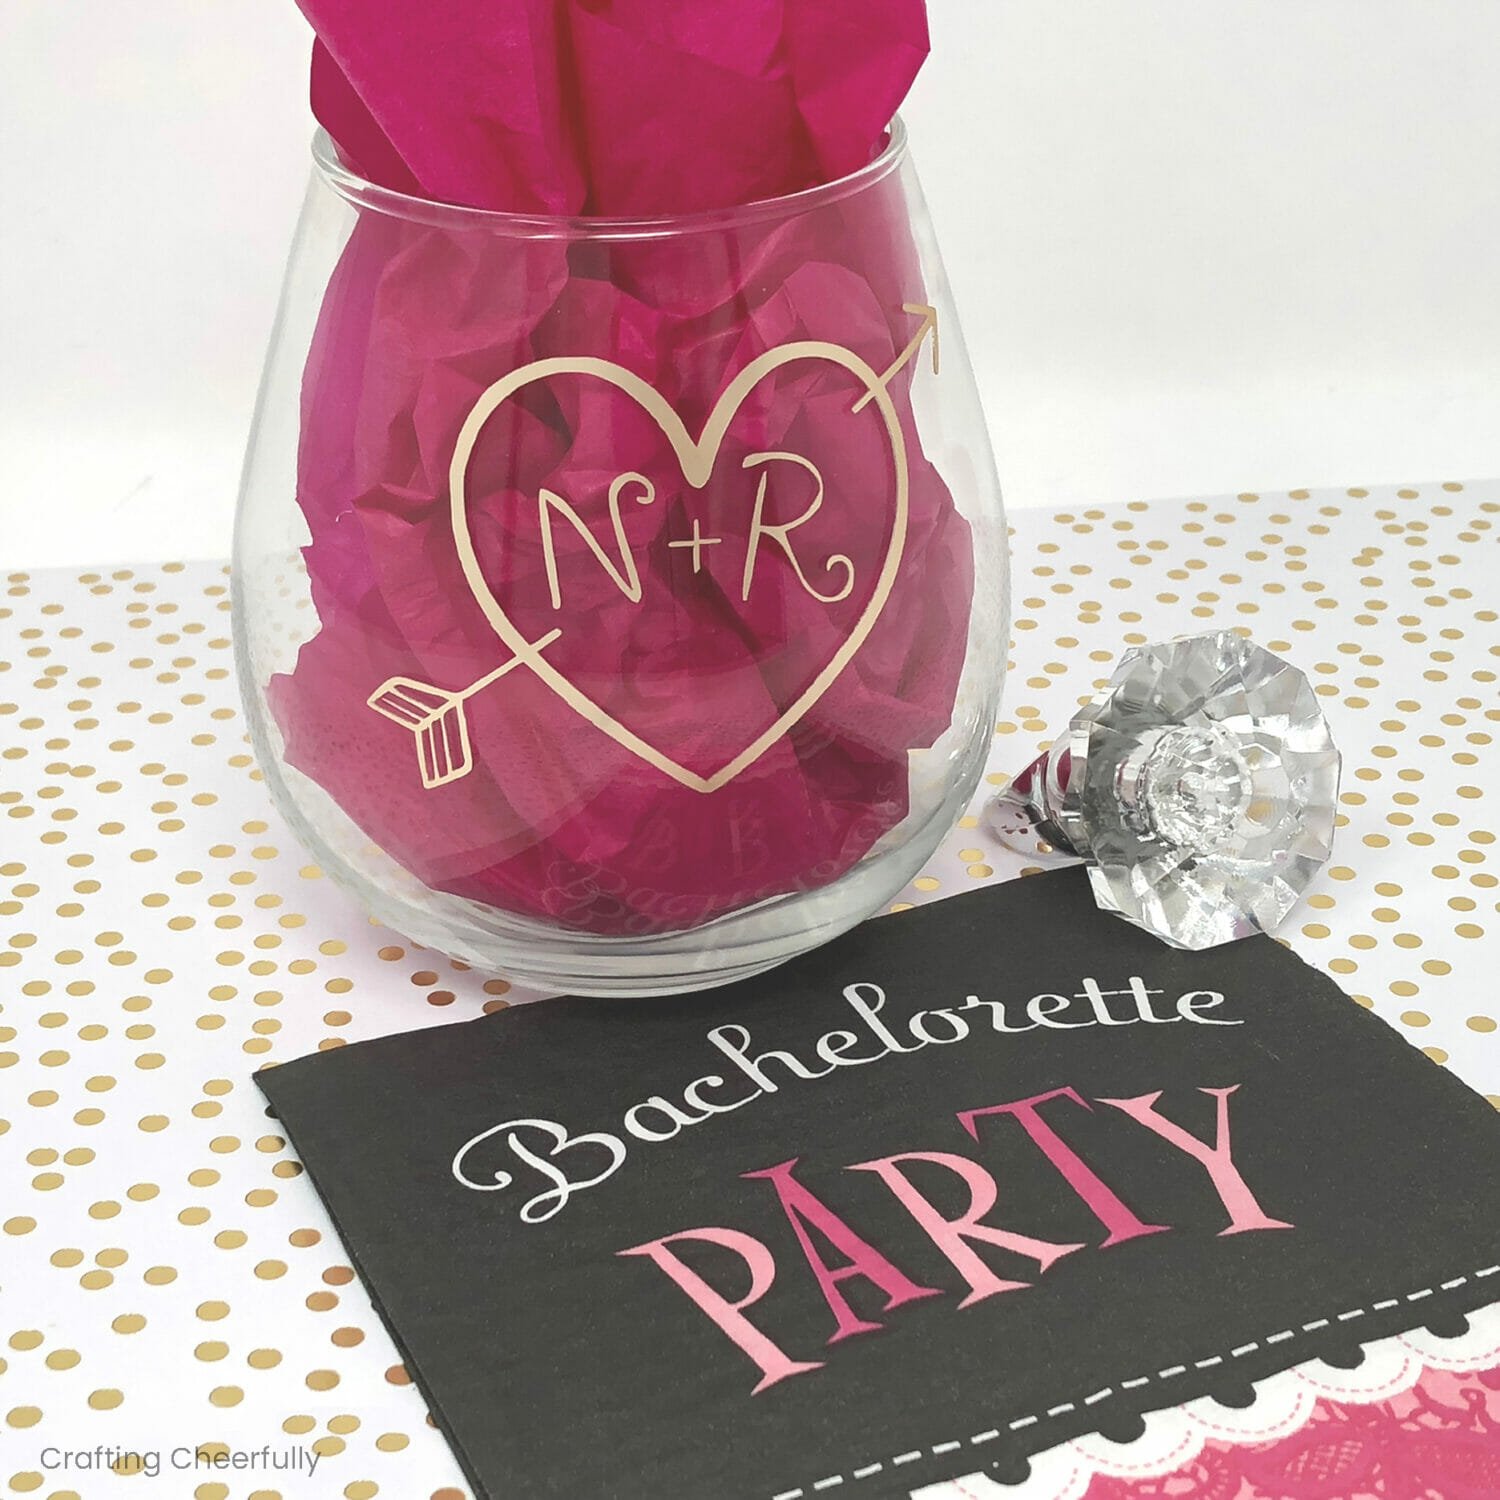
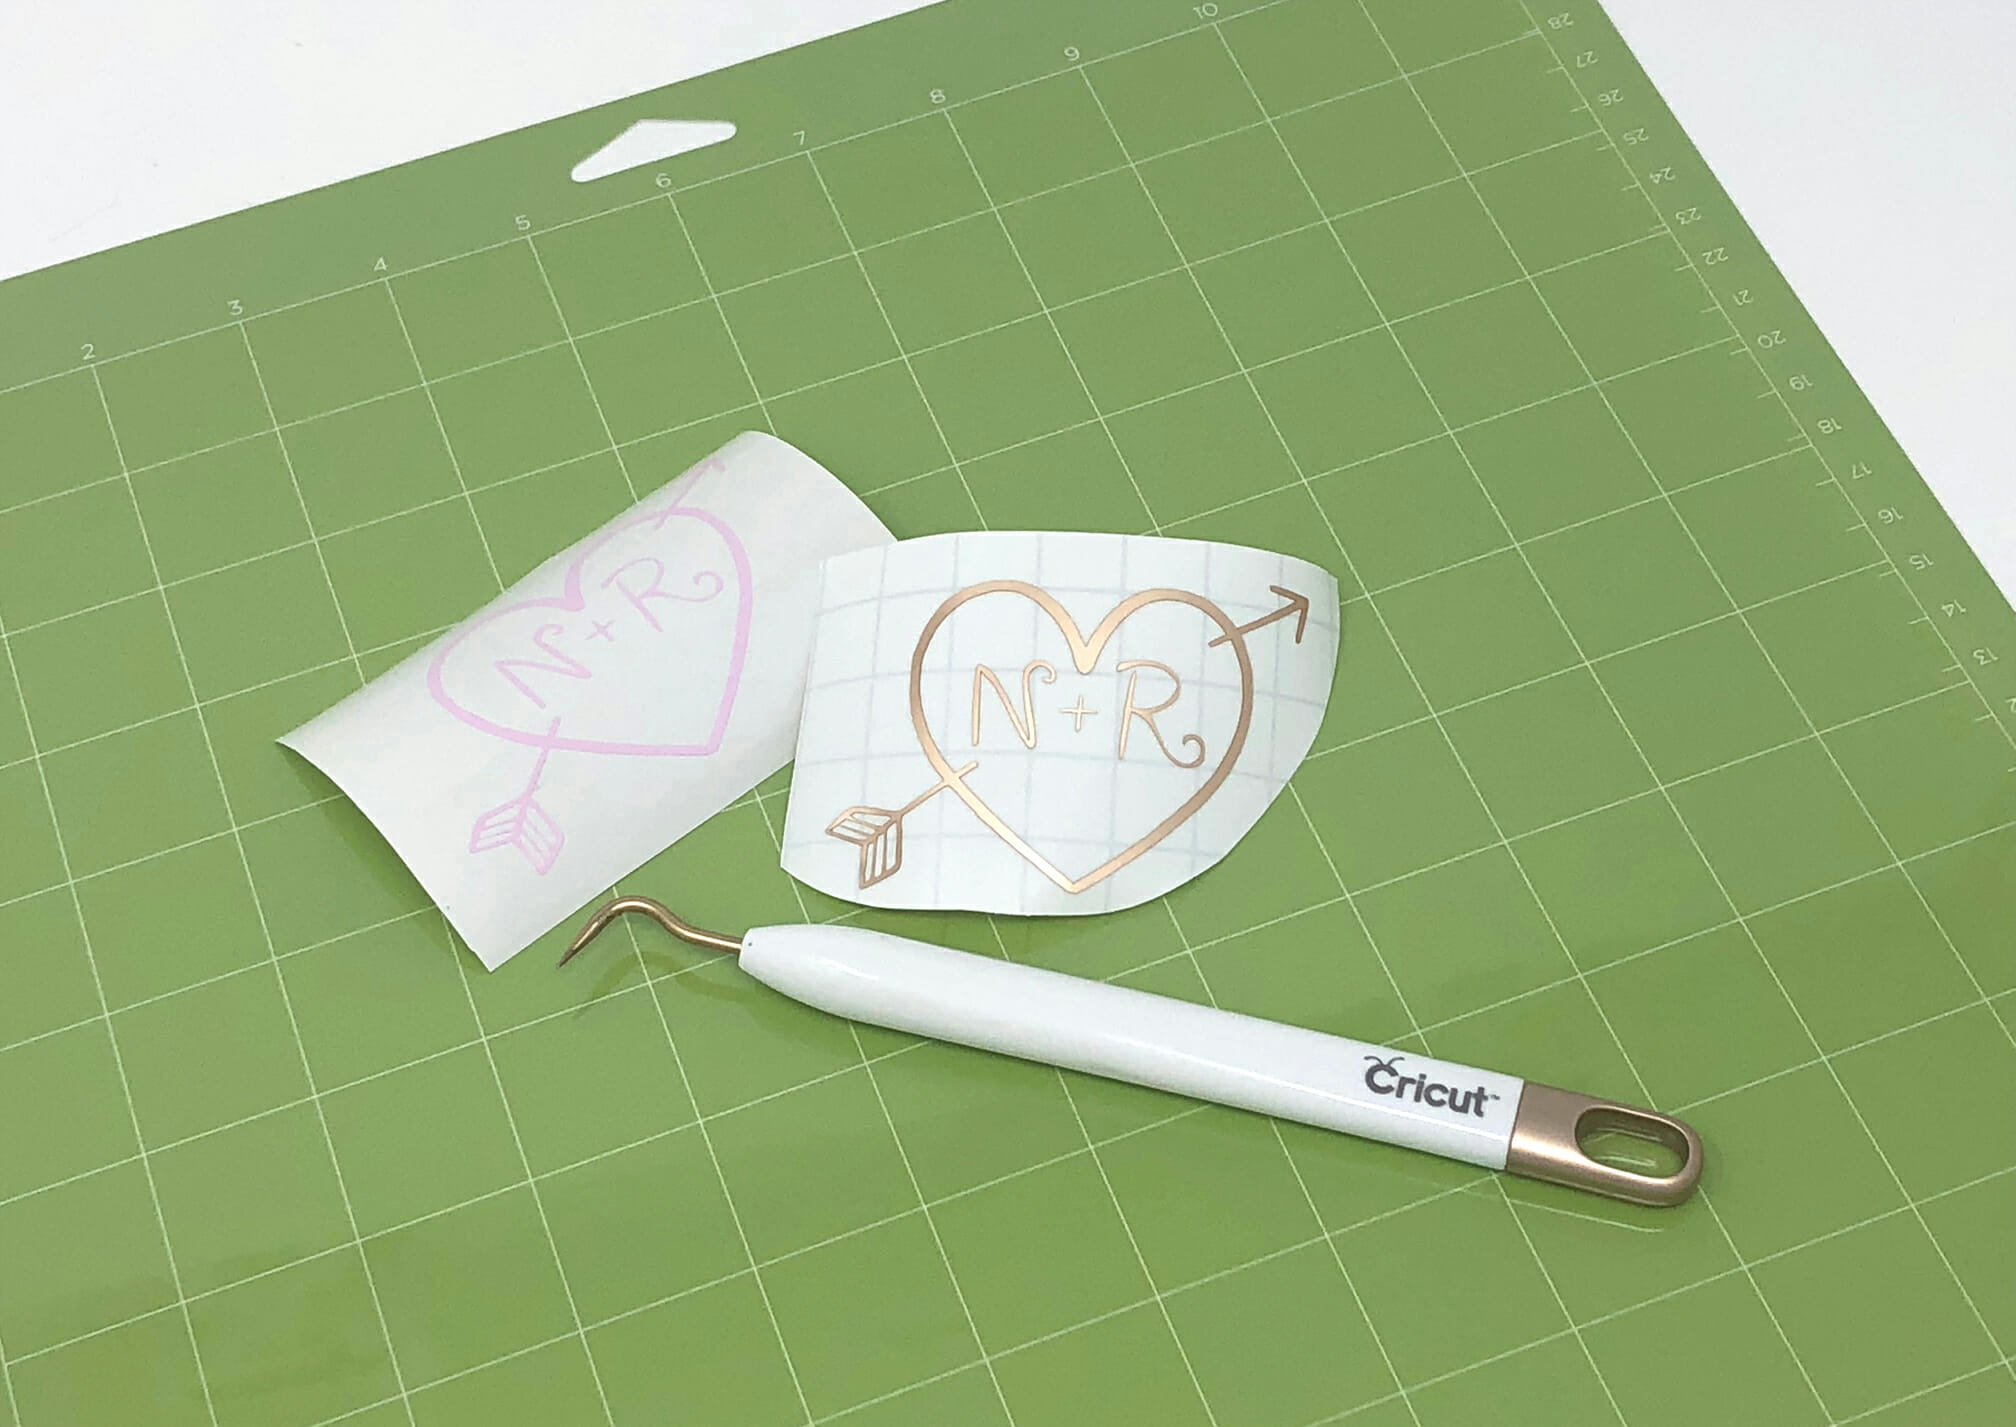
Start with plain wine glasses and add a sweet heart featuring the initials of the special couple. You can use permanent vinyl or adhesive foil to add the designs to the glasses. I used pink vinyl for one of my glasses and gold adhesive foil for the other. I love the sheen the adhesive foil has and prefer it a bit over the pink vinyl. Choose colors that match the wedding colors or you know are a favorite of the couple.
Below I will show you how to prepare the design in Cricut Design Space and add the initials to the free file. Afterwards, we’ll apply the design to a wine glass and create a fun gift!

These glasses would also be fun at a bachelorette party or as a wedding/shower gift paired with a favorite bottle of wine.
Visit my Wedding Crafts Page for more DIY Wedding Crafts!
DIY Wedding Shower Wine Glasses
Supplies Needed
- Heart and Arrow cut file – grab this file by filling out the purple form at the end of this post
- Glasses – I found my wine tumblers at Target for $2 each!
- Cricut vinyl or Cricut Adhesive Foil
- Cricut Vinyl Transfer Tape (I used Cricut Stencil Material since I had it on hand, but I’d recommend using the Transfer Tape – it also has a grid and is clear)
- Cutting machine
- Cutting machine tools – Standard Mat, Cricut Tools, XL Scraper

Preparing the File in Cricut Design Space
Download the free cut file and upload it into Cricut Design Space. Start by sizing the heart to fit the glass you are using. For my two stemless wine glasses, I made my hearts 2″ high.

Add the initials of the special couple using any font you’d like and resize them to fit inside the heart. I uploaded the font Airplanes in the Night Sky by Kimberly Geswin into Design Space. I loved the swirly romantic design of the font. But you could also use a font in Design Space. Each of my letters was sized to be 1/2″ tall.

Once you are happy with the positioning of the letters within the heart design, select everything and attach. This will place the entire design on one mat to be cut from one color.


If you choose to make the elements of the design different colors, like the arrow and initials, you will first need to ungroup the original SVG design. Then use the color selector to change the colors of the elements then attach elements of the same color.

Cutting the Design
Once you are happy with the design, duplicate it so you cut one for each wine glass. Cut the design from Vinyl or Adhesive Foil.


Weed the images using a weeding tool.
Applying the Design to the Wine Glasses
Transfer the designs to the glasses using Transfer Tape. I ended up using Stencil Material by mistake which is why it is blue! It worked just fine, but I would recommend using actual Transfer Tape. It will still have a grid to help you line things up but will be clear.
Cut a piece of Transfer Tape a little larger than your design and apply it to the top of the design using the grid to place it on straight. Use the Cricut scraper to make sure the Transfer Tape is really stuck to the vinyl or foil image.

Gently peel back the vinyl or foil paper, leaving the design on the Transfer Tape. If the design starts to peel up with the backing, just lay the backing back down and use the scraper to help it stick better before trying to peel it back up.

Step Four: Apply the design to the glasses. I tried positioning my design a little higher up on the glasses where they weren’t as curved. It was tricky to get the design to lay smooth because my glasses were so bulbous on the bottom. If your glasses are a little straighter, it will be easier. I just went slow and smoothed out any wrinkles before lifting up the Transfer Tape.


The wine glasses are finished! Yay! I love how simple and cute these glasses look. The design is minimalist, fun, and can be personalized with the couple’s initials and created in whatever colors you’d like.
If you are looking for more wedding-themed crafts, check out my Wedding Crafts page for more ideas!

Get the Free Wine Glass SVG and PNG Files!
Fill out the purple form below with your first name and email address! The free files will be sent straight to your inbox plus you’ll receive my fun email newsletter with more free files and DIY craft tutorials. If you have already filled out the form below, don’t worry – you won’t be added to my list twice! These freebies are for personal use only. I hope you enjoy crafting something special. Please let me know if you have any questions :)