DIY Engagement Wedding Card with Free Embroidery Template
Create your own handmade engagement wedding card with sparkly embroidery floss. A unique embroidered card that is perfect for weddings, bridal showers and bachelorette parties!
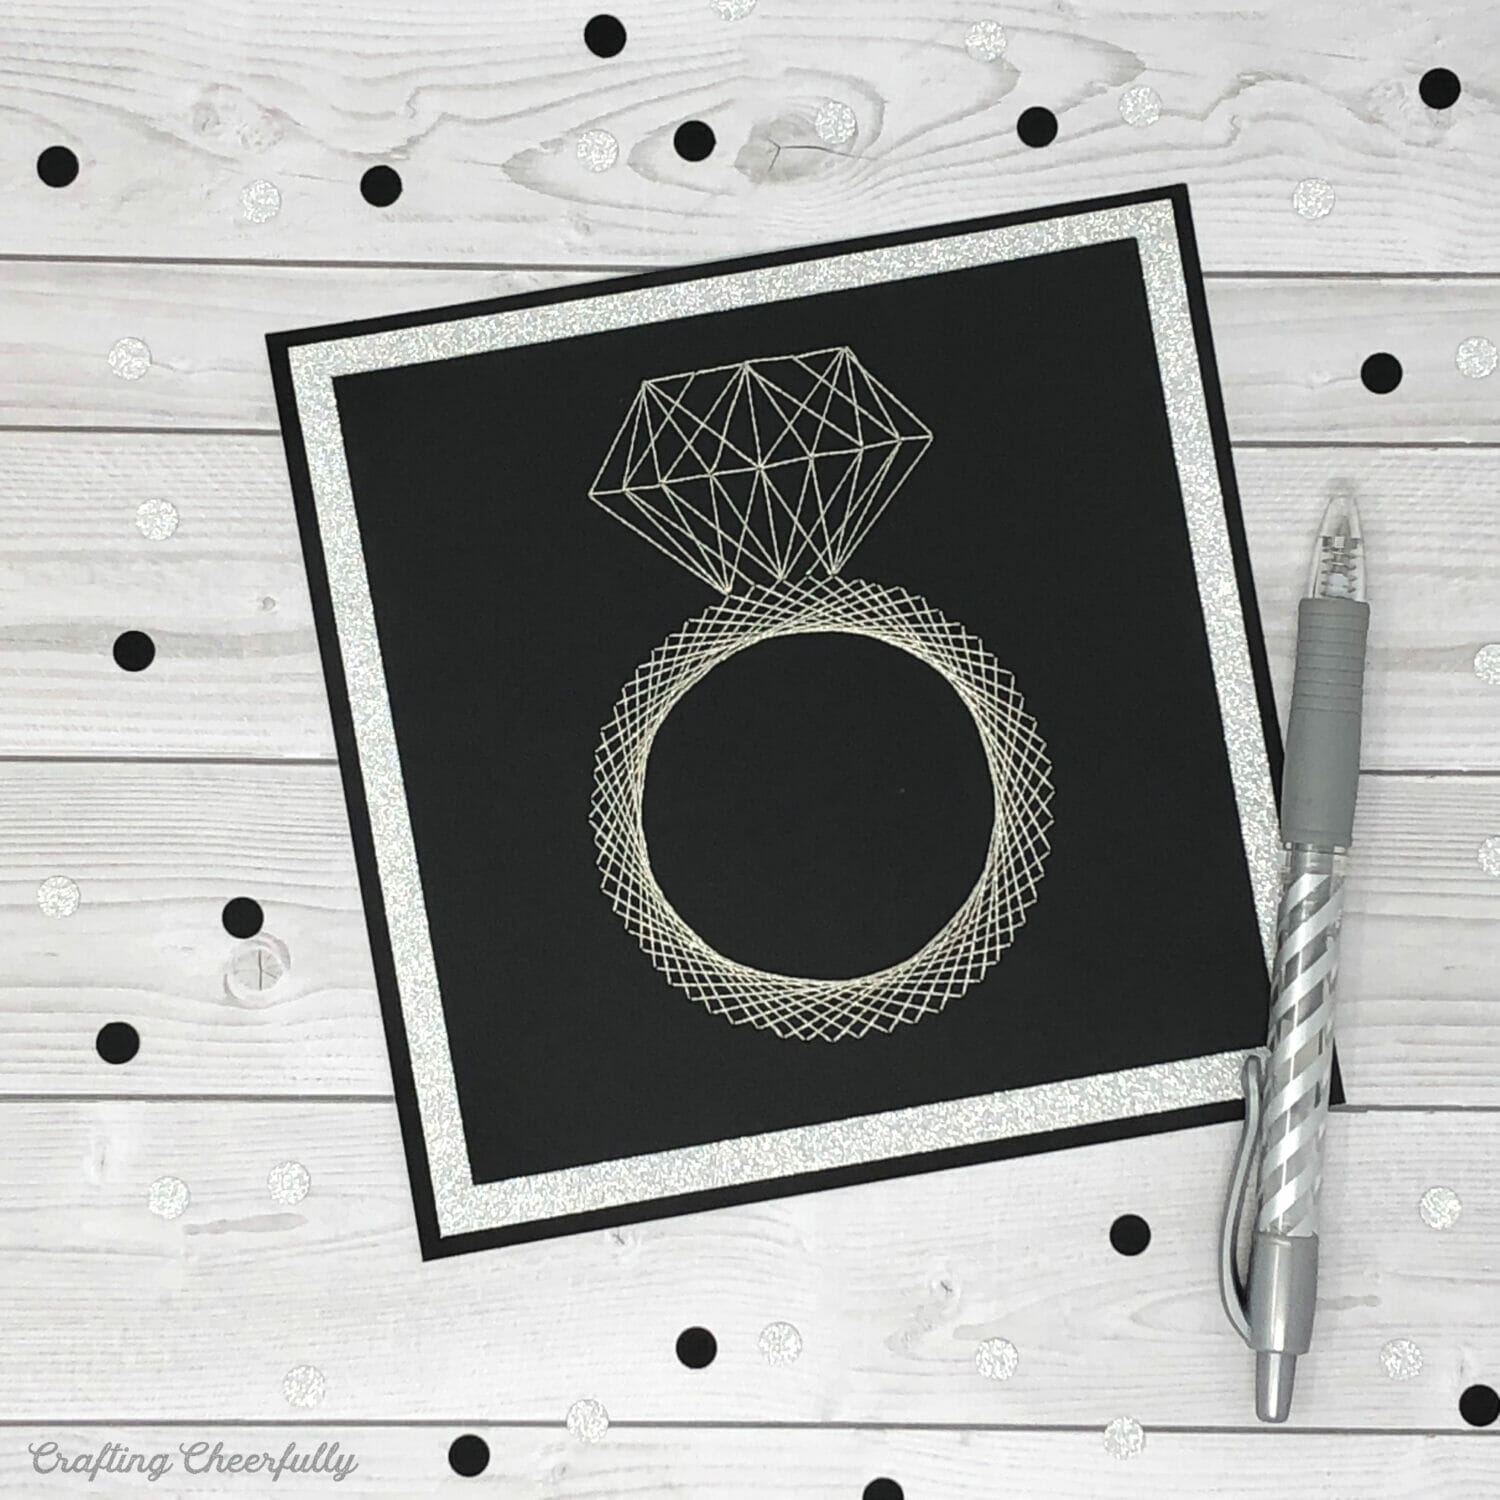
Hello Crafty Friends! One of my favorite parts of giving gifts for weddings and bridal showers is adding the perfect card. Instead of buying a beautiful card – why not make one yourself? Today I am sharing the tutorial and free template for making this sparkly ring wedding card using embroidery floss!
This card is so fun to make and easier than it looks. The best part? It is totally keepsake-worthy for the brides out there that love to save their cards! I was definitely one of those brides and saved every card I received from my wedding and shower. A few years ago I created a pretty wedding card binder to hold them all.
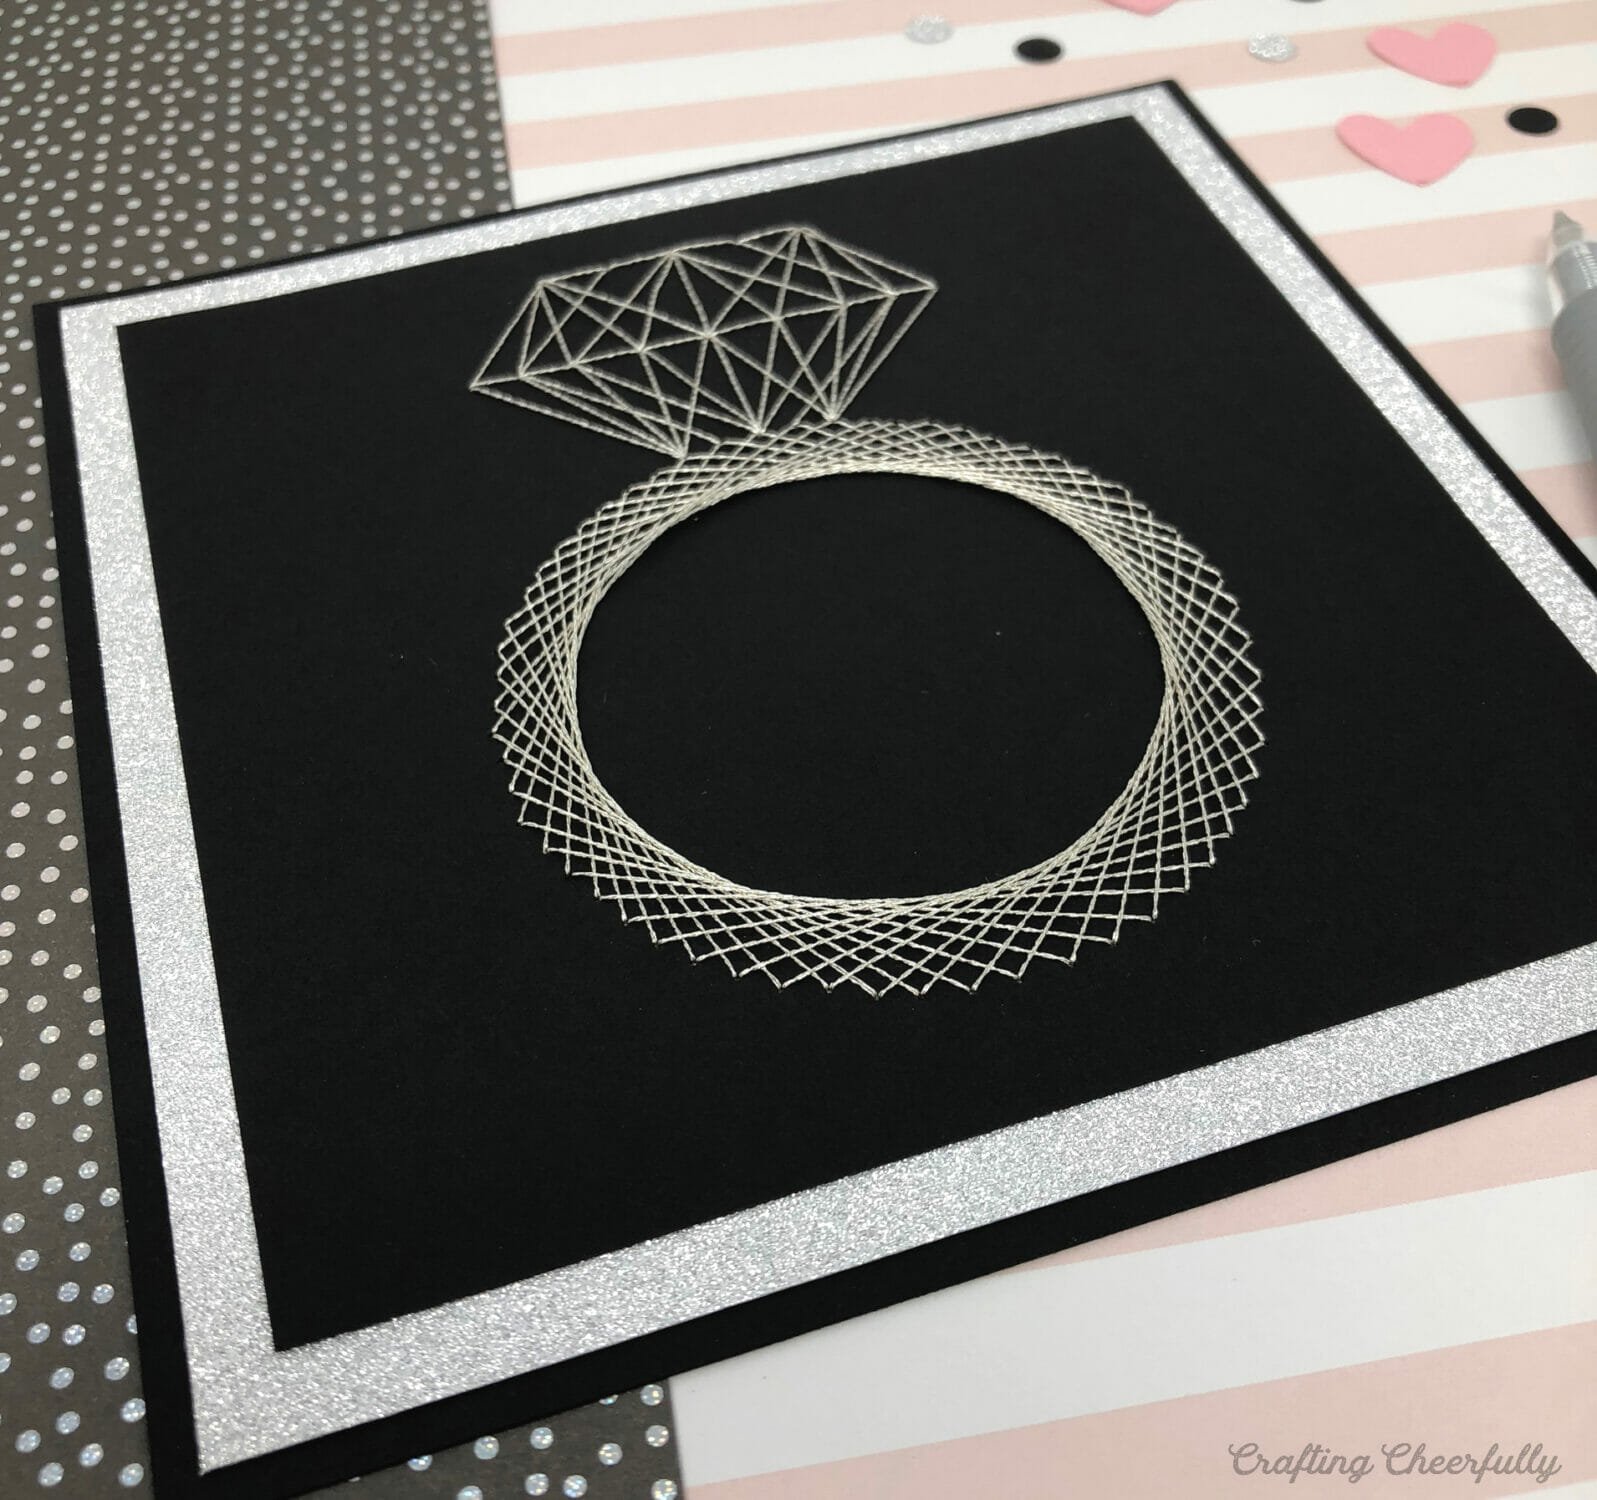
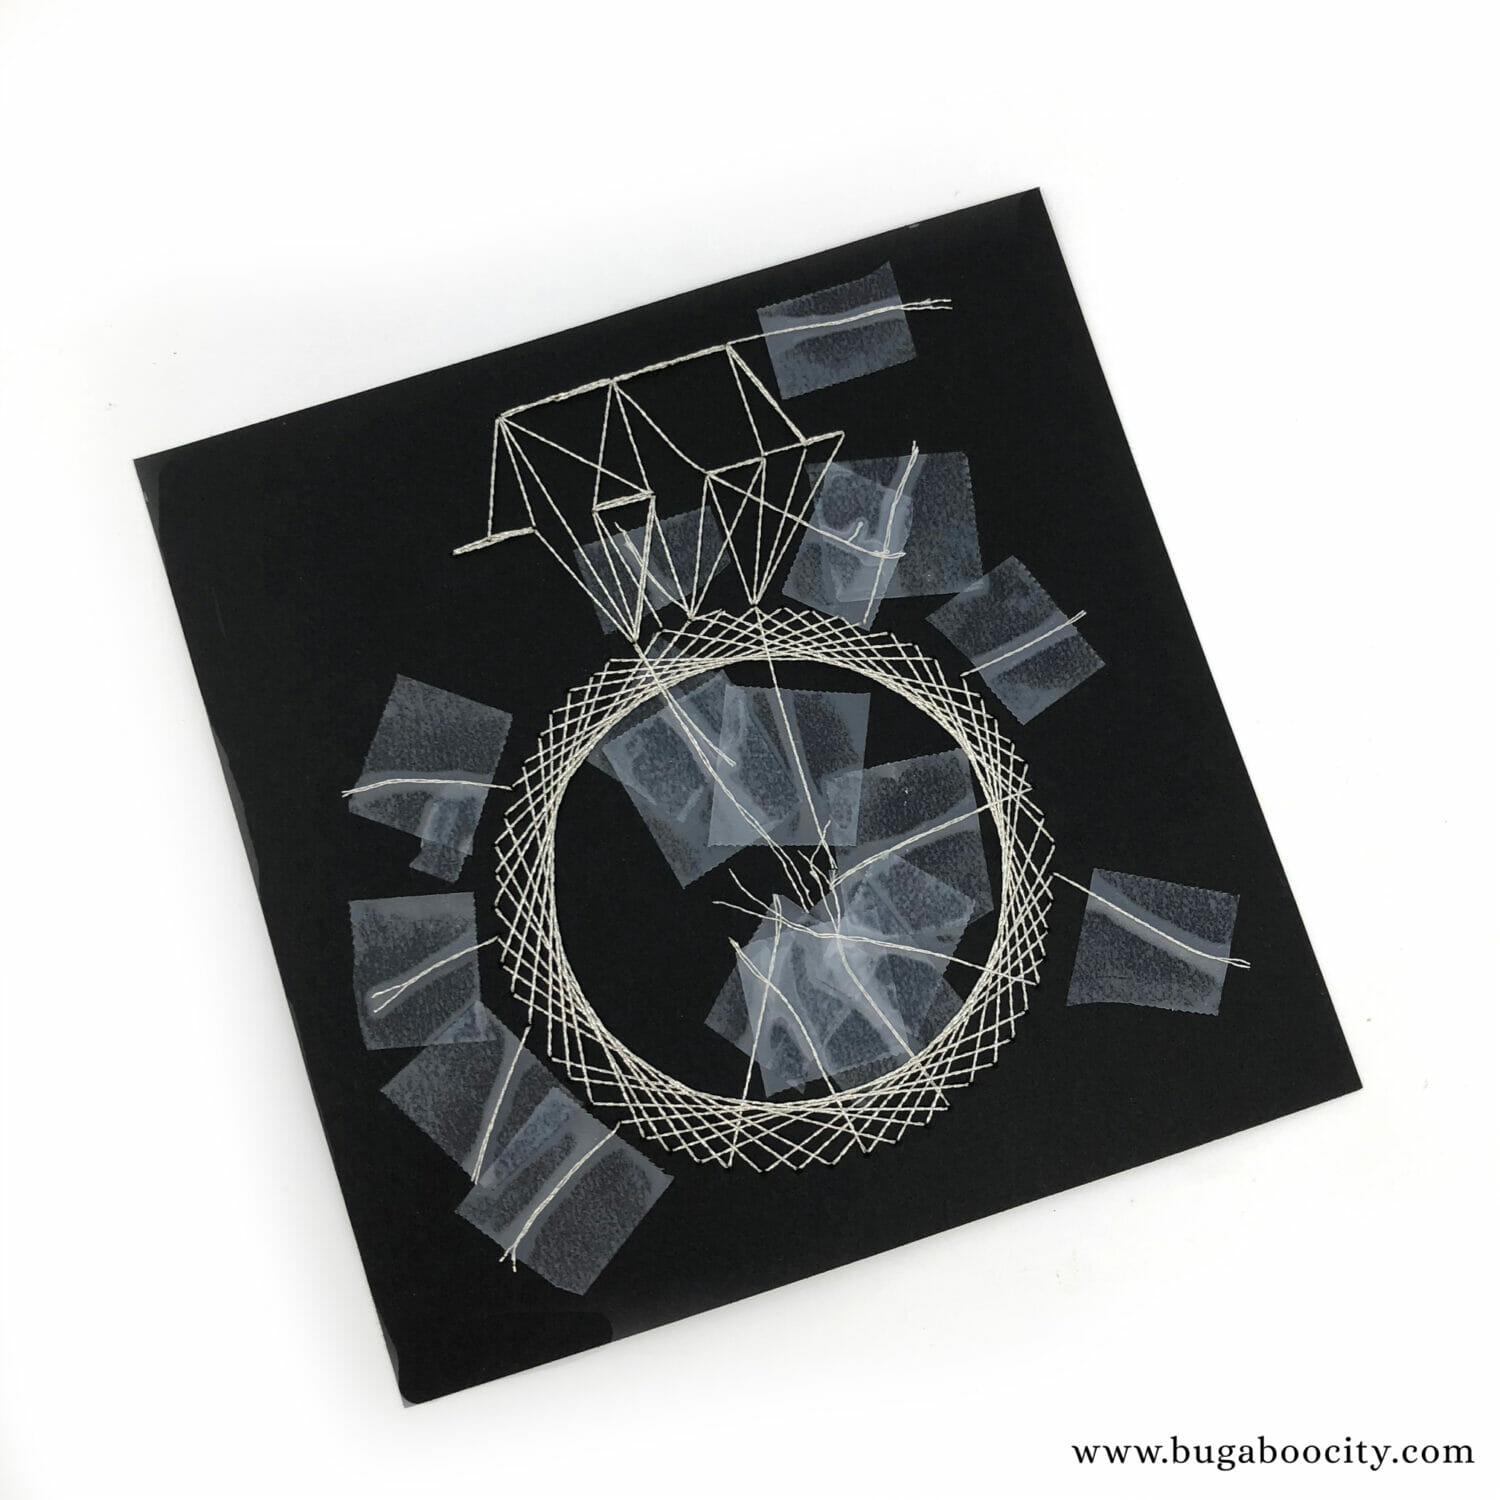
This card is created by punching holes into cardstock and then using a needle and embroidery floss to connect the dots. I have a free template you can use plus step-by-step instructions to show you which dots to connect firs. The ring is created using DMC Light Effects floss so it has lots of great sparkle. I wasn’t able to capture just how sparkly the card is in my photos but it really is so fun! You could definitely create this in regular silver floss but the Light Effects floss really makes it extra :)

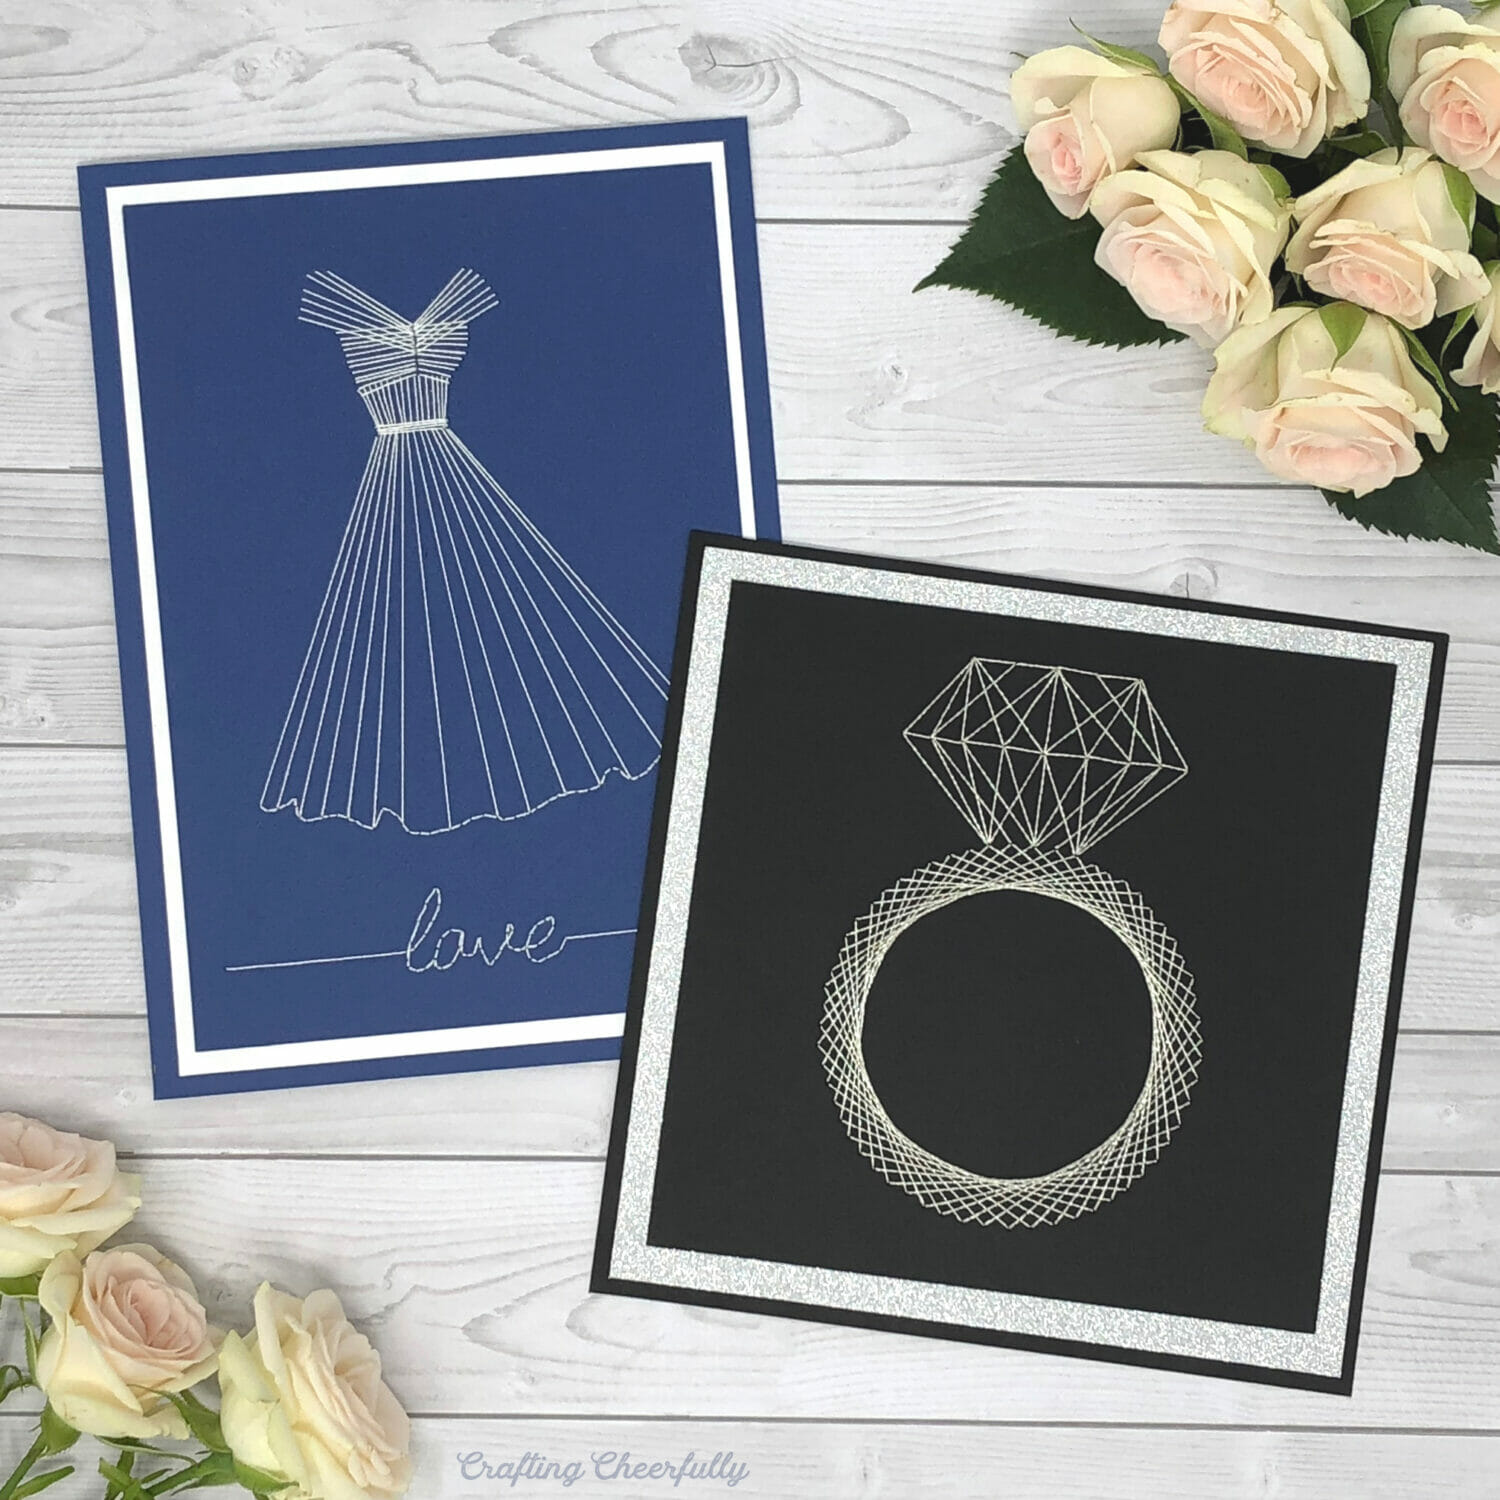
If you enjoy making this card you may want to give my Wedding Dress Embroidered Card a try! It is a bit more complicated but created in the same way. This pattern is available in my Etsy shop.
How to Make a Handmade Wedding Card
The finished card measures 5.75″ x 5.75″ and will fit a 6″ square envelope. You can purchase envelopes or create your own using decorative scrapbook paper.
Supplies Needed
- Card Template – Grab the free file by filling out the purple form at the end of this post.
- Black cardstock
- 5″ x 5″
- 5.75″ x 5.75″ for a flat card OR 5.75″ x 11.5″ for a folded card
- Sparkly silver cardstock – my favorite is DCWV Glitzy Paper
- 5.5″ x 5.5″
- Embroidery Floss – DMC Silver Light Effects
- Thin, small needle – I used a size 9 embroidery needle
- Straight pin for piercing
- Piercing Mat or mouse pad – something to put under the card while you pierce it with a pin
- Scotch Tape – you could also use Archival Scotch Tape
- Adhesive – double-sided tape or tape runner
- Painters tape or washi tape to hold the template to the card for piercing.
- 6″ square envelope or silver 6″ square envelopes
How to Stitch the Card
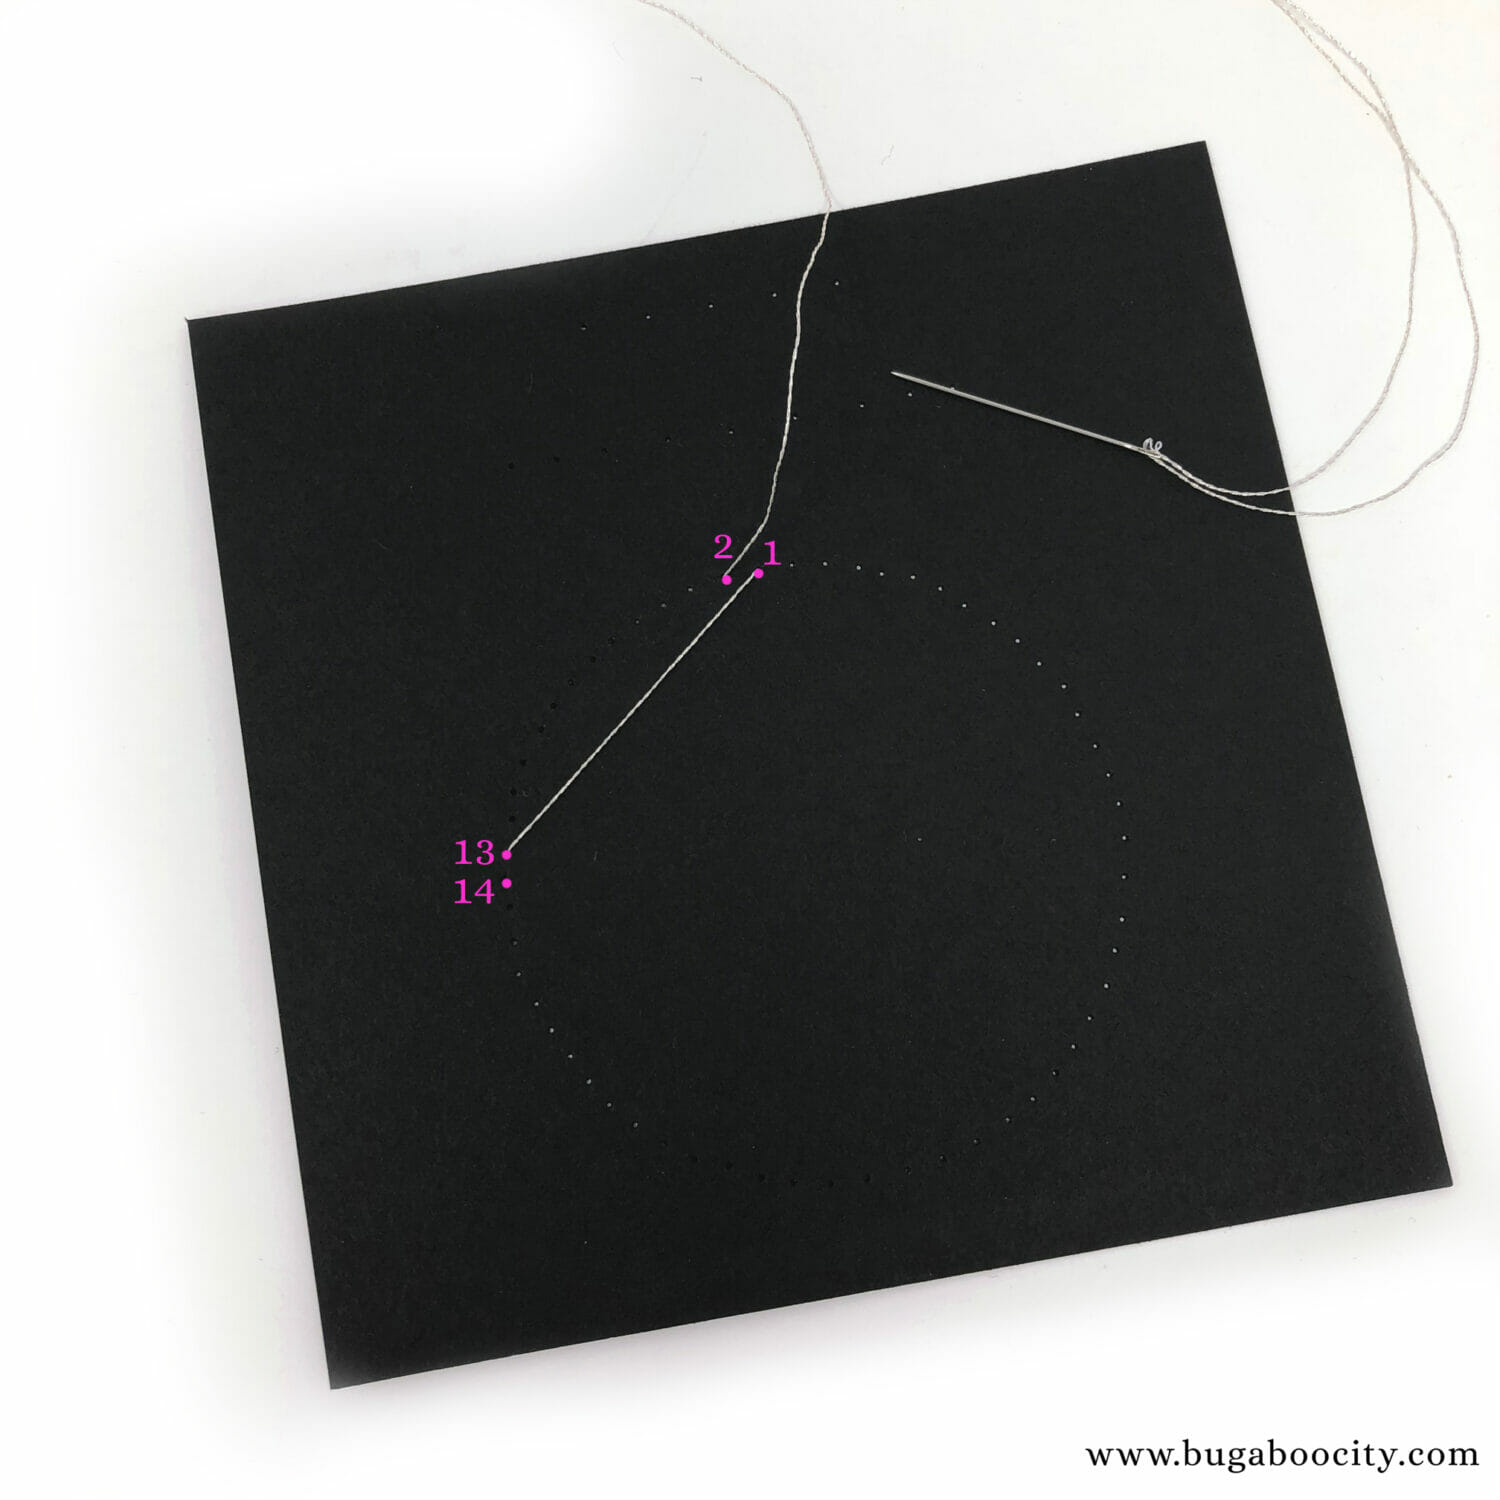
Step One: Print the template and cut out the smallest gray square with the dotted pattern on it. Lay this on top of a 5″ x 5″ square of black cardstock and use a straight pin to pierce holes through both layers of paper. I found a piercing mat in my craft stash that I didn’t know I had – it came in a kit I was gifted years ago! It worked perfectly for this! You could also do this on top of a cutting mat, the piercing mat was nice because it is soft and has room for the pin to sink down into.

Step Two: Once all of the holes have been pierced, it’s time to connect them with embroidery floss. I used DMC Light Effects floss so the ring would have some shimmer and sparkle. Cut a length of floss and separate the strands. You only need one strand at a time. A thin small needle is best, look for one that doesn’t have a large needle head which would widen your pierced holes as you stitch. I used the smallest needle in an embroidery needle pack which was a size 9.
Stitch the card following the directions found towards the end of this post under “Stitching Directions”. The stitches in pink are the new stitches and the stitches in gray are from previous steps.
To get started, pull your thread through the first hole and tape the end of the thread to the back of the card. You can use archival safe tape or Scotch tape. The back of the card will be covered so the tape won’t be seen, it’s just important to keep the back of the card flat.

For the first stitch, bring the needle up through hole 1 and down through hole 14. Continue to stitch moving counter clockwise around the circle, moving left from the last stitch. For the second stitch, come up through hole 2 and down through hole 15. The third stitch will be up through hole 3, down through hole 16. This means only the first stitch needs to be counted, the rest are just moving over to the next hole.

Once the circle part of the ring is complete it is time to start on the diamond! Connect all of the dots with your embroidery floss.


Starting a New Length of Thread
Each time you end a piece of floss or start a new one, tape down the end. When the card is complete you can cover the back of your stitches with tape so nothing comes undone.
Finishing the Card
Once the ring has been completely stitched, it is time to finish the card by stacking the layers of cardstock. Using an adhesive like a tape runner or double-sided tape, attach the ring to the other two pieces of cardstock. I used a silver glittery paper, which picked up the sparkle from the Light Effects floss, in between my black cardstock. If you use sparkly paper make sure it isn’t super textured or it will be hard to adhere it to other paper and it will also add a lot of bulk to the overall card. My favorite sparkly paper is DCMV Glitzy Paper – it is super sparkly but thin and it won’t shed glitter.
The card is finished! I chose to keep this card flat instead of folded and I used a silver pen to write my message on the back of the card.


Stitching Directions:
The stitches in pink are new stitches for that step, and gray stitches are from previous steps.


This card really was fun to stitch up and looks amazing when finished. It is so sparkly! This card is perfect for weddings, bridal showers and bachelorette parties! Wouldn’t these make cool bachelorette party invites?? Hmmm, I’ll have to remember that if I find myself throwing a bachelorette party ;)
Don’t forget to check out my other embroidered wedding card, my Wedding Dress Embroidered Card. It has a fun, retro flare and is just as much fun to stitch up – though a bit more complex.

I’ll be back tomorrow with another DIY wedding craft! Are you enjoying all these wedding crafts?! You can view all of my Wedding Crafts for more sweet ideas:)
More Embroidered Card Projects
- Handmade Embroidered Birthday Cards
- Embroidered Rainbow Cards
- Harry Potter Embroidered Weasley Sweater Cards
- Embroidered Christmas Wreath Card
- Valentine’s Day Card for Crafters
- Embroidered Wedding Dress Card

Get the Free Wedding Ring Card Template!
Fill out the purple form below with your first name and email address! The free file will be sent straight to your inbox! If you have already filled out the form below, don’t worry – you won’t be added to my list twice! This freebie is for personal use only. I hope you enjoy crafting something special. Please let me know if you have any questions :)



3 Comments