
DIY Wedding Card Keepsake Book
Create a sweet wedding card keepsake book to hold and display cards from your wedding day. Use a binder and cover it to match your wedding colors. A fun craft to do after your wedding!

Hello Crafty Friends! Today I’m excited to share a new tutorial with you – how to make a wedding card keepsake book. This is a great project to do after your wedding – in my case four years after my wedding, but better later than never! I have had a box of wedding cards sitting on a shelf for the last four years and I’ve often thought what do you do with wedding cards? I decided to create a sweet wedding card book to save and display them in!
There are lots of fun ideas on Pinterest of ways to save your wedding cards. Some of my favorites involve a metal ring in the corner which allows you to flip through all the cards. While I really liked this idea, I wanted something that could sit on a shelf next to my wedding photo albums. I decided to use a mini-binder which was the perfect size for cards and easy to customize to match my wedding colors.
While the mini-binder has the perfect dimensions for cards, it is important to note it can only hold so many. Depending on the size of your wedding or how many cards you received you may need to make two – or choose a larger binder.

Below is the tutorial if you want to create one for yourself. The best part of this project was going through the cards and re-reading them. I hadn’t looked at them in a long time and I am so glad I saved all of them!

DIY Wedding Card Keeper
Supplies Needed for DIY Wedding Card Keepsake Book
- Your wedding cards!
- Mini Binder (mine was from Target, a 1″ binder that measured about 7″x9″
- Decorative papers – Two for the outside and two for the lining
- Decorations for the cover – Jolee’s Boutique has really cute embellishments
- Ribbon
- Hole punch or adjustable three-hole punch
- Pencil
- Ruler
- Glue stick
- Paper trimmer
I chose to cover my binder because the one I found was bright purple and covered in pineapples! If you find a binder that is already the colors you’d like you can skip covering it in paper and just decorate it and add your cards. You can also choose to cover part of it in floral paper that coordinates with the color of your binder.

Step by Step Tutorial
Step One: Cover the top of the binder.
The binder I found that was the right size for my cards was a bright purple pineapple binder so I knew I wanted to cover it. I chose to use two different sheets of a paper, a floral paper and a coordinating periwinkle color. The solid periwinkle color covers the top of the binder and floral paper starts on the cover and wraps around the album covering the back.
Start by cutting the solid color paper so it measures 5/8″ larger than the binder on all three sides. Trace around the binder cover with pencil.

The extra 5/8″ paper will be wrapped around the binder. I decided to mitre the corners of the paper so they looked nice from the inside of the binder. To do this, mark 1.25″ from the top and bottom of the paper on the outside edge of paper. Draw a diagonal line connecting your marks to the corner of the outlined cover.

Cut the squares from the top and bottom corners following your traced outline of the cover.

Score the paper along all three edges and gently fold them in.

Glue the cover to the top of the binder using a glue stick or double-sided tape. Start by adhering the top and bottom edges. Next, fold along the diagonal lines you drew tucking in the corners, then adhere the outer edge. Press the edges down until they are secure.


Step Two: Cover the rest of the binder with patterned paper.
Cover the remainder of the binder with the second sheet of decorative paper. Prepare the piece of paper in the same way you did the first sheet. I cut mine so the paper would wrap around the binder and show 1.75″ on the top of the binder. Make sure if you have a patterned paper your paper is going in the right direction – you’ll notice in one of these pictures my pattern is upside down! (I had to redo it, luckily before it was stuck down!)

When you are ready to glue the paper to the binder, start with the edge that shows on the top of the binder. Glue this down in place. Then move on to the three outer edges and glue them down the same way you did the first piece of paper. While the glue is still wet, close your binder so the paper can shift if it needs to. If you wait to close the binder until after the glue has dried, the paper may tear.


Step Three: Add decorative ribbon.
Use a piece of decorative ribbon to cover up where the two papers join together on the cover. I used a roll of sweet wedding-themed ribbon, but any ribbon that coordinates with your paper will work!


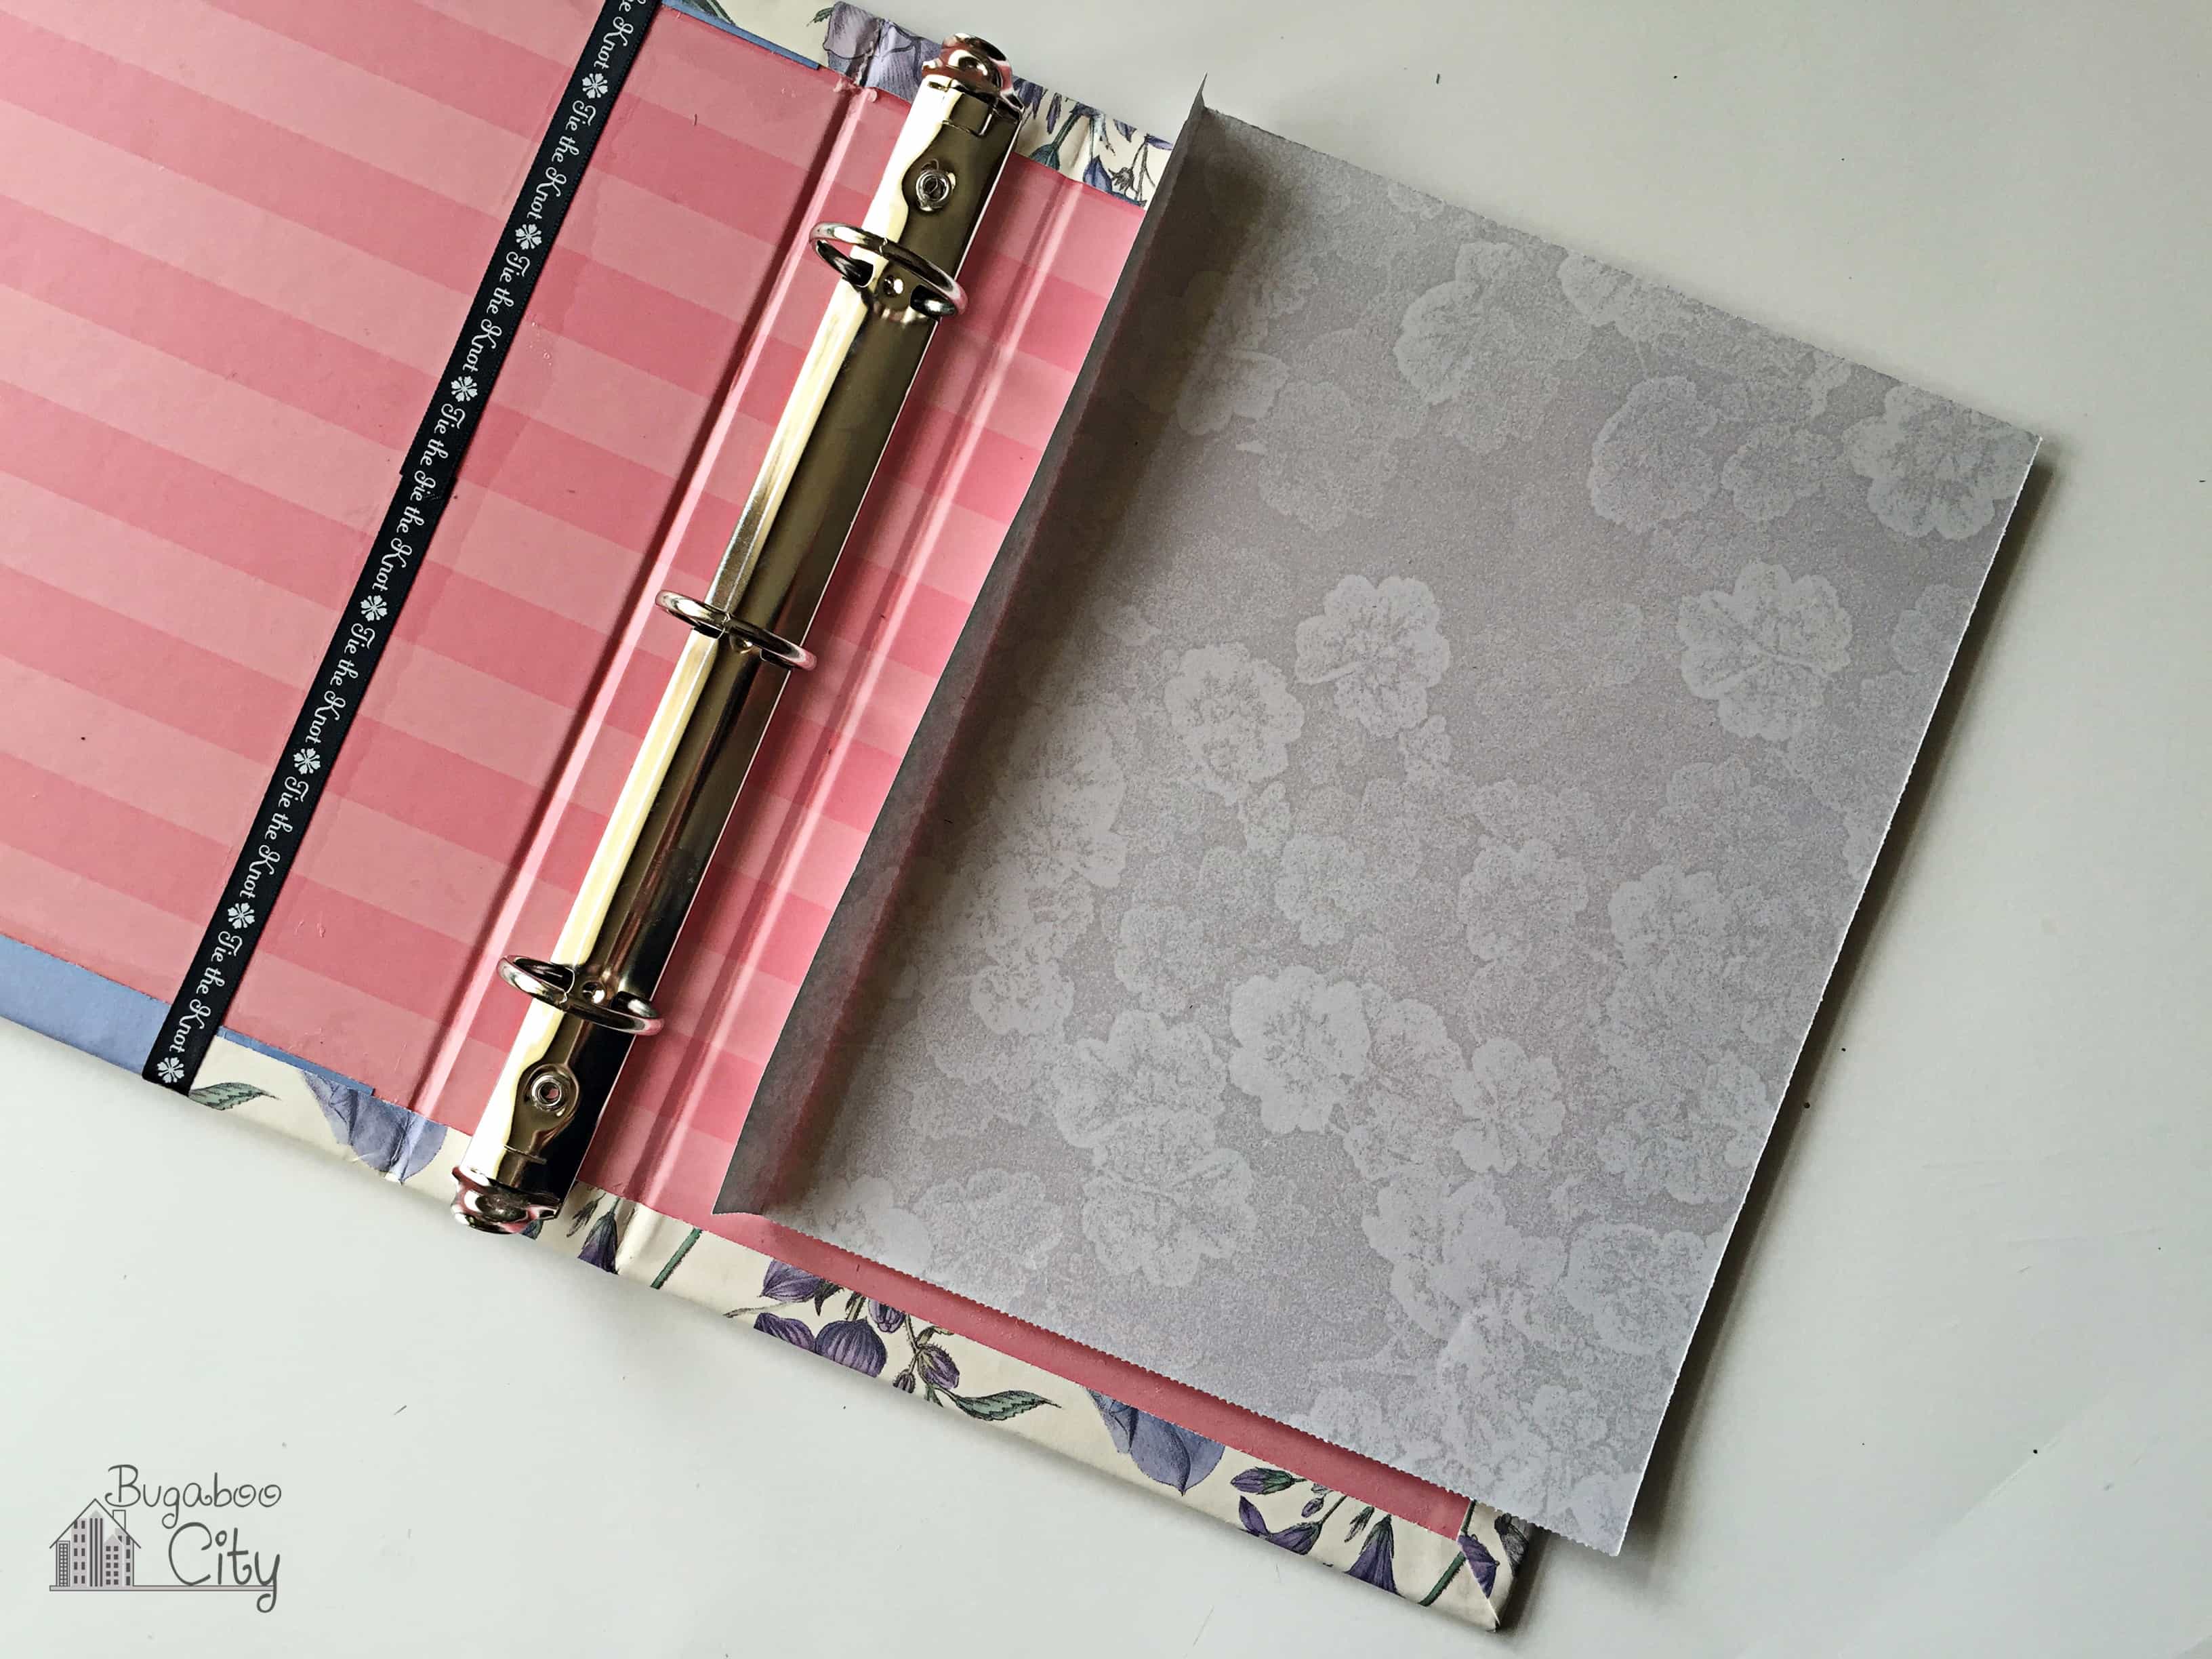
Step Four: Add lining to the inside of the book.
I love this part because it makes everything look so neat and crisp inside the binder! Measure how large your lining should be. I used two sheets and slid the inner edge under the metal binder rings. I marked where the binder folds so I could score and fold my lining along that line as well. This was necessary to keep the lining in place and intact when you close your binder. I created the lining to show 1/8″ of the cover paper along the edges. Glue the lining down using a glue stick, being careful to gently push the lining into the fold line and close your binder as you press it down.


Step Five: Decorate the cover!
Decorate the cover of your binder any way you’d like. You could use scrapbook paper, stickers, scrapbook ephemora or something leftover from your wedding. I used some adorable bride and groom cupcake toppers left over from my wedding shower.


Step Six: Add your wedding cards!
I created a template on a piece of card stock to help mark where my hole punches should go in each card. I placed my hole punches 1/8″ in from the fold of the card.
**Update: I used a single hole punch to manually punch all of my holes. You could use an adjustable 3 hole punch, as one thoughtful reader pointed out, to make things easier. This would be especially helpful if you have lots of cards!


The best part of this Wedding Card Book is that it can sit on our shelf next to our other albums! I love the floral paper and how easy it is to flip through all of our cards!
So this post wraps up my week of wedding posts! I hope you enjoyed them as much as I did! You can check out all of my Wedding Crafts for more ideas. Here are a few of my favorites!
Wedding-Themed Crafts
- Wedding Shower Recipe Book
- Paper Purse Treat Box
- Embroidered Ring Wedding Card
- Wedding Dress Paper Banner
- DIY Wedding Ceremony Programs
- Embroidered Wedding Dress Card
- Heart Window Treat Boxes
- Wedding Dress Treat Boxes


I do recommend getting an adjustable 3 hole puncher for this project though, like this one:
http://www.amazon.com/gp/product/B0006HUPHU?psc=1&redirect=true&ref_=oh_aui_detailpage_o00_s00
Wedding cards are generally multiple layers and heavy card stock. I found using a manual single hole punch to be very painful and tedious.
That’s a great tip! I actually have this same hole punch at home, I just opted to do it by hand. Using a 3 hole punch like this would definitely make things easier, especially if you have a lot of cards! Thanks for visiting :)
Thanks for this great tutorial! Just finished my own wedding card book. :)
Thank you! So happy you made one for yourself!
I really like the Wedding Card Book — great idea!!