
DIY Halloween Snow Globe Card
Create a unique Halloween card this season with this free printable and tutorial! Spin the top of the snow globe card to watch the witch fly through the sky.
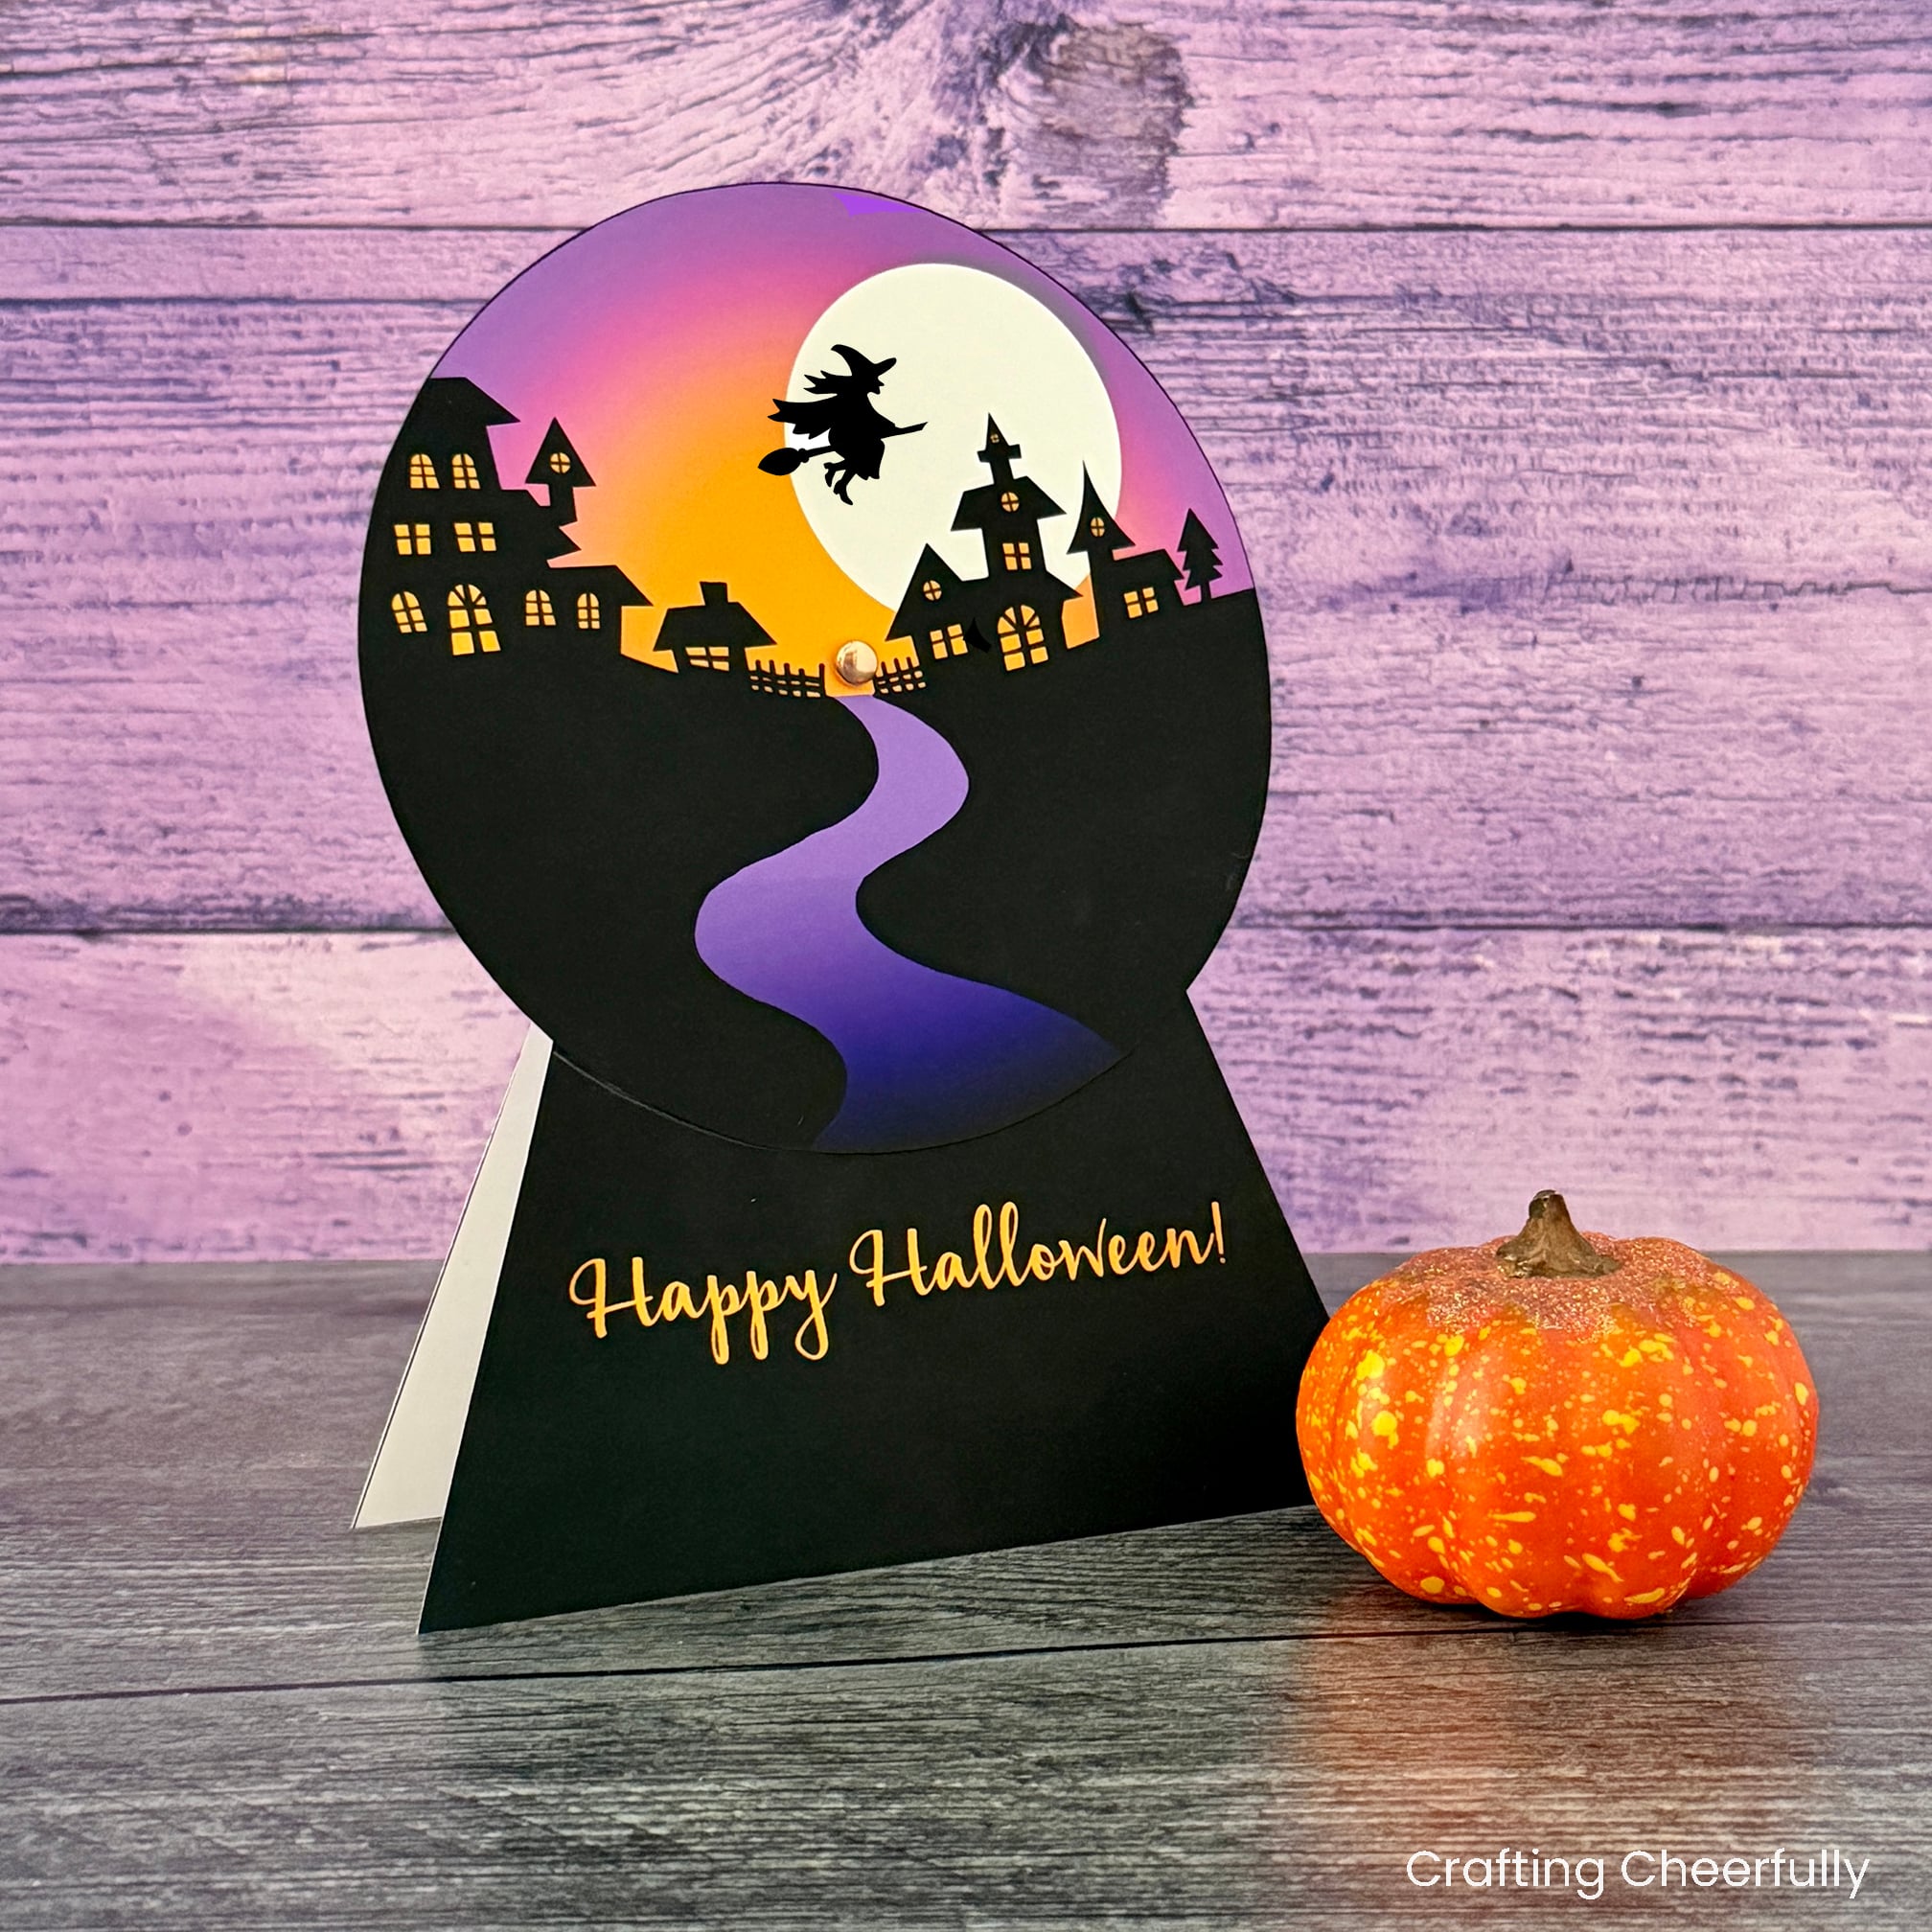
Hello Crafty Friends! Today I’m excited to share my Halloween Snow Globe card with you and kick off this year’s Halloween craft projects. This interactive card features a clear plastic layer which can be rotated – making the witch fly over a Halloween village.
The card can stand up which is great for displaying. The inside of the card features a little Halloween rhyme:
“When witches go riding and black cats are seen, the moon laughs and whispers, tis near Halloween”
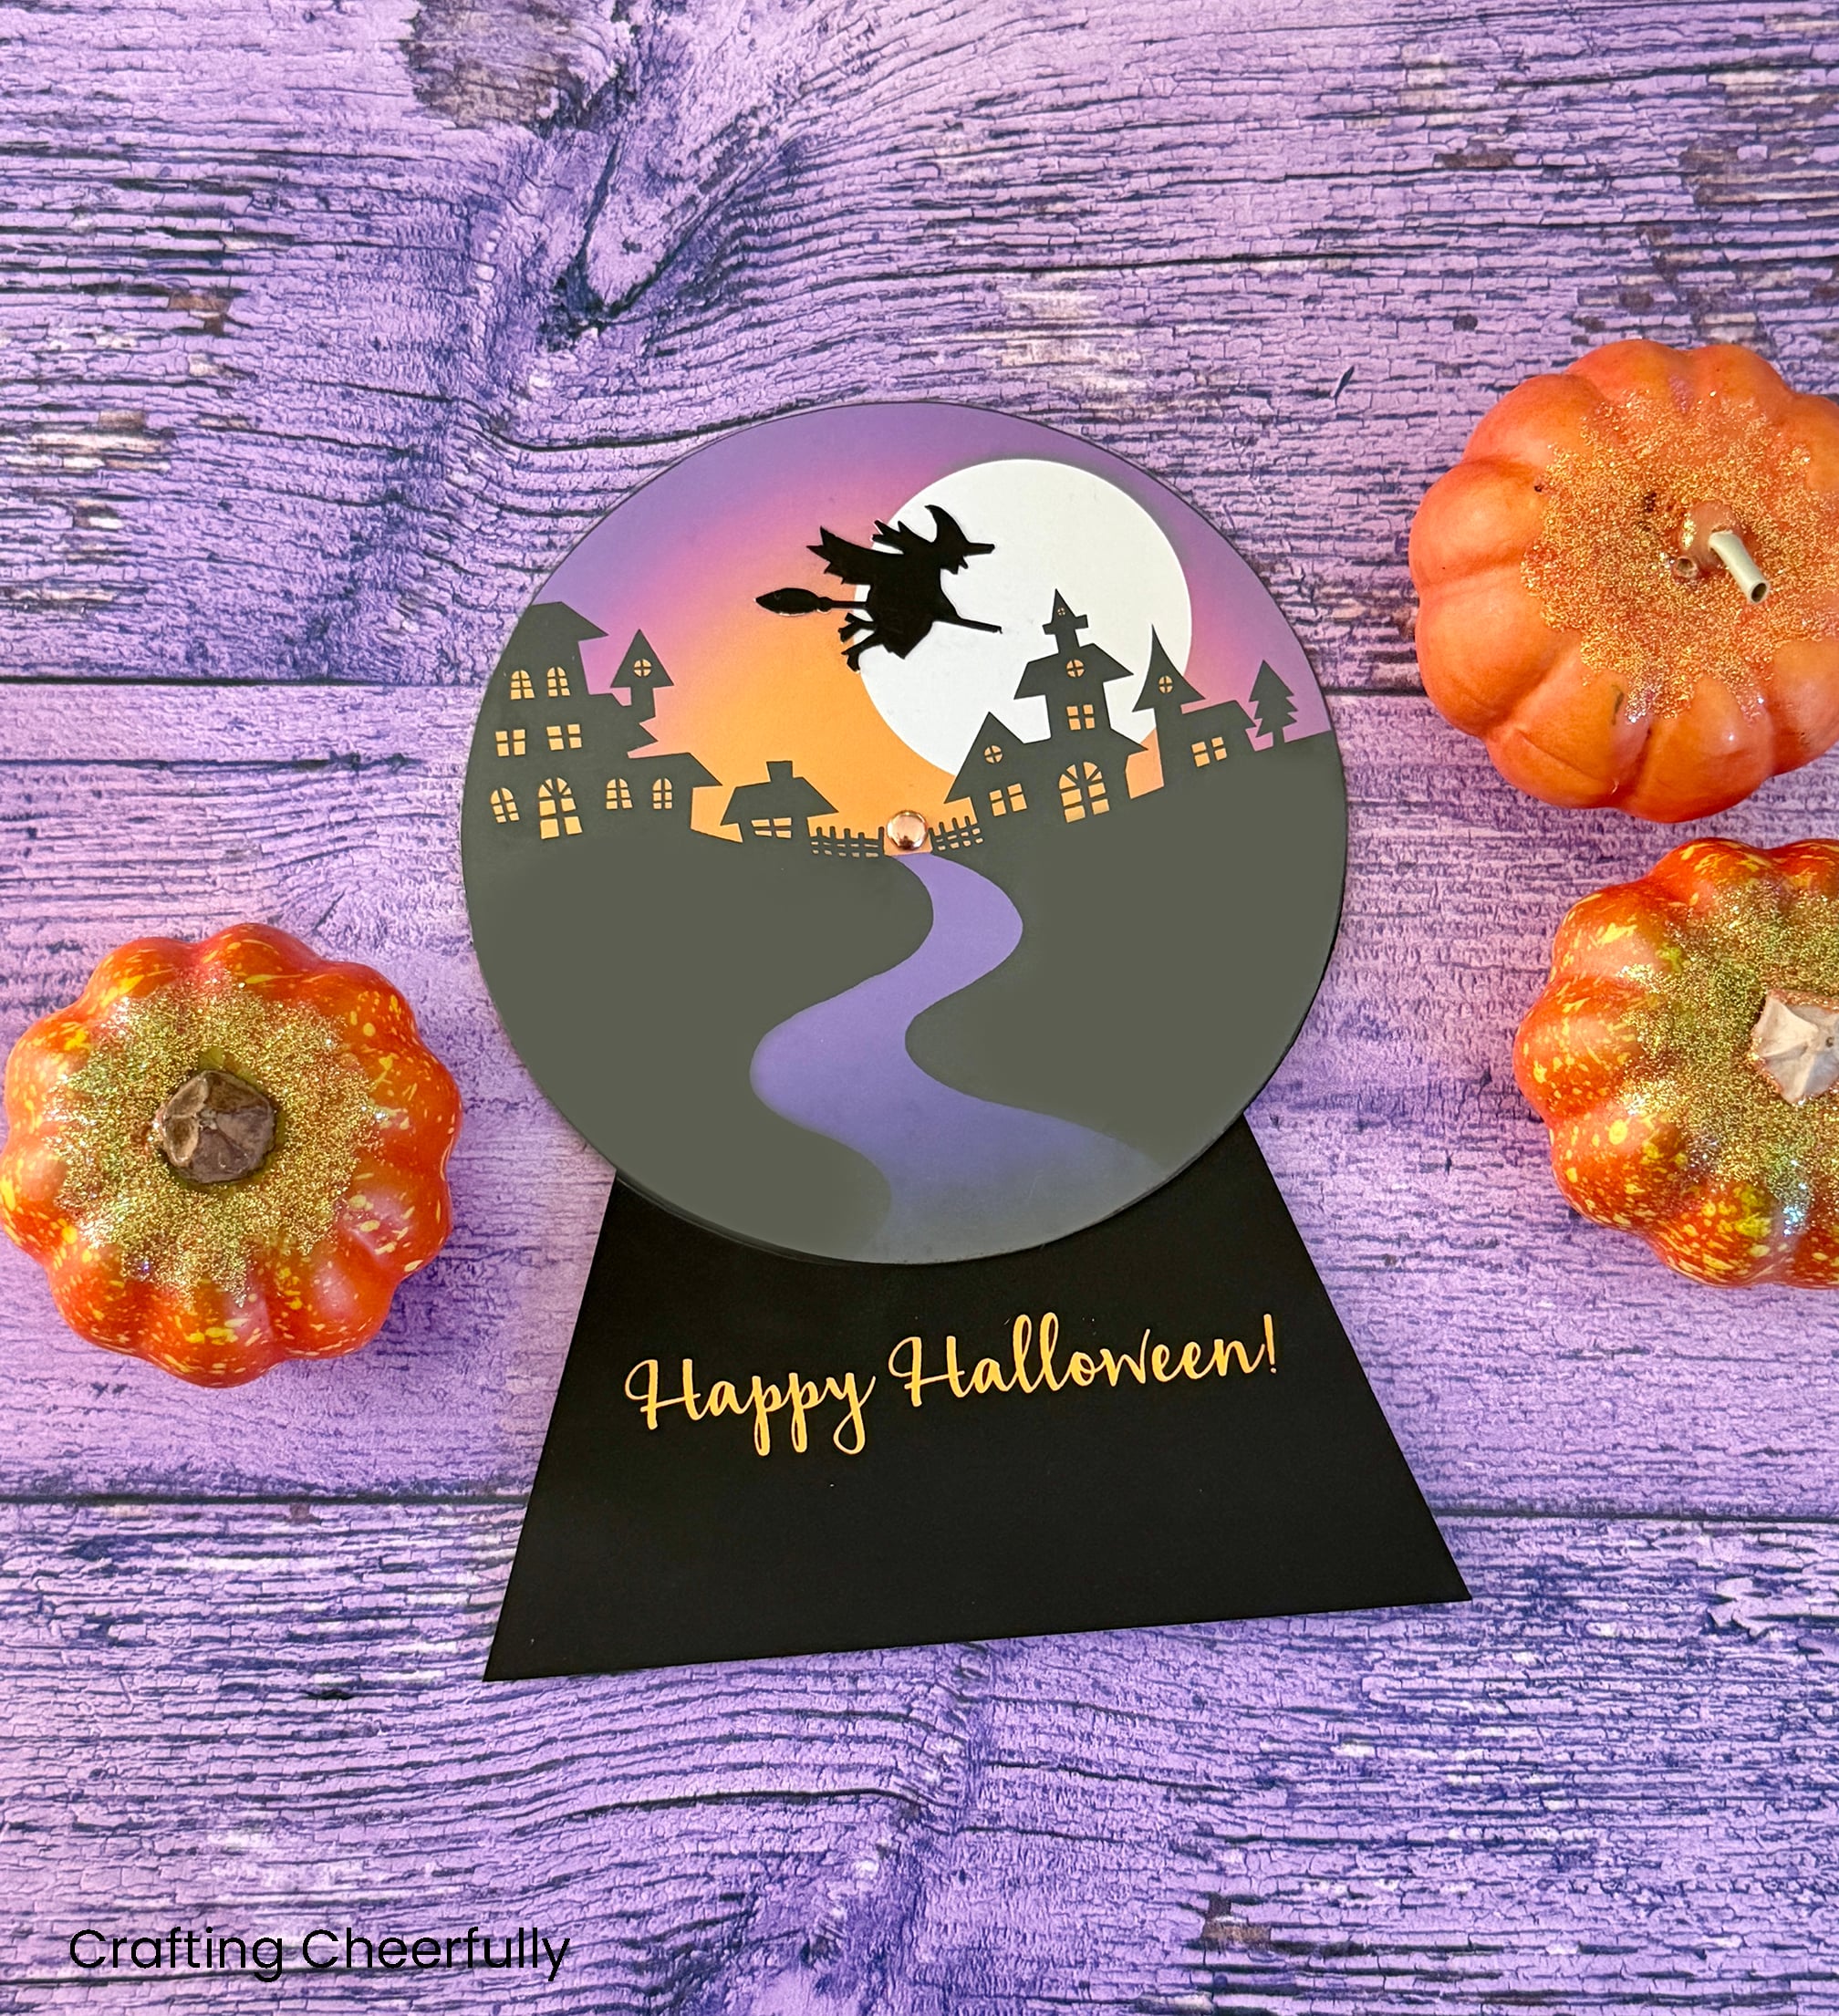
I created two printable versions of the card file. The first version is interactive. A witch is applied to a layer of acetate which allows the card recipient to spin the witch and watch it fly through the night sky. This version is really fun, but requires a few more supplies like the brad and acetate and you will need to cut out the witch.
The second option has the witch already pictured in the Halloween scene. This version is not interactive but it is simpler to make and requires less supplies making it a great option if you have less time!
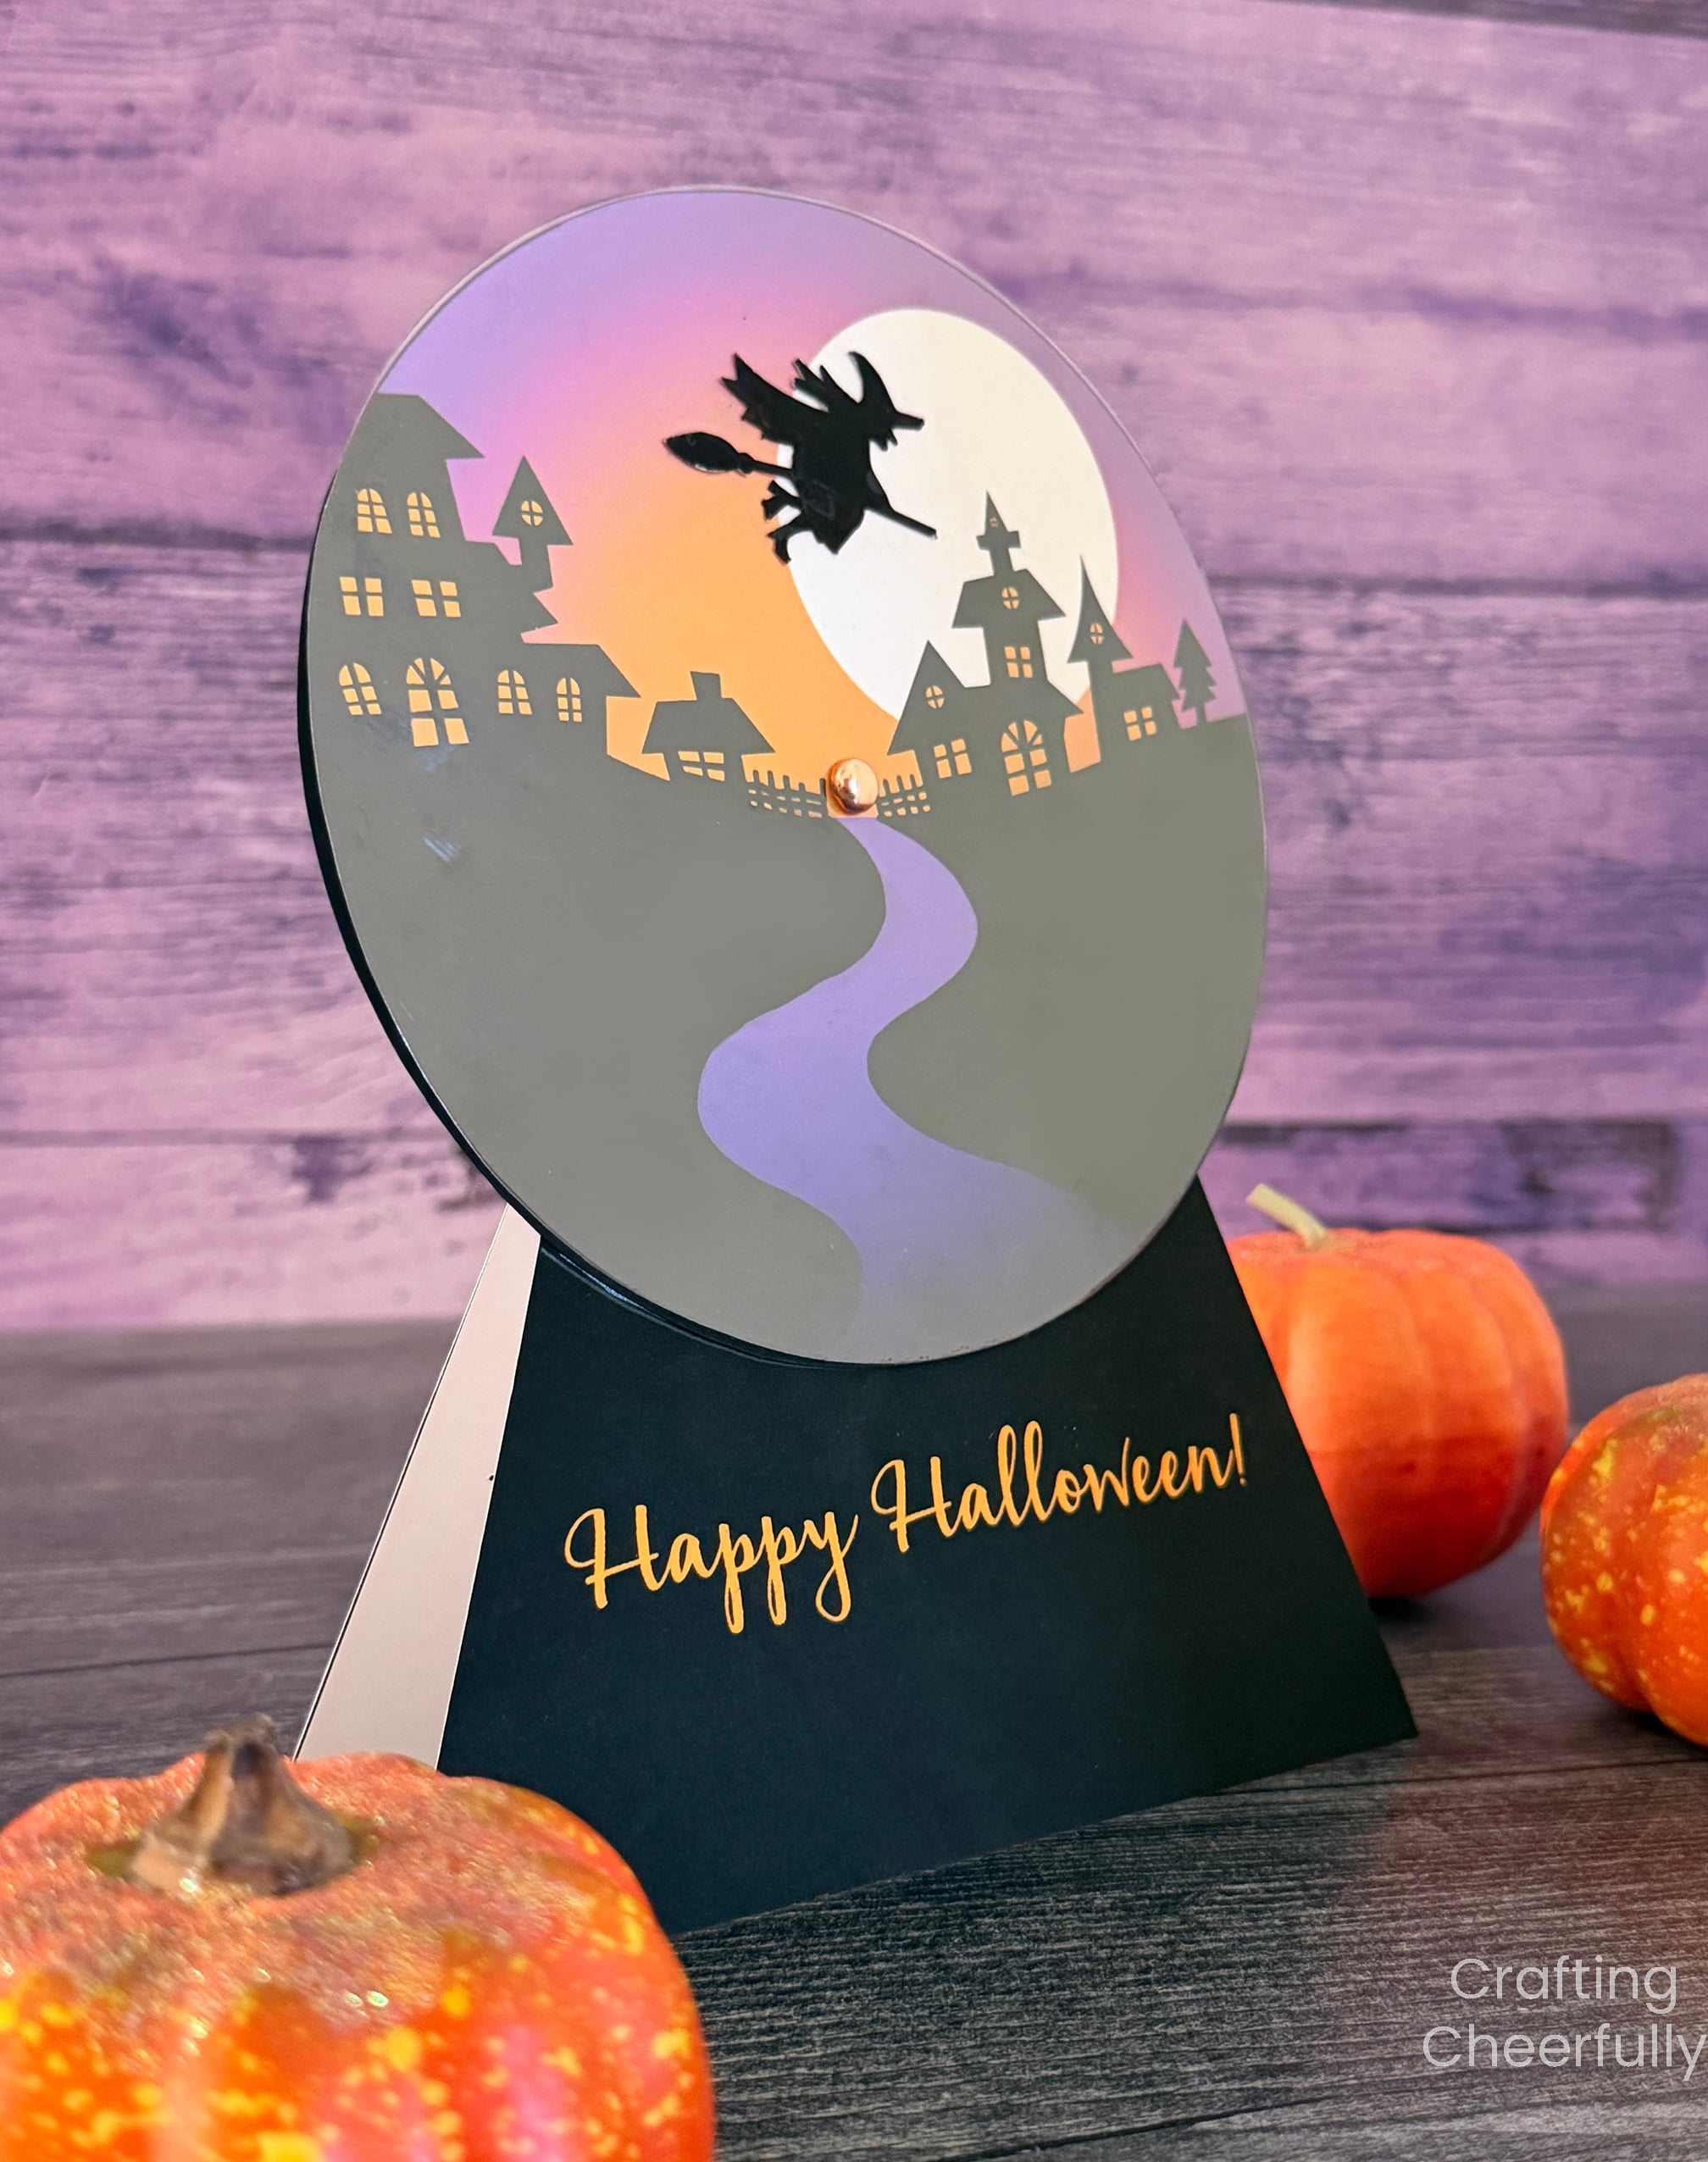
Below is the tutorial and the free printable to create your own! Make up a few and send a little Halloween spookiness in the mail this year! You can also see the card in action in this short video!
DIY Halloween Snow Globe Card
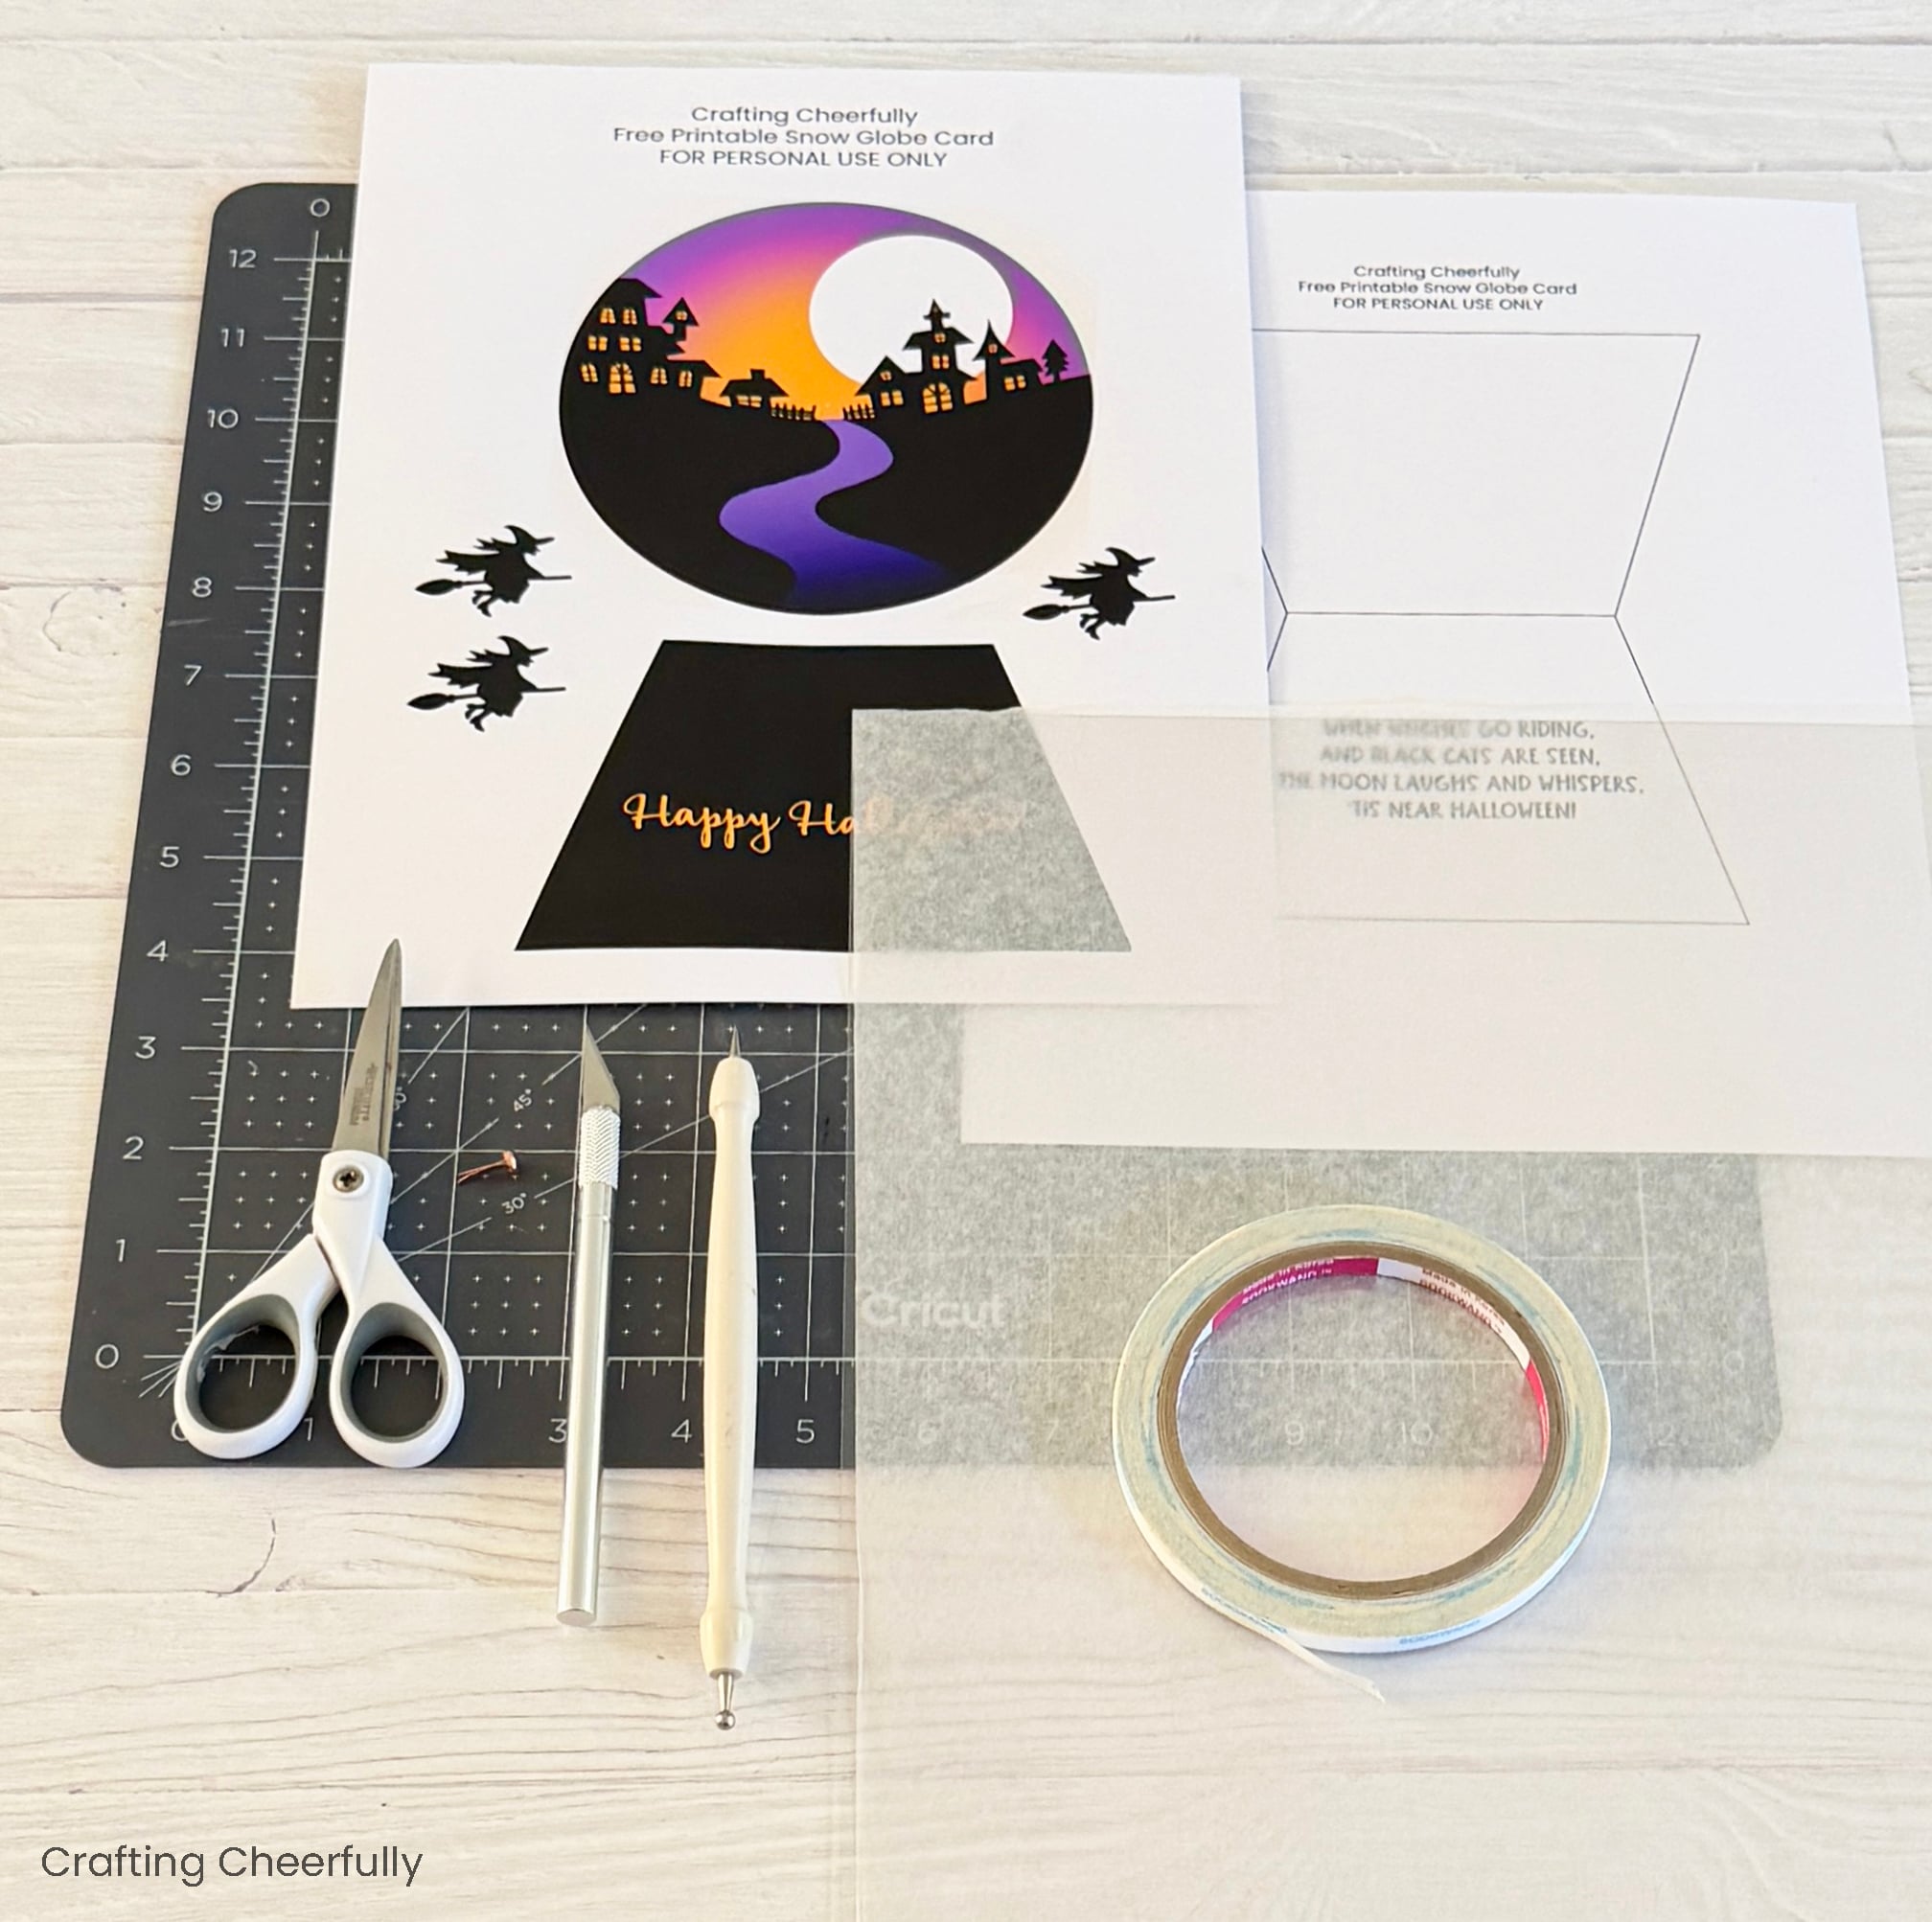
Supplies Needed
- Free printable – Grab the free file by filling out the purple form at the end of this post.
- Little flying witch:
- I used “Witch Flying on Broomstick” from Magnific.com
- You could also use a small sticker or draw your own
- Cricut Design Space has LOTS of flying witch options that would be perfect for this card!
- Photo Matte Paper
- A7 envelopes – for 5″x7″ cards
- Clear Craft Plastic. I used Grafix Clear Craft Plastic
- Brads – I used the copper brads that came in the Elements Metallic Brad Pack
- Glue stick, tape runner and 1/4″ Scor-Tape
- Scissors
- Craft knife and matte board
- *Optional* – Scoring Board and stylus
Assembly Instructions
Step One: Print the card onto white cardstock.
First, print the snow globe card. I chose my favorite matte photo paper which helped create a really nice print. Make sure to choose which version you want to use before printing. If you want to make the interactive card and the witch is too small for you to cut with a craft knife, you could also use a sticker or your cutting machine if you have one.
Step Two: Cut out all of the pieces.
Cut out three pieces using a scissors.
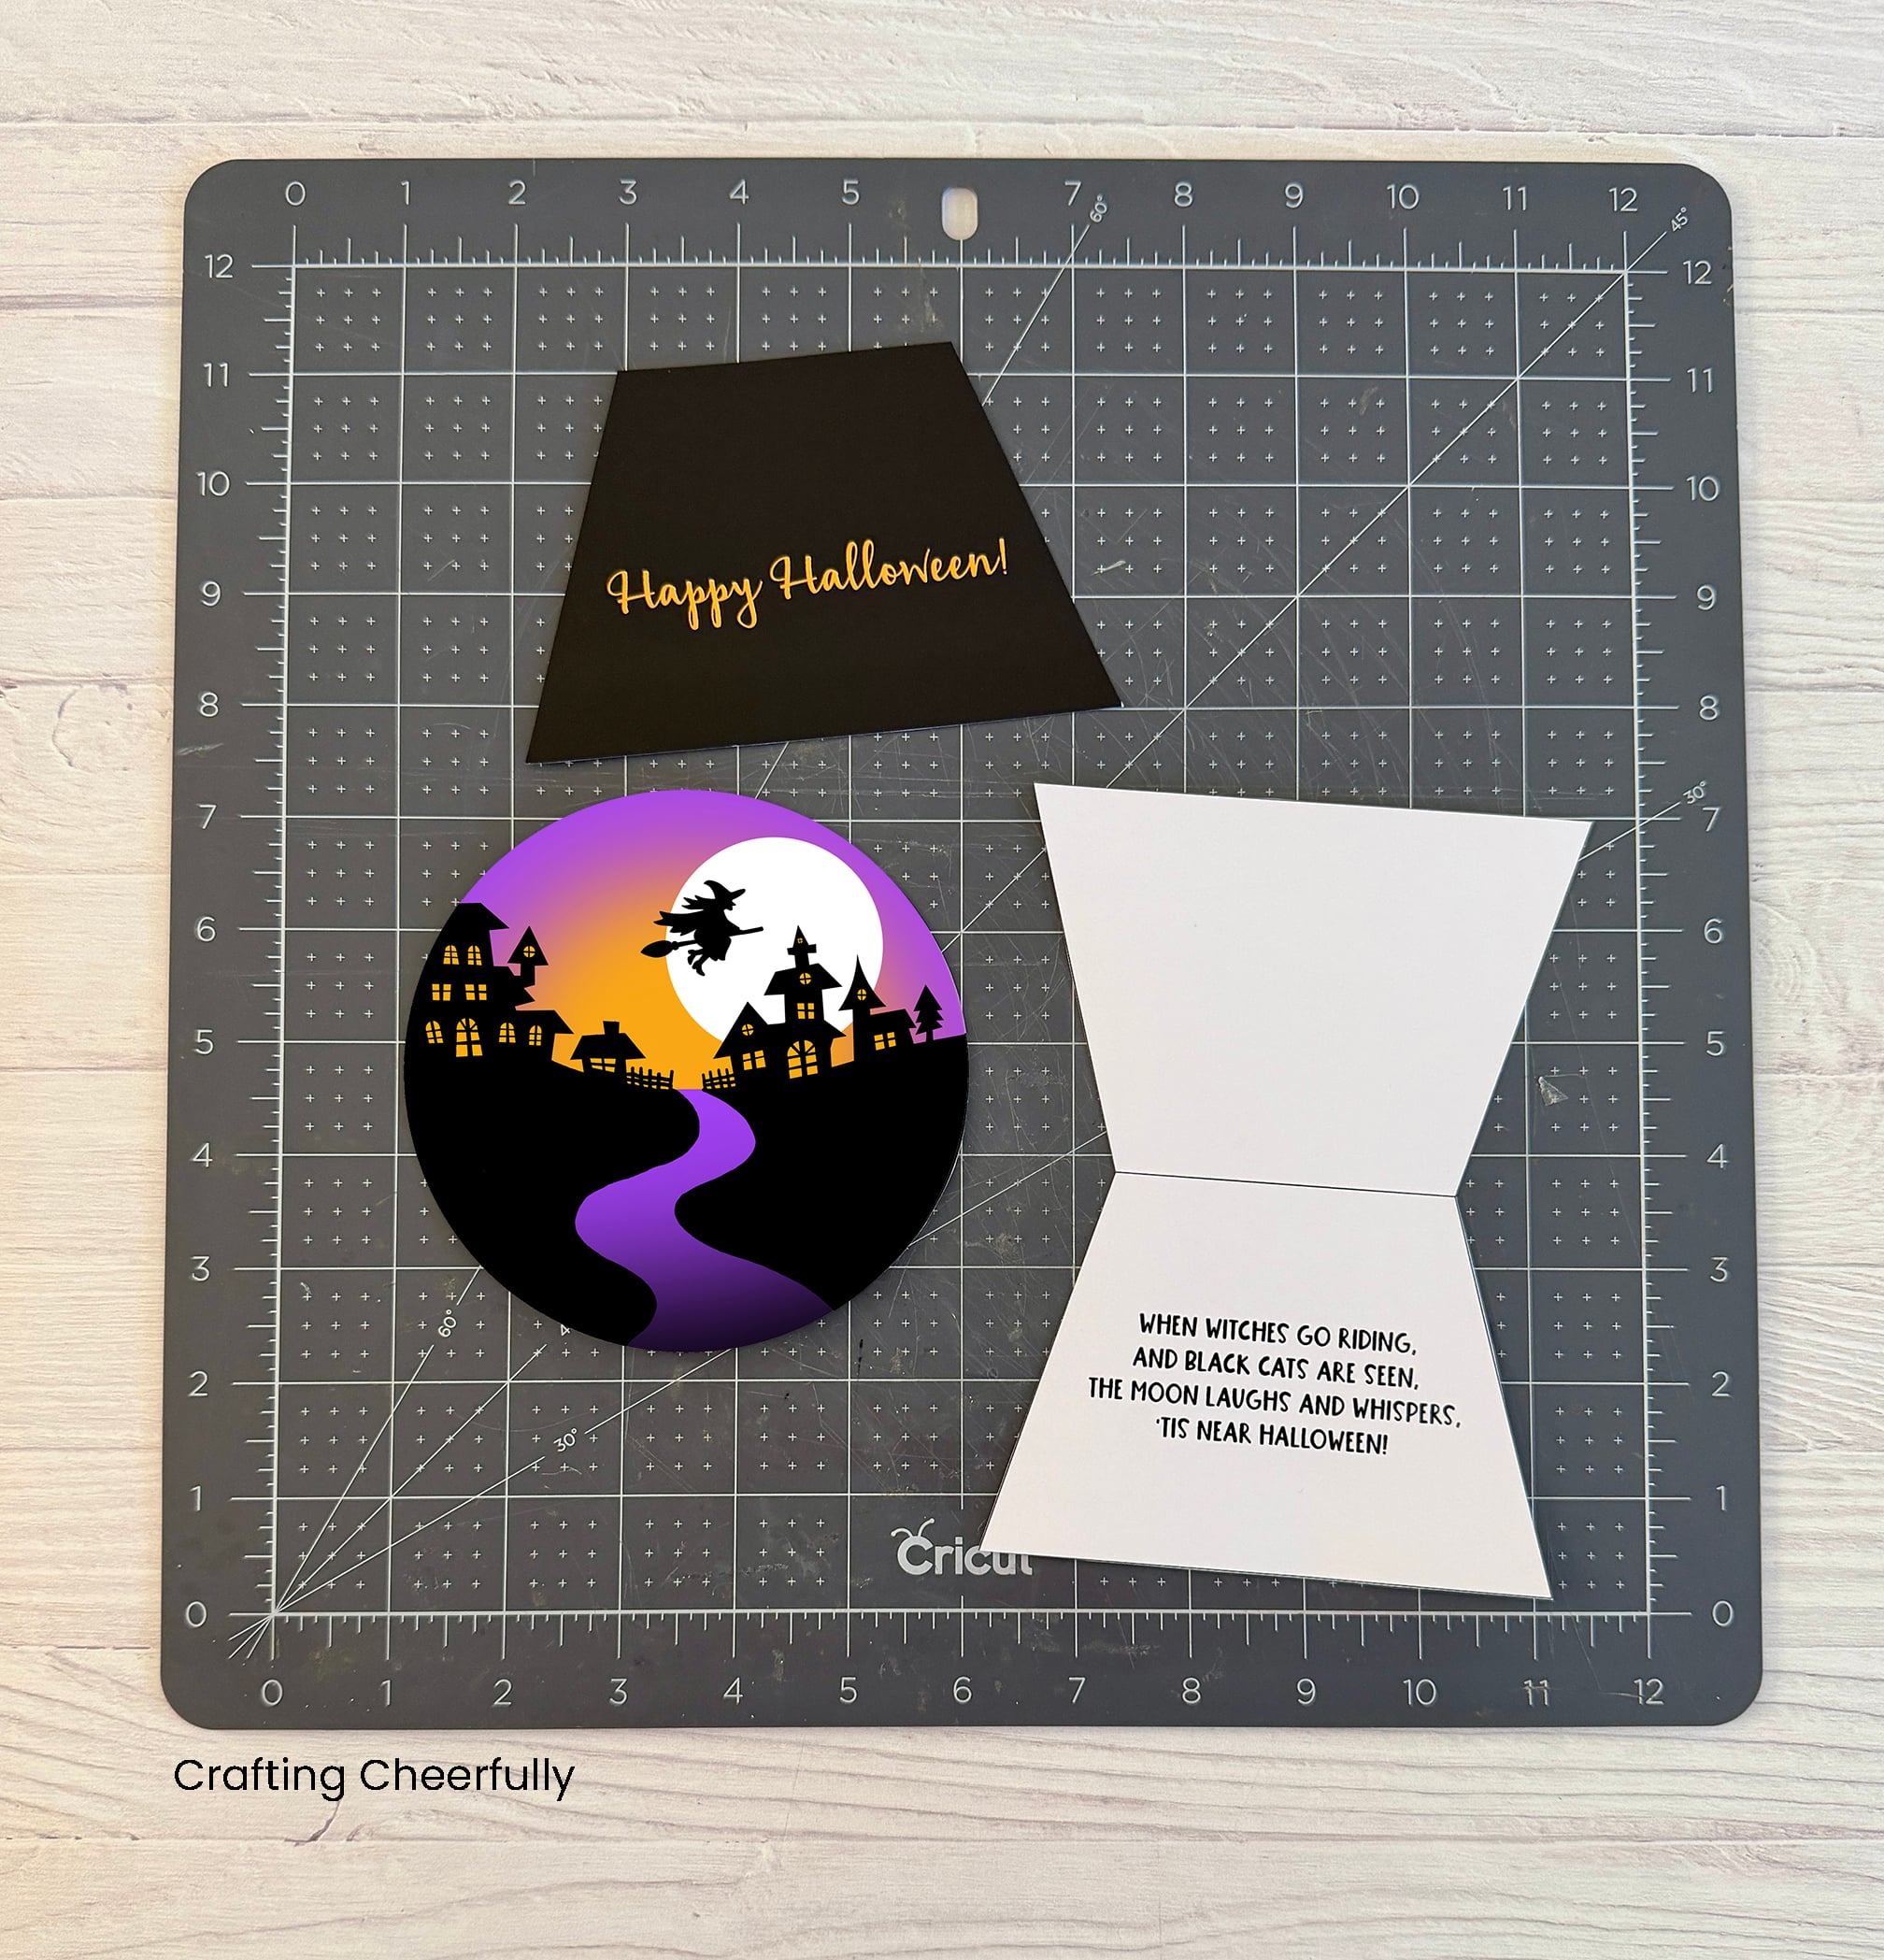
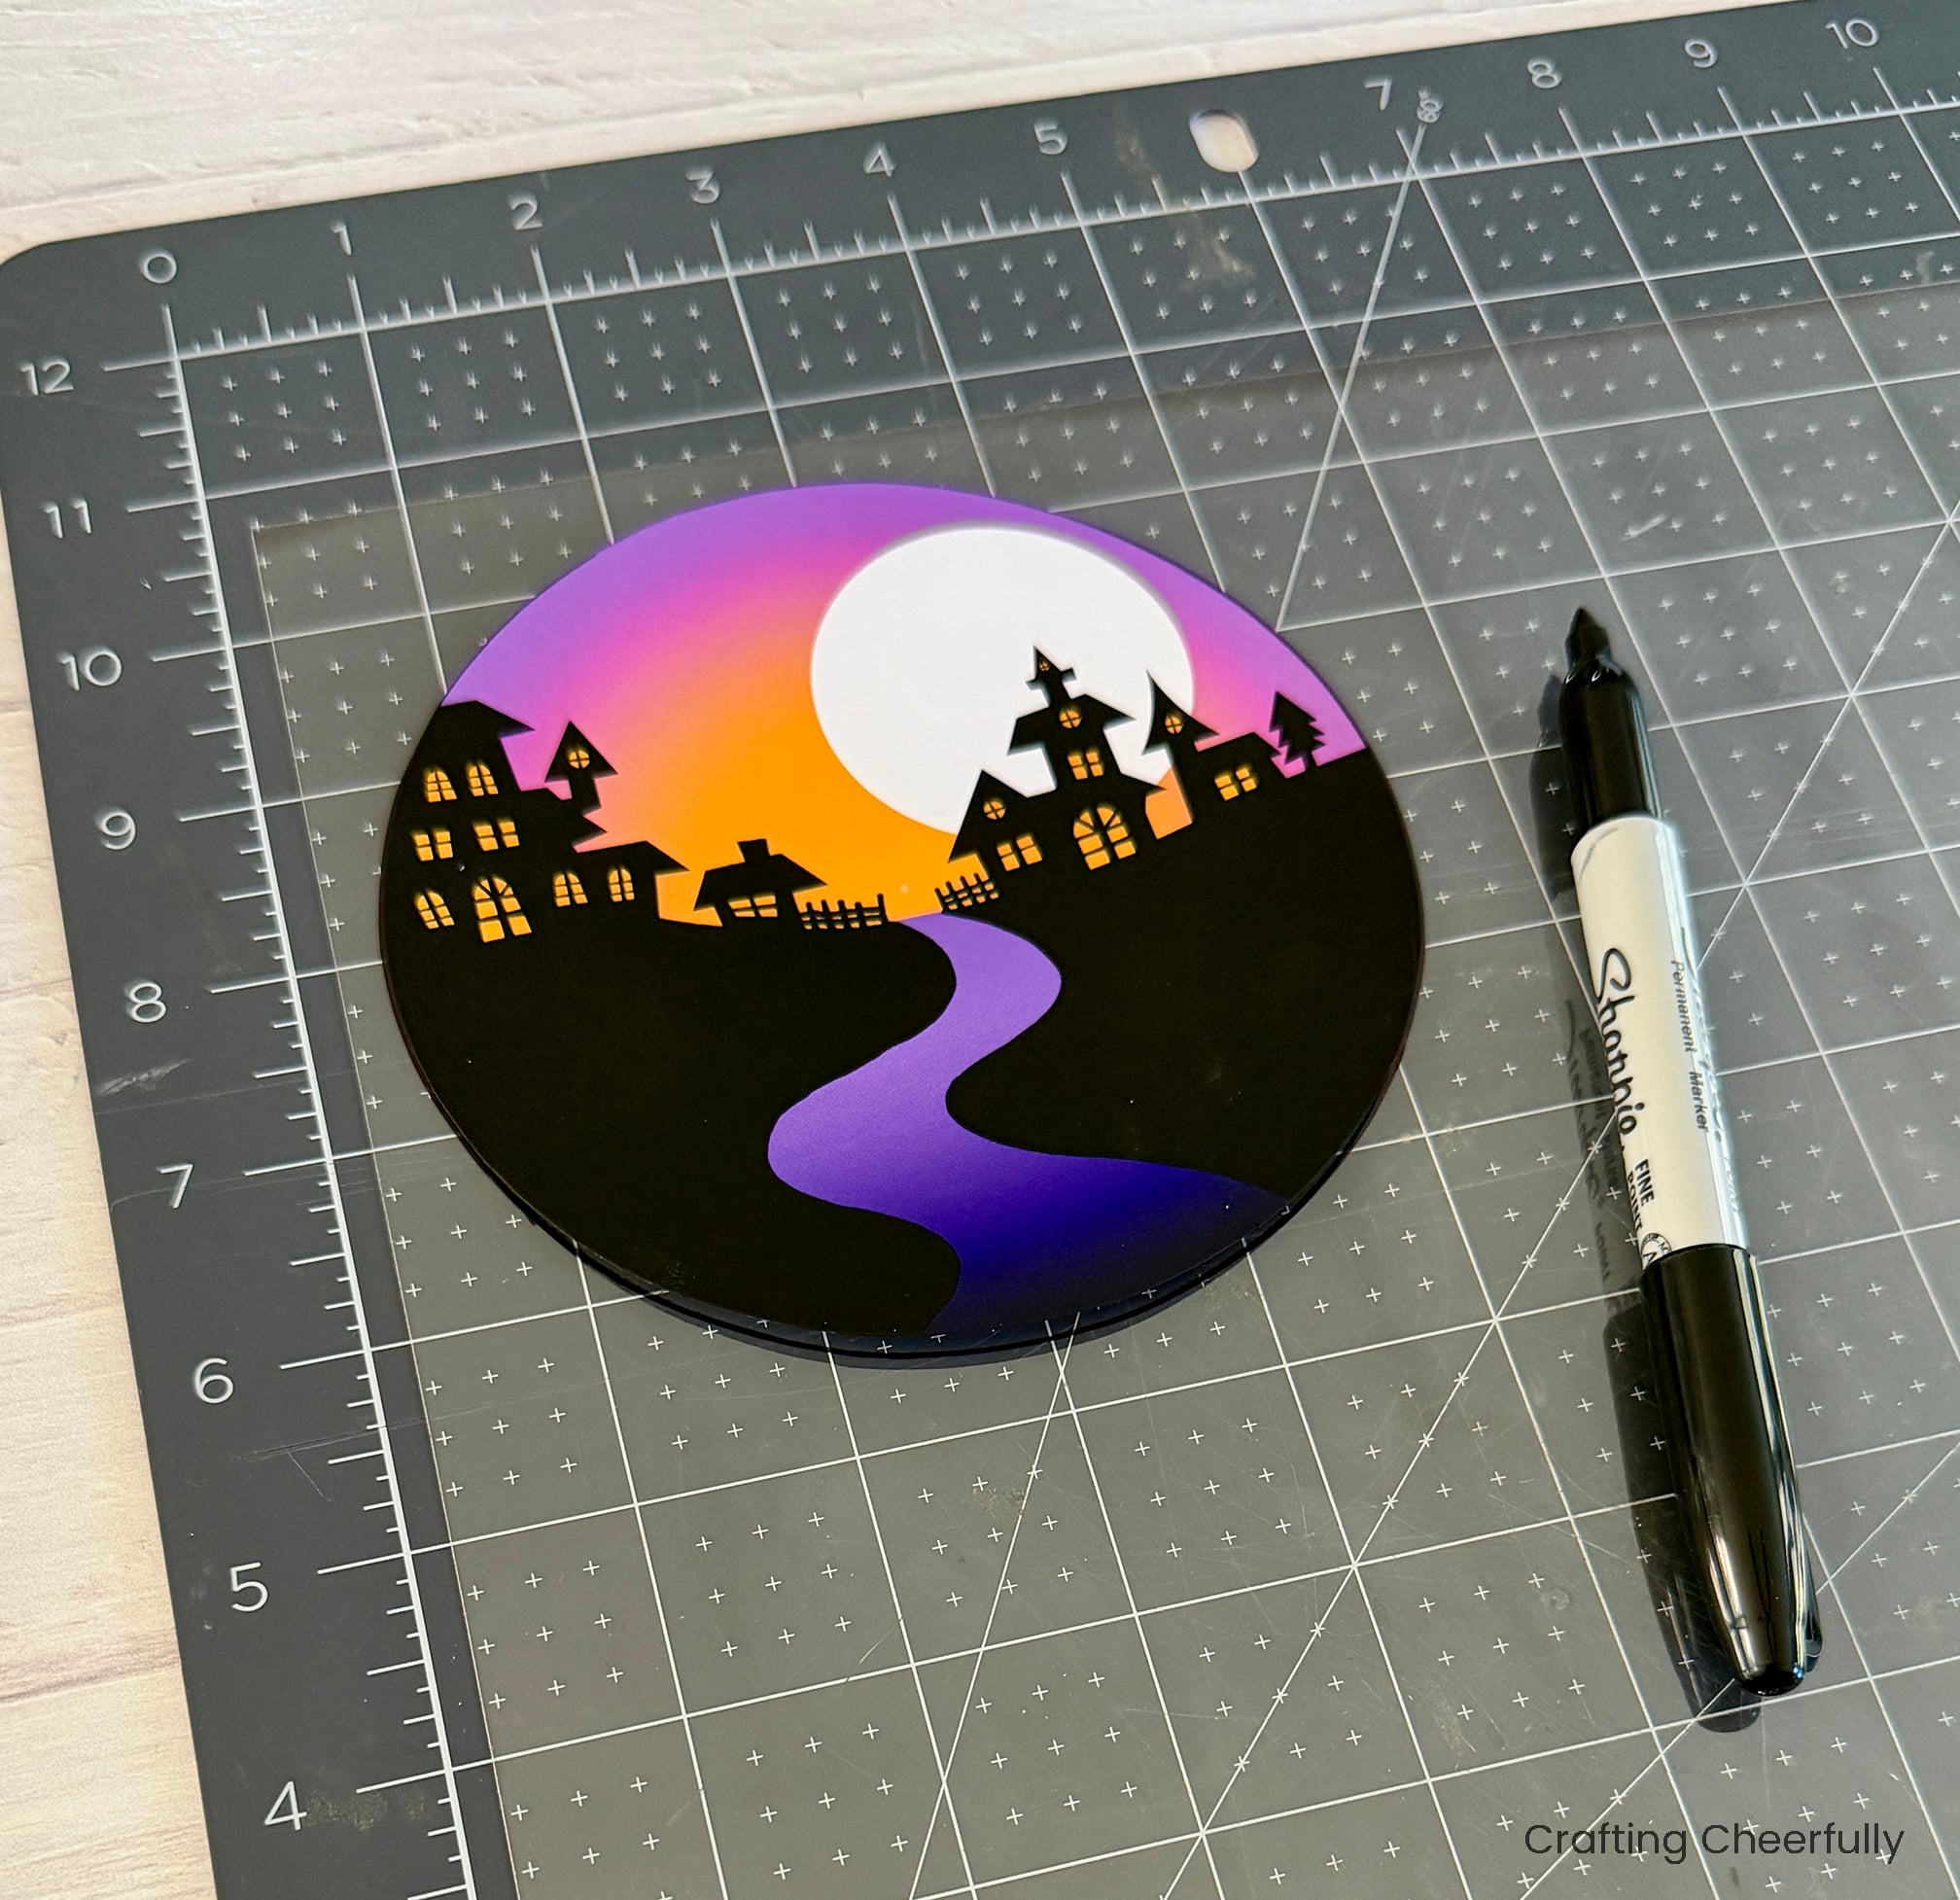
For the interactive version, you will need to cut two additional pieces. A layer of clear acetate and a small witch. Trace the globe onto a sheet of clear acetate with a Sharpie marker, then cut it out.
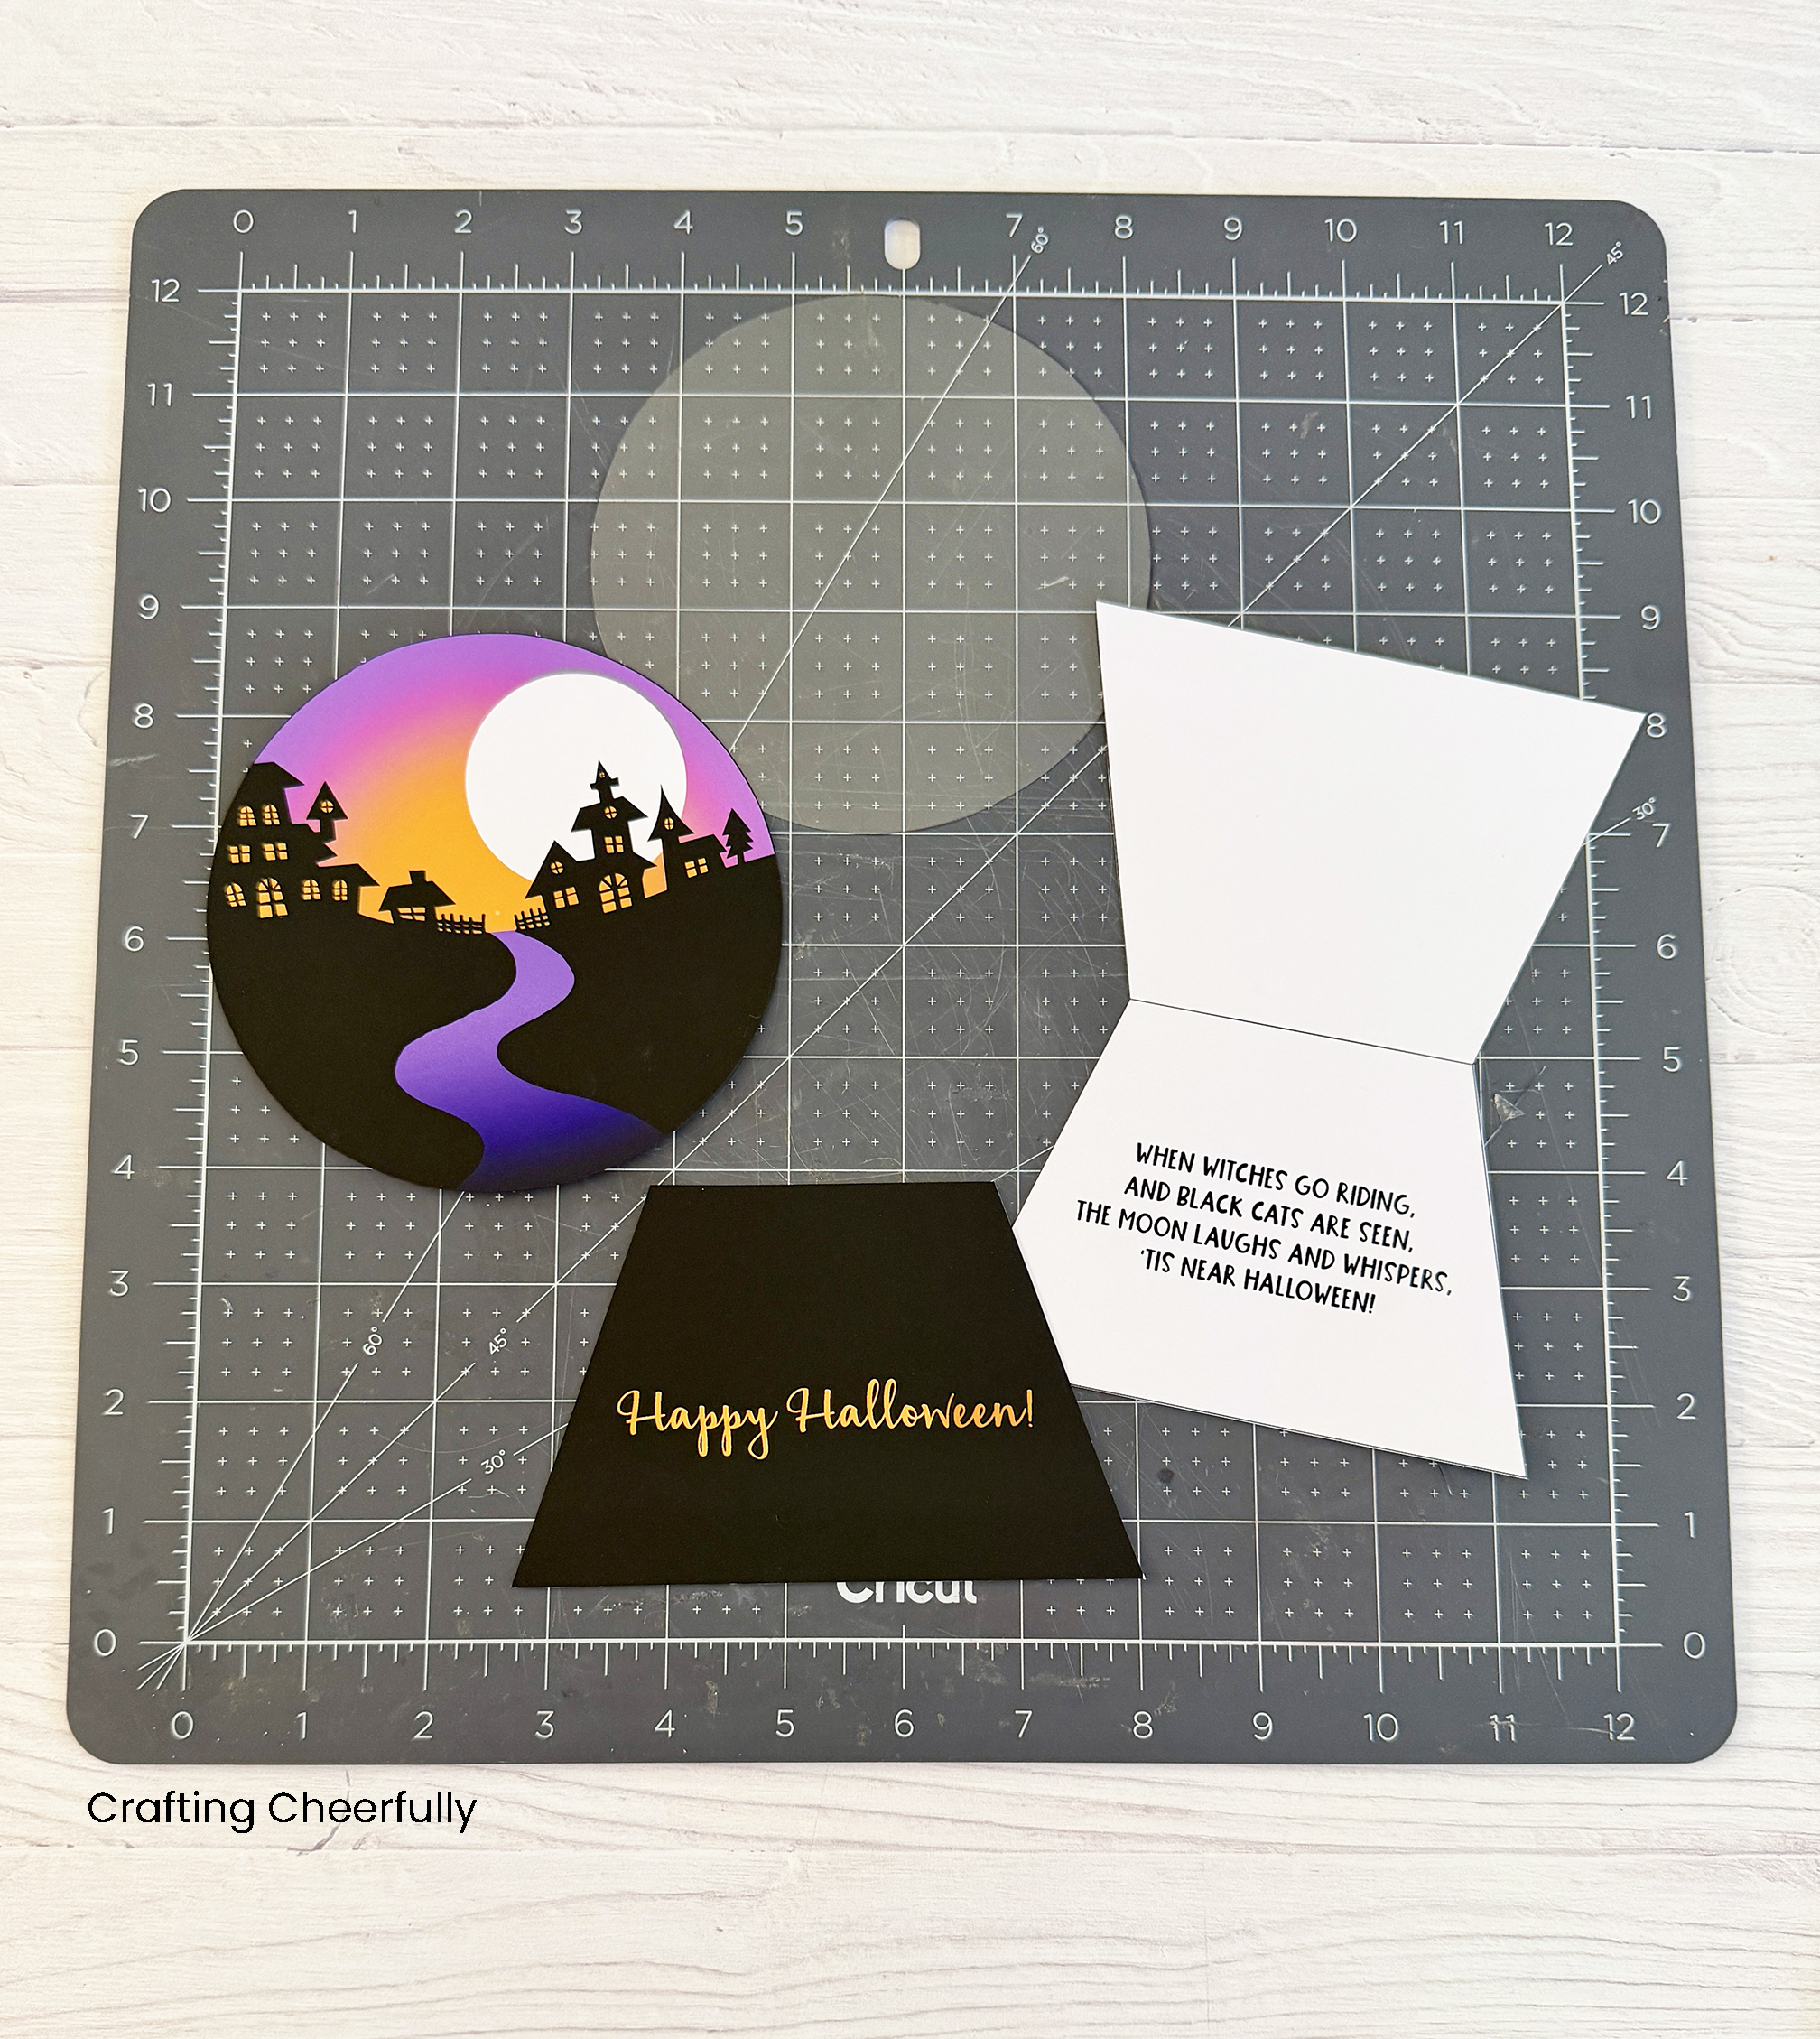
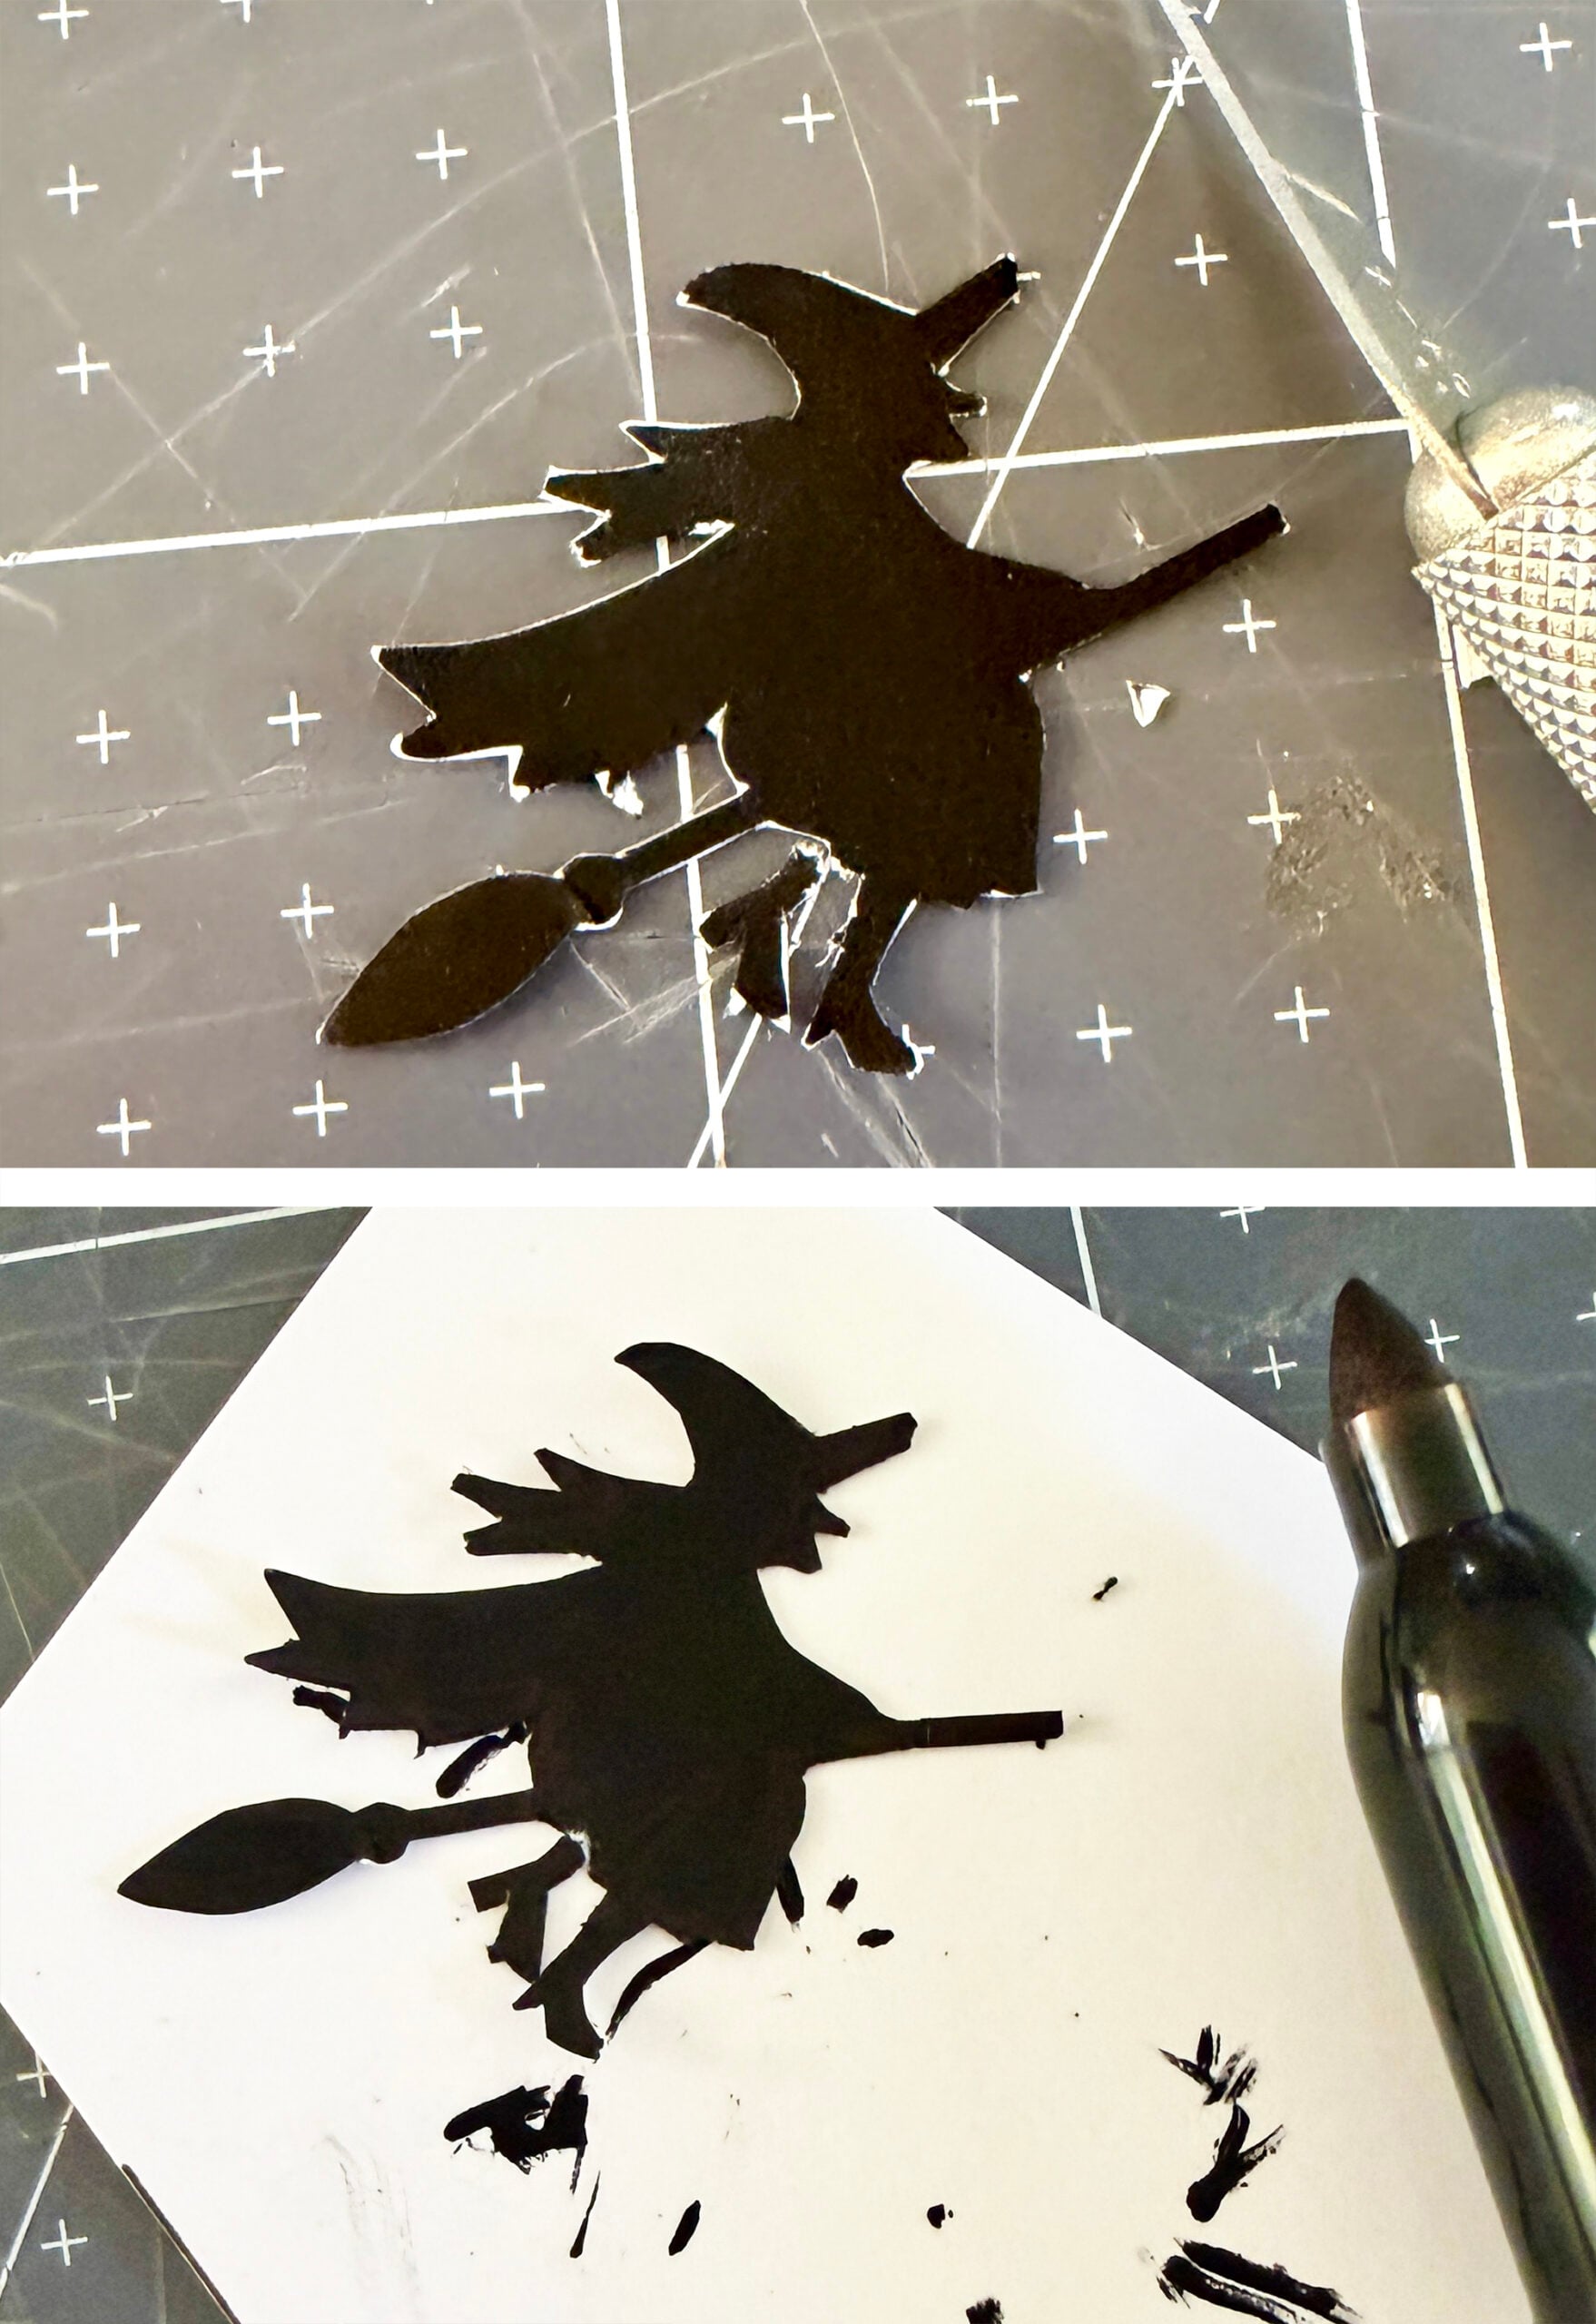
The witch can be cut out carefully with a craft knife. It helped me to go over the edges with a black Sharpie since I wasn’t able to get the cuts perfect on such a small piece. If cutting such a small piece is too difficult, you could use a sticker or your cutting machine if you have one to cut a small witch around 1.5″ wide. You can also make the non-interactive version that doesn’t require a separate witch.
Step Three: Create the snow globe.
For the interactive version, layer the clear plastic circle on top of the printable globe and poke a hole through the center of both. The printable has a small dot to indicate the center. I used the sharp end of a stylus to poke the hole.
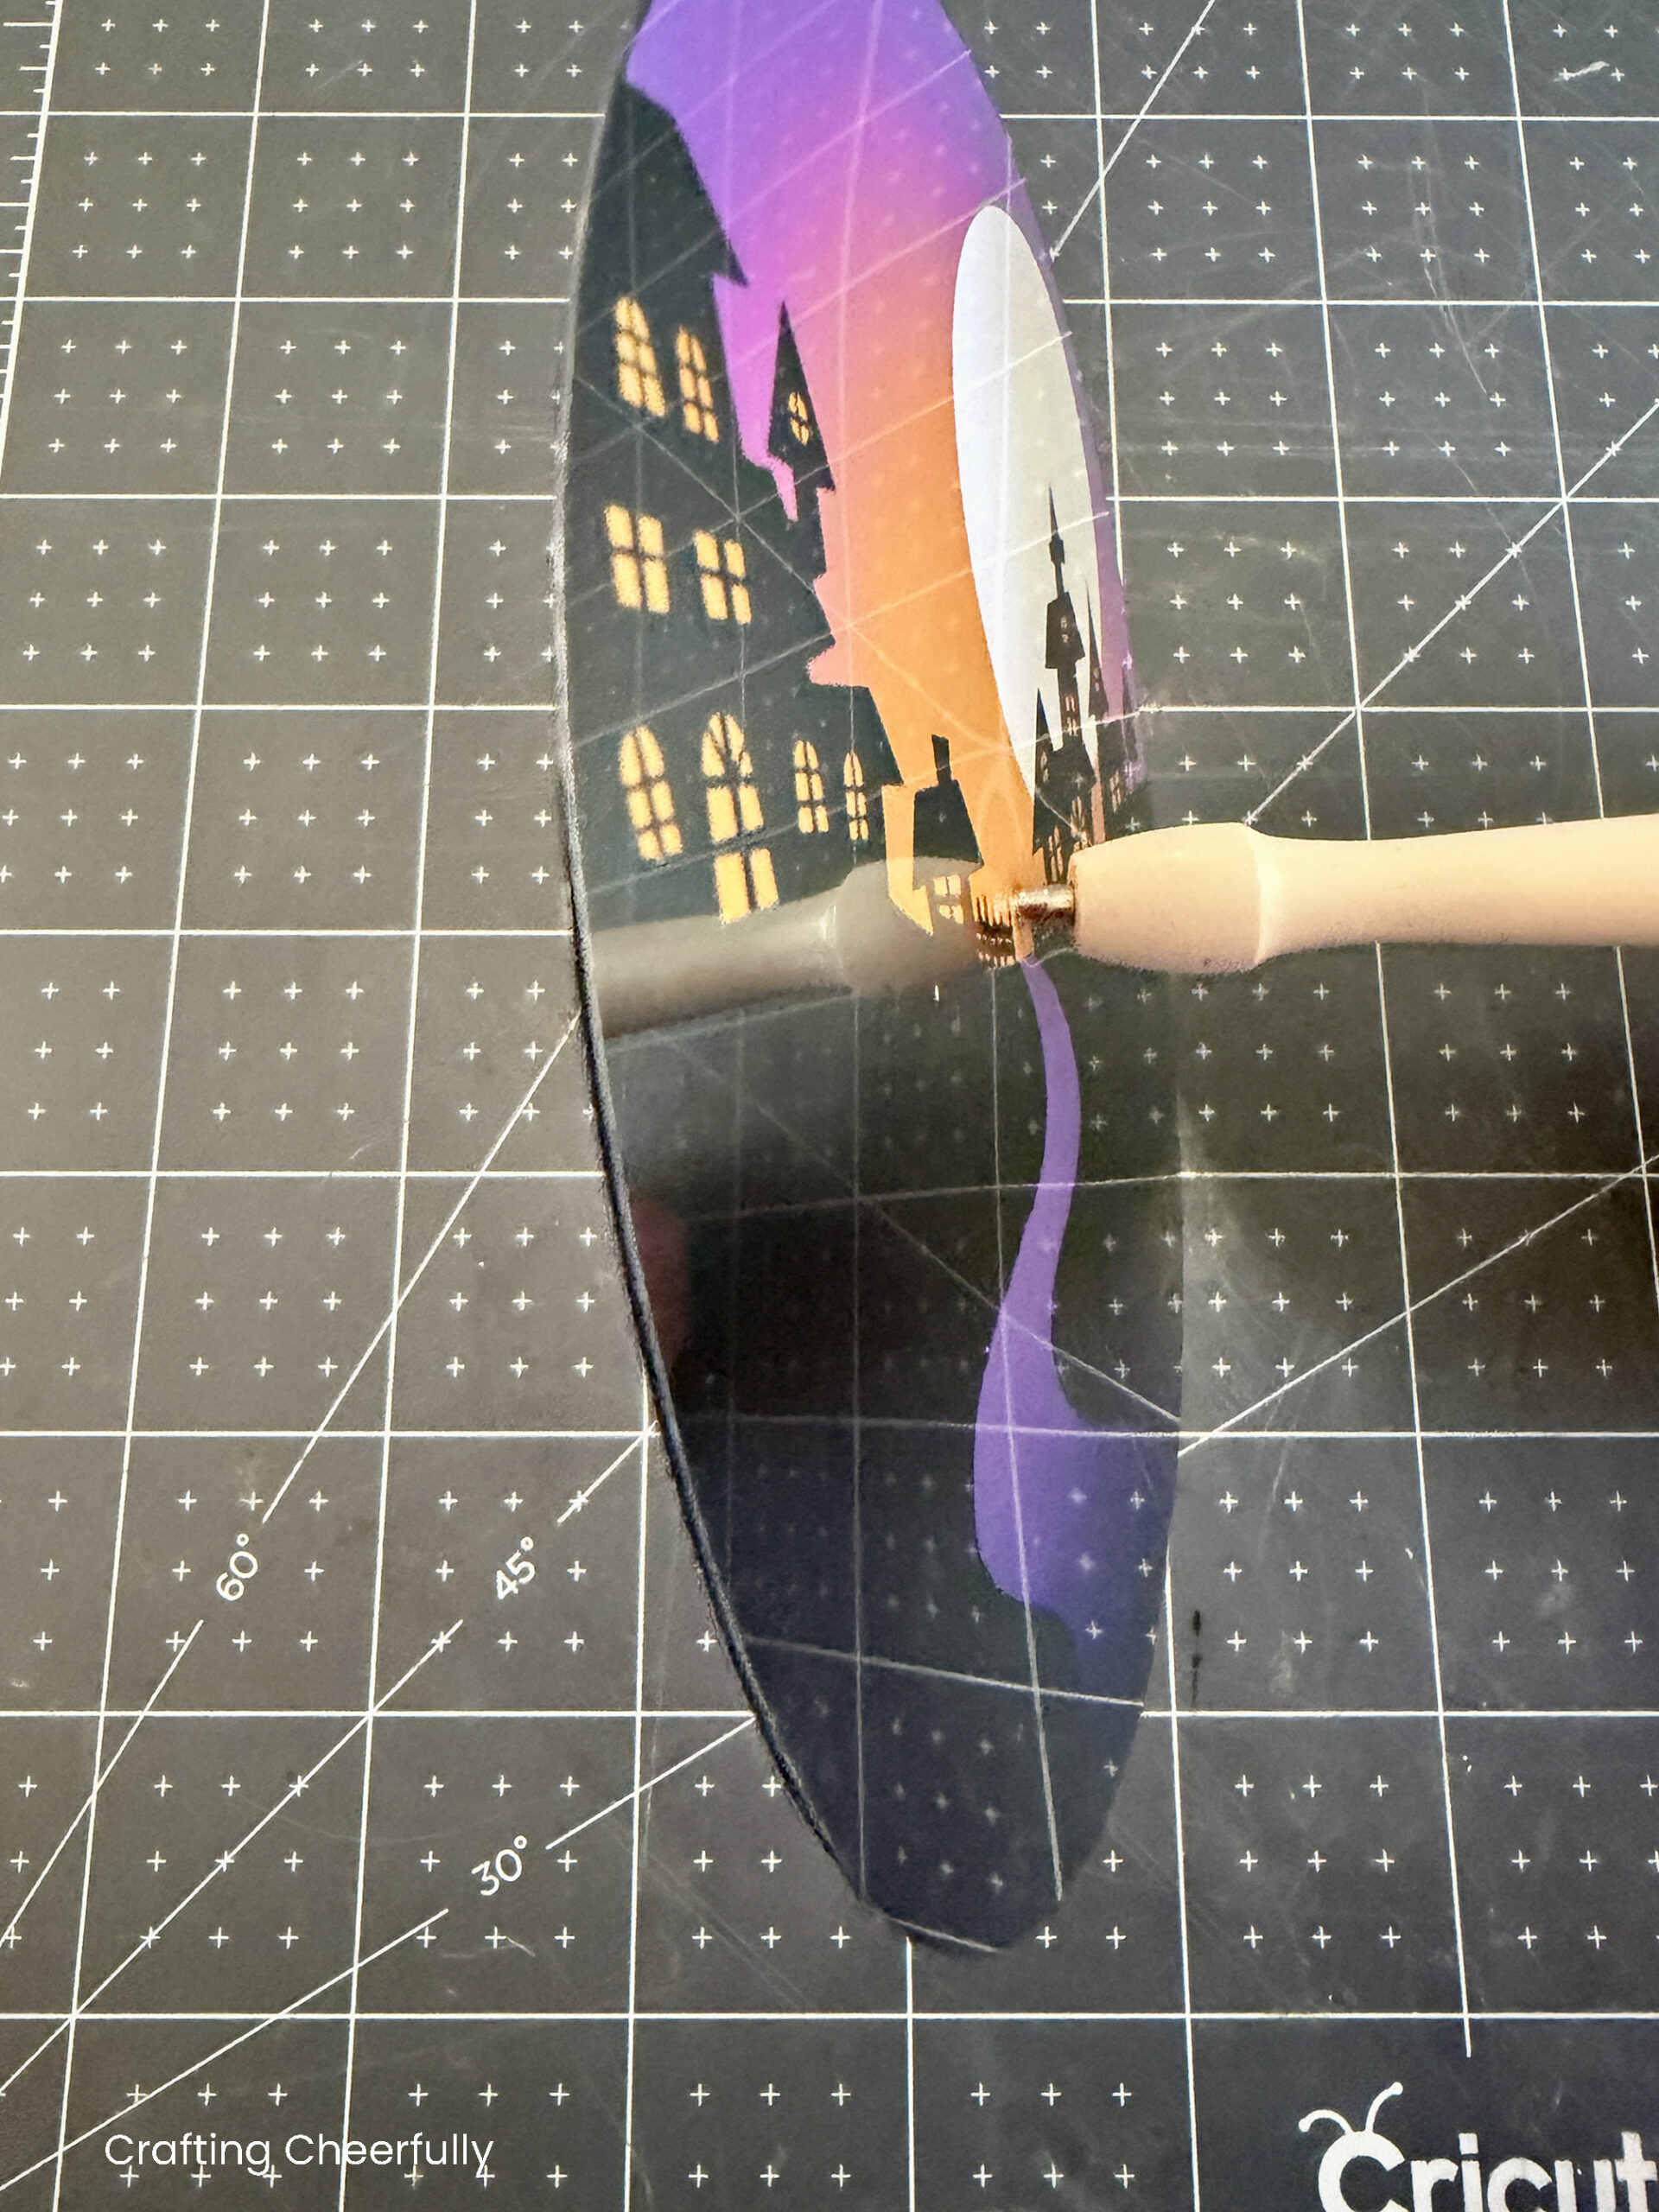
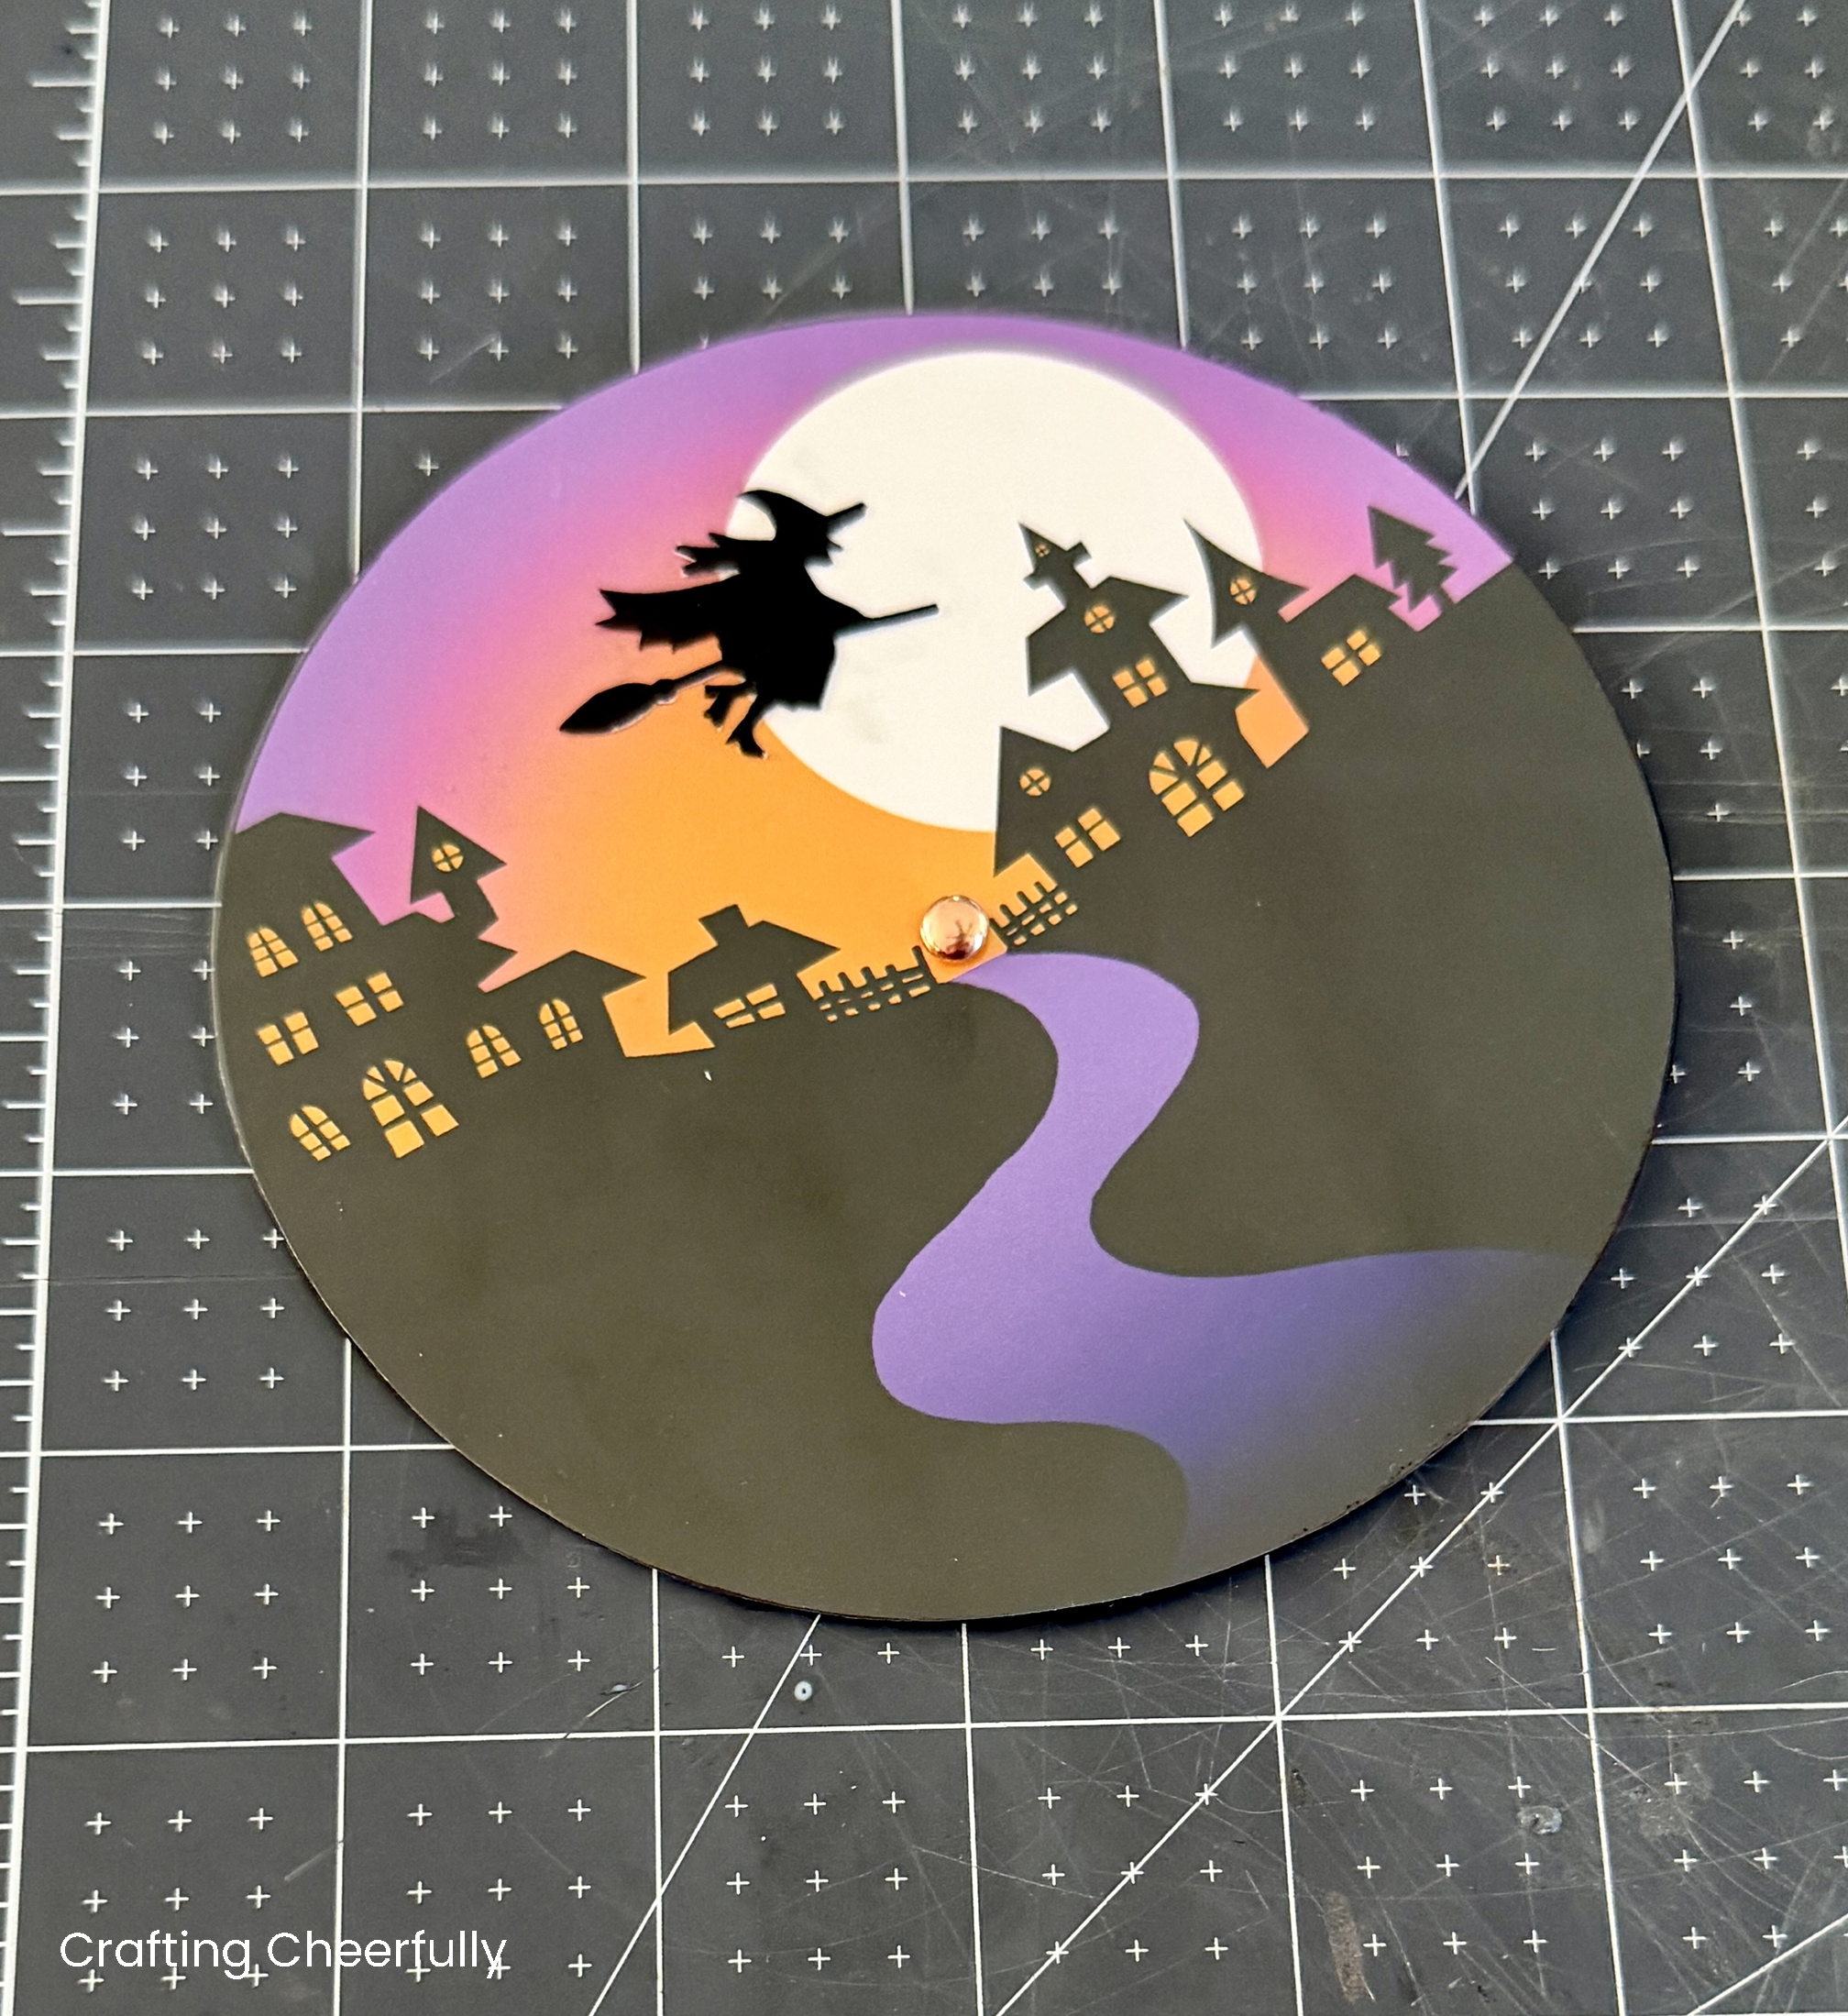
Connect the two layers with a brad. The copper brads in the Elements Metallic Brad Set perfectly matched the orange background of the printable. I had these on hand so it worked out really well. Unfortunately, I can’t seem to find a package of just the copper brads, so if you do purchase the Metallic Brad Set I link to in the supplies section of this post, you will get other colors as well.
Glue the witch to the clear acetate layer making sure it will fly past the moon when the card is rotated.
Step Four: Assemble the bottom of the card.
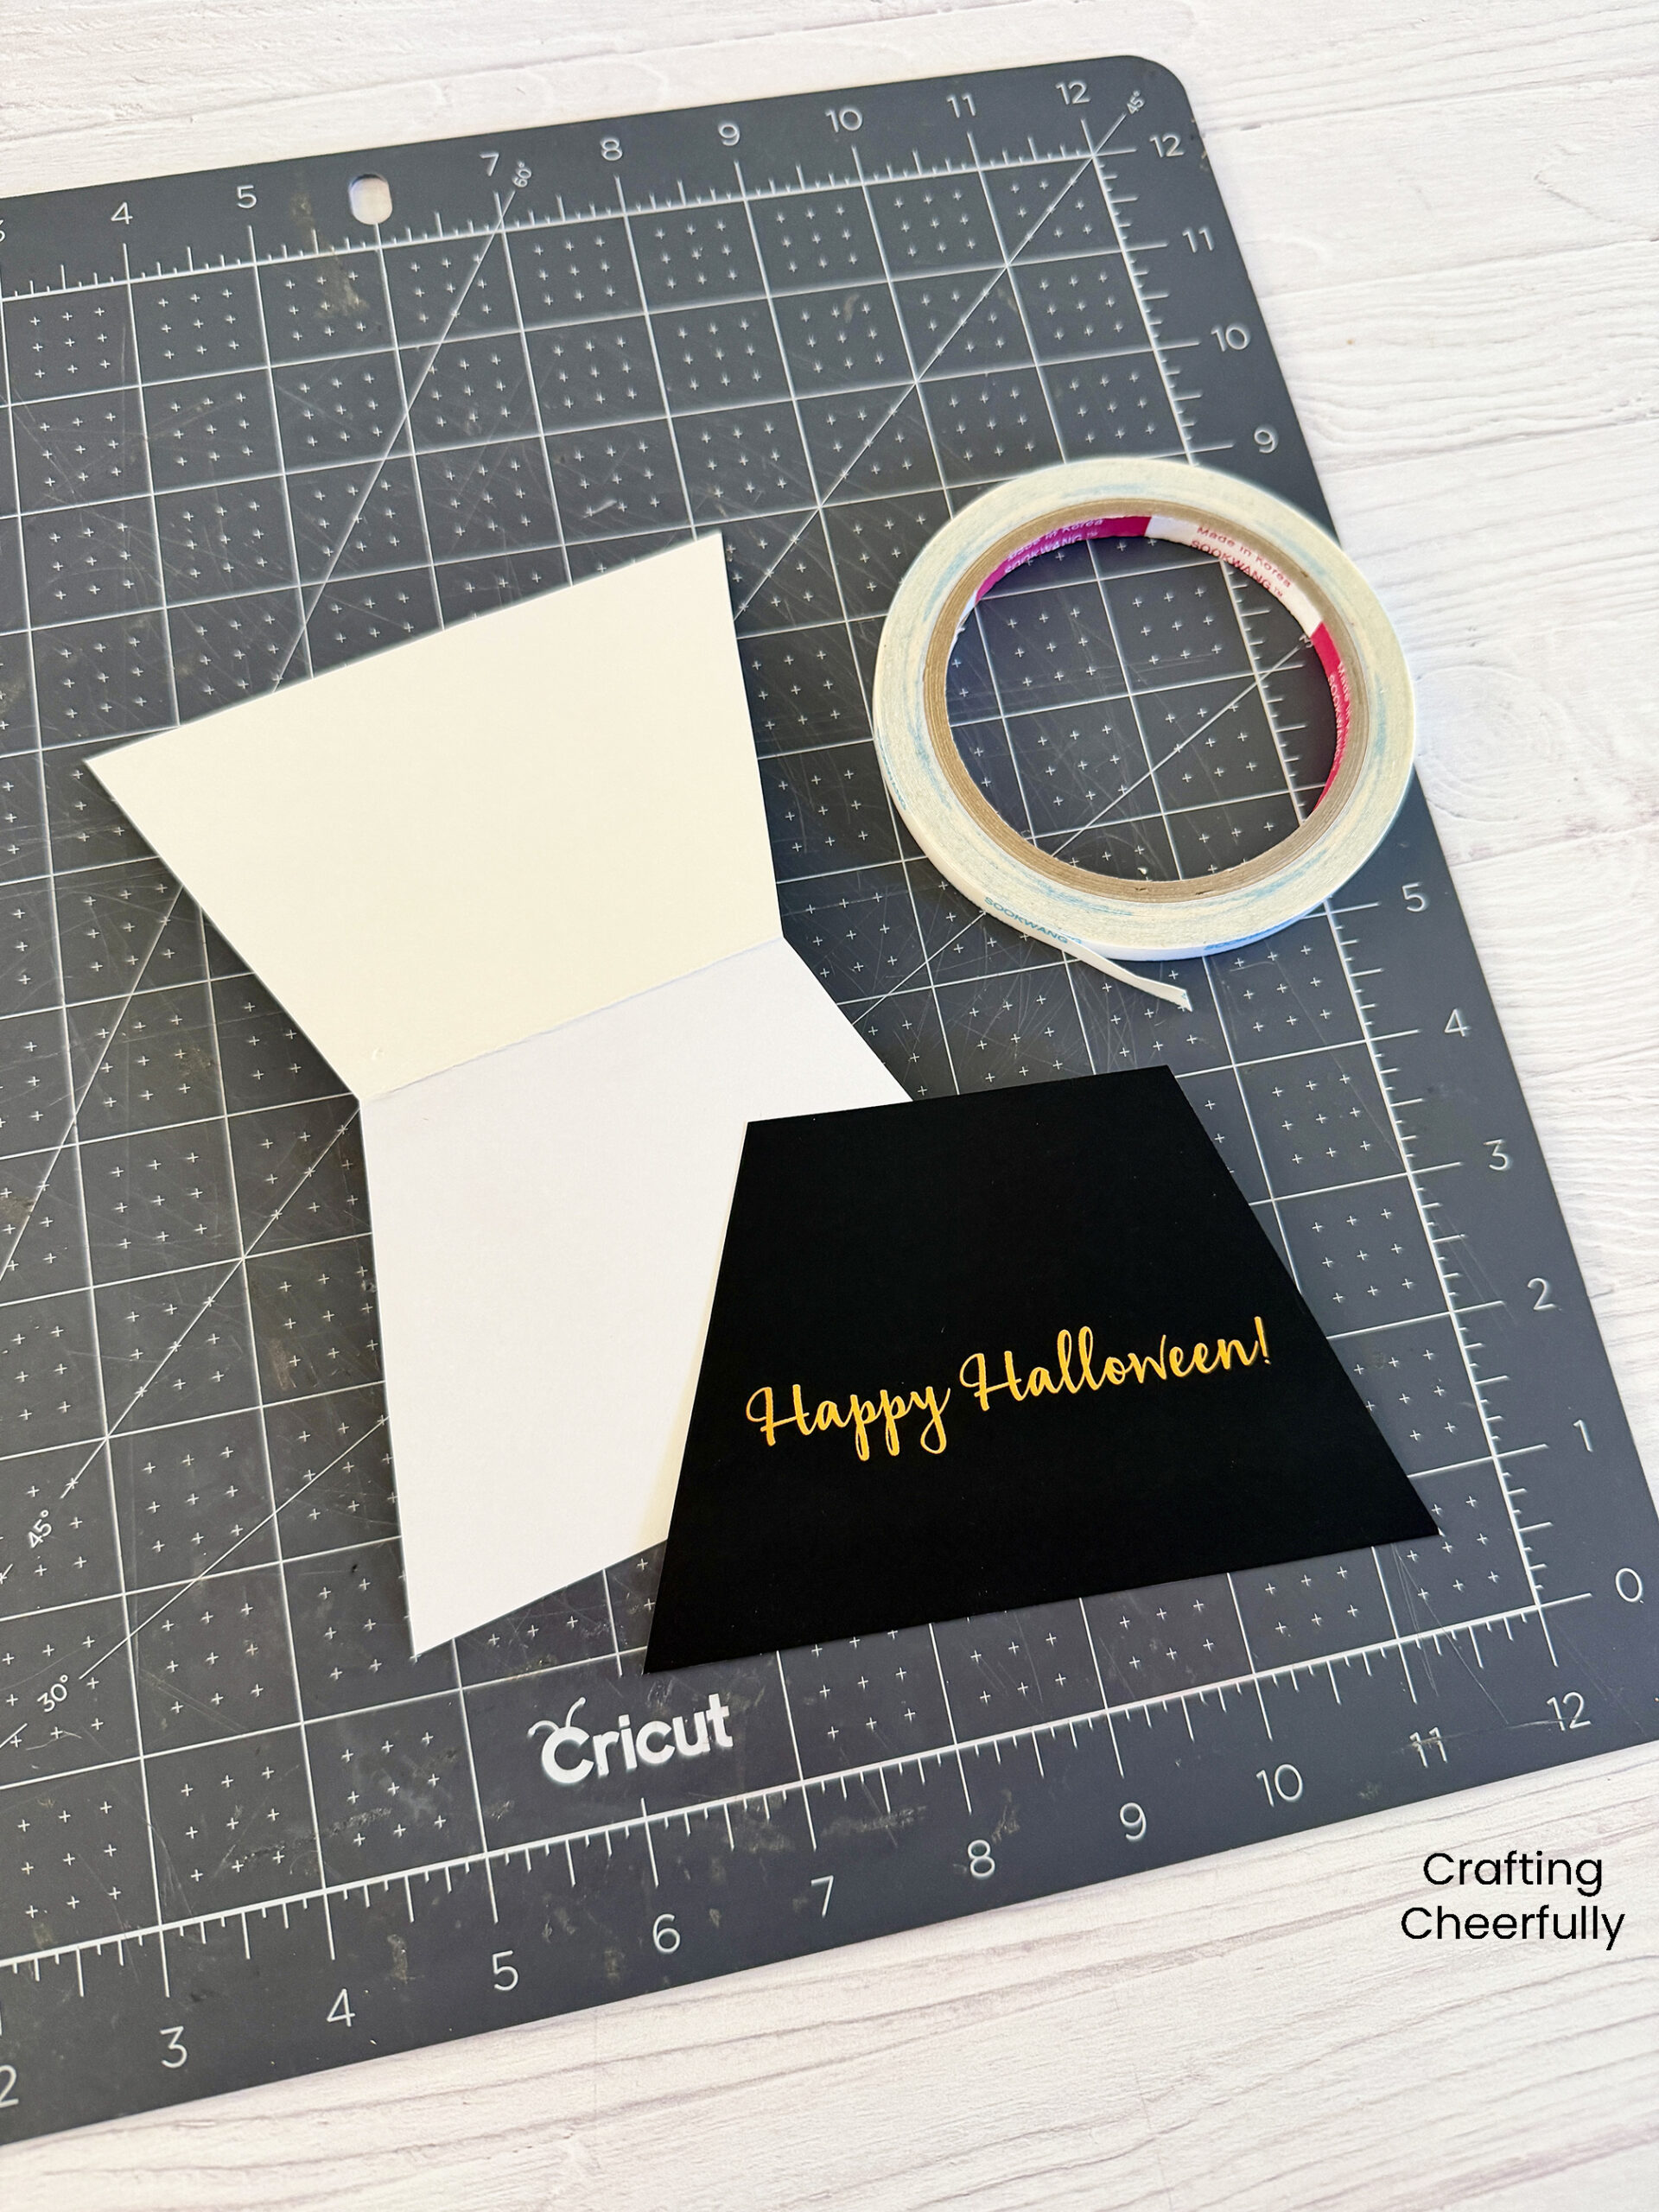
It’s time to create the bottom of the card, the snow globe stand! Fold the white inside layer (the one shaped like an hour glass) in half. Then adhere the black layer that says “Happy Halloween” to the top.
Step Five: Attach the globe to the bottom stand.
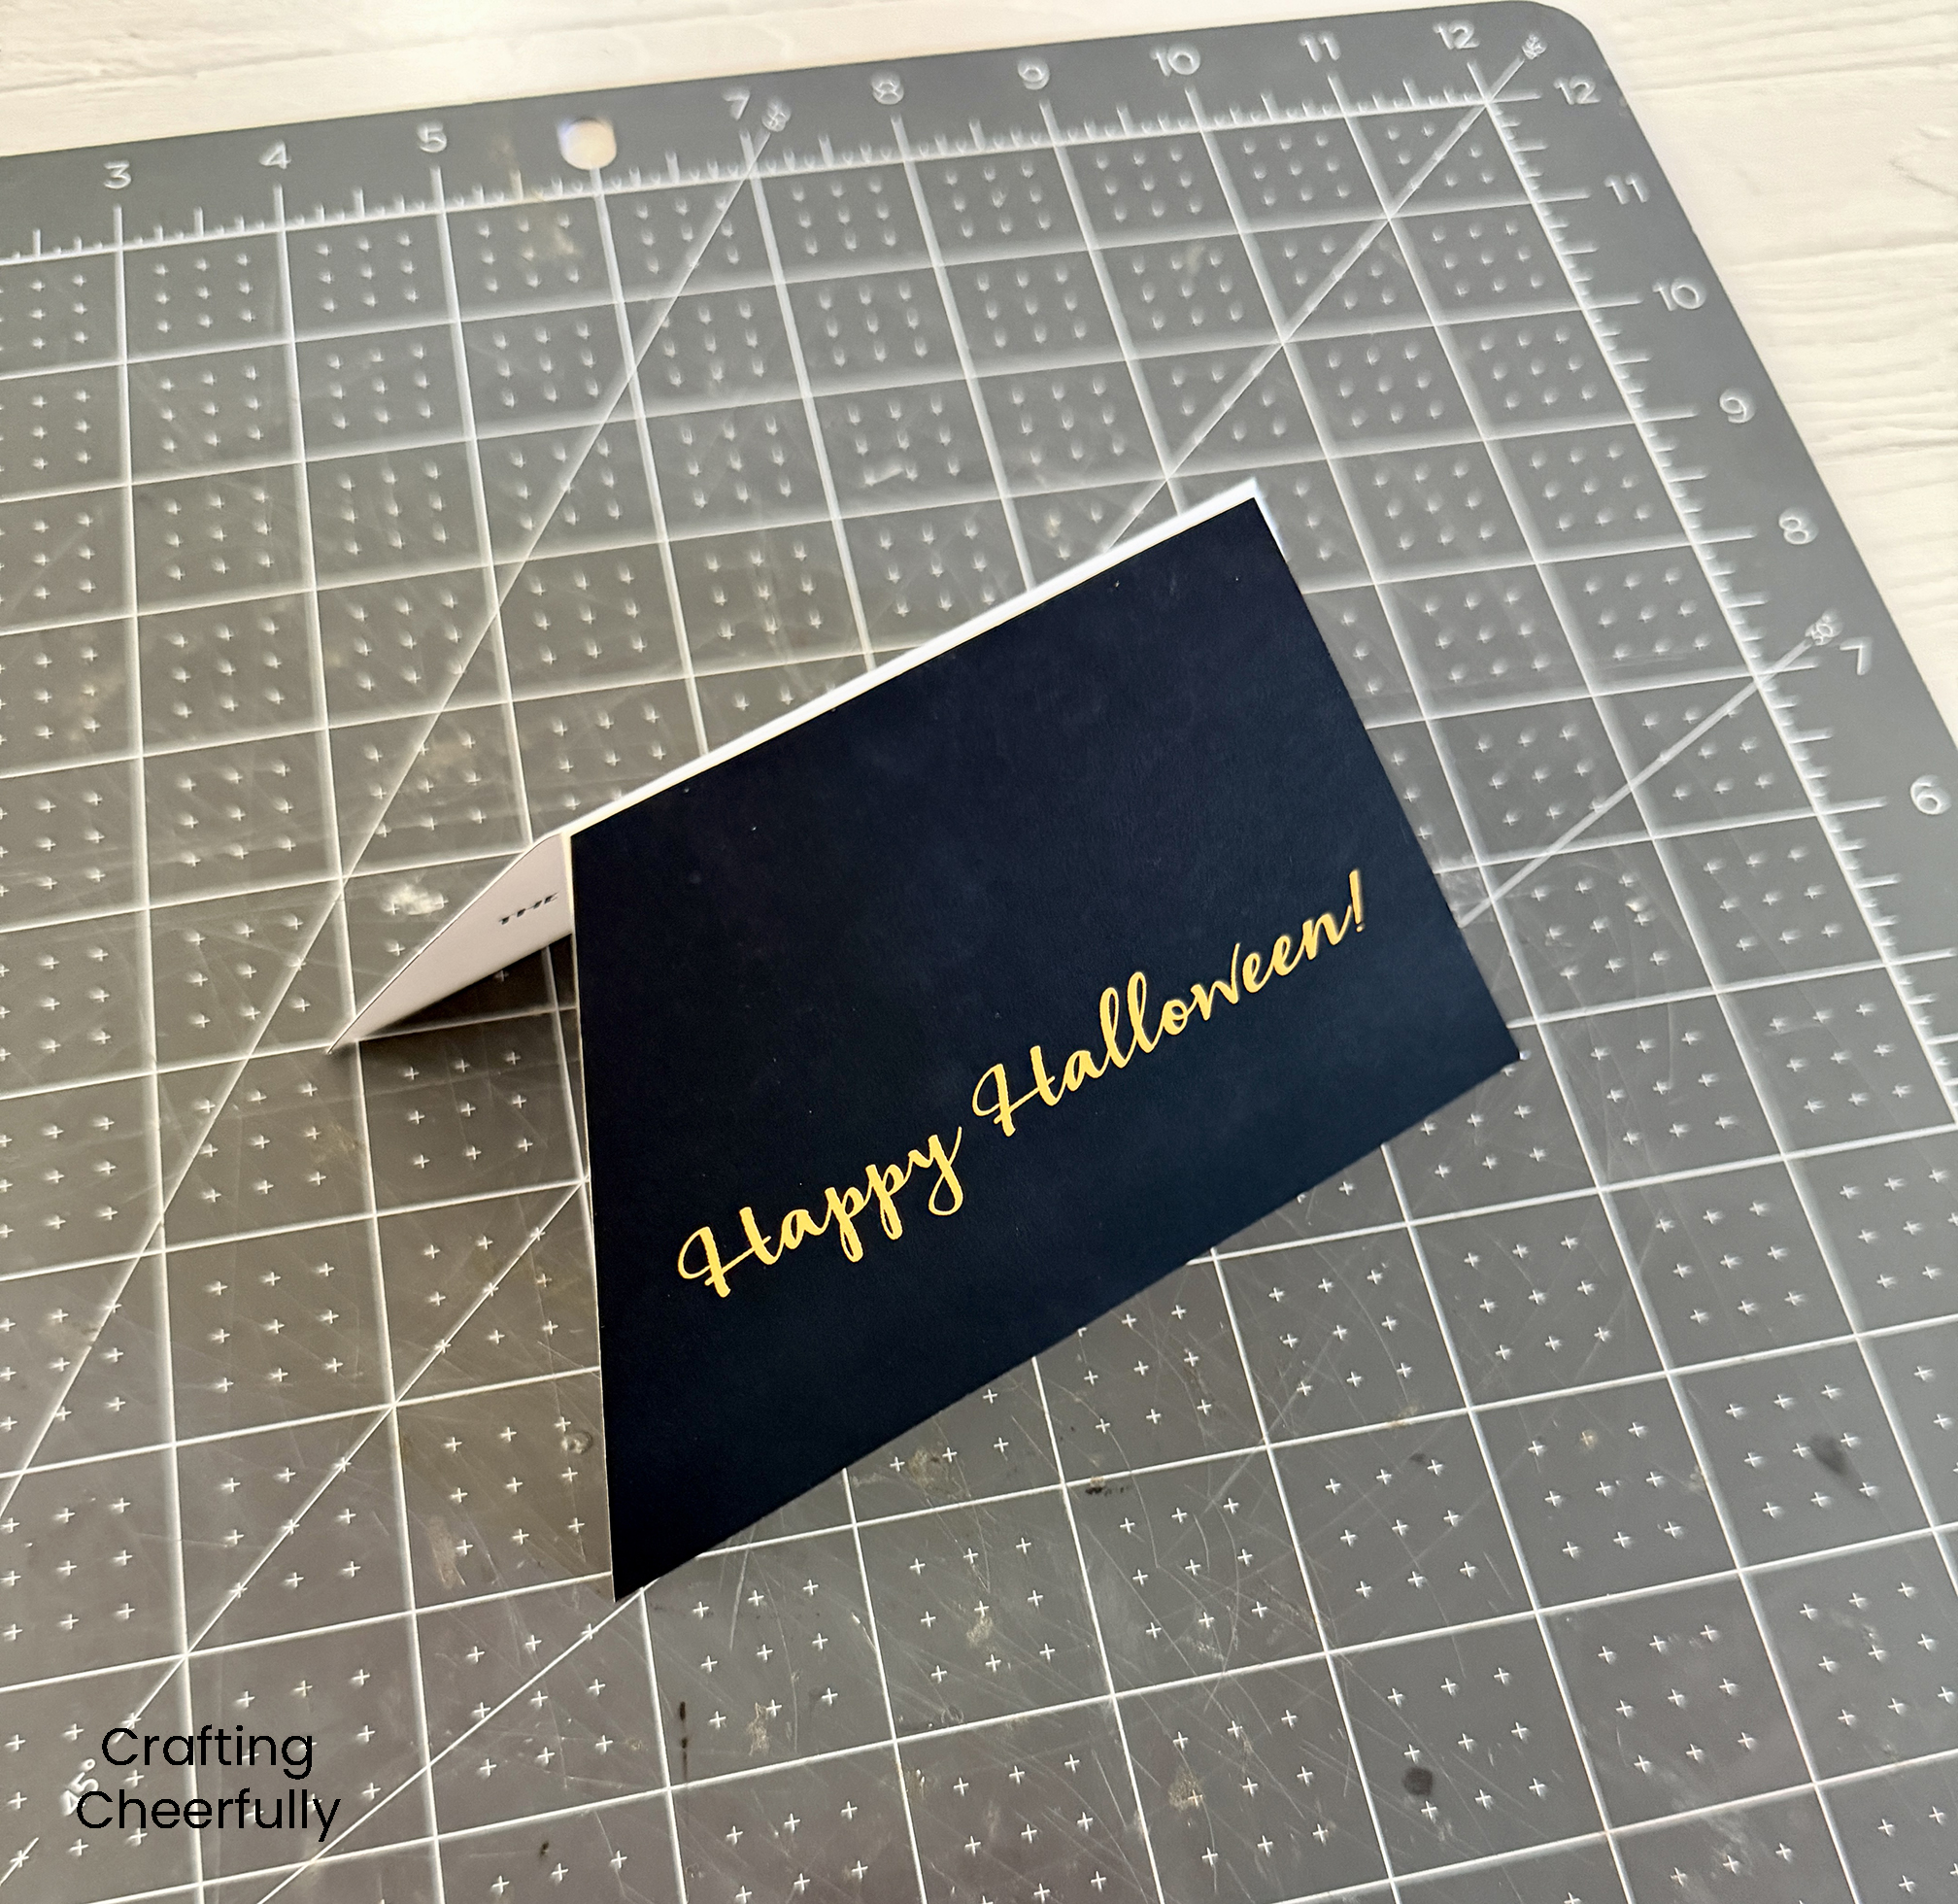
Attach the globe to the folded stand using double-sided tape or glue. Use the guide that is lightly shown on the stand to help you position the snow globe. The finished snow globe will measure 7″ tall so it will fit and A7 envelope.
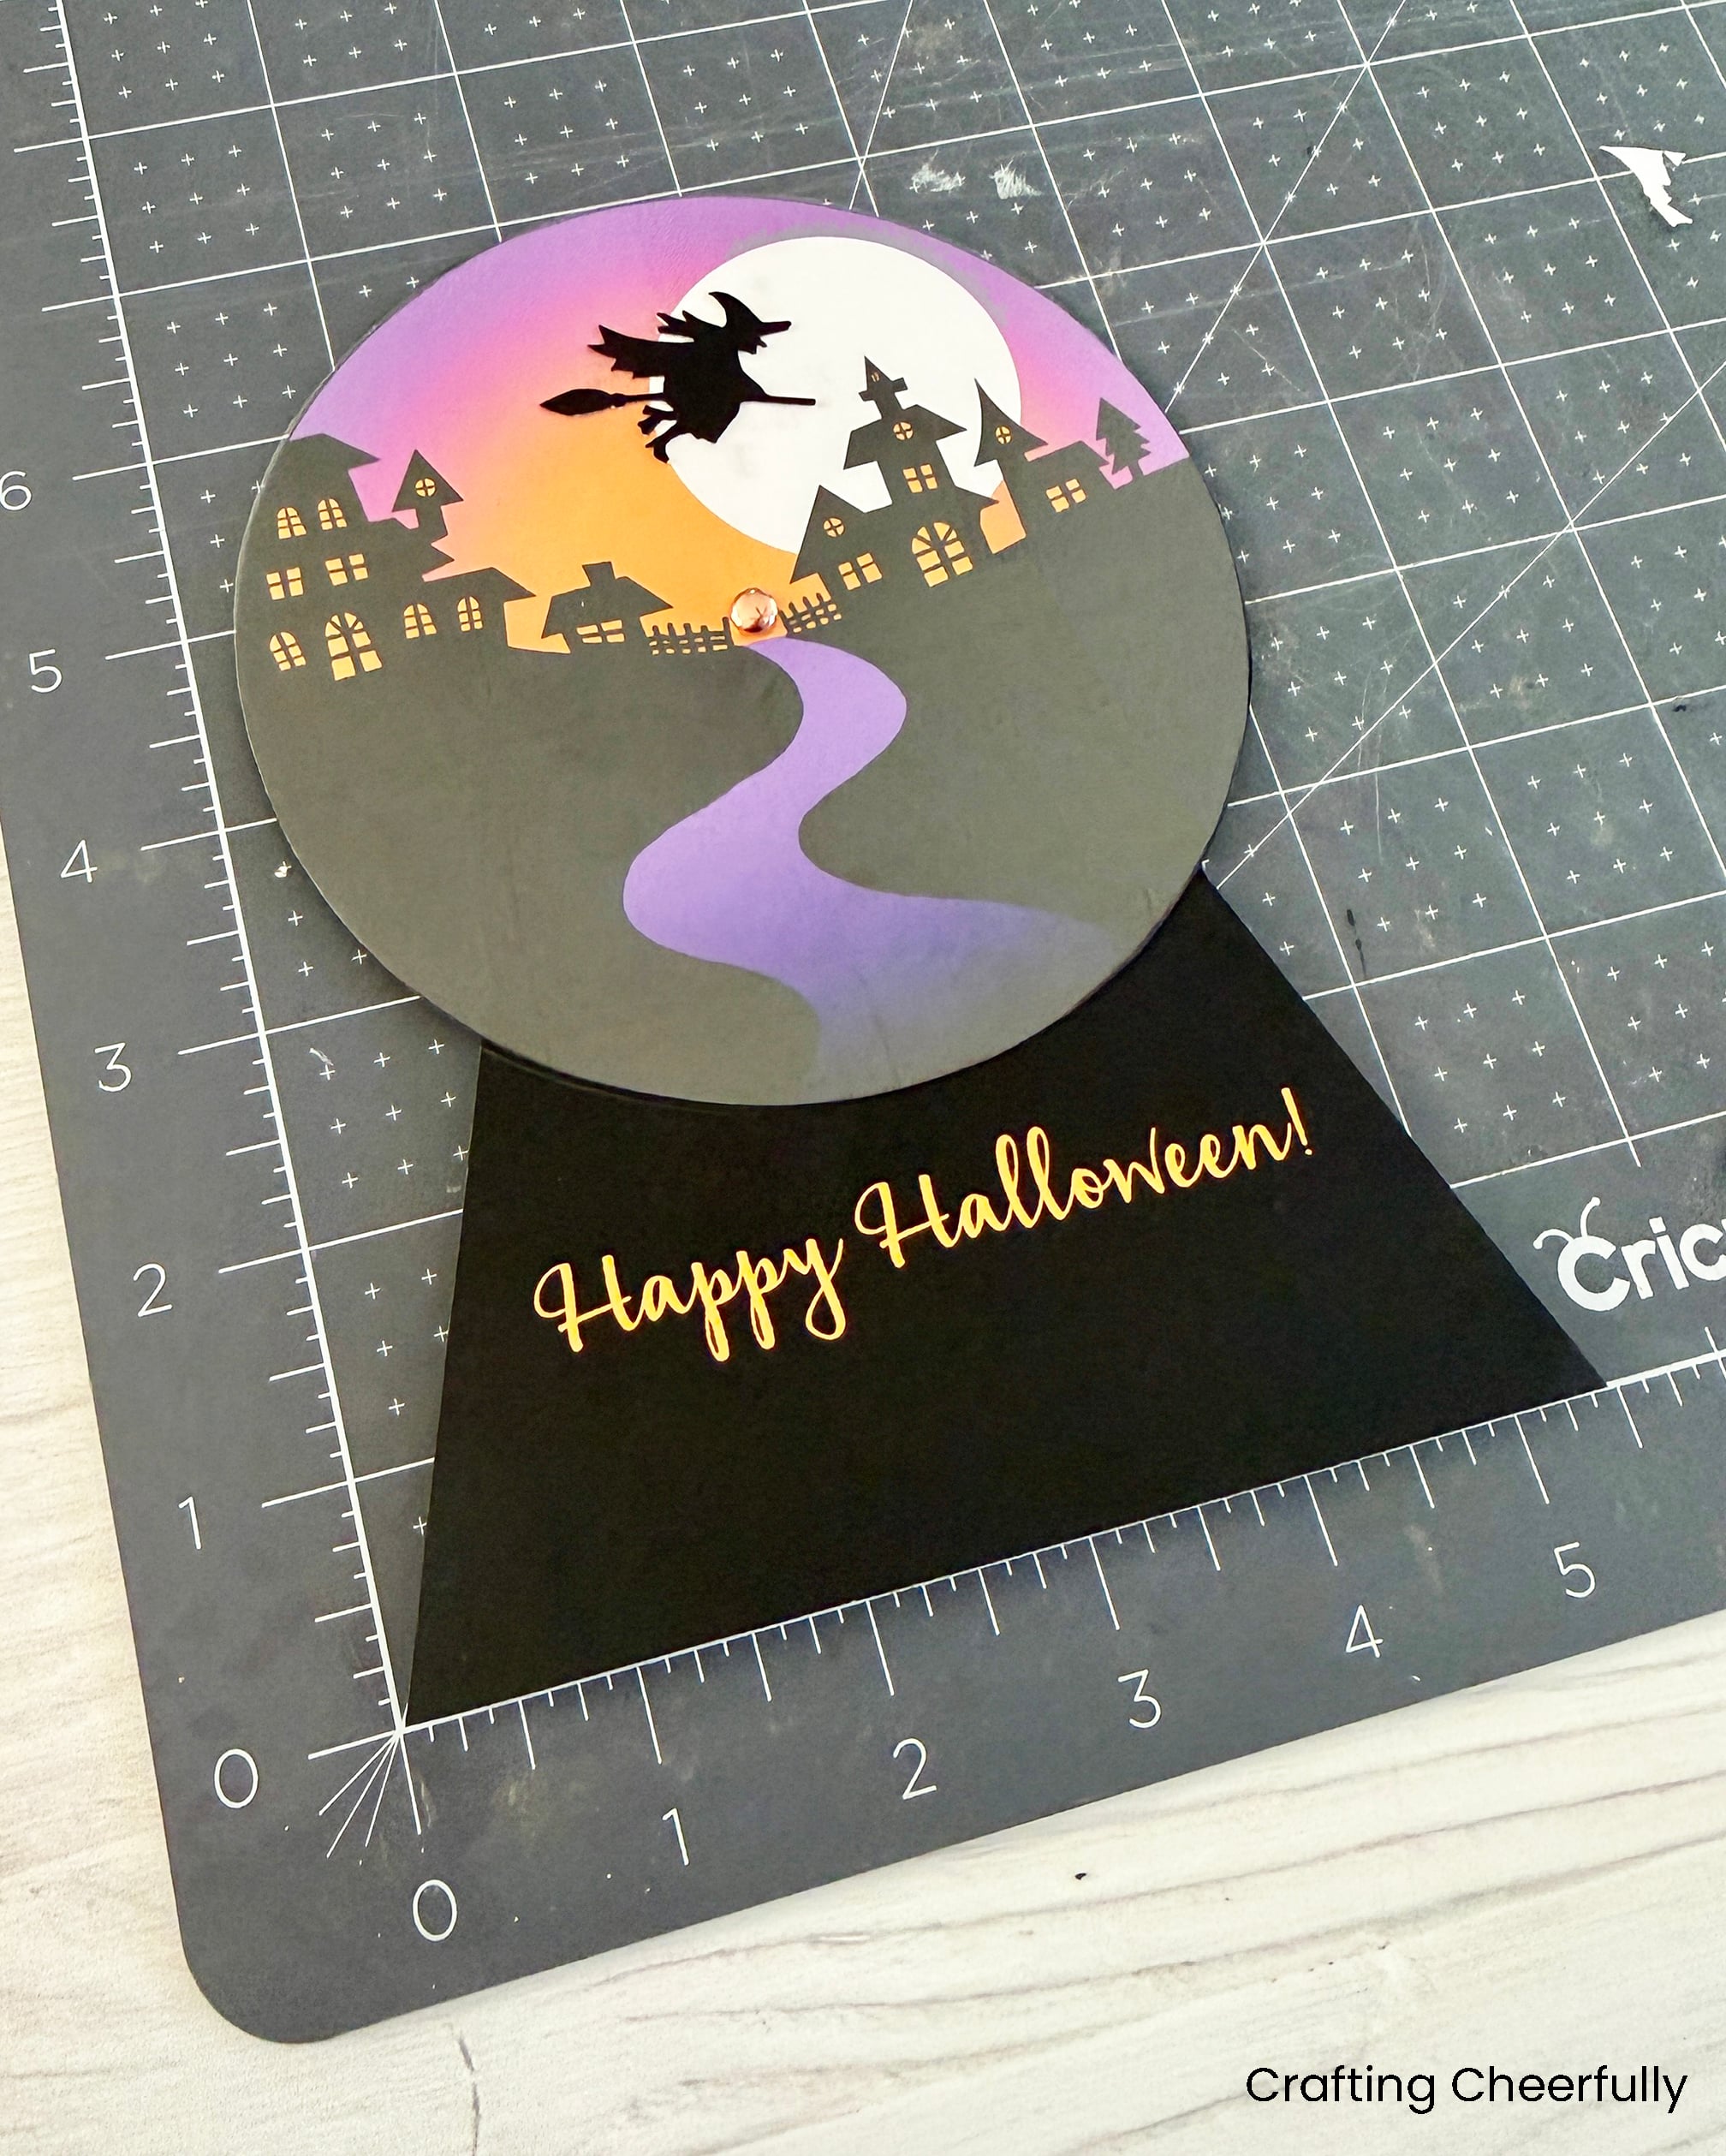
The card is finished!!
I love the finished card! I’ll be sending a few of these out and keeping one for myself to display with our Halloween decorations! I have a few more fun Halloween projects coming this month, including a new DIY Trick-or-Treat Bag with a free printable pattern. Yay Halloween! :)

Get the Free Halloween Snow Globe Card Printable!
Fill out the purple form below with your first name and email address! The free file will be sent straight to your inbox! If you have already filled out the form below, don’t worry – you won’t be added to my list twice! This freebie is for personal use only. I hope you enjoy crafting something special. Please let me know if you have any questions :)




This is adorable and I love the flying witch. I’m not good at card making, but your instructions are great and I could totally do this. Thanks for sharing on Merry Monday.
Thank you!! And thank you for hosting a great party! :)