3D Paper Hogwarts Castle
Use cardstock and foam tape to create a 3D paper Hogwarts Castle with your Cricut cutting machine. Learn how to make this fun layered paper Harry Potter craft and get access to the cut file in Cricut Design Space!

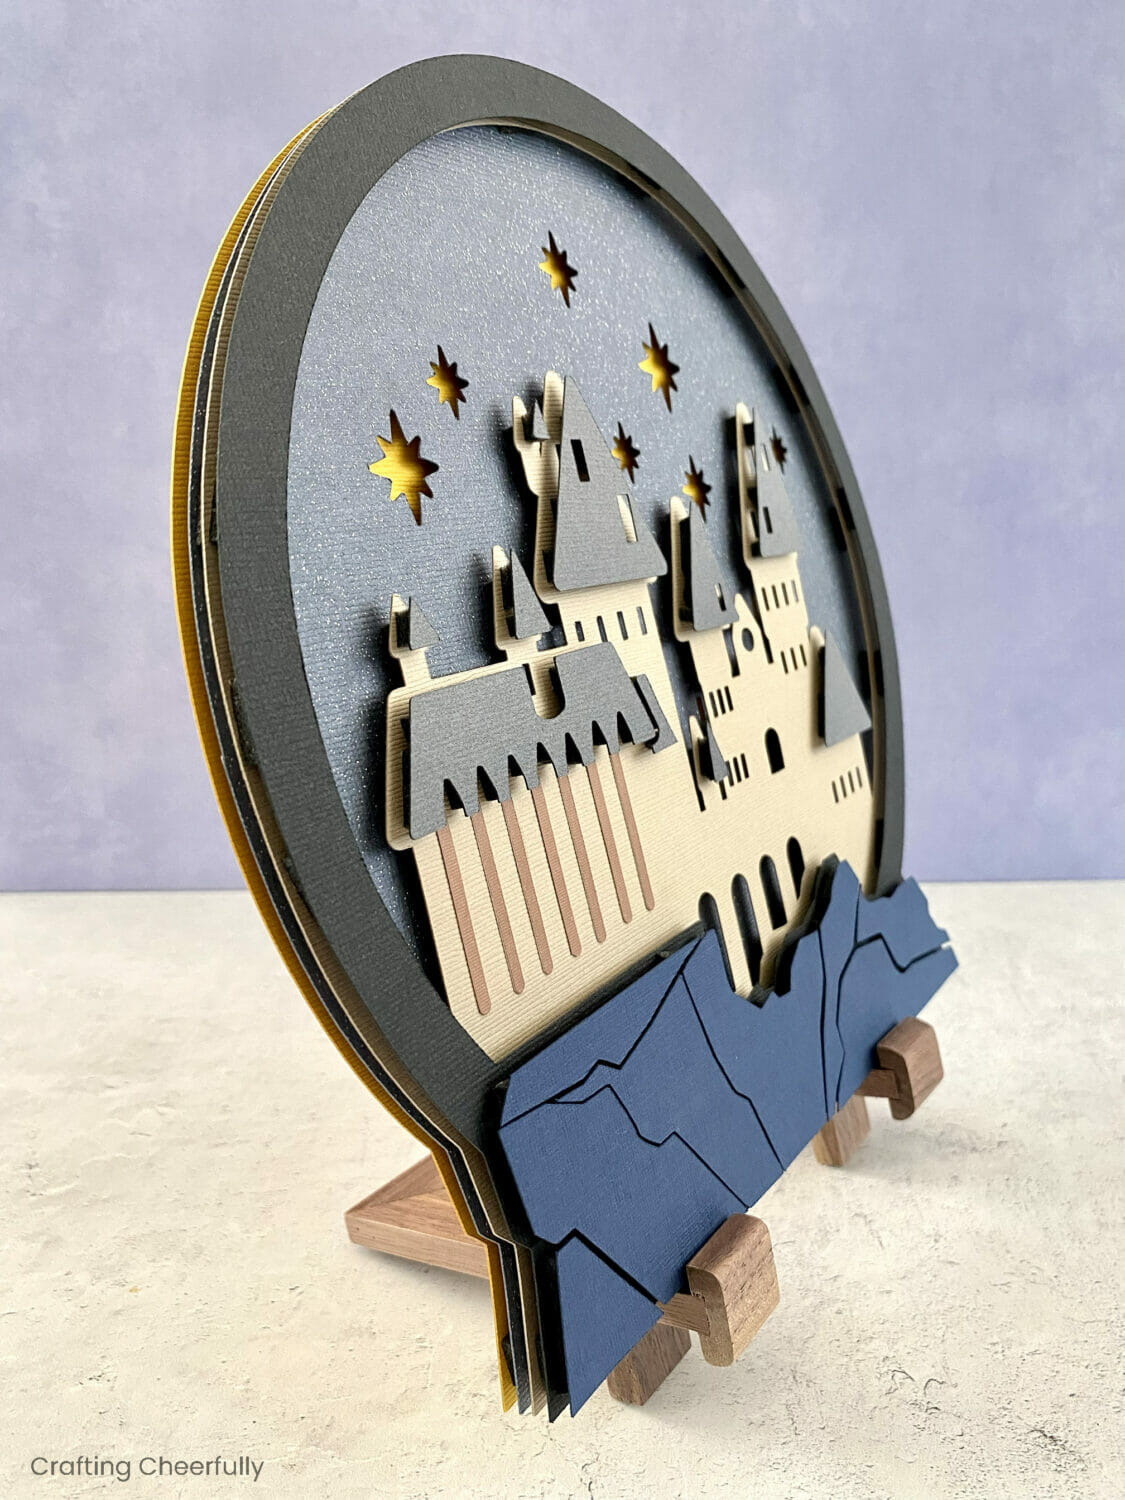
Hello Crafty Friends! Today I’m excited to share a new layered paper craft with you, a layered paper Hogwarts Castle! I love how this turned out, especially since the only materials I used were cardstock and foam tape. Layered paper art is super popular right now and I can see why! The finished result looks amazing and it looks beautiful displayed in your home or gifted to someone special.
This 3D Harry Potter craft was created with my Cricut Explore. Using a cutting machine makes this project go quickly and you will get the perfect cut each time. This is important so your layers line up perfectly when stacked.

3D Harry Potter Hogwarts Castle
Choosing the Paper
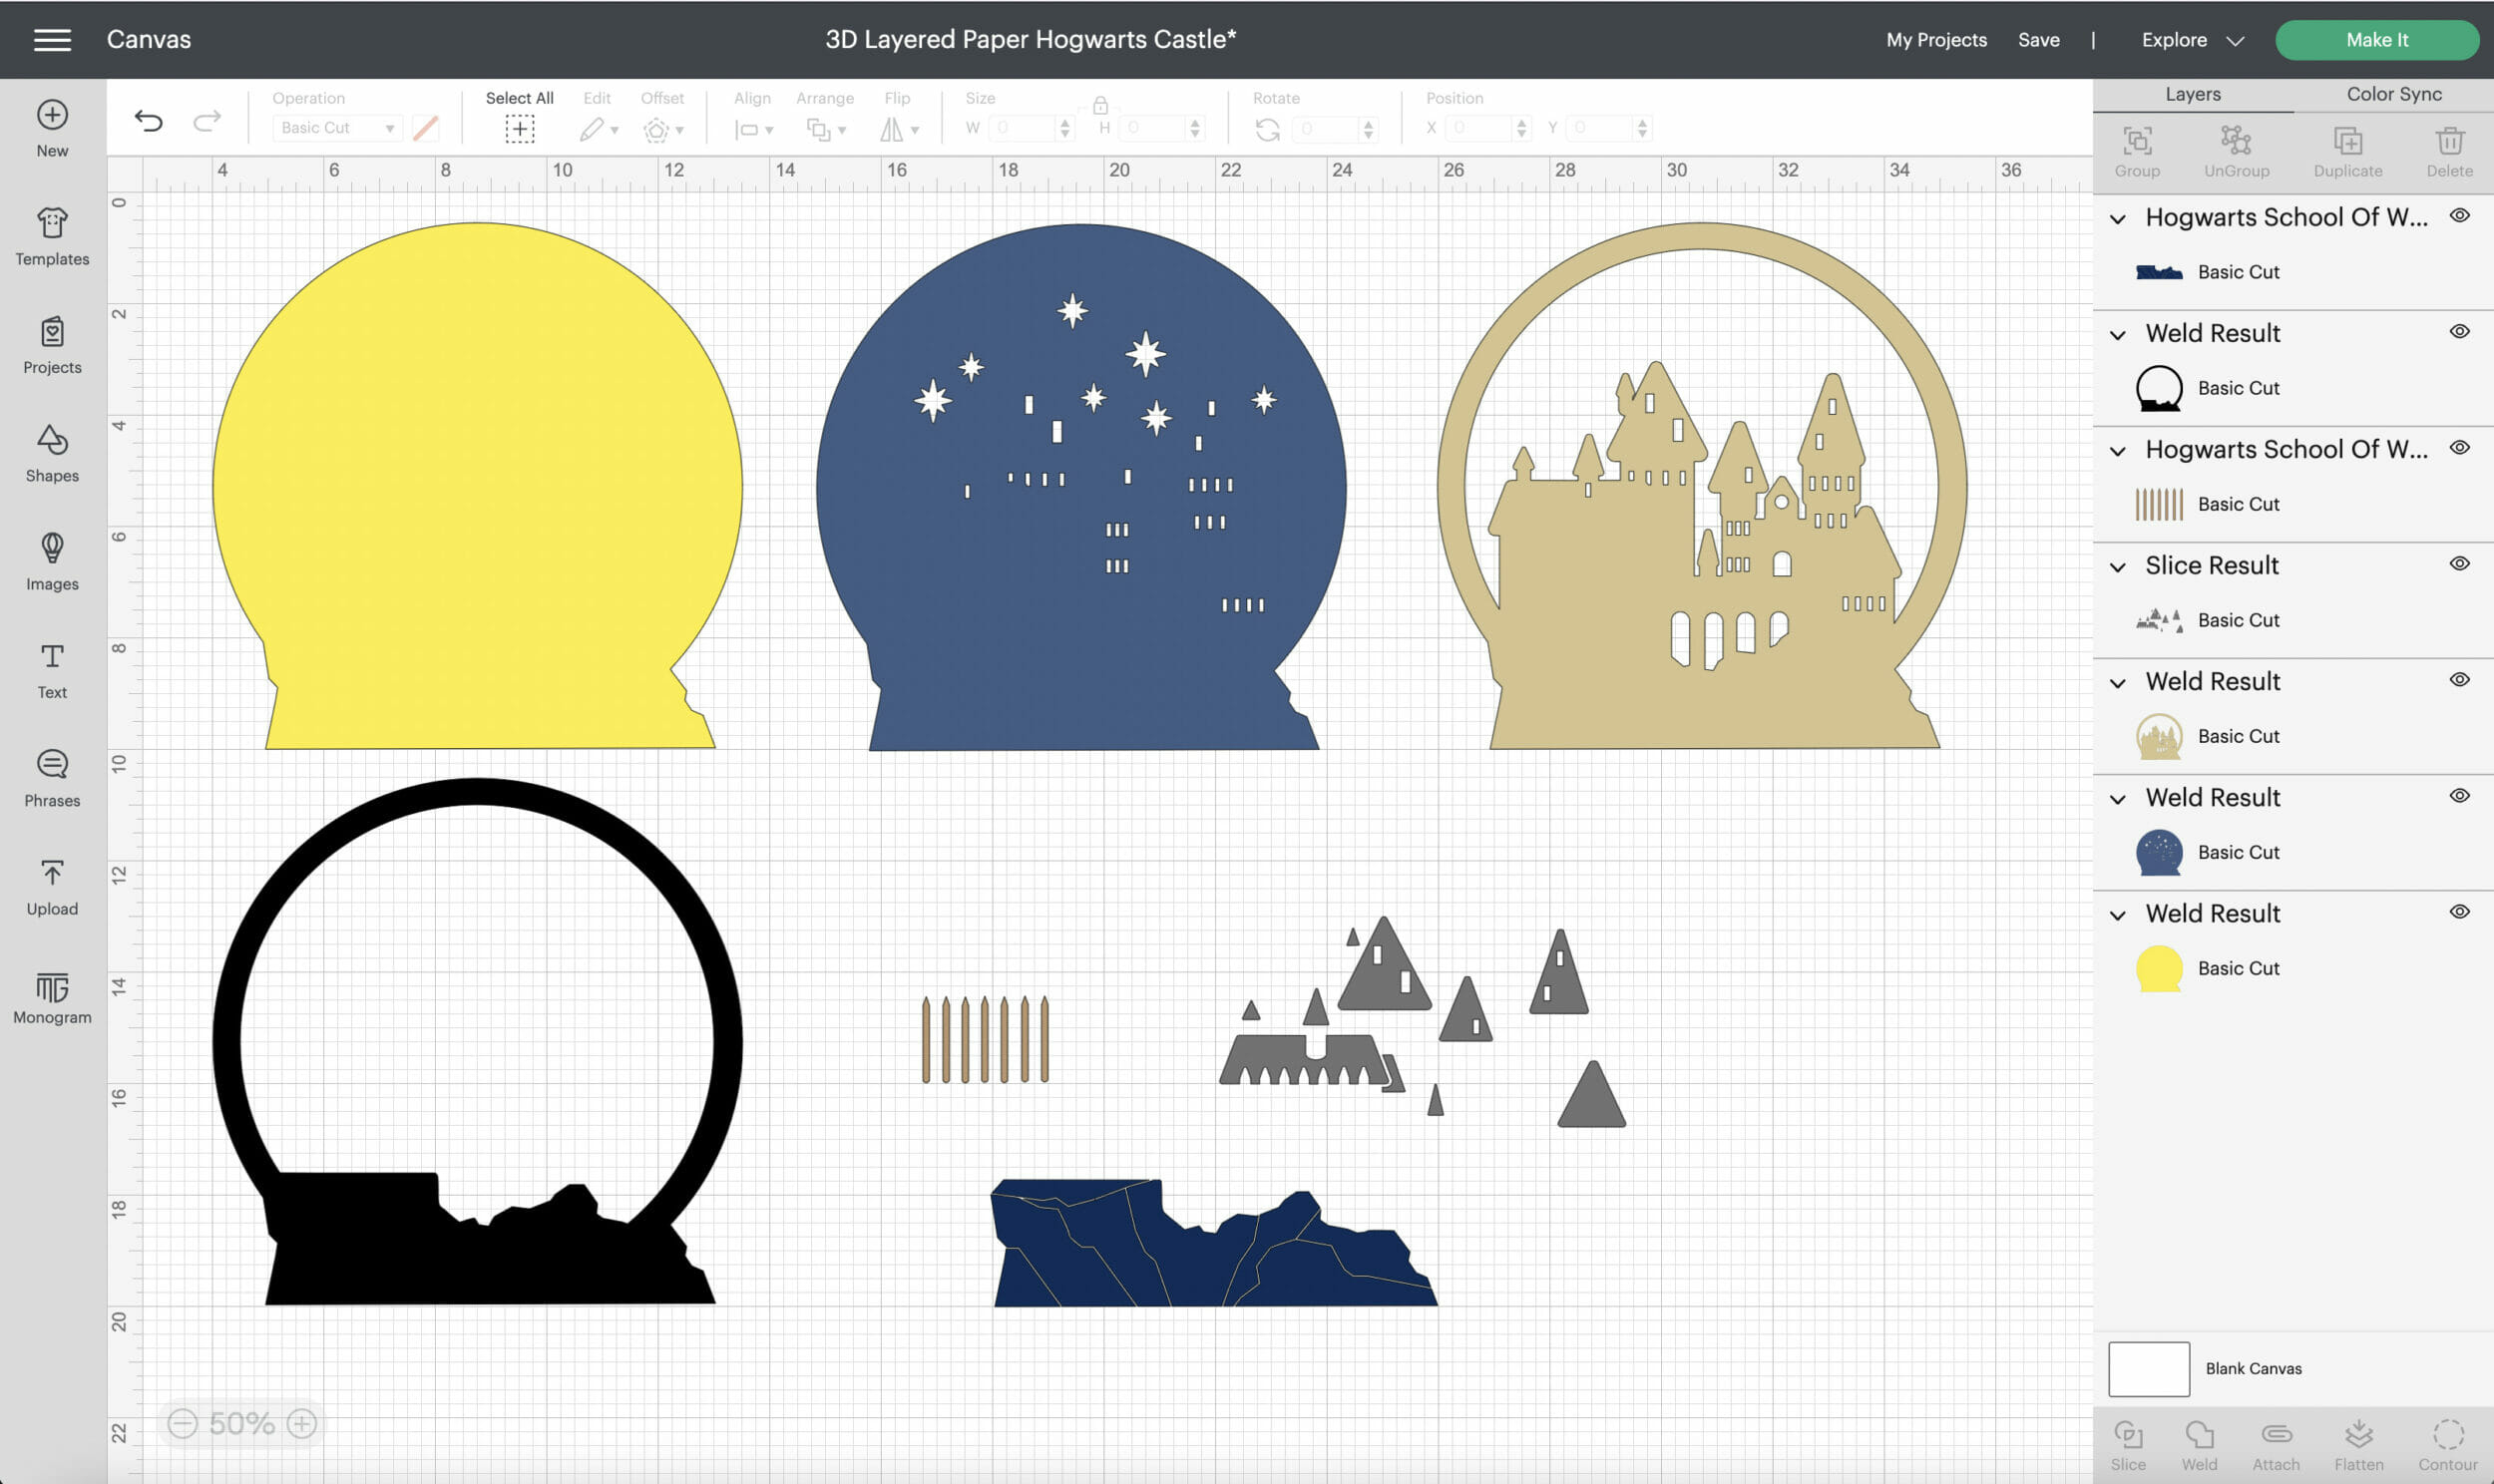
For this 3D paper Hogwarts Castle you will need seven different colors of cardstock. I chose to use mostly Bazzill cardstock which is thick and has a beautiful texture. When I cut it on my Cricut Explore I chose the posterboard+ setting so it would run the cut two times. The piece of paper for the sky behind Hogwarts is from Core’dinations and has glitter in it which added a little magic to the craft project.
Supplies Needed:
- Cardstock – seven colors needed
- I used Bazzill Cardstock: Amber (yellow stars), Quicksand (tan castle), Thunder (gray roof), Raven (black)
- For the sky I used Core’dinationas Ball Gown (blue sky) which has glitter in it.
- The great hall columns were created with a small piece of dark tan from the DCWV Nuetrals Cardstock Pack
- Black Foam or Foam Adhesive Dots
- Cricut cutting machine
- Cricut Supplies: cutting mat, Cricut tools and Cricut scraper
- Wooden easel
- Glue – I used Bearly Art Precision Craft Glue
- Cut File – you’ll find the cut file I designed in Cricut Design Space. Since it is a Harry Potter file there is a fee in Design Space.
Cutting the Paper
Step One: Cut out the layers of paper using your cutting machine. The Harry Potter Hogwarts Castle cut file is available in Cricut Design Space. Cut out all 7 layers of paper.

Assembling the 3D Paper Hogwarts
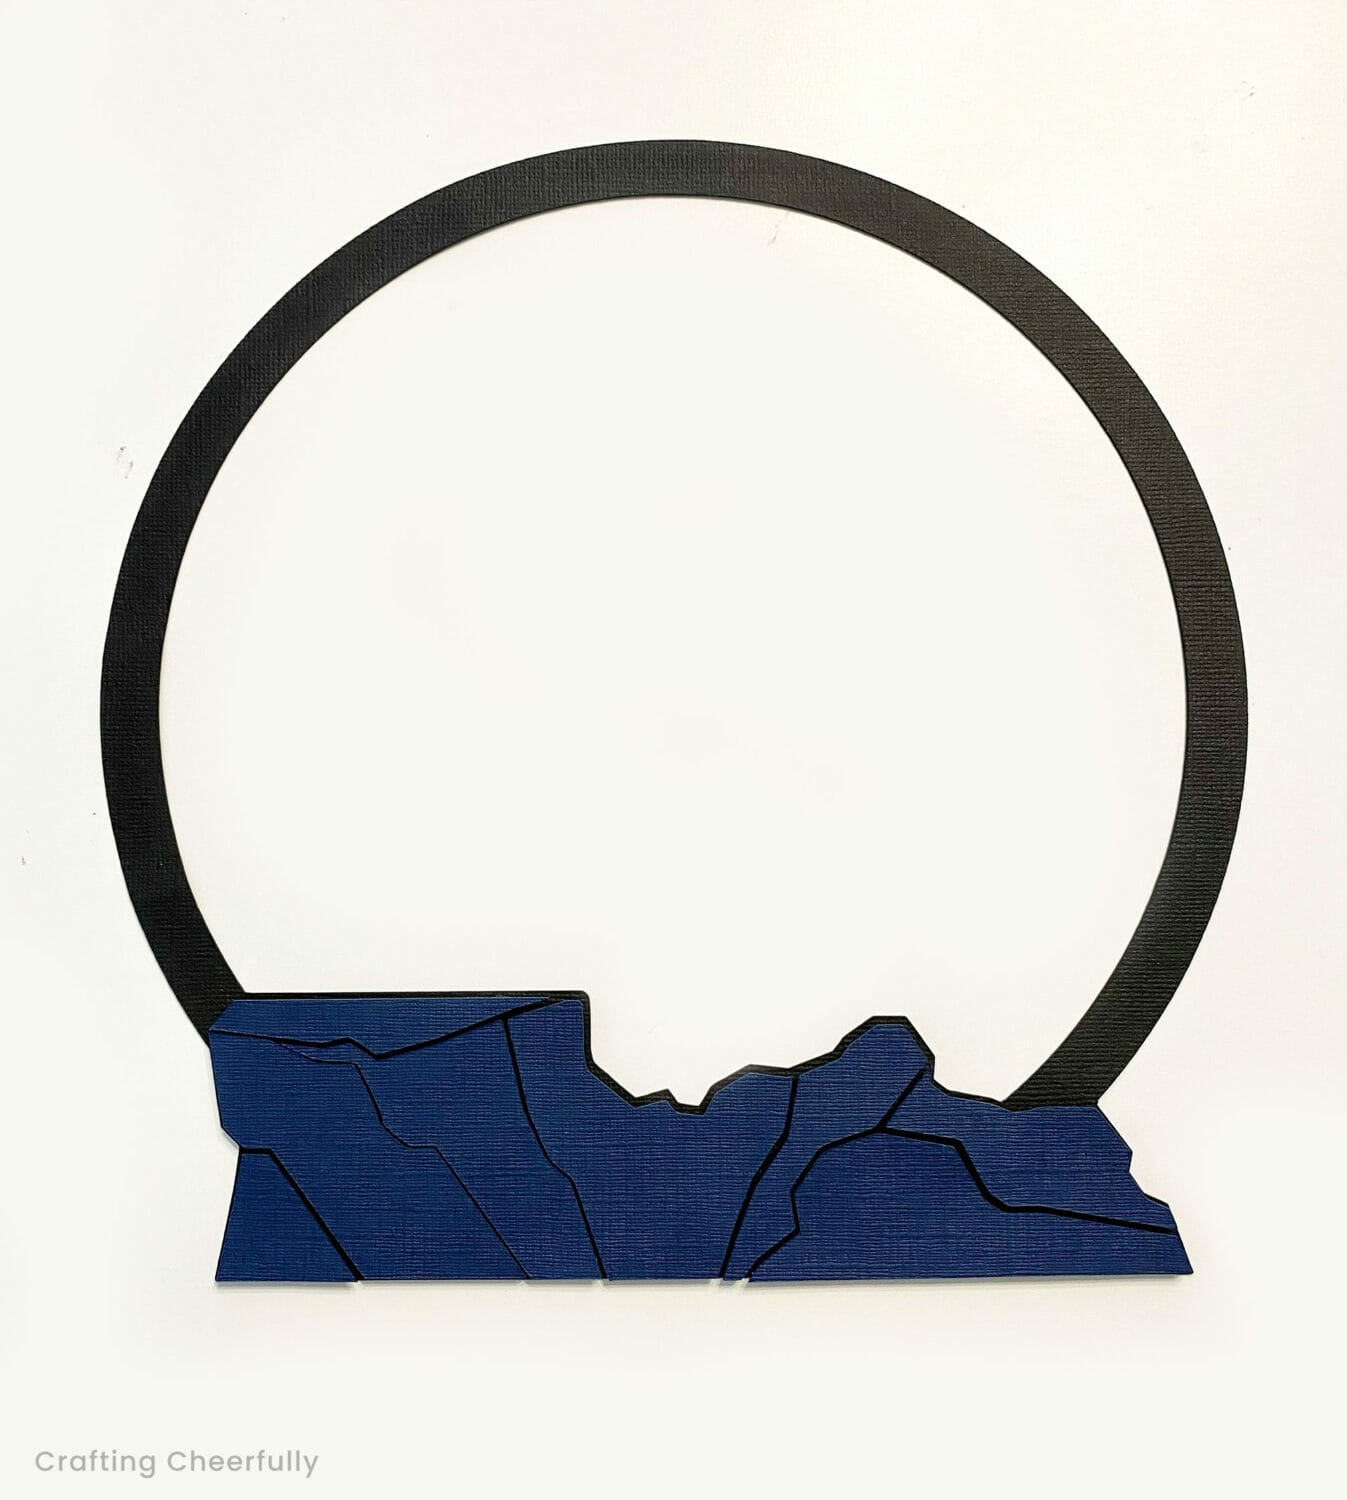
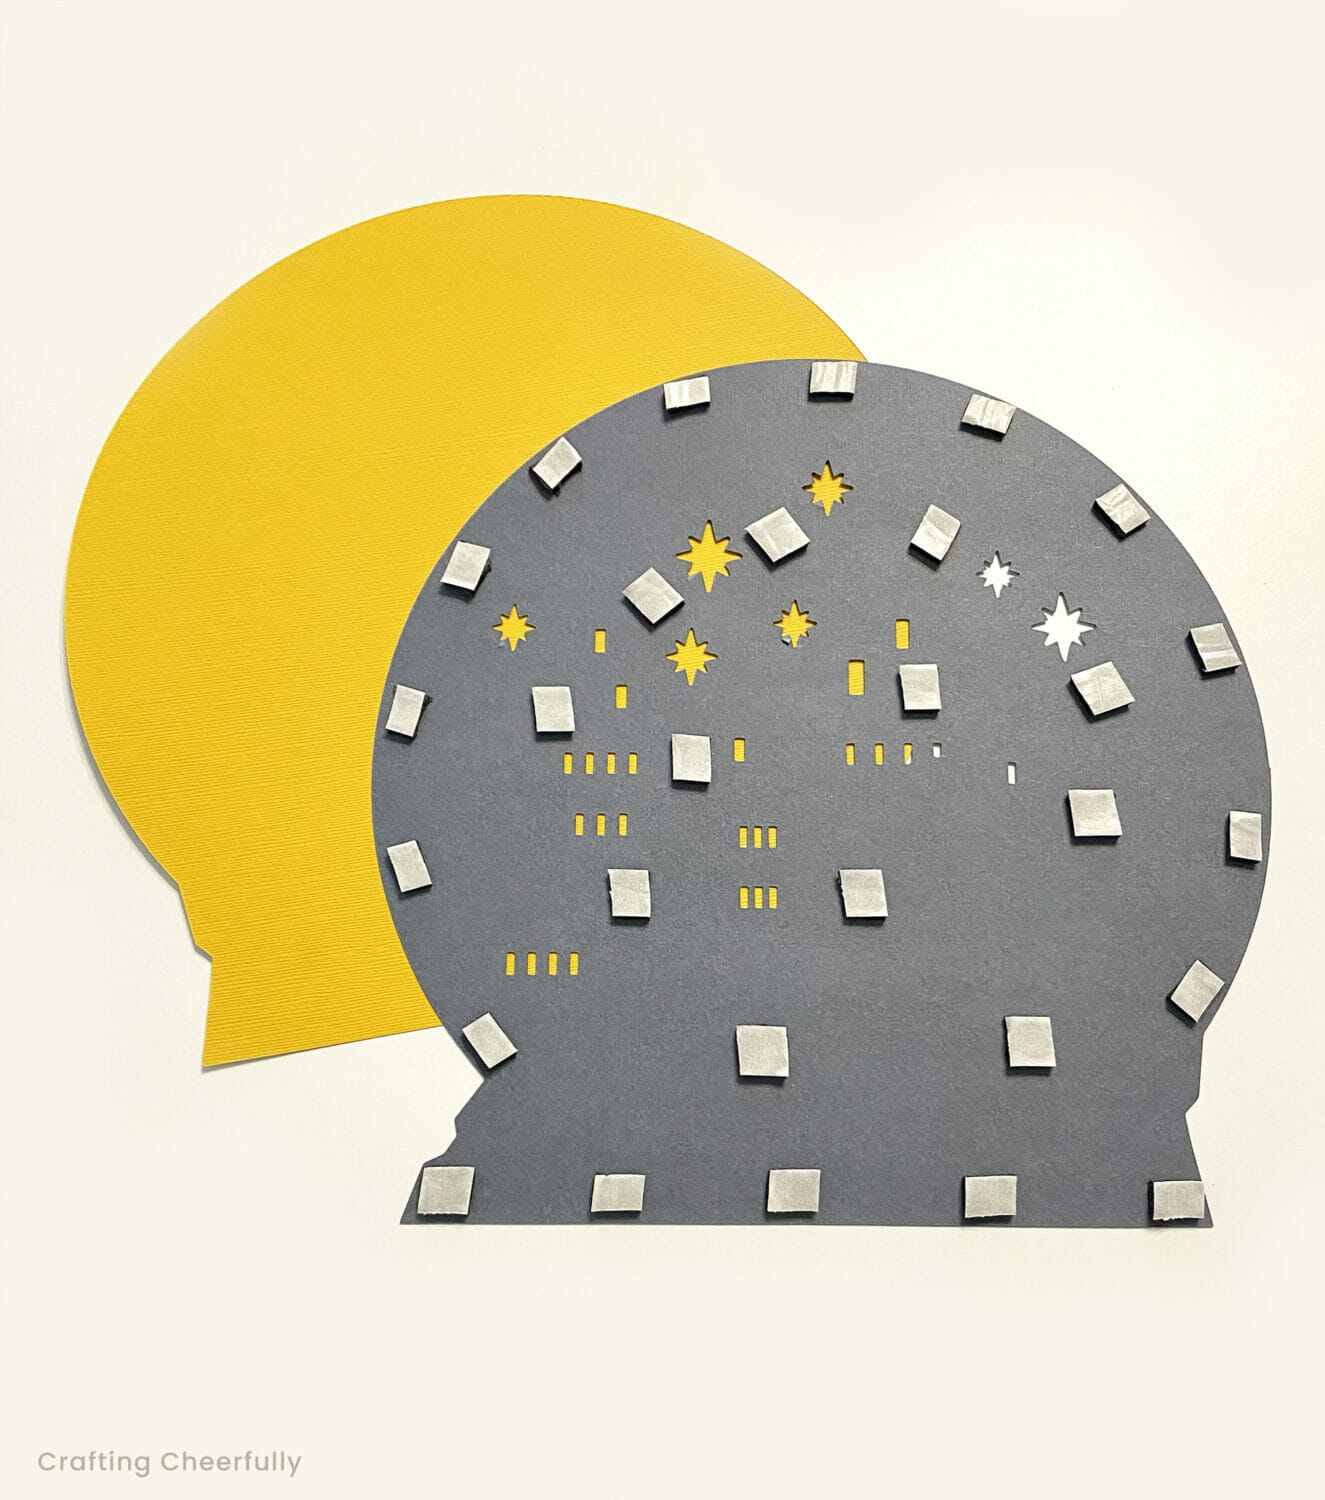
Step Two: Assemble the Hogwarts Castle by layering the paper together using foam tape. Below is the order the paper should be stacked from bottom to top.

Start by adding the rock formation to the black layer of cardstock. I used black foam tape thinking it would blend in more. If I were to do this again, I would probably switch to the small adhesive dots I have used on all of my other layered paper pieces. The black foam tape was difficult to use and since it is very thick it creates shadows that I think make it more visible than the small dots.

If you do use the thicker black foam tape, my #1 tip would be use wax paper to help you cut it into smaller pieces. This will prevent the foam tape from sticking to your scissors. Cut a strip of black foam tape and gently apply it to wax paper. Do not press down too firmly! Cut the wax paper around the tape, but be sure to leave extra wax paper around the tape. Then cut it into tiny pieces. Each piece should have a wax paper tab that will make it easier to pull the wax paper off the foam tape. Without the tabs, I found it really difficult to peal the wax paper off of the foam tape.

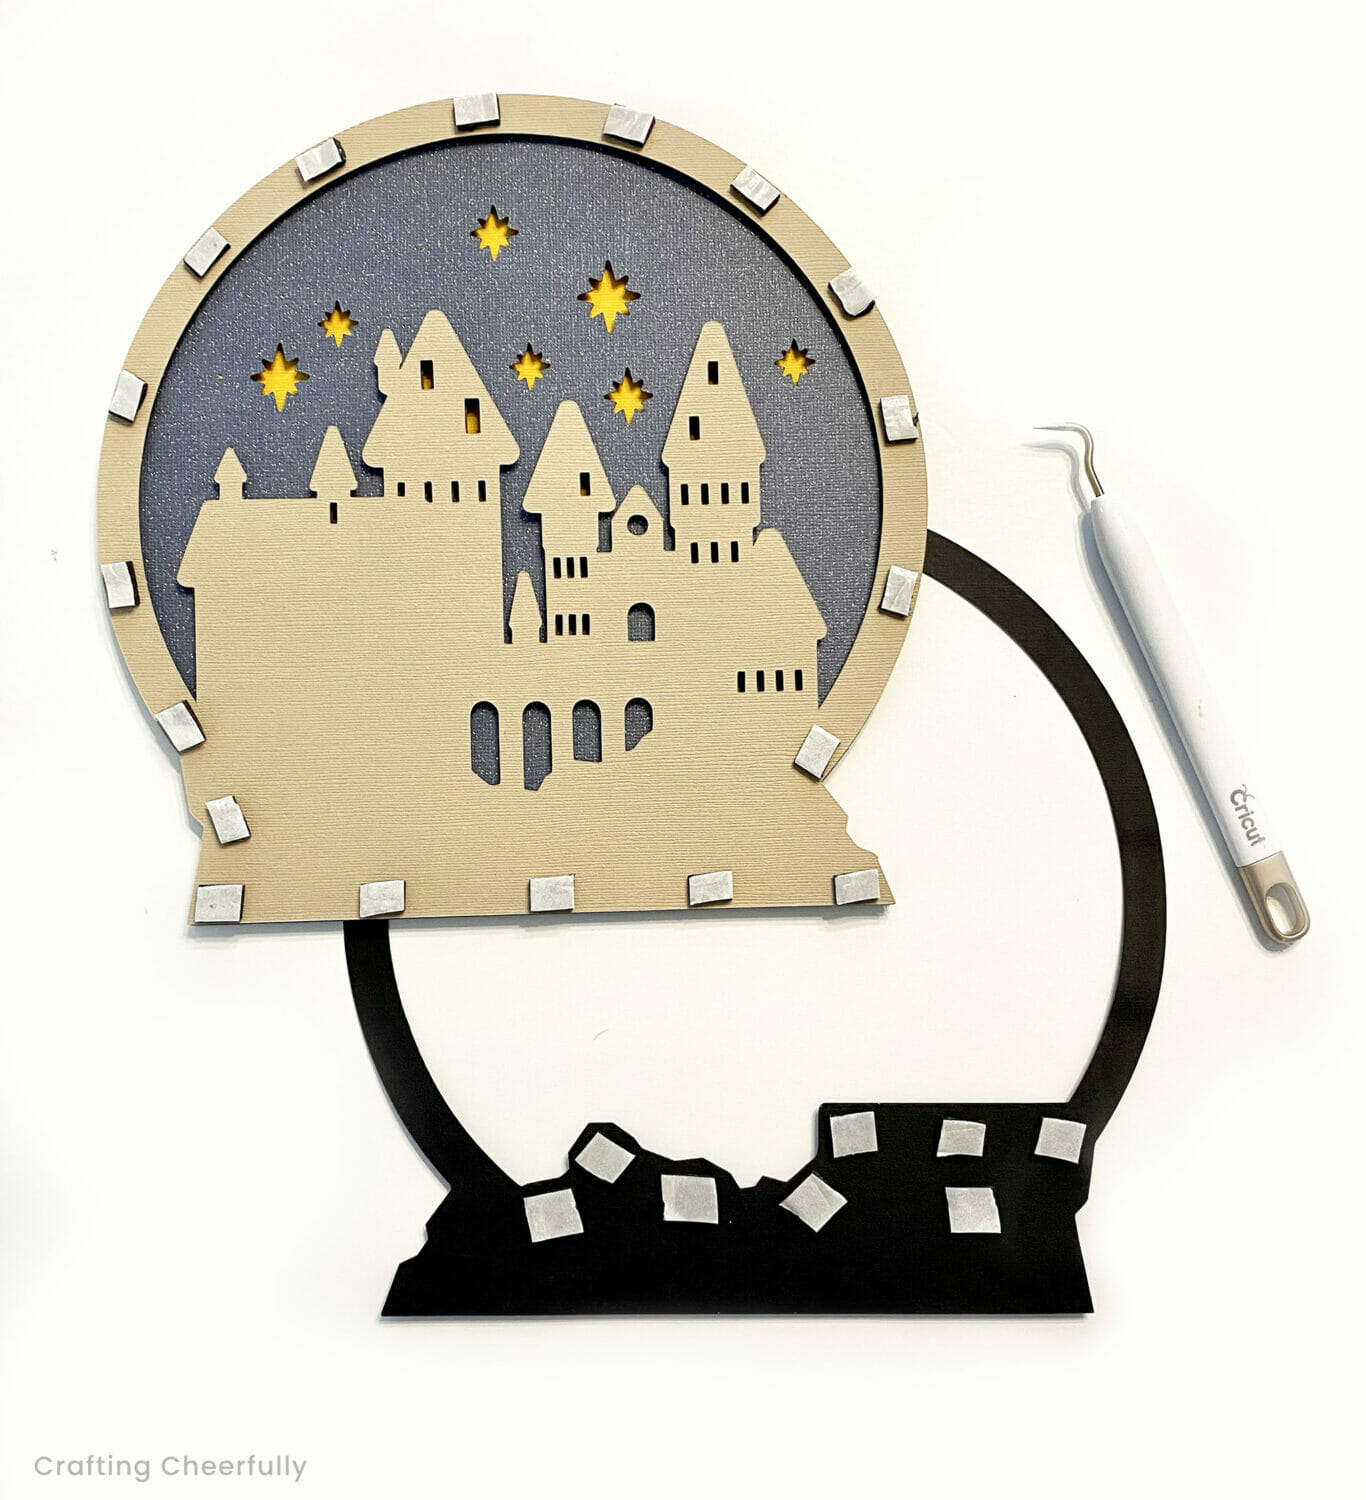
Next, start stacking the layers from the bottom to the top using foam tape pieces. Place the foam tape pieces around the edges in the same spot on each layer.


Add the top layer of black cardstock and then the gray roof pieces. You will need to cut the foam tape into small pieces for this step. I may have overdone it on adding foam tape to the roof pieces. You may be able to get away with less!
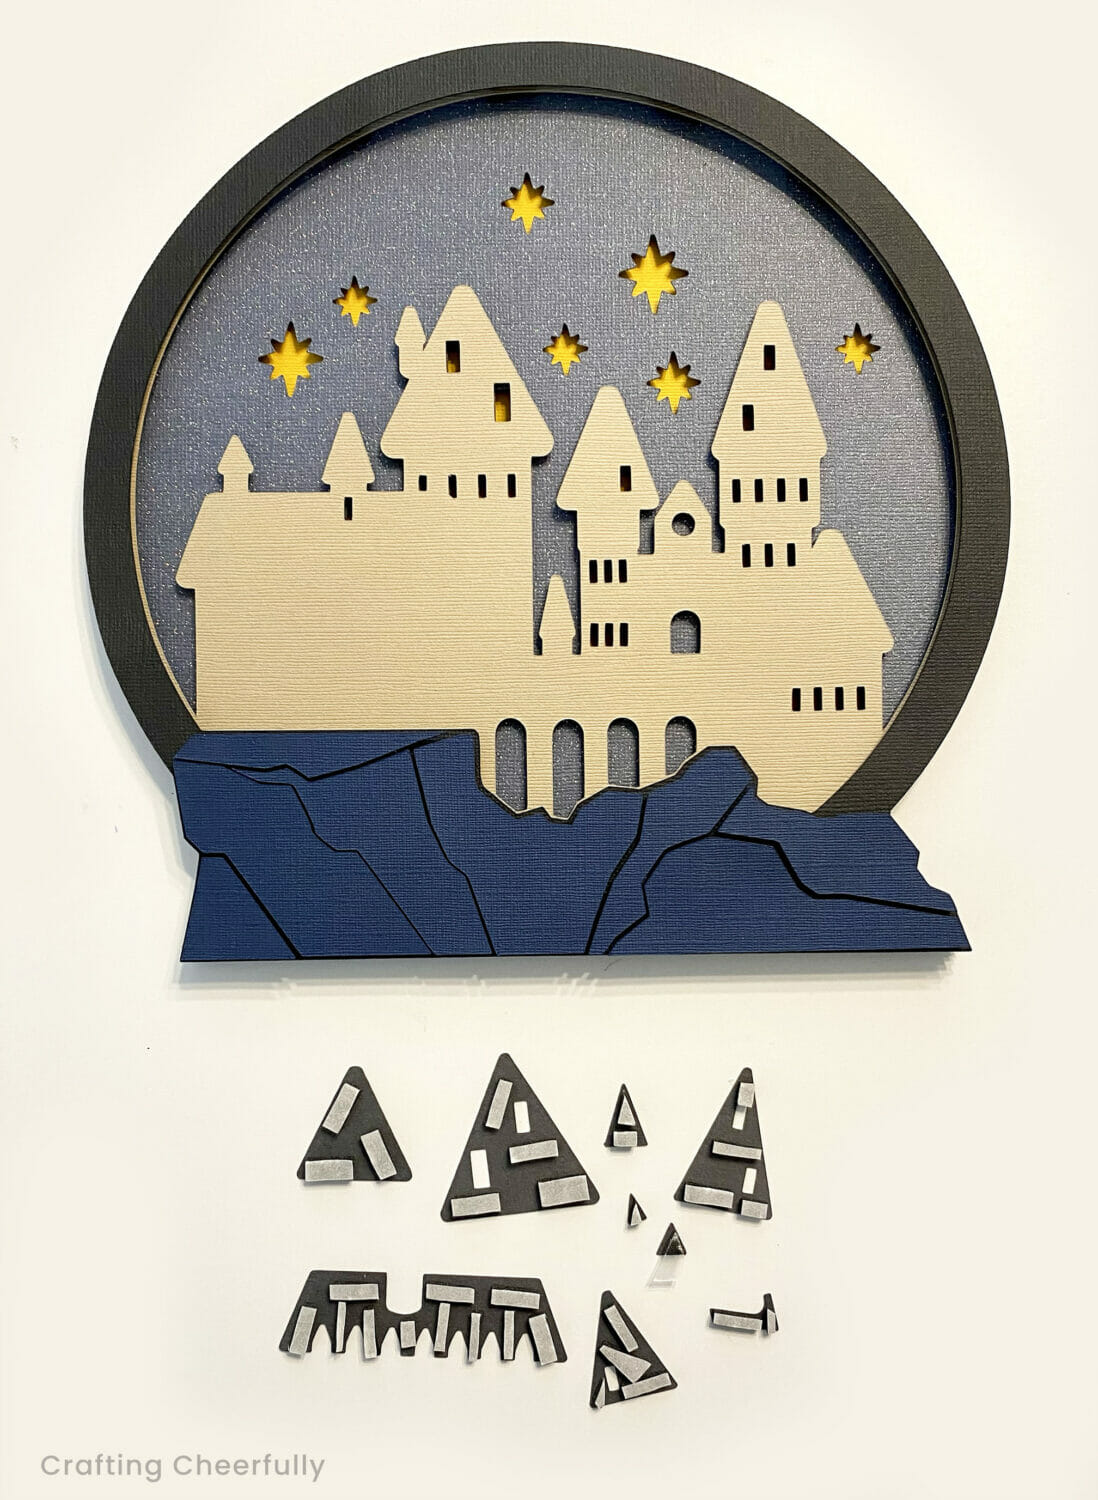
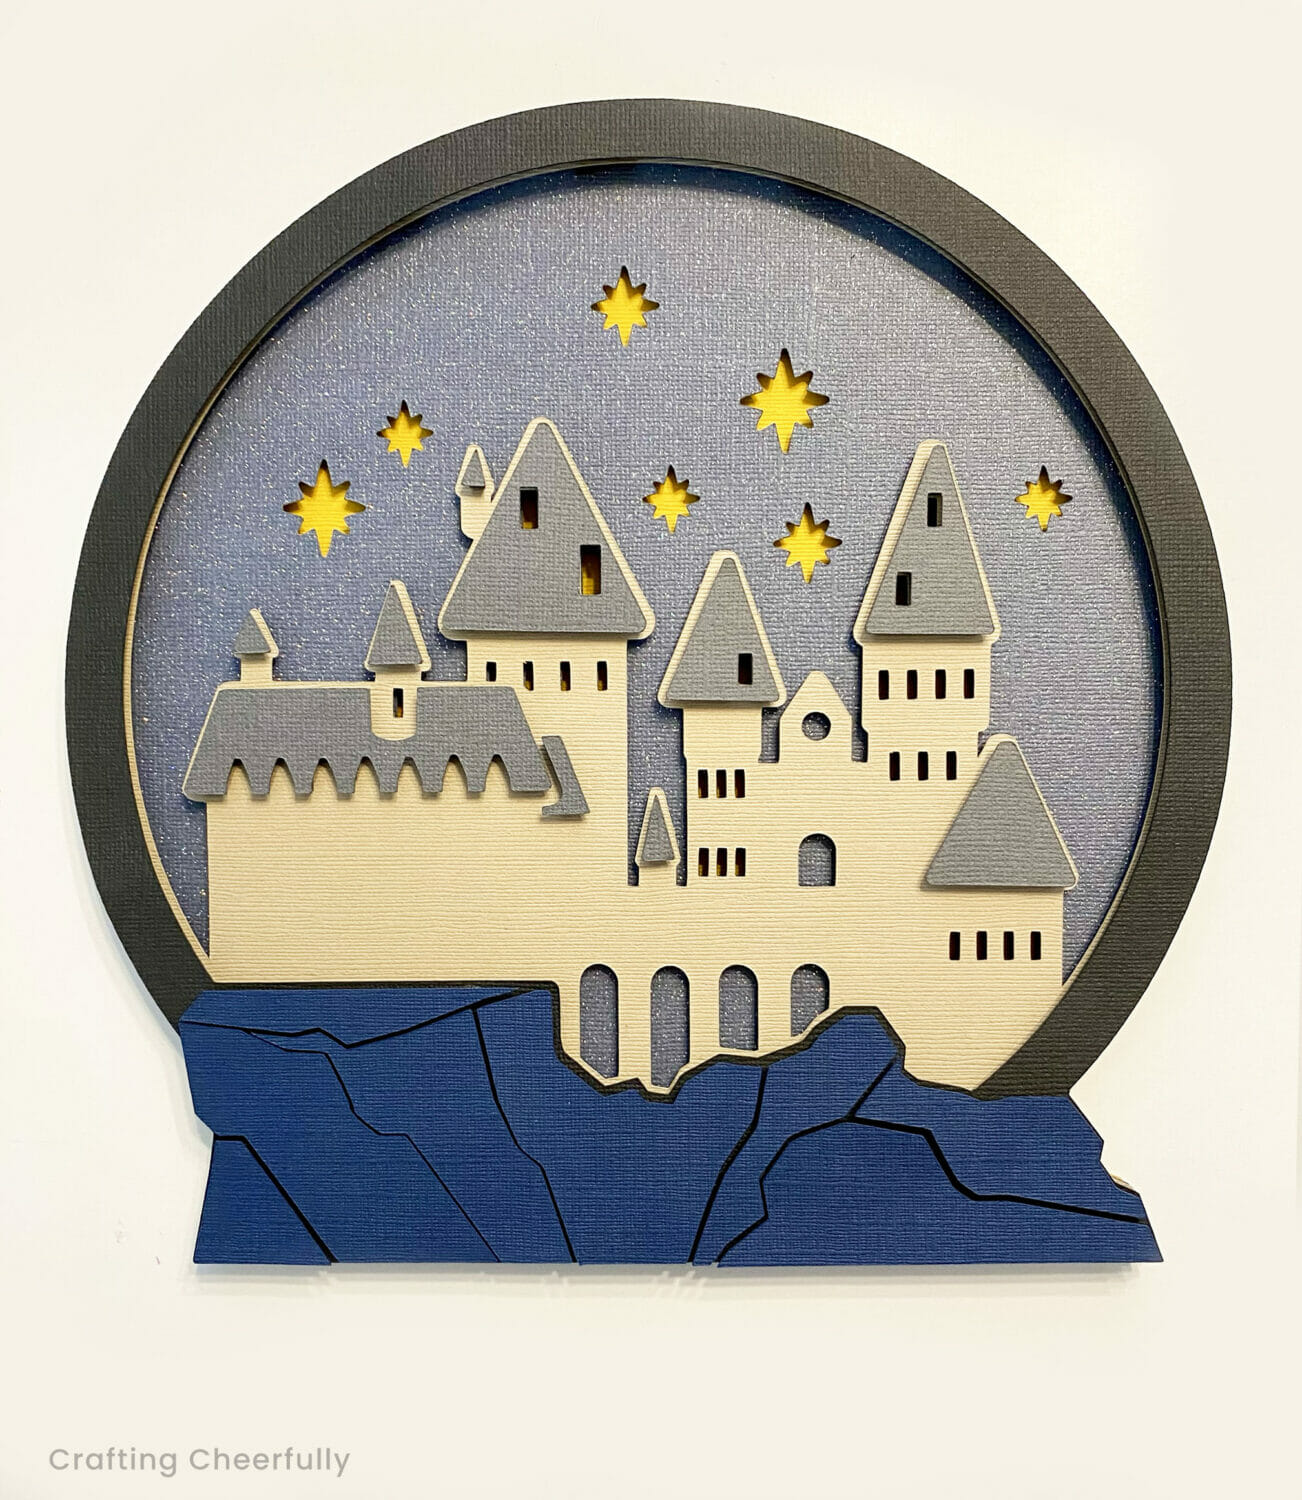
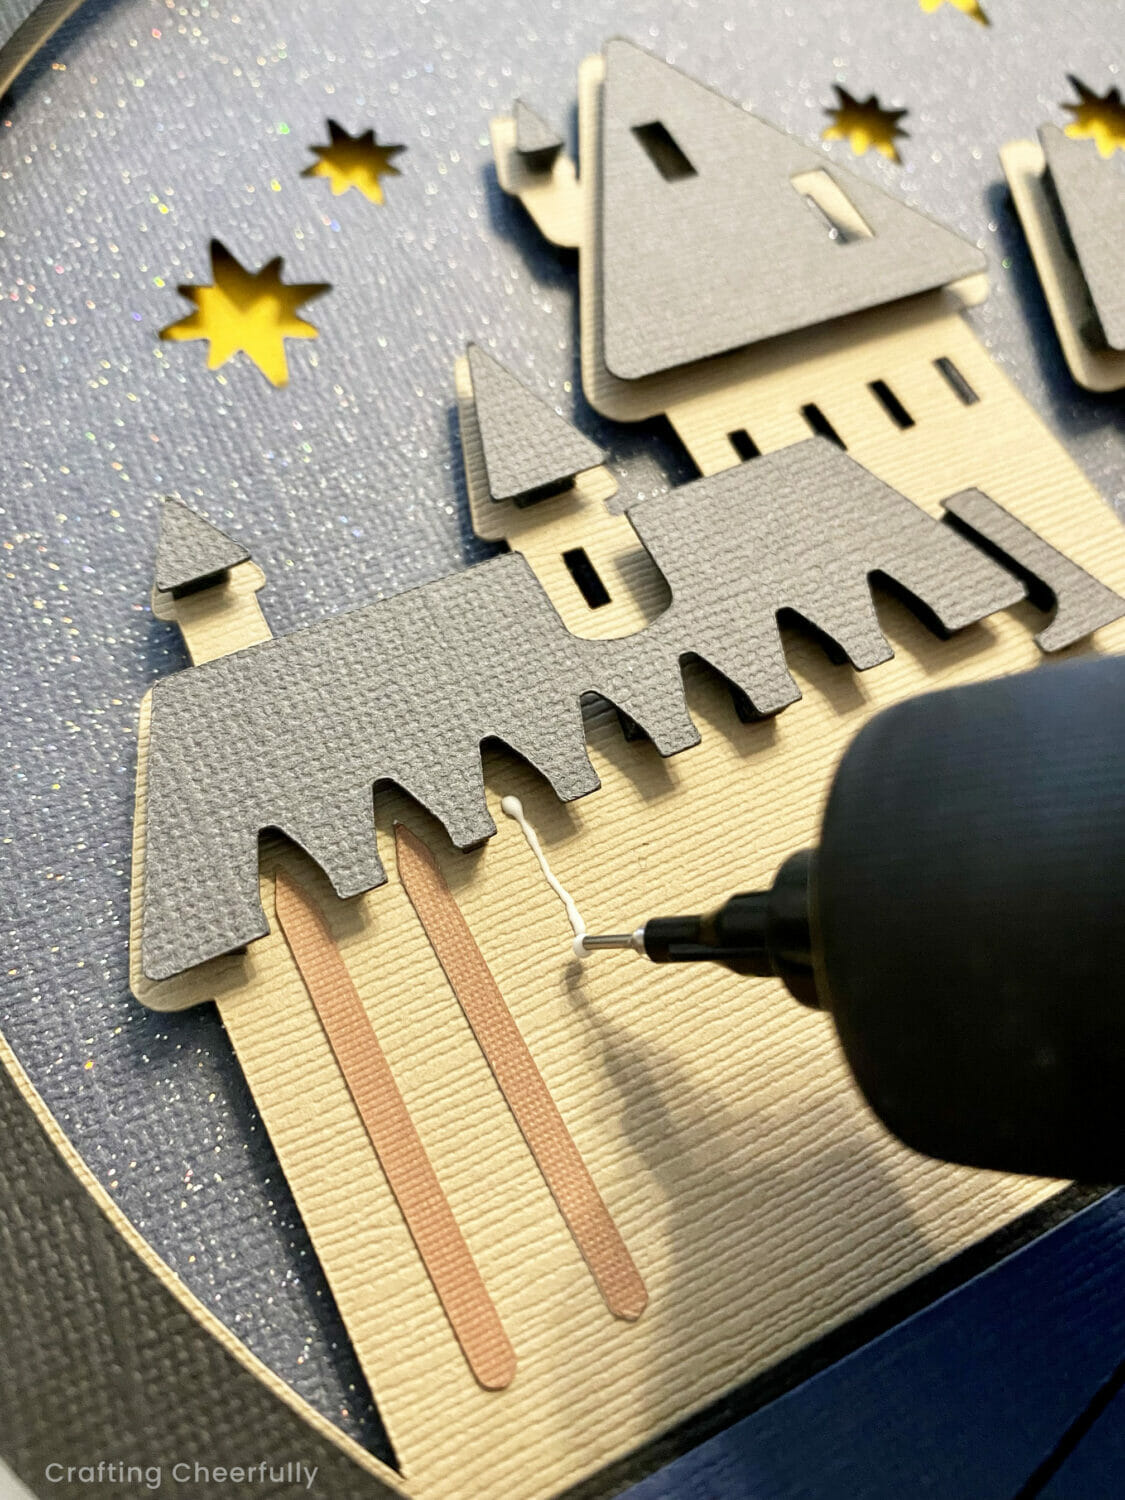
Finally, use glue to apply the tan pieces to the Great Hall. You could raise these up with foam tape, but I found it too difficult with the black foam tape I was using.

The layered paper Hogwarts Castle is finished! I used a wooden easel I found on Amazon to display the castle and love how it looks next to my Harry Potter books.
> More Layered Paper Projects: Layered Paper Paw Print Dog Frame and Layered Paper Mandala Frame