Chicka Chicka Boom Boom Name Art
Learn how to create a fun piece of name art inspired by the book Chicka Chicka Boom Boom! Grab my free printable to help you get started!

Skit skat skoodle doot! As a child of the ’90s, I grew up loving the book Chicka Chicka Boom Boom. I’m so happy to now share the book with my children who also enjoy it. It has such a nice rhythm to it, the book immediately became a favorite. I thought it would be fun to create something for my son’s room that was inspired by the book.
This Chicka Chicka Boom Boom artwork is easy to make and fun to personalize. I’m sharing a free printable background you can use to get started!

How to Make Chicka Chicka Boom Boom Name Art
Supplies Needed
- Frame with an 8″ x 10″ opening
- White Card stock – I used this 110lb cardstock I purchased on sale, but 65lb cardstock will also work!
- Letter stickers (optional)
- Magenta and orange acrylic paint
- Pencil with eraser
- Free printable – Grab the free tree file by filling out the form at the bottom of this post.
If you don’t already own the book, grab a copy of Chicka Chicka Boom Boom! Also available as a board book for little ones :)

Step by Step Tutorial
Step One: Create your Chicka Chicka Boom Boom artwork!
Start by downloading and printing the free palm tree backdrop. I printed mine on white cardstock.

Step Two: Add the letters!
You can add the letters of a child’s name fall from the palm tree, just like they do in the book! Here are a few different ways you can add the letters.
- Use letter stickers in bright colors.
- Type the name in a blocky font like KG Second Chances Solid. Print the letters, cut them out and glue them falling from the tree. If you don’t plan on framing the artwork, you can use foam tape to make the letters 3-dimensional.
- Use a cutting machine, like a Cricut, to cut out the letters from colored cardstock. The font Futura LT Extra Bold would work.
- Use Photoshop, or a photo editing program, to add the letters.
I used the third option and added my letters in Photoshop. *Update: I cannot find the name of the font I used!

Step Three: Paint the frame.
A really cute addition to this piece of art is painting the frame to look like the page borders in the book. Start by painting the mat orange using acrylic paint. The paint did not make my frame start to warp, but if your mat starts to curve, let it sit under a stack of books overnight once it is dry to flatten it out.
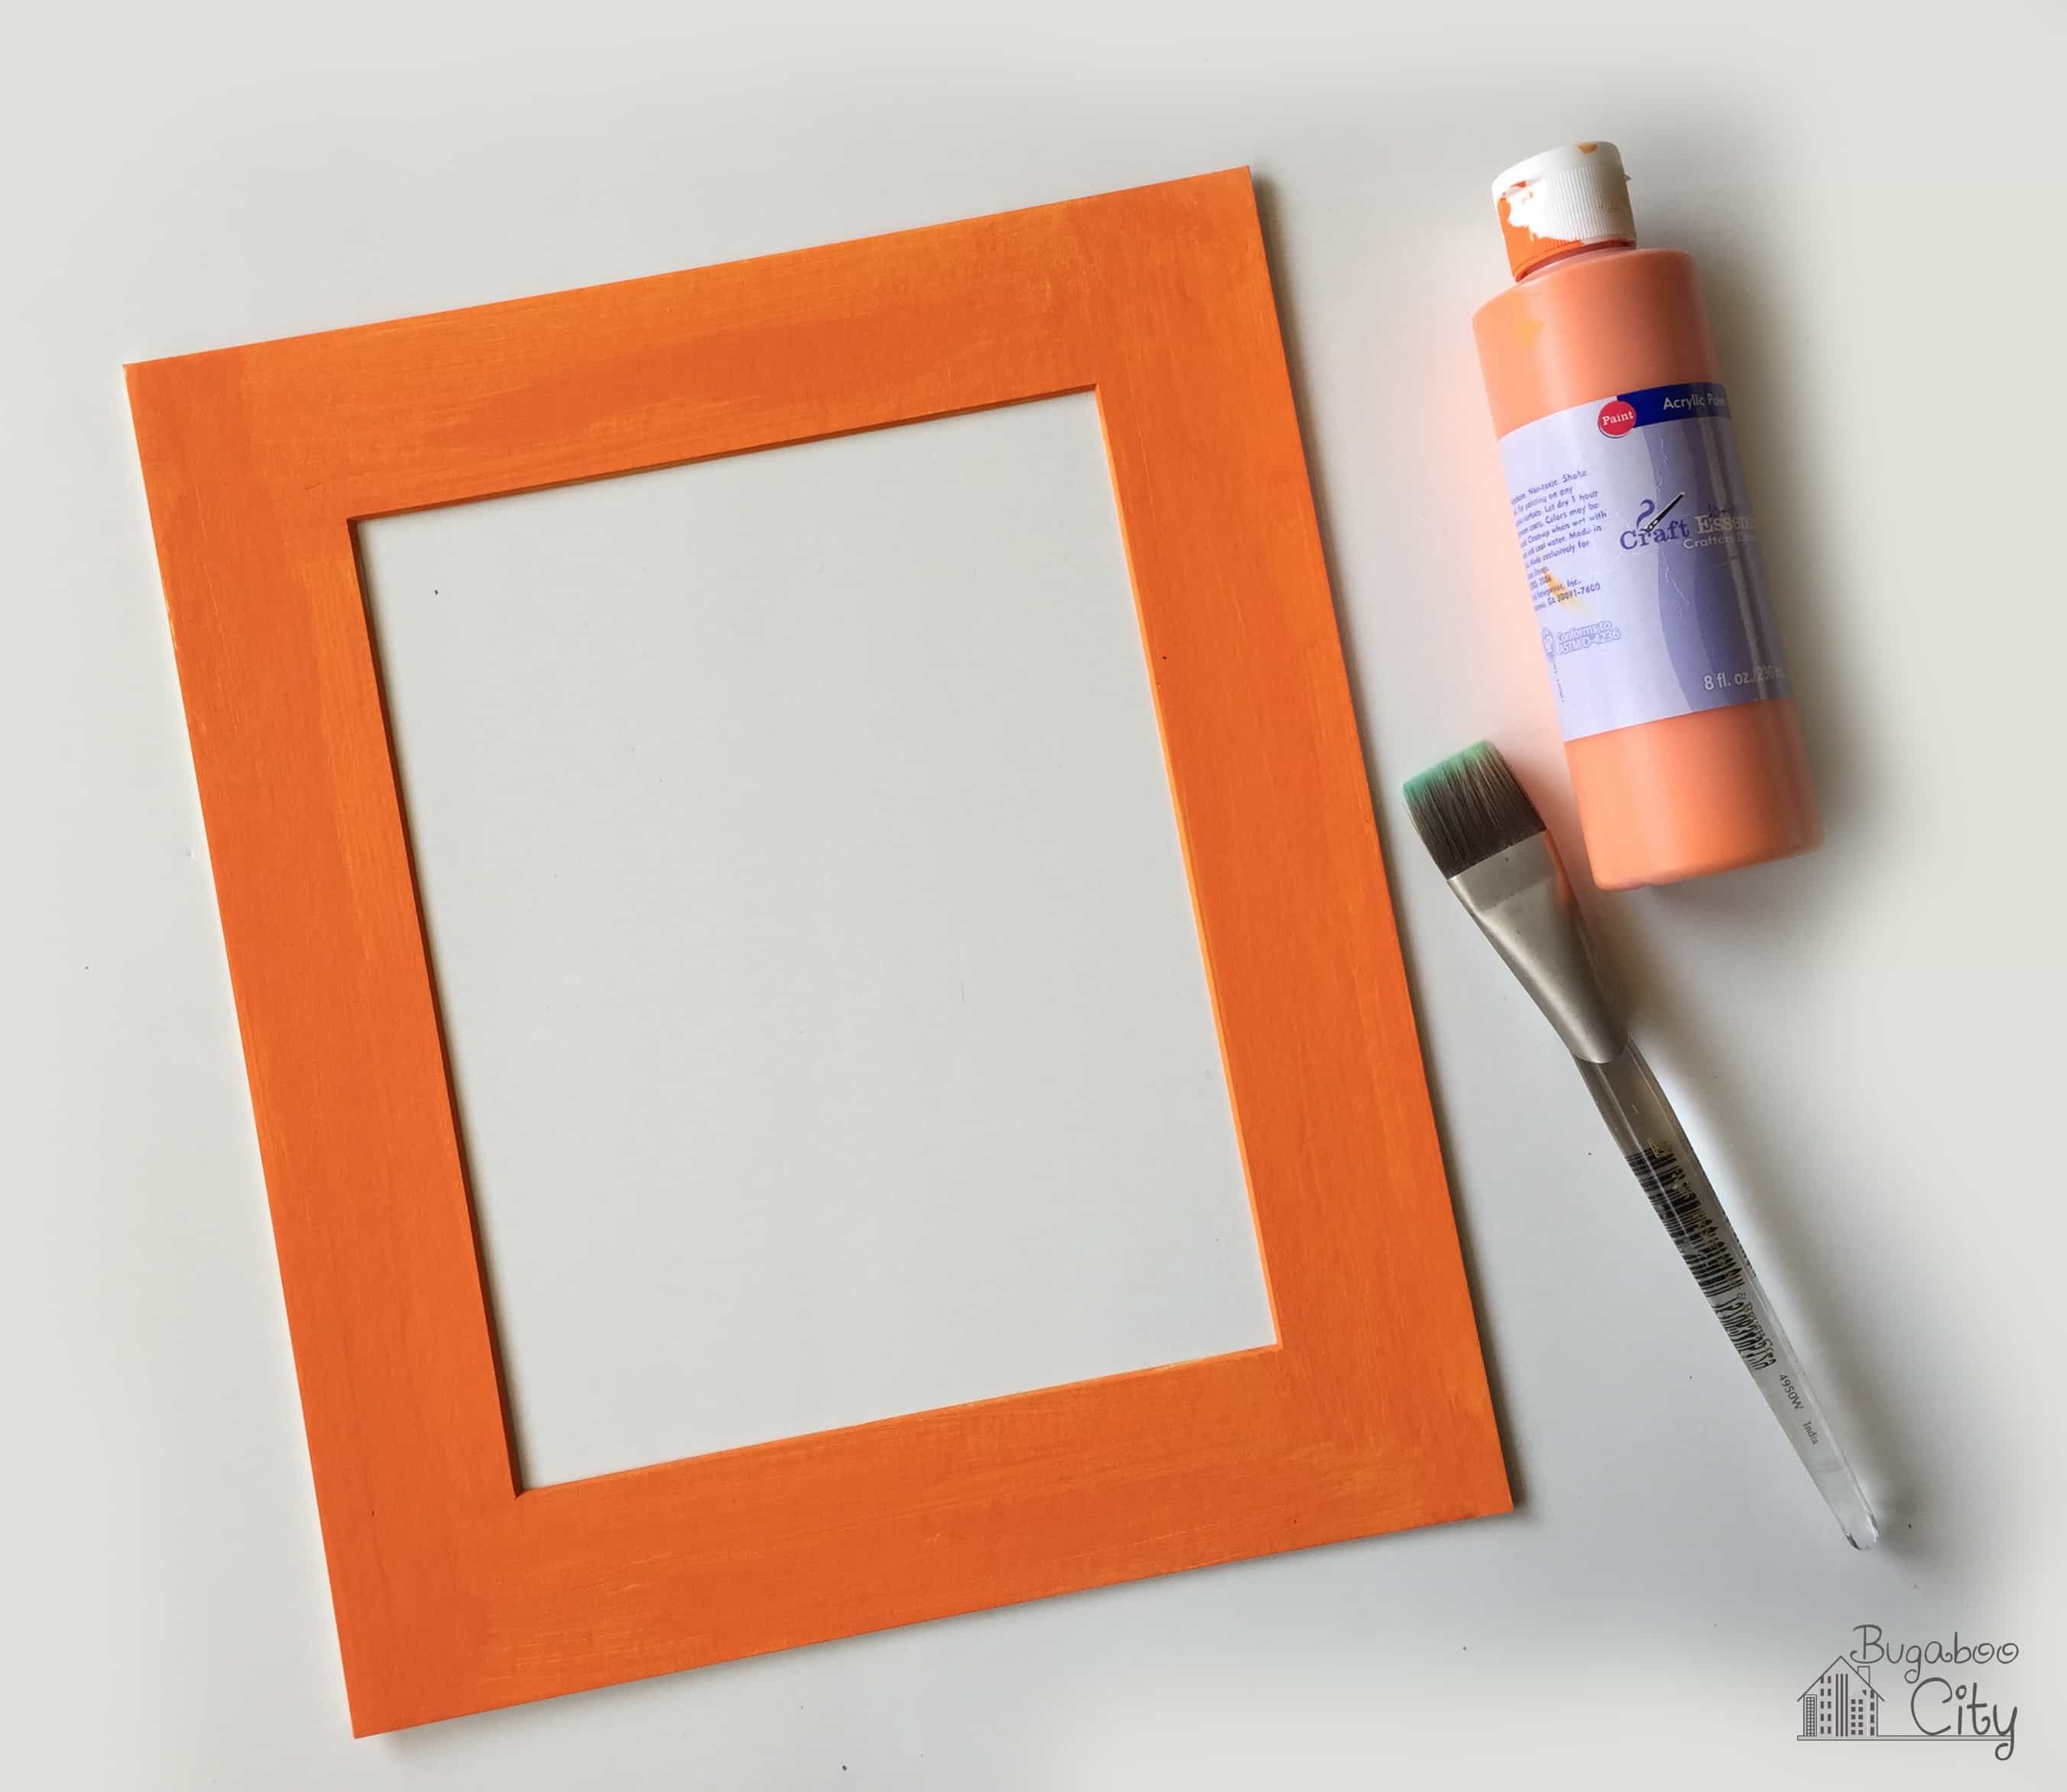
I painted the frame with bright magenta paint, letting the it dry in between coats. To create the dots, I dipped the eraser end of my pencil into the orange paint and dotted the frame randomly.


Step Four: Put it all together and the project is finished!
This cute piece of artwork will look adorable in a nursery or child’s room. The best part – they’ll recognize it from the book and it’s great for recognizing the letters in their own name.

Get the Free Chicka Chicka Boom Boom Artwork File!
Fill out the purple form below with your first name and email address! The free file will be sent straight to your inbox! If you have already filled out the form below, don’t worry – you won’t be added to my list twice! This freebie is for personal use only. I hope you enjoy crafting something special. Please let me know if you have any questions :)