DIY Valentine’s Day Treat Box – with Heart Window
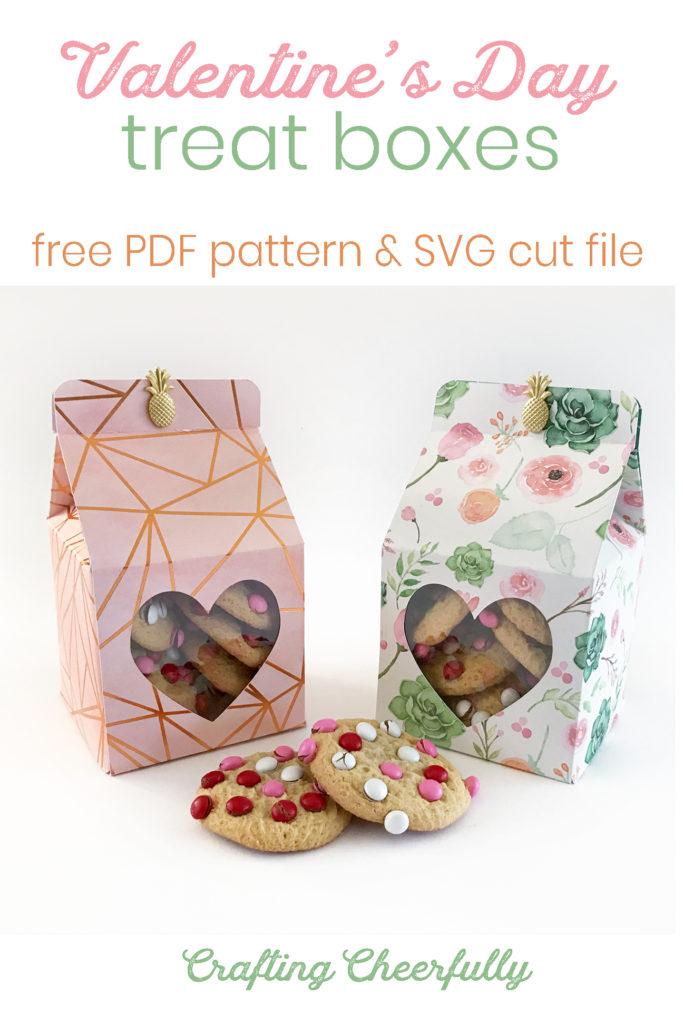
Create these special Valentine’s Day Treat Boxes that feature a fun heart peekaboo window. Grab the free PDF pattern or SVG cut file along with your favorite scrapbook party and create your own boxes!

I absolutely love Valentine’s Day crafting! It probably has something to do with how much I love the color pink, but it is also so much fun to create things that tell the people in your life how special they are. Whether it is your significant other, family, friends, co-workers or neighbors, everyone loves receiving little treats or kind words. These DIY Valentine’s Day Treat Boxes are perfect for doing just that!

While these treat boxes are perfect for Valentine’s Day, they are also perfect for any time of the year. Switch up your patterned card stock and these can work for any holiday, season, special occasion or random day of the year. They would be sweet for a bridal shower, wedding or birthday party. Use them as a party favor, treat box or gift box for small trinkets.
Here are boxes I made with the same pattern but different paper! Check out my cactus plant tutorial – they are perfect if you want to gift something other than sweets :)
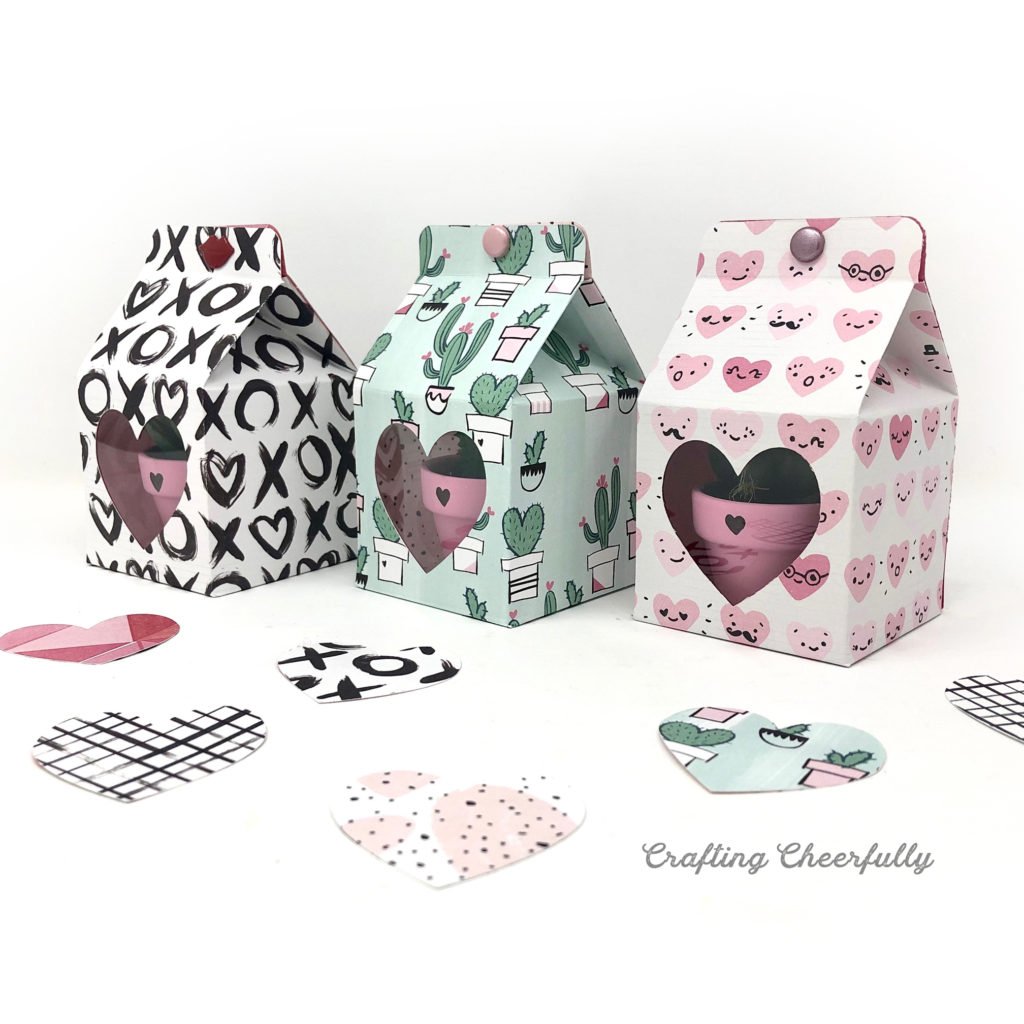 Below is the tutorial and the free printable pattern so you can whip up your own Valentine’s Day Treat Boxes! This project is a spin on my popular Cookie Treat Boxes, which feature a square window instead of a heart window. Both boxes are a great size for treats, small gifts or even a tiny plant! I have updated my Cookie Treat Boxes to now also include a free SVG cut file – yay! :)
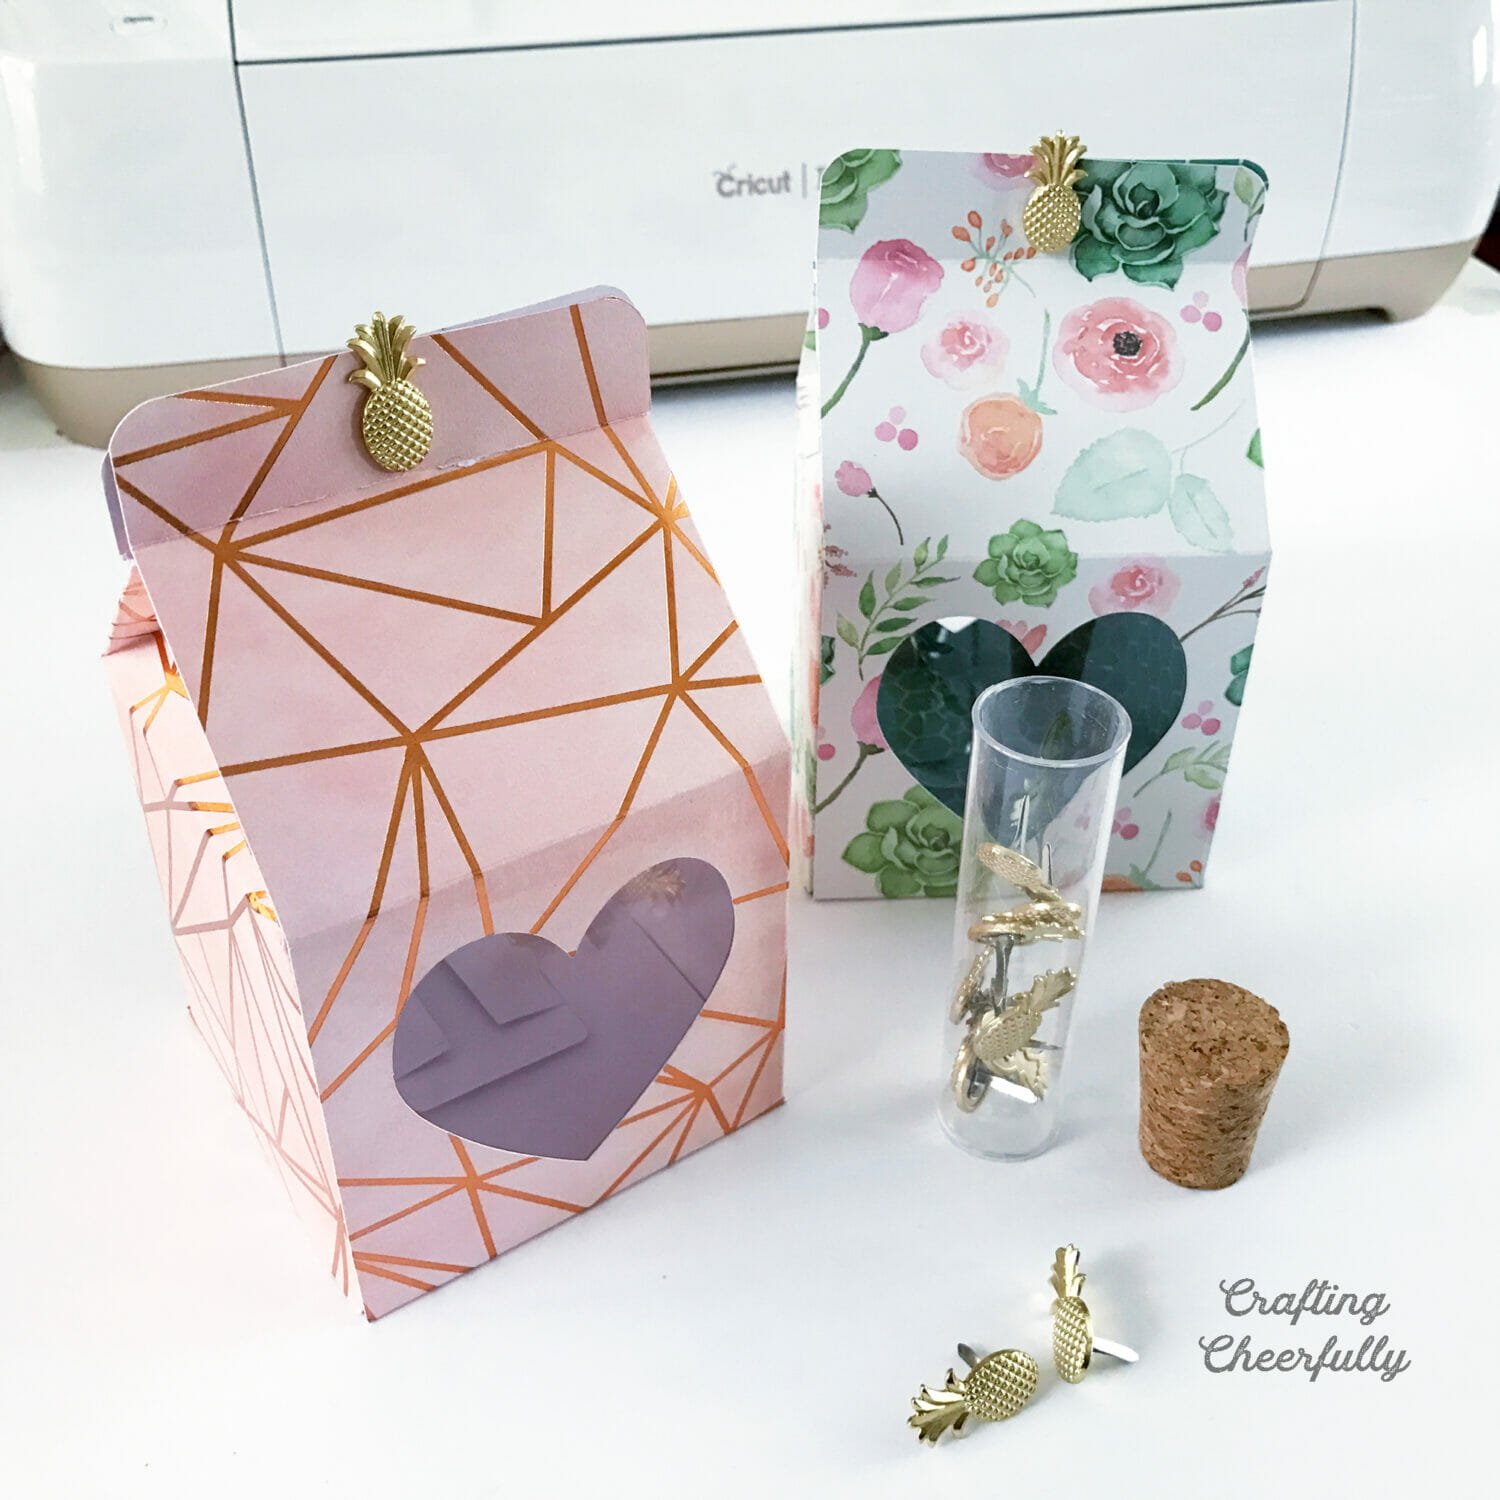
Valentine’s Day Treat Box
Supplies Needed:
- Free printable PDF or SVG cut file: Grab the free files by filling out the purple form at the bottom of this post.
-
Decorative Paper
- (2) 8″ x 10″ sheets of patterned paper, or (2) 12″ x 12″ sheets of patterned paper
- I used paper from the DCWV paper stack Copper Luxury.
- Clear Craft Plastic
-
Cutting Machine
- If you don’t have a cutting machine, use a Paper trimmer and scissors and a craft knife for the window.
- Cutting mat and Cricut Tools
- Scoring Board
- Adhesive – my favorite for treat boxes is 1/4″ Scor-Tape
- Brads, Velcro Dots, or hole punch and ribbons for closure
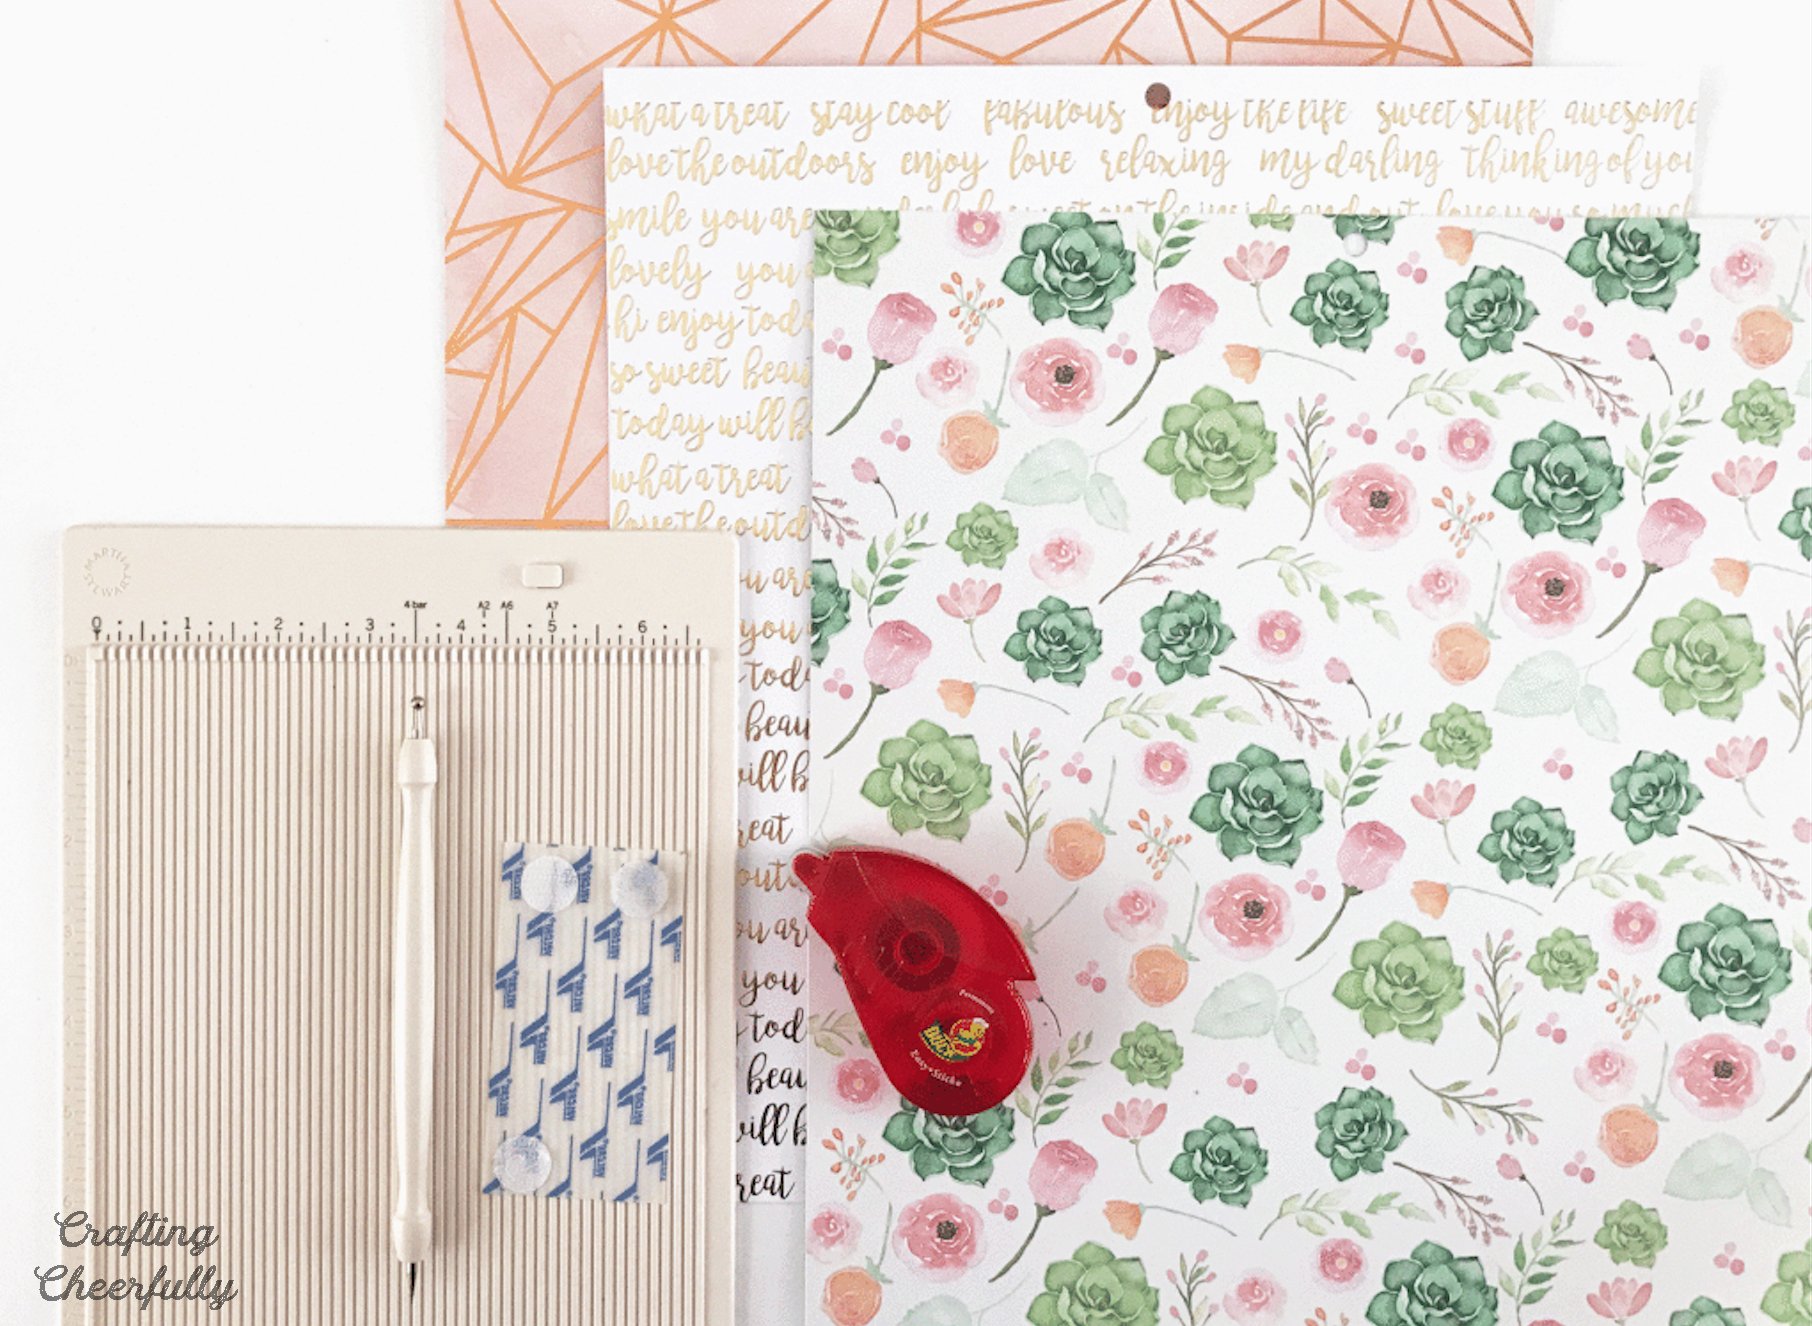
Step One: Cut paper using the printable pattern or SVG cut file.
PDF PATTERN: Cut out the free printable pattern. If you are using the PDF pattern, cut out the pattern pieces and trace them onto the backside of your decorative paper. Use the pattern as a guide for the fold lines. Cut each piece out, using an X-Acto knife and cutting matte to cut out the heart window.
SVG CUT FILE: If you have a cutting machine, you can use the SVG cut file to cut out the box. In Cricut Design Space, import the file then “ungroup” the image. Change the bright pink lines from “cut” to “score”. They will turn into dashed lines. Select one of the pieces and the score lines that match it and “attach” them. Repeat for the second piece, then you are ready to GO!

Step Two: Score the fold lines.
Next, score all of the fold lines. I love using a scoring board and stylus for this to get nice crisp fold lines. Score lines are built into the SVG file, just make sure to follow the directions in Step One. The score lines will initially show up as cut lines until you change them.

Step Three: Add the clear plastic window.
Attach clear plastic to the back of each heart window. I use craft plastic, which works really well for treat boxes. Cut a square slightly larger than the heart but not too big that it will cover your fold lines. Attach with a glue stick or a tape runner.

Step Four: Fold and assemble the box.
Fold along all of the score lines.

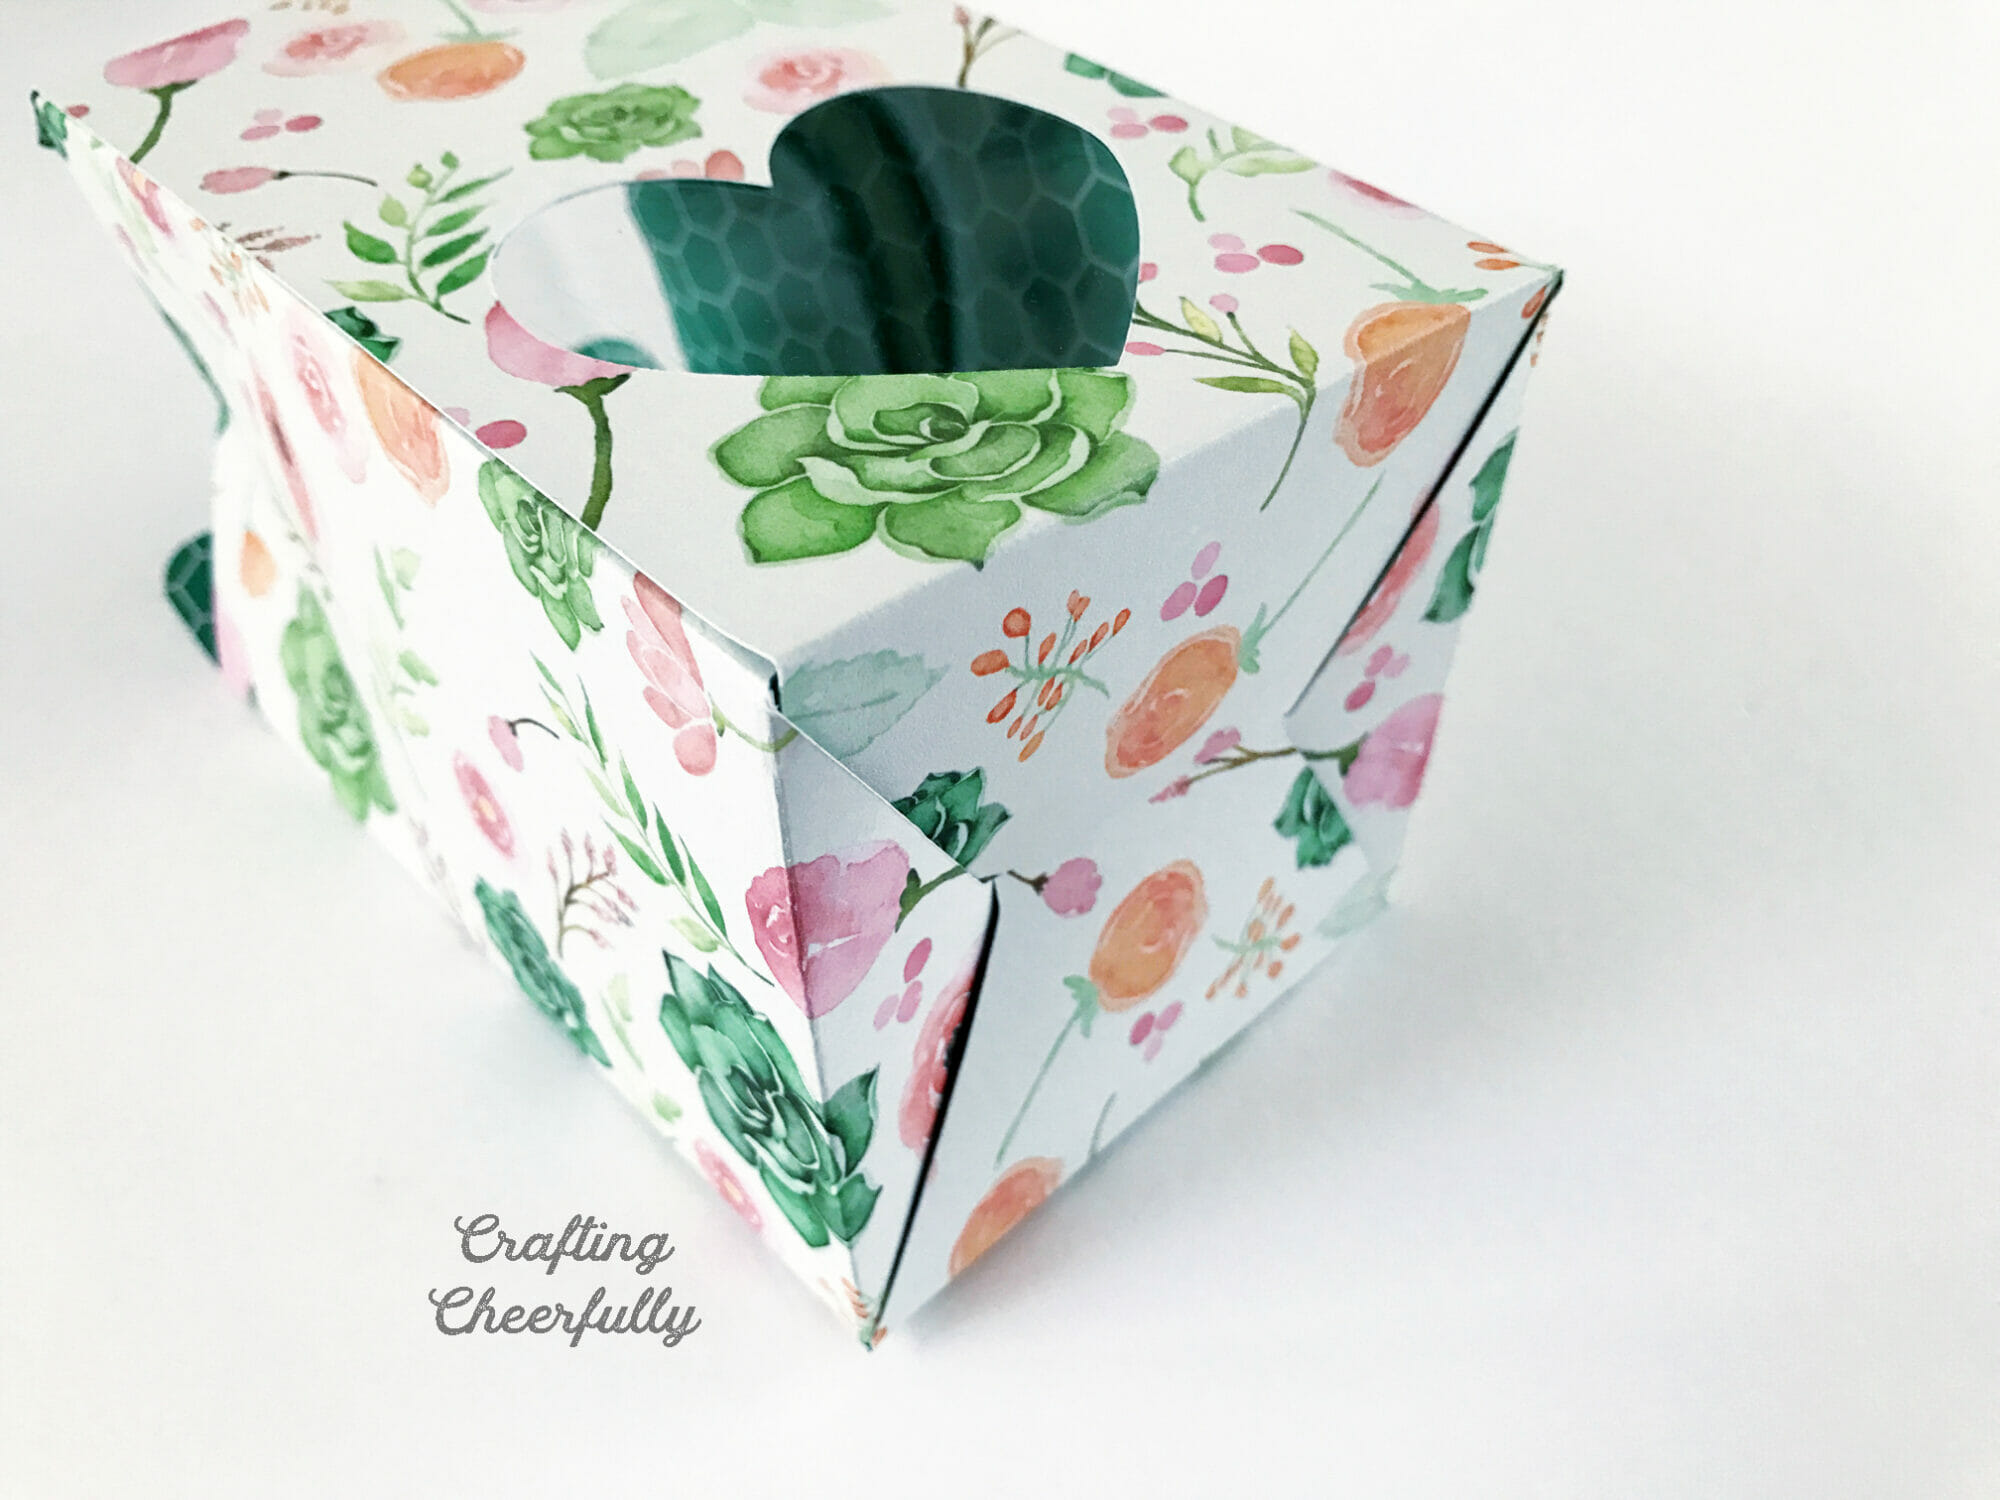
Adhere the two pieces together using a glue stick or tape runner. Fold in the bottom of the box as shown in the pictures below.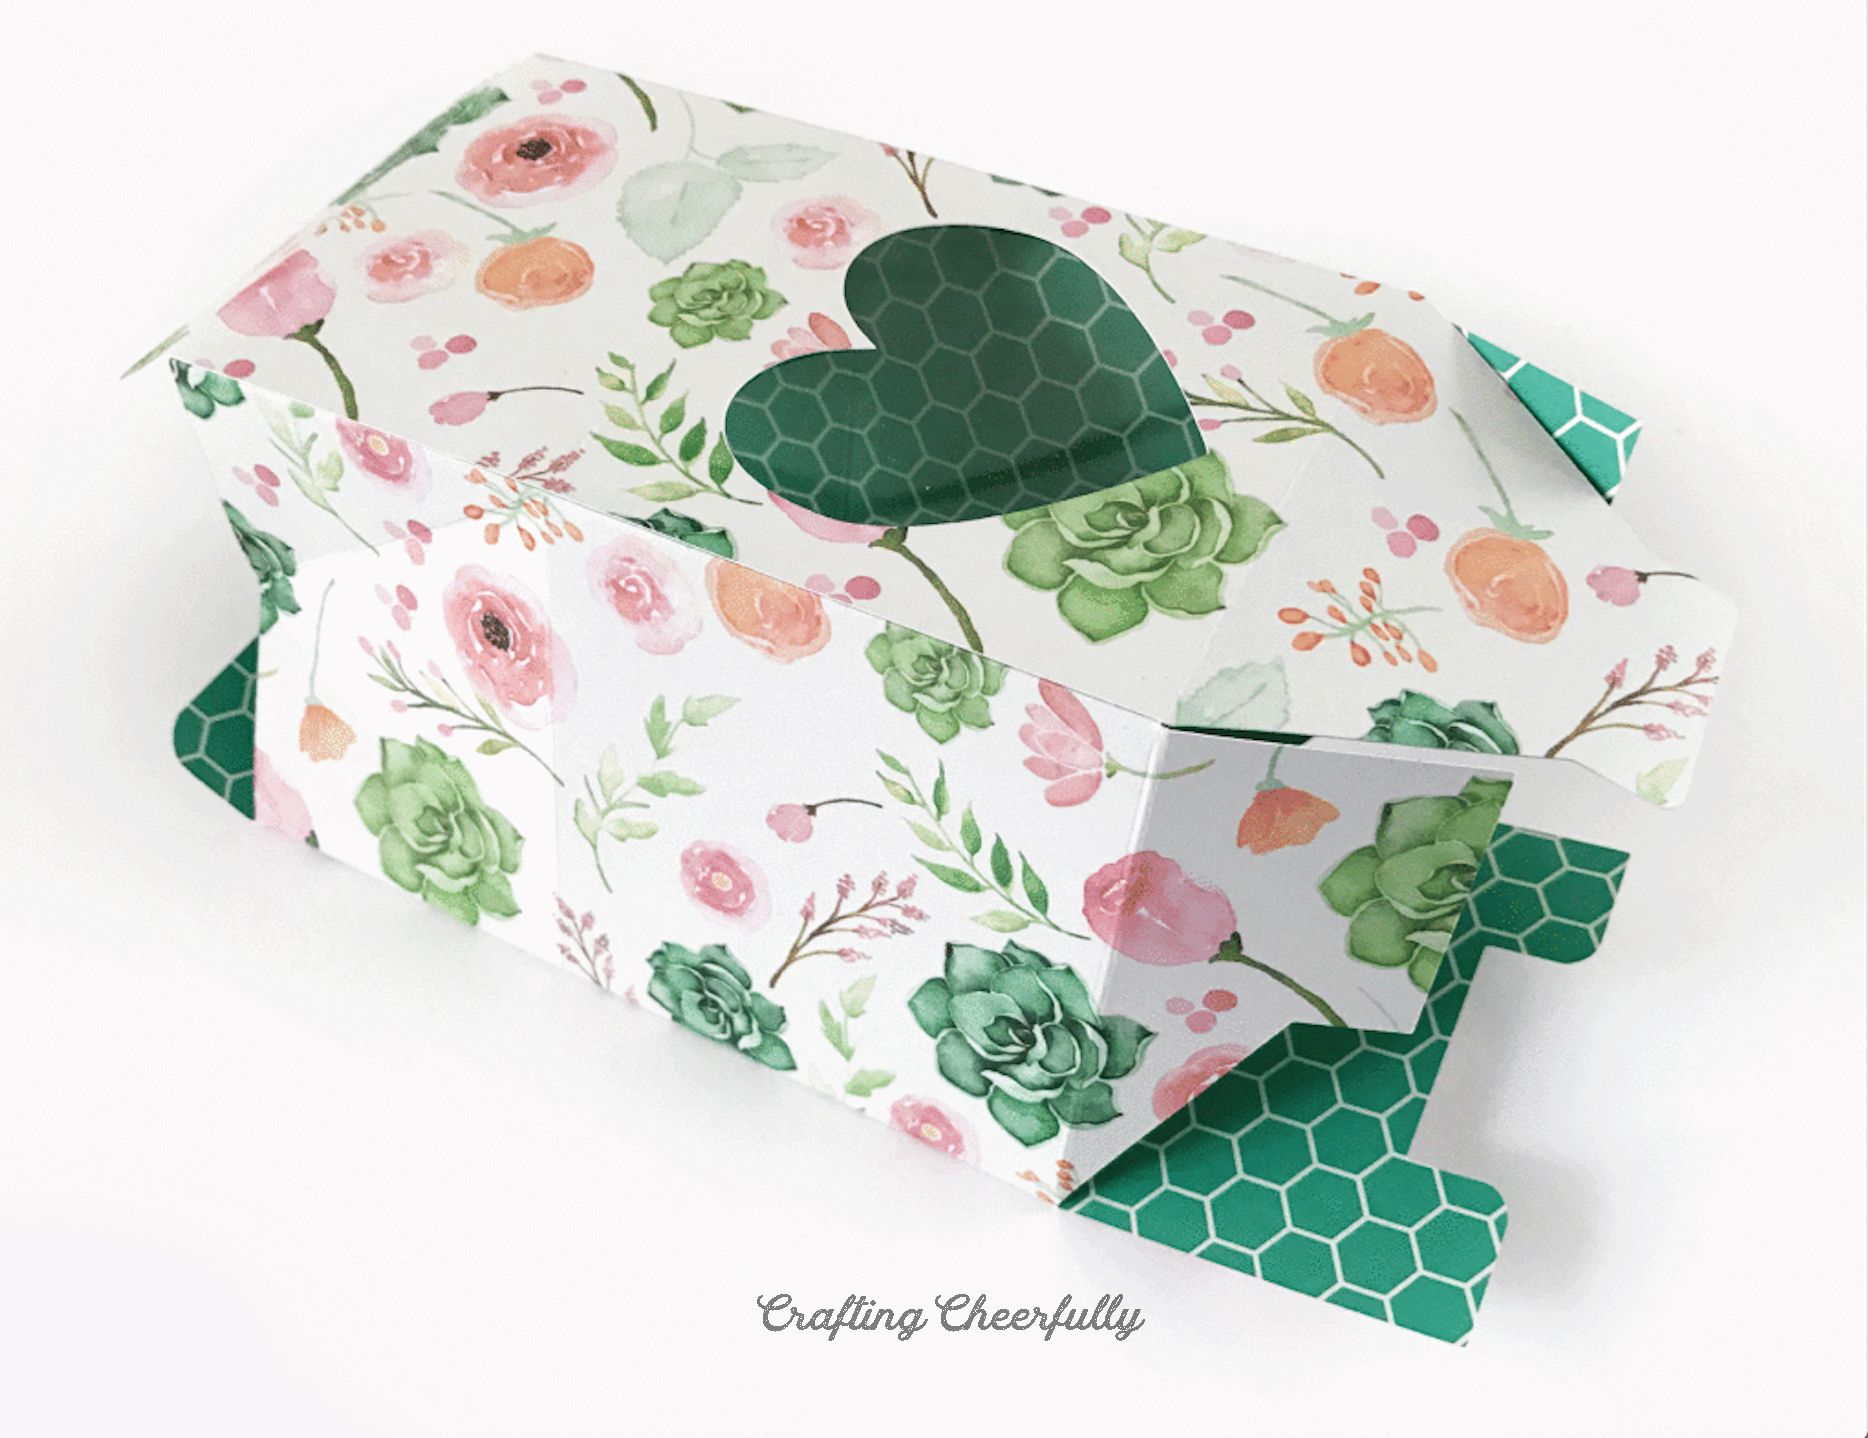

Step Five: Add the box closure.
Finish the box off by adding a way for it to stay closed at the top. I chose to use these fun pineapple brads I had on hand and they worked great. I just marked a center point and punched a hole with the sharp end of my stylus. You could also punch two holes and use ribbon or twine or you could hold them together with cute little binder clips or even Velcro dots!

These sweet little treat boxes are ready to be filled and gifted! I filled mine with red and pink M&M cookies and plan to gift them for Valentine’s Day. Since scrapbook paper is not considered “food safe”, you could put the treats inside a food-safe bag first and then into the box or use wrapped treats. These boxes are great and can be used all year-round for any occasion. I think they’d look pretty at a bridal shower! Check out my other fun Valentine’s Day crafts for cute holiday crafts!


Get the Free Heart Window Treat Box Files!
Fill out the purple form below with your first name and email address! The free file will be sent straight to your inbox plus you’ll receive my fun email newsletter with more free files and DIY craft tutorials. If you have already filled out the form below, don’t worry – you won’t be added to my list twice! This freebie is for personal use only. I hope you enjoy crafting something special. Please let me know if you have any questions :)




One Comment