
DIY Cookie Treat Boxes
Learn how to make milk carton boxes with my cute DIY Cookie Treat Boxes. These make the sweetest gifts for friends and family! I’m sharing my free PDF pattern and SVG cut file to help you get started.

Hello Crafty Friends! This Thursday, October 1st, is National Homemade Cookie Day. What this really means is we all have the perfect excuse to bake cookies, eat cookies, and give cookies. If you haven’t noticed yet, I happen to love treat boxes. I don’t think I realized this until I started blogging and started to notice just how many treat boxes I make. Gingerbread houses, Harry Potter birthday boxes, ice cream cones, more ice cream cones, and now treat boxes for homemade cookies! When you think about it, what isn’t to love about a treat box? They are cute, decorative, and come with treats!
This past weekend, we baked the most delicious chocolate chip cookies! I love how these cookies, from Brown Eyed Baker, turn out! They are so yummy. This time I decided to make small versions of the cookies so they would fit better in my treat boxes.
Below is the tutorial for the cookie treat boxes along with a free pattern. Happy National Homemade Cookie Day! I hope you have the chance to enjoy some cookies this week :)

How to Make Cookie Treat Boxes
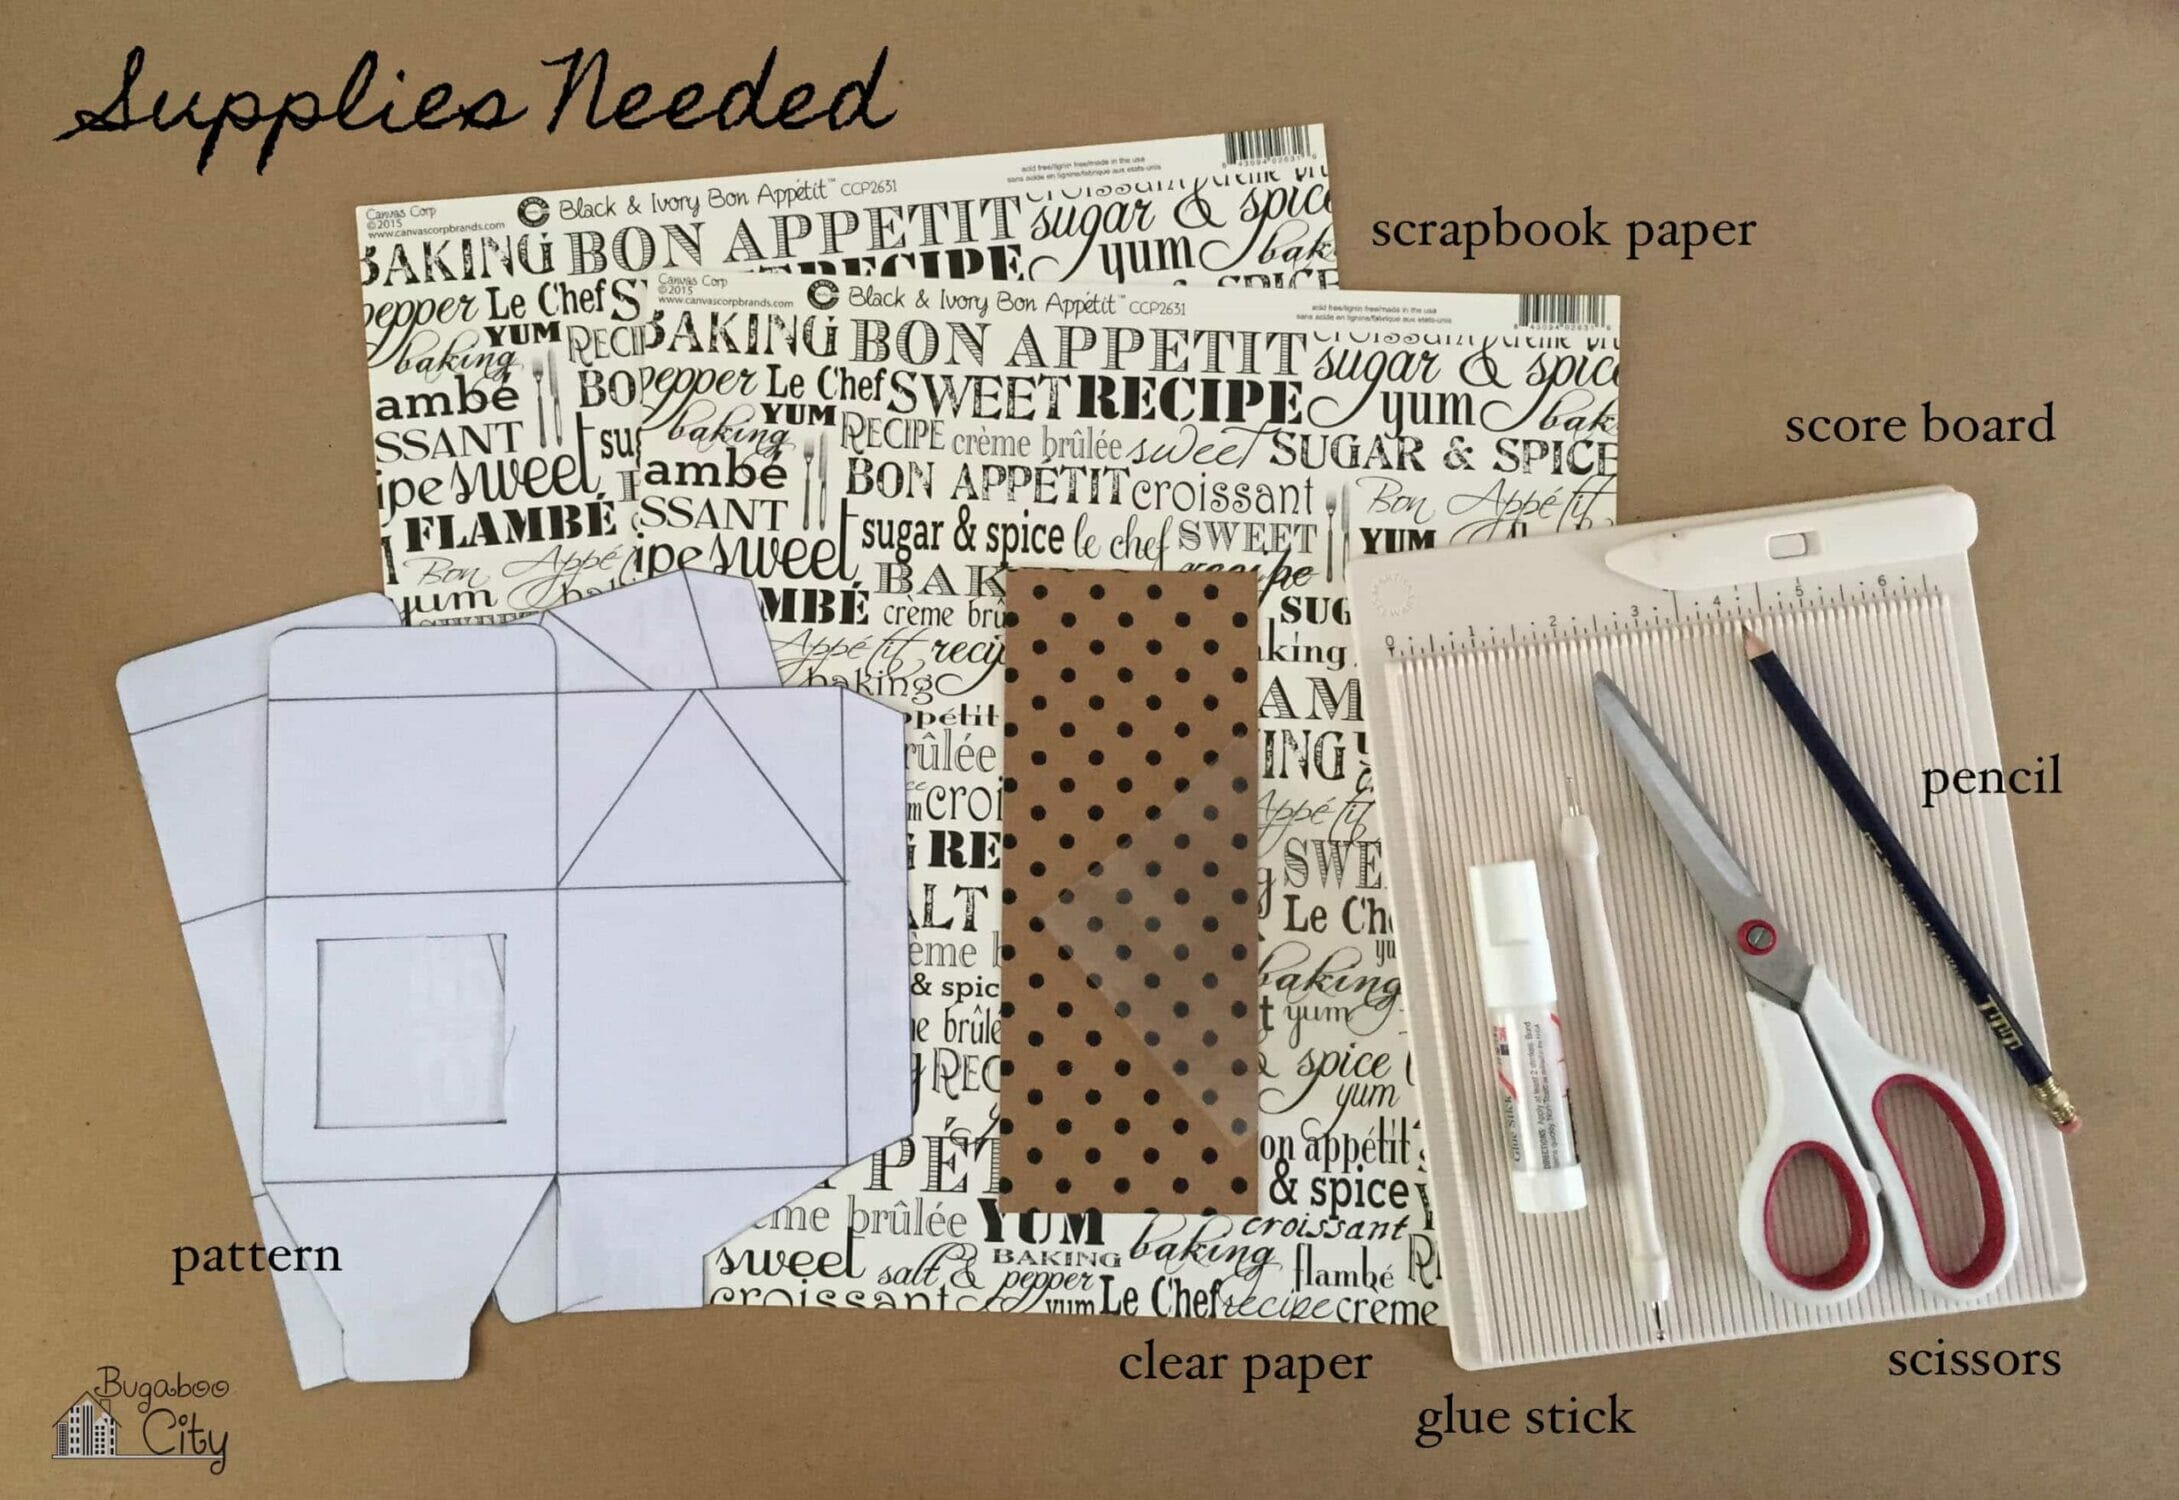
Supplies Needed for Cookie Gift Boxes:
- Free PDF and SVG files – Grab the free files by filling out the purple form at the end of this post.
- Decorative paper – two 12″x12″ sheets per box.
- I used Canvas Corp “Black & Ivory Bon Appétit CCP2631” paper from Joann Fabrics.
- Contrasting paper for tag
- Clear Craft Plastic
- Scoring Board
- Adhesive like Double-Sided Tape or a Elmer CraftBond Glue Sticks
- Cutting with a Cricut:
- Cutting machine, standard mat and scoring stylus
- Cutting by Hand:
- Paper Trimmer and/or scissors and craft knife and Self-Healing Mat
- Twine
Step by Step Tutorial
Step One: Cut out the pieces for the box.
If you are using the PDF pattern, cut out the pattern pieces and trace them onto the backside of your decorative paper. Draw in the fold lines using a ruler and pencil. Cut each piece out. Use a craft knife and cutting mat to cut out the square windows.
If you have a cutting machine, use the SVG cut file. The file comes with score lines. If you are using a machine that does not have a scoring tool, simply delete these layers and score by hand.
If you are using a Cricut with the scoring tool, you will need to set the score lines to score and attach them to each piece. To do this, import the file into a new project. Select the entire project and deselect until the score lines are seperate. Highlight the score lines and turn them from cut lines to score lines. They will become dashed. Highlight the score lines and the piece they belong to and “Attach”. When you go to cut the score lines should show up on the pieces and you are ready to cut.


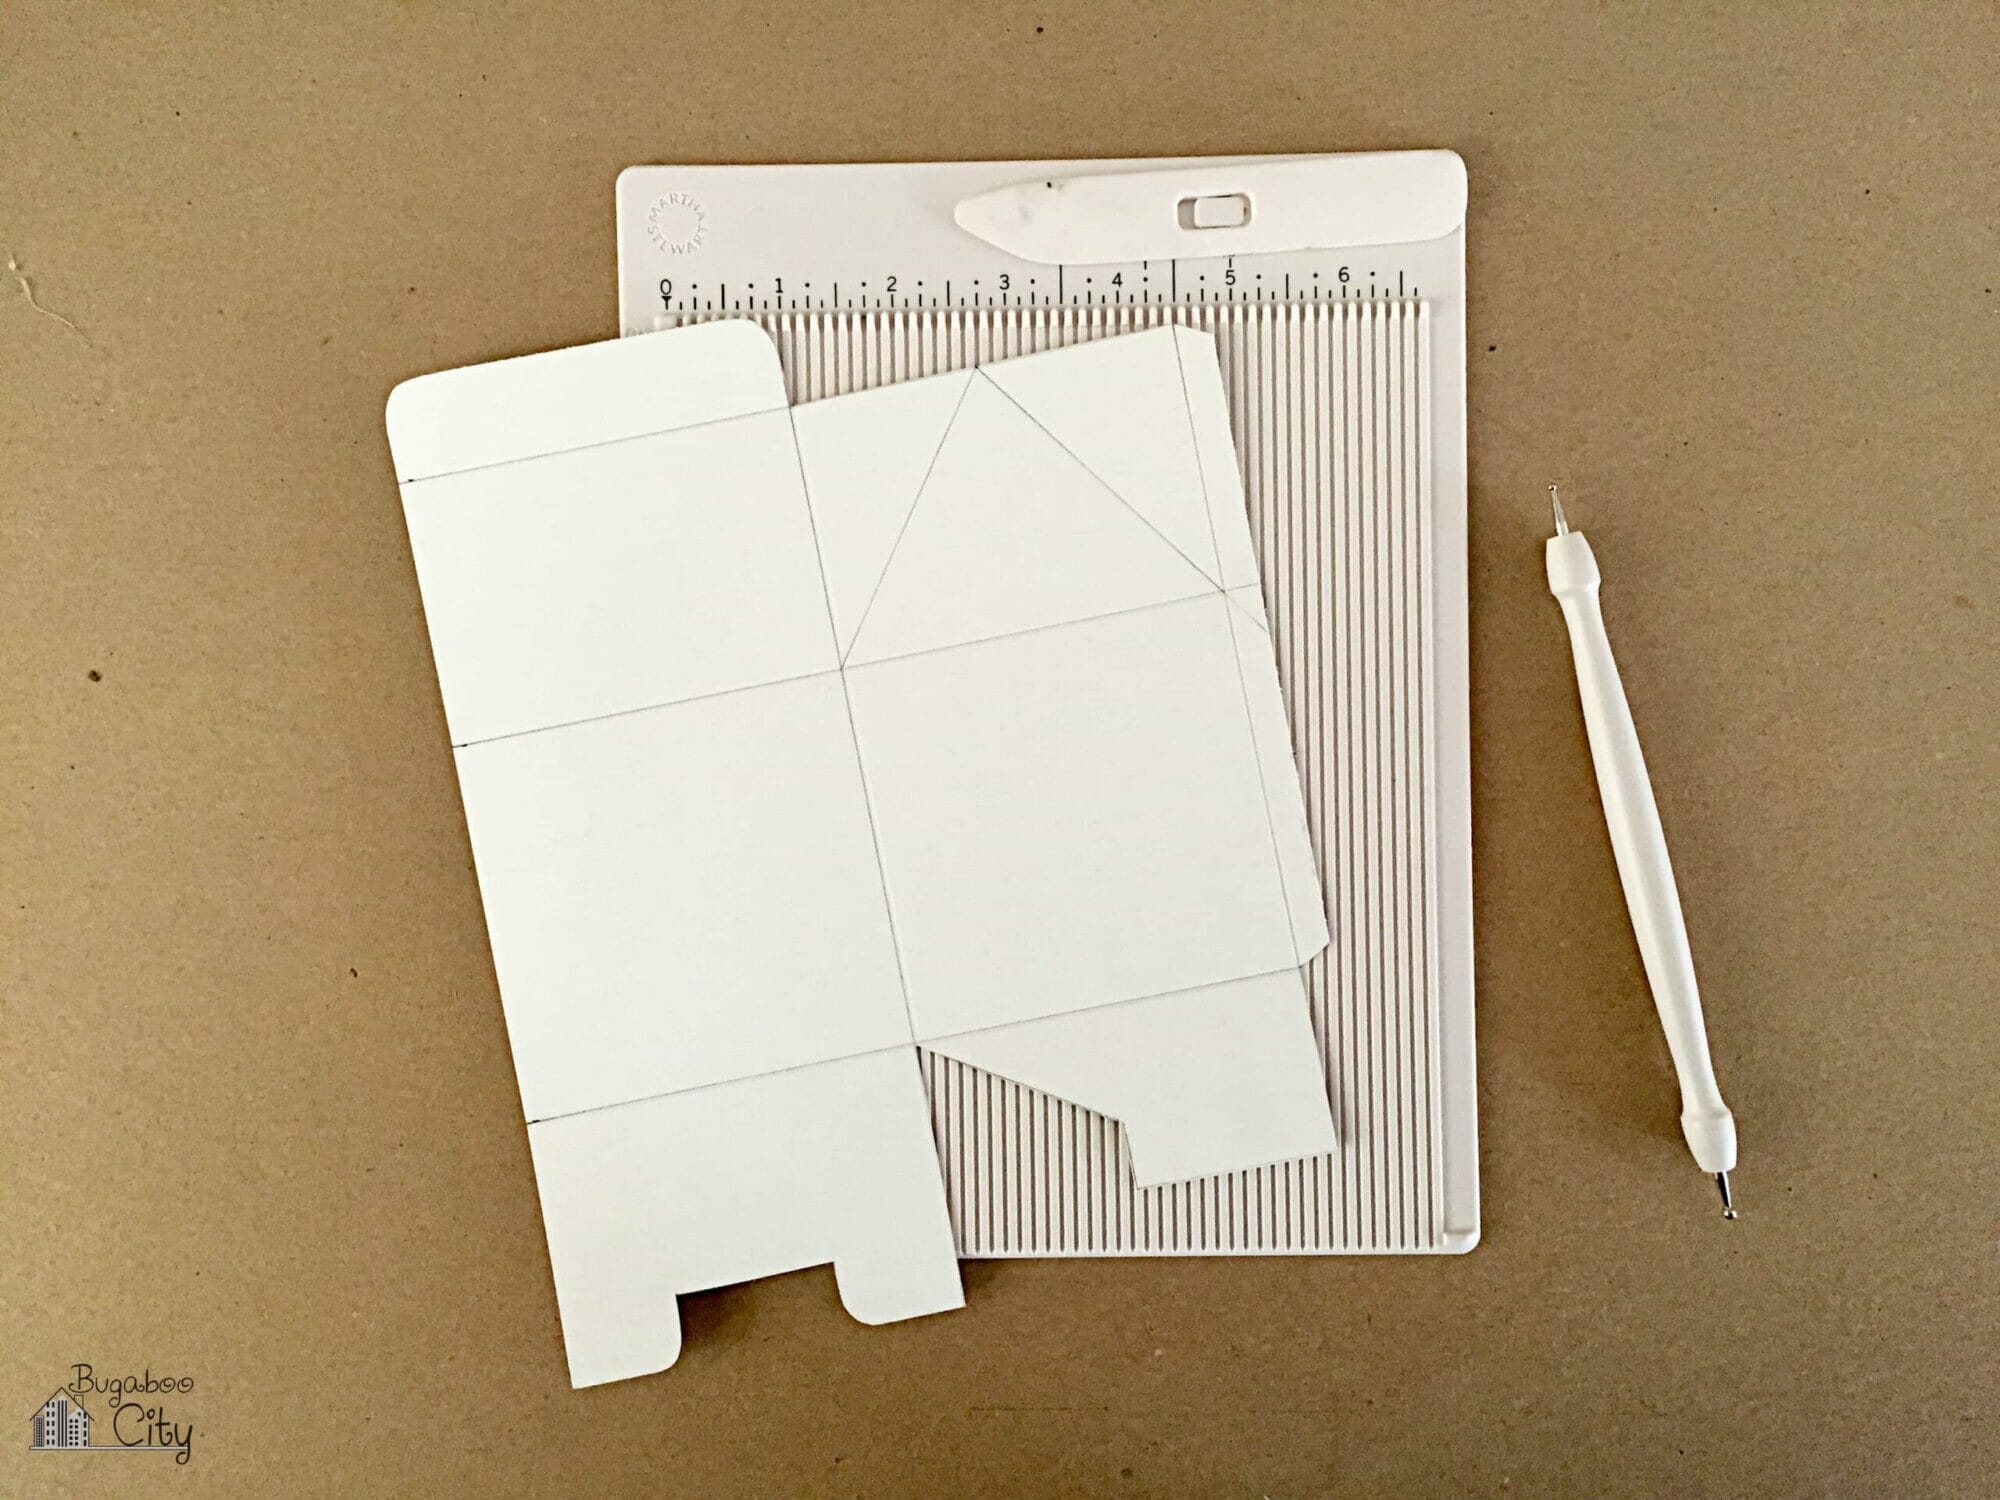
Step Two: Score the fold lines.
I love using a scoring board and stylus for this to get nice crisp fold lines. Score lines are built into the SVG file, just make sure to follow the directions in Step One. The score lines will initially show up as cut lines until you change them. In the photos below, I scored my lines before cutting out the square window. It doesn’t matter what order you do this in.


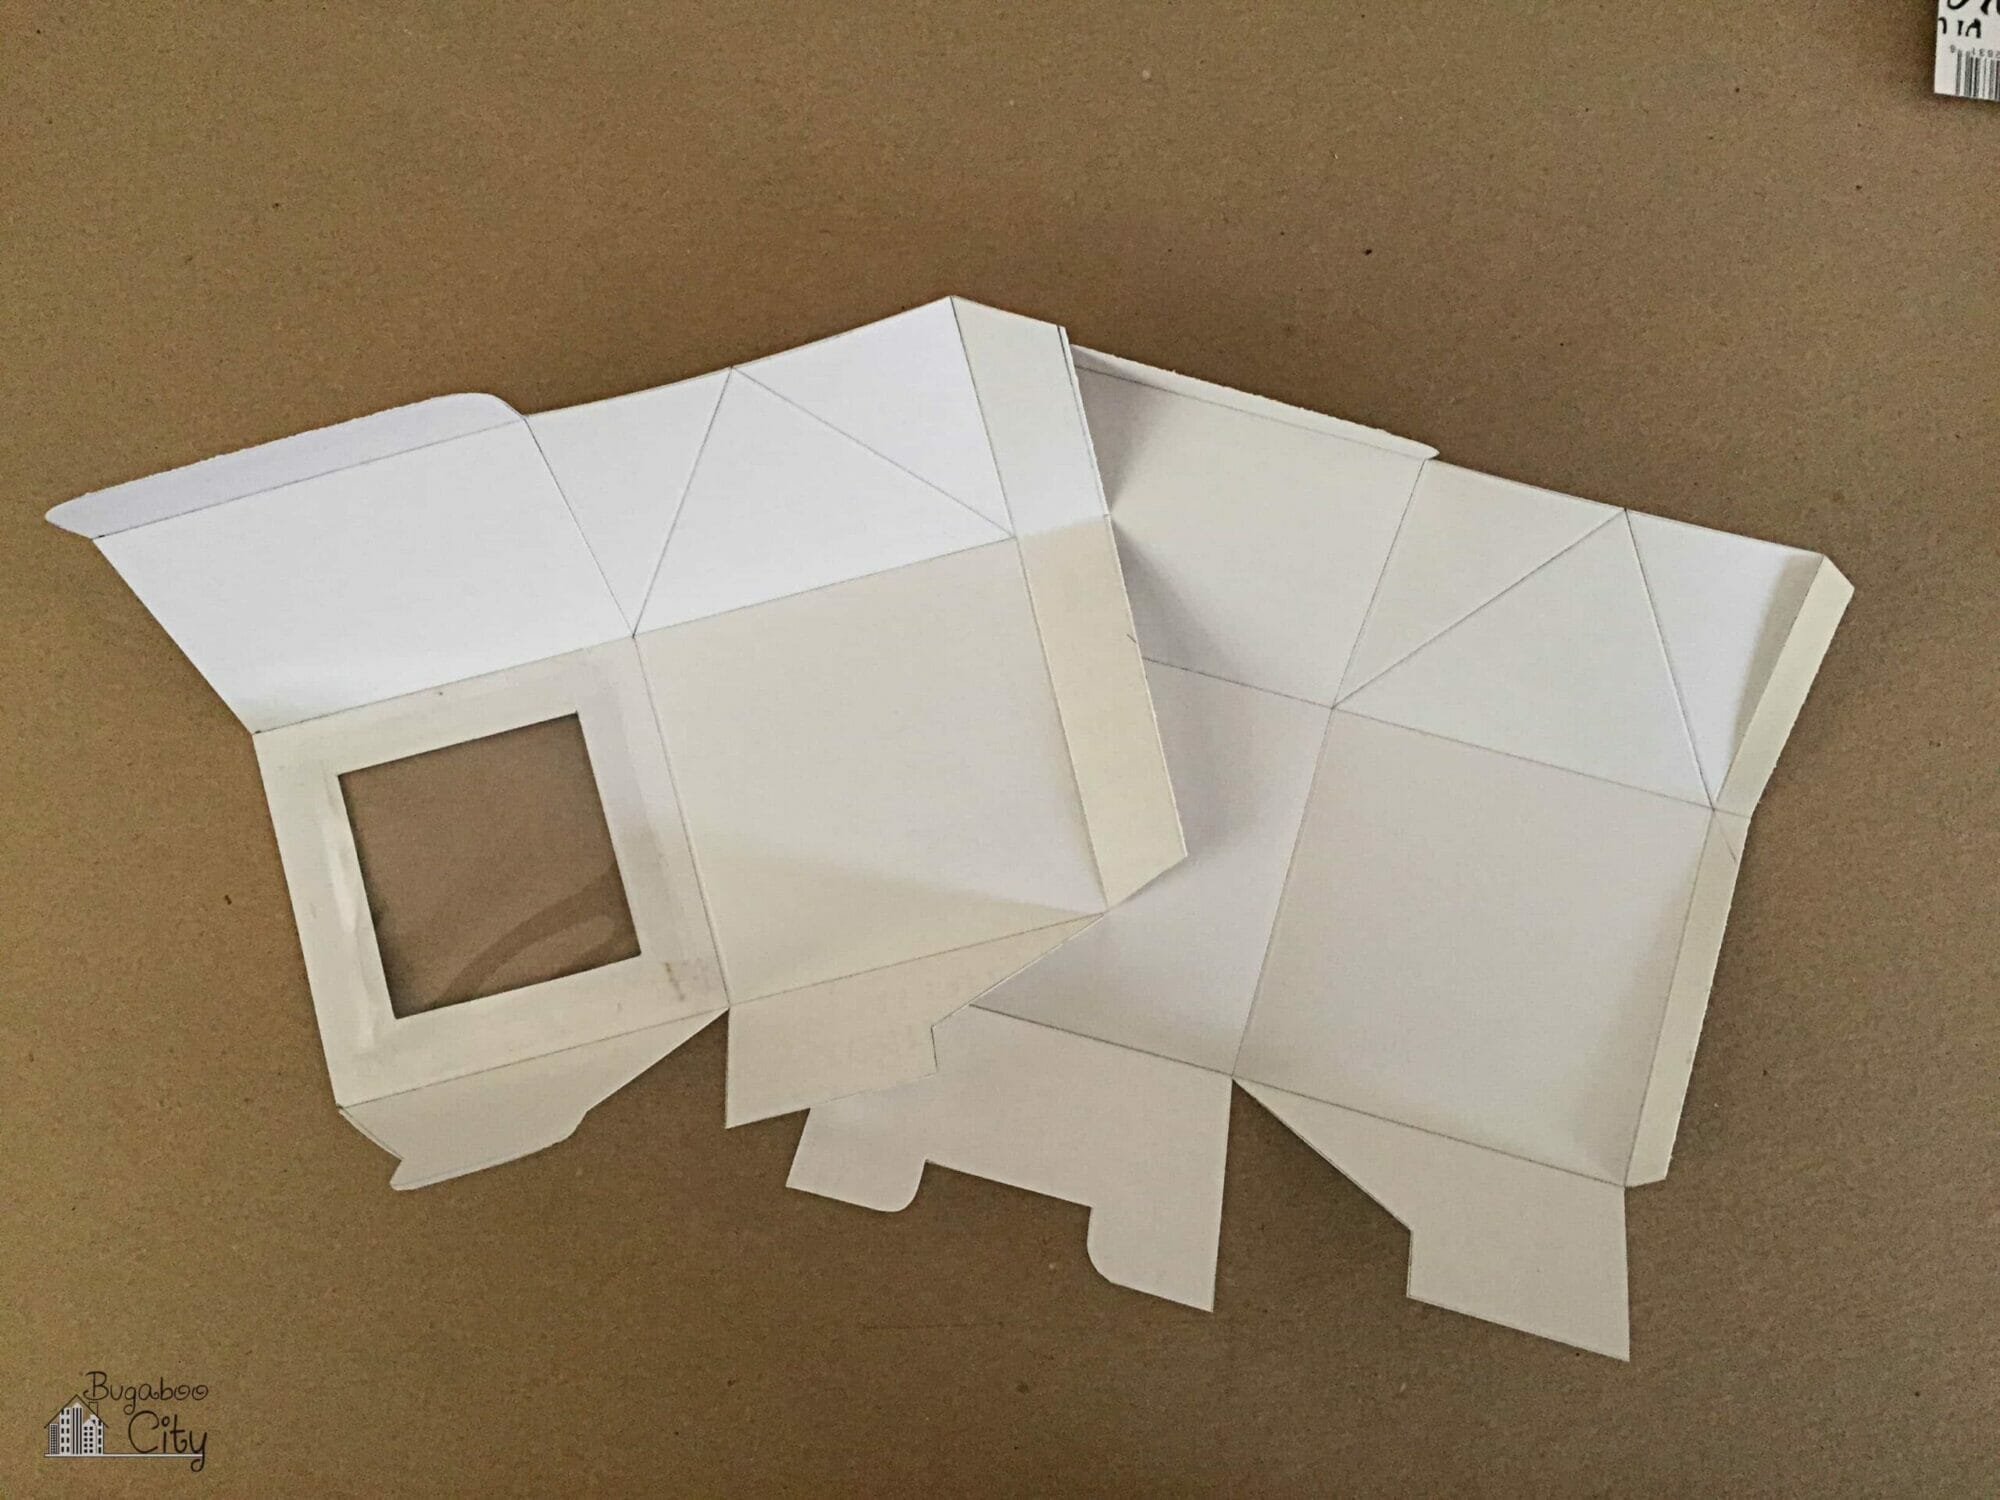
Step Three: Attach clear plastic to the back of each heart window.
I use craft plastic which works really well for treat boxes. Cut a square slightly larger than the square window but not too big that it will cover your fold lines. Attach with a glue stick or a tape runner. I used regular tape in the picture below.

Step Four: Fold along the fold lines!

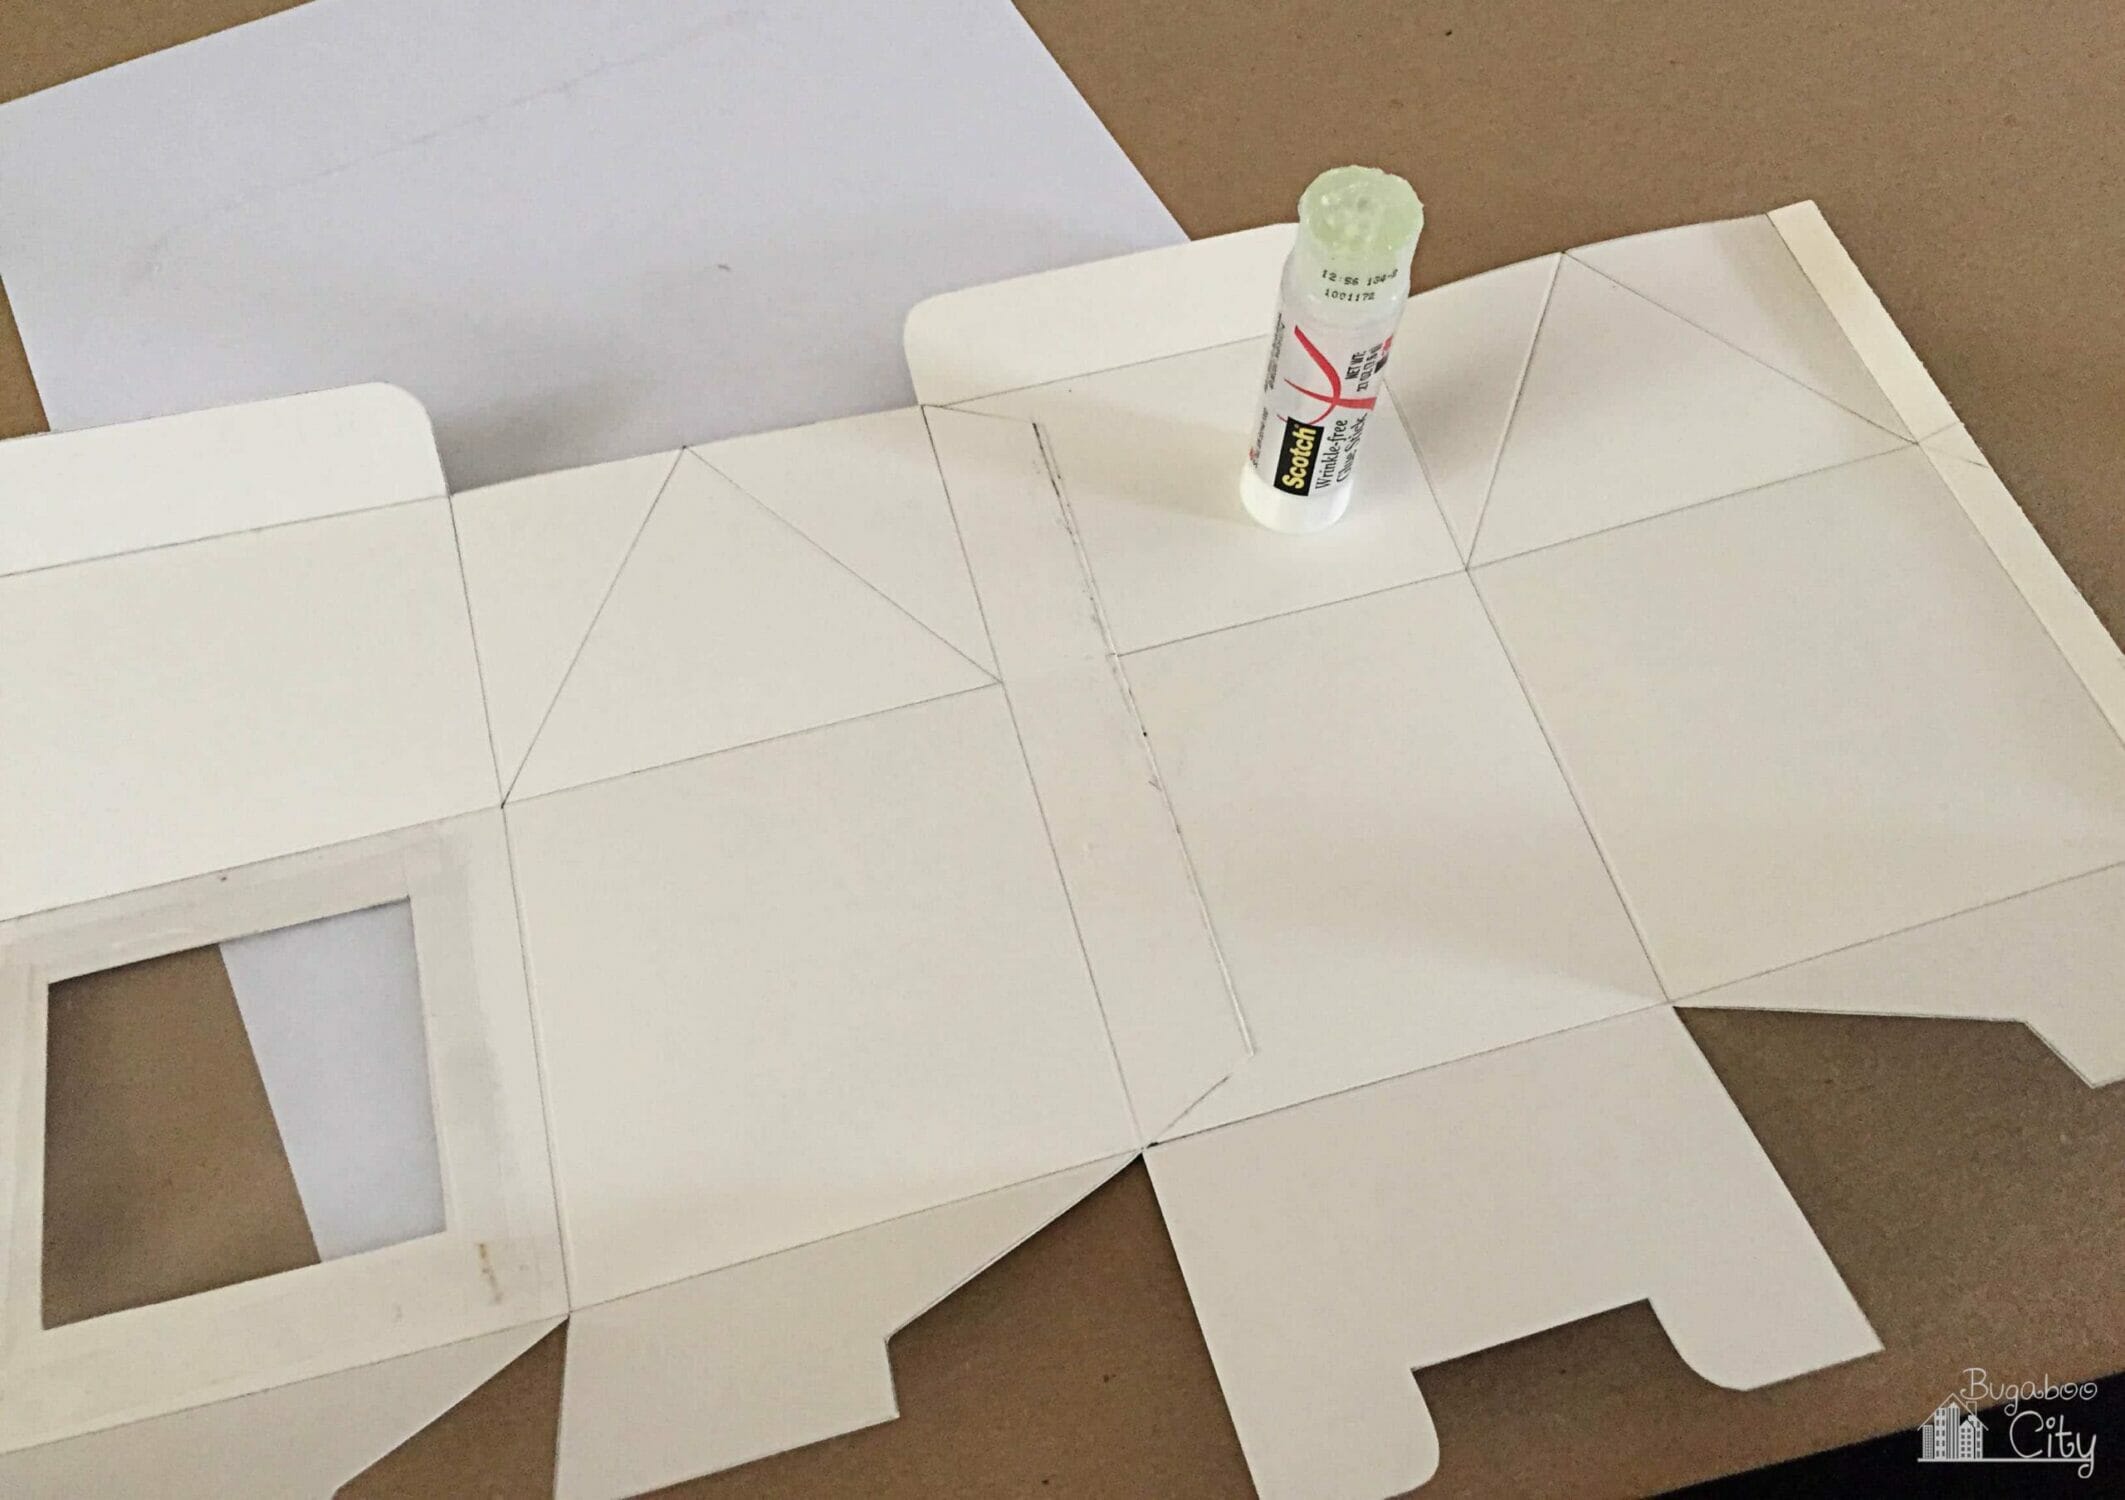
Step Five: Assemble the box.
Adhere the two pieces together using a glue stick or tape runner along the tabs. *Update: I used a glue stick in this tutorial but now prefer double-sided tape as I find it is stronger.


Step Six: Fold the box.
Start by folding in the bottom of the box as shown in the pictures below.

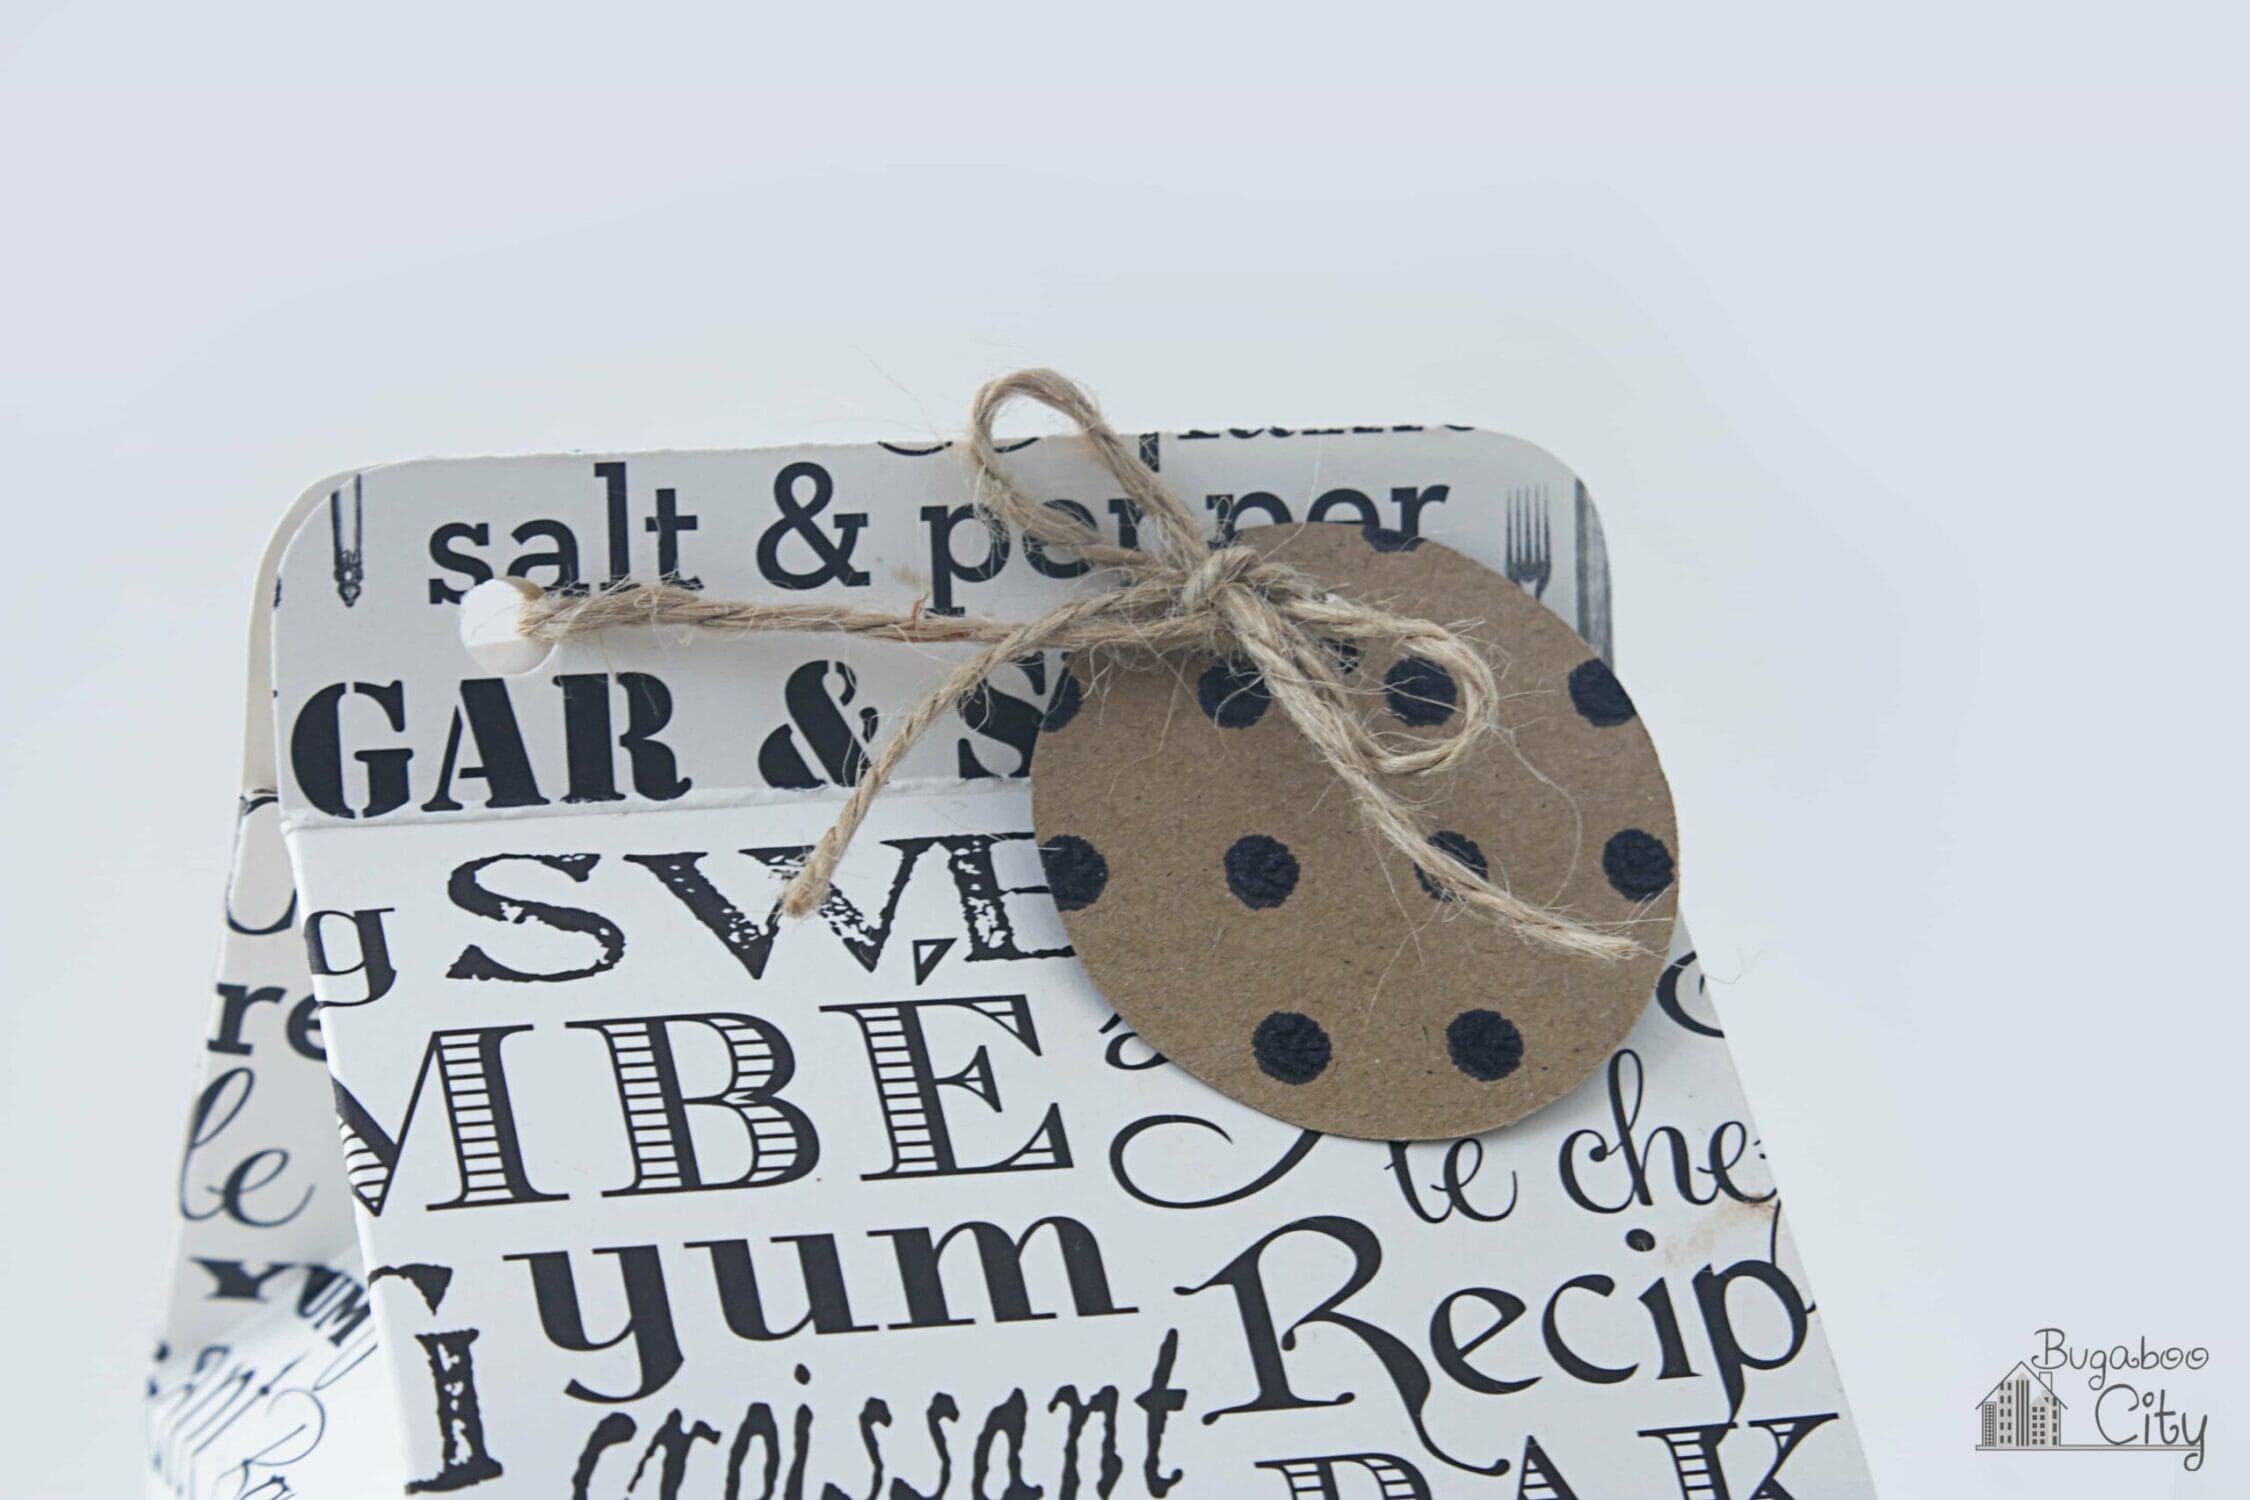
Step Seven: Add a closure and gift tag to the box.
Finish the box off by adding a way for it to stay closed at the top. For these boxes, I chose to punch two holes and tie them together with twine. I found punching my holes closer to the sides rather than the middle will help to keep the top of the box closed. Use ribbon, raffia, twine, or yarn to tie the box closed. I cut out a circle from some of the leftover scrapbook paper and used it as a tag. I love the one cut from the polka dot paper since it looks like a chocolate chip cookie!
You could also punch one hole in the center and use a brad to hold them together or use a cute little binder clip or even velcro dots!

Your treat box is finished! Time to fill it up with some yummy cookies and celebrate National Homemade Cookie Day…or any day for that matter!


Get the Free Cookie Treat Box Files!
Fill out the purple form below with your first name and email address! The free file will be sent straight to your inbox! If you have already filled out the form below, don’t worry – you won’t be added to my list twice! This freebie is for personal use only. I hope you enjoy crafting something special. Please let me know if you have any questions :)


Love this. Would use this for many occasions.
Thank you so much!! They have come in handy over the years as a quick gift! :)
was just wondering what the dimensions of your cute boxes…
Hi! I made these last year with my son so I don’t have the box with me anymore – but I am pretty sure they were about 3.5″ x 3.5″. I purchased the boxes first and then found a cookie cutter that would fit nicely inside them! Hope that helps!
Ok, now I am waiting for your first youtube video. After that, it’s only a matter of time before your first crafting TV show!
haha oh boy, wouldn’t that be crazy! I’d need a lot more nap times to start making videos! :)
Great project! I can’t Wait to try it.
Thank you!