DIY Apple Gift Box – For Gift Cards and Small Treats
Learn how to make these fun apple gift boxes for teachers using cardstock and a cutting machine. Grab the free SVG cut file which includes a gift card holder insert!

Hello Crafty Friends! It’s that time of year again. With back-to-school either here, or right around the corner, I thought I would share a cute craft perfect for celebrating the new school year!
These boxes are also a fun gift any time of year for educators, including Teacher Appreciation week, Christmas or just because you want to shower an excellent teacher with a little something special!
Use the apple gift box with the gift card holder insert, or skip that piece and fill the box with sweet treats or small gifts. You only need two basic supplies – cardstock and double-sided tape! Below is the tutorial. I hope you have fun crafting these cute boxes!

DIY Apple Gift Box
Choosing the Paper
For my treat boxes, I like to choose a sturdy cardstock that is also solid core. Solid core means the paper is the same color on the outside as it is on the inside.
White core, or printed cardstock, is paper that is colored on just the front and back and the inside is white. I find when cutting with my cutting machine, that solid core cardstock gives a more polished look and there are no white “paper fuzzines” visible that may distract from the design.
For these boxes, I used red 65lb cardstock from Michaels and a gold glitter paper also from Michaels, both Recollections brand. If the boxes will be holding something heavy, add a piece of cardboard to the bottom of the box after it is assembled.
Supplies Needed
- Apple Gift Box file – Grab the free SVG files by filling out the purple form at the end of this post.
- Red and gold glitter cardstock – between 65-80lbs
- Adhesive – I used 1/8″ Scor-Tape and 1/2″ Scor-Tape a strong double-sided tape
- Cutting machine – I used my Cricut Explore
- Standard cutting mat
- Cricut cutting tools
- Cricut Brayer
- Scoring stylus for cutting machine or scoring board and stylus if scoring by hand.
- If cutting by hand – scissors, craft knife and self-healing cutting mat

Prepare the File in Cricut Design Space
Download and save the free apple gift box file to your computer. Start a new project in Cricut Design Space and upload the file. Insert the file into your project. Start by selecting the entire project and ungrouping the image.

The cut file includes score lines for both the box lid, box bottom and gift card insert if you are using it. If your cutting machine does not have score lines, I recommend deleting these layers and scoring the boxes by hand using the scoring guide included with the cut file.
If your machine has a scoring stylus like my Cricut Explore, highlight these layers and change their operation from basic cut to score.

Next, attach the score lines to the layer they belong to using the attach button at the bottom right. The group will move to the top of the layers panel and the word “Attach” will appear on top of the group.


The box is ready to cut. You can change the colors of the pieces and also the size. If you do resize the box, be sure to select everything before resizing to make sure the lid will fit the bottom of the box.
Cutting the Apple Boxes
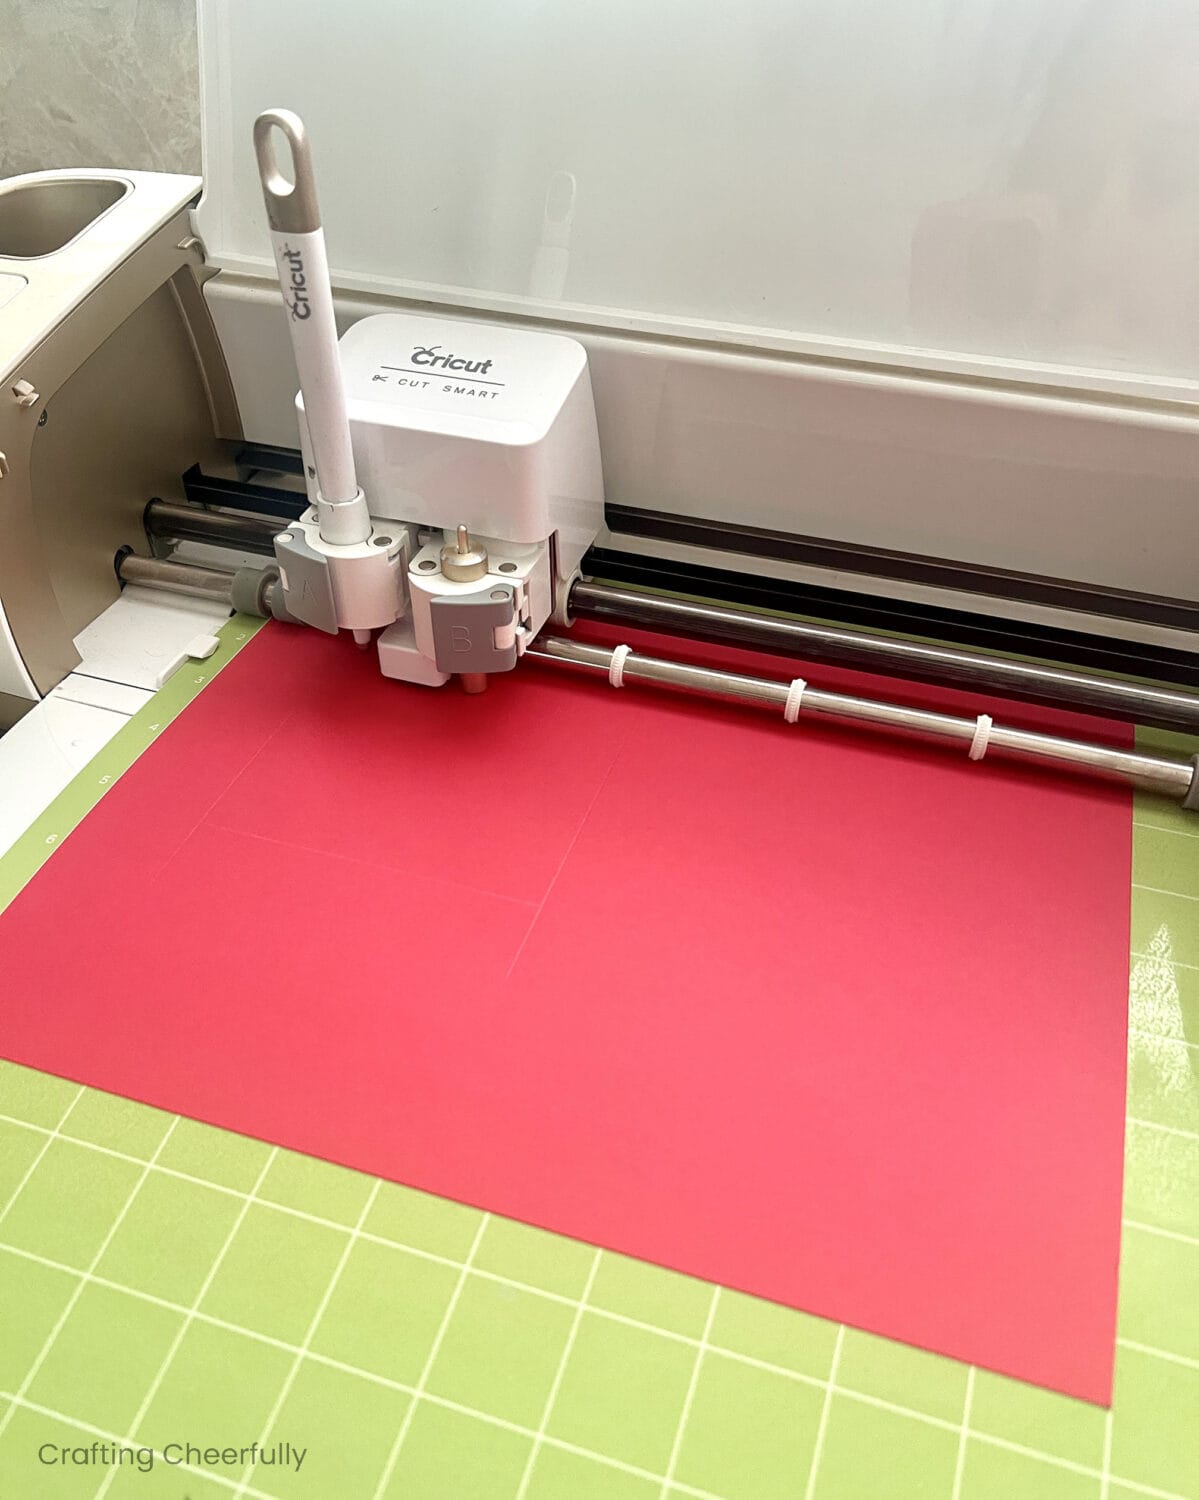
Step One: Cut the four box pieces. The box with the gift card holder insert will take two 8.5″ x 11″ sheets of paper plus the paper for the insert.


Assembling the Apple Gift Boxes
Step Two: Fold the boxes along the score lines. Use a bone folder to go over the folded edges for crisp folds.

Step Three: Place the square piece of paper behind the lid cut out. I used 1/8″ Scor-Tape around the edges of the square and attached it. You can use cardstock as I did or use clear craft plastic to create a peekaboo window. I like the shimmer the gold glitter paper adds to the boxes!


Step Four: Use double-sided tape to adhere the box pieces together. I used 1/2″ Scor-Tape on the flaps for the bottom of the box, box lid and gift card holder insert. Use the taps to attach the box and form the pieces.


Fill the Boxes
The boxes are assembled and ready to be filled! The box is perfect for holding a gift card. Place the gift card insert into the box and slide a gift card under the top and bottom circular tabs to hold it in place.
You can also skip the gift card insert and fill the box with small gifts or sweet treats. The cardstock you use is most likely not food-safe, so if filling the box with treats, I recommend using wrapped treats. You could also put unwrapped treats like cookies into clear plastic bags before they go into the boxes, or wrap them in parchment paper.


Get the Free Apple Gift Box Files!
Fill out the purple form below with your first name and email address! The free file will be sent straight to your inbox. If you have already filled out the form below, don’t worry – you won’t be added to my list twice! This freebie is for personal use only. I hope you enjoy crafting something special. Please let me know if you have any questions :)


