Free Printable Happy Birthday Banner!
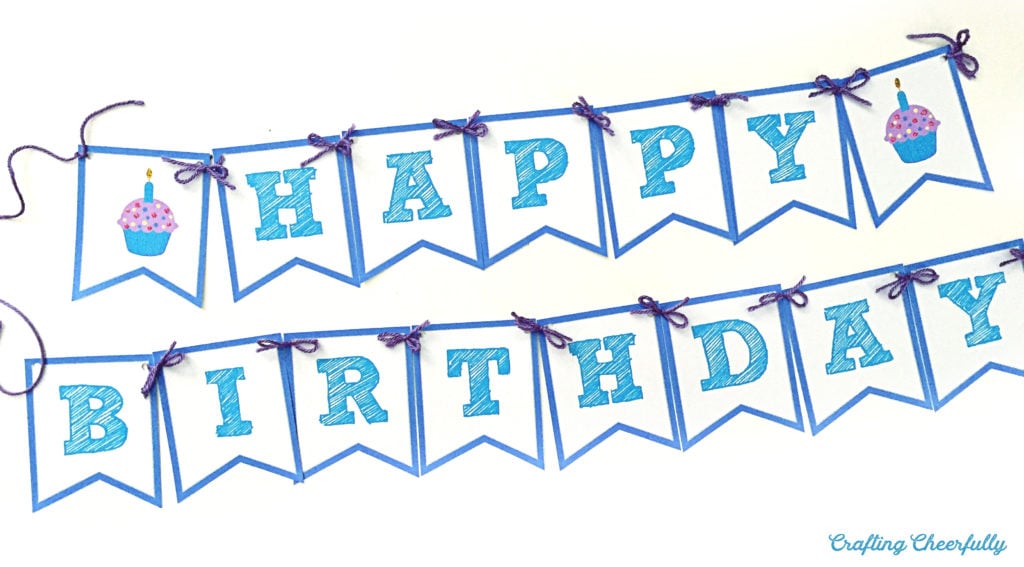
Create a festive birthday banner with this free printable! This is an easy way to decorate for someone’s special day and only requires a few supplies like a hole punch and yarn!

Hello Crafty Friends! I hope everyone had a great holiday weekend! Today I’m excited to share this fun Happy Birthday banner. I made this birthday banner a couple years ago and continue to use it over and over again for birthday celebrations. I created it in blues to match our blue placemats and white-and-blue dishes with the intention of using it anytime we host a birthday dinner. It is so easy to hang up in our dinning room any time we have a birthday dinner and it makes the birthday person feel extra special.

Banners are my absolute favorite decoration for parties, celebrations and holidays. They can be simple to put together, easy to set-up and are easily customizable for the occasion. I like that they can be reused, especially a banner like this which is not personalized and just reads Happy Birthday. It’s a banner that can be used for anybody’s birthday making it perfect to have on hand.
Supplies Needed for Birthday Banner:
- Free printable banner – Grab the free banner by filling out the purple form at the end of this post.
- White card stock (I used 110 lb white paper)
- Hole punch
- Scissors or paper trimmer
- Yarn or ribbon for hanging
- Glitter – optional!
Step One: Print the free printable birthday banner onto white card stock. I like to use 110lb paper but use whatever works well with your printer.

Step Two: Cut out each banner pennant using a scissors or paper trimmer. I used a paper trimmer for most of it and then a scissors to cut out the triangle at the bottom.

Step Three: Punch holes in the top corners of each banner pennant. I used a 1/4″ hole punch but if you are using thinner string or Baker’s Twine, you can use a smaller hole punch like 1/8″.

Step Four: String the banner pennants together. You can do this two different ways; thread the pennants on one long strand of string or yarn, or tie two pennants together at a time. I chose the latter so there would be cute bows in between each pennant. I used purple yarn for my banner, but you could use ribbon, yarn, or twine. Leave long pieces of ribbon at each end of the banner for hanging.

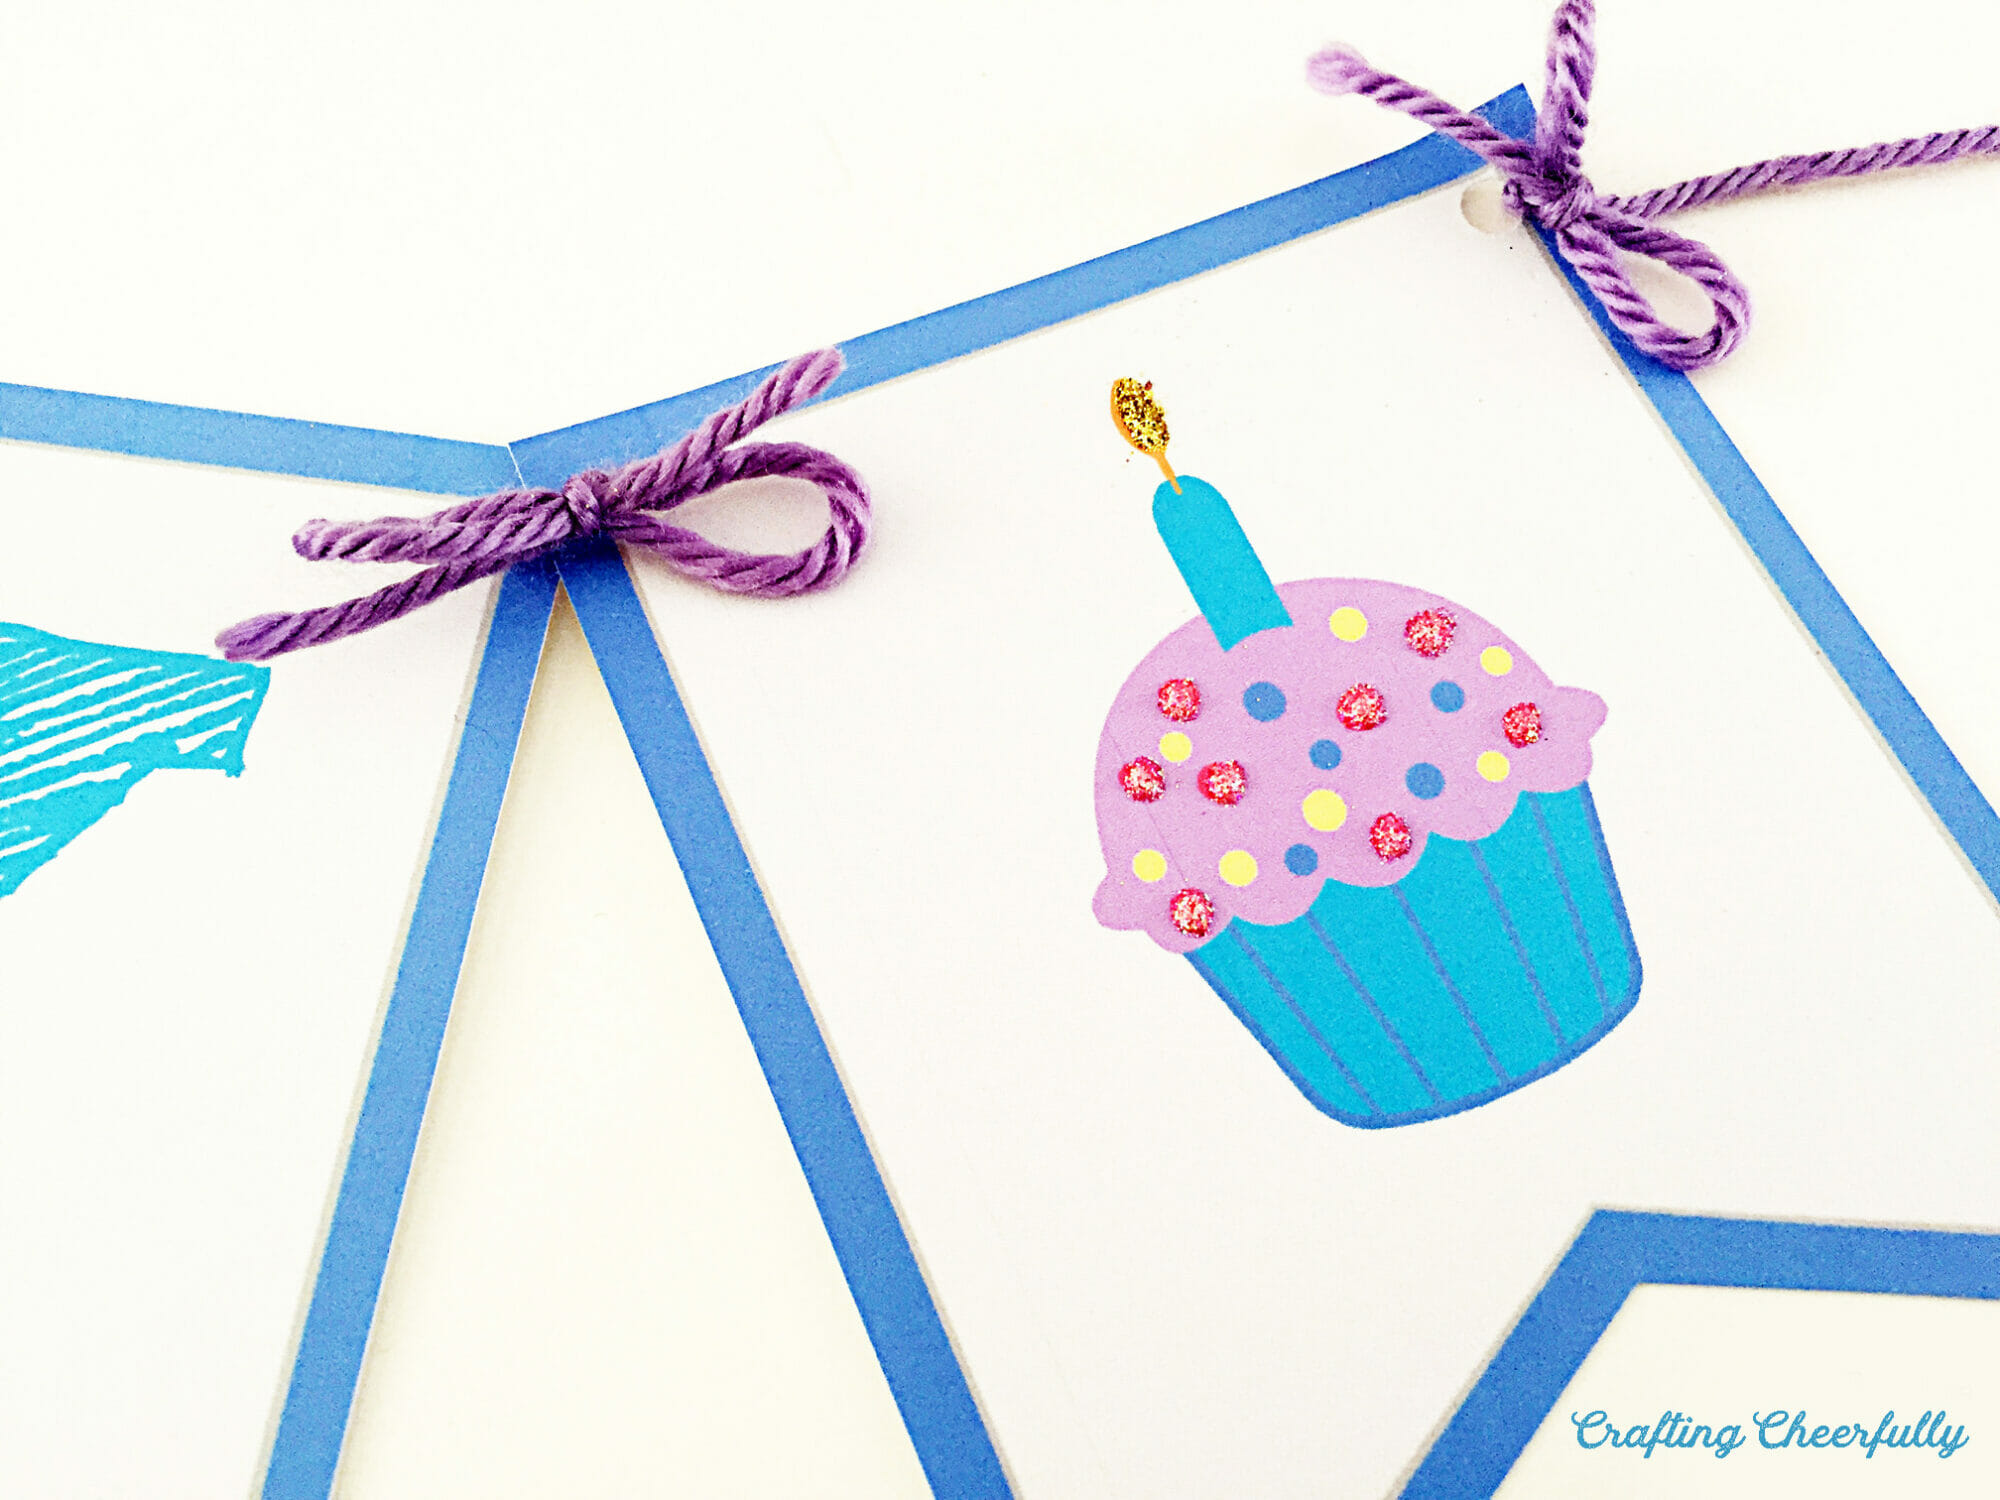
Step Five: Add glitter to the little cupcakes! I did this after I tied the banner together, but it could be done before. This is totally optional, but a fun way to add a little glam to the banner. I added gold glitter to the flame and pink glitter to the pink sprinkles. The banner is all finished!

Birthdays are the best and this cute little banner is great to keep on hand and whip out for any birthday celebration! A little handmade touch to make your birthday guest of honor feel extra special :)

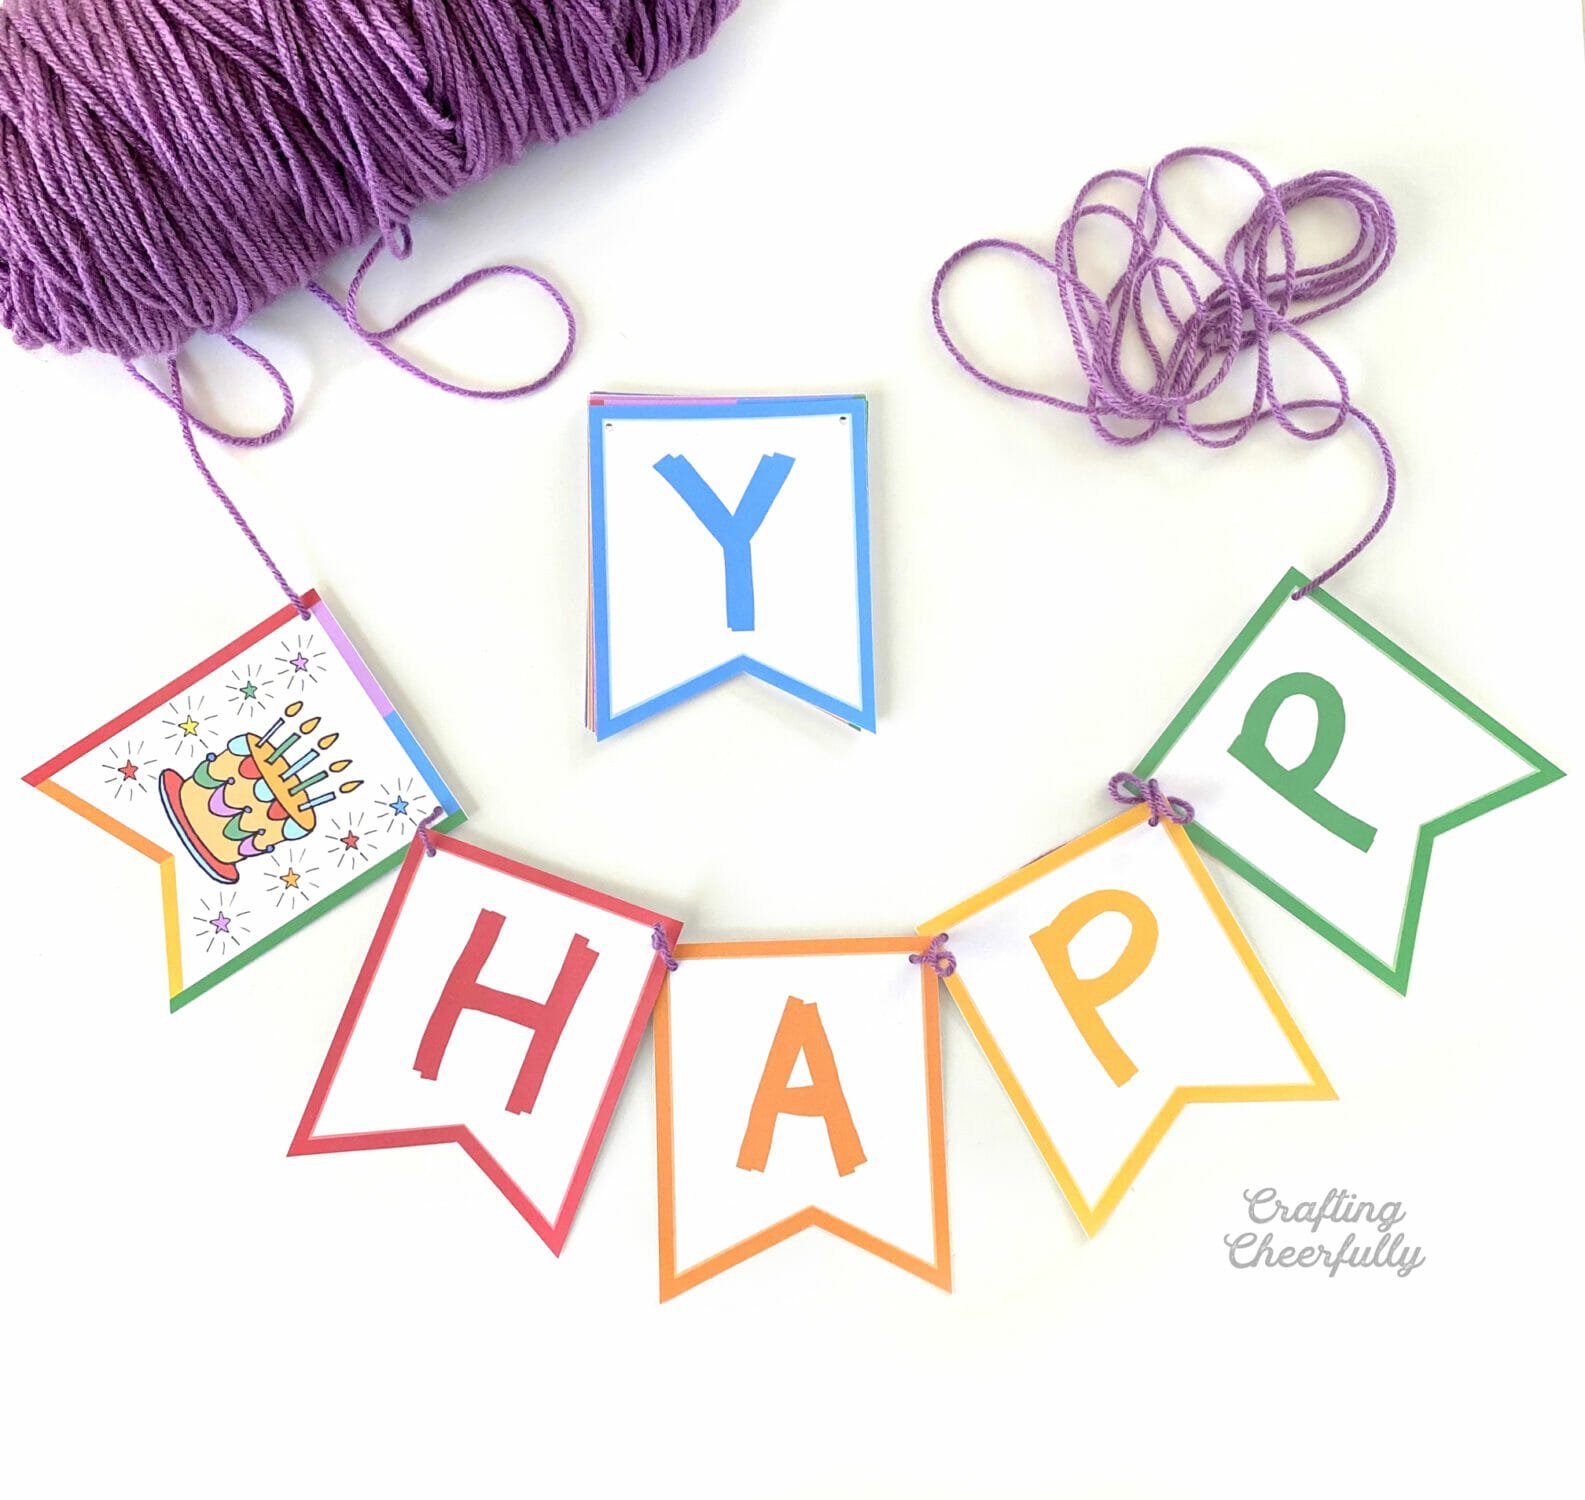
If you love this printable Birthday banner, be sure to check out my newest one – a colorful Rainbow Birthday Banner! :)
Get the Free Happy Birthday printable banner!
Fill out the purple form below with your first name and email address! The free file will be sent straight to your inbox plus you’ll receive my fun email newsletter with more free files and DIY craft tutorials. If you have already filled out the form below, don’t worry – you won’t be added to my list twice! This freebie is for personal use only. I hope you enjoy crafting something special. Please let me know if you have any questions :)


Hello. May I know the name of the font used in this birthday banner? Thanks a lot.
Hi! For this banner I used the font Sketch Block :)
I simply love it…The birthday banner made the party extra special… thanks
That’s wonderful to hear!! Thank you! :)
So cute! May I ask how do you make these?
I made this banner in Photoshop! I created a template and then changed out the letter and color. It goes super quick once I have the template designed. :)