
DIY St. Patrick’s Day Card – Free SVG Cut File
Create St. Patrick’s Day cards using your cutting machine and this free SVG cut file! A fun DIY craft for the holiday!
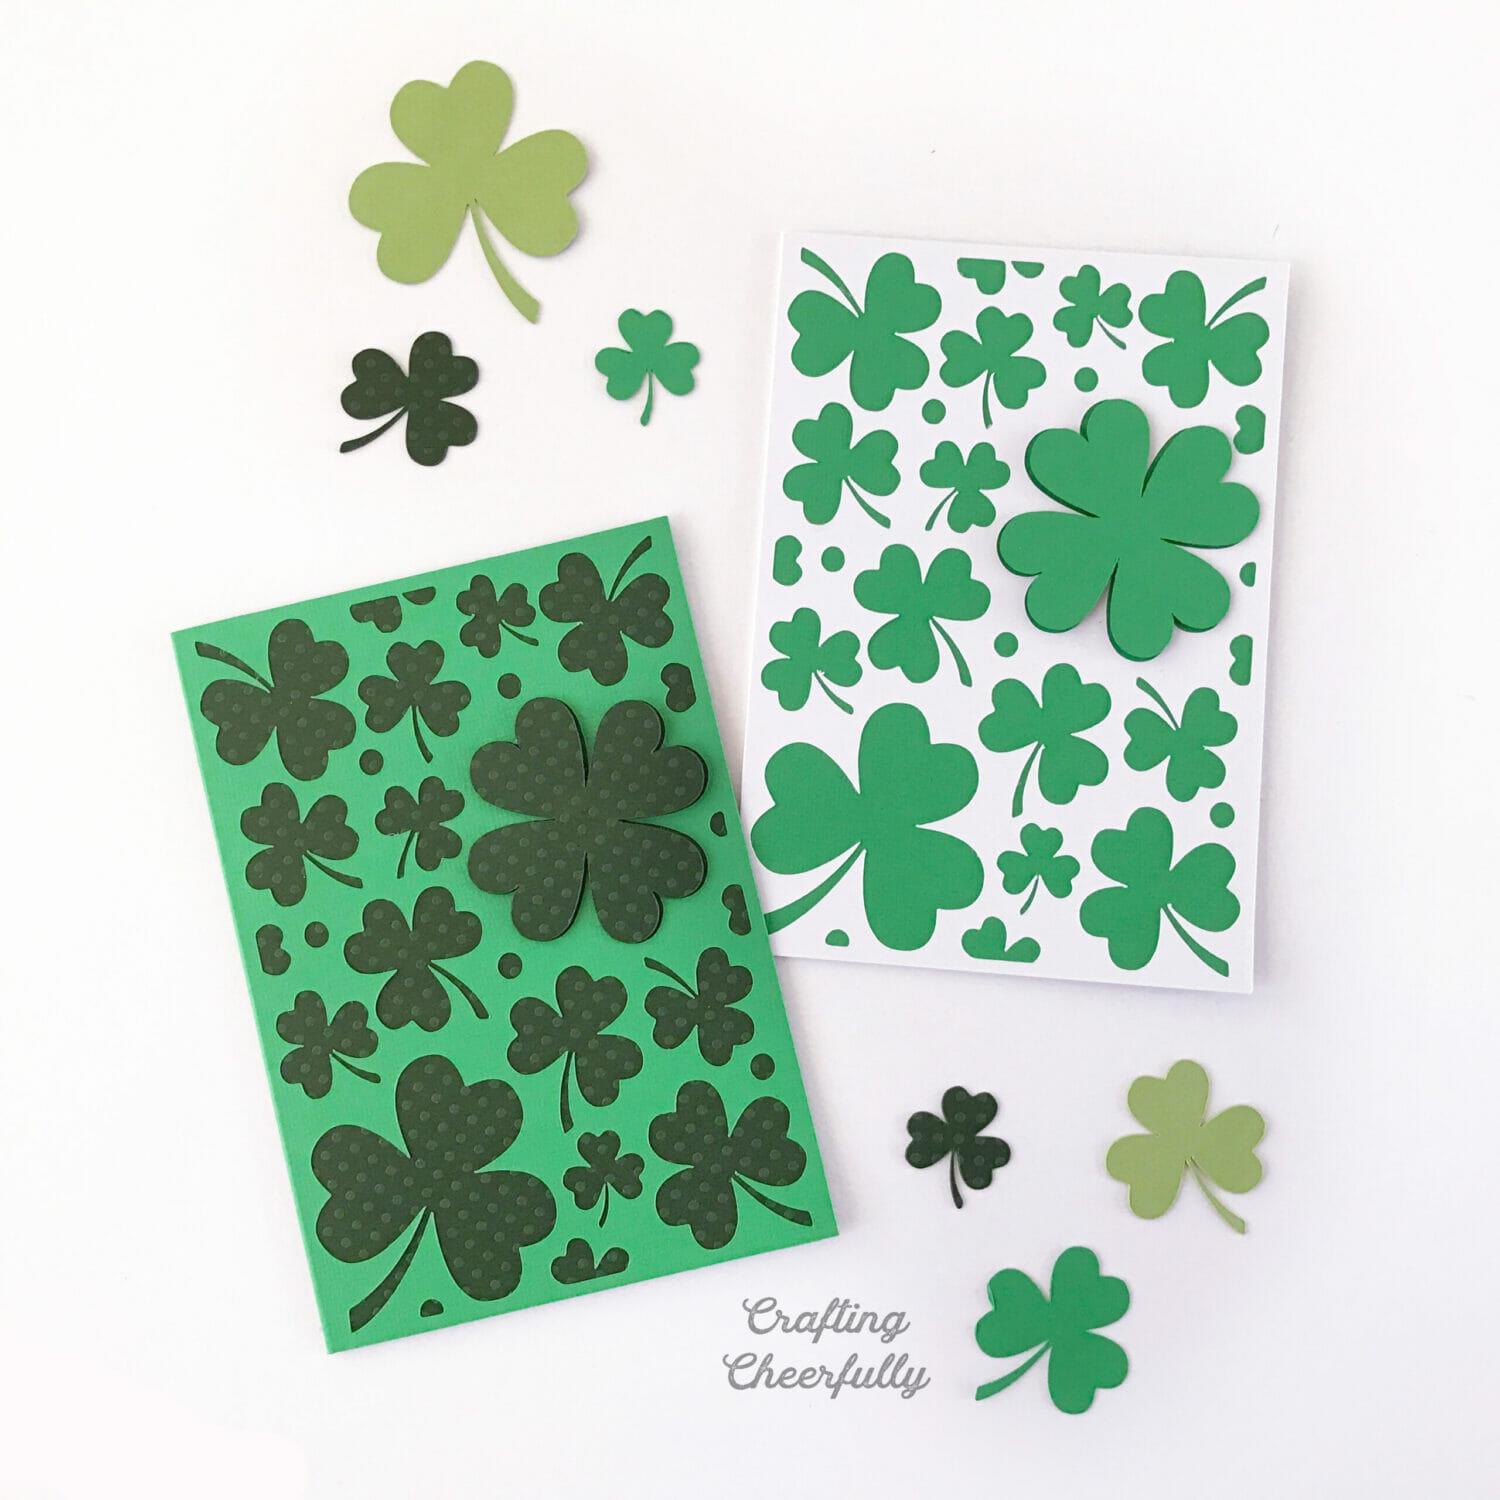
 St. Patrick’s Day is right around the corner and today I’m sharing a fun shamrock card you can make with your cutting machine. I’m having a lot of fun with my new Cricut and have been playing around with making my own SVG files. I created this card in Photoshop and then turned it into an SVG file to use with my cutting machine. You can grab the free cut file to create your own St. Patrick’s Day card!

Sending snail mail is one of my favorite things to do and holidays are the perfect time to send a card. Since getting my Cricut at Christmas, I have been making so many cards! It’s so fun! I’ll pop a few of these shamrock cards in the mail this week and surprise some of my family and friends.

St. Patrick’s Day Card
Supplies Needed
- Free SVG cut file – grab the free file by filling out the purple form at the end of this post.
- 2 sheets of card stock in different colors. I used greens and white
- Cutting machine
- Glue Stick
- Foam Mounting Tape
- Scoring Board

Step by Sep Tutorial
Step One: Use the free SVG file to cut your paper.
You will need two sheets of paper, one for the outer card and one for the insert and raised shamrock. The following instructions are for using Cricut’s Design Space software with this SVG file.
Upload the SVG file. There will be four layers. One is the fold line to be used with the scoring tool. It will show up as a cut line so you’ll need to change it to a score line. After doing that, “Select All” and then “Ungroup” the layers. Now select just the score line layer and the card layer and “Attach” them so the Cricut scores the card layer. You are now ready to hit “Go” and start cutting.
I made several cards, mixing up the paper combinations each time.

If you don’t have a scoring option, score the card along the fold line. Even with the scoring tool on my Cricut, I go over the fold line with my scoring board and stylus to make it extra crisp.

Step 2: Add the insert layer.
Once everything is cut, glue the insert layer under the cover of the card so it peeks through all of the cut shamrocks.

Step 3: Add the raised shamrock.
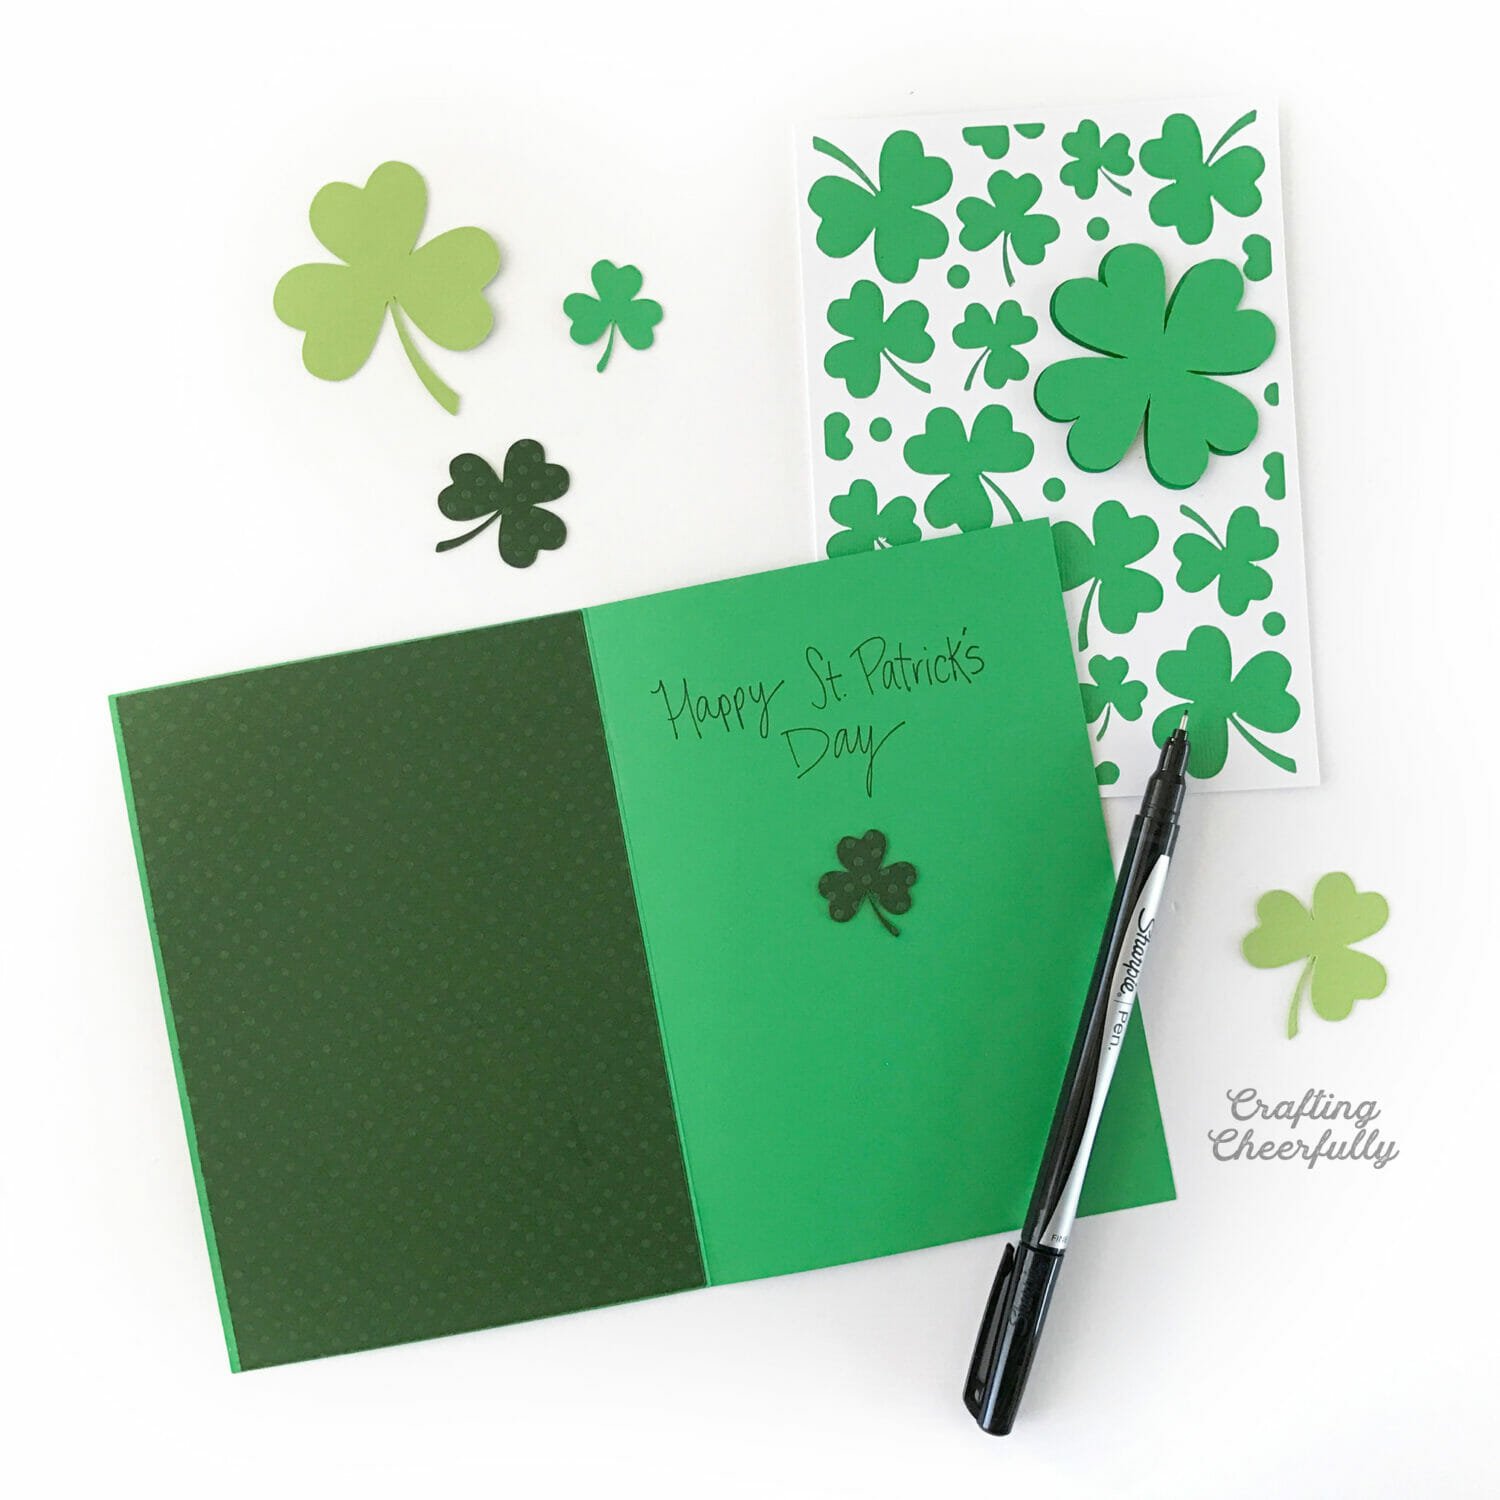
Using foam tape, I attached the four-leaf clover to the outside of the card so it it is raised.


The card is finished and ready to wish someone a Happy St. Patrick’s Day! I’ll be back later this week with a fun activity you can do with your kids this St. Patrick’s Day :)


Get the Free Shamrock Card SVG Cut Files!
Fill out the purple form below with your first name and email address! The free file will be sent straight to your inbox! If you have already filled out the form below, don’t worry – you won’t be added to my list twice! This freebie is for personal use only. I hope you enjoy crafting something special. Please let me know if you have any questions :)


One Comment